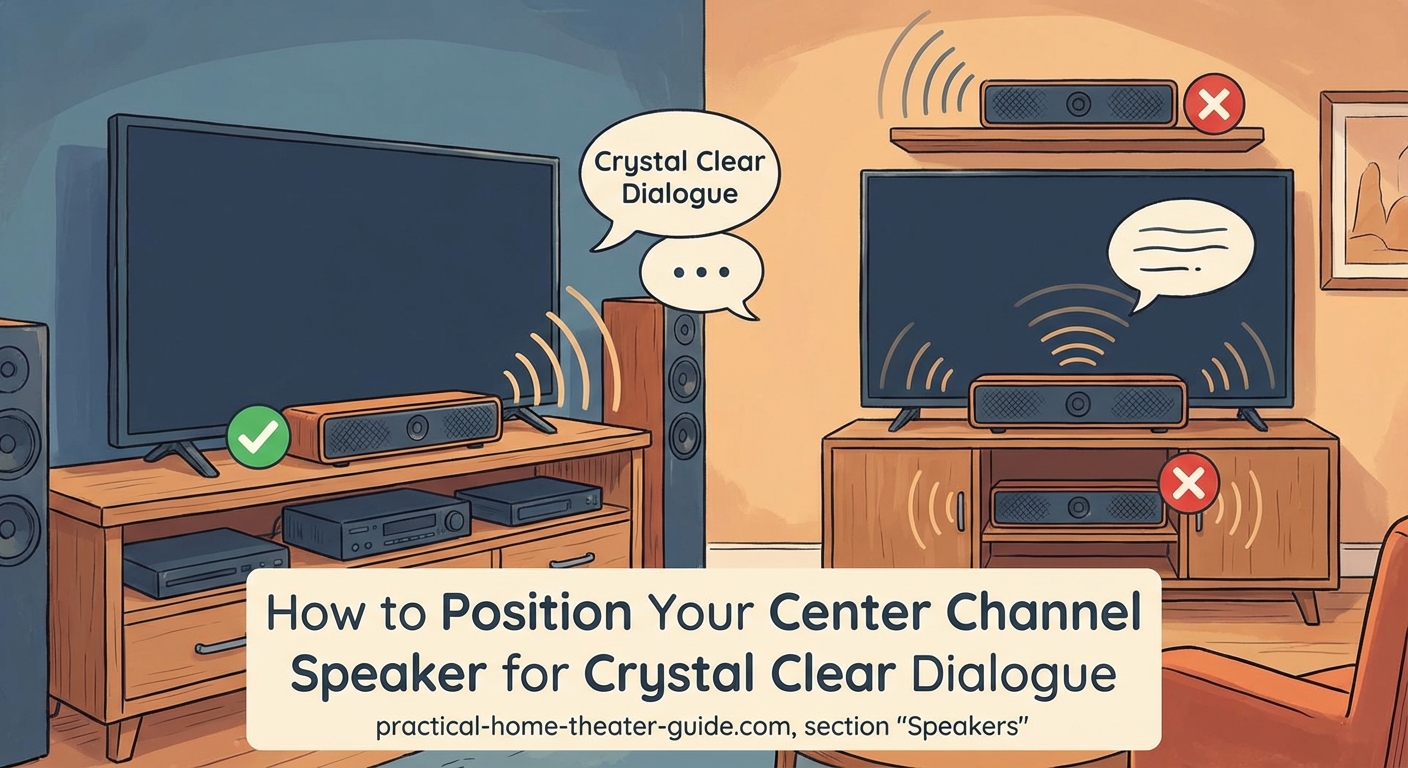
You’re watching a movie, leaning forward, straining to catch what the actors are saying while explosions rattle your walls perfectly. That’s the frustration of poor center channel placement. Your speaker handles 60-70% of a film’s dialogue, and even a few inches in the wrong direction can turn crystal-clear conversations into muffled noise.
Proper center channel speaker placement requires positioning the speaker at ear level, angling it toward your main listening position, and keeping it within six inches of your screen’s vertical center. Distance from the wall, cabinet obstructions, and matching the height of your left and right speakers all dramatically affect dialogue clarity. Small adjustments of 2-3 inches can transform muddy speech into perfectly intelligible conversation.
Why Your Center Channel Location Matters More Than You Think
The center channel isn’t just another speaker in your setup. It anchors every conversation, narration, and vocal performance in your content. When actors move across the screen, their voices stay locked to the center, creating a stable soundstage that keeps you immersed.
Poor placement creates a disconnect between what you see and what you hear. Voices seem to float above or below the action. Dialogue gets lost in the mix, forcing you to ride the volume remote all night.
Your room’s acoustics multiply these problems. A center channel sitting inside a TV cabinet bounces sound off surfaces before it reaches your ears. That causes phase cancellation, where sound waves interfere with each other and cancel out specific frequencies. The result? Thin, hollow voices that lack presence and clarity.
The Ideal Height for Center Channel Speakers
Your center channel should sit at ear level when you’re in your main viewing position. For most people, that’s 36-42 inches off the ground.
Measure from the floor to the tweeter, not the bottom of the speaker cabinet. The tweeter produces the high frequencies that carry consonants and vocal detail. Point that directly at your ears.
If your TV sits on a low stand, you have three options:
- Place the speaker on top of the TV, angled down toward your seating
- Mount the TV higher on the wall and position the speaker on the stand below it
- Use an angled stand or foam wedge to tilt the speaker upward from a low position
Wall-mounted TVs create their own challenge. The speaker often ends up below the screen, sometimes 12-18 inches below ear level. That’s acceptable if you angle it upward by 10-15 degrees. Most center channels have threaded inserts on the bottom for mounting hardware that allows this adjustment.
Avoid placing the speaker more than 24 inches above or below ear level. Beyond that distance, angling alone can’t compensate for the vertical offset. You’ll hear a noticeable tonal shift as the speaker’s off-axis response changes.
Distance from the Screen and Front Wall
Your center channel should align with your left and right speakers on the horizontal plane. If your main speakers sit three feet from the front wall, your center should match that depth.
This creates a coherent front soundstage where panning effects move smoothly across all three speakers. When a car drives left to right on screen, the sound should travel seamlessly without jumping or changing character.
Reality often prevents perfect alignment. Your TV might sit closer to the wall than your tower speakers. That’s fine if the difference stays under 12 inches. Beyond that, you’ll notice a disconnect in the soundstage, especially during scenes with lots of movement and dialogue.
Keep the speaker at least 6-8 inches from the wall behind it. Boundary reinforcement, the acoustic boost that happens near walls, can make bass frequencies muddy and overwhelm the midrange where voices live. Some speakers are designed for near-wall placement and account for this effect, but most sound clearer with breathing room.
Angling Your Center Channel Correctly
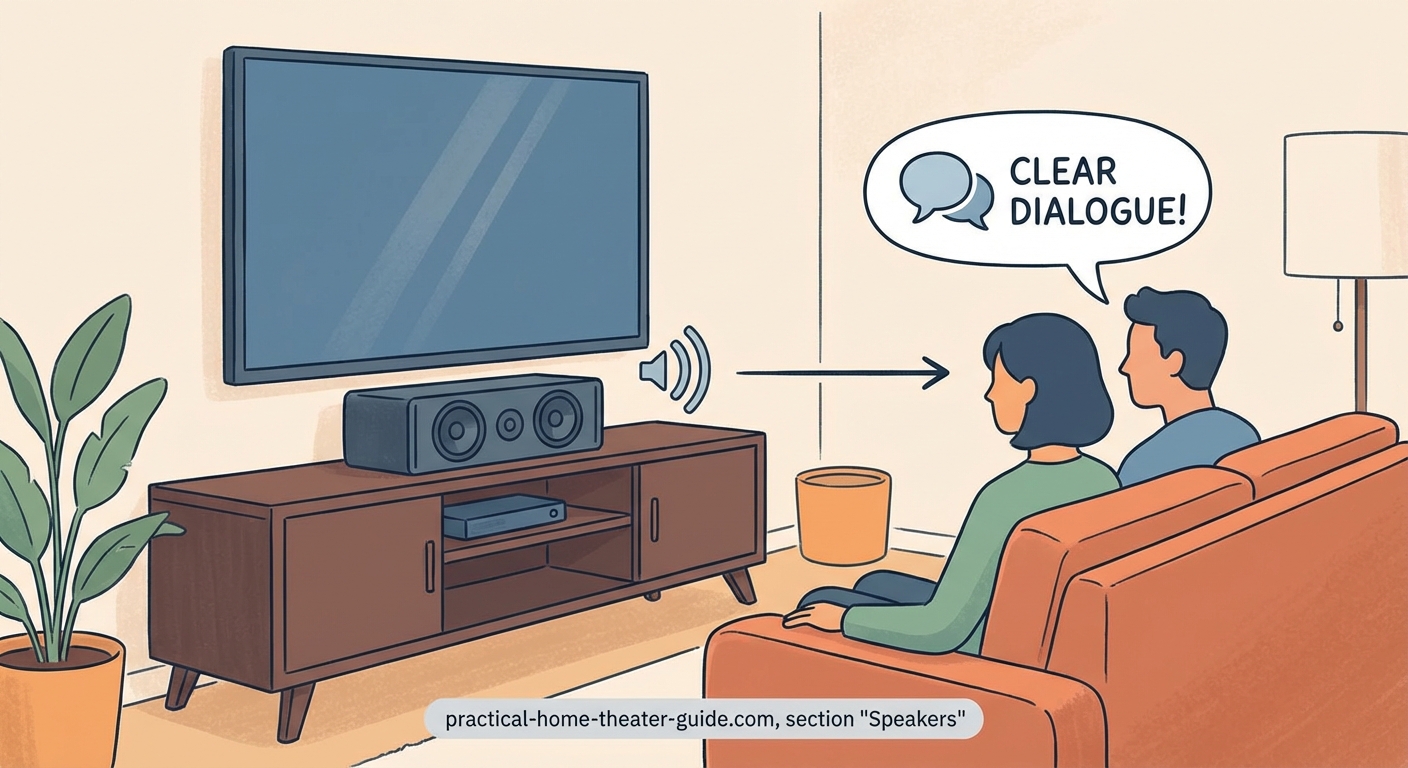
Point the speaker directly at your primary listening position. If you sit 10 feet from the screen, angle the speaker so its tweeter aims at that spot.
Use a laser level or even your phone’s flashlight to verify the angle. Shine the light from the tweeter position and see where it hits at your seat height. Adjust until it lands on the headrest of your main viewing chair.
For rooms with multiple seating positions, aim for the center of your seating area. A speaker pointed at the middle of a three-seat couch will serve everyone reasonably well, even if it’s not perfect for the side seats.
Some center channels have wide horizontal dispersion, meaning they spread sound broadly left and right. These are more forgiving with angling. Others have narrow dispersion and require precise aiming. Check your speaker’s specifications for its dispersion pattern, usually listed as coverage angle in degrees.
“The difference between a center channel aimed at your chest versus your ears is the difference between hearing dialogue and understanding it. Aim for the ears, always.” – Home theater calibration expert
Cabinet and Furniture Obstacles
TV cabinets are dialogue killers. The enclosed space creates reflections that smear the sound before it reaches you. The front lip of the cabinet acts as a diffraction barrier, bending high frequencies in unpredictable ways.
If you must place your speaker in a cabinet, follow these rules:
- Position it at the very front edge, not recessed
- Remove cabinet doors or keep them fully open during viewing
- Add acoustic foam to the cabinet’s back and side walls to absorb reflections
- Ensure at least 3 inches of clearance above the speaker
Better option? Get the speaker out of the cabinet entirely. Use a speaker stand that positions it just in front of the TV stand. The improvement in clarity is immediate and dramatic.
Glass shelves under the speaker cause another problem. They reflect sound upward, creating comb filtering where the direct and reflected sounds combine with phase differences. Place a thick rubber mat or foam pad under the speaker to dampen these reflections.
Matching Height with Your Left and Right Speakers
Your three front speakers should form a consistent height plane. If your left and right speakers have tweeters at 40 inches, your center channel’s tweeter should match.
This ensures timbral consistency as sounds pan across the front stage. When a helicopter flies from left to right, it should maintain the same tonal character throughout its path. Height mismatches create audible shifts in frequency response that break the illusion.
Tower speakers often place their tweeters higher than a center channel can practically sit. You have two approaches:
- Angle the towers down slightly to aim their tweeters at ear level
- Accept a small height difference (under 6 inches) and use your receiver’s calibration to compensate
Modern AV receivers include room correction software that can partially fix tonal mismatches caused by height differences. Run the calibration after positioning your speakers for the best results.
Common Placement Mistakes and How to Fix Them
| Mistake | Why It Hurts Dialogue | Solution |
|---|---|---|
| Speaker inside closed cabinet | Reflections muddy the sound, high frequencies get absorbed | Move to front edge or remove doors |
| Sitting directly on TV stand without isolation | Vibrations transfer to furniture, creating resonance | Add foam pads or rubber feet |
| Angled toward ceiling or floor | Off-axis response reduces clarity | Aim tweeter at ear level |
| More than 12 inches off horizontal plane from L/R speakers | Timbral mismatch during panning | Adjust height or angle to minimize difference |
| Pressed against back wall | Boundary gain boosts bass, masks midrange | Pull forward 6-8 inches minimum |
| Placed on its side (vertical speaker horizontal) | Tweeter no longer at center, dispersion pattern rotates 90 degrees | Use proper center channel or rotate back to vertical |
The last mistake deserves extra attention. Never lay a bookshelf speaker on its side to use as a center channel. The tweeter position and crossover design assume vertical orientation. Rotating the speaker rotates its dispersion pattern, creating uneven coverage across your seating area.
Testing Your Placement with Real Content
After positioning your speaker, test it with dialogue-heavy content. Choose scenes you know well, where you can focus on vocal clarity rather than plot.
Listen for these qualities:
- Voices should sound natural, not nasal or hollow
- Consonants (S, T, K sounds) should be crisp and clear
- Dialogue should stay anchored to the screen, not floating above or below
- Volume should feel consistent, not requiring constant adjustment
- Voices should be intelligible at moderate volumes, not just when loud
News broadcasts and interview shows work well for testing. The talking-head format puts dialogue front and center with minimal music or effects to mask problems.
Play the same content before and after making placement changes. The difference should be obvious. If you don’t hear improvement, you’re either in a good spot already or you need to address other issues like room acoustics or speaker quality.
Fine-Tuning with Your AV Receiver Settings
Physical placement comes first, but your receiver’s settings provide the final polish. After positioning your speaker, run your receiver’s automatic room correction system. Systems like Audyssey, Dirac, or YPAO measure your room and adjust speaker levels, distances, and EQ.
Pay attention to the distance settings the system calculates. If your center channel distance is more than 2 feet different from your left and right speakers, you have an alignment issue that needs physical correction first.
Check the speaker level settings. If the system sets your center channel significantly lower or higher than your other speakers (more than 3-4 dB difference), investigate why. It might indicate an obstruction, poor angling, or a speaker that’s not well-suited to your room.
Some receivers let you boost the center channel level after calibration. A 1-2 dB boost can help dialogue cut through during complex action scenes, but don’t exceed 3 dB. More than that suggests a placement problem, not a level problem.
When to Consider Acoustic Treatment
If you’ve optimized placement and still struggle with dialogue clarity, your room might need acoustic treatment. Hard surfaces near the center channel create early reflections that blur speech intelligibility.
The most impactful treatment locations:
- First reflection point on the ceiling between the speaker and listening position
- Side walls adjacent to the TV stand
- Hard surfaces directly behind the center channel
Start with a 2×4 foot acoustic panel on the ceiling above your TV. This absorbs the strong ceiling reflection that occurs with most center channel placements. The improvement in dialogue clarity often surprises people.
Glass coffee tables between your speakers and seating also cause problems. Cover them with a thick tablecloth during viewing or replace them with wood alternatives.
Getting the Most from Your Current Setup
You don’t need expensive speakers to achieve clear dialogue. Proper placement extracts maximum performance from whatever center channel you own.
Start with these three adjustments today:
- Measure your speaker’s tweeter height and compare it to your ear height when seated
- Verify the speaker points directly at your main seat, not at the ceiling or floor
- Pull the speaker forward if it sits inside a cabinet or against a wall
Make one change at a time and listen for 15-20 minutes before adjusting further. Your ears need time to adapt to the new sound signature. What seems too bright initially often settles into crisp, clear dialogue after a brief adjustment period.
Take photos of your current setup before making changes. If an adjustment makes things worse, you can return to your starting point and try a different approach.
Your Dialogue Deserves Better
Center channel speaker placement isn’t complicated, but it is precise. A few inches in height, a slight change in angle, or pulling the speaker forward from a cabinet can transform your viewing experience. You’ll stop straining to hear conversations and start enjoying the performances that make great content memorable. Measure twice, adjust once, and let your ears confirm what the numbers suggest. Clear dialogue is waiting.
Leave a Reply