You settle in for movie night, popcorn ready, lights dimmed. The opening scene starts and you realize you can barely understand what the actors are saying. The dialogue sounds like everyone is talking through a pillow. Meanwhile, explosions and music come through crystal clear. This frustrating problem points directly to your center channel speaker, the workhorse responsible for nearly all movie dialogue.
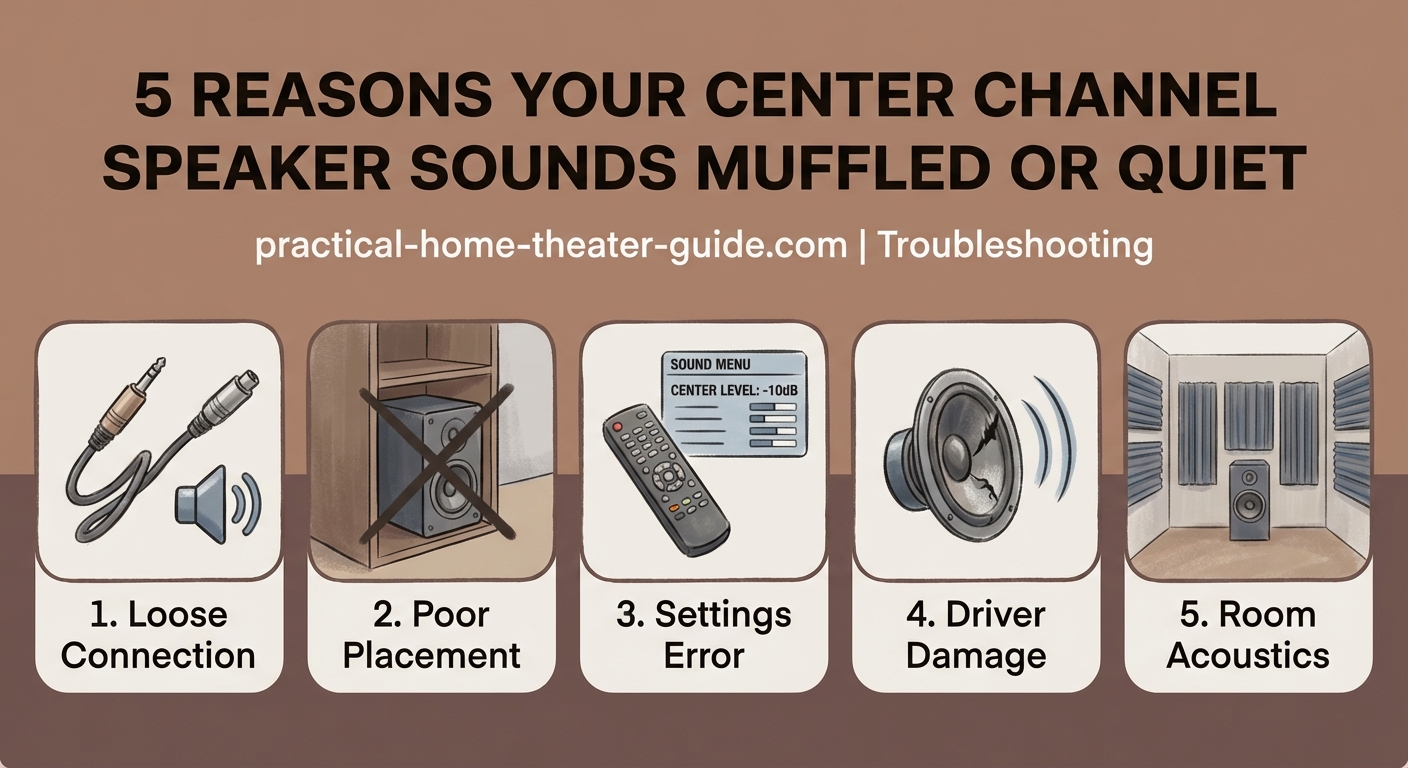
A muffled center channel speaker usually stems from incorrect receiver settings, poor placement, polarity issues, or acoustic interference. Most cases can be fixed by adjusting your AV receiver’s channel levels, checking wire connections, repositioning the speaker away from obstructions, and running proper room calibration. Physical damage or mismatched speakers may require hardware replacement.
Check Your AV Receiver Settings First
Your receiver controls everything about how your center channel performs. One wrong setting can make dialogue sound like mud.
Start with the channel level settings. Your receiver assigns volume levels to each speaker independently. If your center channel is set too low compared to your other speakers, dialogue will sound weak and unclear. Access your receiver’s speaker level menu and check the center channel trim. It should typically be within 3dB of your front left and right speakers.
Dynamic range compression (DRC) can also cause muffled sound. This feature reduces the difference between loud and soft sounds. While helpful for late night viewing, aggressive DRC settings can squash dialogue clarity. Try turning it off or setting it to low.
Check your audio format settings too. If your receiver is set to a stereo or all channel stereo mode, it might be forcing center channel content through processing that degrades quality. Make sure you’re using proper surround modes like Dolby Digital or DTS.
Here’s what to verify in your receiver menu:
- Center channel trim level (should be between -3dB and +3dB relative to fronts)
- Dynamic range compression (try off or low)
- Audio mode (use Dolby/DTS, not stereo)
- Crossover frequency (typically 80Hz for most speakers)
- Distance/delay settings (must match actual speaker position)
Run Room Calibration Properly
Modern receivers include automatic calibration systems like Audyssey, YPAO, or Dirac. These measure your room and adjust settings accordingly. But they only work if you use them correctly.
Place the calibration microphone at ear height in your main listening position. Don’t hold it or rest it on cushions. Use a tripod or stack of books to get it stable and at the right height. The microphone needs a clear path to all speakers.
Run the full calibration sequence. Many systems take multiple measurements from different positions. Don’t skip these. They help the system understand how your room affects sound.
After calibration finishes, review the results. Check what levels the system assigned to your center channel. If it’s drastically different from your other speakers (more than 6dB), something else might be wrong. The calibration might be compensating for a physical problem.
Some calibration systems set the crossover too high for center channels. If yours got set above 100Hz, consider manually lowering it to 80Hz. This prevents the muddy overlap between your center and subwoofer.
Room calibration is a starting point, not a final answer. Use it to get in the ballpark, then fine tune by ear. If dialogue still sounds muffled after calibration, the system might be fighting against placement or connection issues.
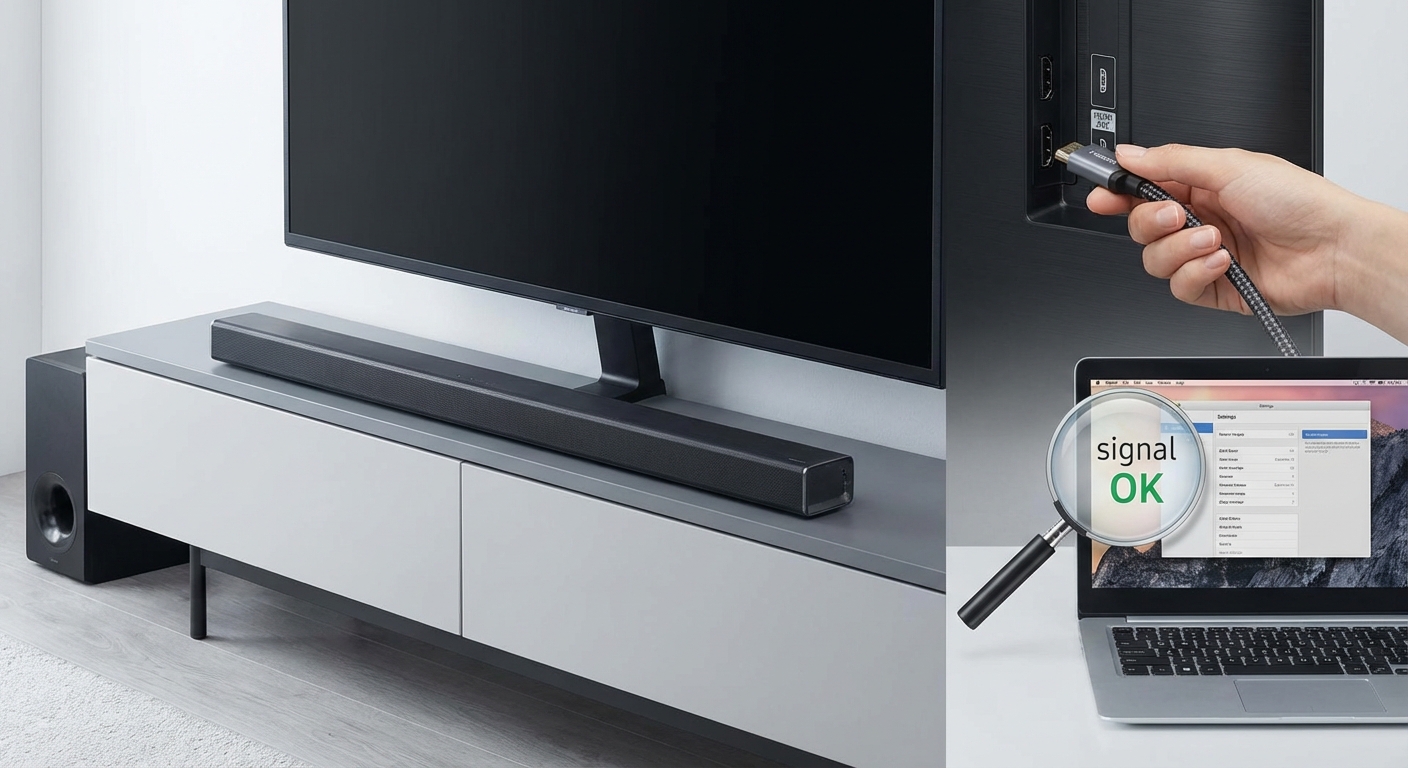
Verify Speaker Connections and Polarity
Loose or reversed connections create weak, thin, or muffled sound. This takes two minutes to check and fixes a surprising number of problems.
Turn off your receiver completely. Unplug it for safety. Check every connection point between your receiver and center speaker.
Look at the binding posts on your receiver. The wire should be firmly clamped with no stray strands touching adjacent terminals. Give each wire a gentle tug. It shouldn’t move at all.
Walk to your center speaker and check those connections too. Make sure the positive (red) terminal connects to the positive wire from your receiver, and negative (black) to negative. Reversed polarity makes your center speaker work against your other speakers instead of with them.
If you’re using banana plugs or spade connectors, make sure they’re fully inserted. A partially connected plug creates resistance that degrades sound quality.
Consider replacing old speaker wire. Wire doesn’t go bad often, but if yours has been pinched, bent sharply, or run through areas with lots of foot traffic, internal breaks can develop. You don’t need expensive wire. Basic 16 or 14 gauge copper wire works perfectly for runs under 50 feet.
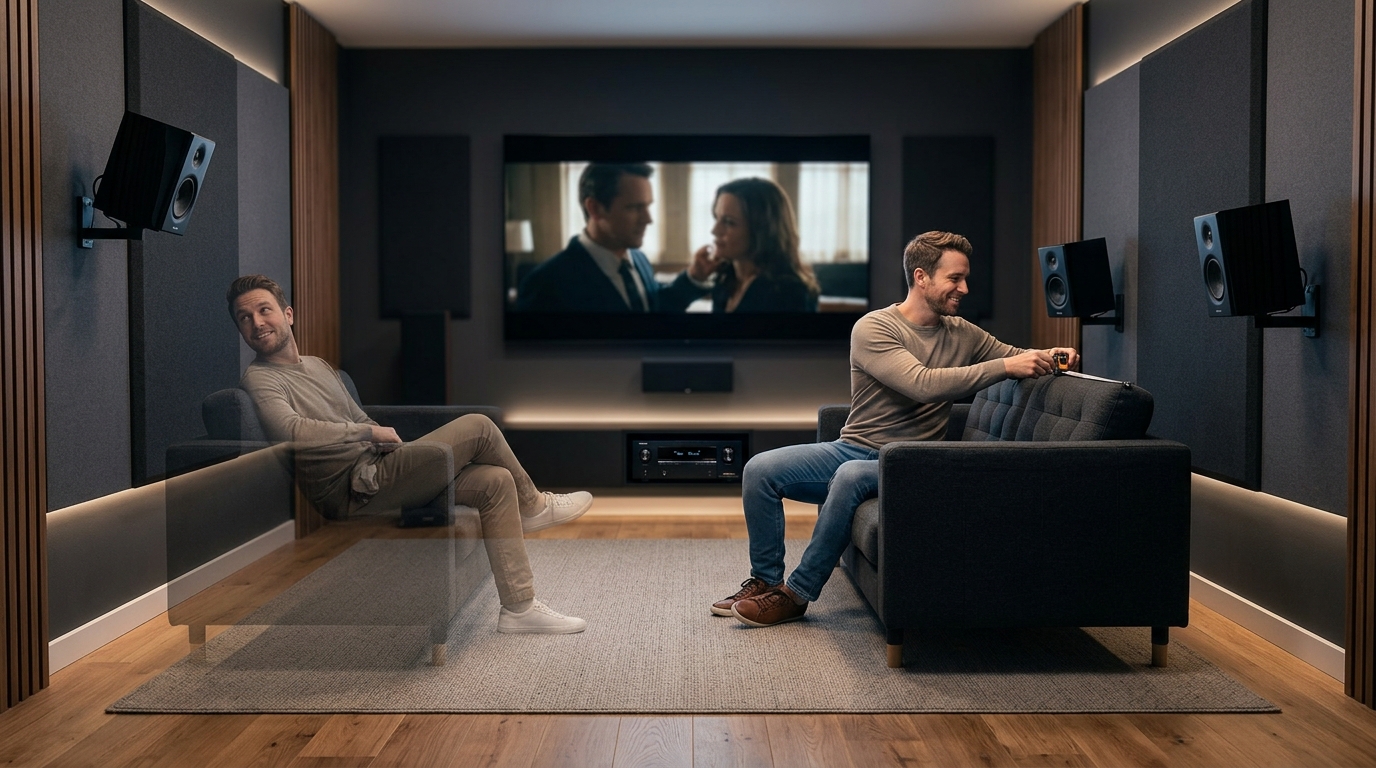
Address Placement and Physical Obstructions

Where you put your center channel matters as much as how you configure it. Poor placement is one of the most common causes of muffled dialogue.
Center channels perform best when positioned at or near ear level. Many people place them inside TV stands or cabinets. This creates problems. The speaker fires into the back panel of the furniture, which reflects sound in unpredictable ways. The cabinet acts like a box that traps and colors the sound.
Pull your center speaker forward so it sits at the front edge of your TV stand. Even better, place it on top of the stand if possible. The drivers need a clear path to your ears.
Tilting helps too. If your center sits well below ear level, angle it upward. Most center speakers include adjustable feet or mounting brackets for this purpose. If yours doesn’t, try using small wedges or rubber pads to create an upward angle of 10 to 15 degrees.
Check for objects blocking the speaker. Sound bars on top of centers, decorative items, or even thick grille cloth can muffle output. Remove anything between the speaker drivers and your listening position.
Distance from the wall matters. Placing a center too close to the wall behind it causes bass buildup that makes dialogue sound boomy and unclear. Try pulling it forward 6 to 12 inches if space allows.
| Placement Issue | Sound Problem | Fix |
|---|---|---|
| Inside cabinet | Reflected, boxy sound | Move to front edge or on top |
| Far below ear level | Weak, distant dialogue | Angle upward 10-15 degrees |
| Against back wall | Boomy, unclear bass | Pull forward 6-12 inches |
| Behind grille or objects | Muffled high frequencies | Remove obstructions |
| Off center horizontally | Imaging problems | Center under screen |
Match Your Center to Your Main Speakers
Mismatched speakers cause tonal inconsistencies that your brain interprets as muffled or wrong sounding dialogue.
Ideally, your center channel should come from the same product line as your front left and right speakers. Manufacturers design matched sets to have similar tonal characteristics. This creates seamless sound as dialogue and effects pan across the front soundstage.
If you mixed brands or lines, you might hear the center channel as darker, brighter, or just different from your mains. This difference makes dialogue stand out in a bad way, often sounding muffled or harsh compared to music and effects.
You have three options if your speakers don’t match:
- Replace the center with one from the same line as your mains
- Replace all three front speakers with a matched set
- Use receiver EQ to try balancing the tonal differences
The third option works sometimes but has limits. You can’t EQ your way out of major speaker mismatches. If your center is a small, cheap model and your mains are large towers, no amount of adjustment will make them sound cohesive.
Pay attention to sensitivity ratings too. If your center channel has much lower sensitivity than your mains (say 85dB vs 92dB), it needs more power to reach the same volume. Your receiver might not provide enough clean power, causing distortion that sounds like muffling.
Test for Physical Damage
Sometimes the speaker itself has problems. Damaged components create distortion and muffled sound that no settings adjustment can fix.
Start by listening to the speaker up close. Play dialogue heavy content and put your ear within a foot of the center channel. Listen for buzzing, rattling, or crackling. These indicate damaged voice coils, torn surrounds, or loose internal components.
Gently press on the woofer cone with your finger. It should move smoothly in and out with no scraping or resistance. Scraping means the voice coil is rubbing against the magnet, usually from being overdriven or dropped.
Check the rubber or foam surround around each driver. Look for cracks, tears, or separation from the cone or frame. Damaged surrounds let the driver move incorrectly, causing weak and distorted sound.
Remove the grille and inspect for pushed in dome tweeters. These are easy to damage and hard to fix. A dented tweeter dome kills high frequency clarity, making everything sound dull and muffled.
If you find physical damage, you have two choices. Contact the manufacturer about repair or replacement parts if the speaker is still under warranty. Otherwise, replacement usually makes more sense than repair for consumer grade speakers.
Consider Your Room Acoustics
Hard, reflective rooms make every speaker sound worse. Glass, hardwood, drywall, and tile bounce sound around, creating echoes that blur dialogue clarity.
Your center channel sits right at the most problematic spot in many rooms. It often fires across a hard coffee table, reflects off a glass TV screen behind it, and sends sound into a room with hard floors and bare walls.
You don’t need professional acoustic treatment to improve things. Start simple:
- Add a rug in front of your seating area if you have hard floors
- Place a few throw pillows or a blanket on your couch
- Hang curtains on windows, especially those on the same wall as your TV
- Add a bookshelf with books (not empty) to break up flat walls
- Consider a fabric wall hanging or acoustic panel on the wall behind your seating
These changes help every speaker, but they particularly improve center channel clarity. Reducing reflections lets you hear the direct sound from the speaker instead of a jumbled mix of direct and reflected sound.
If you want to go further, learn how to stop echo and reverb ruining your home theater sound with targeted acoustic treatments.
Follow This Troubleshooting Sequence
Work through problems systematically. Random adjustments waste time and might make things worse.
- Verify all physical connections are tight and correct polarity
- Check receiver settings (levels, crossover, audio mode)
- Run room calibration with proper microphone placement
- Adjust center channel position and angle
- Test for physical speaker damage
- Add basic acoustic treatments if needed
- Consider speaker matching issues last
This order tackles the easiest and most common problems first. Most muffled center channels get fixed in the first three steps.
Document your settings before making changes. Write down or photograph your current receiver settings. This lets you return to baseline if an adjustment makes things worse.
Make one change at a time. If you adjust three settings at once and sound improves, you won’t know which change helped. Worse, you might have made two things worse and one thing better, leaving performance on the table.
Test with consistent content. Pick a dialogue heavy movie scene you know well. Use the same clip to test each change. This removes variables and lets you hear subtle differences.
When to Replace Rather Than Fix
Sometimes your center channel just isn’t up to the job. No amount of adjustment fixes a fundamentally inadequate speaker.
Budget center channels often use small drivers and cheap components. They might have worked fine in a small room but sound terrible in your current space. If you’ve upgraded your room, TV, or other speakers but kept an old center, it might be the weak link.
Signs you need a better center channel:
- Dialogue sounds clear at low volume but distorts when you turn it up
- Your left and right speakers are much larger or higher quality
- The center is more than 10 years old and was budget tier when new
- You’ve tried every adjustment and still can’t get clear dialogue
- Physical damage that costs more to repair than replace
When shopping for a replacement, prioritize a center that matches your main speakers. If that’s not possible, look for these features:
- Three way design (separate woofer, midrange, tweeter)
- Sensitivity rating within 3dB of your mains
- Similar or larger woofer size compared to your mains
- MTM (midrange-tweeter-midrange) configuration for better horizontal dispersion
A good center channel costs more than many people expect. Plan to spend at least as much as you did on one of your main speakers. The center handles 60% or more of movie soundtracks. It deserves appropriate investment.
Getting Dialogue That Actually Sounds Clear
Fixing a muffled center channel usually comes down to the basics. Tight connections, proper settings, and good placement solve most problems. The fancy stuff like room correction and acoustic treatment helps, but only after you get the fundamentals right.
Start with the receiver settings tonight. Check those channel levels and make sure you’re using the right audio mode. Then verify your connections are solid and have correct polarity. Those two steps take 10 minutes and fix the majority of muffled center channels. If dialogue still sounds unclear after that, work through placement adjustments and room calibration. You’ll be hearing every word clearly before you know it.


Leave a Reply