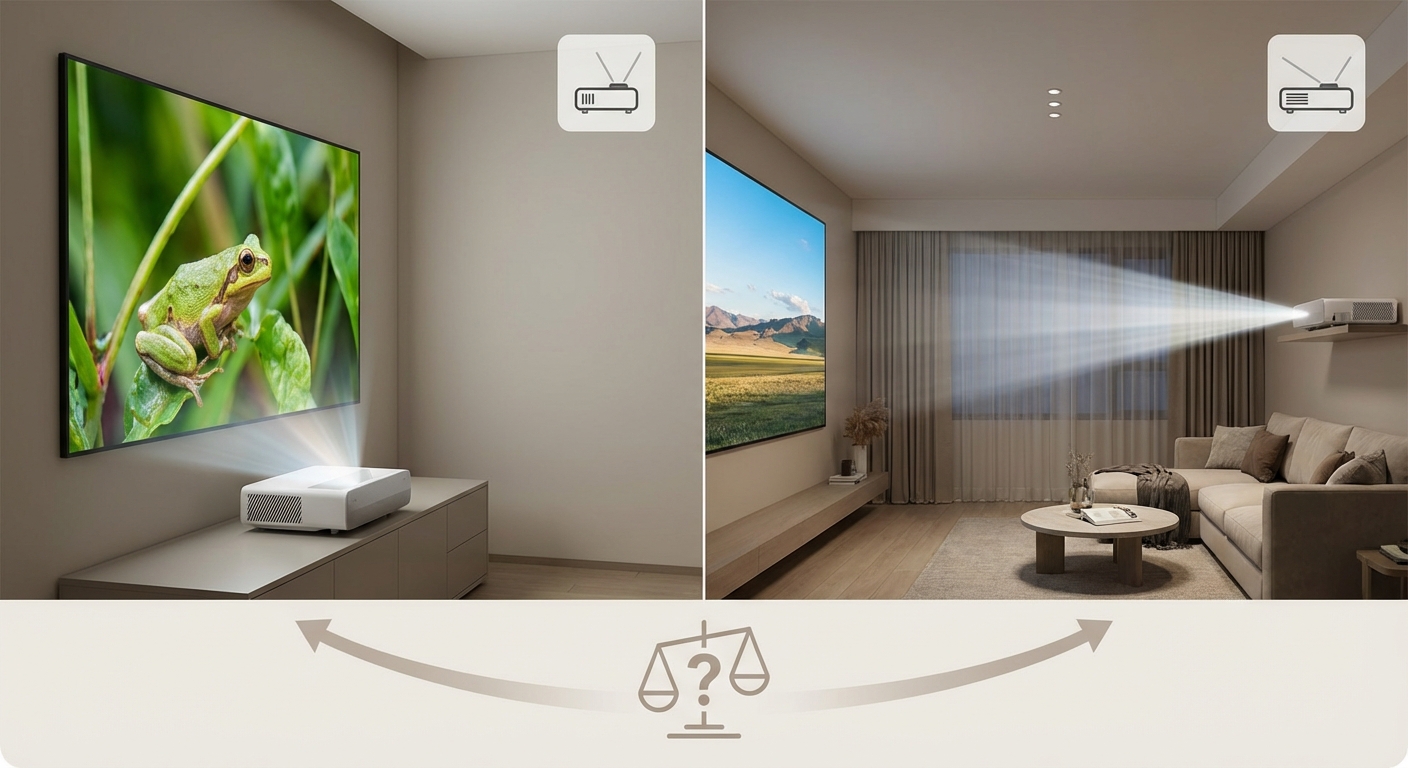
You’re staring at two projectors with nearly identical specs, but one costs $400 more. The difference? Throw distance. That single specification determines whether your projector sits three feet from the wall or fifteen feet back, and picking wrong means returning a heavy box or living with a cramped setup.
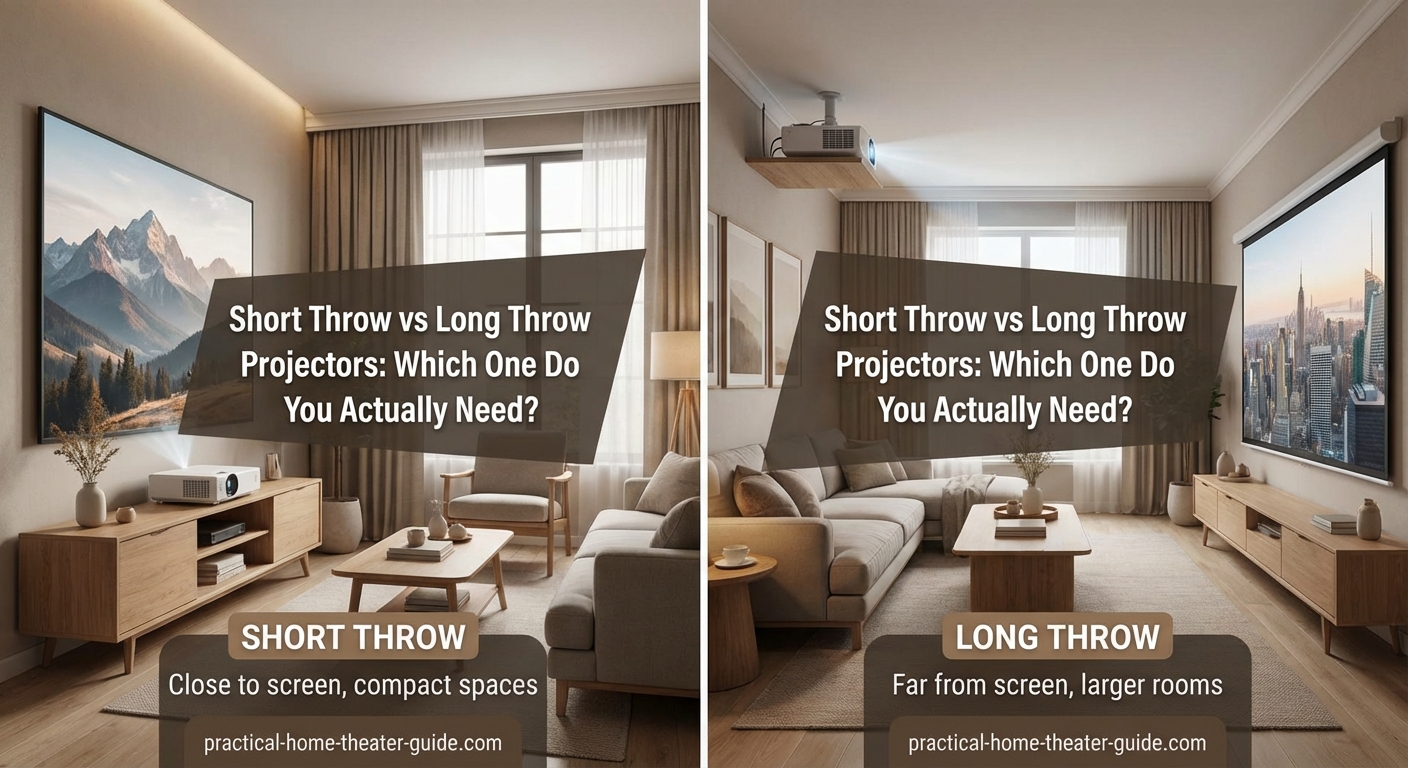
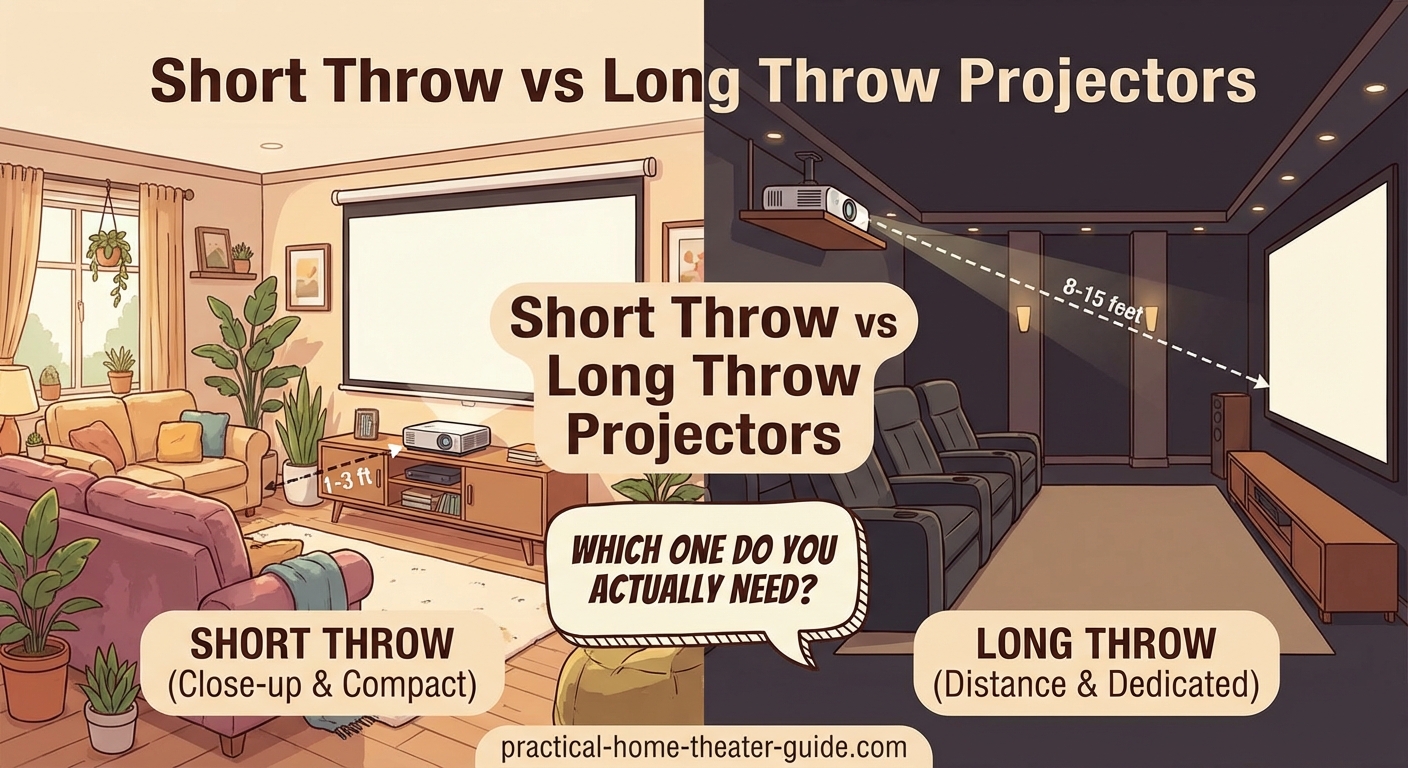
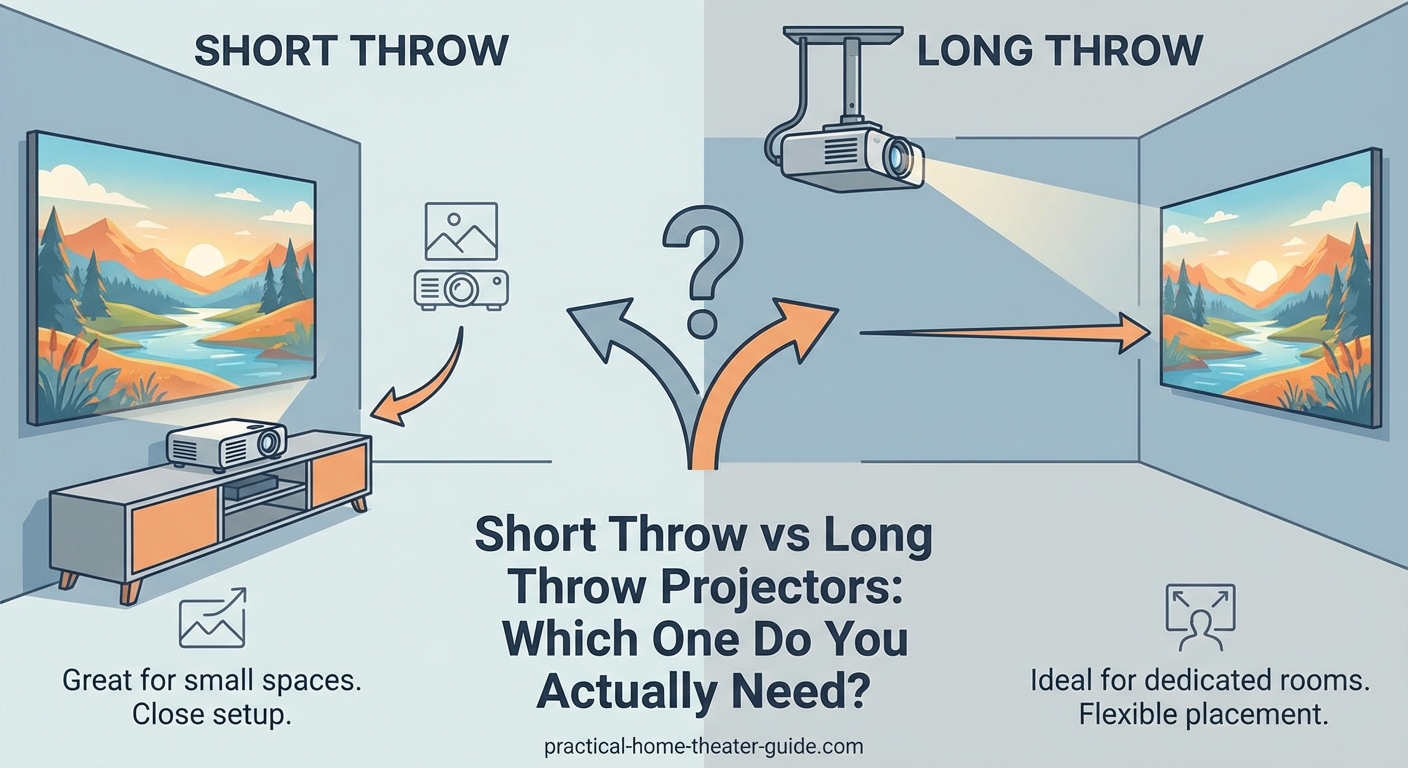
Short throw projectors sit 3-8 feet from the screen and work best in small rooms where people might walk in front. Long throw projectors need 8-20+ feet and deliver better image quality per dollar. Your room depth matters more than features. Measure your space first, then match the projector’s throw ratio to avoid costly mistakes or awkward ceiling mounts.
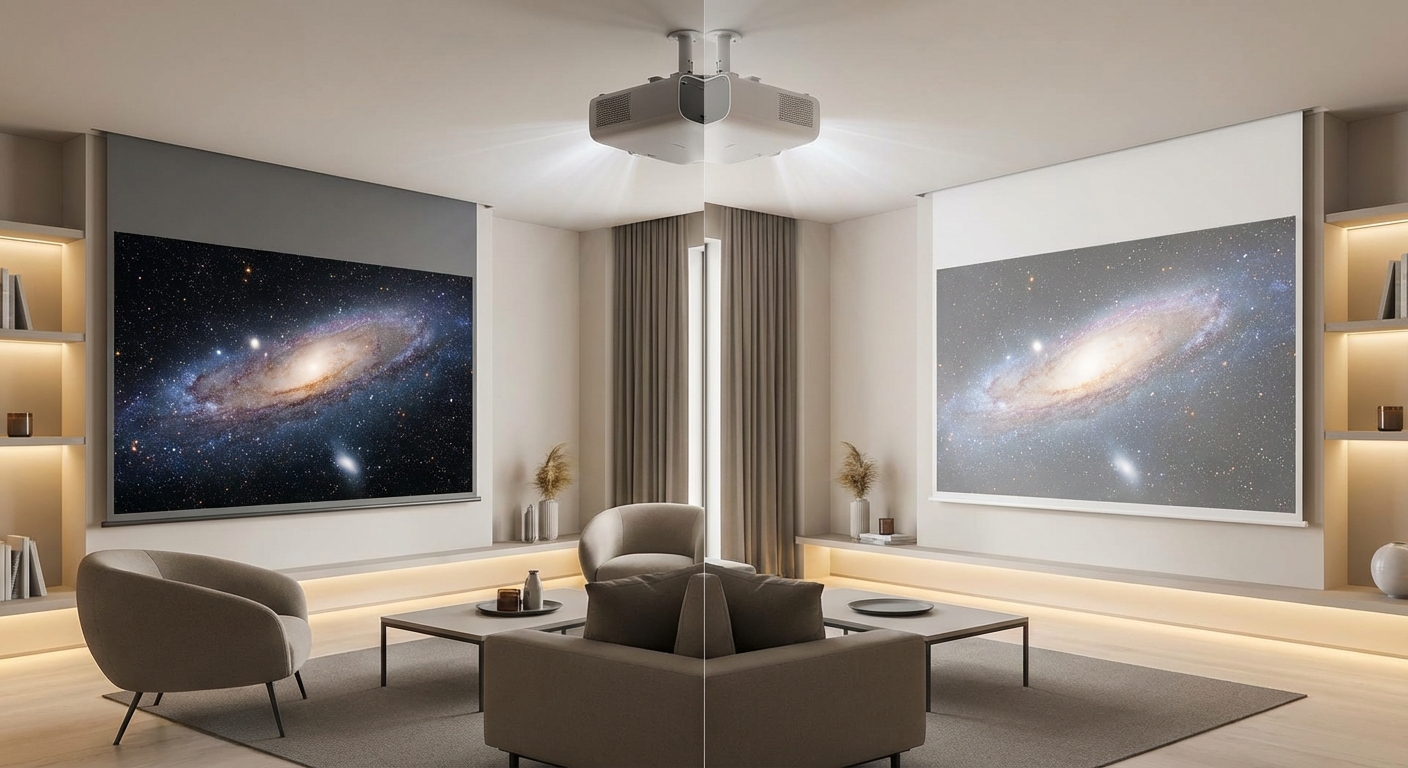
What throw distance actually means
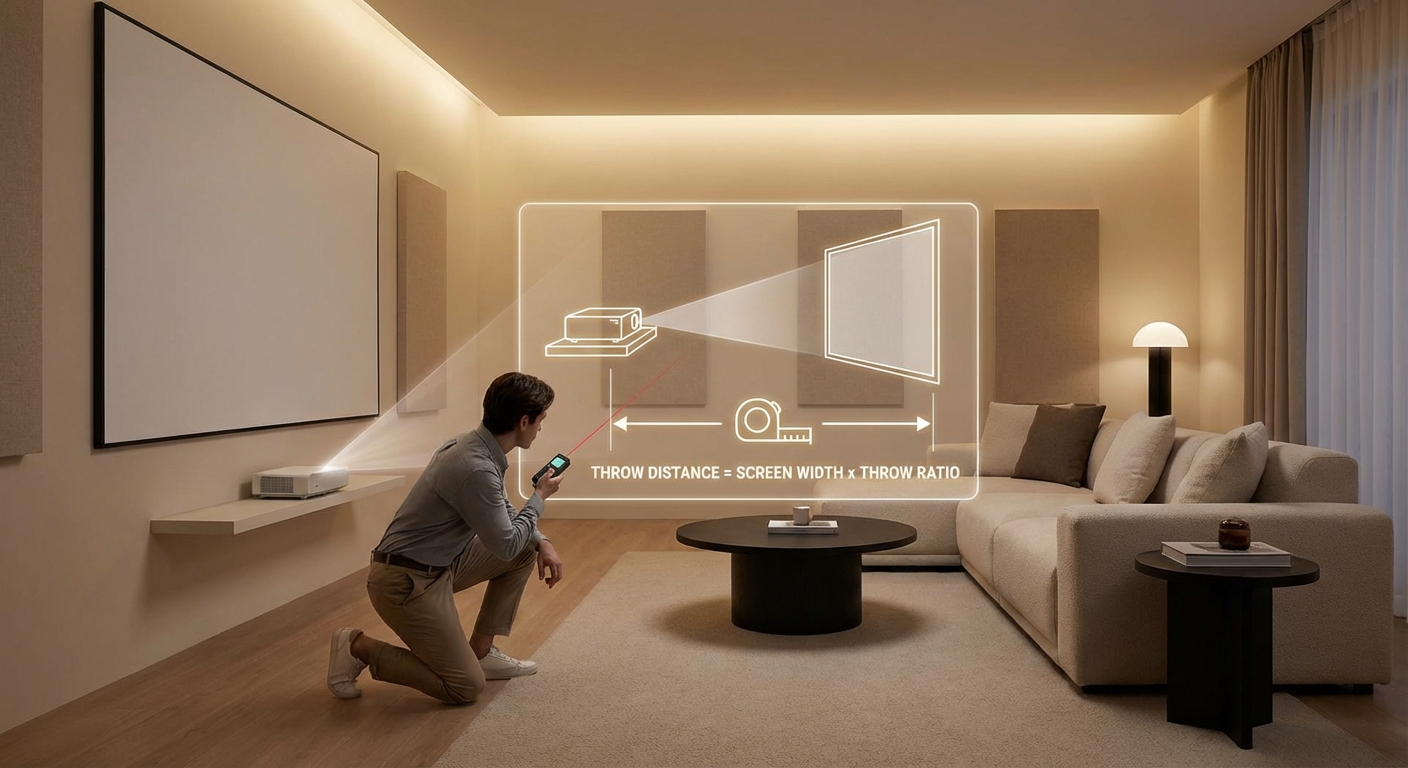
Throw distance is the space between your projector lens and the screen. A projector with a 100-inch image needs either 4 feet or 15 feet depending on its throw ratio.
Throw ratio is the math behind it. A 1.5:1 ratio means the projector needs 1.5 feet of distance for every foot of screen width. For a 100-inch diagonal 16:9 screen (87 inches wide), you’d need about 10.9 feet.
Short throw projectors have ratios under 1.0:1. Most fall between 0.4:1 and 0.9:1.
Long throw projectors range from 1.4:1 to 2.5:1 or higher. Standard home theater projectors sit around 1.5:1 to 1.8:1.
Ultra short throw models go below 0.4:1 and sit inches from the wall, but they’re a separate category with different trade-offs.
Room layouts that demand short throw
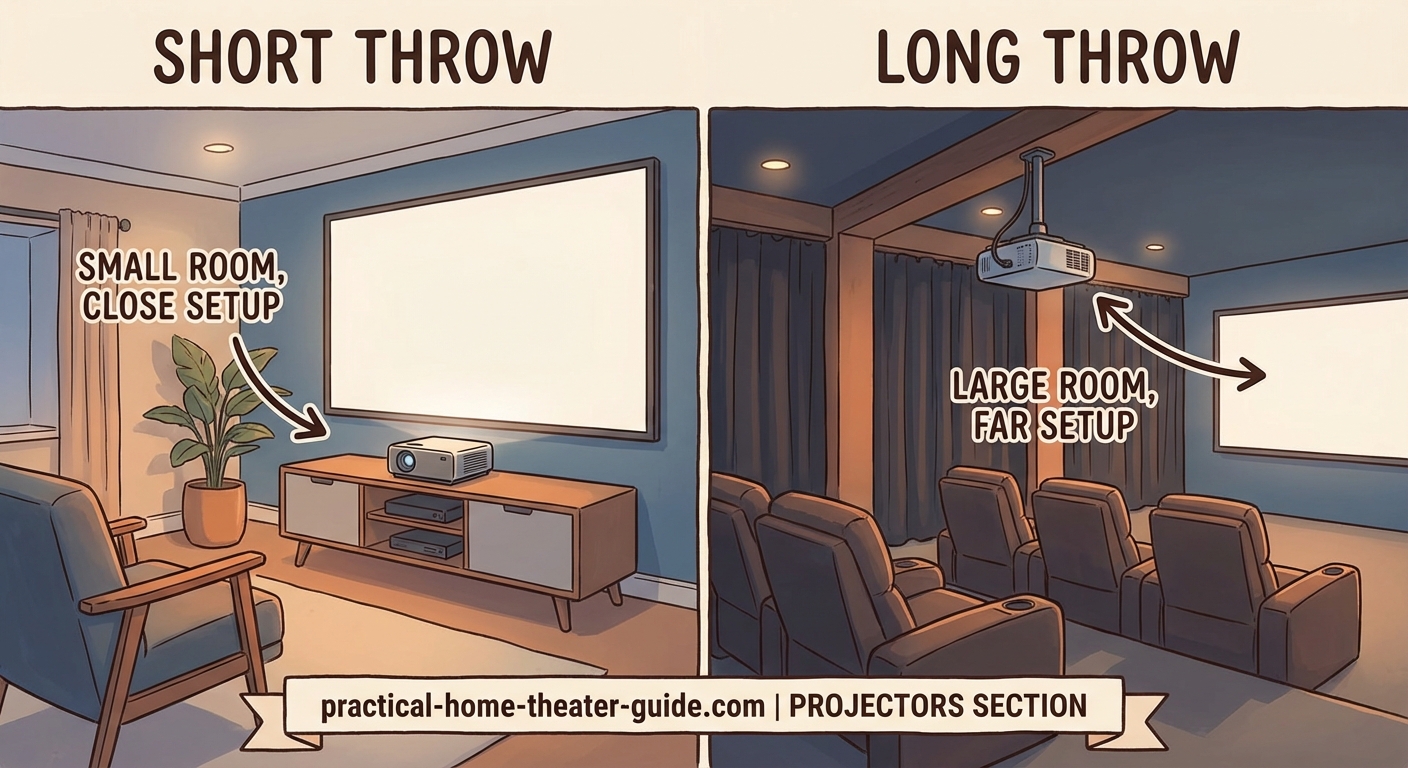
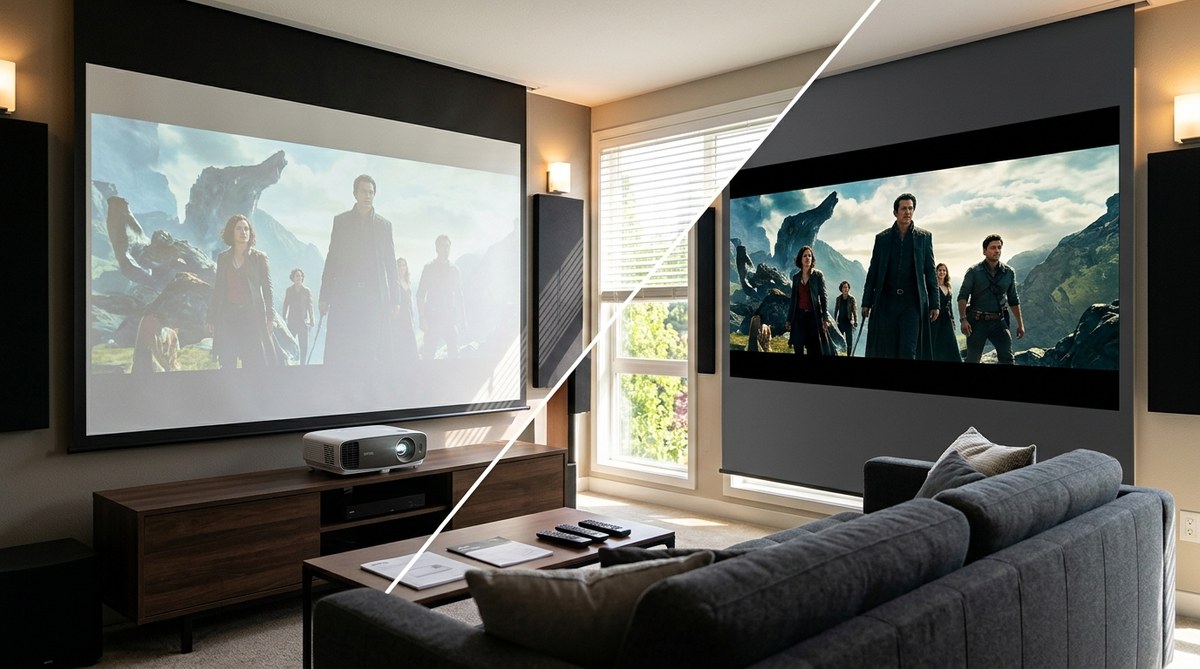
Small living rooms under 12 feet deep can’t fit a long throw projector without mounting it behind the couch or on the ceiling. A short throw model sits on a coffee table or low shelf.
Rooms with foot traffic benefit from short throw. When the projector sits close to the wall, people walking between rows won’t cast shadows.
Apartments with restrictions on ceiling mounts need short throw options. You can place the projector on furniture without drilling holes.
Basement setups with low ceilings (under 7.5 feet) make ceiling mounts uncomfortable. A short throw projector on a media console keeps sightlines clear.
Bedrooms where you project from the foot of the bed work better with short throw. The projector sits on a dresser instead of requiring a shelf behind your head.
When long throw makes more sense
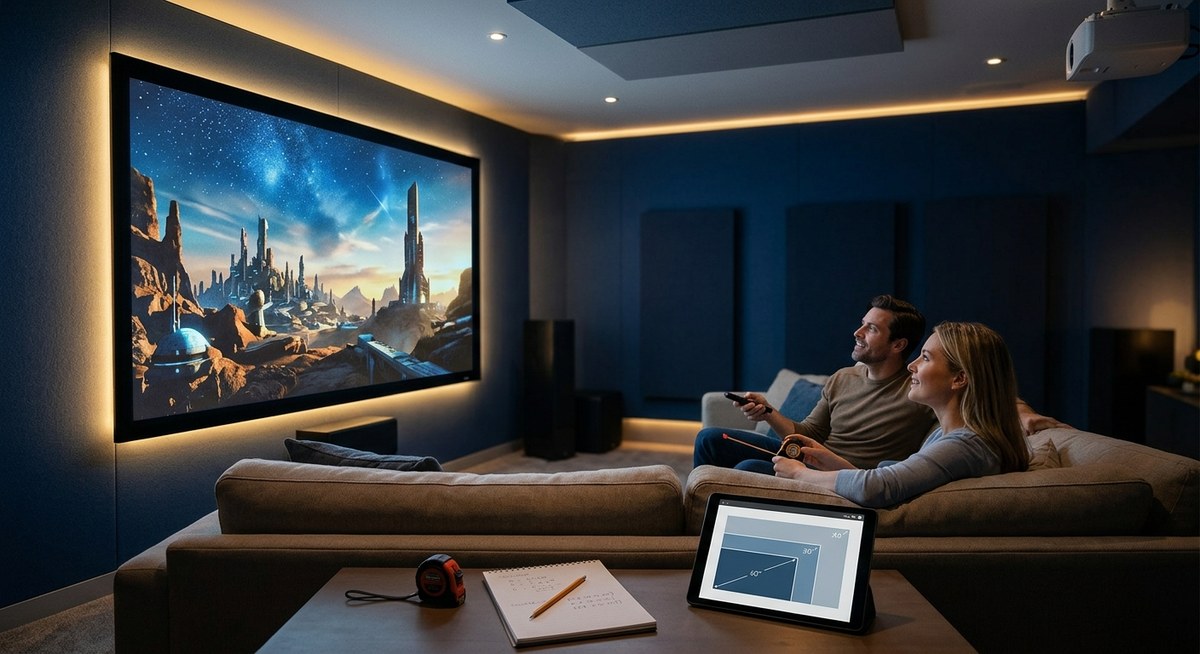
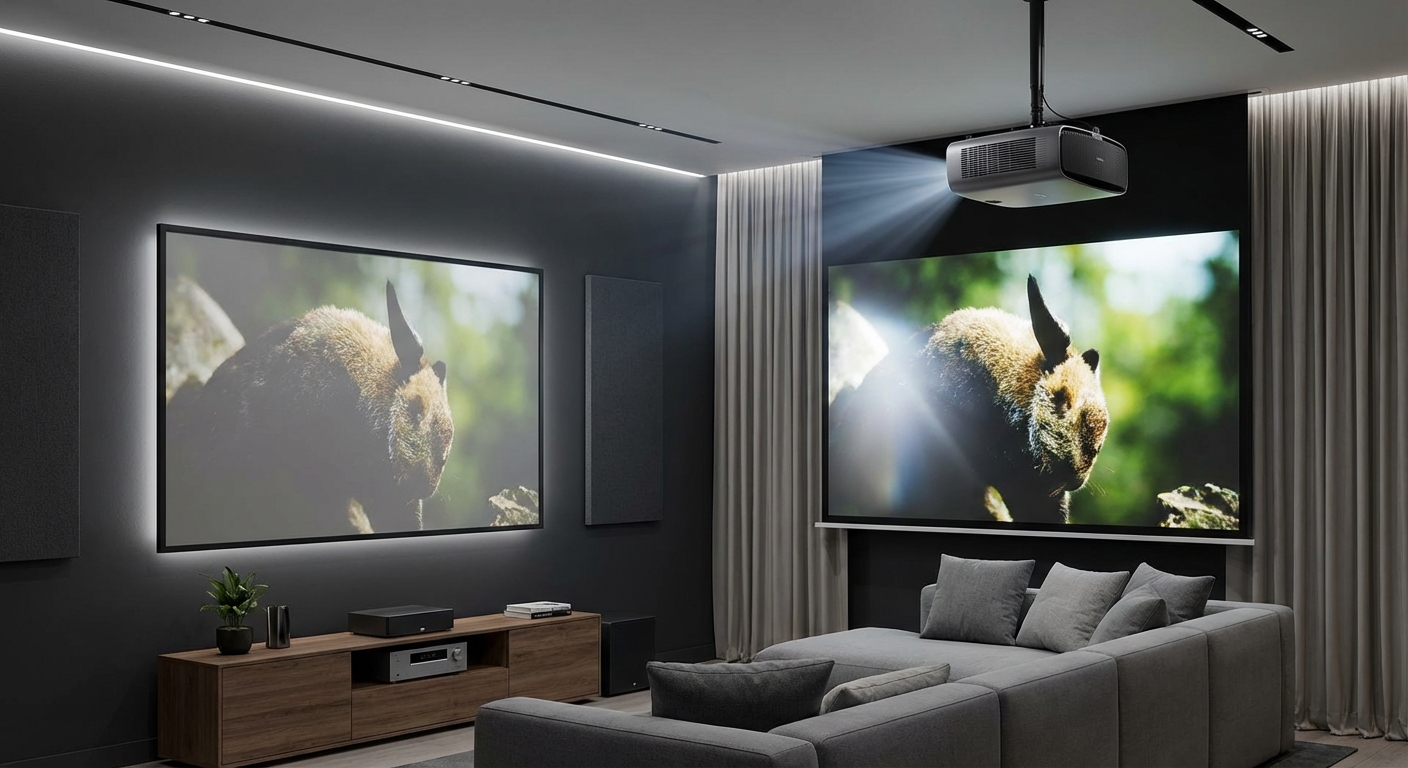
Dedicated home theater rooms with 15+ feet of depth let you use long throw projectors. These models offer better image quality and cost less than short throw equivalents.
Rooms with stadium seating or multiple rows benefit from long throw. The projector mounts behind the back row, keeping light out of viewers’ eyes.
Basements with exposed joists make ceiling mounts easier. Long throw projectors mounted 12-18 feet back give you flexibility with screen size.
Living rooms where the projector can hide in a cabinet or closet work with long throw. You cut a small opening for the lens and keep the unit out of sight.
Large screen setups over 120 inches often need long throw. Short throw projectors struggle to fill screens wider than 10 feet without image distortion.
Image quality differences you’ll notice
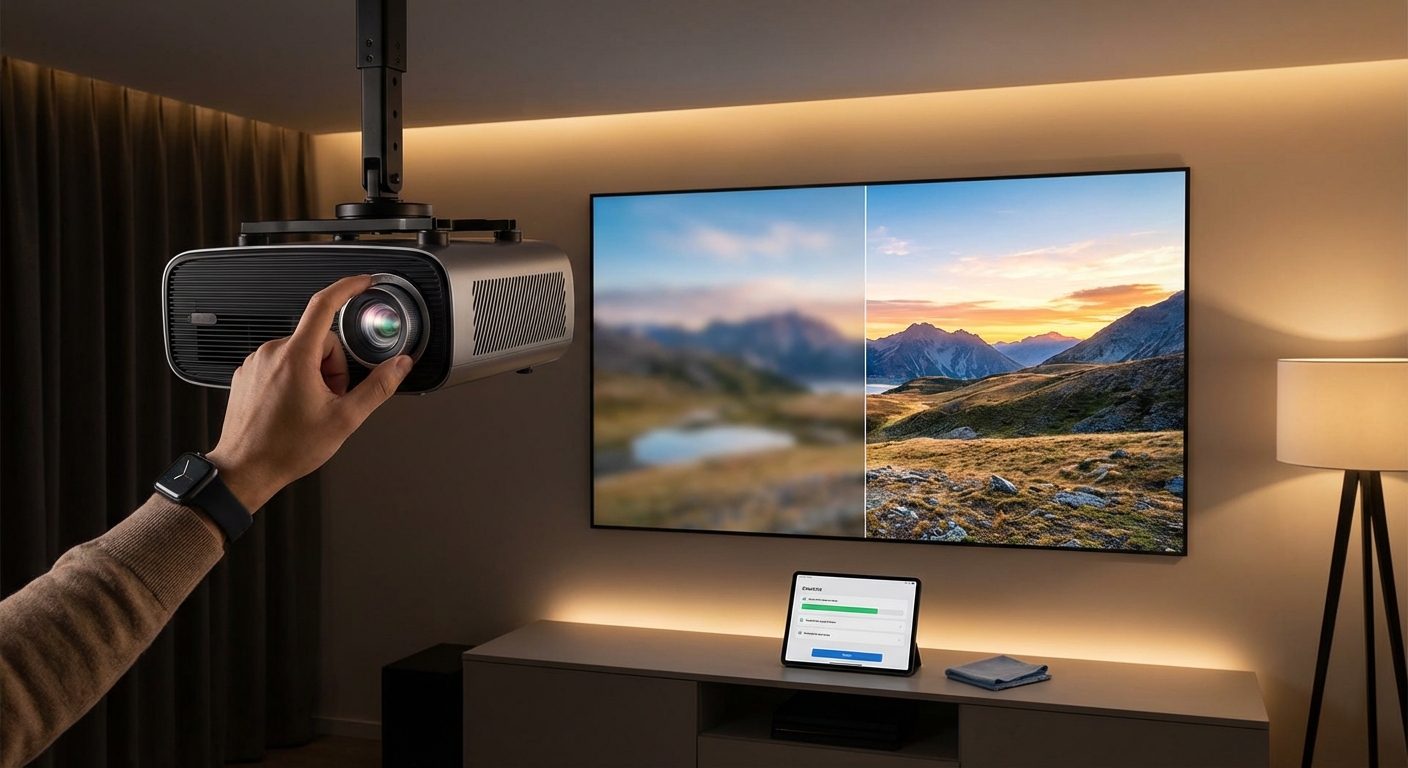
Long throw projectors typically deliver sharper images. The optics are simpler because the lens doesn’t need extreme wide-angle glass.
Short throw models sometimes show corner softness. The edges of the image may look slightly blurry compared to the center, especially on screens over 100 inches.
Brightness stays more consistent with long throw. Short throw projectors can have hotspots (brighter centers) because the light spreads at extreme angles.
Color accuracy tends to be better in long throw units at the same price point. Manufacturers spend less on complex optics and more on color processing.
Keystone correction matters more with short throw. Any slight angle creates visible distortion, so precise placement is critical.
Mount your short throw projector on a sturdy shelf, not a flimsy TV tray. Even small vibrations cause noticeable image shake when the projector sits close to the screen.
Setup challenges for each type
Short throw projectors require perfect alignment. Being off by two inches can create noticeable trapezoid distortion that digital correction can’t fully fix.
Cable management is easier with short throw. The projector sits near your media console, so HDMI cables stay under 10 feet.
Long throw setups need cable runs across the ceiling or under the floor. Budget $50-150 for in-wall rated HDMI cables and conduit.
Zoom range helps with long throw. Many models offer 1.3x to 2.0x zoom, giving you flexibility if you can’t mount at the exact calculated distance.
Short throw projectors often have minimal or no zoom. You’re locked into a specific distance for your desired screen size.
Real room measurements that work
Here’s how different throw ratios translate to actual room setups:
| Screen Size | Short Throw (0.5:1) | Medium Throw (1.5:1) | Long Throw (2.0:1) |
|---|---|---|---|
| 80 inches | 2.9 feet | 8.7 feet | 11.6 feet |
| 100 inches | 3.6 feet | 10.9 feet | 14.5 feet |
| 120 inches | 4.3 feet | 13.0 feet | 17.4 feet |
| 150 inches | 5.4 feet | 16.3 feet | 21.7 feet |
These measurements are from lens to screen, not from the back wall. Add another 1-2 feet for the projector body and ventilation clearance.
Cost differences you should expect
Short throw projectors cost 30-50% more than equivalent long throw models. A 1080p short throw with decent brightness runs $600-1,200, while a comparable long throw model costs $400-800.
The premium comes from complex lens design. Short throw optics require aspherical elements and precision manufacturing.
Ultra short throw models jump to $1,500-3,000 for 1080p and $2,500-5,000 for 4K. You’re paying for extreme engineering.
Long throw projectors offer better value in the $800-2,000 range. You get 4K resolution, HDR support, and higher brightness for the same money.
Replacement lamps cost the same regardless of throw distance. Budget $150-300 every 3,000-5,000 hours for lamp-based models.
Installation steps for short throw
- Measure your screen width in inches and multiply by the throw ratio to find placement distance.
- Mark the centerline of your screen on the floor extending back into the room.
- Place the projector on a stable surface at the calculated distance, centered on that line.
- Level the projector using a small bubble level on top of the unit.
- Power on and adjust the image height using the adjustable feet (not digital keystone if possible).
- Fine-tune horizontal and vertical position until the image fills the screen evenly.
- Focus the center of the image first, then check corners for sharpness.
Most short throw projectors need to sit perpendicular to the screen. Even a 5-degree angle creates visible distortion.
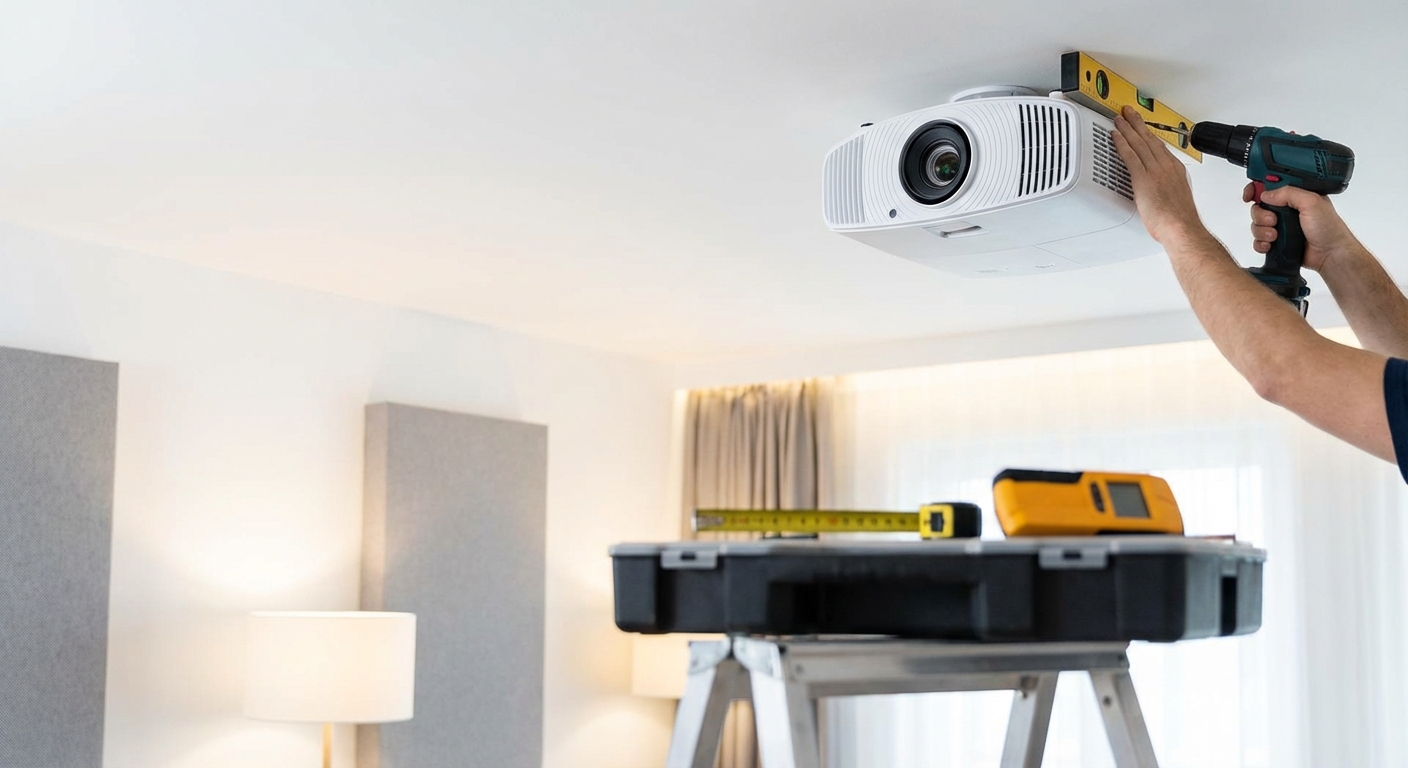
Installation steps for long throw
- Calculate throw distance using the manufacturer’s throw calculator or formula.
- Locate ceiling joists or wall studs at that distance from your screen.
- Install a ceiling mount rated for your projector’s weight (typically 15-30 pounds).
- Run HDMI and power cables through the ceiling or along walls using cable raceways.
- Hang the projector and adjust the mount’s pitch and yaw for perfect alignment.
- Use the projector’s lens shift (if available) to position the image without tilting.
- Fine-tune focus and zoom to fill your screen.
Ceiling mounts with adjustable arms let you tweak position after installation. Spend the extra $50 for this flexibility.
Common mistakes that waste money

Buying based on features instead of throw distance. A projector with amazing specs is useless if it can’t fit your room geometry.
Ignoring lens shift capabilities. Projectors without lens shift require perfect mounting height, which often means custom shelving or awkward ceiling positions.
Underestimating ambient light. Short throw projectors sit closer to the screen, so their light path crosses more of the room’s ambient light. You need better light control.
Skipping the throw calculator. Eyeballing the distance leads to screens that are too small or projectors that can’t reach the wall.
Choosing ultra short throw for the wrong reasons. These models work great on walls but terrible on pull-down screens that aren’t perfectly flat.
Using digital keystone correction. This feature crops pixels and reduces image quality. Physical alignment always beats digital correction.
Screen pairing that matters
Short throw projectors work best with fixed frame screens. The rigid surface stays perfectly flat, preventing the waves that cause focus issues.
Ambient light rejecting (ALR) screens help short throw setups more than long throw. The projector’s steep angle matches how ALR screens are designed to reject ceiling light.
Long throw projectors pair well with any screen type. The gentler angle is more forgiving of minor screen imperfections.
Screen gain affects brightness differently. High gain screens (1.3-1.5) can create hotspots with short throw projectors but work fine with long throw.
Acoustic transparent screens work better with long throw. The perforations are less visible when the light hits at a conventional angle.
Brightness requirements change with distance
Short throw projectors need less raw brightness for the same perceived image. The light travels a shorter distance and spreads less.
A 2,000 lumen short throw projector can match a 2,500 lumen long throw on a 100-inch screen in the same room.
Ambient light affects short throw setups more. The projector’s light path crosses more of the room, picking up reflections from walls and furniture.
Long throw projectors lose more light over distance. A 3,000 lumen projector might deliver only 2,400 lumens to the screen after traveling 15 feet.
Room size matters for brightness calculations. Small rooms with light walls reflect more light back to the screen, effectively boosting brightness.
Maintenance access you’ll need
Short throw projectors on shelves are easier to clean. You can wipe the lens and check air filters without a ladder.
Ceiling-mounted long throw units need quarterly maintenance. Dust accumulates faster in ceiling spaces, clogging intake vents.
Lamp replacement is easier with accessible placement. Projectors mounted in tight ceiling spaces or inside cabinets become maintenance nightmares.
Air filter cleaning frequency depends on placement height. Ceiling-mounted units pull in more dust and pet hair from rising air currents.
Some short throw projectors have top-loading lamps. This design lets you replace the lamp without unmounting the unit.
Sound system integration
Short throw projectors often have better built-in speakers. Manufacturers assume these units serve casual viewing where external audio isn’t guaranteed.
Long throw installations typically include separate audio. If you’re ceiling-mounting a projector, you’re probably installing proper speakers too.
Audio delay matters less with short throw. The projector sits near your soundbar or receiver, keeping video and audio sync simple.
Long throw setups may need audio delay adjustment. The sound from front speakers reaches you faster than the image, creating lip-sync issues without compensation.
Projector fan noise is more noticeable with short throw. The unit sits in the room with you instead of behind the seating area.
Gaming performance differences
Input lag matters more than throw distance. Both types can have gaming-optimized modes with under 30ms lag.
Short throw projectors sometimes have higher input lag. The complex image processing for wide-angle optics can add 10-20ms.
Screen size affects perceived lag. A 120-inch screen makes 40ms lag more noticeable than the same lag on a 65-inch TV.
Long throw projectors with gaming modes often perform better. Manufacturers prioritize low latency in home theater models.
Motion handling varies by model, not throw type. Check reviews for specific projectors rather than assuming throw distance affects motion blur.
Rental spaces and temporary setups
Short throw projectors excel in rental situations. You can set up and tear down without mounting hardware.
Portable screens pair well with short throw. The projector and screen pack into a car for movie nights at friends’ houses.
Long throw projectors need more space planning. Temporary setups require tall stands or creative furniture stacking to achieve proper height.
Battery-powered short throw models exist for outdoor use. These run 2-3 hours on internal batteries for backyard movie nights.
Carrying cases matter for portable use. Short throw projectors are often bulkier than long throw models at the same brightness level.
Choosing based on your actual room
Measure your room depth from screen wall to back wall. Subtract 3 feet for seating and walking space.
Calculate your maximum screen size based on viewing distance. Sit 1.5 to 2.5 times the screen width for comfortable viewing.
Check ceiling height and joist locations. Long throw ceiling mounts need solid attachment points at the right distance.
Consider future flexibility. Long throw projectors with zoom give you more options if you move or redesign the room.
Think about who uses the space. Families with kids benefit from short throw because there’s less chance of shadow interruptions.
Test before buying if possible. Some electronics stores have demo rooms where you can see both types in action.
Making the decision stick
Your room dimensions matter more than feature lists. A perfectly spec’d projector is worthless if it can’t physically work in your space.
Short throw wins for rooms under 12 feet deep, spaces with foot traffic, and setups where ceiling mounting isn’t possible.
Long throw wins for dedicated theaters, large screens over 120 inches, and situations where you want the best image quality per dollar.
Don’t compromise on throw distance to save money. The $300 you save on a long throw projector gets wasted when you realize it needs 15 feet you don’t have.
Measure twice, buy once. Grab a tape measure right now and confirm your room can accommodate your choice before clicking purchase.
The right projector type transforms your space. The wrong one sits in a closet while you watch a TV instead.
Leave a Reply