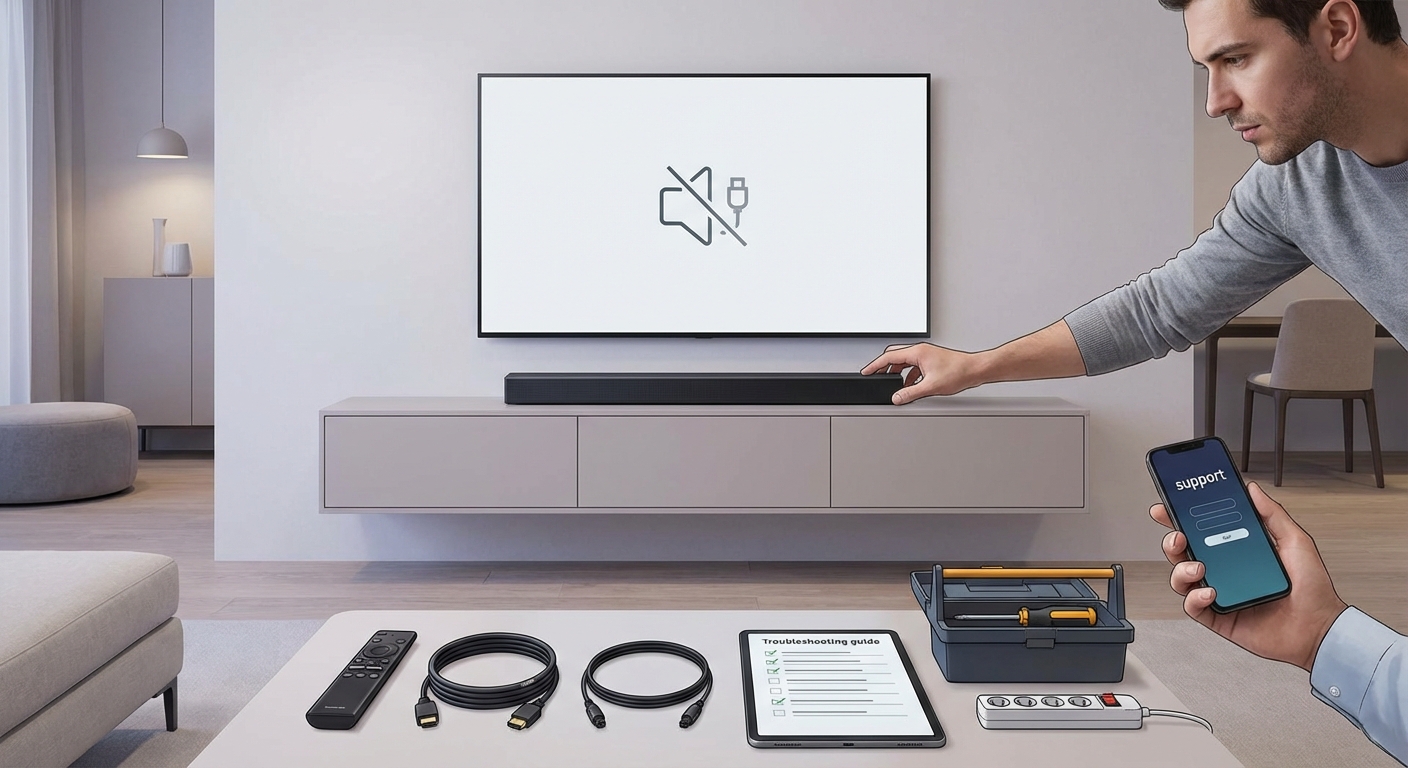
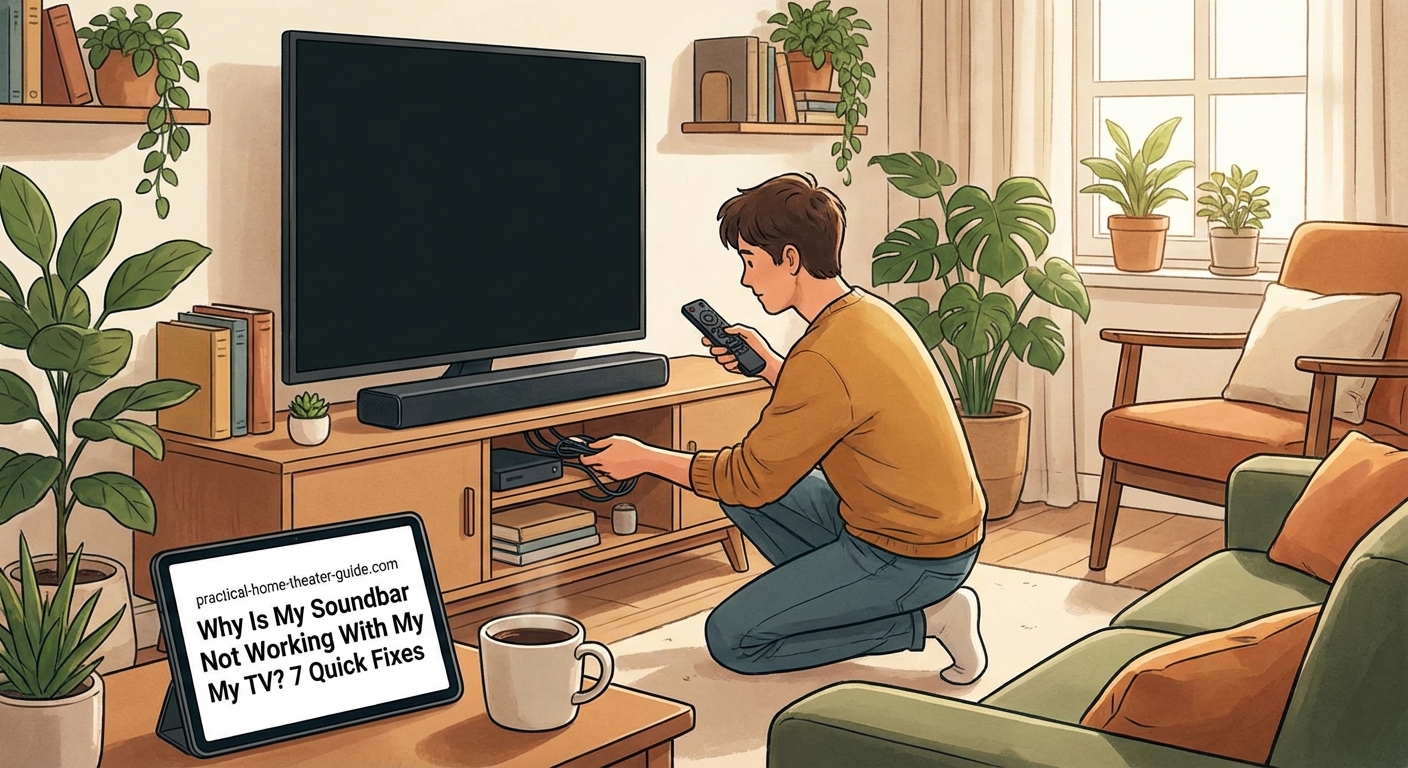
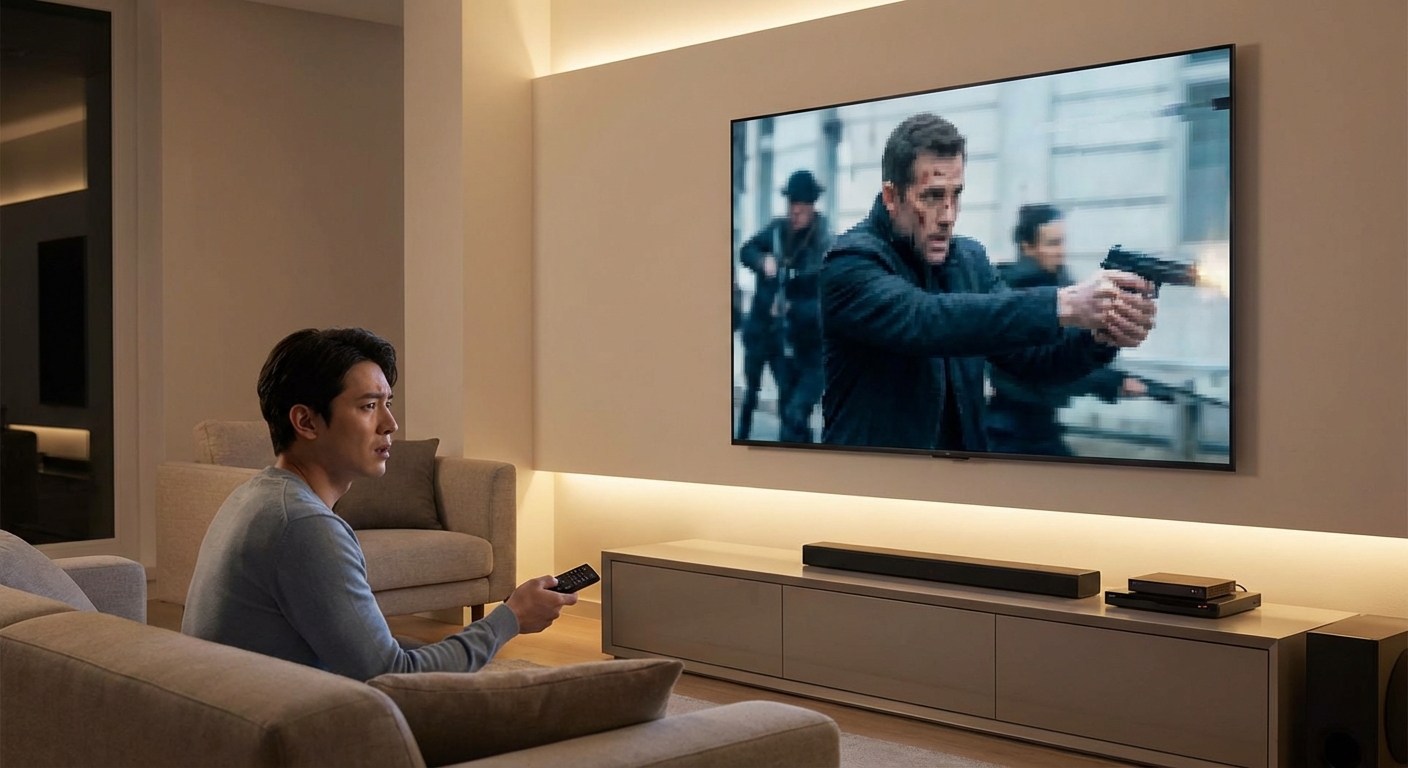
You just settled in for movie night, grabbed your snacks, dimmed the lights, and hit play. But instead of that rich, immersive sound you were expecting, you’re stuck with either complete silence or tinny audio coming from your TV’s built-in speakers. Your soundbar sits there, powered on but stubbornly refusing to cooperate. Before you start searching for receipts or calling customer support, there’s good news: most soundbar connection issues have simple fixes you can handle yourself in under 10 minutes.
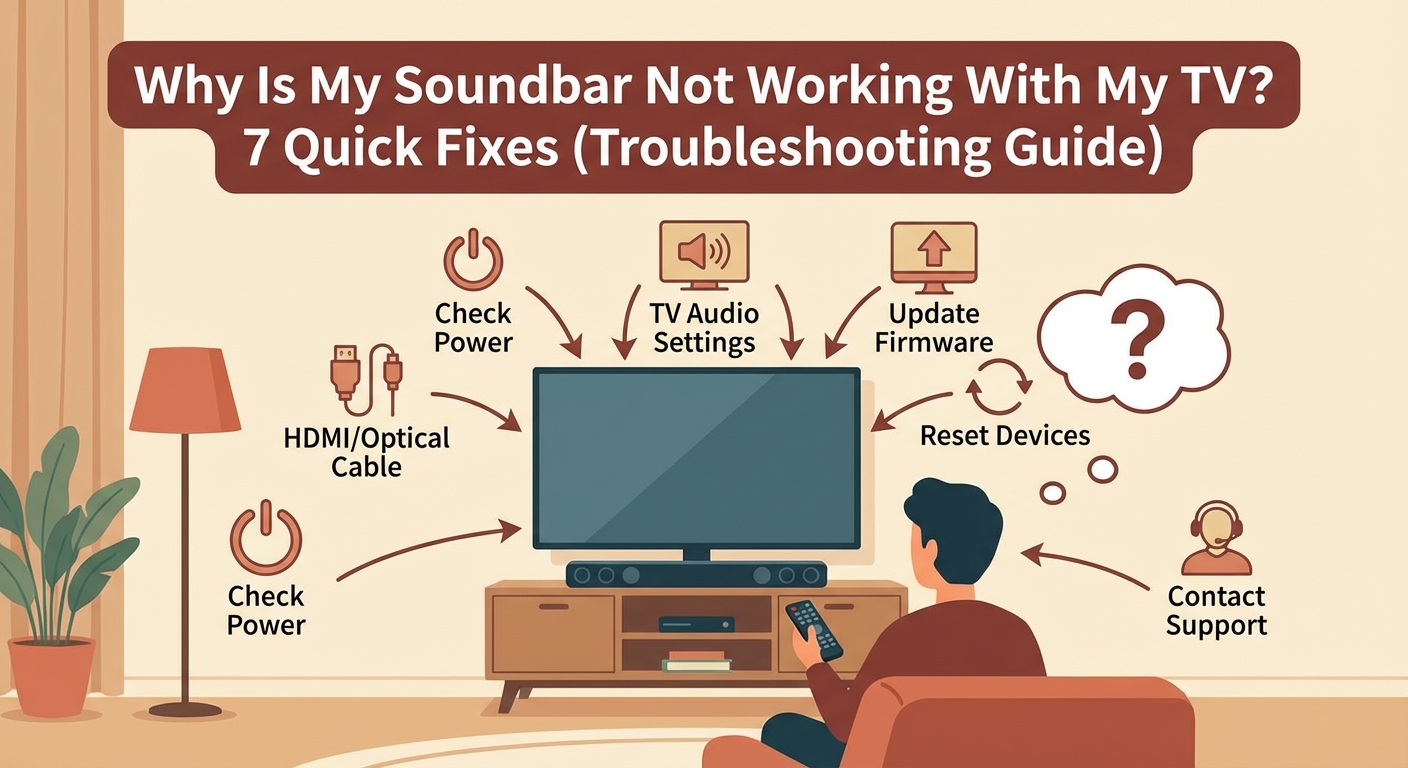
When your soundbar stops working with your TV, the culprit is usually a simple connection issue, wrong input setting, or software glitch rather than broken hardware. Most problems resolve with basic checks like verifying cable connections, selecting the correct audio output on your TV, power cycling both devices, or updating firmware. These seven troubleshooting steps fix roughly 90% of soundbar connectivity issues without requiring technical knowledge or professional help.
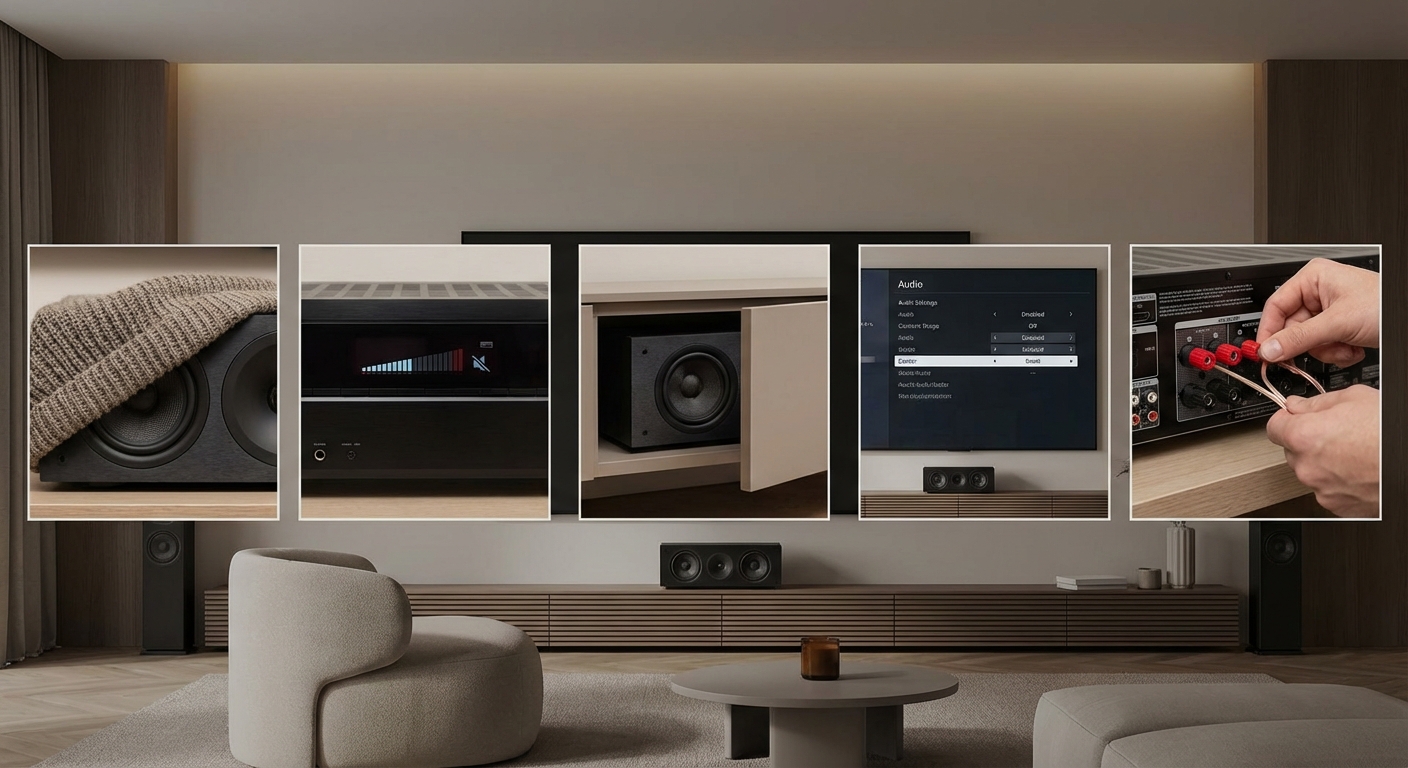
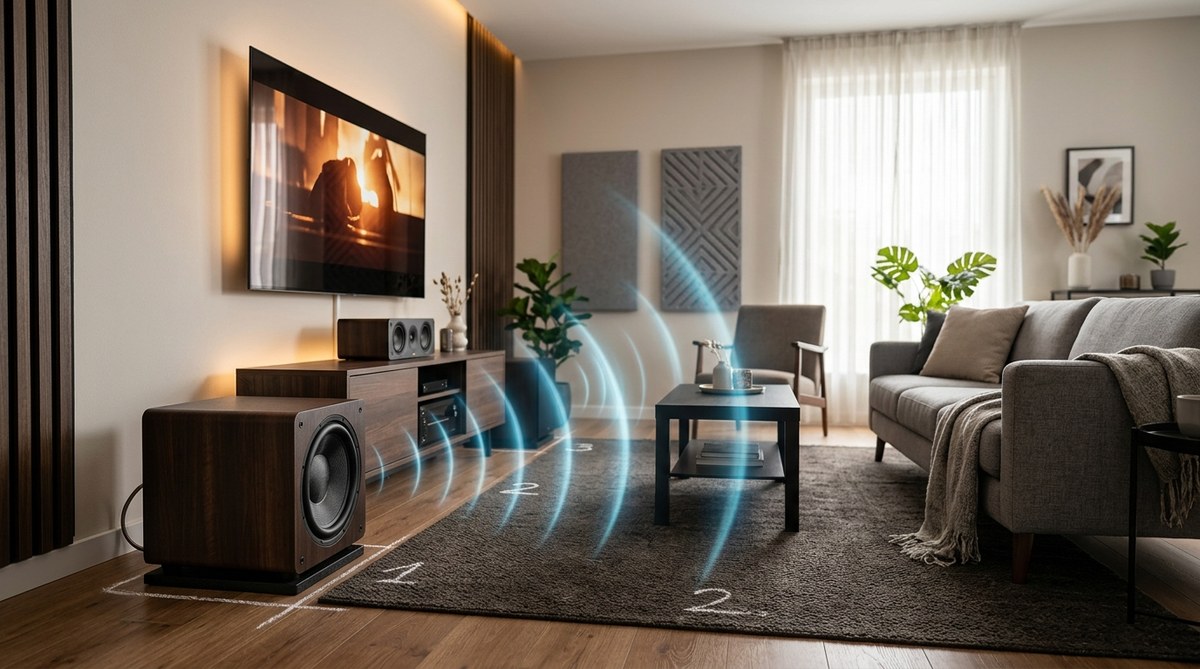
Check Your Physical Connections First
The most common reason soundbars fail to work is surprisingly mundane: loose or incorrect cable connections. This happens more often than you’d think, especially if you recently moved furniture, cleaned behind your entertainment center, or had kids or pets near your setup.
Start by checking every cable connected to both your soundbar and TV. Give each one a gentle tug to ensure it’s seated firmly in its port. Look for these specific issues:
- HDMI cables that aren’t fully inserted (they should click into place)
- Optical cables with the protective caps still on either end
- Cables plugged into the wrong ports on your TV
- Damaged cables with visible wear, kinks, or frayed ends
- Loose power connections on either device
If you’re using an HDMI connection, make sure you’ve plugged the cable into your TV’s HDMI ARC or HDMI eARC port. These special ports handle both video and audio, but they’re usually only one specific HDMI input on your TV. Check your TV’s manual or look for labels near the HDMI ports themselves. Regular HDMI ports won’t send audio back to your soundbar.
For optical connections, examine the cable ends. You should see a red light when the connection is active and transmitting audio. No red light usually means either the cable isn’t fully inserted or your TV isn’t sending audio through that output.
Verify Your TV’s Audio Output Settings
Even with perfect physical connections, your TV needs to be told where to send its audio. Many TVs default to their internal speakers, completely bypassing external audio devices like soundbars.
Navigate to your TV’s audio settings menu. The exact path varies by brand, but you’re typically looking for something like Settings > Sound > Audio Output or Settings > Audio > Speaker Settings.
Once there, you’ll see options like:
- TV Speaker
- External Speaker
- Audio System
- HDMI ARC
- Optical/Digital Audio Out
Select the option that matches your soundbar connection method. If you’re using HDMI ARC, choose that option. For optical cables, select optical or digital audio out. Some TVs require you to explicitly turn off the TV speakers before external audio will work.
Many modern TVs automatically detect connected soundbars, but older models or certain budget TVs require manual configuration every time you change your setup. If your soundbar worked yesterday but not today, someone may have accidentally changed this setting.
After changing the audio output, test the sound immediately. If you still hear nothing, try cycling through the different audio output options. Sometimes the labels don’t perfectly match your actual setup.
Power Cycle Both Devices Properly
Technology has a funny relationship with the simple act of turning things off and on again. But there’s a reason this advice persists: it works. Power cycling clears temporary software glitches, resets communication protocols, and forces devices to re-establish their connections from scratch.
Here’s the proper sequence:
- Turn off both your TV and soundbar using their power buttons or remotes.
- Unplug both devices from their power outlets (not just the power strip, but the actual wall outlet if possible).
- Wait a full 60 seconds. This isn’t arbitrary; it gives capacitors time to fully discharge.
- Plug your soundbar back in first and turn it on.
- Wait 10 seconds, then plug in and turn on your TV.
- Give the TV another 30 seconds to fully boot before testing audio.
This sequence matters because it allows your soundbar to be ready and “listening” when your TV starts looking for audio output devices. Many connection handshakes happen during the TV’s boot sequence.
If this fixes your problem but it keeps happening, you might have a deeper issue with HDMI-CEC settings or firmware that needs updating.
Select the Correct Input on Your Soundbar
Your soundbar likely has multiple input options: HDMI, optical, Bluetooth, aux, and possibly others. Just like your TV needs to send audio to the right place, your soundbar needs to be listening on the right input channel.
Most soundbars have a button labeled “Input,” “Source,” or something similar on either the remote or the soundbar itself. Press this button to cycle through available inputs. Watch for LED indicators or a display panel that shows which input is currently active.
Match your soundbar’s input to however you’ve connected it to your TV:
- HDMI cable? Select HDMI or HDMI ARC input.
- Optical cable? Select optical, digital, or D-IN input.
- Standard audio cable? Select aux or analog input.
Some soundbars automatically switch inputs when they detect a signal, but this feature doesn’t always work reliably. Manual selection eliminates any guesswork.
If you’re not sure which input is which, try playing audio from your TV and cycling through each input option one at a time. When you land on the correct input, you’ll hear sound immediately.
Update Firmware on Both Devices
Manufacturers regularly release firmware updates that fix bugs, improve compatibility, and resolve connection issues. If your soundbar worked fine for months and suddenly stopped, a recent TV update might have created a compatibility issue that a soundbar firmware update can resolve.
Check for TV updates first. Most modern TVs have a software update option in their settings menu, usually under System, Support, or About. Some TVs update automatically, but others require manual checking.
For your soundbar, the update process varies by manufacturer:
- Some brands offer updates through a companion smartphone app
- Others require downloading firmware to a USB drive and plugging it into the soundbar
- Premium models might update over WiFi automatically
Check your soundbar manufacturer’s website for specific instructions. Look for your exact model number, which is usually on a label on the back or bottom of the unit.
| Update Method | Typical Brands | Difficulty Level |
|---|---|---|
| Smartphone app | Sonos, Bose, Samsung | Easy |
| USB drive | Vizio, LG, older models | Moderate |
| WiFi automatic | Sony, Samsung premium | Easy |
| Manual download required | Budget brands | Moderate to hard |
Disable and Re-enable HDMI-CEC

HDMI-CEC is a feature that lets devices control each other through the HDMI cable. It’s great when it works, allowing your TV remote to control your soundbar’s volume. But when it malfunctions, it can prevent audio from working entirely.
Different TV manufacturers call HDMI-CEC by different names:
- Samsung: Anynet+
- LG: SimpLink
- Sony: Bravia Sync
- Vizio: CEC
- TCL/Roku TV: 1-touch play
Find this setting in your TV’s system or connection settings menu. Try turning it off completely, waiting 30 seconds, then turning it back on. This forces the TV and soundbar to re-negotiate their connection.
If problems persist, try leaving HDMI-CEC disabled. You’ll lose some convenience features like volume control through your TV remote, but you’ll gain reliable audio output. You can always control volume directly on your soundbar or its dedicated remote.
Some users find that certain combinations of TV and soundbar brands simply don’t play nicely with HDMI-CEC enabled. There’s no shame in turning it off permanently if that’s what makes your system work reliably.
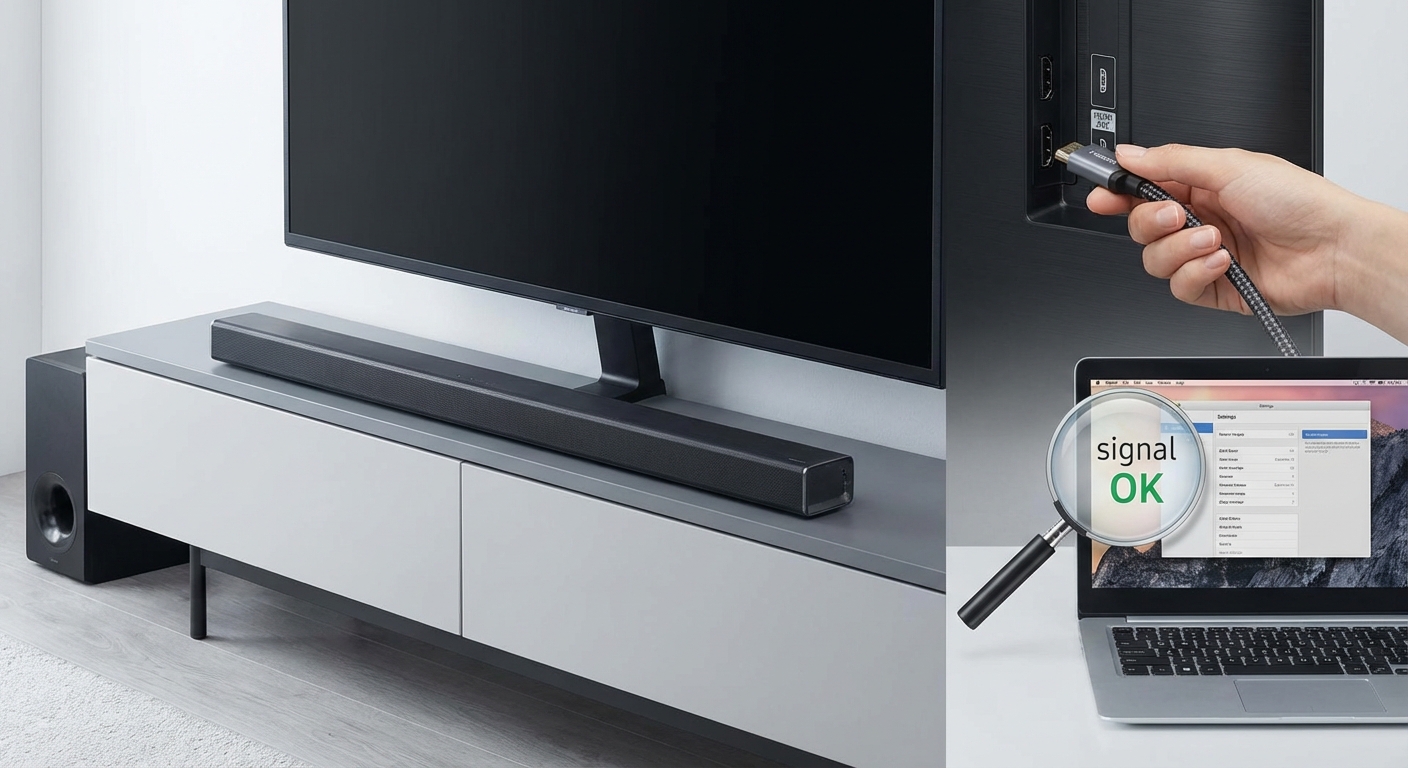
Test With a Different Cable or Connection Method
Cables fail more often than most people realize. They get stepped on, bent at sharp angles, or simply wear out from being plugged and unplugged repeatedly. Even expensive cables can develop internal breaks that aren’t visible from the outside.
If you’ve tried everything else, swap your cable with a known working one. Borrow an HDMI or optical cable from another device temporarily, or pick up an inexpensive replacement to test. Make sure any new HDMI cable is rated for ARC if you’re using that connection type.
Better yet, try switching connection methods entirely if your devices support it. If you’ve been using optical, try HDMI ARC instead. If HDMI isn’t working, test with optical. This helps you determine whether the problem is with a specific cable, a specific port, or something else entirely.
Here’s a simple testing sequence:
- Try your current cable in a different port on your TV (if available).
- Try a completely different cable with the same connection type.
- Switch to a different connection method entirely.
- Test your soundbar with a different audio source (like your phone via Bluetooth) to confirm the soundbar itself works.
That last step is important. If your soundbar won’t produce sound from any source, the problem lies with the soundbar itself rather than the TV connection. In that case, you’re looking at either a soundbar setting issue or a hardware problem that might need professional service.
Common Mistakes That Make Things Worse
| Mistake | Why It’s a Problem | Better Approach |
|---|---|---|
| Changing multiple settings at once | You won’t know what actually fixed the issue | Change one thing at a time and test after each change |
| Using extremely cheap cables | Poor quality cables cause intermittent issues | Invest in mid-range cables from reputable brands |
| Ignoring TV software updates | Updates often fix compatibility issues | Enable automatic updates or check monthly |
| Plugging into any HDMI port | Only ARC/eARC ports support soundbar audio | Use the specifically labeled ARC port |
| Skipping the full power cycle | Partial resets don’t clear all temporary issues | Unplug from the wall for a full minute |
When to Consider Professional Help
Most soundbar connection issues resolve with these troubleshooting steps. But occasionally, you’ll encounter a problem that requires more advanced help.
Consider reaching out to customer support or a technician if:
- You’ve methodically tried every step above with no improvement
- Your soundbar produces no sound from any source, including Bluetooth
- You see error messages on your TV that persist after power cycling
- Physical damage is visible on ports or cables
- The soundbar worked perfectly with your old TV but not your new one
That last point deserves special attention. Some older soundbars simply aren’t compatible with newer TV audio formats. If you recently upgraded to a new TV with advanced audio features like Dolby Atmos, your older soundbar might not support the audio signals your TV is trying to send. In these cases, you might need to adjust your TV’s audio format settings to a more basic option like PCM or Stereo.
Getting Back to Great Sound
The frustration of a non-working soundbar often feels worse than the actual technical problem. You invested in better audio for a reason, and when it doesn’t work, that investment feels wasted. But as you’ve seen, the vast majority of soundbar connection issues stem from simple, fixable problems rather than defective equipment.
Start with the basics: check your cables, verify your settings, and power cycle your devices. These three steps alone resolve most issues. If those don’t work, move through the remaining fixes methodically. Take notes on what you’ve tried so you don’t repeat steps or lose track of your troubleshooting progress.
The good news? Once you identify and fix your specific issue, you’ll know exactly what to do if it happens again. You might even become the go-to person when friends and family face similar problems with their home theater setups.


Leave a Reply