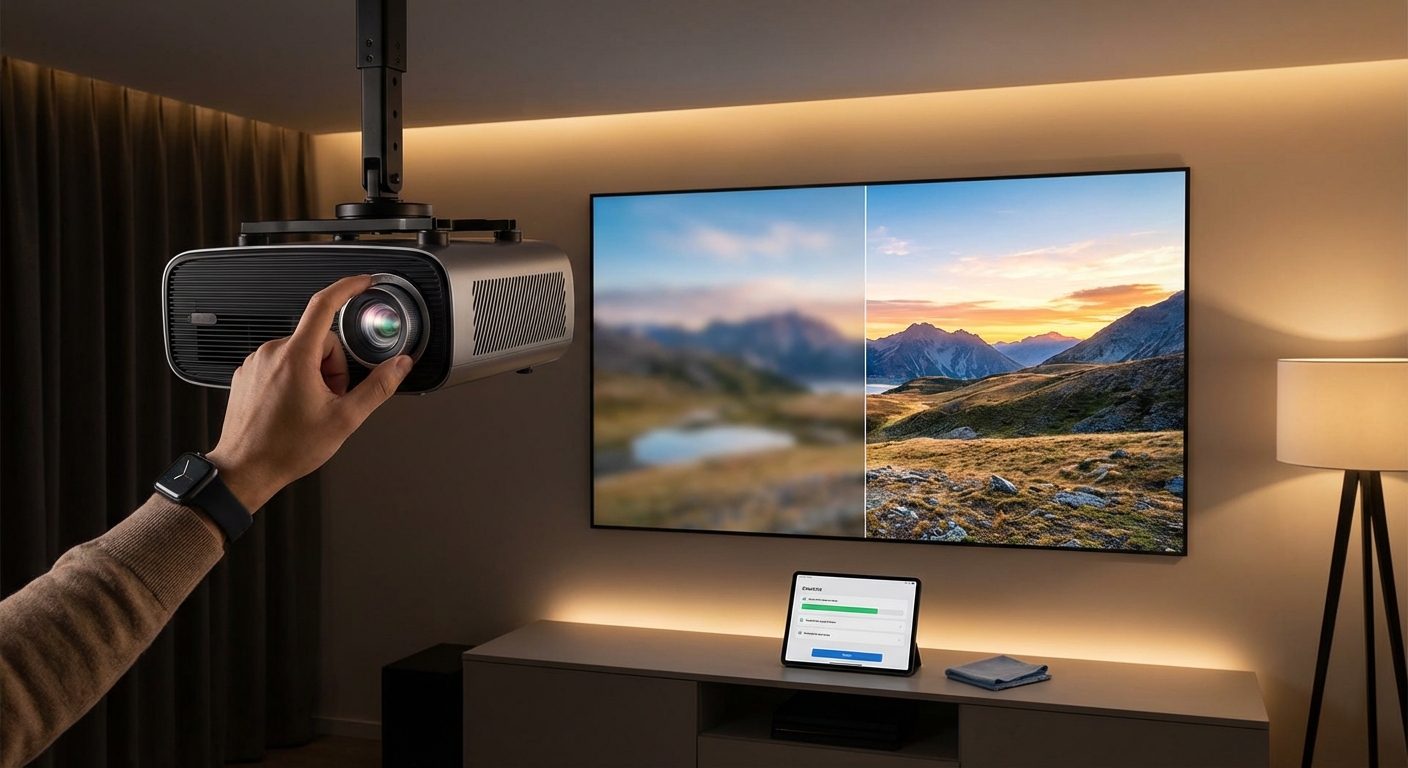
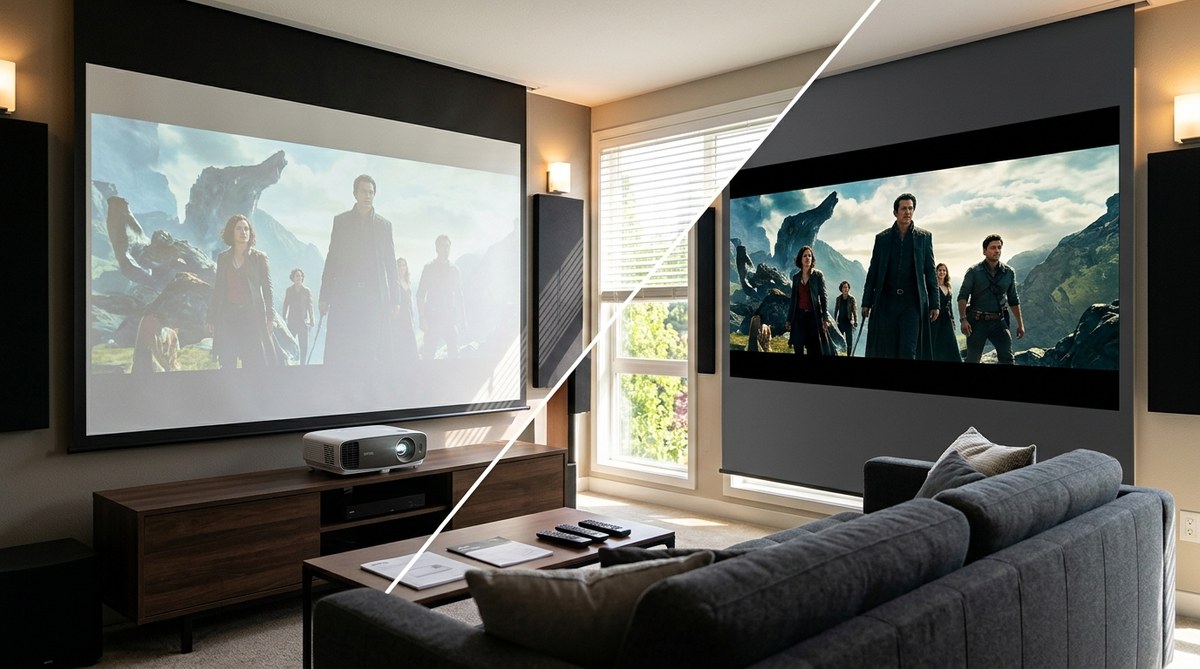
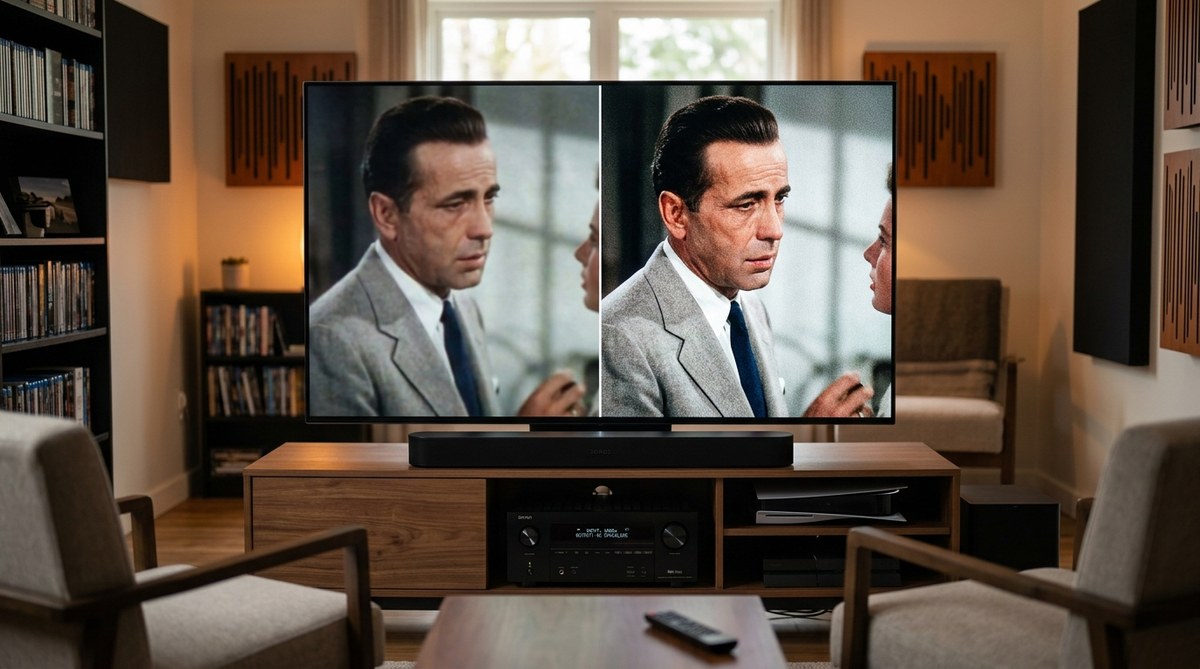
You’re settling in for movie night, the lights go down, and the projector fires up. But instead of crisp, sharp images, you’re staring at a fuzzy mess. Text looks soft, faces blur together, and your excitement drains away.
A blurry projector isn’t a death sentence for your home theater. Most of the time, the problem has nothing to do with broken hardware or expensive repairs. The issue usually comes down to a handful of simple setup mistakes that anyone can fix in minutes.
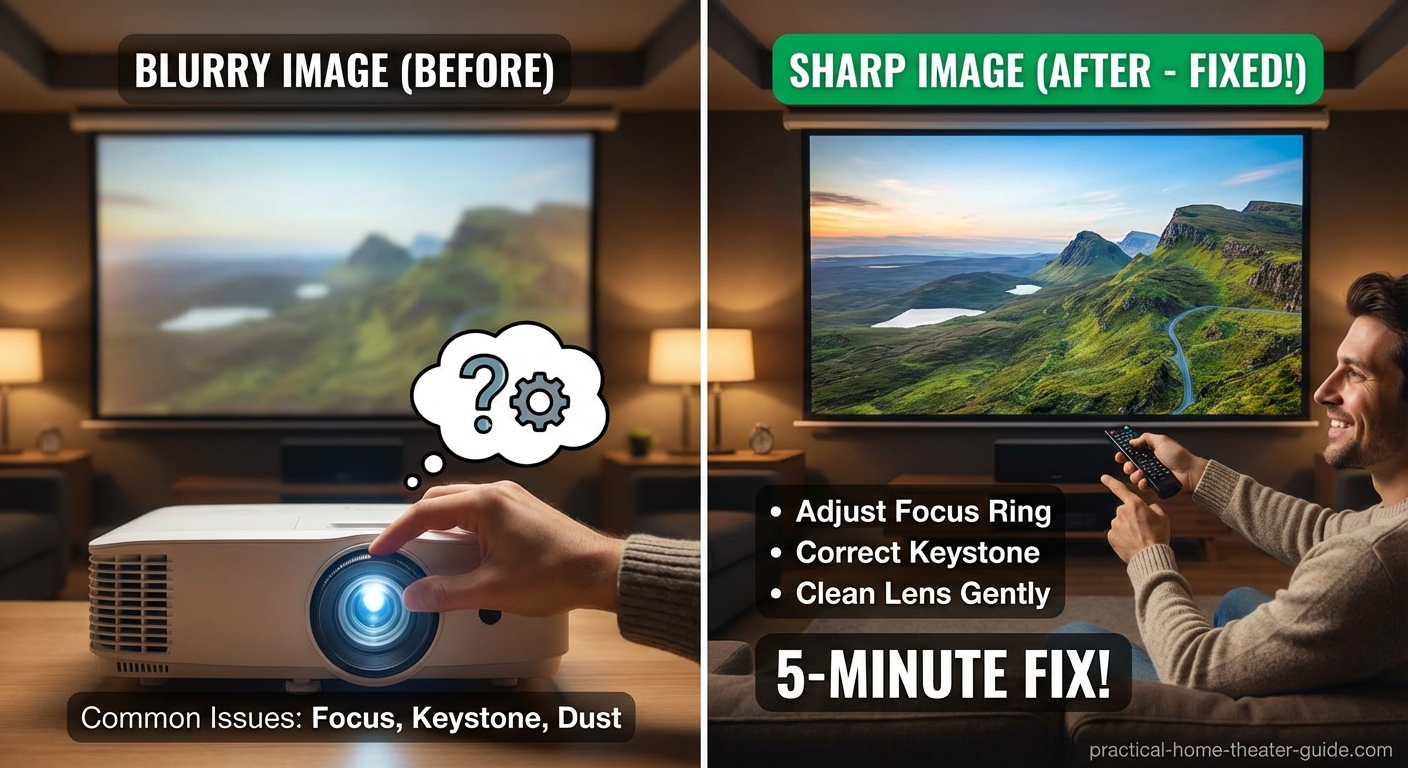
Most blurry projector images stem from incorrect focus, wrong throw distance, dirty lenses, or misaligned placement. These problems are easy to diagnose and fix without technical expertise. Adjusting your projector’s position, cleaning the lens properly, and tweaking focus settings will restore sharp, clear images in under five minutes.
Check Your Focus Ring First
The focus ring is the most common culprit behind blurry images.
Every projector has a focus mechanism, either manual or automatic. Manual focus rings sit on the lens barrel and rotate to sharpen the image. Automatic focus systems use motors to adjust sharpness, usually triggered by a button on the remote.
Here’s the problem: focus settings don’t stay perfect forever. Vibrations from moving the projector, temperature changes, or accidental bumps knock the focus out of alignment.
Start by displaying something with sharp text or high contrast edges. A menu screen works great. A test pattern with grid lines works even better.
If you have a manual focus ring, rotate it slowly in both directions. Watch the center of the screen closely. Stop when text looks sharpest.
For automatic focus, find the focus button on your remote. Press it and let the projector run its cycle. Some models let you fine tune afterward using arrow buttons.
Don’t rush this step. Small adjustments make huge differences.
“Focus should be your first stop every single time you see blur. I’ve seen people spend hours troubleshooting other issues when all they needed was 30 seconds with the focus ring.” — Home theater installer with 12 years of experience
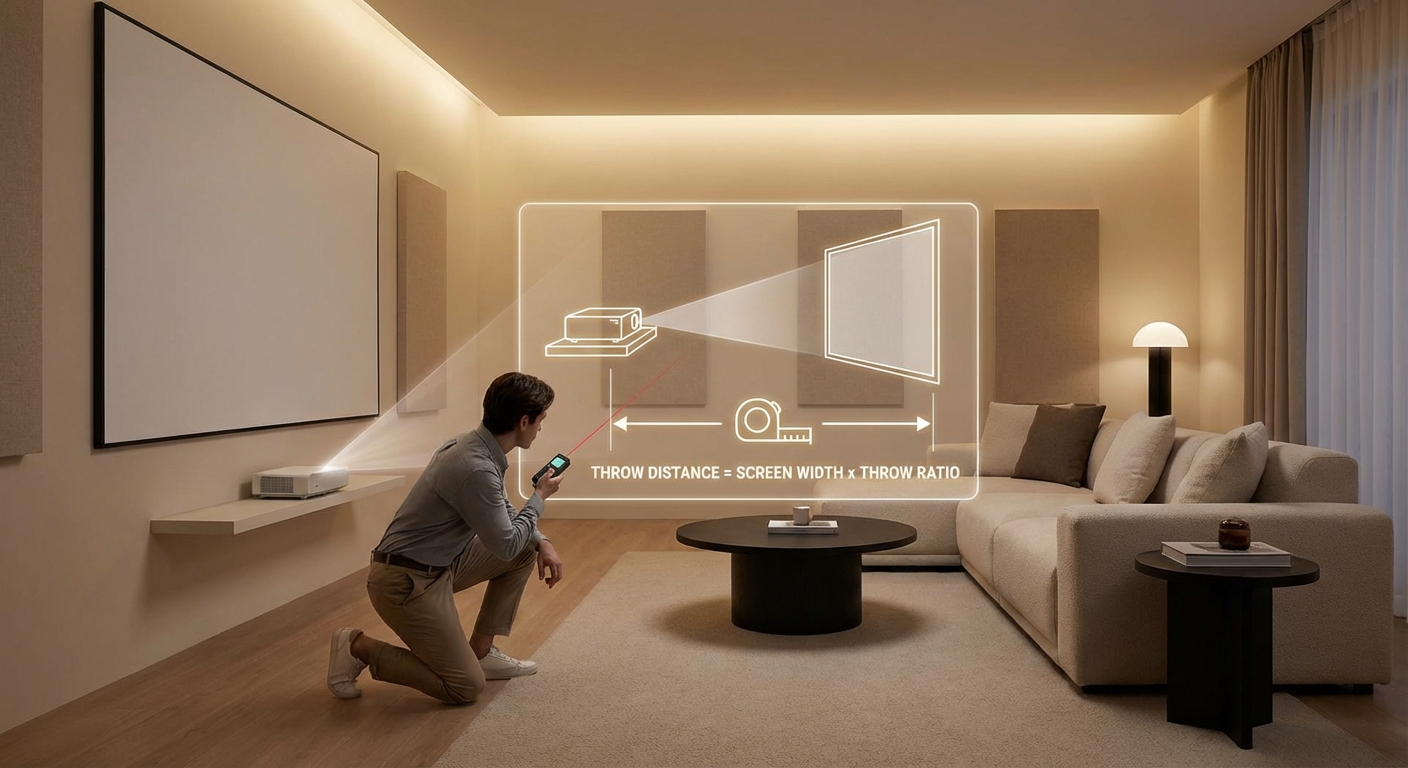
Your Projector Might Be Too Close or Too Far
Throw distance matters more than most people realize.
Every projector has an optimal range where it produces the sharpest image. Too close, and you get blur around the edges. Too far, and the entire image softens.
This range depends on your projector’s throw ratio, which tells you how far the projector needs to sit from the screen to create a specific image size.
Here’s a simple way to check if your distance is correct:
- Measure the width of your projected image in inches.
- Check your projector’s manual for its throw ratio (usually something like 1.5:1 or 1.2:1).
- Multiply your screen width by the throw ratio to get the ideal distance.
For example, if your screen is 100 inches wide and your throw ratio is 1.5:1, you need 150 inches (12.5 feet) between the projector and screen.
Being off by even a foot can cause noticeable blur, especially with short throw projectors.
If you’re not sure about your projector’s specs, try calculating the throw distance for your room size to get the math right.
Moving your projector closer or farther might mean adjusting your entire setup, but it’s the only way to fix distance related blur.
Clean Your Lens the Right Way
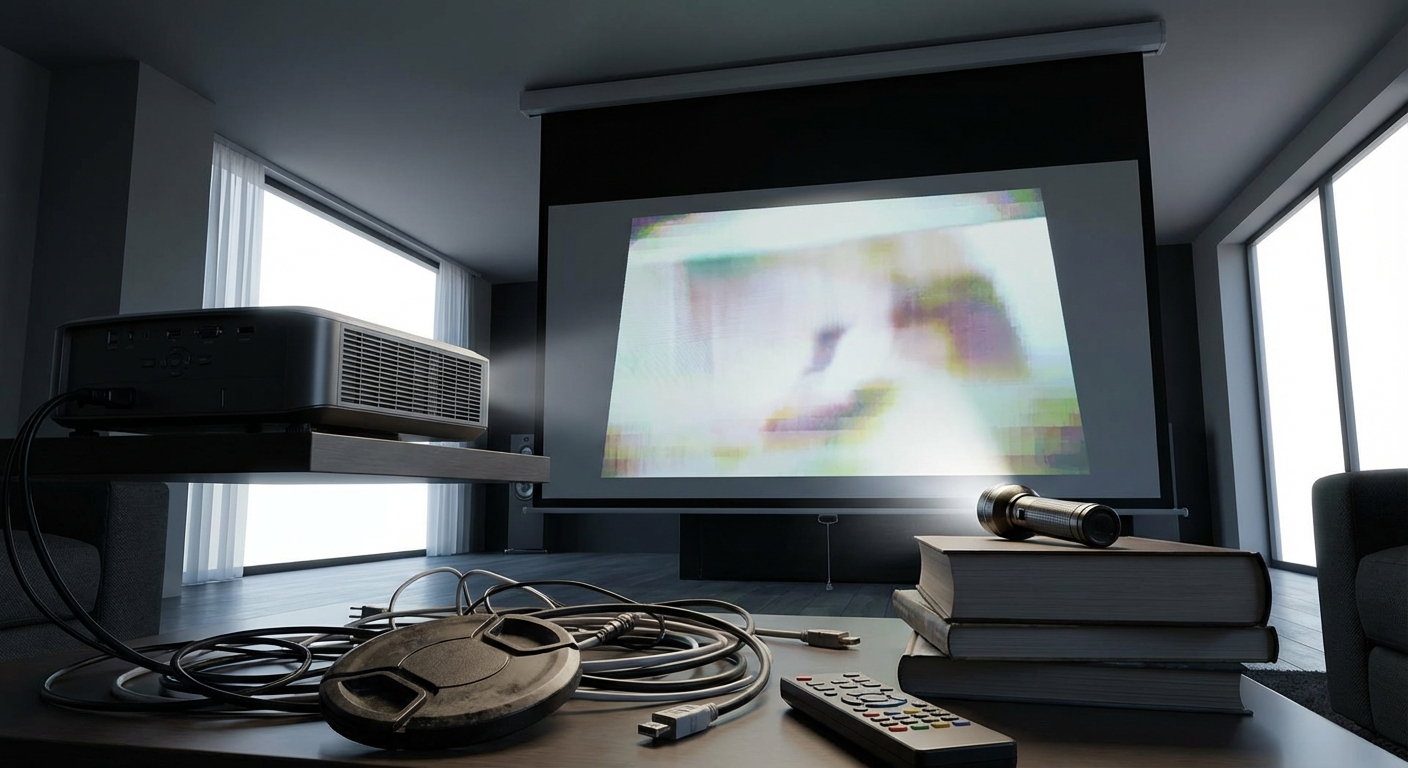
Dust and fingerprints on the lens create blur that no amount of focus adjustment will fix.
Projector lenses attract dust like magnets. Even in clean rooms, a thin layer builds up over weeks. Fingerprints happen when you handle the projector during setup or adjustments.
You can’t just wipe the lens with your shirt. That scratches the coating and makes things worse.
Here’s the proper cleaning method:
- Turn off the projector and let it cool completely.
- Use a rocket blower (the kind photographers use) to remove loose dust.
- If dust remains, use a microfiber cloth designed for camera lenses.
- For stubborn smudges, apply one drop of lens cleaning solution to the cloth, not directly to the lens.
- Wipe gently in circular motions from the center outward.
- Use a dry section of the cloth to remove any moisture.
Never use paper towels, regular tissues, or household cleaners. These damage the lens coating permanently.
Some projectors ship with a protective film over the lens. If your brand new projector looks blurry out of the box, check for a thin plastic cover and peel it off.
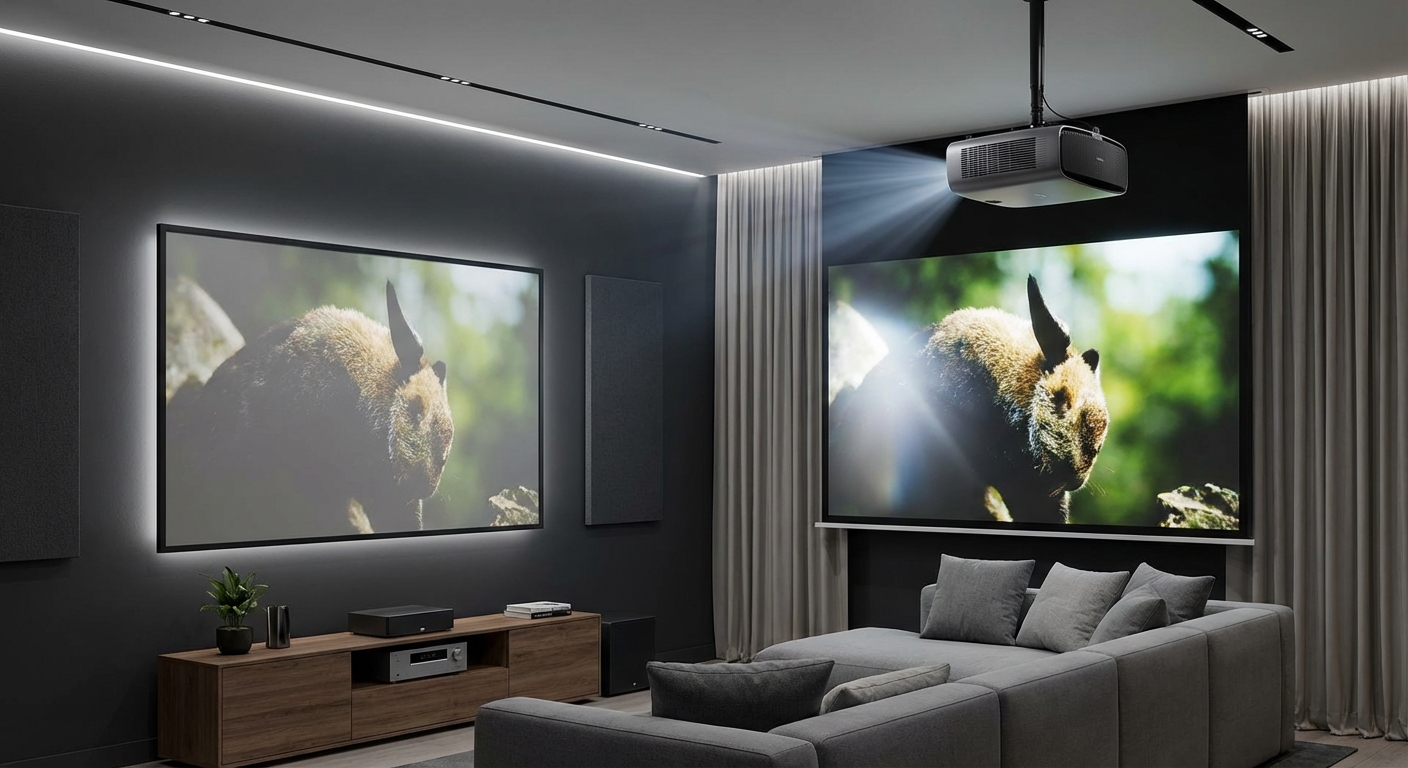
Your Screen Surface Might Be the Problem
Even a perfectly focused projector will look blurry on the wrong surface.
Textured walls, wrinkled fabric screens, and glossy surfaces all destroy image sharpness. The light bounces back at inconsistent angles, creating soft edges and poor detail.
Flat white walls seem like an easy solution, but paint texture matters. Orange peel texture, common in many homes, scatters light and reduces sharpness.
Proper projection screens have smooth, matte surfaces engineered to reflect light evenly. If you’re projecting on a wall, make sure it’s smooth and painted with flat (not satin or glossy) white paint.
Portable screens need to be pulled tight. Wrinkles and waves in the fabric cause localized blur that moves around as the fabric shifts.
Check your screen from the side. You should see a perfectly flat surface. Any bumps, waves, or texture will show up as blur in your image.
Keystone Correction Ruins Sharpness
Keystone correction is a digital feature that fixes trapezoidal distortion when your projector sits at an angle to the screen.
It works by digitally stretching parts of the image to make a rectangle. That sounds helpful, but it comes at a cost.
Every degree of keystone correction reduces effective resolution. The projector has to interpolate pixels, which softens the image. Crank keystone up to 20 or 30 degrees, and your 1080p projector starts looking like 720p.
The fix is simple: mount your projector perpendicular to the screen.
The lens should point straight at the center of your screen, not angled up, down, or sideways. Use lens shift instead of keystone if your projector has that feature. Lens shift moves the image optically without degrading quality.
If you absolutely must use keystone, keep it under 10 degrees. Anything more, and you’ll see noticeable blur.
Cable Quality and Resolution Settings Matter
Blurry images don’t always come from the projector itself. Sometimes the source signal is the problem.
Cheap HDMI cables can cause signal degradation, especially over long runs. If your cable is longer than 15 feet, you might need an active cable or fiber optic HDMI cable to maintain signal integrity.
Resolution mismatches also create blur. If you’re sending a 720p signal to a 1080p projector, the projector has to upscale the image. That introduces softness.
Check your source device settings:
- Set your streaming device, game console, or Blu-ray player to output at your projector’s native resolution.
- Disable any image processing features on the source device.
- Make sure HDR settings match between source and projector.
On the projector side, turn off unnecessary image processing. Features like dynamic contrast, noise reduction, and motion smoothing can all soften the image.
Set your projector to its native resolution in the display settings. Don’t let it auto detect if you can avoid it.
Common Mistakes That Cause Projector Blur
| Mistake | Why It Causes Blur | How to Fix It |
|---|---|---|
| Adjusting zoom instead of focus | Zoom changes image size but doesn’t sharpen it | Use the focus ring after any zoom adjustment |
| Mounting projector on unstable surface | Vibrations knock focus out of alignment | Use solid ceiling mount or heavy table |
| Ignoring lens shift | Using keystone instead degrades image quality | Adjust lens shift first, keystone as last resort |
| Running projector too hot | Heat causes internal components to expand and shift | Ensure proper ventilation and clean air filters |
| Using wrong picture mode | Some modes apply heavy processing that softens images | Try Cinema or Reference mode for sharpest picture |
| Forgetting to remove lens cap | Obvious but happens more than you’d think | Always check before troubleshooting |
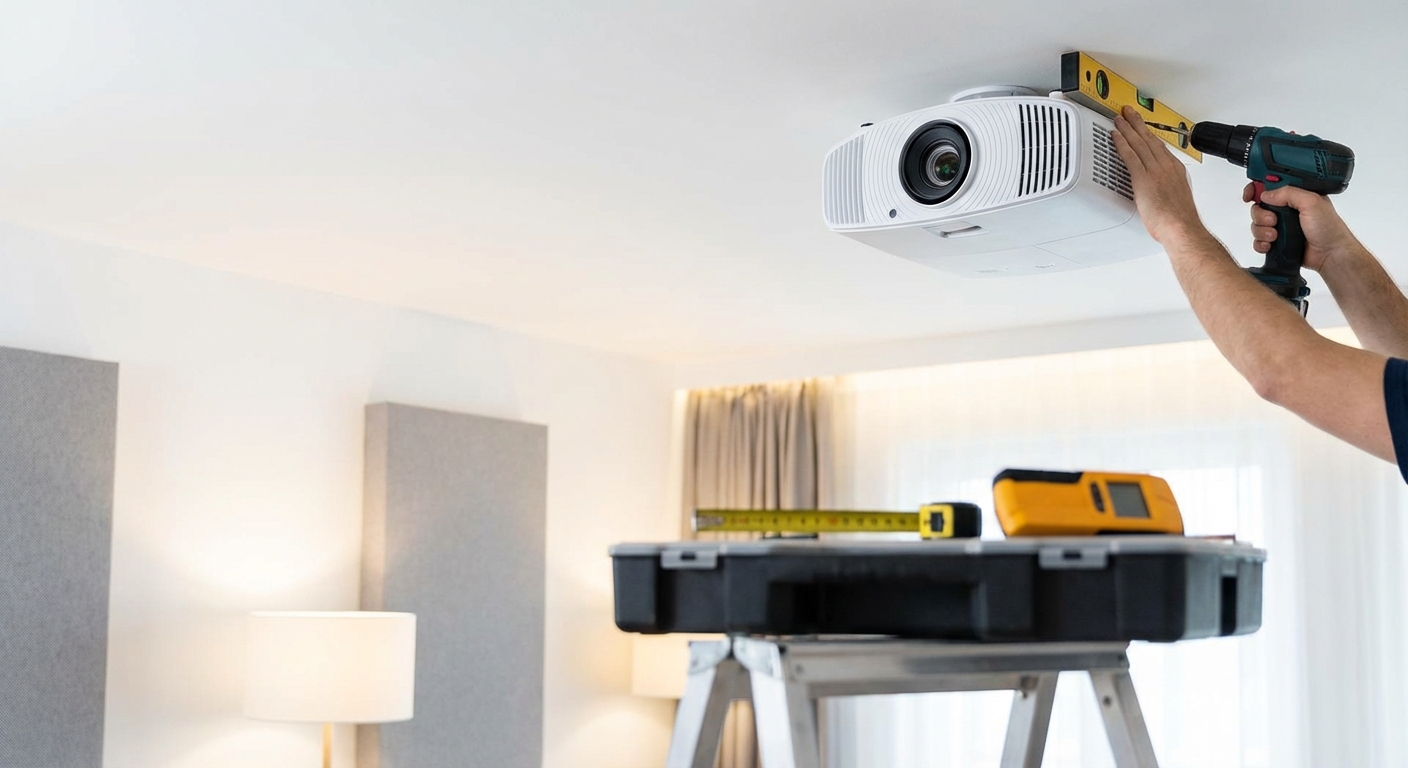
Your Projector Needs Proper Alignment
Alignment affects more than just keystone. It impacts focus uniformity across the entire image.
If your projector sits at an angle (even slightly), one side of the image will be in focus while the other side stays soft. This happens because the focal plane doesn’t match the screen plane.
The fix requires careful positioning:
- Level the projector horizontally using a bubble level.
- Make sure the lens points straight at the screen center, not up or down.
- Verify the projector sits parallel to the screen surface.
Some projectors have adjustable feet. Use them to fine tune the angle. Others need shims or mounting plate adjustments.
After aligning, recheck your focus. You might need to adjust it again since changing the angle affects the focal plane.
Temperature and Warm Up Time Affect Focus
Projectors use lamps or lasers that generate significant heat. As components warm up, they expand slightly.
This expansion can shift the focus point. A projector that looks sharp when you first turn it on might drift into blur after 10 minutes.
Always let your projector warm up for at least five minutes before making final focus adjustments. Some models need longer.
If you notice focus drift during long viewing sessions, your projector might be overheating. Check the air filters and make sure vents aren’t blocked.
Clean filters monthly if you use your projector regularly. Clogged filters reduce airflow, increase internal temperatures, and cause focus instability.
When to Check for Hardware Problems
Sometimes blur indicates actual hardware failure, not just setup issues.
If you’ve tried everything above and still see blur, look for these warning signs:
- Blur that affects only part of the image (could indicate lens element damage)
- Rainbow artifacts or color fringing (possible prism misalignment in DLP projectors)
- Focus that constantly drifts even after warm up (failing focus motor or lens assembly)
- Blur that appeared suddenly after moving the projector (possible internal damage)
Dropped projectors often suffer internal misalignment that no amount of focus adjustment will fix. The lens assembly or imaging chip might have shifted.
If your projector is under warranty and you suspect hardware failure, contact the manufacturer before attempting repairs. Opening the case usually voids the warranty.
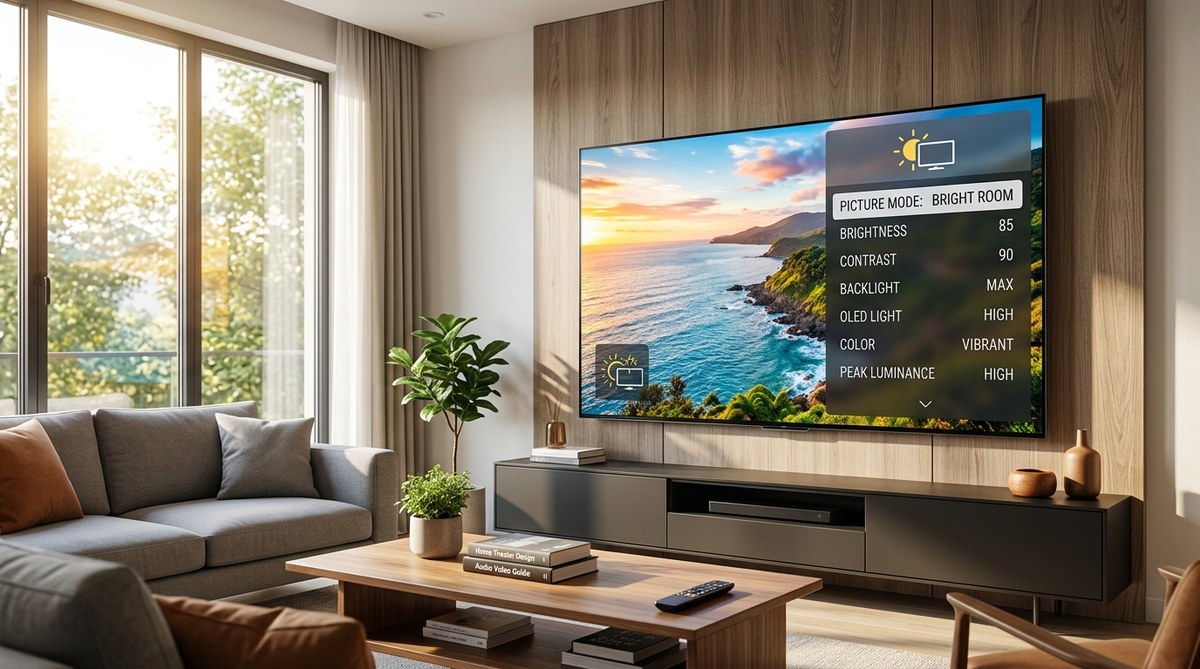
Picture Settings That Impact Perceived Sharpness
Beyond focus and alignment, certain picture settings affect how sharp your image looks.
Sharpness control is counterintuitive. Setting it too high doesn’t make the image sharper. It adds edge enhancement that creates halos around objects and actually reduces fine detail.
Set sharpness to the middle position (usually 50 or 0, depending on the scale). Then adjust down if you see artificial looking edges.
Contrast and brightness also affect perceived sharpness. If blacks look gray or whites look blown out, details disappear and the image looks soft even when properly focused.
Similar to calibrating your TV for better picture quality, projectors benefit from proper calibration. Use a test pattern disc or app to set basic levels correctly.
Turn off any dynamic picture modes. They constantly adjust settings and can make the image look inconsistent and soft.
Room Conditions You Can’t Ignore
Your room affects image sharpness in ways you might not expect.
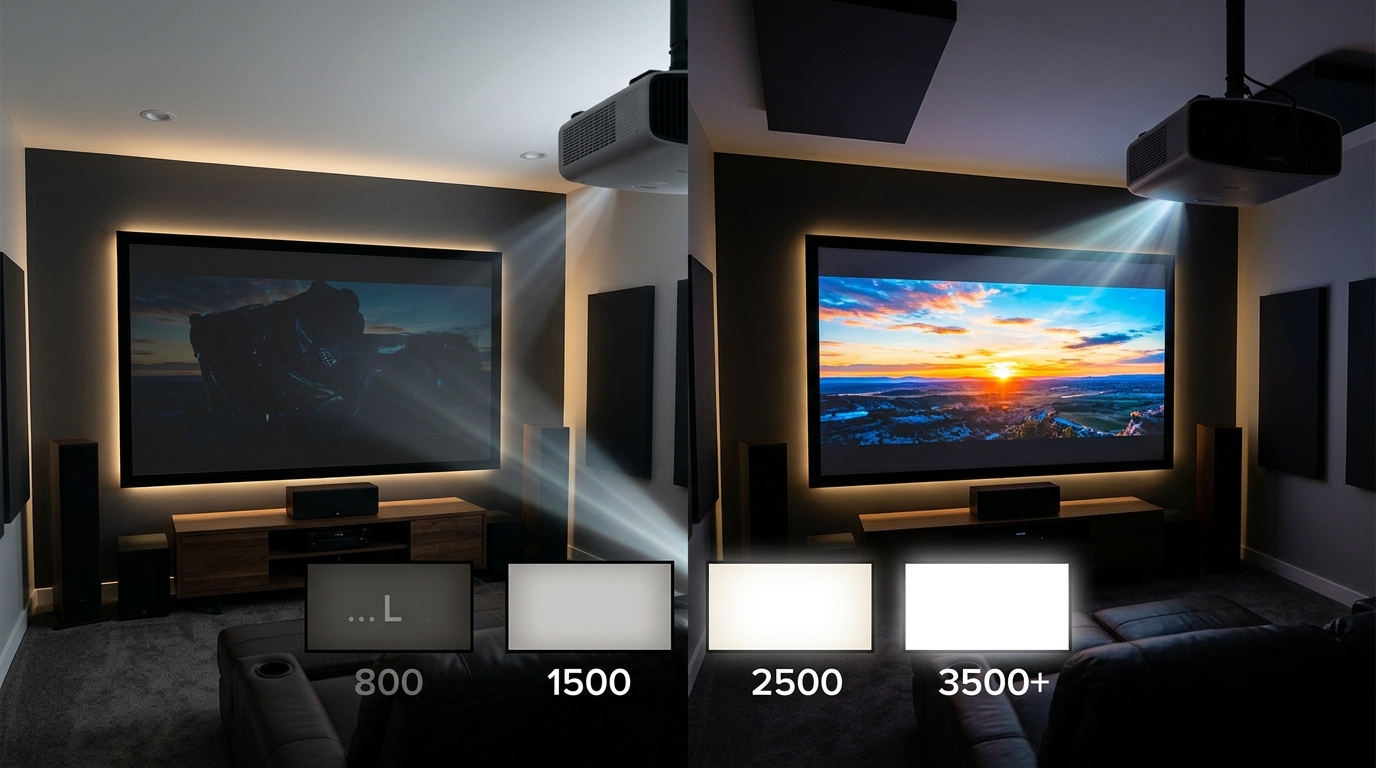
Ambient light washes out contrast, which makes details harder to see. Your focus might be perfect, but the image still looks soft because you can’t see fine details through the light pollution.
Block windows with blackout curtains. Turn off room lights during viewing. Even small amounts of light from hallways or LED indicators on other devices reduce perceived sharpness.
Air movement can also cause minor focus issues. If you have a ceiling fan or HVAC vent blowing directly at the projection path, the moving air can create subtle distortions. This is rare but worth checking if you’ve ruled out everything else.
Temperature extremes affect projector performance too. Very cold rooms (below 50°F) can cause condensation on internal optics. Very hot rooms (above 95°F) stress cooling systems and cause thermal drift.
Getting Sharp Images Every Time
Fixing a blurry projector isn’t complicated once you know where to look.
Start with focus. Check your throw distance. Clean the lens. Verify your screen is smooth and tight. Minimize keystone correction. Make sure cables and resolution settings match.
Most blur problems come down to one or two of these issues. Work through them systematically instead of randomly changing settings.
Once you get everything dialed in, mark your projector position with tape or take measurements. That way, if you need to move it for cleaning or room changes, you can return it to the exact same spot.
Your projector can deliver sharp, detailed images that rival a good TV. You just need to give it the right conditions and proper setup. Take five minutes to check these common issues, and you’ll be watching crystal clear movies tonight instead of squinting at a fuzzy mess.

Leave a Reply