You’ve probably noticed those extra terminals on the back of your speakers and wondered what they’re for. Those dual binding posts aren’t just decoration. They open up two different upgrade paths that promise better sound: bi-wiring and bi-amping. But which one actually works, and which one is just marketing hype?
Bi-wiring uses two speaker cables from one amplifier channel to separate high and low frequency inputs. Bi-amping uses two separate amplifier channels to power each speaker’s frequency range independently. Bi-amping provides real performance gains through dedicated power allocation. Bi-wiring offers minimal audible improvement for most listeners. Both require speakers with dual binding posts and proper jumper removal.
Understanding speaker terminals and binding posts
Most speakers have a single pair of binding posts. You connect one speaker cable, and that’s it. But speakers designed for bi-wiring or bi-amping feature two pairs of terminals, usually labeled “HF” (high frequency) and “LF” (low frequency).
These terminals connect to separate internal crossover sections. The crossover splits your audio signal into high frequencies for the tweeter and low frequencies for the woofer. When you see metal jumper plates or wire links connecting the two pairs of terminals, those are there for single-wire operation.
Before you can bi-wire or bi-amp, you need to remove those jumpers. Keep them somewhere safe. You’ll need them if you ever go back to a standard single-wire setup.
What bi-wiring actually means
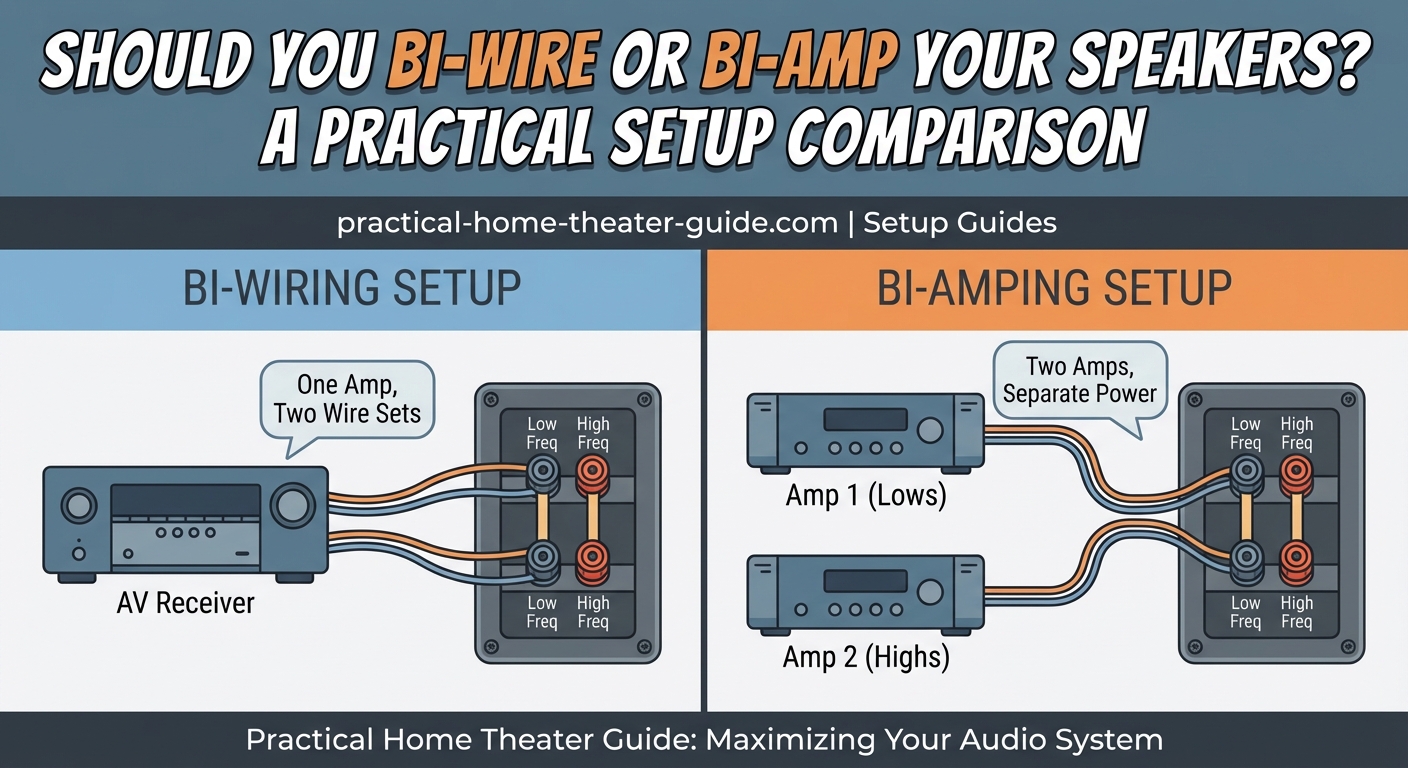
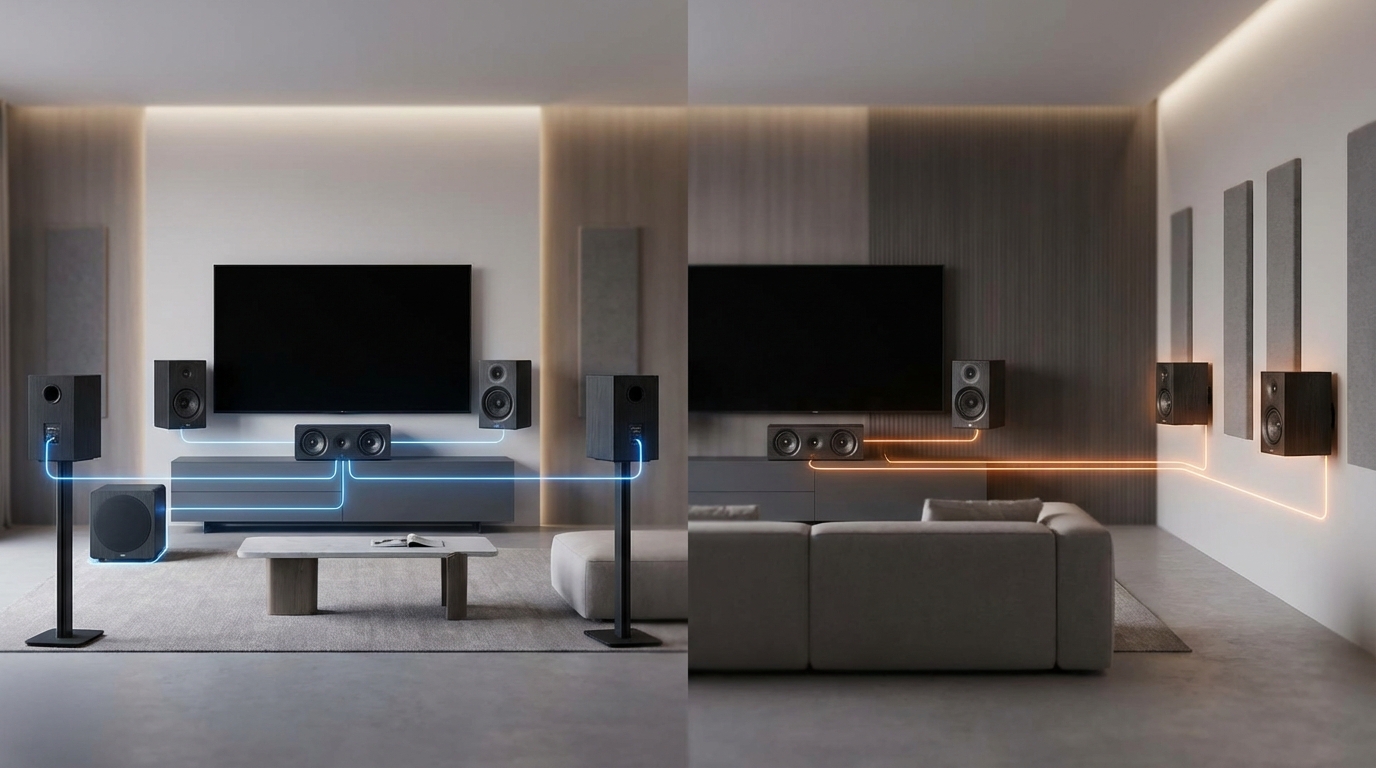
Bi-wiring runs two separate speaker cables from a single amplifier channel to your speaker. One cable connects to the high frequency terminals. The other connects to the low frequency terminals.
Your amplifier still sends the full-range signal through both cables. The speaker’s internal crossover still does all the frequency splitting. The only difference is that highs and lows travel through separate copper paths.
How to bi-wire your speakers
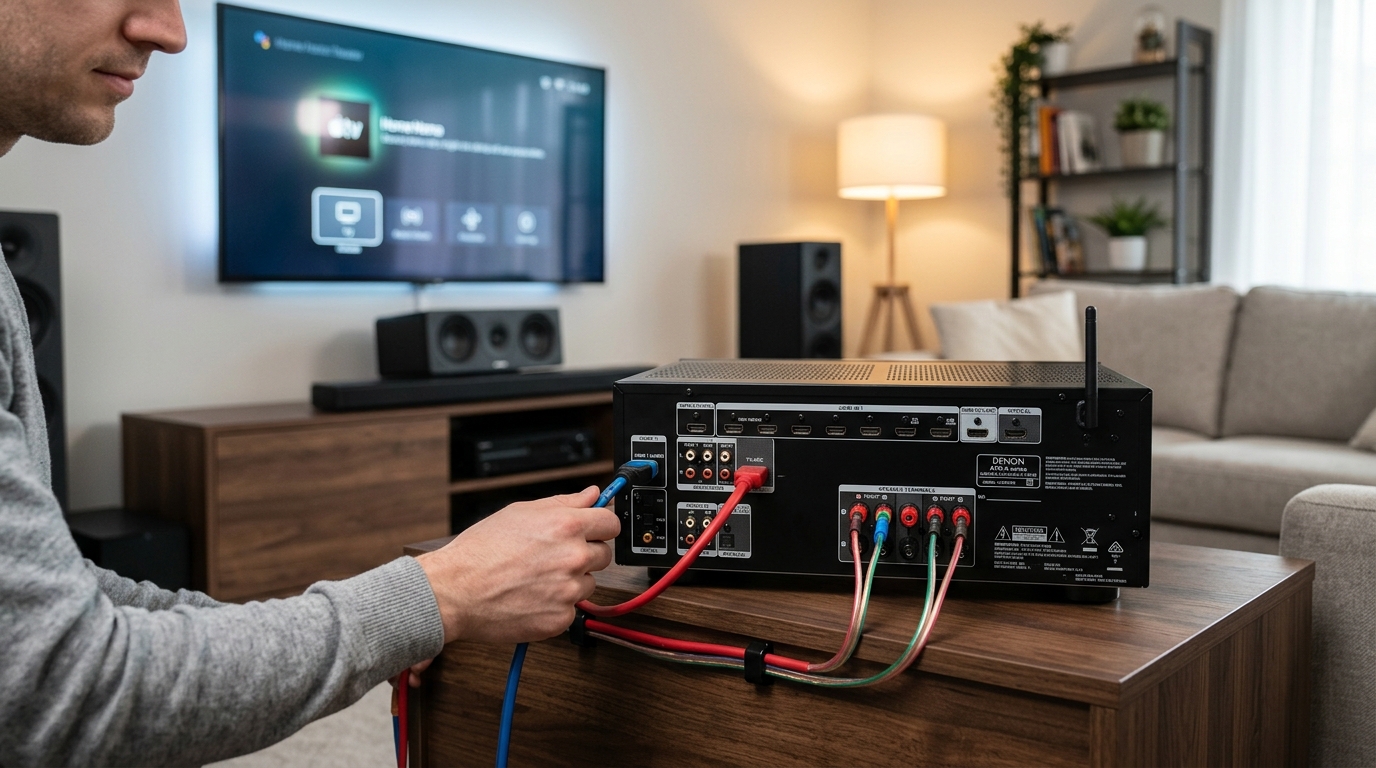
- Remove the metal jumper plates from your speaker’s binding posts.
- Connect one speaker cable from your amplifier’s positive terminal to the speaker’s HF positive terminal.
- Connect a second speaker cable from the same amplifier positive terminal to the speaker’s LF positive terminal.
- Repeat the process for the negative terminals.
- Verify all connections are tight and no bare wire is touching between terminals.
You can use identical cables for both runs, or some people use different gauge wire for high and low frequencies. Most listeners won’t hear a difference either way.
What bi-amping actually does
Bi-amping assigns separate amplifier channels to drive the high and low frequency sections of your speaker. Instead of one amp channel powering the entire speaker, you use two channels per speaker.
This approach gives each frequency range dedicated power and headroom. When a bass-heavy explosion hits during a movie, the amplifier driving your woofer works hard, but the amplifier driving your tweeter isn’t affected. They operate independently.
There are two types of bi-amping: passive and active. They work very differently.
Passive bi-amping explained
Passive bi-amping uses your speaker’s existing internal crossover. You remove the jumpers and connect two amplifier channels, but the crossover still splits frequencies inside the speaker.
Most home theater receivers support passive bi-amping. If you have a 7-channel receiver but only use a 5.1 setup, you can reassign those extra two channels to bi-amp your front left and right speakers.
The benefit here is power distribution. Each amplifier channel handles a smaller load. Your tweeter gets clean power that isn’t being pulled down by woofer demands.
Active bi-amping explained
Active bi-amping removes the speaker’s internal crossover from the equation. You use an external active crossover or DSP to split frequencies before they reach the amplifiers.
Each amplifier receives only the frequency range it needs to reproduce. The amp driving your tweeter never sees bass frequencies. The amp driving your woofer never sees treble.
This is how professional studio monitors and high-end audiophile systems work. It’s more complex to set up and requires additional equipment, but it offers the cleanest signal path and maximum control.
Most home theater owners won’t go this route. It requires matching amplifiers, precise crossover settings, and often custom speaker modifications.
Performance differences you can actually hear
Here’s the honest truth about bi-wiring vs bi-amping. Bi-wiring provides minimal, if any, audible improvement for most people in most rooms. The theoretical benefits exist on paper, but real-world listening tests rarely show meaningful differences.
Bi-amping, especially passive bi-amping, can make a noticeable difference. You’ll hear better dynamics during complex passages where lots of frequencies compete for power. Action movies with deep bass and crisp dialogue benefit the most.
If your speakers support dual binding posts and you have spare amplifier channels, passive bi-amping is worth trying. If you’re considering buying extra speaker cable just to bi-wire, save your money and invest in better speakers or room treatment instead.
The improvements from bi-amping become more obvious at higher volumes. If you listen at moderate levels in a small room, you might not notice much. But if you’re pushing a larger space or you like reference-level playback, dedicated amplifier channels help maintain clarity.
Common mistakes that waste your effort
Many people set up bi-wiring or bi-amping incorrectly and then wonder why it didn’t work. Here are the errors that undermine your results.
| Mistake | Why it matters | How to avoid it |
|---|---|---|
| Leaving jumpers in place | Creates a short circuit or parallel path that defeats the purpose | Always remove jumpers before connecting dual cables |
| Using mismatched amplifier channels | Different power levels create tonal imbalance | Use identical amplifier channels with the same specifications |
| Mixing cable types randomly | Inconsistent resistance affects frequency balance | Use matching cables or follow manufacturer recommendations |
| Forgetting to configure receiver settings | Receiver may not send signal to reassigned channels | Access speaker configuration menu and enable bi-amp mode |
| Connecting positive to negative | Phase cancellation destroys bass response | Double-check polarity on every connection |
The jumper mistake is the most common. People get excited about their new cables and forget to remove those little metal plates. The signal then flows through both the new cables and the jumpers, which defeats the entire setup.
Equipment requirements and compatibility
Not every speaker supports bi-wiring or bi-amping. Look at the back panel. If you see only one pair of binding posts, you’re out of luck. You need two pairs with removable jumpers.
For bi-wiring, you need:
- Speakers with dual binding posts
- Two runs of speaker cable per speaker
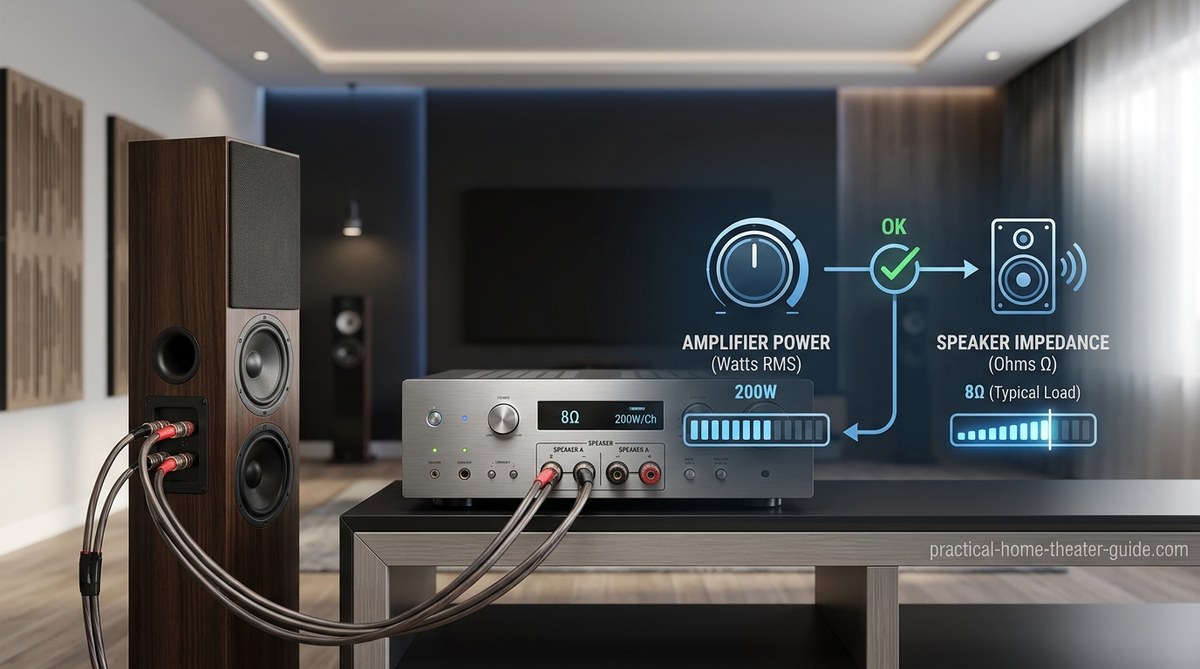
- An amplifier with enough current to drive both cables
For passive bi-amping, you need:
- Speakers with dual binding posts
- Four amplifier channels for two speakers (or two stereo amps)
- Proper receiver configuration or external amplifiers
- Matching cable runs
For active bi-amping, you need:
- Speakers with accessible crossover bypass or removal
- Active crossover or DSP unit
- Multiple amplifier channels
- Technical knowledge to set crossover points correctly
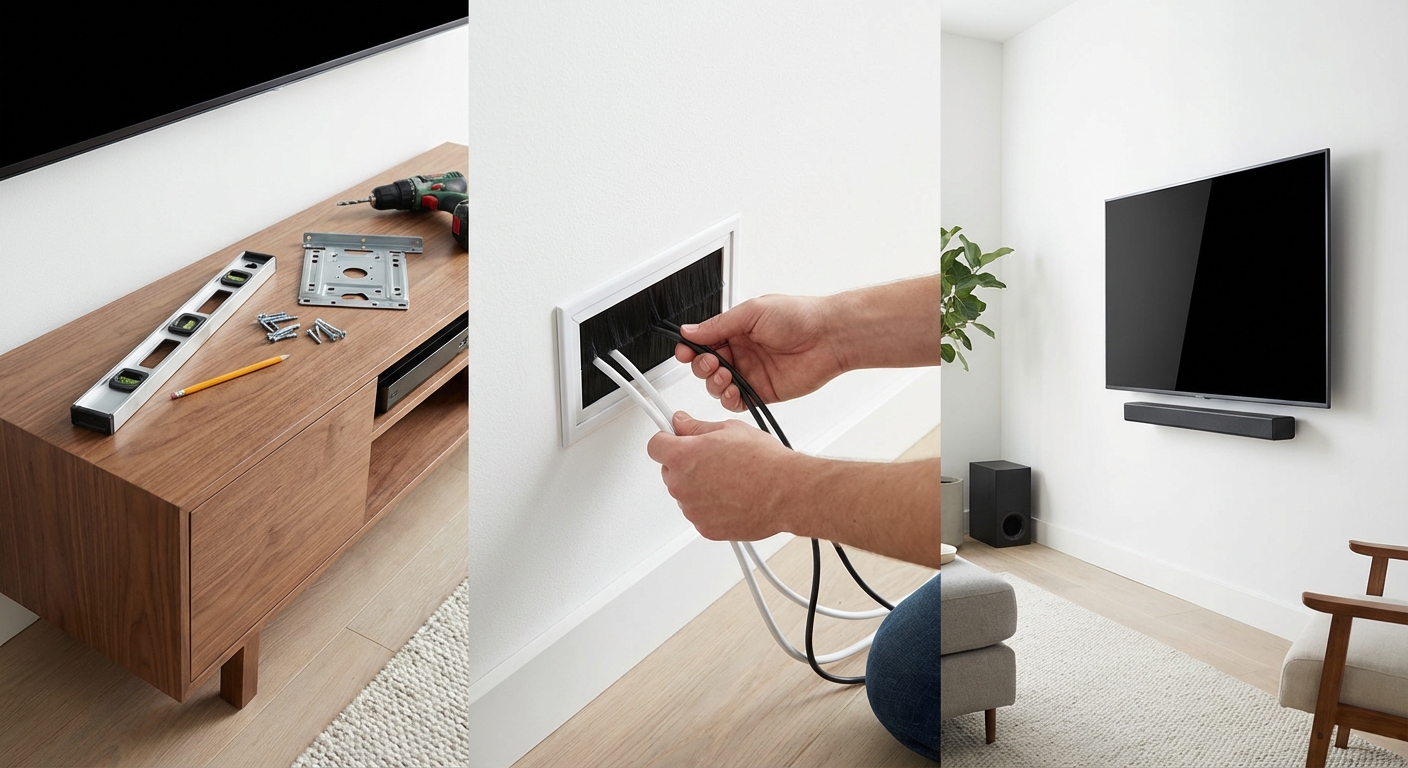
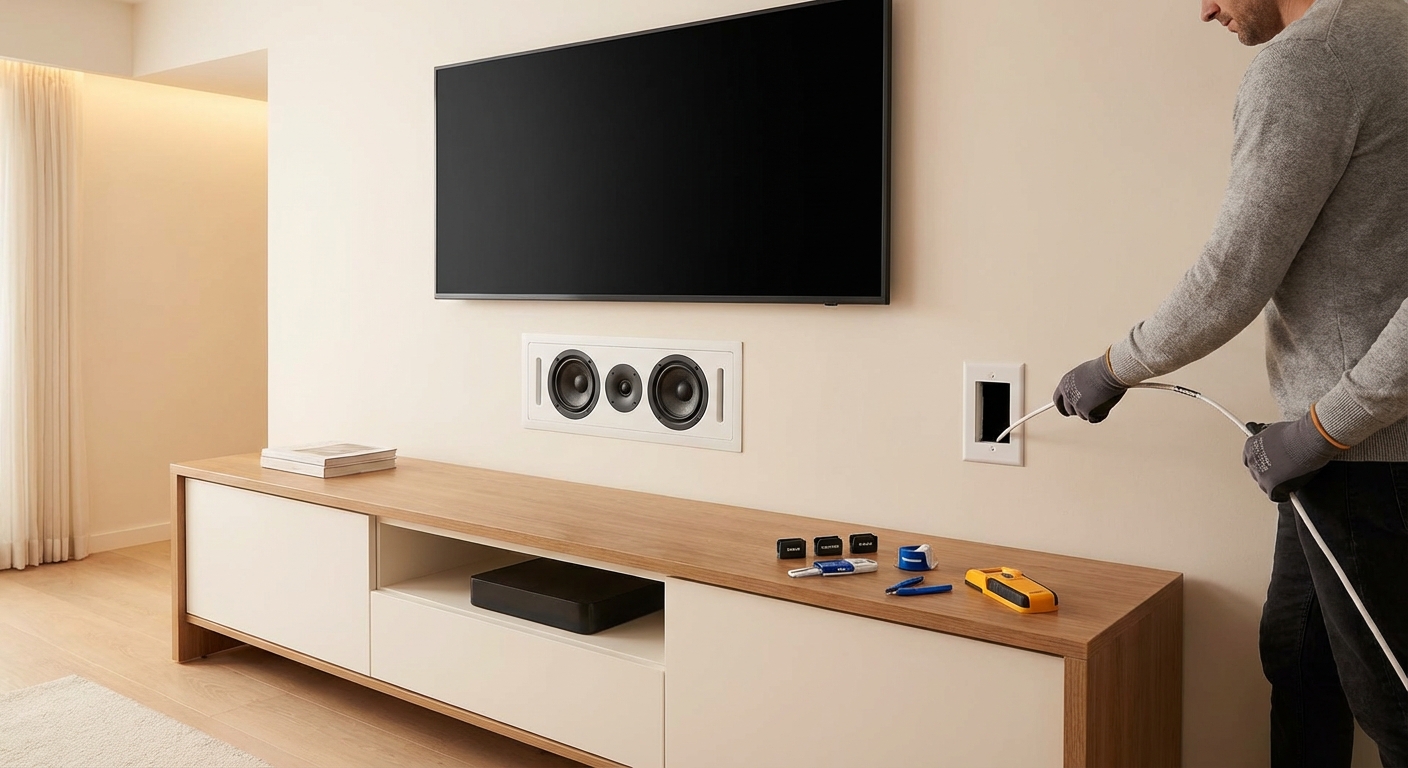
Most people start with passive bi-amping using spare receiver channels. It’s the lowest-risk way to test whether you hear a difference. If you’re running speaker wire through walls for a permanent installation, consider running dual cables even if you don’t bi-amp right away. That gives you the option later without tearing into walls again. Our guide on how to run speaker wire through walls without damaging your home covers the installation process step by step.
Choosing between the two approaches
If you already own the cables and have spare amp channels, try passive bi-amping. The setup takes 15 minutes, and you can always reverse it if you don’t like the results.
If you need to buy cables specifically for bi-wiring, don’t bother. Spend that money on acoustic treatment instead. Addressing room reflections and echo will improve your sound far more than separate wire runs. Room acoustics matter more than cable paths, and fixing early reflections makes a bigger difference than any wiring configuration. Check out how to stop echo and reverb ruining your home theater sound for practical treatment options.
If you’re building a dedicated home theater with external amplifiers, passive bi-amping makes sense from the start. Design your system with enough channels to power each speaker section independently.
Active bi-amping is for enthusiasts who want ultimate control and don’t mind complexity. It’s a rabbit hole that leads to custom crossover tuning, amplifier matching, and endless tweaking. Fun if that’s your hobby. Overkill if you just want to watch movies.
Testing whether it works in your room
Your room, your speakers, and your ears determine whether bi-amping delivers audible improvements. Here’s how to test it properly.
Set up your system in standard single-wire mode first. Play familiar content at your normal listening volume. Pay attention to bass clarity during complex scenes and high-frequency detail during dialogue.
Switch to passive bi-amp mode. Use the same cables, same volume, same content. Listen for tighter bass, cleaner highs, and better separation during busy passages.
The differences are subtle. Don’t expect a night-and-day transformation. If you’re not sure whether you hear an improvement, you probably don’t. That’s fine. It means your amplifier already has enough headroom for your speakers and listening habits.
Some speakers benefit more than others. Large tower speakers with demanding woofers show bigger improvements than small bookshelf models. Speakers with complex crossover networks respond better than simple two-way designs.
Setting up your receiver for bi-amping
Most modern AV receivers support bi-amp mode through their setup menus. The exact steps vary by brand, but the process is similar.
Access your receiver’s speaker configuration menu. Look for options like “amp assign,” “speaker configuration,” or “bi-amp mode.” Select the channels you want to reassign.
Tell the receiver which speakers you’re bi-amping. Usually, you’ll choose front left and right. The receiver will stop sending surround signals to those channels and instead duplicate the front channel signal.
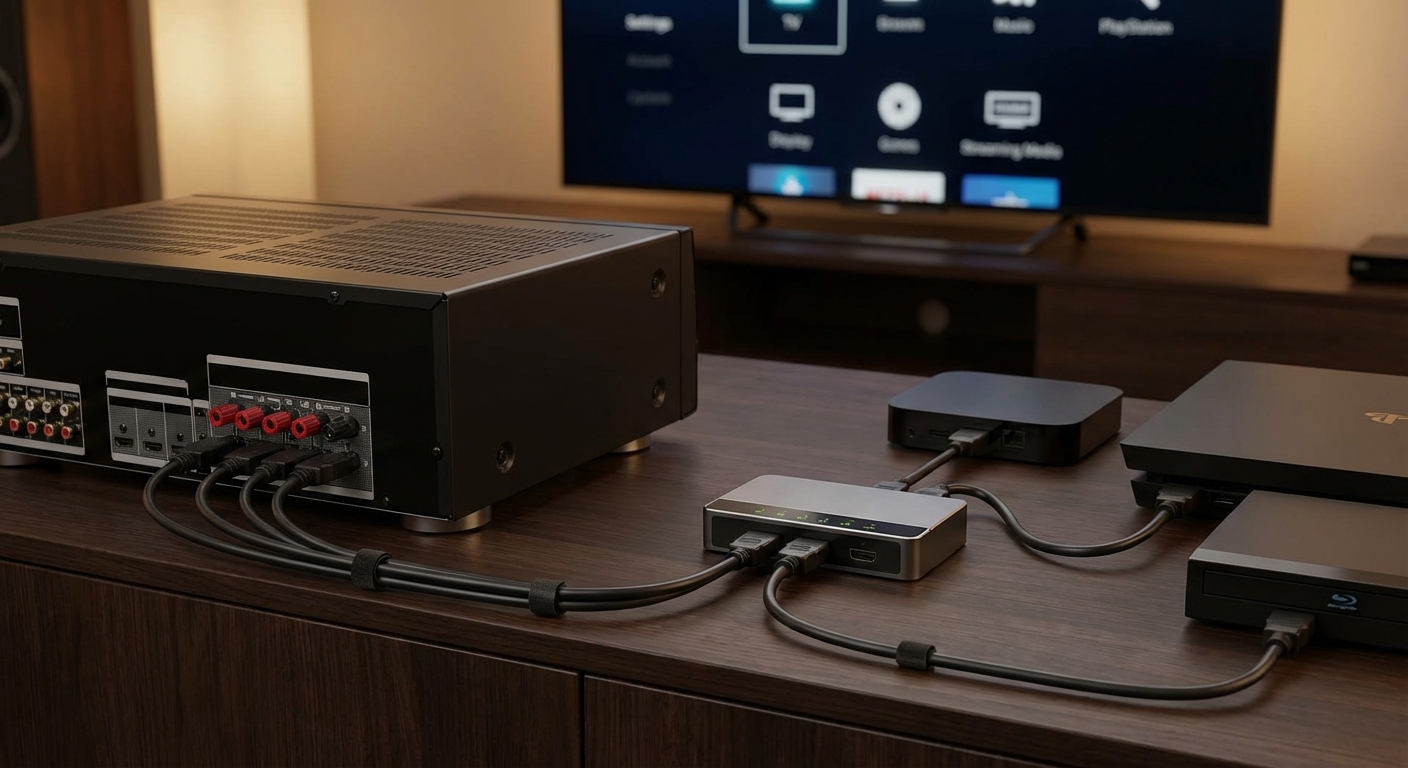
Connect your speaker cables. Run one cable from the “front left” output to your left speaker’s HF terminals. Run another from “surround left” (or whichever channel you reassigned) to the same speaker’s LF terminals. Repeat for the right speaker.
Test your setup with a frequency sweep or test tone. Both terminal pairs should produce sound. If one pair is silent, check your receiver settings and cable connections.
Cable selection and wire gauge
People obsess over cable quality for bi-wiring and bi-amping. The truth is simpler than the marketing suggests.
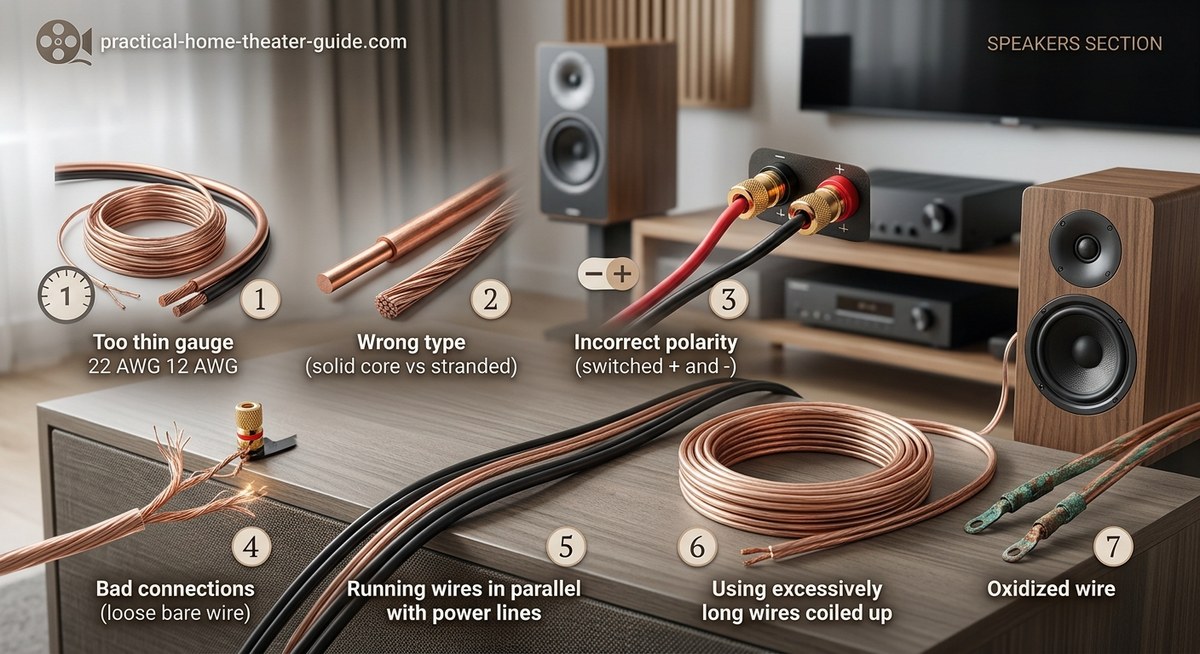
Use decent quality copper wire with proper gauge for your run length. For runs under 50 feet, 16-gauge works fine for most speakers. For longer runs or very power-hungry speakers, step up to 14-gauge or 12-gauge.
Matching cables matters more than exotic materials. If you’re bi-amping, use the same model cable for all four runs. Different cables have different resistance and capacitance, which can create tonal imbalances.
Banana plugs make connections easier and cleaner, especially when you’re dealing with four cables per speaker instead of two. They’re not required, but they’re convenient.
Don’t waste money on cables that cost more than your speakers. Copper is copper. Solid connections matter more than fancy jackets and gold-plated connectors.
When single-wire is the smarter choice
Sometimes the best upgrade isn’t bi-wiring or bi-amping. It’s using your existing setup better.
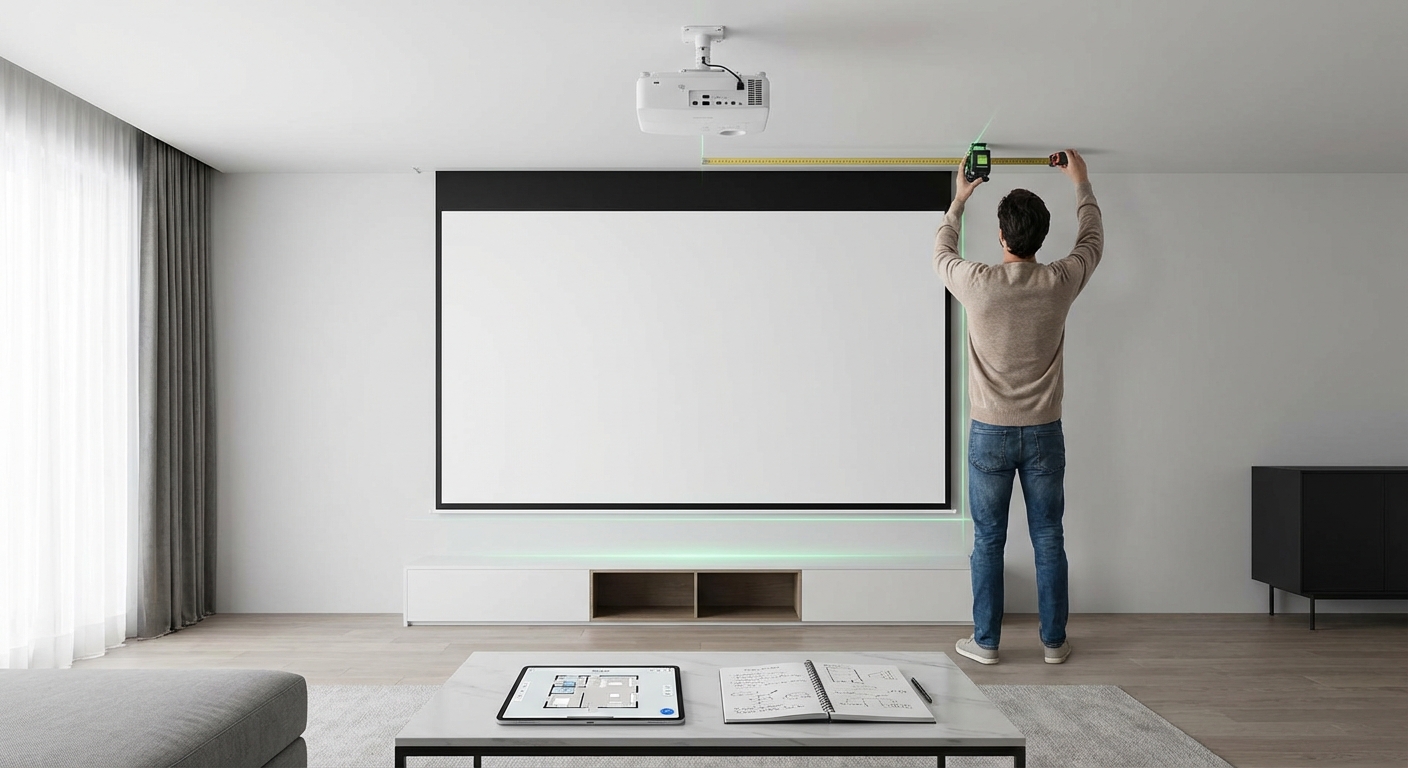
If your speakers struggle to fill your room, adding another TV that fits your space properly creates a more immersive experience than any wiring change. Room size and speaker placement matter more than terminal configuration.
If your receiver runs hot during loud passages, you might need more efficient speakers or a more powerful amplifier. Bi-amping helps, but it’s not a substitute for adequate power.
If your system already sounds great, don’t fix what isn’t broken. Spend your upgrade budget on content, better source components, or room treatment.
Making the decision that fits your setup
Bi-wiring vs bi-amping isn’t about which one is universally better. It’s about which one makes sense for your specific equipment, room, and listening habits.
Start simple. If you have the channels and cables, try passive bi-amping. Listen critically. Keep it if you like it. Remove it if you don’t.
Avoid bi-wiring unless you already own the cables or got them free with a speaker purchase. The benefits don’t justify the cost for most people.
Save active bi-amping for future projects when you’re ready to build a dedicated system from scratch. It’s too complex and expensive to retrofit into an existing setup unless you’re deeply committed to the hobby.
Your speakers will sound better with proper placement, room treatment, and calibration than they will with any wiring configuration. Get those fundamentals right first. Then experiment with bi-amping if you’re curious.


Leave a Reply