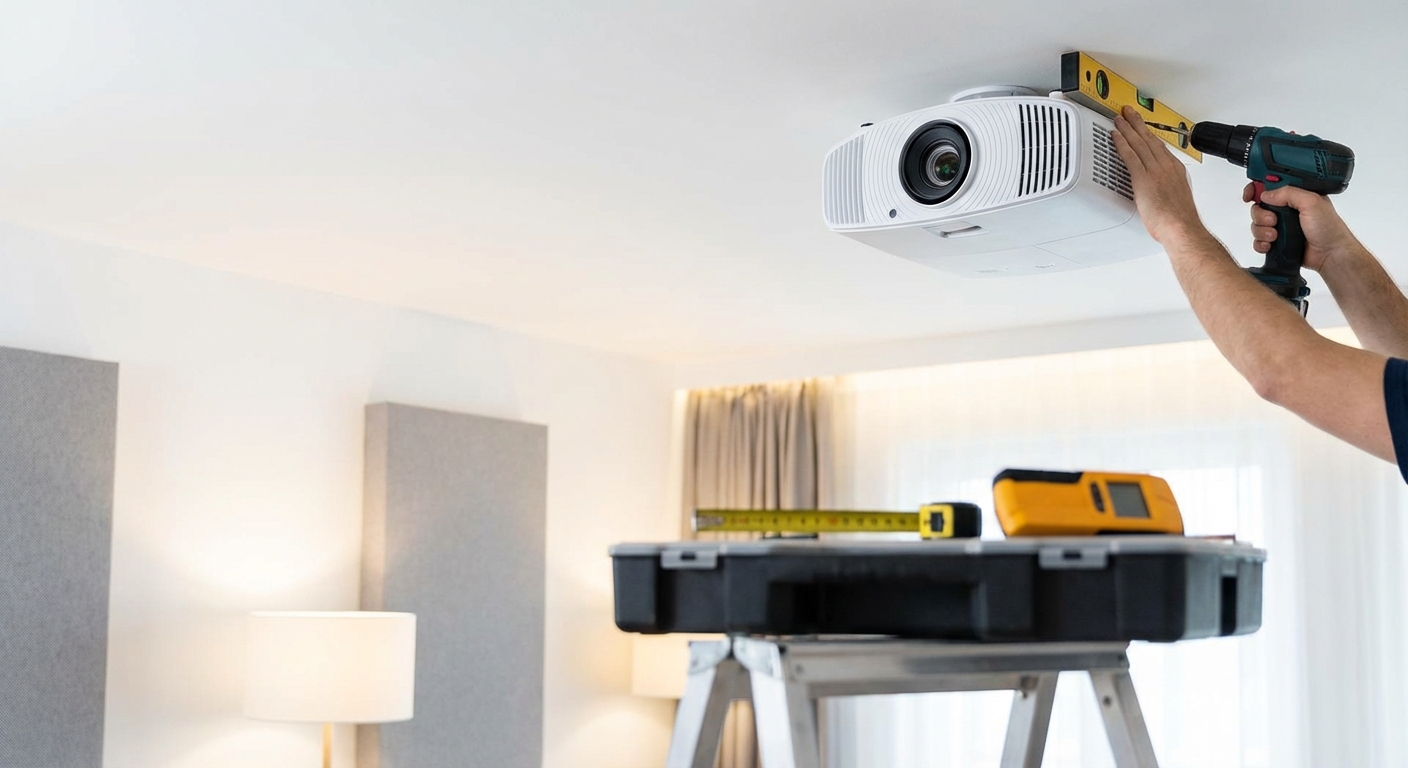
Mounting a projector to your ceiling transforms your living room into a real theater. But one wrong move can damage your equipment, crack your ceiling, or leave you with a crooked image that drives you crazy every movie night.
The good news? With the right approach, you can install a ceiling-mounted projector yourself in an afternoon. No professional installer needed.
Mounting a projector to the ceiling requires finding ceiling joists, calculating throw distance and offset, securing the mount properly, and managing cables cleanly. The process takes 2-4 hours and needs basic tools like a stud finder, drill, and measuring tape. Proper planning prevents costly mistakes like drilling into electrical lines or mounting in the wrong position.
Why ceiling mounting beats other options
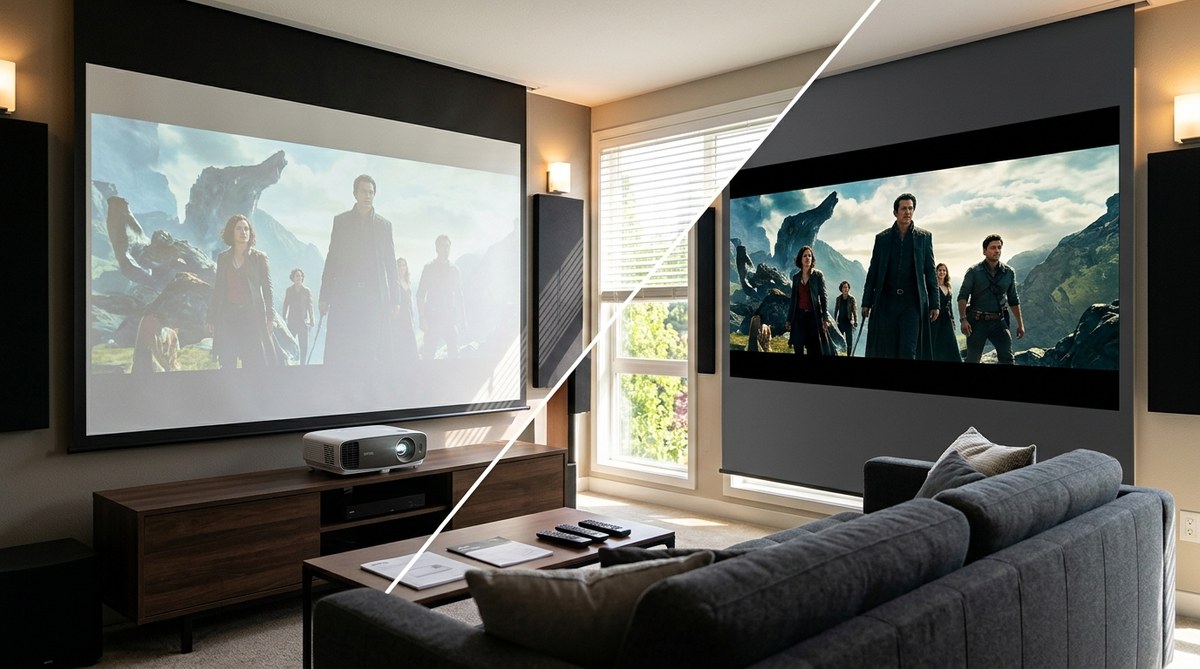
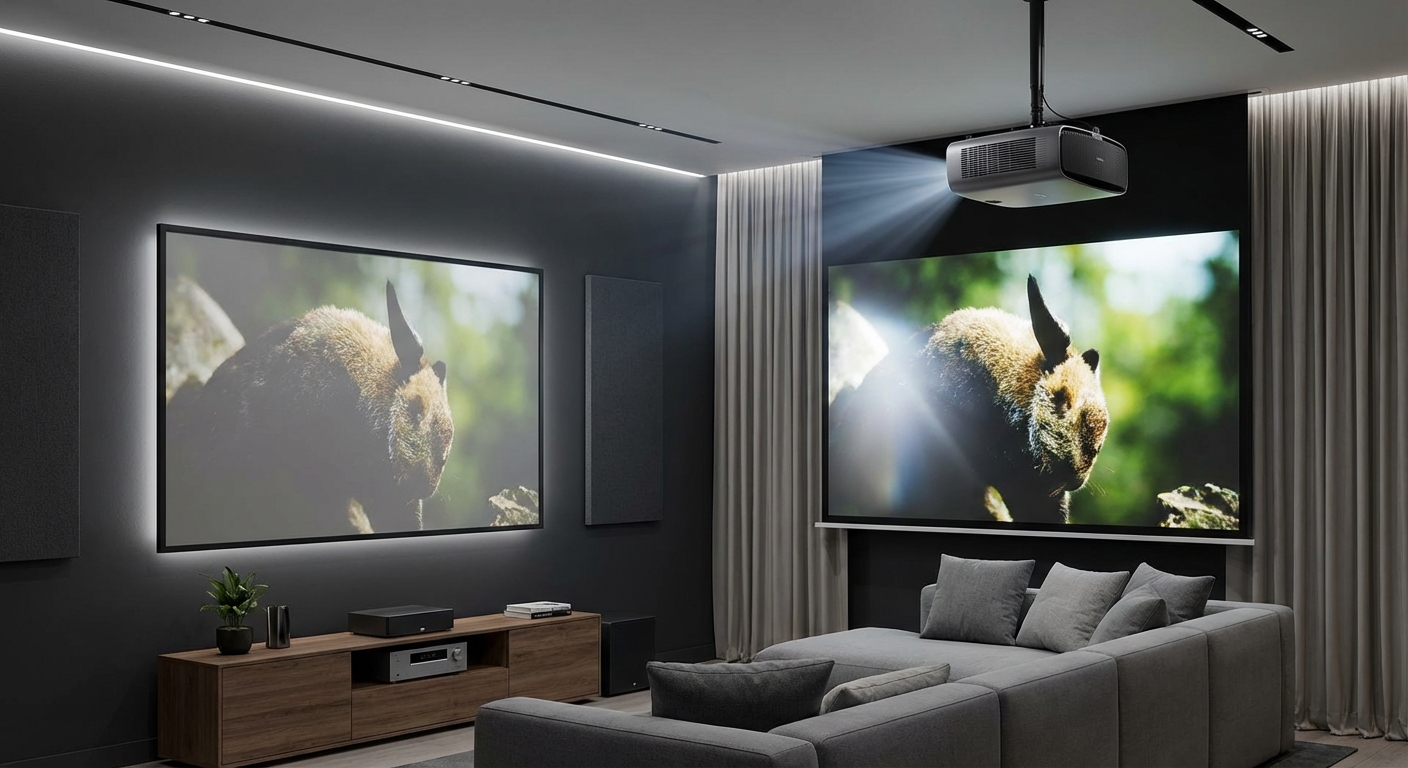
A ceiling-mounted projector keeps your floor clear and protects your equipment from bumps and spills. Kids and pets can’t knock it over. You won’t trip over cables running across the room.
Ceiling placement also gives you better image quality. The projector sits at the ideal height and distance from your screen. You avoid shadows from people walking in front of it.
Plus, it just looks cleaner. No bulky shelf taking up wall space. No awkward stand in the middle of the room.
Tools and materials you need
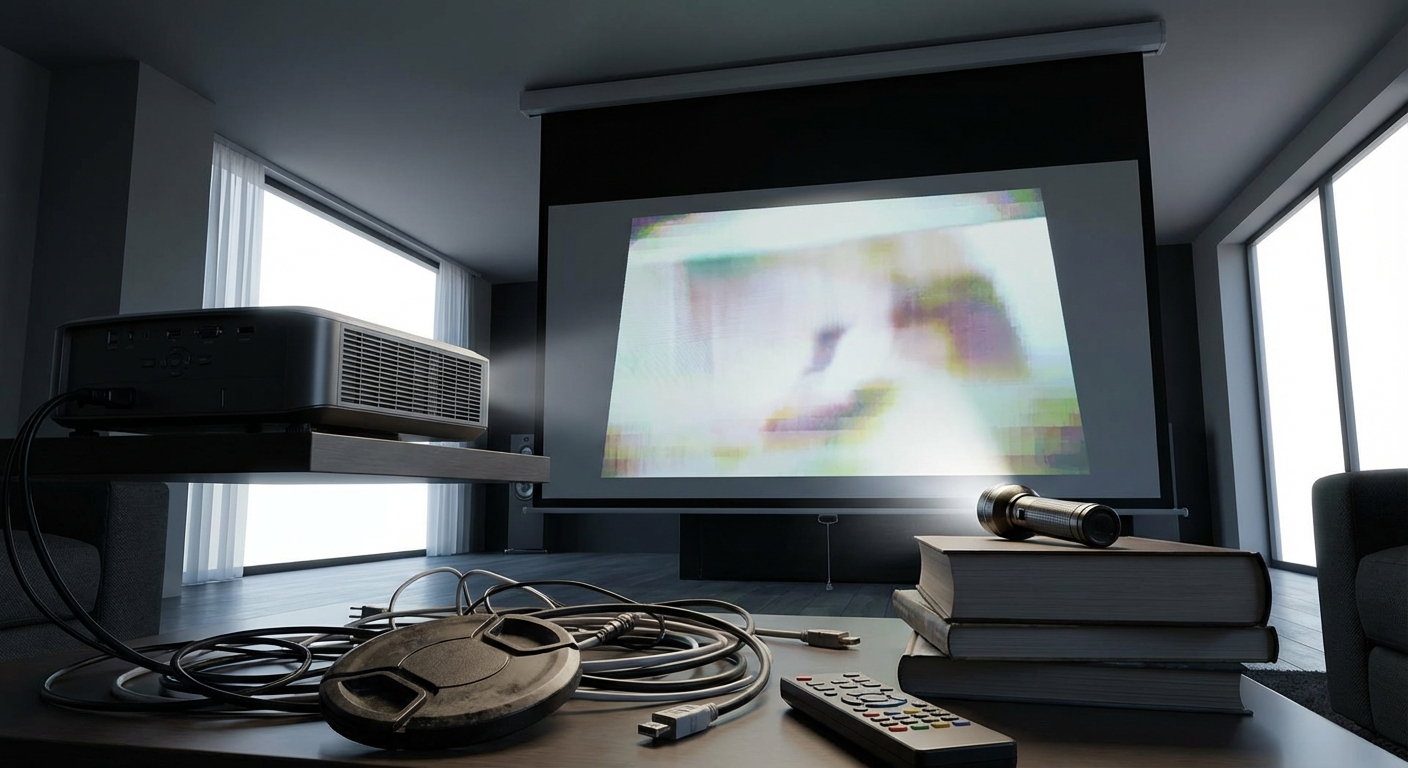
Gather everything before you start. Stopping mid-installation to run to the hardware store wastes time and breaks your focus.
Essential tools:
- Stud finder (electronic models work best)
- Power drill with drill bits
- Screwdriver set
- Measuring tape (25-foot minimum)
- Pencil for marking
- Level (laser level makes this easier)
- Step ladder or sturdy chair
- Safety glasses
Materials:
- Ceiling mount compatible with your projector model
- Lag bolts or toggle bolts (usually included with mount)
- Cable management kit or conduit
- HDMI cable (measure the distance first)
- Power extension if needed
- Wire fish tape if running cables through walls
Check your projector’s weight and mounting hole pattern before buying a mount. The manual lists these specifications. Most universal mounts handle projectors up to 30 pounds, but verify compatibility.
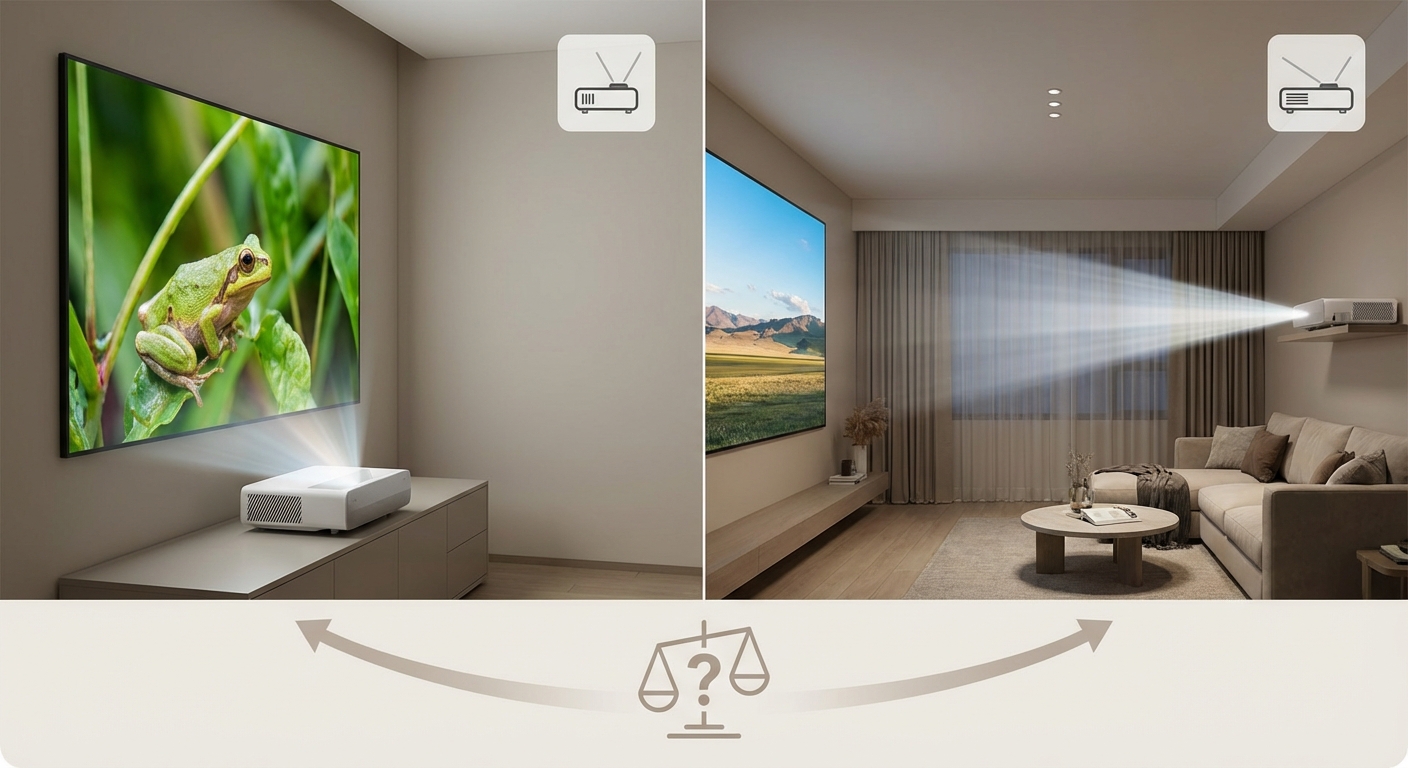
Calculate your mounting position
This step prevents the most common mistake: mounting in the wrong spot. You need to know exactly where the projector goes before drilling any holes.
Find your throw distance
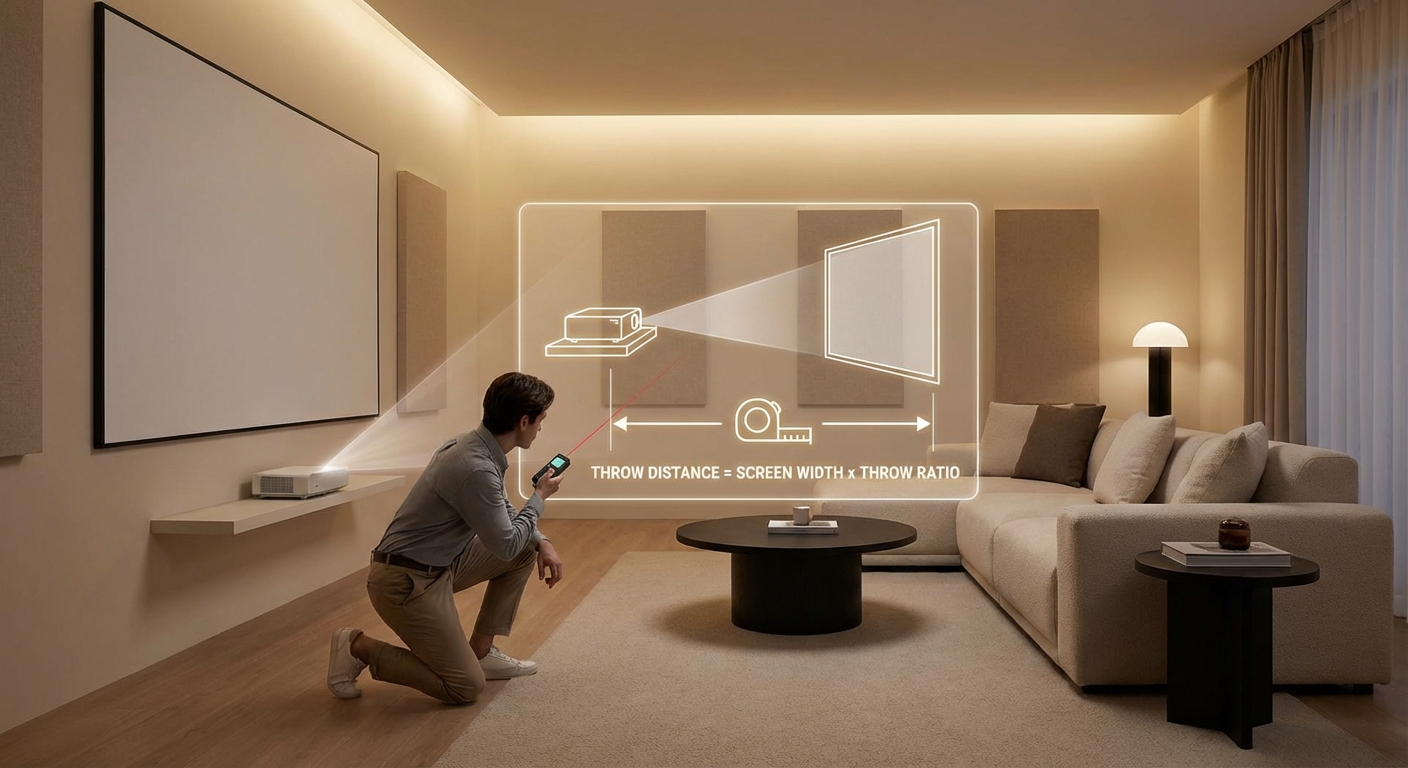
How to calculate projector throw distance for your room size determines how far the projector sits from your screen. Most projector manuals include a throw distance calculator or chart.
For example, if you have a 100-inch screen and your projector has a 1.5:1 throw ratio, you need the lens 150 inches (12.5 feet) from the screen.
Measure from where your screen hangs, not from the wall. Add a few inches for adjustment room.
Account for vertical offset
Vertical offset describes how far above or below the lens your image appears. Some projectors shoot the image straight out. Others angle it upward or downward.
Check your manual for the offset percentage. A projector with 10% offset on a 100-inch screen places the image 10 inches above the lens centerline.
This number determines your ceiling mounting height. Get it wrong and you’ll have a tilted image that keystone correction can’t fully fix.
Mark the centerline
Use painter’s tape to mark the horizontal centerline of your screen on the ceiling. Measure from both walls to ensure it’s truly centered.
This line guides your mount placement. The projector lens should align with this centerline for a perfectly centered image.
Step-by-step installation process
Now comes the actual mounting. Work carefully and double-check each step.
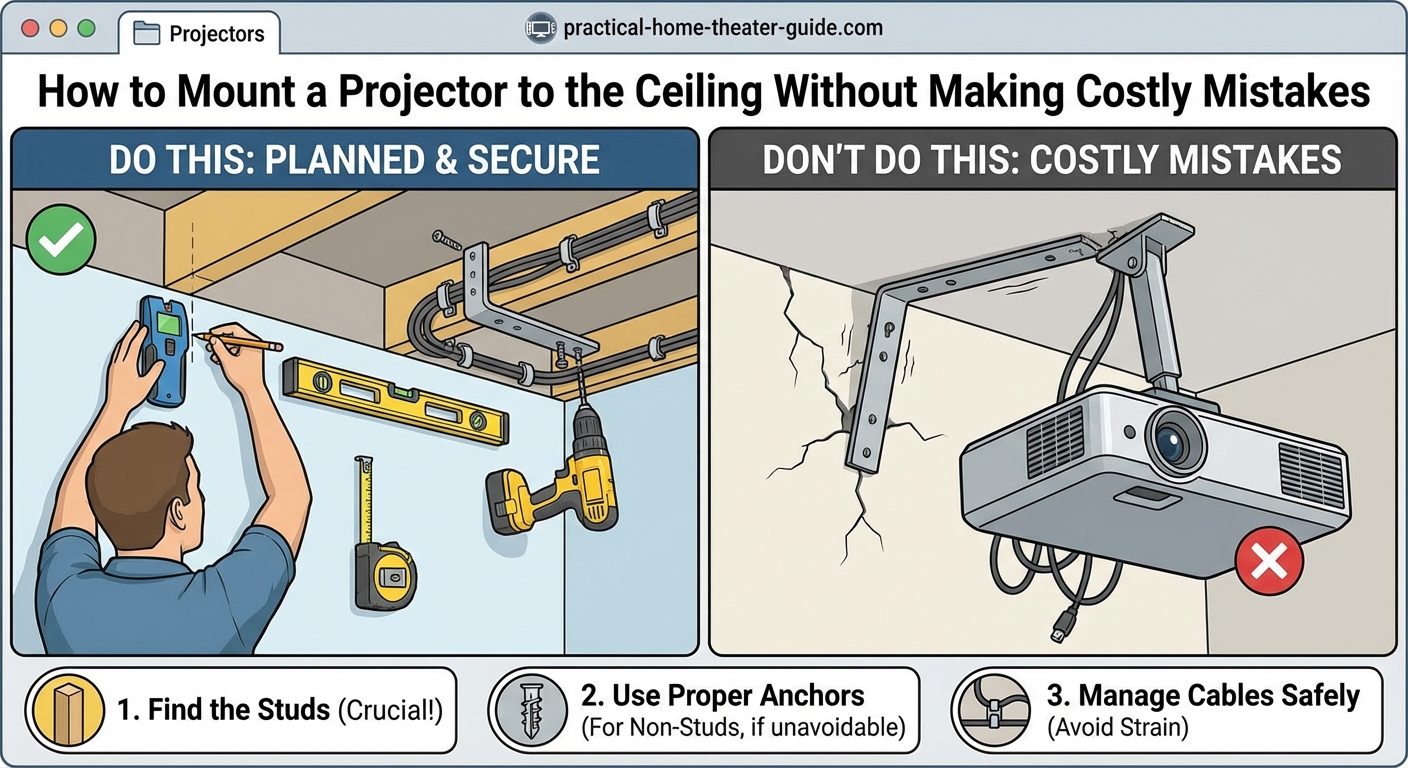
1. Locate ceiling joists
Turn on your stud finder and move it slowly across the ceiling near your marked position. Mark each joist location with pencil.
Ceiling joists typically run 16 or 24 inches apart. You need to anchor your mount into at least one joist for a secure installation.
If no joist exists at your ideal mounting spot, you have two options. Use a ceiling mount with an adjustable arm that reaches to a joist. Or install a mounting board between two joists to create a solid anchor point.
Never use drywall anchors alone for projector mounts. They can’t support the weight safely.
2. Drill pilot holes
Hold the ceiling plate against the ceiling at your marked position. Mark the screw holes with a pencil.
Drill pilot holes slightly smaller than your lag bolts. This prevents the wood from splitting while giving the bolts something to grip.
Wear safety glasses. Drilling overhead sends debris into your face.
3. Attach the ceiling plate
Line up the ceiling plate with your pilot holes. Drive lag bolts through the plate into the joists.
Tighten them firmly but don’t overtighten. You want the plate flush against the ceiling without cracking the drywall around it.
Use your level to verify the plate sits flat. An uneven plate causes alignment headaches later.
4. Attach the mount to your projector
Most mounts use a universal plate that bolts to the projector’s mounting holes. Check your projector’s bottom panel for these threaded holes.
Thread the bolts through the mounting plate into the projector. Hand-tighten them first, then use a screwdriver for the final turn.
Confirm the plate sits flush against the projector. Any gap means you’re using the wrong bolt length.
5. Connect the projector to the ceiling mount
This step varies by mount type. Most use a twist-lock mechanism or sliding rail system.
Have someone help you with this part. Projectors are awkward to hold overhead while connecting them to the mount.
Slide or twist the projector assembly onto the ceiling plate until you hear it click or lock into place. Tug gently to confirm it’s secure.
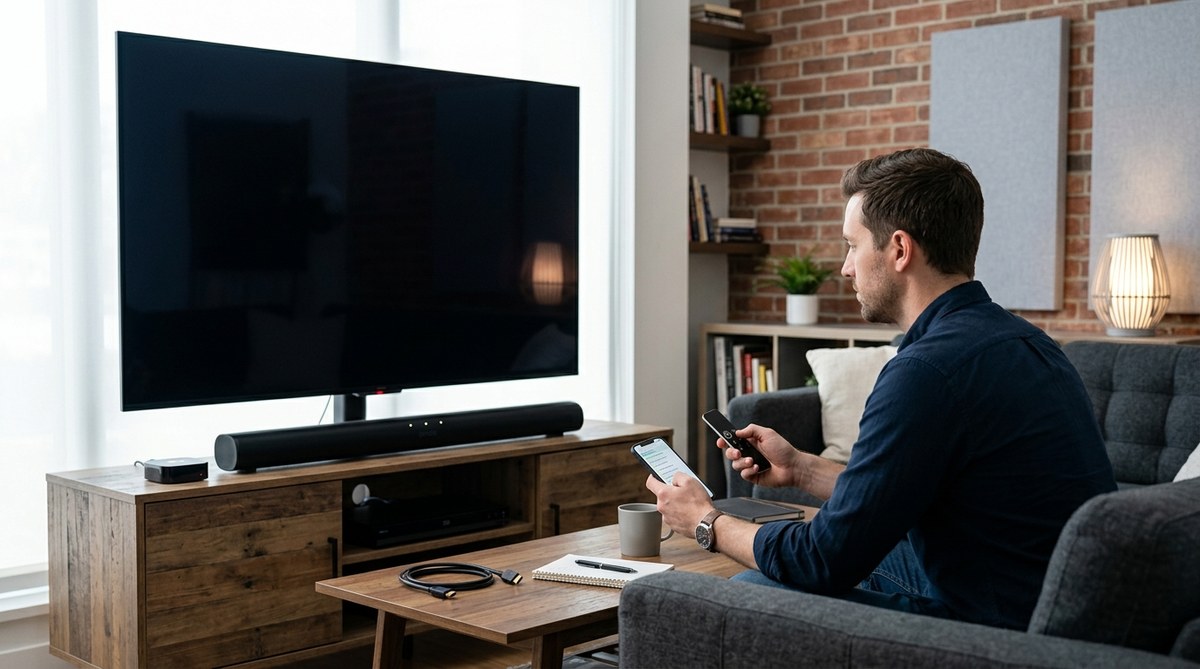
6. Run and manage cables
Plan your cable route before running anything. The cleanest approach runs cables through the wall to an outlet behind your equipment.
How to run speaker wire through walls without damaging your home uses similar techniques for projector cables. You’ll need to fish HDMI and power cables through the wall cavity.
If running cables through walls feels too advanced, use cable raceways along the ceiling and wall. Paint them to match your ceiling color for a cleaner look.
Leave some slack in the cables near the projector. This allows for final adjustments without pulling on the connections.
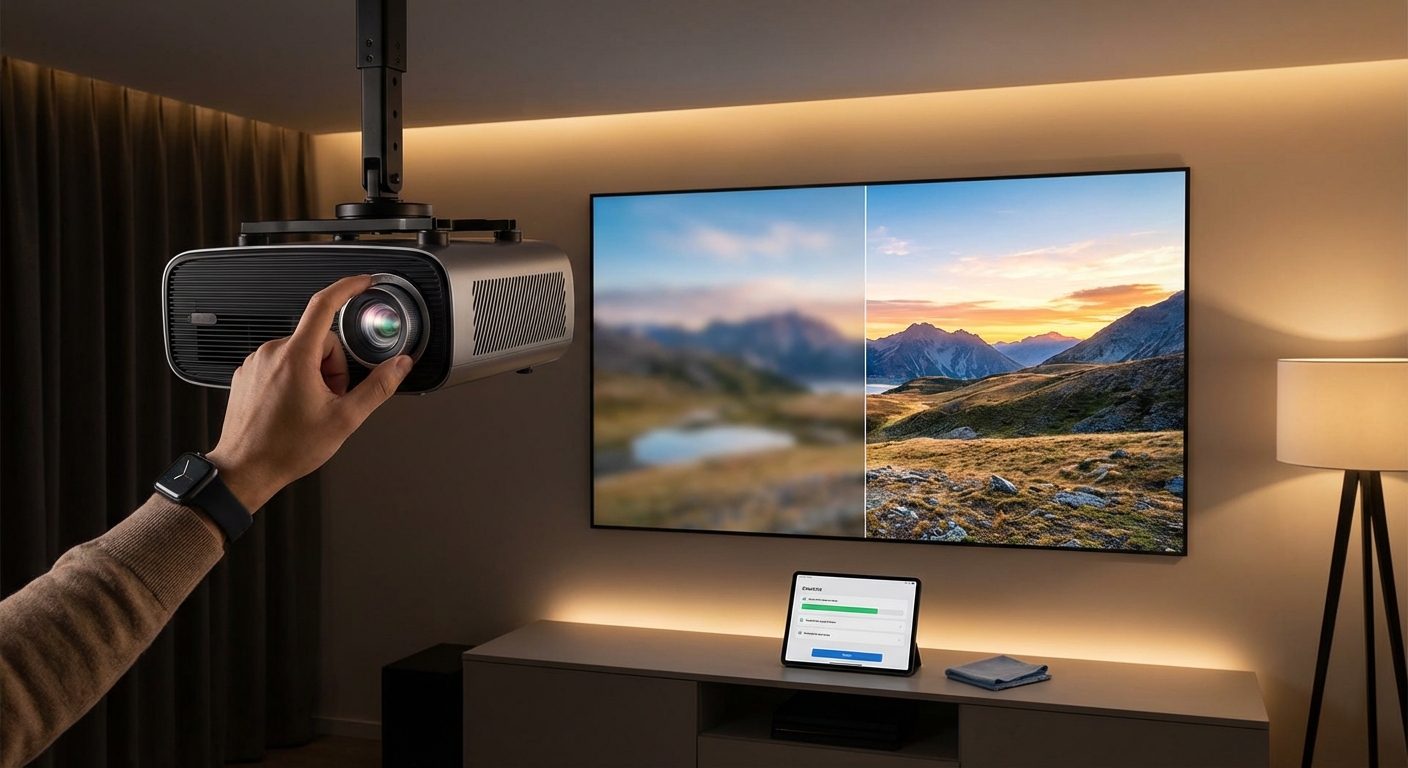
7. Adjust and align the image
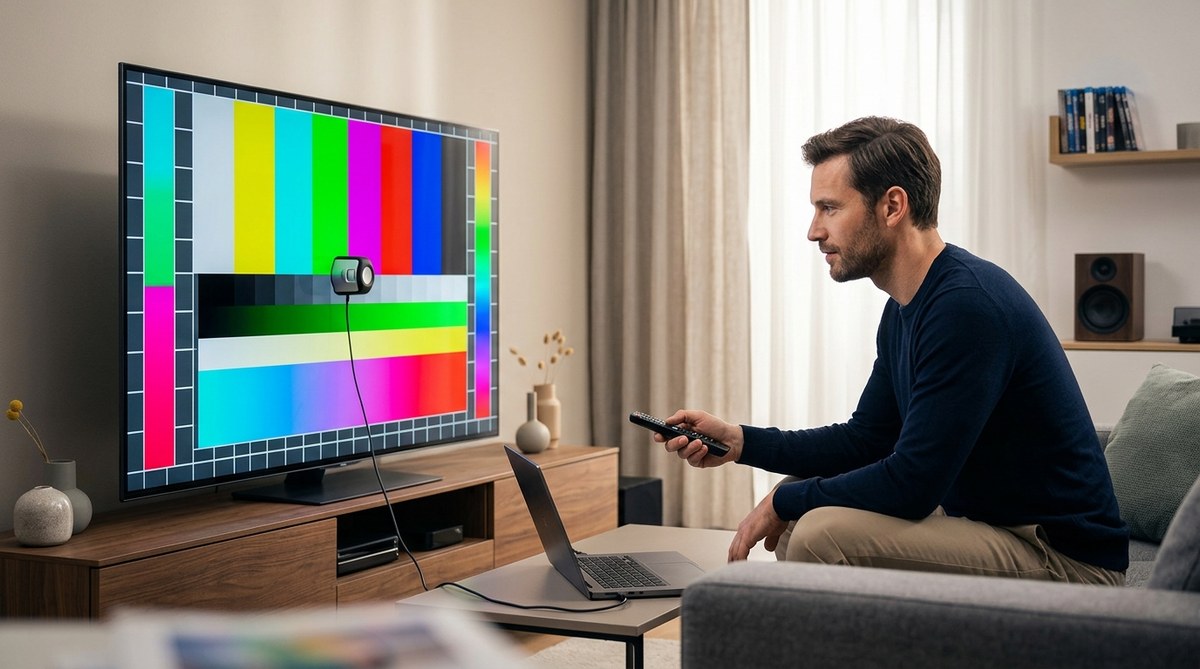
Power on the projector and display a test pattern or grid. Use the mount’s adjustment knobs to level the image.
Most mounts let you adjust pitch (up and down tilt), roll (side to side tilt), and yaw (rotation). Make small adjustments and check the result after each change.
Turn on the projector’s keystone correction only as a last resort. Manual alignment always produces better image quality than digital correction.
Common mistakes that cost time and money
| Mistake | Why it happens | How to avoid it |
|---|---|---|
| Drilling into electrical wires | Ceiling wiring often runs parallel to joists | Use a wire detector before drilling, avoid drilling deeper than 2 inches |
| Mounting too close or too far | Skipping throw distance calculations | Measure twice, use your projector’s throw calculator |
| Stripping screw holes | Over-tightening lag bolts | Stop when the plate sits flush, don’t force it |
| Crooked image | Mounting plate not level | Use a laser level during installation, check from multiple angles |
| Sagging mount over time | Using drywall anchors instead of joists | Always anchor into solid wood joists |
| Cable strain on ports | Not leaving enough slack | Add 12 inches of extra cable length for adjustments |
Different ceiling types need different approaches
Standard drywall ceilings with wood joists are straightforward. But your ceiling might need a modified approach.
Drop ceilings: Remove a ceiling tile and install a drop ceiling projector mount. These mounts attach to the grid system or the structural ceiling above it. Never hang a projector from the grid alone.
Concrete ceilings: Use a hammer drill with masonry bits and concrete anchors rated for your projector’s weight. Pilot holes in concrete require more time and the right bit type.
Vaulted or sloped ceilings: Buy an adjustable mount designed for angled ceilings. These mounts include extended adjustment ranges to level the projector even when the ceiling isn’t level.
Popcorn or textured ceilings: The texture makes it harder to get a flush mount. Consider using a ceiling medallion or mounting plate that sits on top of the texture for better contact.
Testing your installation
Before you put away your tools, run through these checks.
Turn the projector on and off several times. Watch for any movement or sagging in the mount. The projector should stay rock solid.
Play a movie with bright and dark scenes. Look for any image shift or vibration during loud action sequences. A properly mounted projector won’t move.
Adjust the zoom and focus to their extremes. The mount should handle these changes without shifting.
Walk around the room during playback. Make sure the projector doesn’t block any doorways or create awkward shadows.
A properly installed ceiling mount should feel completely secure. If you have any doubt about stability, stop and reinforce the mounting point. It’s better to spend an extra hour now than replace a broken projector later.
Fine-tuning for the best picture
Your projector is mounted, but you’re not done yet. Small adjustments make a big difference in image quality.
Adjust the lens shift if your projector has it. This feature moves the image without tilting the projector, which maintains the best picture quality.
Set the aspect ratio to match your screen. Most home theater screens use 16:9, but verify yours before assuming.
Disable any motion smoothing or image enhancement features. These often make movies look artificial. Your projector’s cinema or film mode usually gives the most accurate picture.
Check the focus across the entire screen, not just the center. Some projectors have focus issues at the corners. Adjust the focus ring until the entire image looks sharp.
When to call a professional
Most DIY enthusiasts can handle a basic ceiling mount installation. But some situations need professional help.
Call a pro if you need to run cables through multiple floors or finished ceilings with no attic access. They have specialized tools for these jobs.
Hire an electrician if you want to add a dedicated outlet near your projector. Running new electrical lines requires permits and expertise.
Consider professional help for very high ceilings. Working on a ladder above 12 feet gets dangerous without proper equipment and training.
If your ceiling has asbestos texture (common in homes built before 1980), don’t drill into it yourself. Asbestos requires special handling and removal procedures.
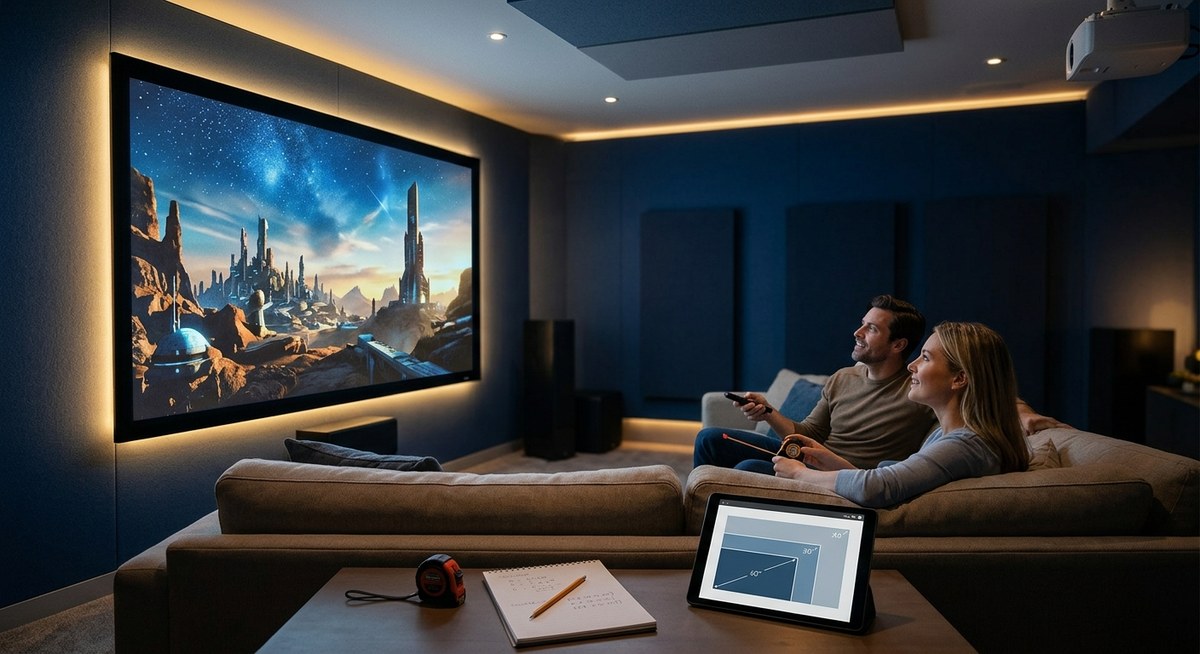
Your home theater is ready
You’ve mounted your projector safely and correctly. The hardest part is behind you.
Take a moment to clean your lens and check all your connections one final time. Grab some popcorn and test your new setup with your favorite movie. You’ll notice details you missed on your old TV setup.
The first time you watch a film on your ceiling-mounted projector, you’ll understand why you put in the effort. That big, crisp image floating on your wall creates an experience no television can match.
Leave a Reply