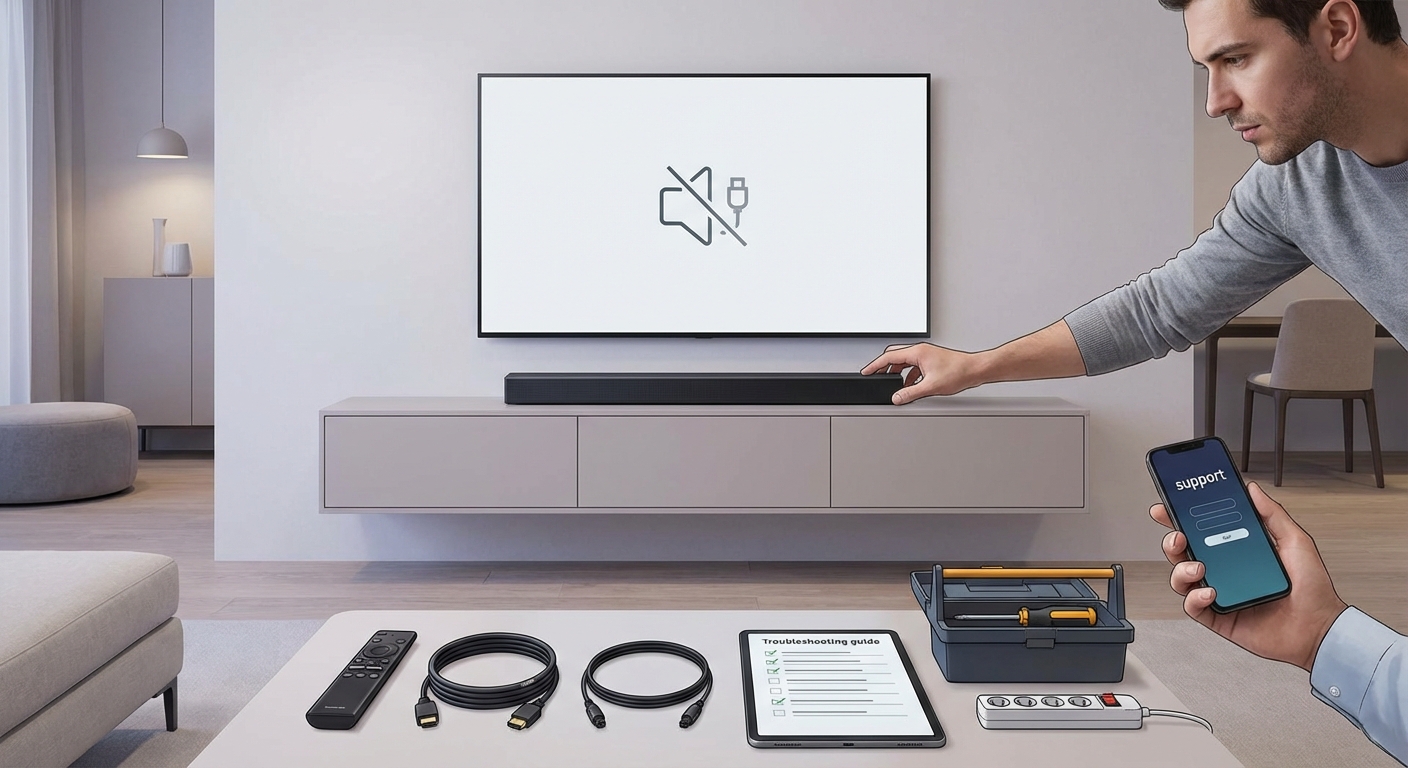
Your home theater was working perfectly last night. Now you grab the remote, press the input button, and nothing happens. Or worse, you get a black screen that refuses to go away no matter which source you select.
This problem hits thousands of home theater owners every week, and it’s incredibly frustrating when you just want to watch a movie or play a game.
Most receiver input switching failures stem from HDMI handshake issues, incorrect settings, or simple connection problems. You can fix 90% of these issues yourself by following a systematic troubleshooting process that starts with basic power cycles and progresses through cable checks, firmware updates, and receiver settings adjustments. Professional help is rarely needed.
Why Your Receiver Stops Switching Between Inputs
AV receivers manage multiple video and audio sources through complex digital handshakes. When something breaks that chain, your receiver either refuses to switch or displays nothing at all.
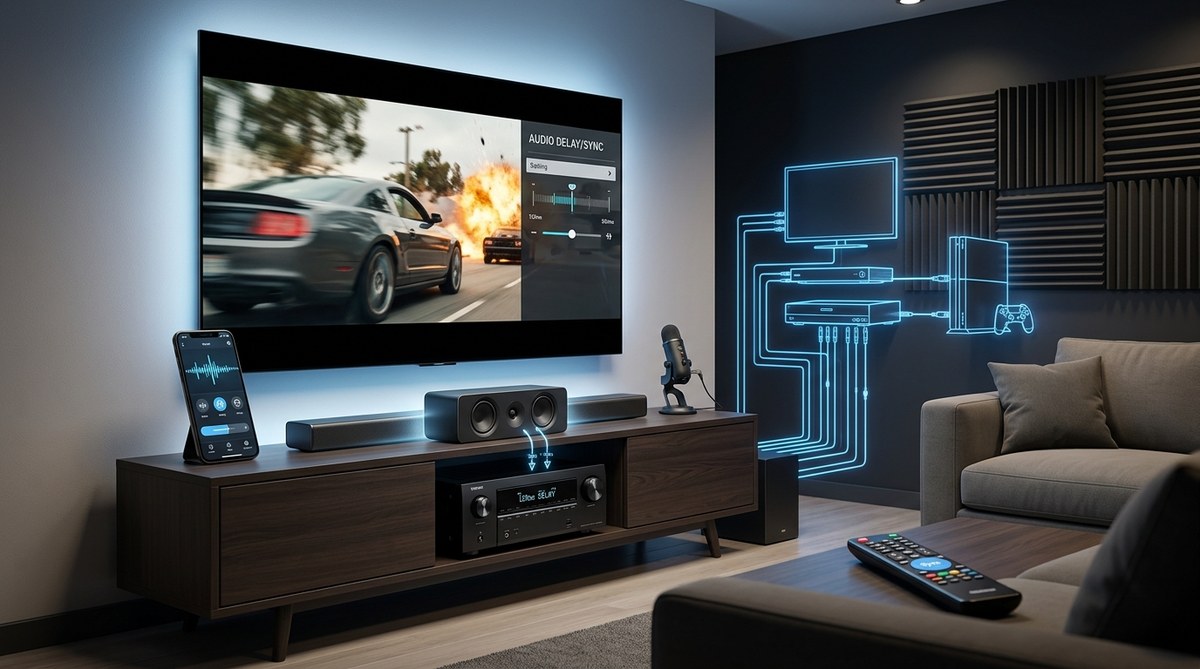
The most common culprit is HDMI handshake failure. Your receiver, TV, and source device need to communicate their capabilities every time you switch inputs. If any device in that chain doesn’t respond correctly, the whole system stalls.
Firmware bugs rank second. Manufacturers release receivers with software that sometimes contains switching glitches. A gaming console update or TV firmware change can suddenly make your previously stable setup unreliable.
Physical connection issues come third. A slightly loose HDMI cable creates intermittent contact that confuses the receiver’s input detection system.
Start With the Simplest Fixes First
Before you tear apart your entertainment center, try these basic solutions. They solve the problem about 40% of the time.
Power cycle everything in sequence
- Turn off your TV completely using its power button, not the remote.
- Power down your AV receiver and unplug it from the wall outlet.
- Turn off all connected source devices (gaming consoles, Blu-ray players, streaming boxes).
- Wait exactly two minutes for all capacitors to fully discharge.
- Plug in and power on your receiver first.
- Turn on your TV second.
- Power on one source device and test input switching.
- Add the remaining devices one at a time.
This full reset clears the HDMI handshake memory and forces all devices to renegotiate their connections from scratch.
Check your remote batteries and receiver display
Dead or weak batteries cause partial button presses that register on your remote’s LED but don’t send complete signals. Replace the batteries even if they seem fine.
Look at your receiver’s front panel display while pressing the input button. If the display changes but your TV shows nothing, the problem lies between your receiver and TV, not with the input switching itself.
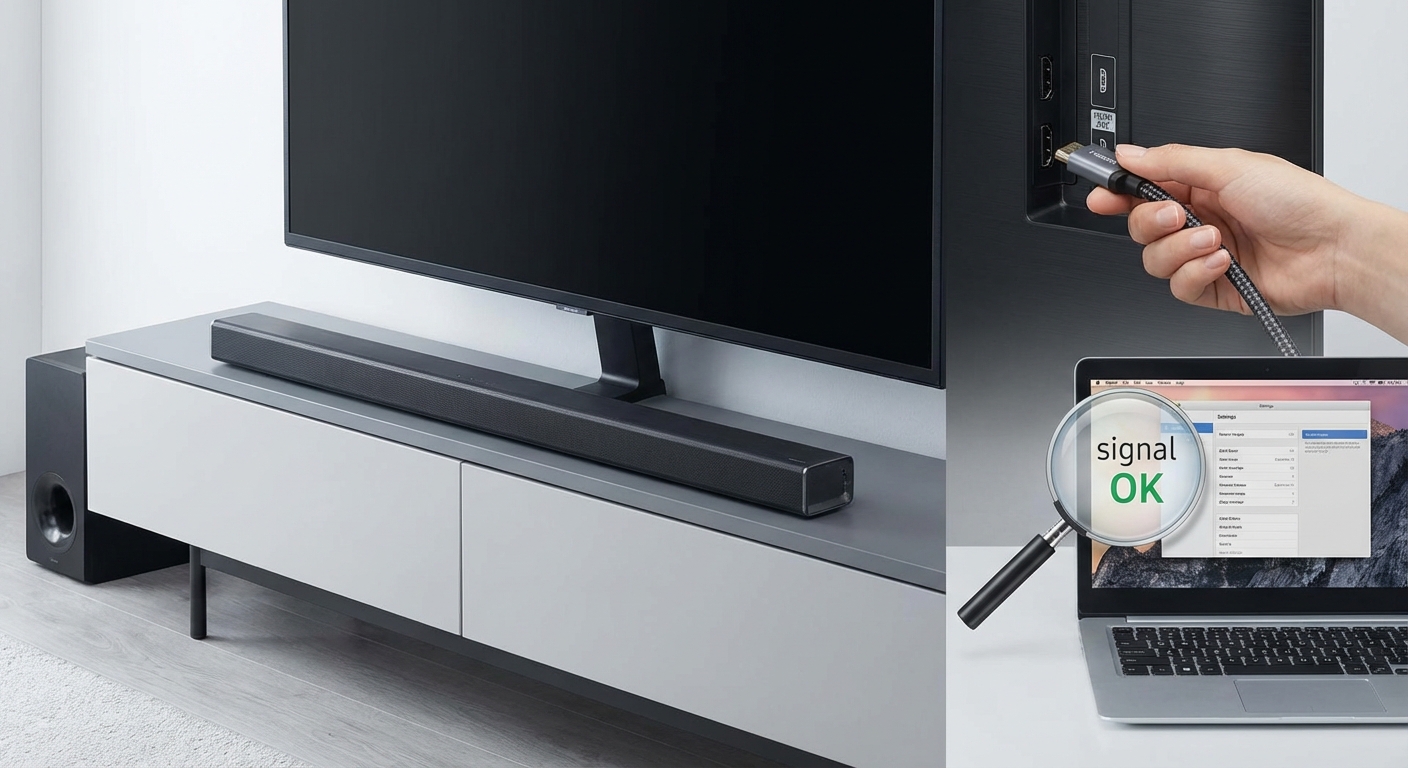
Fix HDMI Connection Problems
HDMI cables and ports cause more switching issues than any other single factor. The connections look solid but often aren’t.
Remove each HDMI cable and inspect both ends. Look for bent pins inside the receiver’s HDMI ports. Even one damaged pin prevents proper signal transmission.
Reseat every cable firmly. You should hear a subtle click when an HDMI cable seats properly. If you don’t hear or feel that click, the connection is loose.
Try different HDMI ports on your receiver. Many receivers have multiple HDMI inputs, and individual ports can fail while others work perfectly. If input 1 won’t switch but input 3 does, you’ve found a hardware problem with that specific port.
Test with a known good HDMI cable. Cables do fail, especially cheaper ones. Swap your suspect cable with one from a working device to rule out cable failure.
If you’re using HDMI cables longer than 15 feet, signal degradation becomes much more likely. Consider upgrading to certified Premium High Speed HDMI cables or adding an HDMI repeater to boost the signal.
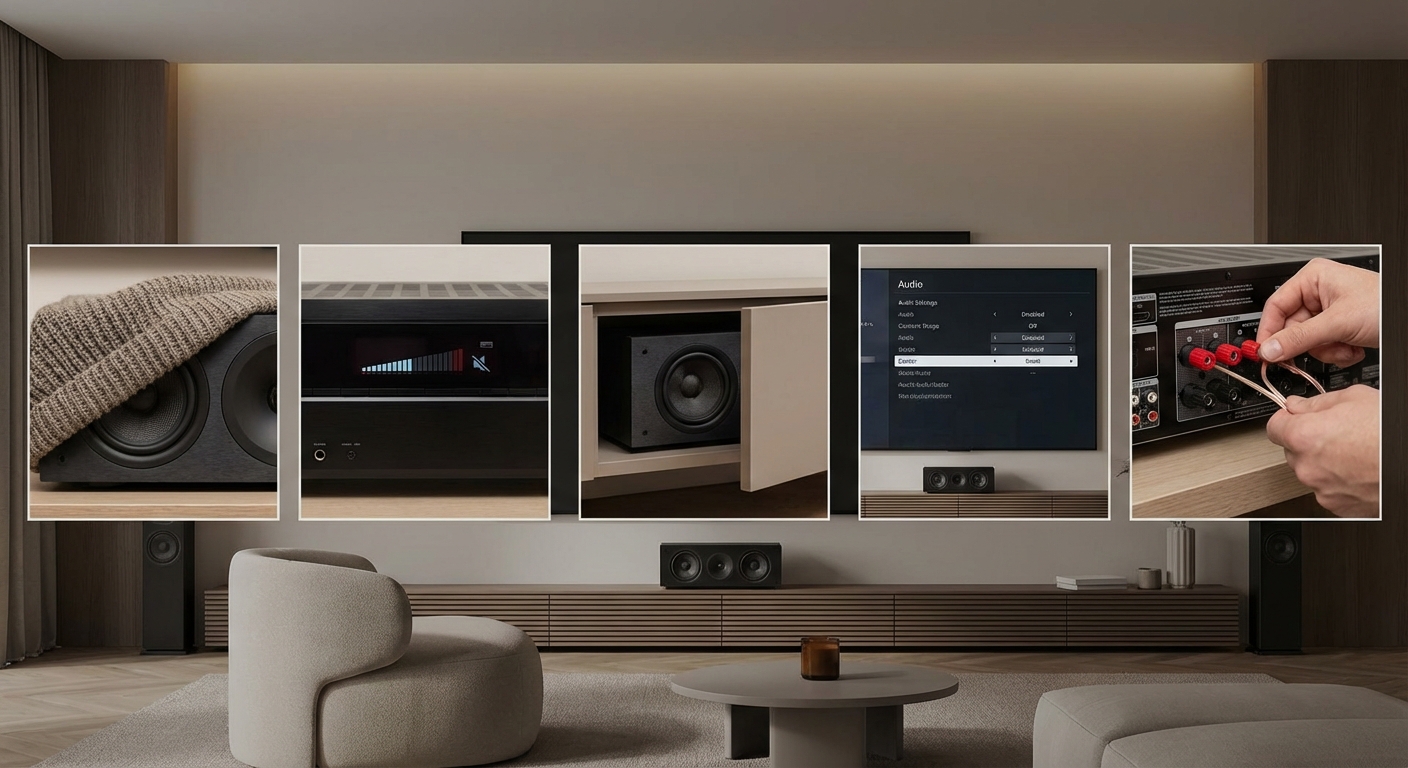
Adjust Your Receiver Settings
Hidden settings inside your receiver’s menu system can prevent input switching or cause black screens. These settings often change themselves after firmware updates or power outages.
Access your receiver’s on-screen menu using the setup button on your remote. Navigate to the HDMI settings section. Different brands use different names, but look for terms like “HDMI Control,” “CEC,” or “Link.”
Critical settings to check:
- HDMI Control/CEC: Try toggling this off, then back on. Sometimes the control protocol gets stuck.
- HDMI Audio Return Channel (ARC): Disable this temporarily to see if it’s causing conflicts.
- Input Skip/Rename: Make sure the input you’re trying to use isn’t set to “Skip” in the input selection menu.
- Resolution settings: Set your receiver to “Auto” rather than a fixed resolution.
- HDCP settings: Ensure HDCP is enabled for protected content.
Some receivers have an “HDMI Diagnostics” or “Signal Info” screen that shows whether the receiver is detecting a signal on each input. Use this to determine if the problem is signal detection or just switching.
Update Firmware on All Devices
Outdated firmware causes compatibility issues that manifest as switching failures or black screens. Manufacturers constantly release updates to fix these problems.
Check your receiver manufacturer’s website for firmware updates. You’ll need your exact model number, usually found on the back panel or in the on-screen menu under “Information” or “About.”
Most modern receivers update via network connection. Connect your receiver to your home network using Ethernet or Wi-Fi, then access the update function in the settings menu.
Update your TV firmware as well. Many switching problems occur because your TV and receiver are running incompatible firmware versions. TV updates usually appear in the settings menu under “Support” or “System Update.”
Don’t forget source devices. Gaming consoles, streaming boxes, and Blu-ray players all receive regular updates that affect HDMI communication. Enable automatic updates on these devices to prevent future compatibility issues.
Understanding Common Error Patterns
Different switching failures indicate different problems. Recognizing the pattern helps you target the right solution.
| Symptom | Most Likely Cause | Best Fix |
|---|---|---|
| No switching at all, display frozen | Receiver CPU locked up | Full power cycle with 2-minute wait |
| Switches but shows black screen | HDMI handshake failure | Change TV to different input and back |
| Some inputs work, others don’t | Specific port or cable failure | Test each cable in a working port |
| Switching works but takes 10+ seconds | Resolution negotiation delay | Set all devices to same resolution |
| Random switching without pressing buttons | CEC conflict between devices | Disable HDMI Control on all devices |
| Black screen only on specific device | HDCP compatibility issue | Update firmware on that device |
Try Alternative Connection Methods
If HDMI switching continues failing, you can work around the problem while you troubleshoot further.
Connect problem devices directly to your TV instead of through the receiver. Use your TV’s HDMI ports for video, then run an optical audio cable from the TV back to your receiver. This bypasses the receiver’s HDMI switching entirely while maintaining good audio quality.
Use an external HDMI switch. These devices handle input switching independently, sending only one signal to your receiver. This solution works well if your receiver’s HDMI board is failing but the amplifier section still works fine.
Consider component or composite video for older devices. If you’re trying to connect a DVD player or retro gaming console, analog connections often prove more reliable than HDMI adapters.
Reset Your Receiver to Factory Defaults
When nothing else works, a factory reset clears corrupted settings that might be causing switching problems.
Before resetting, write down any custom settings you want to restore later. This includes speaker calibration, input names, network passwords, and zone configurations.
The reset process varies by manufacturer, but most receivers use one of these methods:
- Hold the receiver’s power button and one other button (often “Band” or “Input”) simultaneously while plugging in the power cord.
- Access the on-screen menu and find “Reset” or “Initialize” under system settings.
- Press a small recessed reset button on the back panel using a paperclip.
After resetting, set up your receiver from scratch. Don’t restore saved settings immediately. Test input switching with the default configuration first. If switching works, your previous settings contained the problem.
Identify Hardware Failure
Sometimes your receiver has actual hardware damage that requires professional repair or replacement.
Signs of hardware failure include:
- Burning smell from the receiver
- Extreme heat from the top panel even when idle
- Crackling or popping sounds when switching inputs
- Physical damage to HDMI ports (bent pins, loose connections)
- Age over 10 years with heavy daily use
HDMI boards fail more frequently than other receiver components because they handle high-frequency digital signals and generate significant heat. Many receivers have modular HDMI boards that technicians can replace without replacing the entire unit.
Check if your receiver is still under warranty before attempting repairs. Most manufacturers offer 2-3 year warranties that cover hardware failures including HDMI switching problems.
Prevent Future Switching Problems
Once you’ve fixed your receiver, take these steps to prevent the problem from returning.
Use a surge protector rated for home theater equipment. Power surges damage HDMI chips and cause the exact switching failures you just fixed. Look for surge protectors with coaxial and ethernet protection, not just AC outlets.
Keep your receiver’s firmware current. Enable automatic updates if available, or check manually every three months. Firmware updates often include HDMI compatibility improvements.
Ensure proper ventilation around your receiver. Excessive heat degrades electronic components, especially HDMI circuitry. Leave at least three inches of clearance above your receiver and don’t stack other components on top.
Label your cables and take photos of your connections. When you eventually need to troubleshoot again, you’ll save hours by knowing exactly how everything was connected when it worked properly.
Power off your receiver when not in use for extended periods. Leaving electronics powered on 24/7 accelerates component aging. If you use your home theater daily, this doesn’t apply, but weekend-only users should power down between sessions.
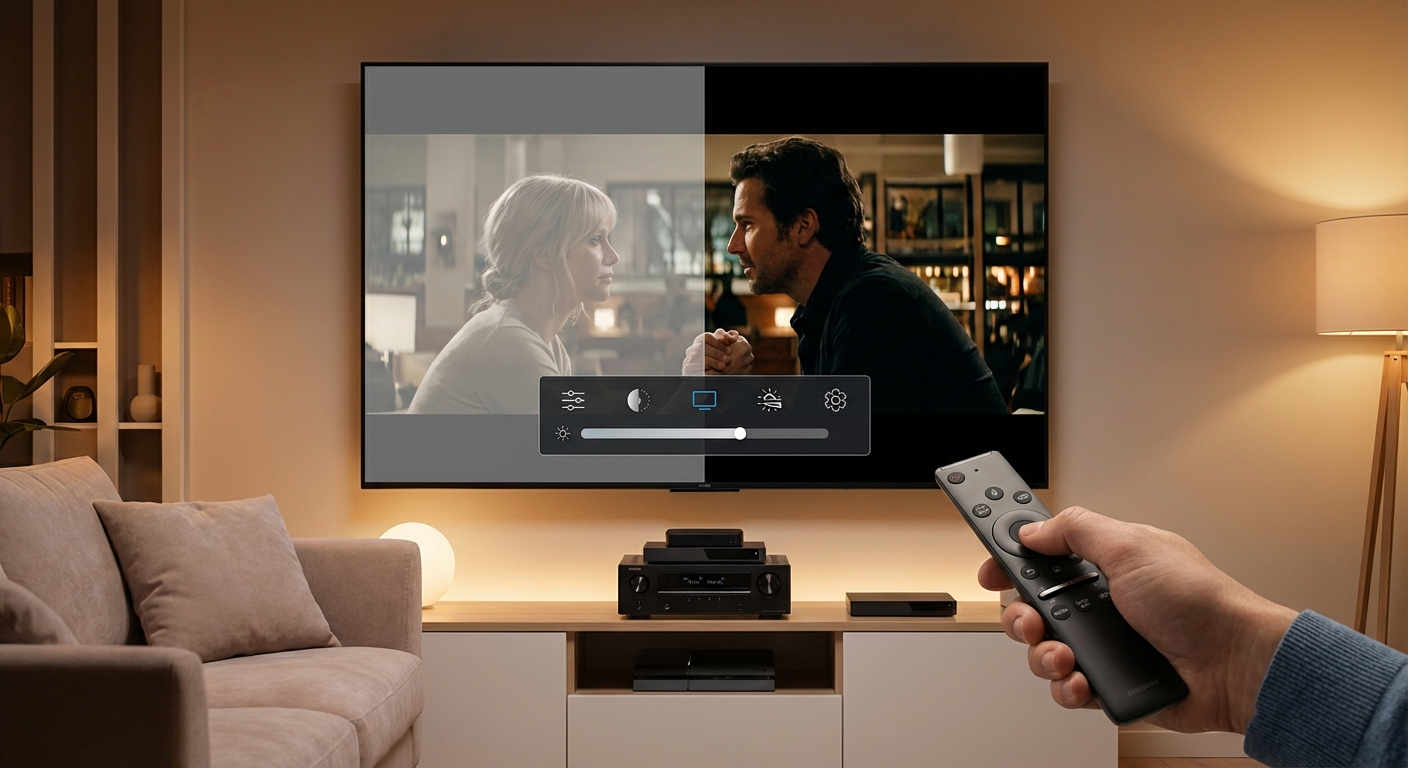
When Switching Works But Picture Quality Suffers
Sometimes your receiver switches inputs successfully but the picture looks wrong. This indicates a different category of problems.
If you notice color banding, sparkles, or dropouts after fixing switching issues, your HDMI cables might be marginal. They work well enough to establish a connection but can’t handle full bandwidth. Upgrade to certified cables rated for your resolution and refresh rate.
Black bars or stretched images suggest resolution mismatch. Your source device is outputting a resolution your TV handles poorly. Access your source device’s video settings and match them to your TV’s native resolution. Most modern TVs use 1080p or 4K (2160p).
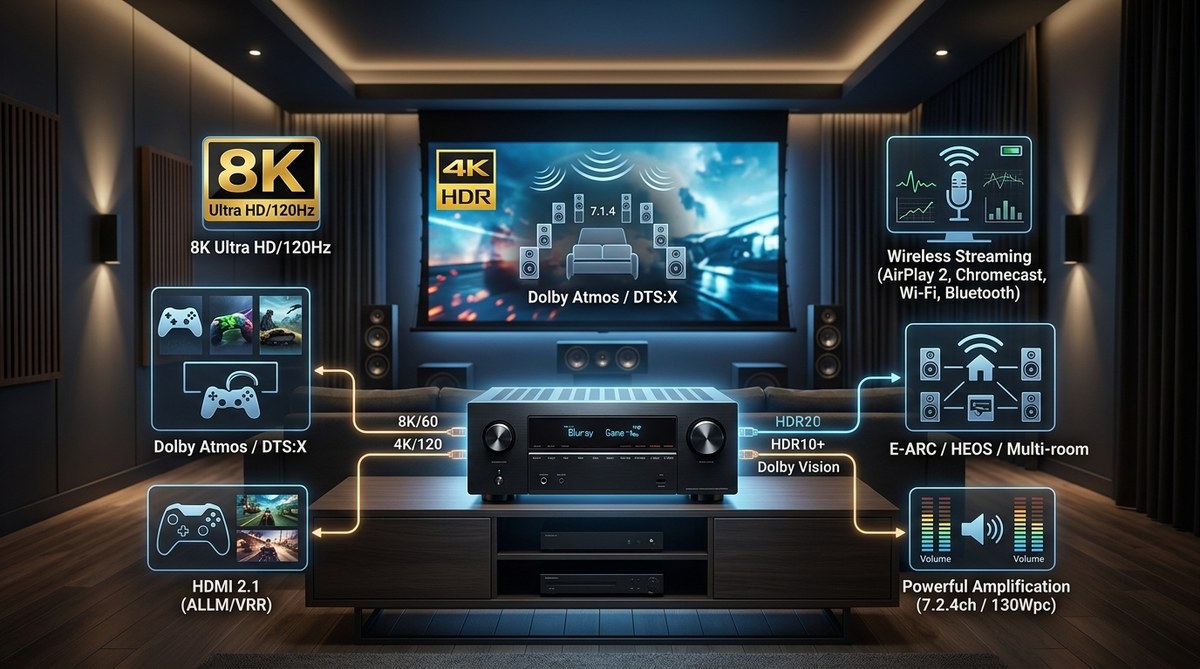
If you’ve recently upgraded your TV and now experience both switching and picture problems, your receiver might not support the newer HDMI standards your TV requires. Receivers older than five years often lack HDMI 2.0 or 2.1 support needed for 4K HDR content. Consider connecting 4K sources directly to your TV as mentioned earlier, or budget for a receiver upgrade.
Getting your picture properly calibrated makes a huge difference once everything works again. How to calibrate your TV in 30 minutes without hiring a professional walks you through the process with settings that actually improve what you see.
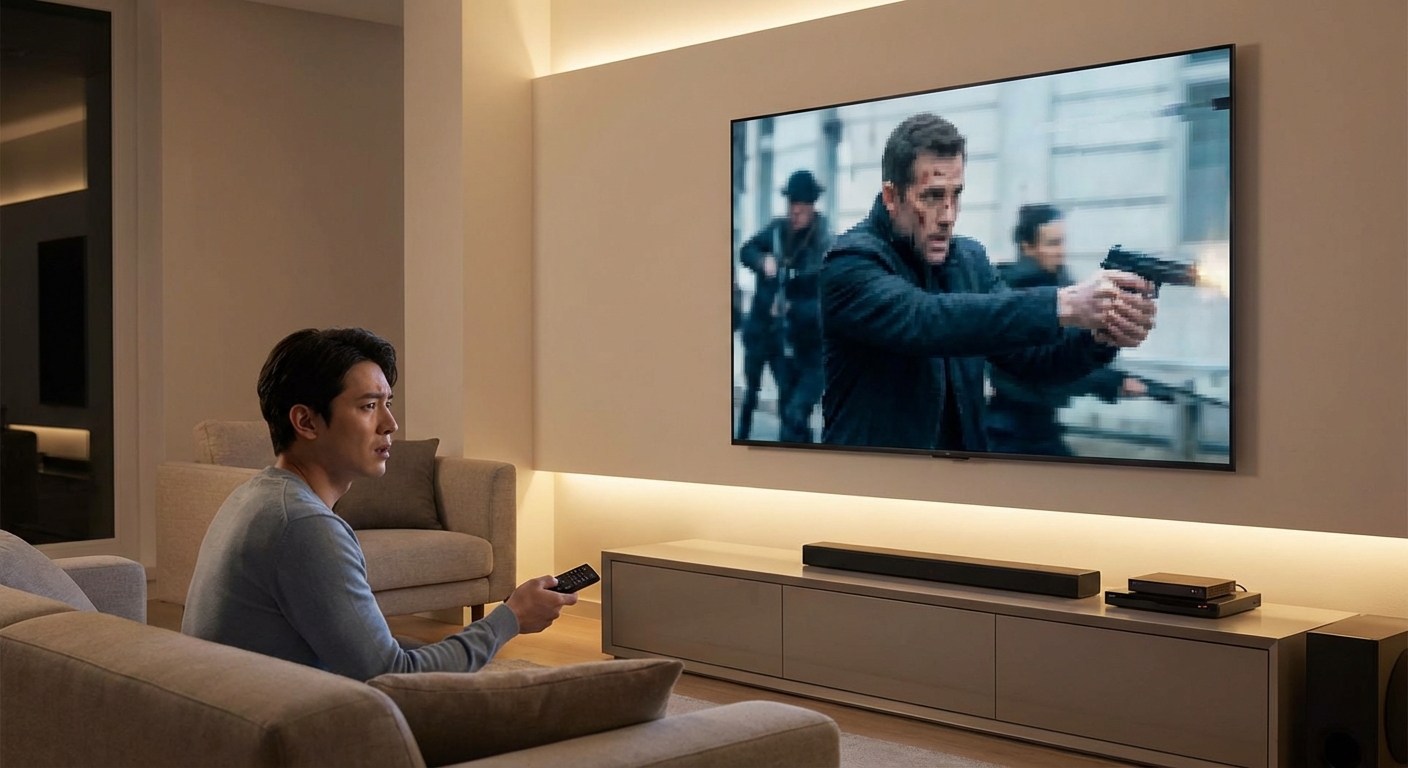
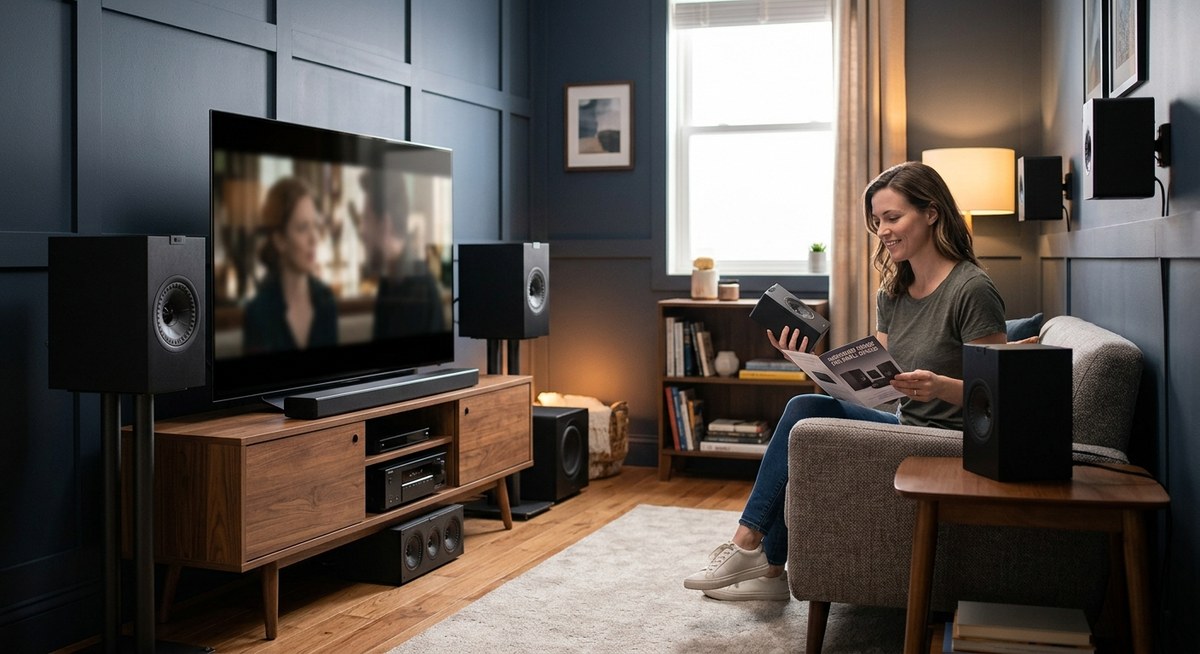
Getting Back to Movie Night
Fixing a receiver that won’t switch inputs feels complicated at first, but the solution usually comes down to methodical troubleshooting. Start with the simple power cycle, work through cable checks and settings adjustments, then move to firmware updates only if needed.
Most of these fixes take less than 30 minutes total. You’ll spend more time waiting for your receiver to boot up than actually solving the problem. And once you’ve done it once, you’ll recognize the symptoms immediately next time and know exactly which solution to try first.
Your home theater should work reliably without constant fiddling. These fixes get you back to that point so you can focus on enjoying your content instead of fighting with your equipment.


Leave a Reply