
You set up your projector, hit play, and the picture looks terrible. Blurry edges, washed-out colors, or a dim image that barely shows up on the screen. These projector image quality problems can turn movie night into a frustrating technical session, but most of them have simple fixes you can handle yourself without calling for help.
Most projector image quality problems stem from focus issues, incorrect placement, dirty optics, or wrong picture settings. Blurry images usually need focus or lens adjustment. Dim pictures often result from lamp age or eco mode settings. Color problems typically trace back to picture mode or color wheel issues. Most fixes take under ten minutes and require no special tools or technical knowledge.
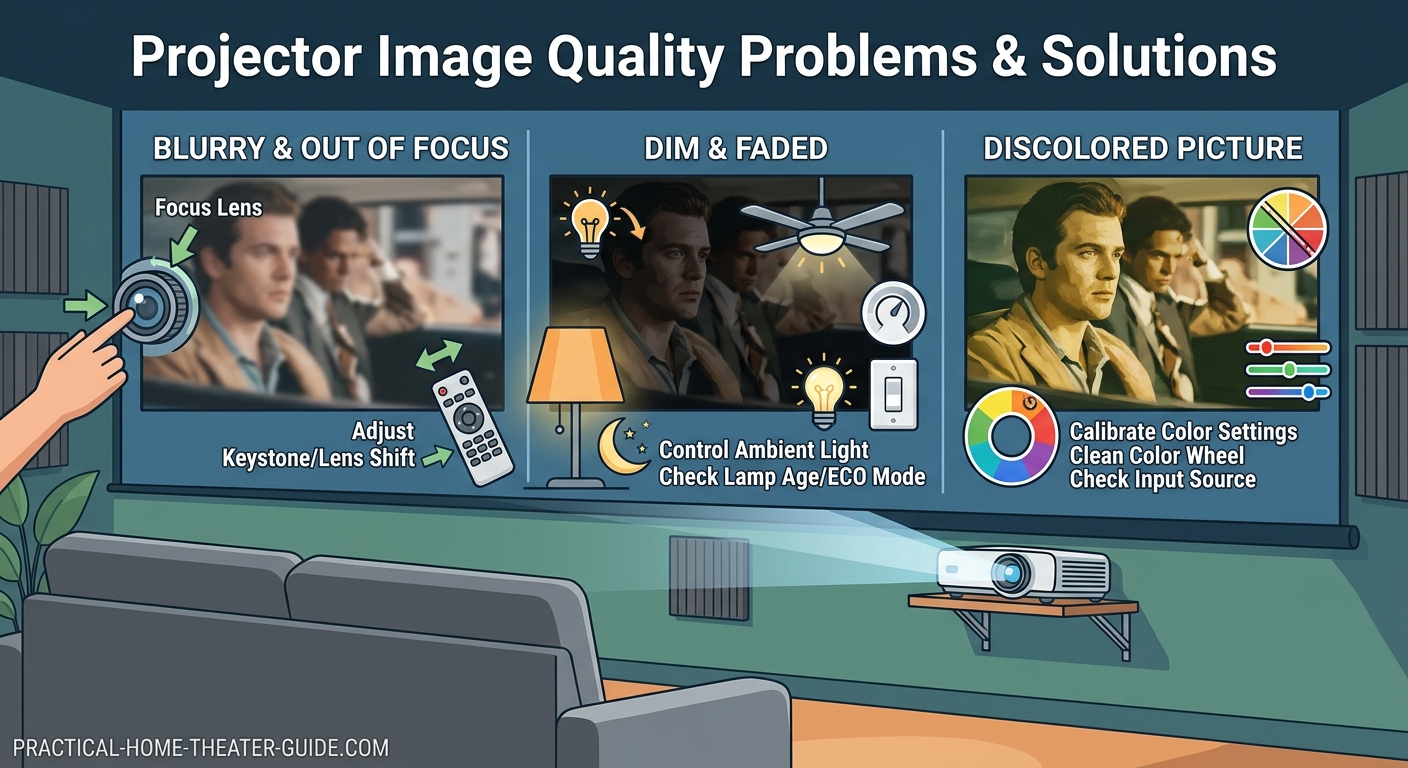
Blurry Images and Focus Problems
A blurry projector image is the most common complaint, and it’s usually the easiest to fix.
Start with the focus ring. Most projectors have a manual focus ring around the lens. Turn it slowly while watching a test pattern or text on screen. You should see the image sharpen as you adjust.
Some projectors also have a zoom ring right next to the focus ring. Make sure you’re turning the correct one. The zoom changes image size, while focus controls sharpness.
If your projector has motorized focus, use the remote control buttons. Press them in small increments and wait a second between adjustments for the motor to settle.
Check your throw distance next. Every projector has a specific range where it can produce a sharp image. Too close or too far, and you’ll never get perfect focus no matter how much you adjust the lens.
Here’s a simple test: measure the distance from your lens to the screen. Check your projector manual for the recommended throw distance for your screen size. If you’re outside that range, you need to move the projector.
Keystone Correction Ruins Sharpness
Digital keystone correction makes your image fit the screen when the projector sits at an angle. But it also degrades image quality significantly.
Every degree of keystone correction you apply stretches or compresses pixels digitally. This creates softness and artifacts that no amount of focus adjustment can fix.
The solution is physical alignment. Move your projector so it sits perpendicular to the screen. If you need to ceiling mount it, make sure the mount allows enough adjustment to get the angle right. Proper mounting saves you from image quality compromises.
If you absolutely must use keystone correction, keep it under 5 degrees. Anything more creates visible degradation.
Dim Picture and Brightness Issues
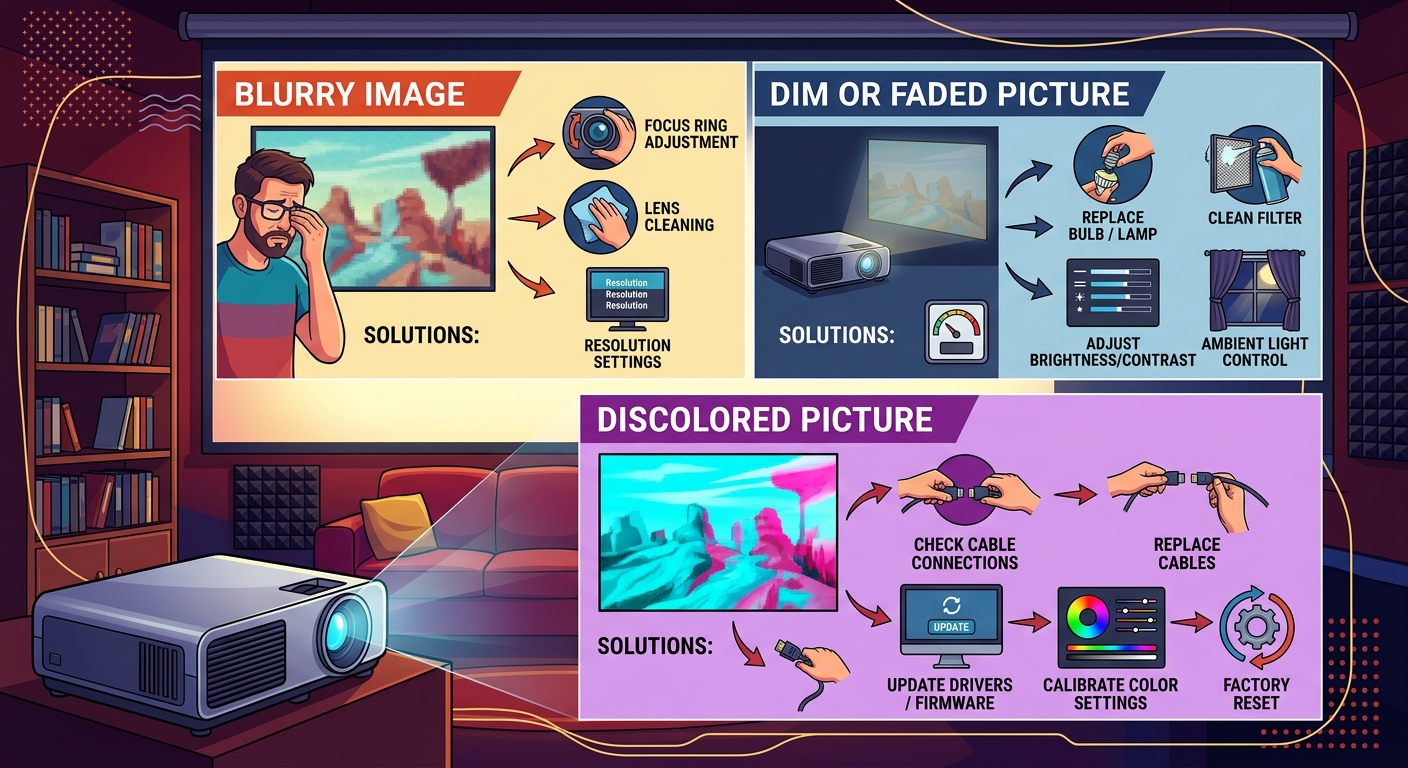
A dim projector image makes viewing frustrating, especially with any ambient light in the room.
First, check your lamp hours. Most projector lamps last 2,000 to 5,000 hours depending on the model and mode. As they age, they lose brightness gradually.
Find the lamp hour counter in your projector’s menu, usually under settings or information. Compare it to the rated lamp life in your manual. If you’re past 75% of the rated hours, the lamp is likely the culprit.
Replacing the lamp costs between $100 and $400 depending on your model. But it restores your projector to original brightness immediately.
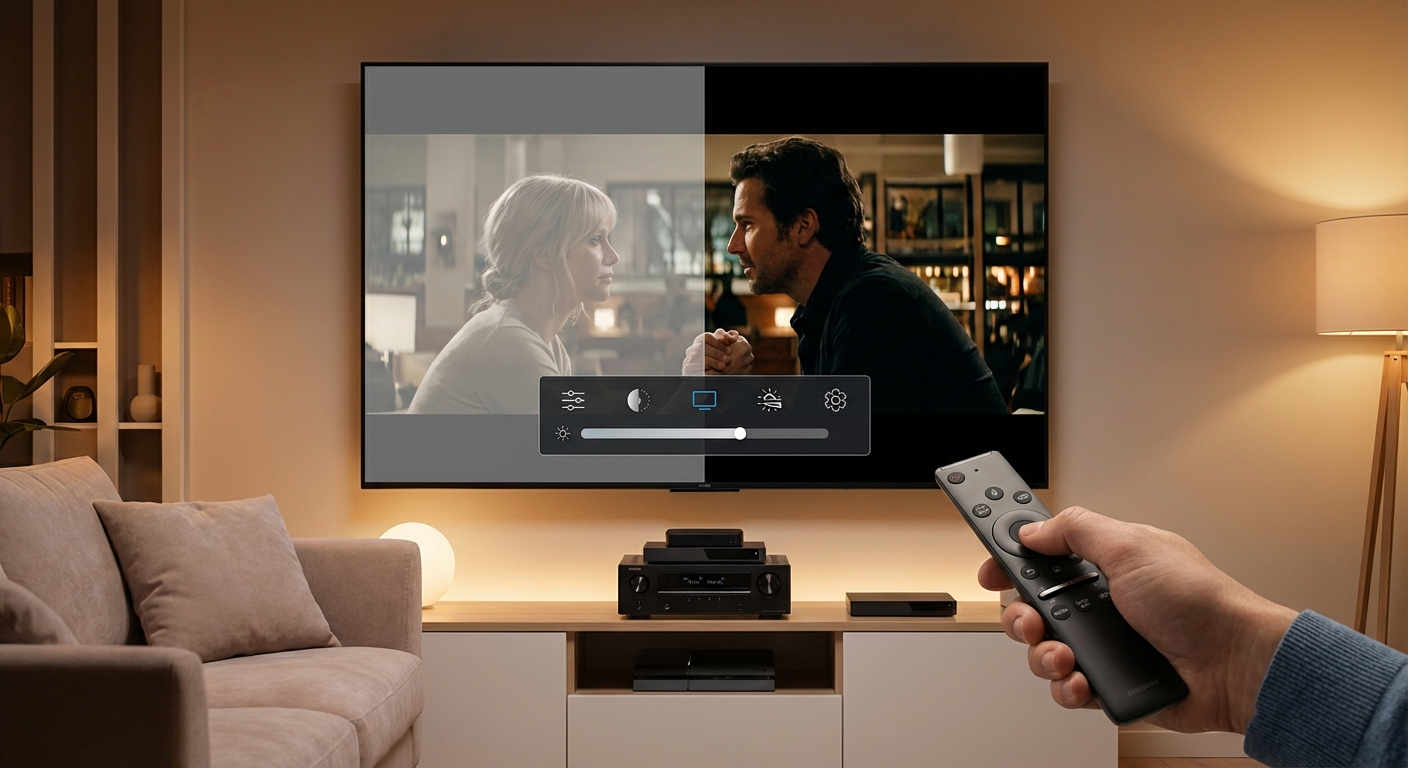
Picture Mode Settings Matter
Your projector’s picture mode dramatically affects brightness.
Eco or energy saving modes reduce lamp output by 30% to 50%. This extends lamp life but cuts brightness significantly. Switch to normal or bright mode if your image looks too dim.
Cinema or movie modes prioritize accurate colors over brightness. They work great in dedicated dark rooms but struggle with any ambient light. Try standard or dynamic modes for brighter output.
“I see people running expensive projectors in eco mode to save $50 a year on lamp replacement, then complaining about dim images. Run your lamp at full power and enjoy the picture you paid for.”
Ambient Light Kills Contrast
Even the brightest projector struggles against windows and overhead lights.
Light colored walls reflect ambient light back onto your screen, washing out the image. Paint your walls a dark color or hang dark curtains to absorb stray light.
Your screen material matters too. Gray screens reject ambient light better than white screens, improving contrast in rooms with light control challenges.
Turn off all lights during viewing. Close blinds and curtains. Block light from hallways and adjacent rooms. Projectors need darkness to perform their best.
Color Problems and Discoloration
Wrong colors ruin the viewing experience just as much as blur or dimness.
Picture Mode Presets Cause Color Shifts
Most projectors ship with wildly inaccurate color presets.
Dynamic or vivid modes oversaturate everything, making skin tones look orange and grass look neon green. These modes prioritize pop over accuracy.
Cinema or movie modes usually get closer to correct colors, but they often run too warm, adding a red or yellow cast to everything.
Start with the cinema or movie preset, then adjust color temperature. Try the neutral or D65 setting first. This matches the video production standard and should give you the most natural colors.
If colors still look off, check individual color controls. Many projectors let you adjust red, green, and blue levels separately. Small adjustments here can fix persistent color casts.
| Color Issue | Likely Cause | Fix |
|---|---|---|
| Everything looks blue | Color temp too cool | Switch to warm or neutral preset |
| Orange skin tones | Oversaturated reds | Lower red level or use cinema mode |
| Washed out colors | Eco mode active | Switch to normal lamp mode |
| Green or magenta tint | Wrong color space | Change from RGB to YCbCr or vice versa |
| Dull, lifeless image | Low contrast setting | Increase contrast to 50-60 |
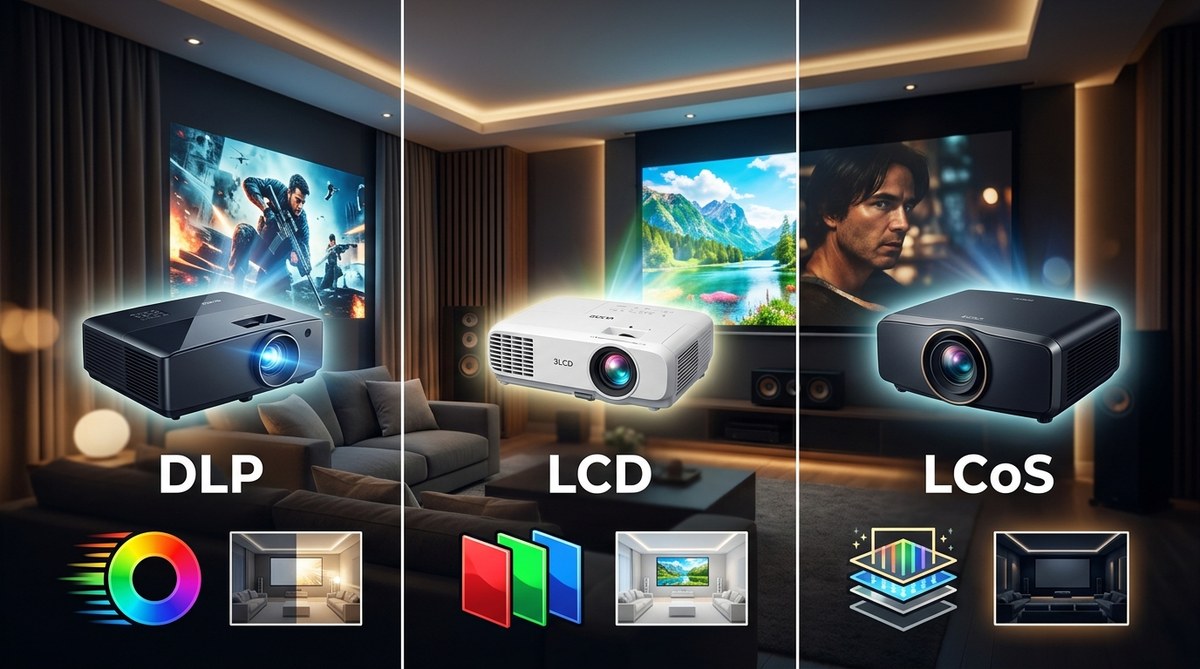
Color Wheel Problems in DLP Projectors
Single chip DLP projectors use a spinning color wheel to create colors. When this wheel fails or slows down, you get color problems.
Rainbow artifacts appear as brief flashes of red, green, or blue, especially when you move your eyes across the screen. Some people see them more than others.
If rainbows suddenly get worse, or if you see a complete loss of one color, the color wheel might be failing. This requires professional repair or replacement.
Dust on the color wheel can also cause color shifts. If you’re comfortable opening your projector, you can clean it carefully with compressed air. But this voids most warranties, so proceed with caution.
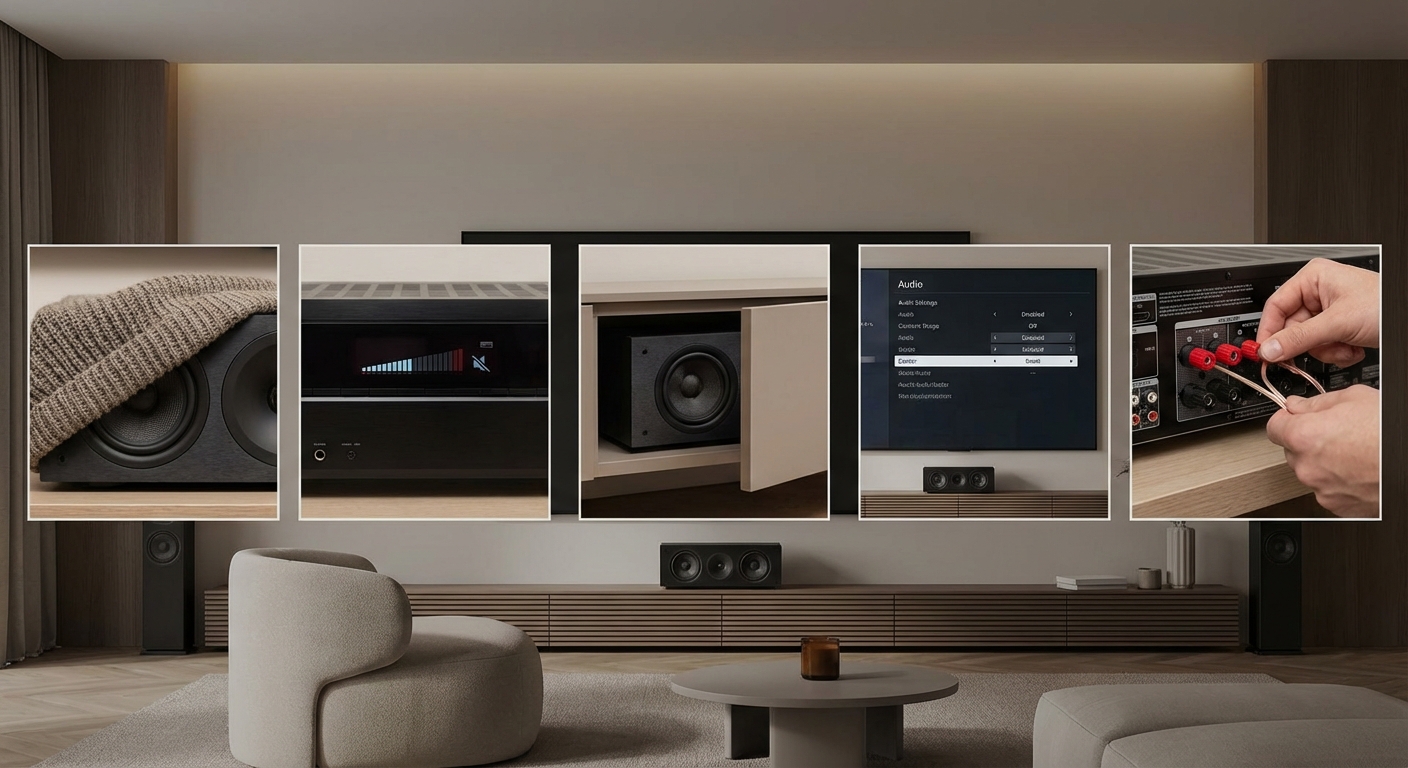
Dirty Optics Degrade Everything
Dust on your lens or internal optics creates soft spots, reduces brightness, and shifts colors.
Cleaning the Lens Safely
Use a lens cleaning solution made for camera lenses. Spray it on a microfiber cloth, never directly on the lens.
Wipe gently in a circular motion from the center outward. Don’t press hard. Multiple gentle passes work better than aggressive scrubbing.
Never use paper towels, regular cloths, or household cleaners. They scratch lens coatings and leave residue.
Clean your lens monthly if you use your projector regularly. Weekly if you have pets or live in a dusty area.
Internal Dust Buildup
Projectors pull air through the case to cool the lamp. This air carries dust that settles on internal mirrors, prisms, and the color wheel.
Most projectors have washable air filters. Check yours monthly and clean it when it looks gray or clogged. A dirty filter forces dust past the filter into the optical path.
Some projectors have sealed optical blocks that resist dust. Others accumulate dust over years of use, gradually degrading the image. Professional cleaning costs $100 to $200 but restores image quality completely.
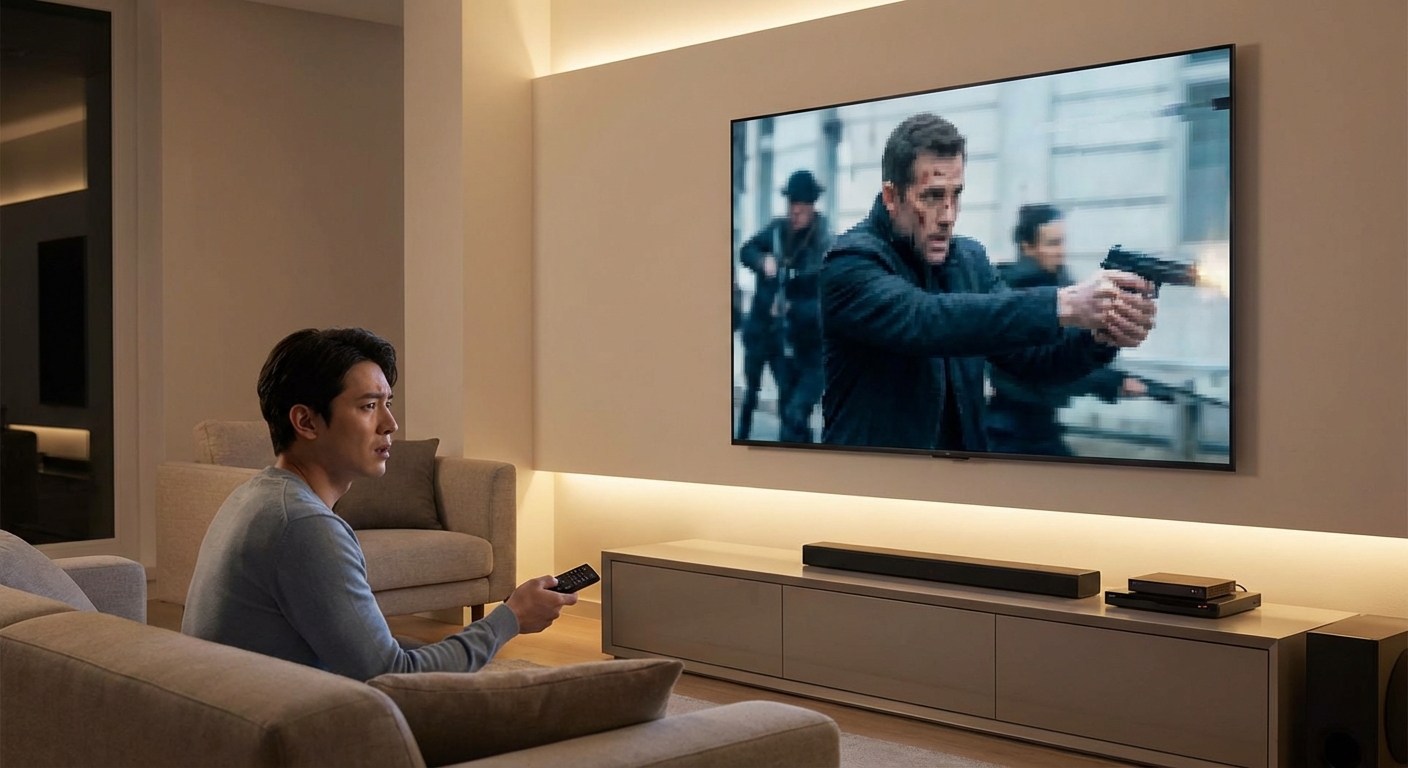
Input Signal and Source Issues
Sometimes the problem isn’t your projector at all.
Resolution Mismatch Creates Softness
Feeding a 1080p projector a 720p signal forces the projector to upscale, adding softness. Sending a 4K signal to a 1080p projector forces downscaling with similar results.
Check your source device output settings. Make sure it matches your projector’s native resolution exactly. A 1080p projector needs a 1080p signal for the sharpest image.
HDMI Cable Quality Matters
Cheap or damaged HDMI cables cause sparkles, dropouts, and color shifts.
Use certified high speed HDMI cables for 1080p. Use certified premium high speed or ultra high speed cables for 4K.
Keep HDMI runs under 15 feet when possible. Longer runs need active cables or fiber optic cables to maintain signal quality.
If you see random sparkles, try a different cable first. It’s the cheapest troubleshooting step and fixes problems more often than you’d expect.
Screen Surface and Placement
Your screen affects image quality as much as your projector settings.
Screen Gain and Hotspotting
High gain screens (1.3 or higher) boost brightness but create a bright spot in the center of the image. This hotspot gets worse as you sit off center.
Unity gain screens (1.0) distribute light evenly but offer no brightness boost. They work better for most home setups unless you’re fighting serious ambient light.
Screen gain is a tradeoff between brightness and viewing angle. Choose based on your room and seating arrangement.
Wrinkles and Waves
A wrinkled or wavy screen makes even a perfectly focused projector look terrible.
Tension screens stay flat by pulling the material tight in all directions. They cost more but eliminate waves and sags.
If you have a pull down screen, make sure it’s fully extended and the bottom bar hangs straight. Partial extension creates waves.
Paint on wall screens need perfectly smooth surfaces. Any texture or imperfection shows up in the image.
Common Setup Mistakes That Ruin Picture Quality
These setup mistakes account for most image quality complaints:
- Running eco mode and wondering why the image looks dim
- Using maximum keystone correction instead of moving the projector
- Trying to watch with lights on and windows uncovered
- Never cleaning the lens or air filter
- Using the dynamic picture mode because it looks bright in the store
Avoid these and you’ll solve most problems before they start.
Step by Step Troubleshooting Process
When you face image quality problems, follow this sequence:
- Clean the lens with proper lens cleaning solution and a microfiber cloth
- Check and clean the air filter
- Verify the projector sits at the correct throw distance for your screen size
- Adjust focus carefully while displaying text or a test pattern
- Disable all keystone correction and physically align the projector instead
- Switch to cinema or movie picture mode
- Set color temperature to neutral or D65
- Change lamp mode from eco to normal
- Check lamp hours and replace if over 75% of rated life
- Verify your source outputs the correct resolution
- Try a different HDMI cable
- Control ambient light by closing curtains and turning off lights
This process fixes about 90% of image quality problems without requiring professional help.
When to Call for Professional Help
Some problems need expert diagnosis and repair.
If you see a yellow or brown blob in your image that doesn’t move, you likely have LCD panel damage. This happens from overheating or running the projector in high temperatures.
Color wheels in DLP projectors eventually fail. If one color disappears completely, or if the wheel makes grinding noises, you need professional repair.
Lamp explosions are rare but dramatic. If your lamp fails with a loud pop, don’t try to remove it yourself. Broken lamp glass is sharp and can contain mercury. Get professional service.
Optical misalignment causes color fringing where you see red, green, or blue edges on objects. This requires precise adjustment of internal mirrors or prisms. Don’t attempt this yourself.
Getting the Most From Your Projector
Picture quality isn’t just about fixing problems. It’s about optimization.
Run test patterns to dial in your settings. The basic gray scale pattern shows you if your black level and white level settings are correct. Color bar patterns help you verify color accuracy.
Calibration makes a bigger difference than most people expect. You don’t need expensive meters for basic improvement. Simple calibration using test patterns gets you 80% of the way to perfect.
Document your settings. Take photos of your menu screens or write down the values. This helps you recover if someone changes settings or if you need to reset the projector.
Replace your lamp before it dies. Waiting until complete failure means you can’t watch anything while you wait for the replacement. When you hit 75% of rated hours, order a spare so you have it ready.
Most projector image quality problems come down to basic maintenance and proper setup. Clean optics, correct placement, appropriate settings, and lamp replacement solve the vast majority of issues. You don’t need technical expertise or expensive tools. You just need to understand what affects image quality and how to adjust it. Start with the simple fixes first and work your way through the list. Your projector likely has more performance than you’re currently seeing, just waiting for you to set it up correctly.

Leave a Reply