
That low, persistent hum from your subwoofer can ruin an otherwise perfect movie night. The good news is that most subwoofer humming noise problems have simple fixes you can handle yourself. No need to pack up your gear and haul it to a repair shop. Most of these issues come down to electrical interference, poor connections, or placement problems. Let’s walk through exactly how to diagnose what’s causing your subwoofer to hum and how to fix it.
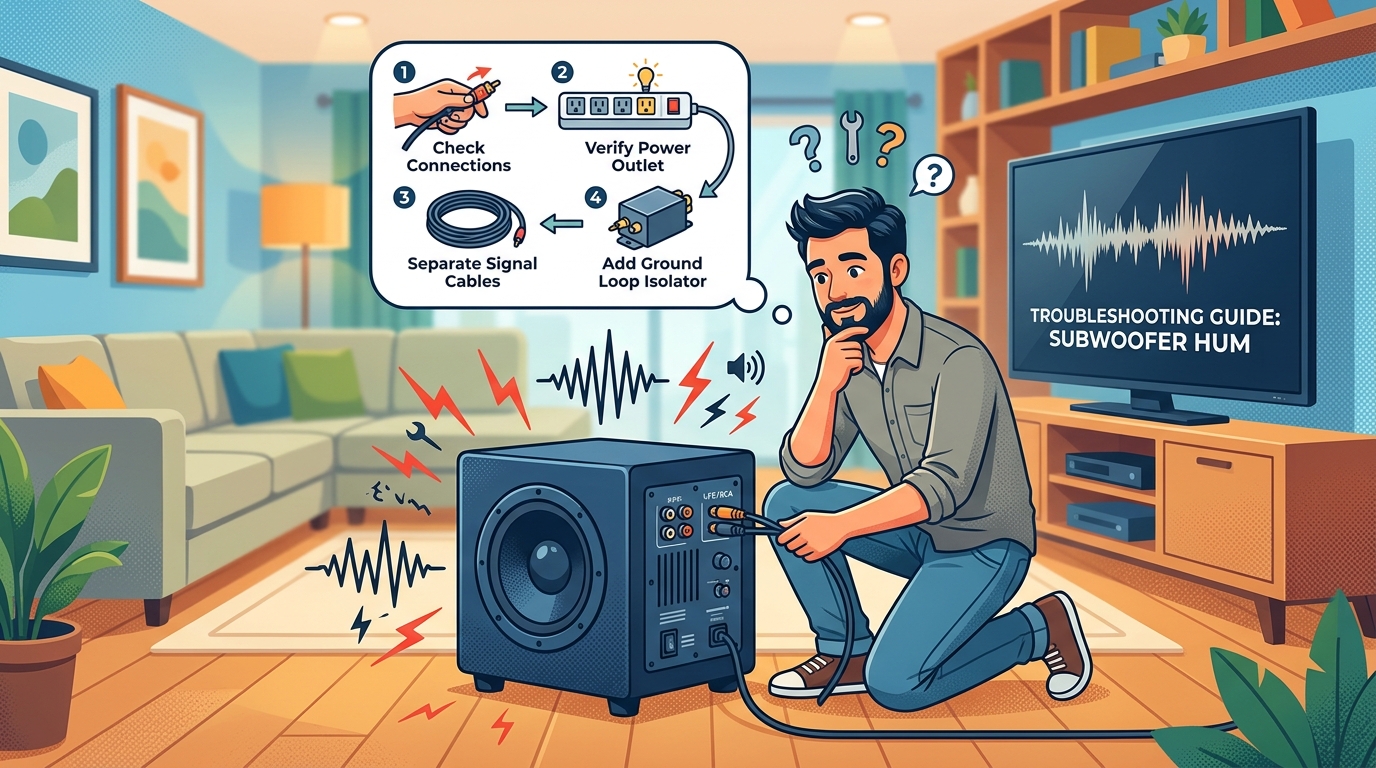
Subwoofer humming noise typically comes from ground loops, poor cable connections, or electrical interference. You can fix most issues by checking your cables, testing different outlets, using a ground loop isolator, or adjusting subwoofer placement. This guide walks you through each troubleshooting step in order, from easiest to most involved, so you can identify and eliminate the noise yourself.
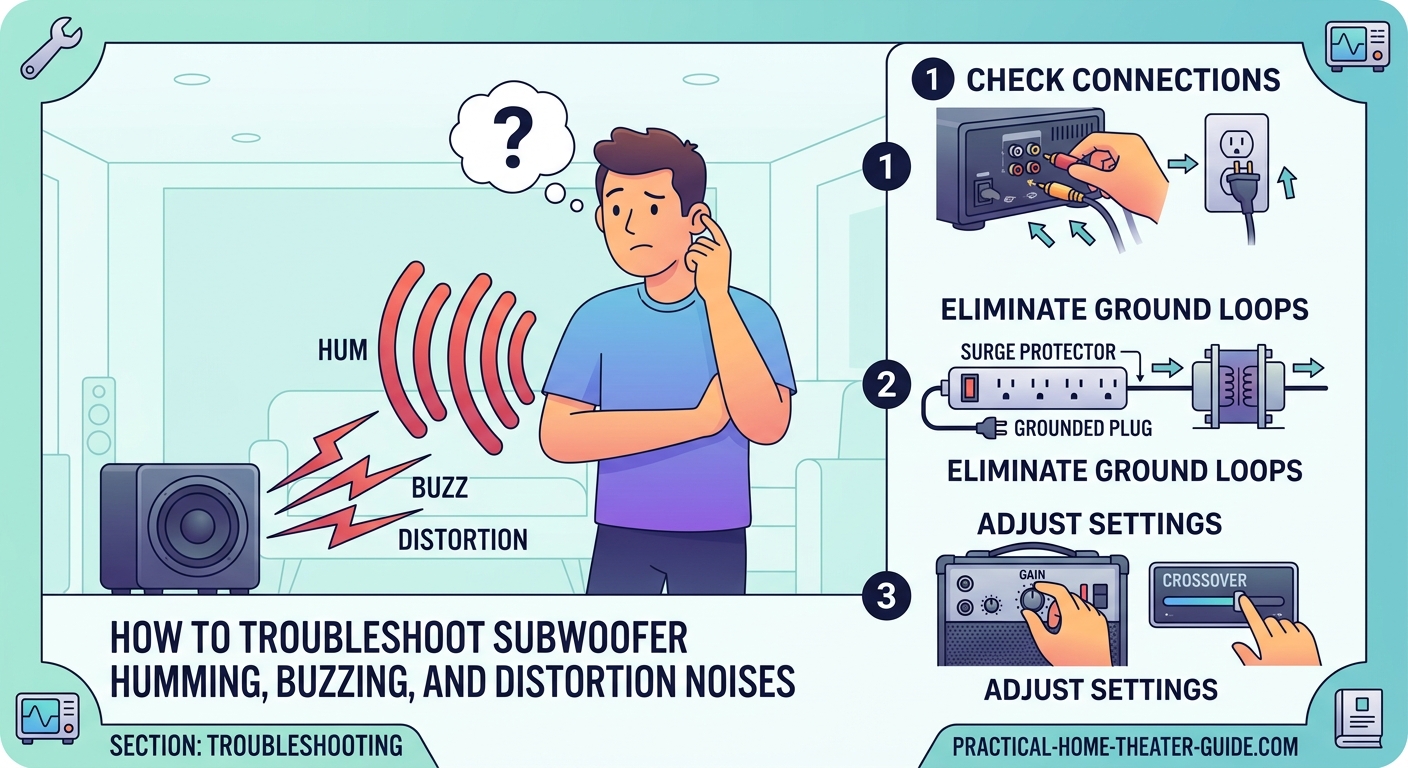
Understanding what type of noise you’re hearing
Before you start troubleshooting, identify the exact sound coming from your subwoofer.
A steady 60Hz hum usually means a ground loop issue. This is the most common problem.
Buzzing or crackling sounds often point to a bad cable or loose connection.
Distortion that changes with volume suggests a problem with the subwoofer itself or your receiver settings.
Intermittent popping can indicate a failing amplifier or power supply issue.
Write down when the noise happens. Does it occur all the time, only during playback, or when certain devices are on? This information helps narrow down the cause.
Check your cable connections first
Start with the simplest solution. Bad connections cause more problems than you’d think.
Turn off your subwoofer and receiver. Unplug the subwoofer cable from both ends. Look at the connectors for corrosion, bent pins, or damage.
Plug the cable back in firmly at both ends. You should feel a solid click or connection.
If you’re using RCA cables, make sure they’re fully seated. A partially connected cable creates noise and weak bass.
Try a different subwoofer cable if you have one available. Cheap cables pick up interference more easily than quality shielded cables.
Check that you’re using the correct input on your subwoofer. Some models have multiple inputs, and using the wrong one can cause issues.
Test for ground loop problems
Ground loops create that classic 60Hz hum. They happen when multiple devices connect to different electrical outlets that have slightly different ground potentials.
Here’s how to test if you have a ground loop:
- Turn on your system and confirm the hum is present
- Unplug the subwoofer cable from your receiver (leave the power connected)
- Listen to see if the hum disappears
If the hum stops when you disconnect the audio cable, you’ve got a ground loop.
To fix a ground loop, try these solutions in order:
- Plug all your home theater components into the same power strip or outlet
- Move your subwoofer to a different outlet on the same circuit
- Use a ground loop isolator between your receiver and subwoofer
- Check if any cable TV or antenna connections are creating the loop
Ground loop isolators cost around $20 and work for most cases. They break the electrical connection while maintaining the audio signal.
Rule out electrical interference
Other devices in your home can create interference that your subwoofer picks up.
Fluorescent lights, dimmer switches, and older appliances generate electrical noise. Turn off these devices one at a time to see if the humming stops.
Move your subwoofer cable away from power cords. Even a few inches of separation helps. Never run audio cables parallel to power cables for long distances.
Wi-Fi routers and cordless phone bases can also cause interference. Try moving these devices farther from your subwoofer.
If you’re using a wireless subwoofer system, interference becomes more likely. Change the wireless channel on your subwoofer if the option exists.
Inspect your subwoofer placement
Where you place your subwoofer affects more than just sound quality. It can introduce noise problems too.
Check if your subwoofer is touching any metal objects or sitting directly on concrete. These can create ground path issues.
Place a piece of wood, rubber mat, or subwoofer isolation pad under your unit. This breaks potential ground connections through the floor.
Keep your subwoofer at least six inches away from walls if possible. Corners can amplify both bass and any electrical noise.
If you’ve recently moved your subwoofer, try returning it to its previous location to see if the noise goes away. Sometimes a new spot puts the unit closer to interference sources.
For more guidance on optimal bass performance, check out where to place your subwoofer for maximum bass in any room shape.
Check your receiver settings
Sometimes the problem isn’t your subwoofer at all. Your receiver settings might be sending a bad signal.
Log into your receiver’s menu and check the subwoofer output level. If it’s set too high, you might be overdriving the input and creating distortion.
Look at your crossover settings. If the crossover is set incorrectly, your subwoofer might be trying to reproduce frequencies it shouldn’t, causing distortion.
Turn off any bass boost or loudness features temporarily. These can push your subwoofer beyond its limits.
Check if your receiver has a subwoofer phase setting. Try switching between 0° and 180° to see if one position reduces noise.
If you recently ran auto-calibration on your receiver, the settings might not be optimal. Consider adjusting them manually or running the calibration again.
Test with different source devices
Isolate whether the problem comes from a specific device or your entire system.
Turn off all source devices except one. Play content and listen for the hum.
Switch to a different source device and repeat. If the hum only appears with one device, that device is causing the problem.
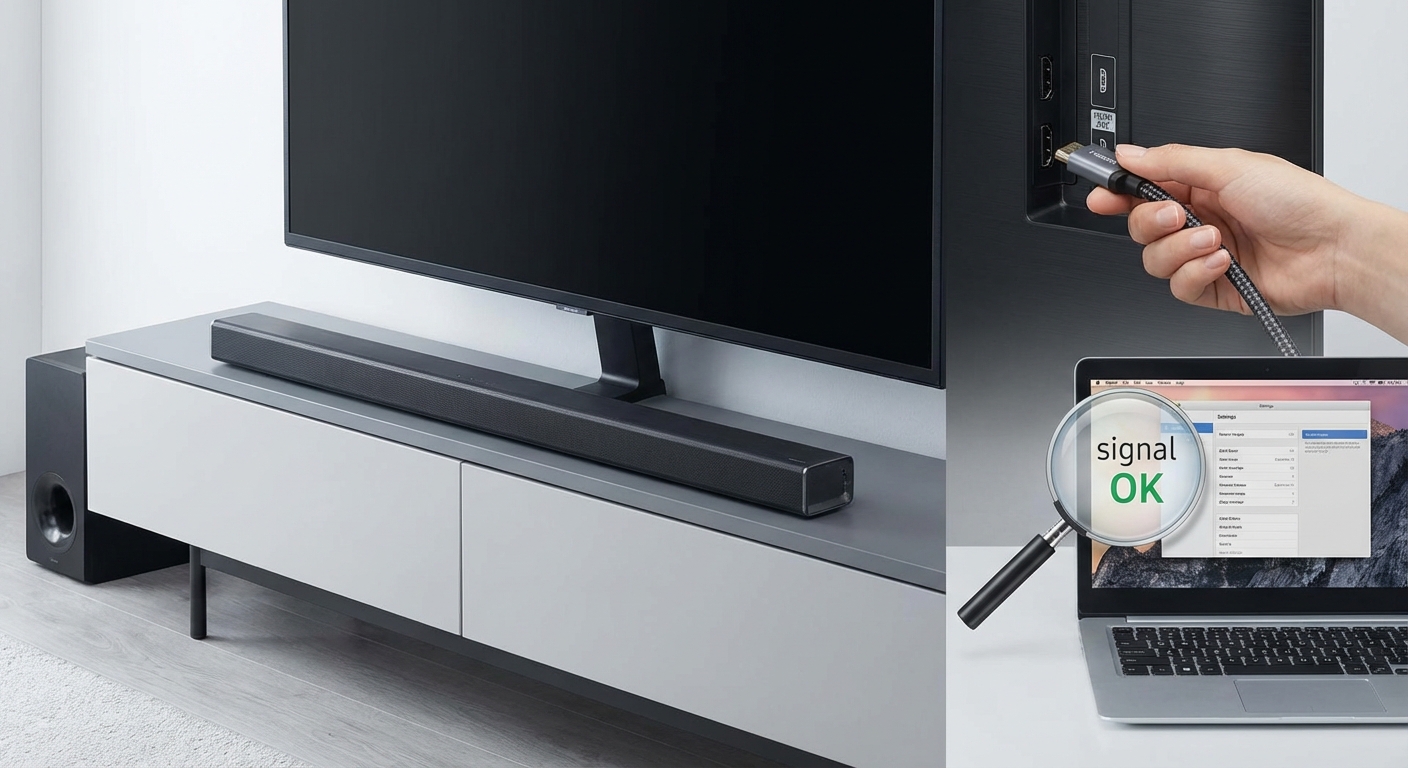
Streaming boxes, game consoles, and cable boxes can all introduce ground loops or interference. Try unplugging the HDMI cable from the problem device while keeping it powered on.
If removing the HDMI connection eliminates the hum, you’ve found a ground loop through the HDMI cable. An HDMI ground loop isolator can fix this issue.
Examine the subwoofer’s internal components
If none of the external fixes work, the problem might be inside your subwoofer.
Listen carefully to where the noise comes from. Is it from the driver (speaker cone) or from the amplifier section?
A hum from the amplifier section might indicate a failing power supply capacitor. This requires technical repair or replacement.
Buzzing from the driver itself could mean a damaged voice coil or loose internal connection.
Check if your subwoofer is under warranty before attempting any internal inspection. Opening the cabinet might void your coverage.
If the subwoofer is old and the amplifier is failing, replacing the unit might cost less than professional repair.
Try a different power outlet
Not all outlets are created equal. Some have better grounding than others.
Test your subwoofer in different rooms if possible. This helps determine if the problem is location-specific.
Avoid using outlets controlled by wall switches. The switch can introduce noise even when in the “on” position.
Don’t use extension cords if you can avoid them. They can pick up interference and create ground issues.
If you must use a power strip, choose one with noise filtering. These strips reduce electrical interference from other devices.
Three-prong outlets provide better grounding than two-prong outlets. If your home has older two-prong outlets, consider having an electrician upgrade them.
Common causes and solutions at a glance
| Problem Type | Likely Cause | Solution |
|---|---|---|
| Steady 60Hz hum | Ground loop | Use ground loop isolator or plug devices into same outlet |
| Buzzing or crackling | Bad cable or connection | Replace cable and check all connections |
| Hum only with certain devices | Device-specific ground loop | Isolate problem device and use HDMI or audio isolator |
| Distortion during playback | Receiver settings or damaged driver | Check crossover settings and volume levels |
| Intermittent popping | Failing amplifier | May require professional repair or replacement |
When the problem is actually your home’s wiring
Sometimes the issue goes deeper than your audio gear. Older homes can have wiring problems that affect sensitive audio equipment.
If you’ve tried everything and still have noise, consider these signs of electrical issues:
- Multiple outlets in your home create the same problem
- The hum gets worse at certain times of day
- Other audio equipment in your home also hums
- Lights dim slightly when appliances turn on
These symptoms suggest you might need an electrician to check your home’s grounding system.
Poor grounding in your electrical panel can create hum in all your audio equipment. An electrician can test and fix grounding issues.
In some cases, a dedicated audio circuit with isolated ground can solve persistent problems. This costs more but provides clean power for sensitive equipment.
Preventive steps to avoid future humming
Once you fix the problem, take steps to prevent it from returning.
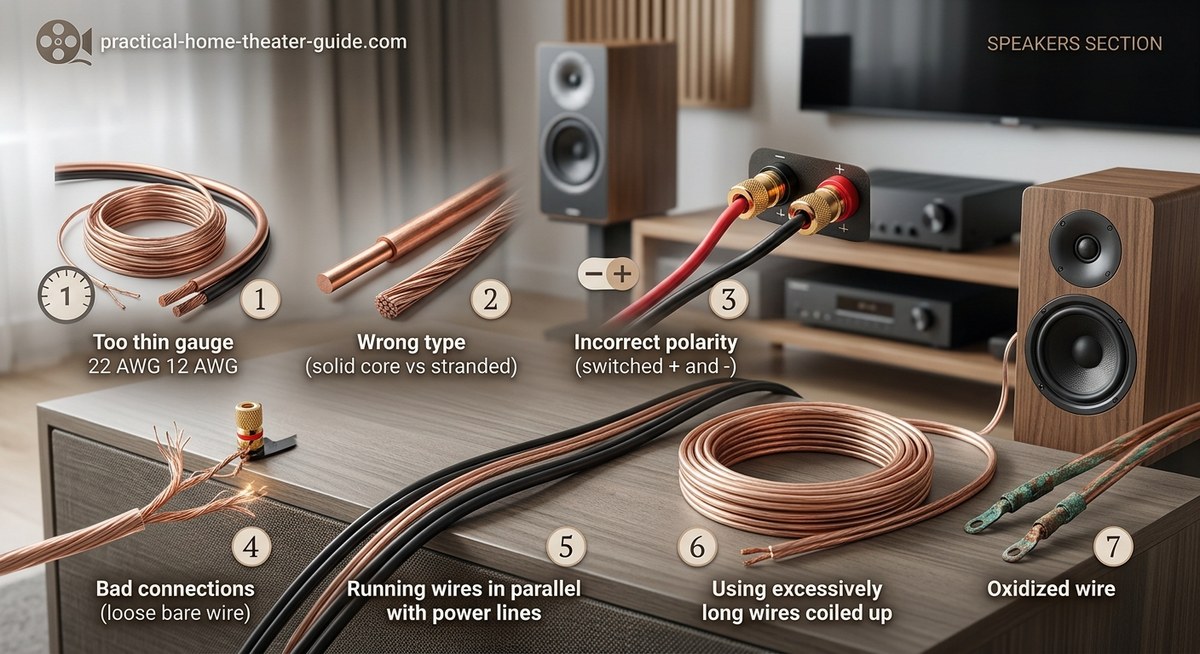
Use quality shielded cables for all audio connections. Spend a bit more on cables with good shielding and solid connectors.
Label your cables so you know which devices connect where. This makes future troubleshooting faster. Learn more about how to label and organize your home theater cables like a pro.
Keep a ground loop isolator on hand even if you don’t need one now. They’re cheap insurance against future problems.
When adding new devices to your system, add them one at a time. This helps you identify if a new component introduces noise.
Clean your cable connections once or twice a year. Oxidation on connectors can create intermittent noise problems.
Deciding between repair and replacement
Not every subwoofer is worth fixing. Sometimes replacement makes more sense.
If your subwoofer is more than 10 years old and the amplifier is failing, replacement often costs less than repair.
Budget subwoofers under $200 rarely justify repair costs. A new unit with better performance might cost the same as fixing the old one.
Higher-end subwoofers with quality drivers are usually worth repairing if the amplifier fails. The driver itself often outlasts multiple amplifiers.
Get a repair estimate before deciding. Many audio shops offer free diagnostics.
Consider whether your current subwoofer meets your needs. If you were planning an upgrade anyway, a failure might be the perfect excuse. If you’re questioning whether you need one at all, read about whether you really need a subwoofer for your home theater setup.
Working with wireless subwoofers
Wireless subwoofer systems have unique troubleshooting needs.
Check the wireless transmitter connection to your receiver. A loose connection here creates the same symptoms as a bad cable.
Interference from other wireless devices is more common with wireless subwoofers. Your Wi-Fi router, baby monitors, and cordless phones all operate in similar frequency ranges.
Move the wireless transmitter away from other wireless devices. Even a foot or two of separation can help.
Check for firmware updates for your wireless subwoofer system. Manufacturers sometimes release updates that improve interference rejection.
If interference persists, some wireless systems let you change the operating channel. Try different channels to find one with less interference.
Most subwoofer humming problems come from ground loops or interference, not defective equipment. Start with the simple fixes like checking cables and outlets before assuming you need a new subwoofer. In 15 years of home theater setup, I’ve seen maybe five subwoofers with actual internal defects. The other 95% were fixable with basic troubleshooting.
Addressing distortion separate from humming
Distortion is different from humming but often gets confused with it. Distortion sounds like rattling, farting, or breaking up during loud passages.
Turn your subwoofer volume down. If the distortion stops, you were simply driving it too hard.
Check your receiver’s subwoofer level setting. Many people set this too high during calibration.
Verify that your subwoofer’s crossover isn’t set too high. The crossover should typically be between 80Hz and 120Hz for most systems.
Inspect the driver for damage. Push gently on the cone. It should move smoothly without scraping or rubbing sounds.
A damaged voice coil creates distortion that sounds similar to electrical noise. This requires driver replacement or a new subwoofer.
Using a multimeter to check for ground issues
If you’re comfortable with basic electrical testing, a multimeter can help diagnose ground problems.
Set your multimeter to measure AC voltage. Touch one probe to the center pin of your subwoofer cable and the other to the outer shield.
You should read zero volts or very close to it. Any significant voltage reading indicates a ground potential difference.
You can also check the voltage between the grounding pin on your subwoofer’s power plug and the grounding pin on your receiver’s power plug.
More than a volt or two of difference suggests your outlets have different ground potentials, creating a ground loop.
This test helps confirm what you’re dealing with before spending money on solutions.
Getting help from manufacturer support
Don’t overlook manufacturer support as a resource. Many companies offer excellent troubleshooting help.
Check your subwoofer manufacturer’s website for support documents specific to your model. They often list common issues and fixes.
Call or email their support line with your model number and a description of the problem. They might know about specific issues with your model.
Some manufacturers have firmware updates that fix noise issues. This is especially true for powered subwoofers with digital inputs.
If your subwoofer is still under warranty, document all your troubleshooting steps. This information helps if you need to file a warranty claim.
Manufacturer support can sometimes authorize a replacement if they determine the unit is defective.
Fixing hum in multi-subwoofer setups
Running two or more subwoofers adds complexity to troubleshooting.
Disconnect all but one subwoofer. If the hum disappears, you’ve found the culprit.
Test each subwoofer individually to identify which one has the problem.
In multi-sub setups, ground loops become more likely because you’re connecting multiple devices to multiple outlets.
Try plugging all subwoofers into the same power strip. This often solves ground loop issues in multi-sub configurations.
If you’re using Y-splitters to feed multiple subwoofers from one output, the splitter itself can introduce noise. Try a different splitter or use a dedicated subwoofer output for each sub if your receiver has multiple outputs.
Understanding the role of subwoofer auto-on features
Many subwoofers have auto-on features that wake the unit when they detect a signal. These can sometimes cause issues.
If your subwoofer pops or hums when it wakes up, try setting it to always-on mode instead of auto-on.
The auto-on circuitry can pick up interference and cause false triggers or noise.
Some subwoofers let you adjust the sensitivity of the auto-on feature. A less sensitive setting might eliminate false triggers.
If your subwoofer stays on all the time, it draws minimal power and eliminates the pop that sometimes happens when the amplifier turns on.
The convenience of auto-on isn’t worth it if it introduces noise into your system.
Your path to silent, powerful bass
Fixing a subwoofer humming noise doesn’t require an engineering degree or expensive tools. Most problems come down to ground loops, interference, or connection issues that you can solve with simple adjustments. Start with the easy fixes like checking cables and trying different outlets. Work through each step methodically, and you’ll likely find the solution. Your reward is clean, powerful bass that enhances your movies and music instead of annoying you with electrical noise. Take your time, test each change, and enjoy the satisfaction of solving the problem yourself.


Leave a Reply