Behind your entertainment center, there's probably a tangled mess of black cables that all look identical. When something stops working…
Read More
Behind your entertainment center, there's probably a tangled mess of black cables that all look identical. When something stops working…
Read More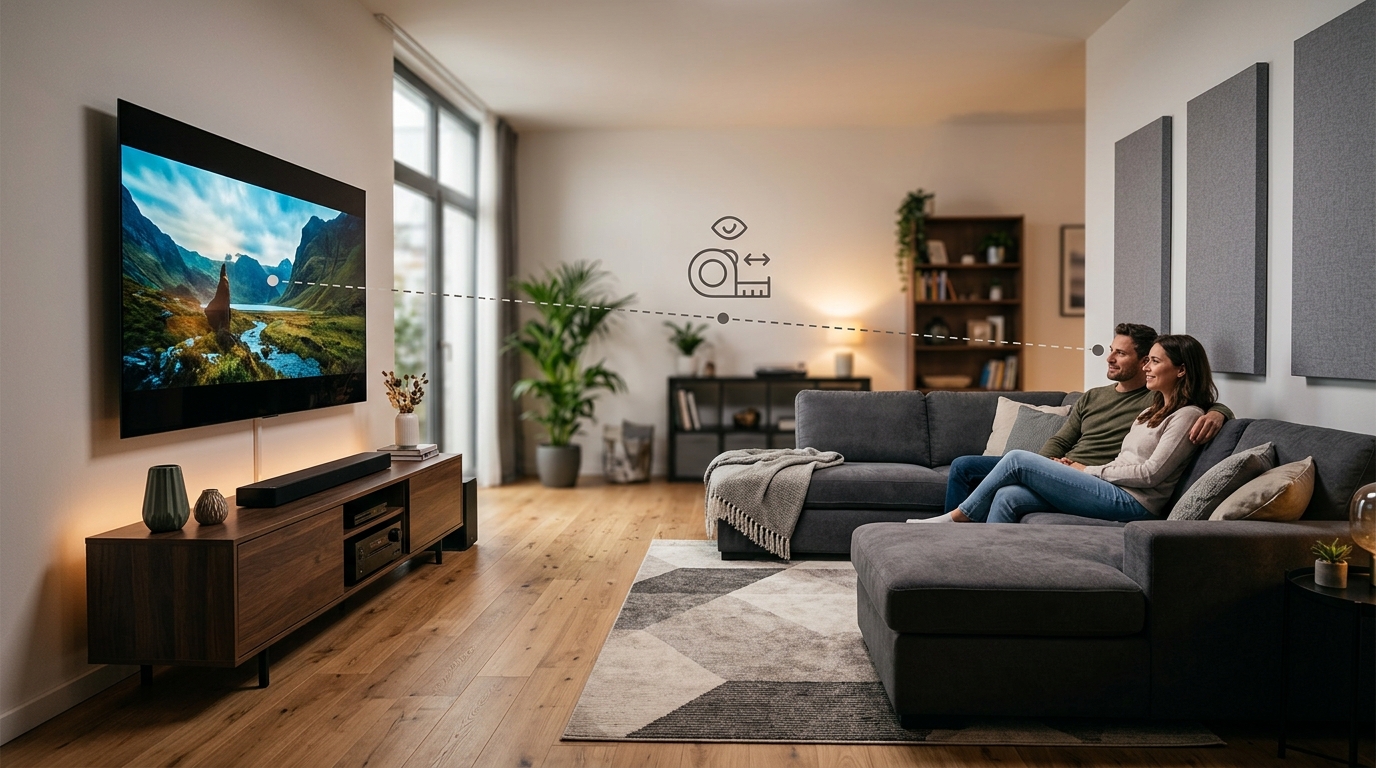
You just bought a new TV. It's still in the box. You're staring at your living room wall, trying to…
Read More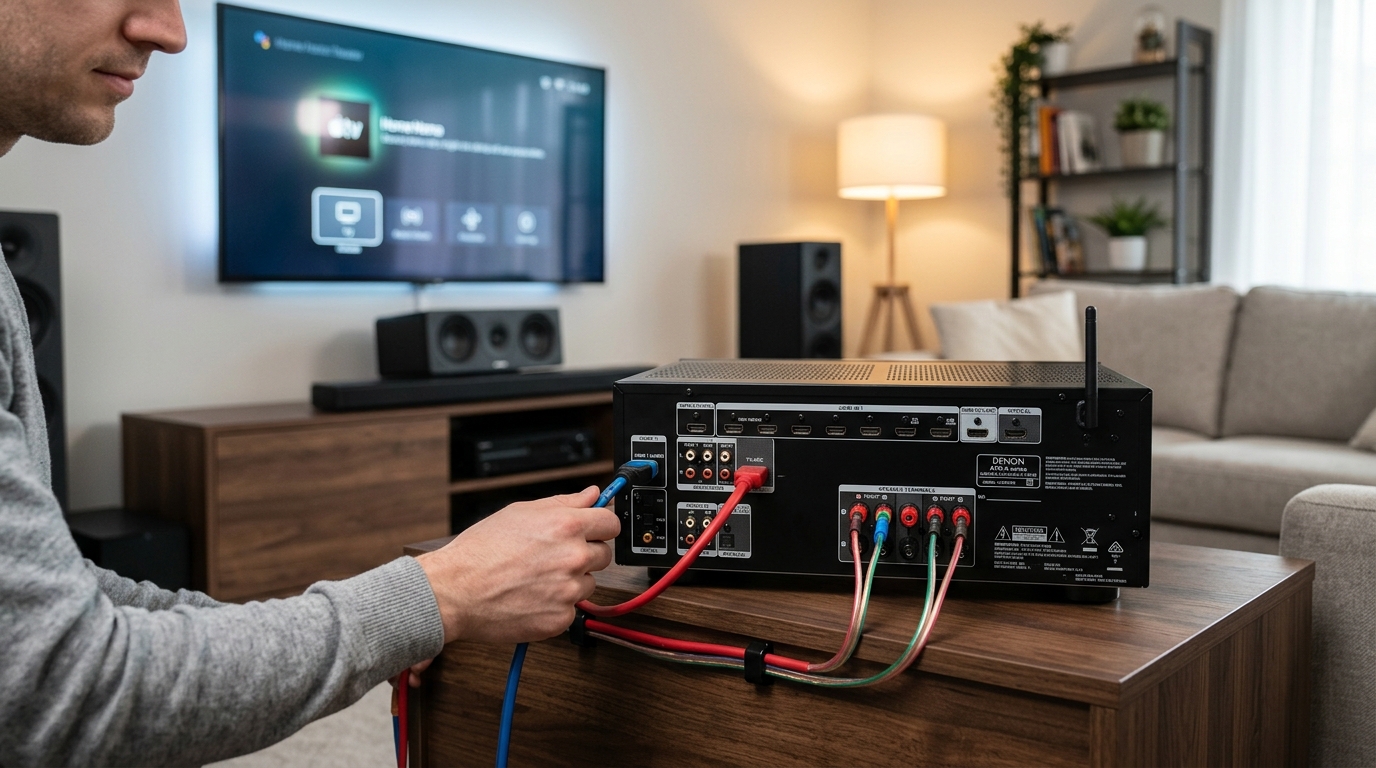
Your new AV receiver just arrived, and you're staring at the back panel covered in ports, terminals, and labels. You've…
Read More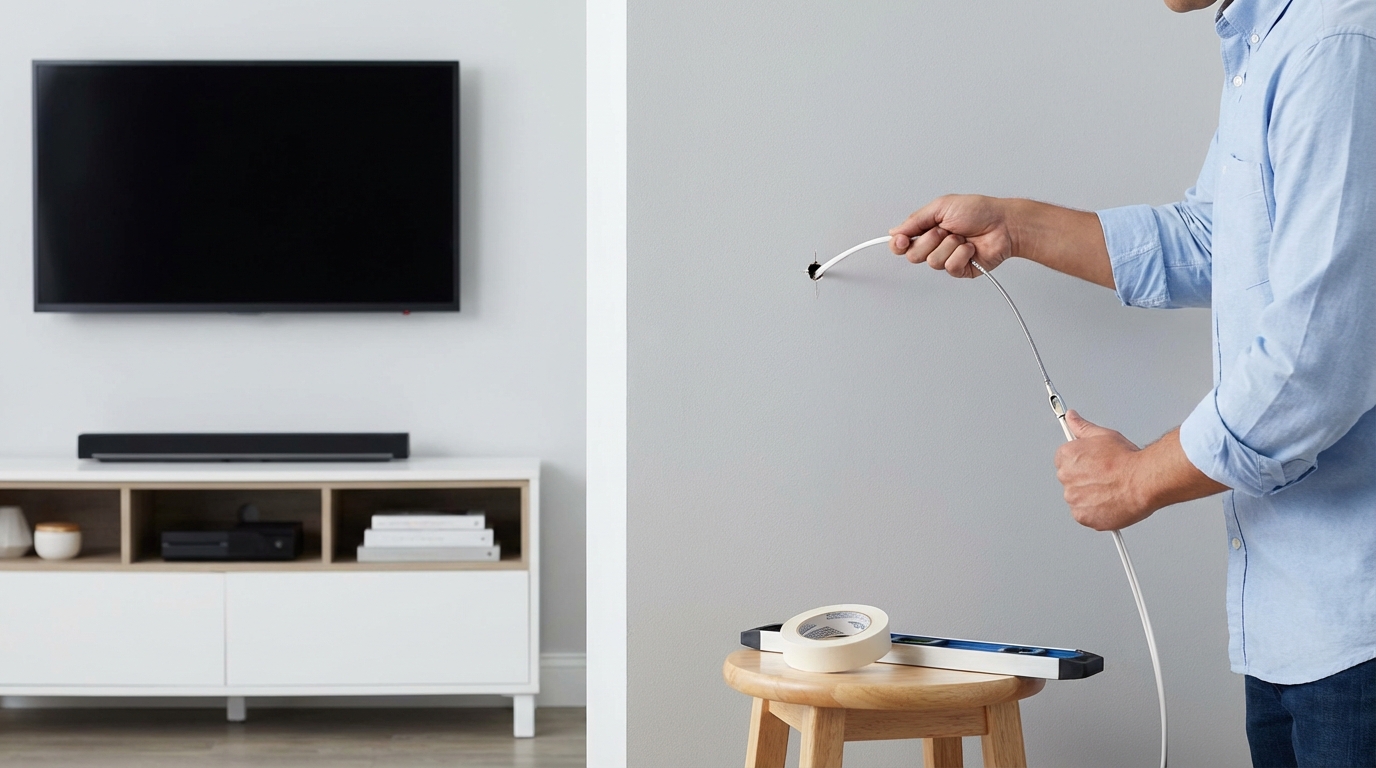
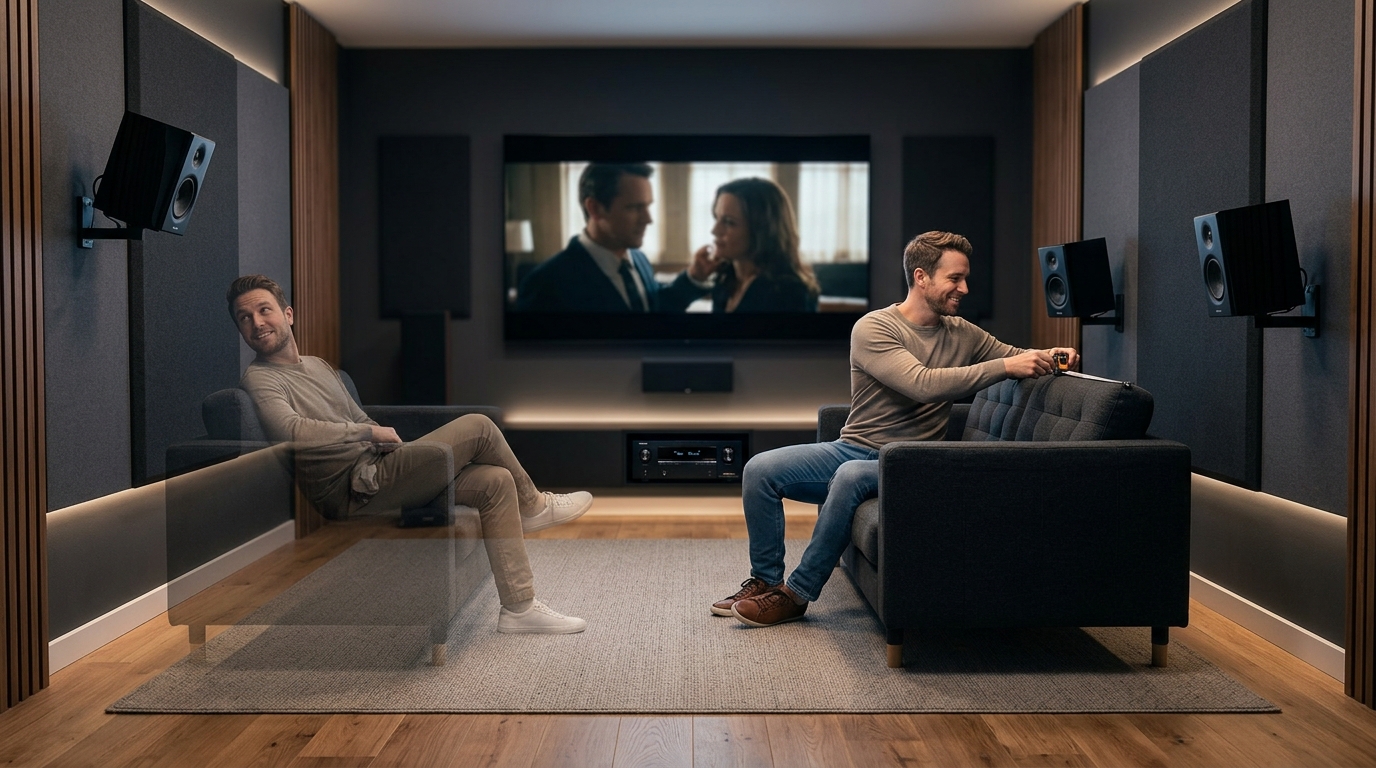
You’ve bought the speakers. You’ve planned the layout. Now you’re staring at your walls wondering how to connect everything without…
Read More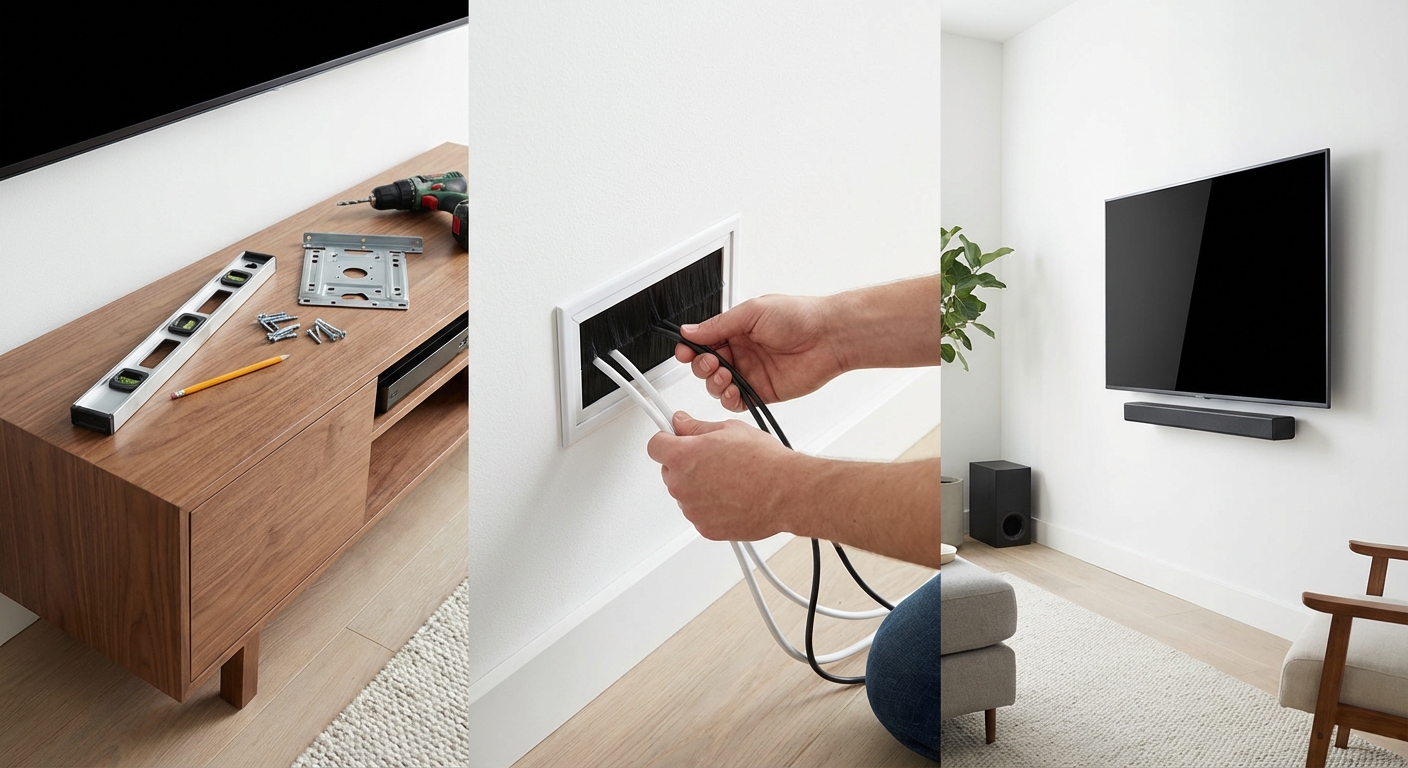
Wall-mounting your TV transforms your living space. It frees up floor space, improves viewing angles, and gives your room a…
Read More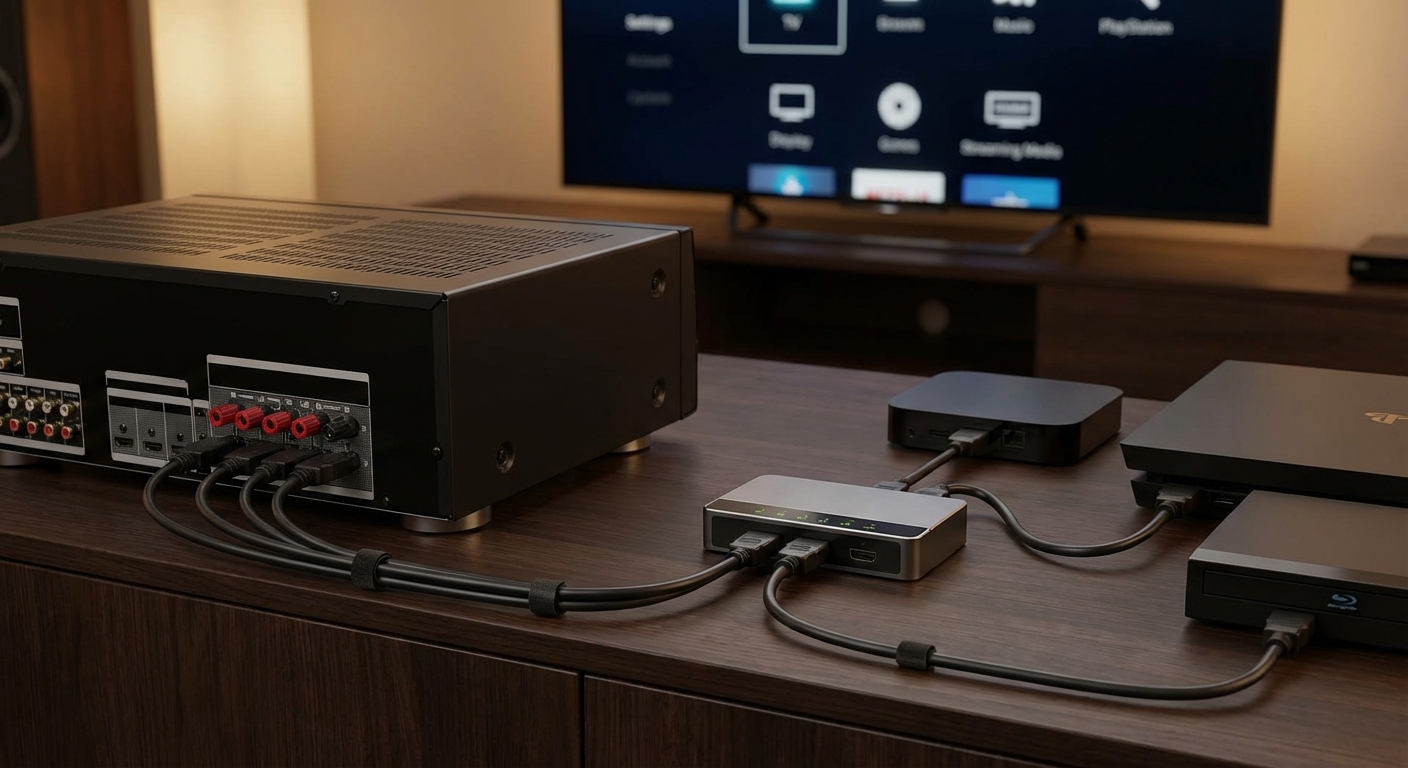
You just bought a new streaming stick, but every HDMI port on your TV is already occupied. Your gaming console,…
Read More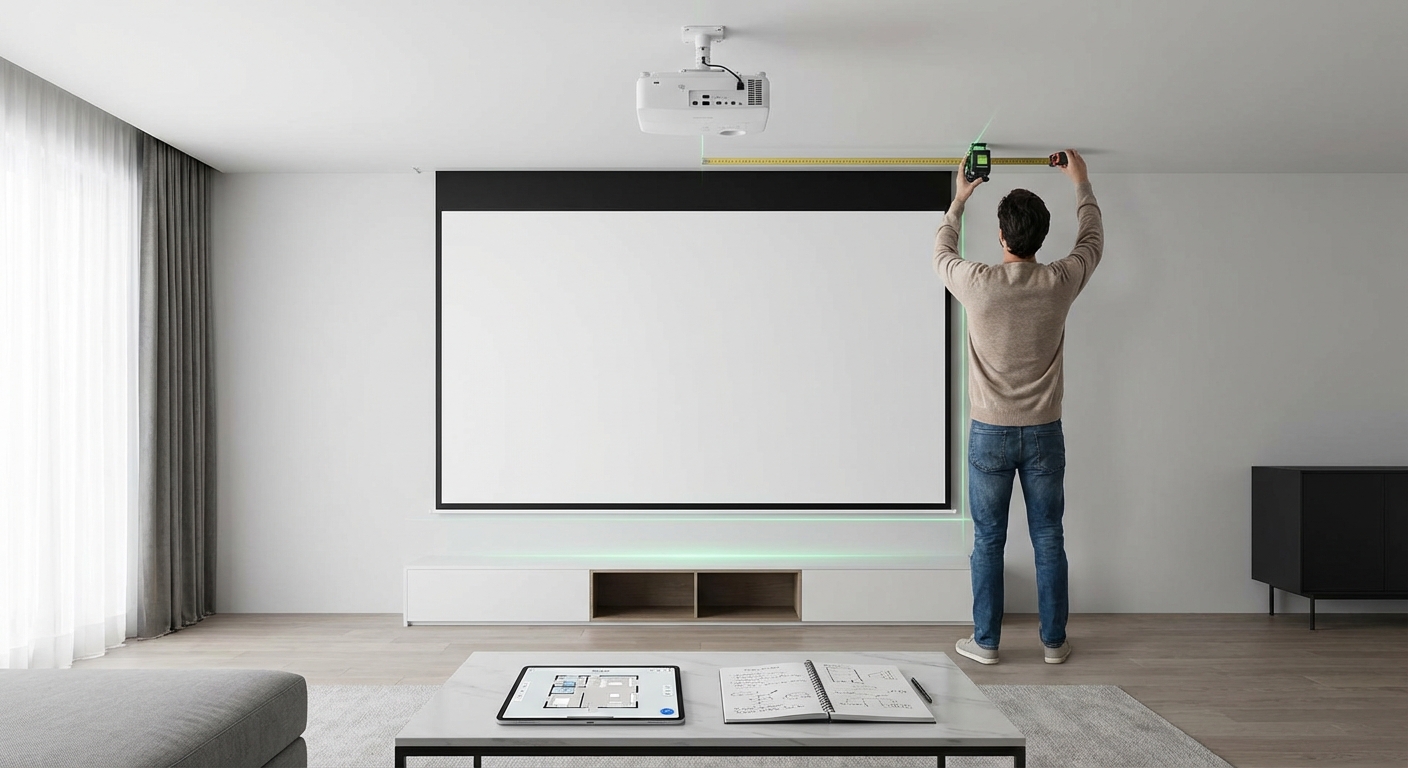
Setting up a projector for the first time feels like solving a puzzle. You know the screen needs to go…
Read More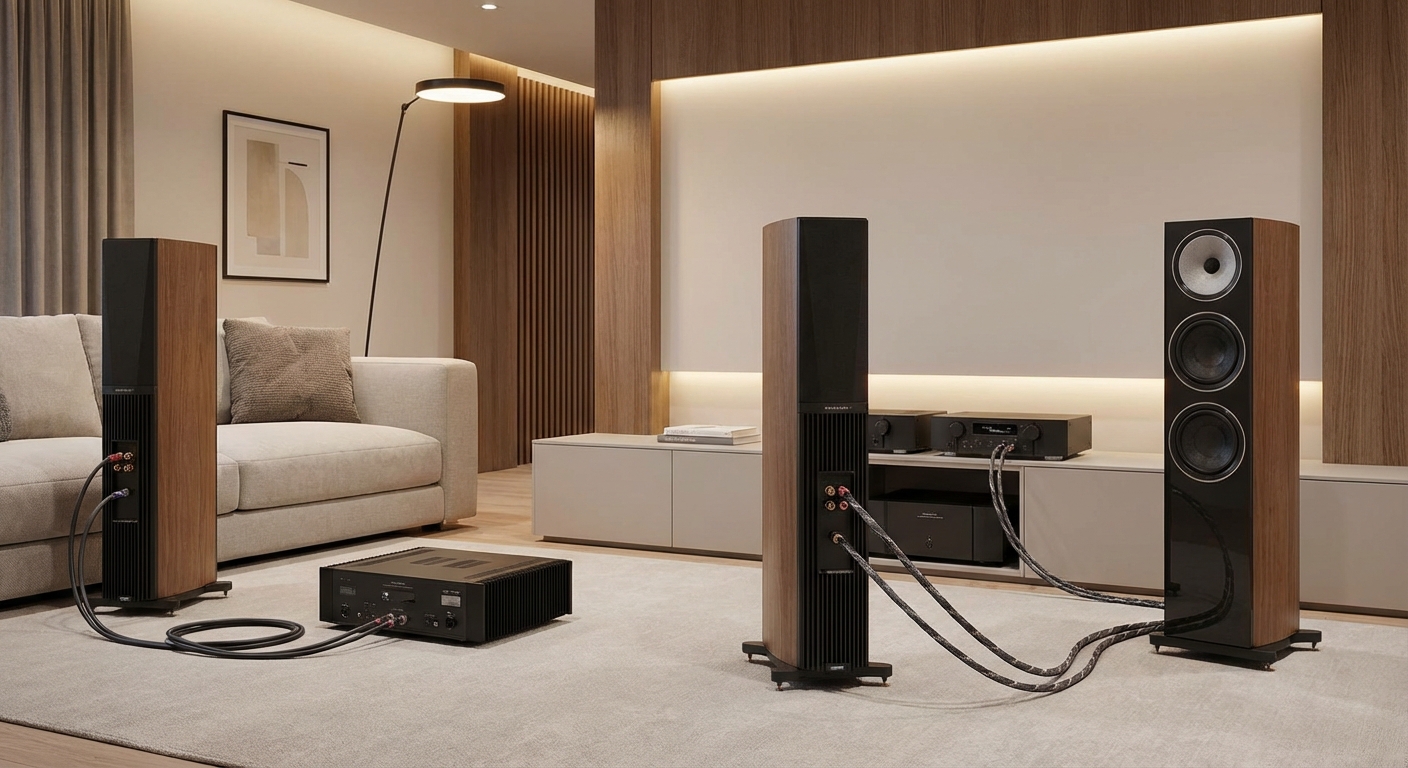
You’ve probably noticed those extra terminals on the back of your speakers and wondered what they’re for. Those dual binding…
Read More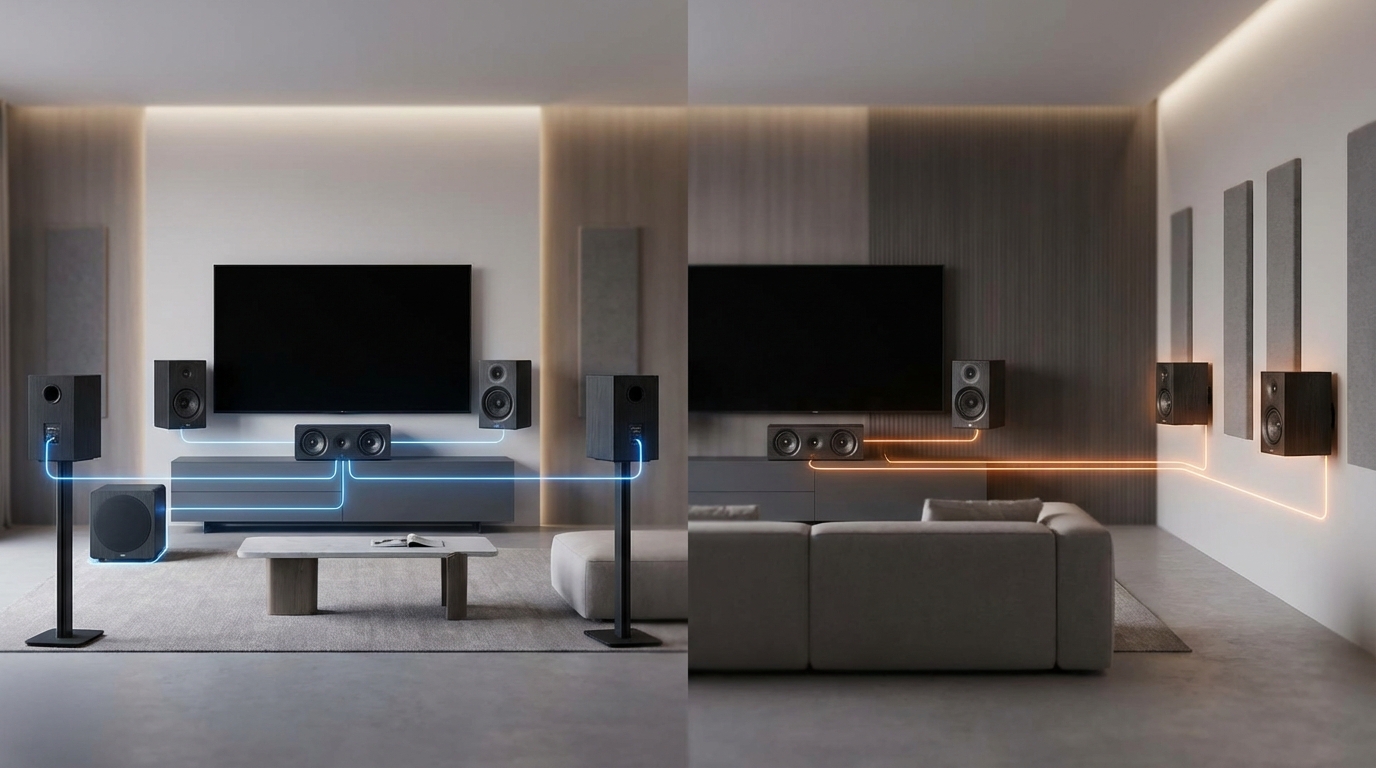
You're standing in your living room, trying to decide between a 5.1 and 7.1 surround sound system. Both promise immersive…
Read More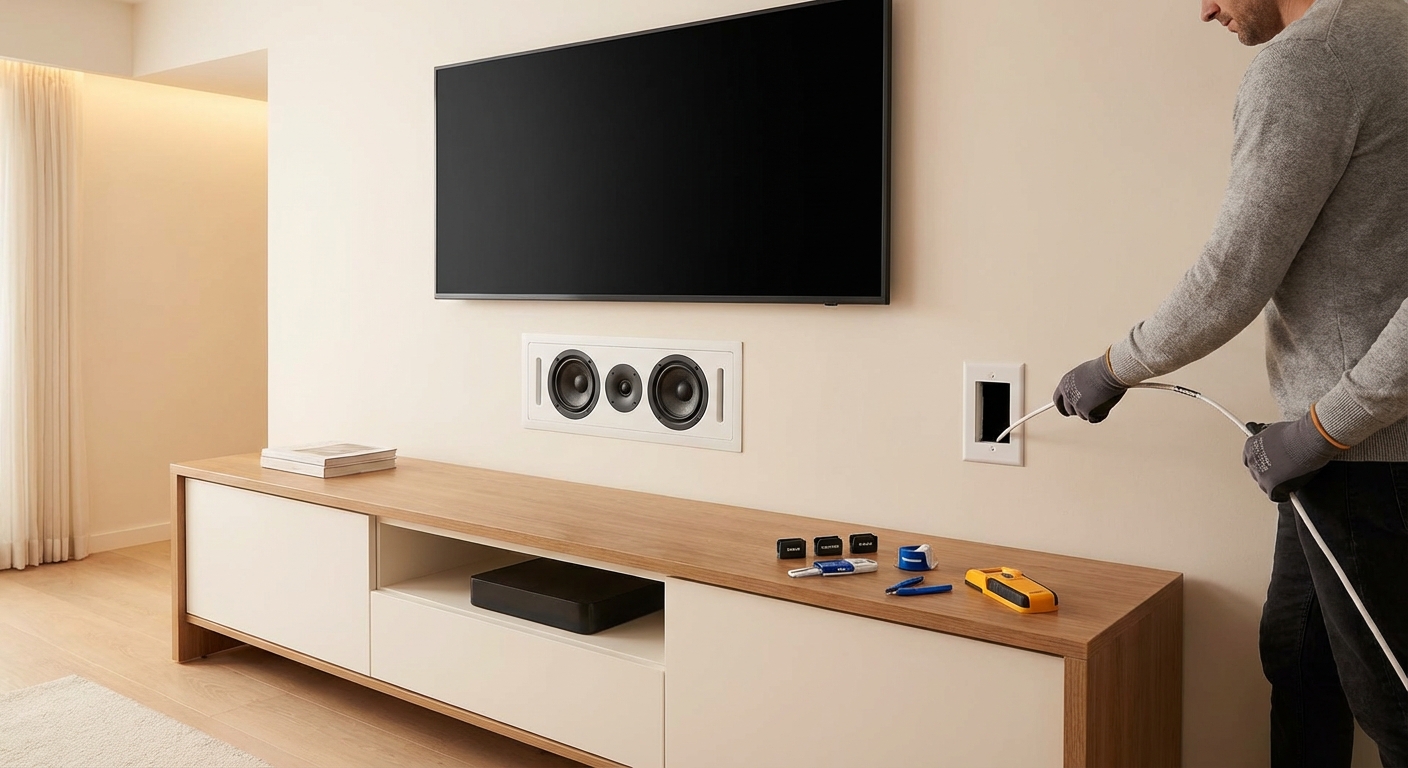
You’ve bought the speakers. You’ve planned the layout. Now you’re staring at your walls wondering how to connect everything without…
Read More