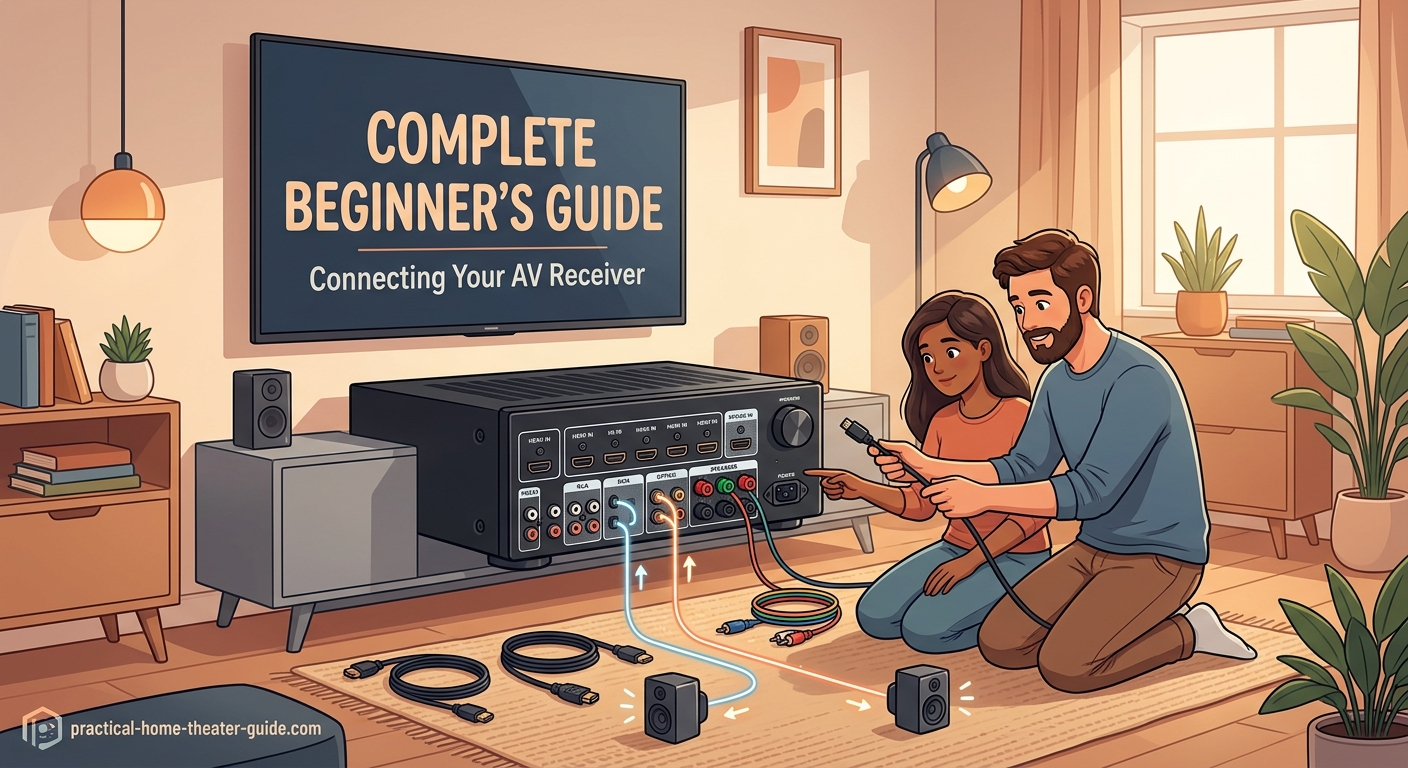
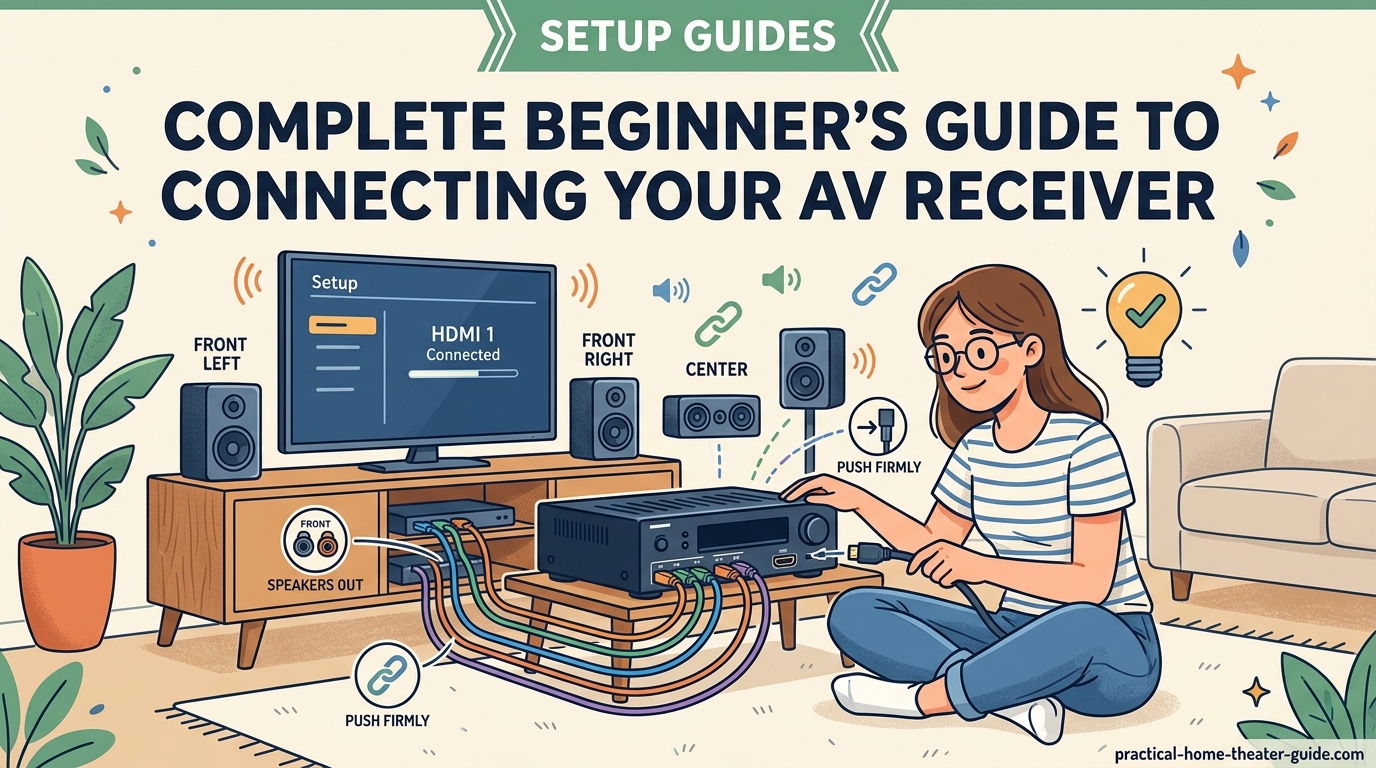
Your new AV receiver just arrived, and you’re staring at the back panel covered in ports, terminals, and labels. You’ve got speaker wire, HDMI cables, and a manual that assumes you already know what you’re doing. The good news? Connecting an AV receiver is more straightforward than it looks once you understand the basic signal flow and which cables go where.
Connecting an AV receiver involves three main steps: wiring your speakers to the correct terminals, connecting video sources to the receiver via HDMI, then running one HDMI cable from the receiver to your TV. Most setup problems come from incorrect speaker polarity or using the wrong HDMI output port on the receiver.
Understanding What Your AV Receiver Actually Does
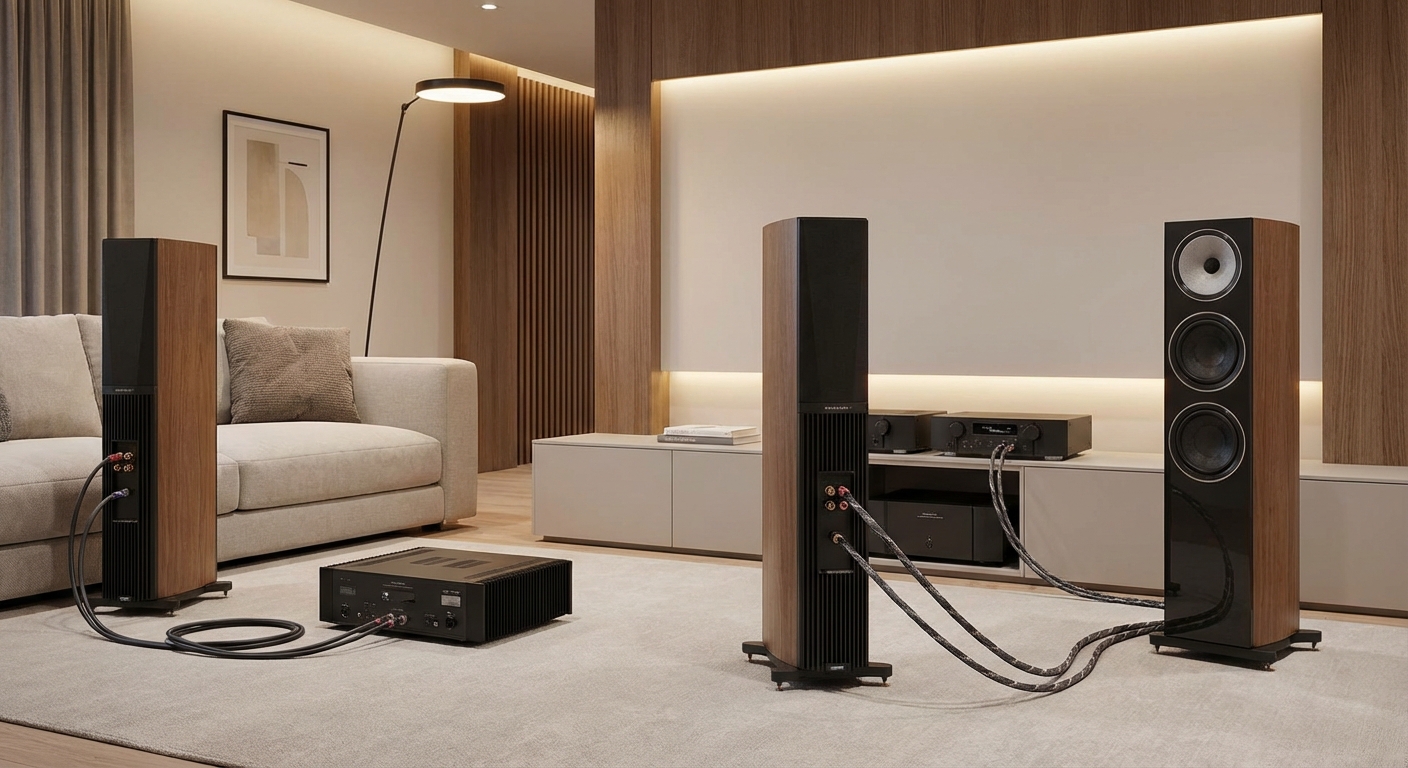
An AV receiver is the central hub of your home theater. It takes audio and video signals from your devices, processes the audio, amplifies it, and sends it to your speakers. At the same time, it passes video through to your TV.
Think of it as a traffic controller. Your streaming box, gaming console, and Blu-ray player all plug into the receiver. The receiver then sends one clean video signal to your TV and splits the audio across your surround sound speakers.
This centralized approach means you only need one remote to control volume and switch between devices. No more juggling three remotes or changing TV inputs constantly.
What You Need Before You Start
Gather these items before you begin:
- Your AV receiver and its power cable
- All speakers in your surround sound system
- Speaker wire (16-gauge or thicker)
- HDMI cables (one for each source device, plus one for the TV)
- Wire strippers or scissors
- Your TV and all source devices (streaming box, game console, etc.)
- The receiver’s remote and setup microphone if included
Most receivers come with a basic setup microphone for auto-calibration. Keep this handy, but don’t run calibration until all physical connections are complete.
Connecting Your Speakers to the Receiver
Speaker connections form the foundation of your home theater sound. Get these wrong and you’ll have weak bass, missing dialogue, or channels that don’t work at all.
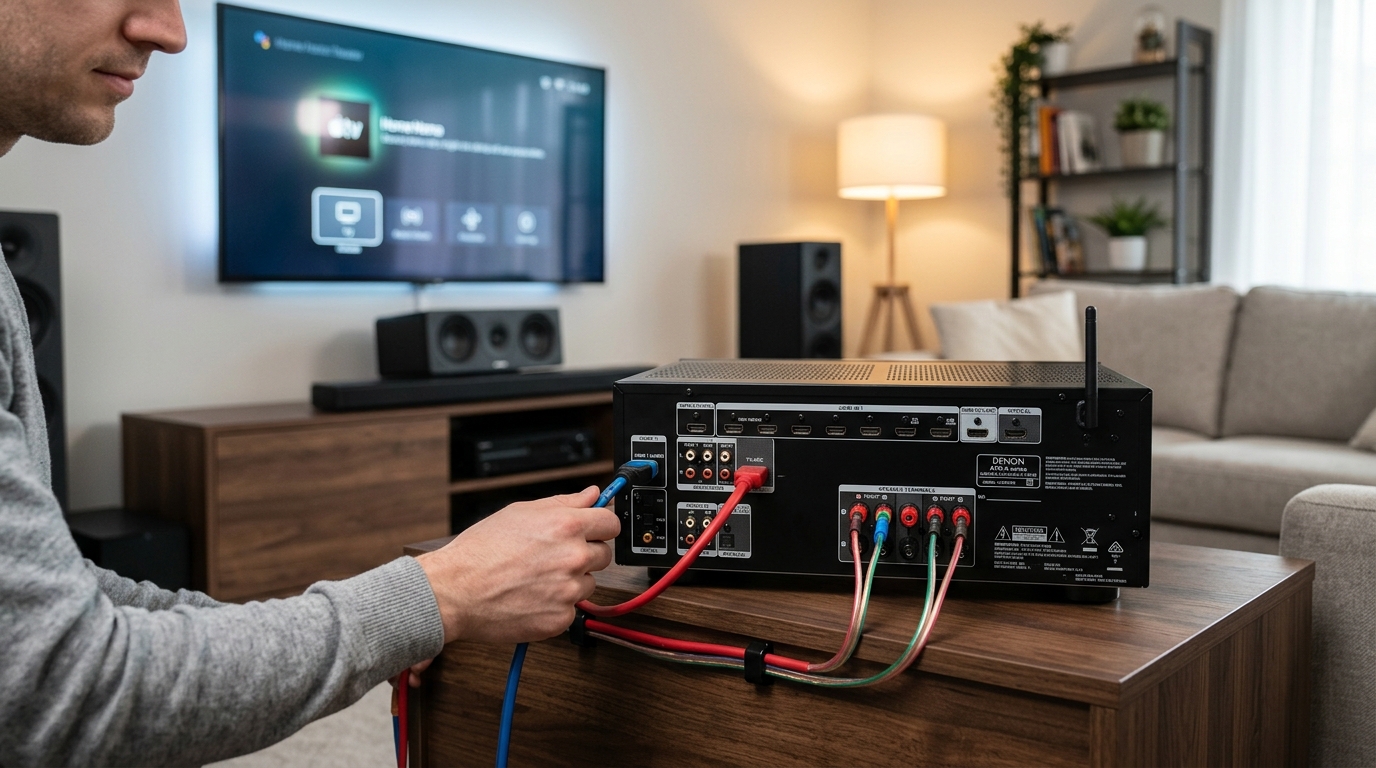
Reading the Speaker Terminals
Look at the back of your receiver. You’ll see spring clips or binding posts labeled with channel names like “Front Left,” “Front Right,” “Center,” “Surround Left,” “Surround Right,” and “Subwoofer.”
Each speaker terminal has two connections: positive (red or marked +) and negative (black or marked -). These must match the connections on your speakers.
Preparing Your Speaker Wire
- Cut speaker wire to the length you need, leaving a few extra feet for flexibility.
- Strip about half an inch of insulation from each wire end.
- Twist the exposed copper strands tightly so they don’t fray.
- Note which conductor is marked (usually with a stripe, ridge, or text). This becomes your positive wire.
Keep your wire runs as short as practical. Excess wire coiled behind your equipment can pick up interference.
Wiring Each Speaker
Connect each speaker using this process:
- Insert the marked (positive) wire into the red terminal on the receiver.
- Insert the unmarked (negative) wire into the black terminal.
- Go to the speaker and connect the same marked wire to its positive terminal.
- Connect the unmarked wire to the speaker’s negative terminal.
- Tug gently on each connection to verify it’s secure.
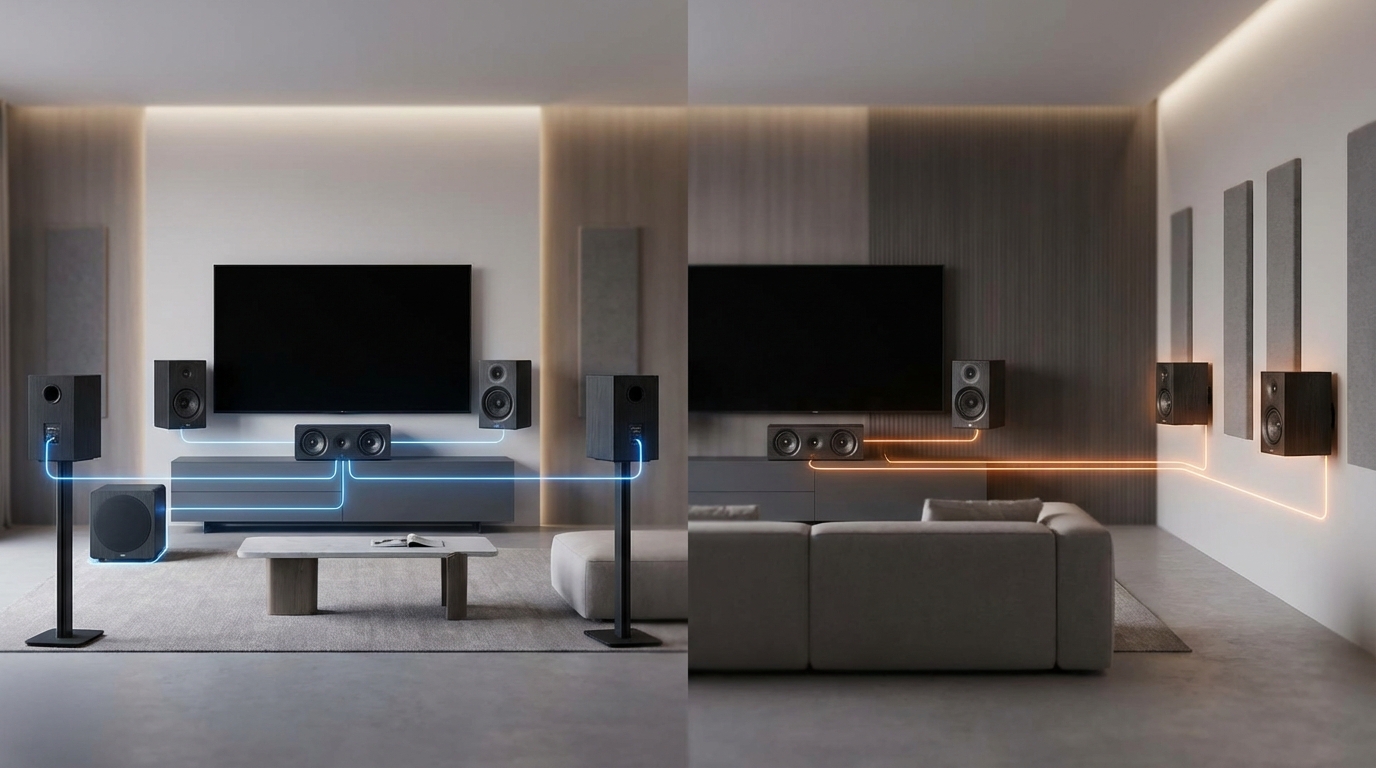
The 5.1 vs 7.1 surround sound setup you choose determines how many speakers you’ll wire. A basic 5.1 system needs five speakers plus a subwoofer.
Always maintain consistent polarity across all speakers. If you reverse positive and negative on even one speaker, it will play out of phase with the others, causing thin sound and poor bass response.
Connecting Your Subwoofer
Subwoofers use a different connection method. Most powered subwoofers connect via a single RCA cable (usually with an orange or purple connector).
Find the “Sub Out” or “LFE Out” port on your receiver. Run an RCA cable from this port to the “LFE In” or “Line In” on your subwoofer. Then plug the subwoofer’s power cable into an outlet and set its power switch to “On” or “Auto.”
If you’re wondering whether you need one, check out do you really need a subwoofer for your home theater setup for guidance.
Connecting Video Sources to Your Receiver
Now that speakers are wired, you can connect your video sources. These include streaming devices, game consoles, Blu-ray players, cable boxes, and anything else that produces video.
Using HDMI Inputs
HDMI carries both video and audio in one cable. This makes it the preferred connection method for modern equipment.
Look at the back of your receiver and locate the HDMI input section. You’ll see multiple ports labeled “HDMI In 1,” “HDMI In 2,” and so on. Some receivers label these by device type like “Game,” “Blu-ray,” or “Media Player.”
Connect each source device:
- Plug one end of an HDMI cable into your streaming box’s HDMI output
- Plug the other end into any available HDMI input on the receiver
- Repeat for each device
The labels on the receiver inputs are just suggestions. Your gaming console doesn’t have to go in the port labeled “Game.” What matters is that you remember which device connects to which input number.
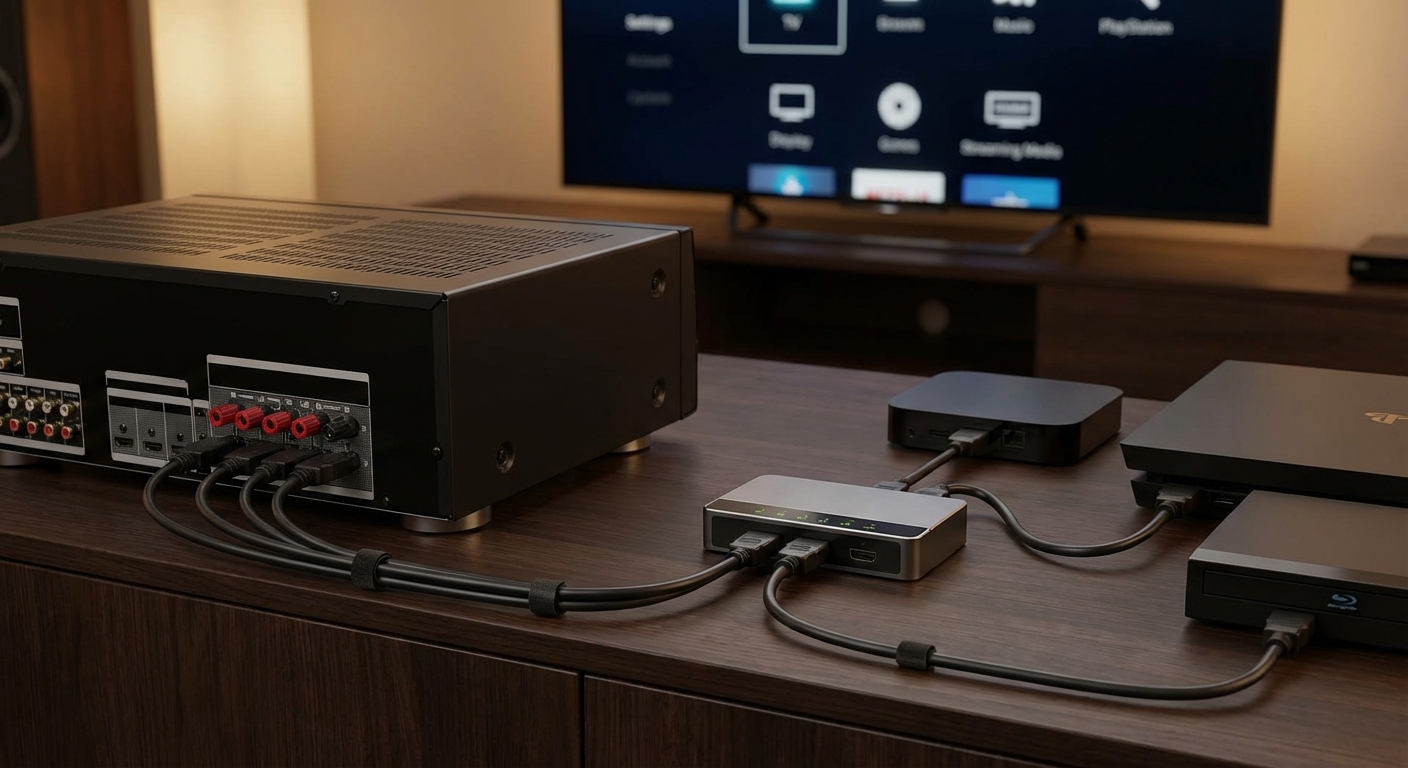
The Critical HDMI Output Connection
Here’s where many beginners make a mistake. Your receiver has both HDMI inputs and HDMI outputs. The inputs receive signals from your devices. The output sends the video signal to your TV.
Find the port labeled “HDMI Out,” “HDMI Monitor,” or “TV Out” on your receiver. This is usually separate from the input section. Run an HDMI cable from this port to any HDMI input on your TV.
This single cable carries video from all your connected devices to the TV. You select which device to watch using the receiver’s input selector, not your TV remote.
If you run out of HDMI ports, read about the right way to connect multiple HDMI devices when your receiver runs out of ports.
Alternative Audio Connections
Some older devices lack HDMI. For these, you can use optical (Toslink) or coaxial digital audio cables. These carry audio only, so you’ll also need to connect video directly to your TV.
Optical cables have a distinctive square connector with a small door that flips open. Coaxial digital audio looks like a standard RCA cable but carries digital signals.
Connect the audio cable from your device to the corresponding input on the receiver. Then note which input number you used so you can select it later.
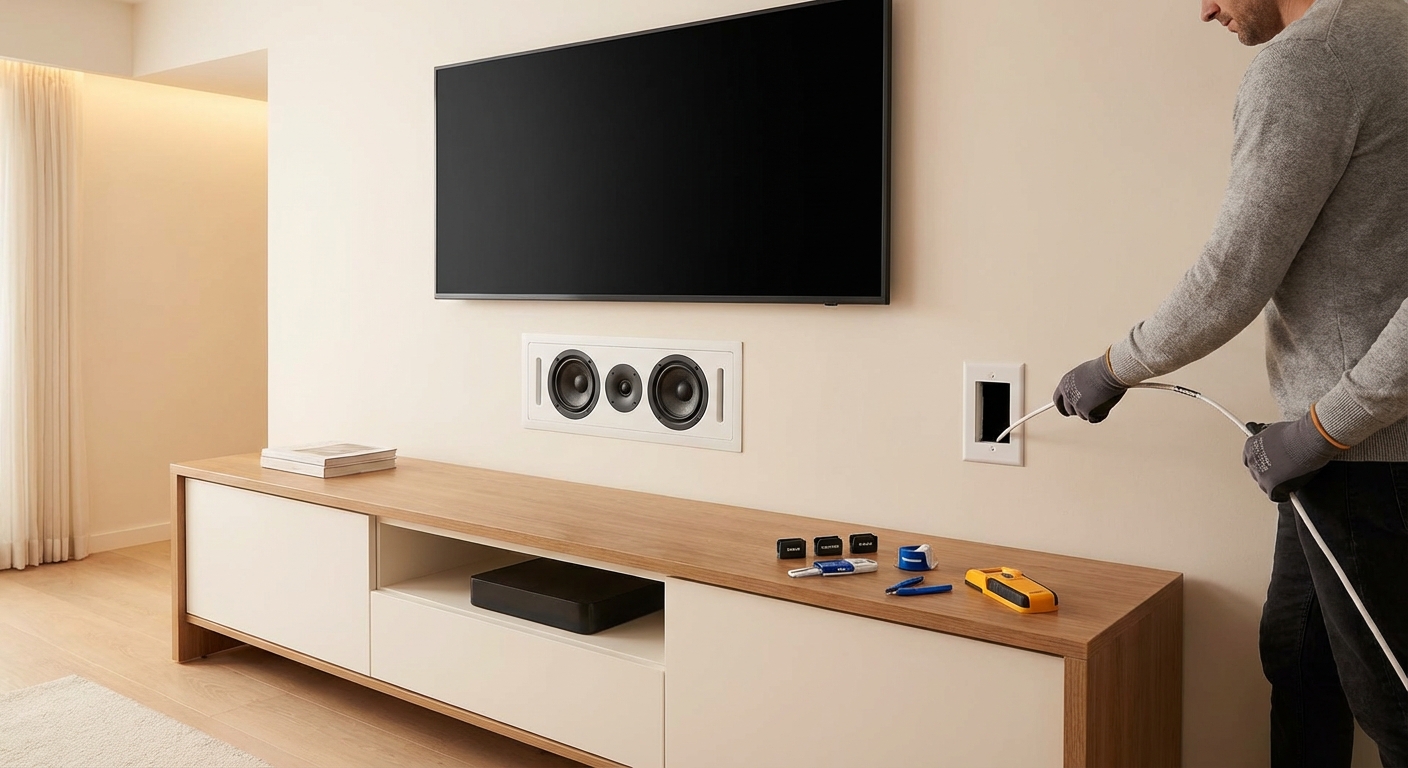
Connecting Your TV to the Receiver
Your TV needs two connections to the receiver: one for video input and one for audio return.
The Main Video Connection
You already connected this in the previous section. The HDMI cable from your receiver’s “HDMI Out” port to your TV’s HDMI input carries video from all your sources.
Make note of which HDMI input number you used on the TV. You’ll need to select this input on your TV to see content from your receiver.
Setting Up HDMI ARC for TV Audio
Modern TVs and receivers support HDMI ARC (Audio Return Channel). This feature sends audio from your TV’s built-in apps back to the receiver through the same HDMI cable.
Check your TV’s HDMI ports. One will be labeled “ARC” or “eARC.” If your receiver’s HDMI output cable isn’t already connected to this port, move it there.
Now when you watch Netflix through your TV’s built-in app, the audio will play through your surround sound system instead of the TV’s weak speakers.
If you experience problems with this connection, how to fix HDMI ARC audio dropouts and cutting out covers common solutions.
Powering Everything On in the Right Order
Connection order matters when you first power up your system. Following the correct sequence prevents potential issues.
- Verify all connections are secure and no bare wires are touching.
- Turn on your TV first and select the HDMI input connected to the receiver.
- Power on the receiver.
- Turn on one source device.
- Use the receiver’s remote to select the input matching that source device.
You should see video on your TV and hear audio from your speakers. If not, don’t panic. The troubleshooting section below covers common issues.
Configuring Basic Receiver Settings
Physical connections are complete, but your receiver needs some configuration before it sounds right.
Running the Initial Setup Wizard
Most modern receivers walk you through a setup wizard on first power-up. This appears on your TV screen. Use the receiver’s remote to navigate.
The wizard will ask:
- Which speakers are connected
- How many speakers you have
- The size of each speaker (large or small)
- Your subwoofer’s presence
- Distance from each speaker to your main seating position
Answer these questions as accurately as possible. The receiver uses this information to balance sound levels and apply proper bass management.
Setting Speaker Sizes Correctly
When the setup asks for speaker size, it’s not asking about physical dimensions. “Large” means the speaker can reproduce deep bass on its own. “Small” means it needs help from the subwoofer.
Unless you have tower speakers with 8-inch or larger woofers, set all speakers to “Small.” This tells the receiver to redirect low bass to your subwoofer, which handles it better than small speakers can.
Always set your center channel to “Small” unless you have a massive three-way center speaker. Proper center channel speaker positioning matters as much as this setting.
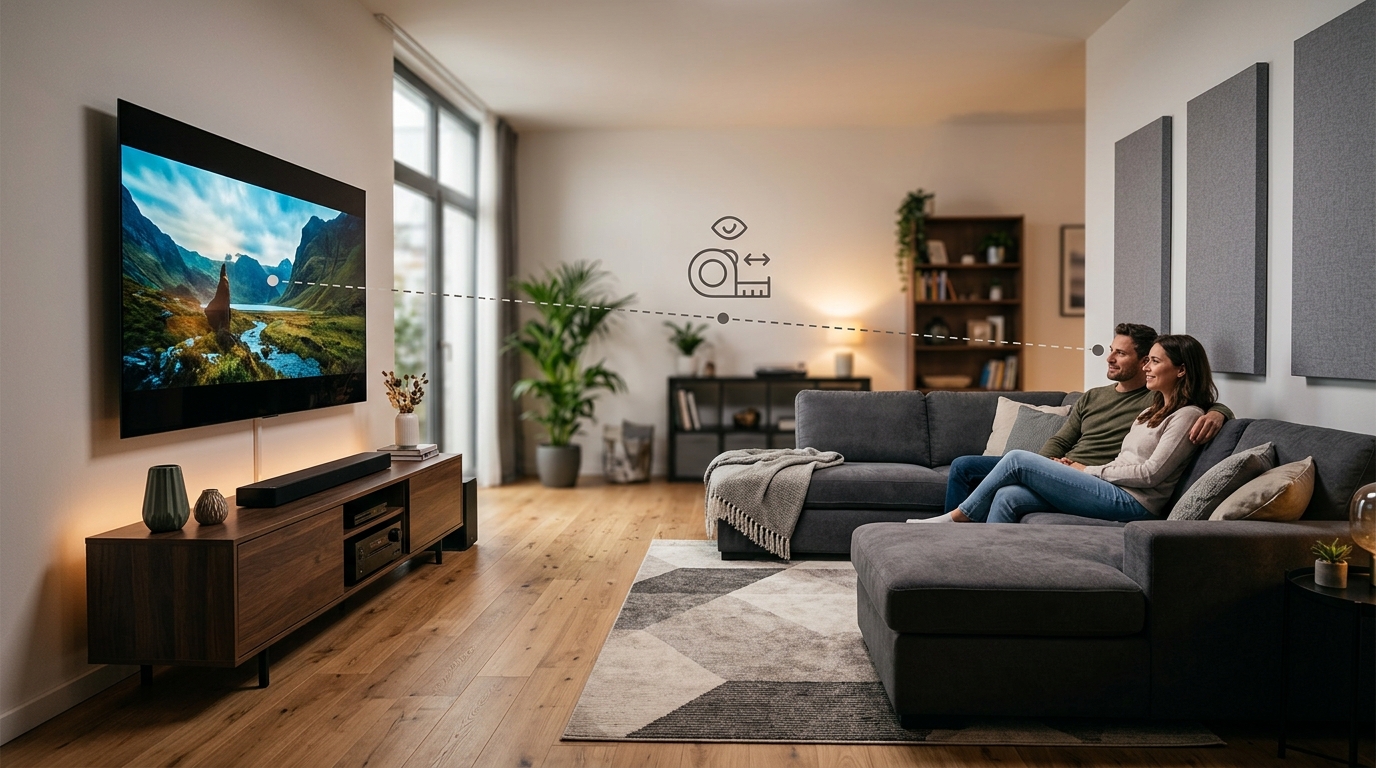
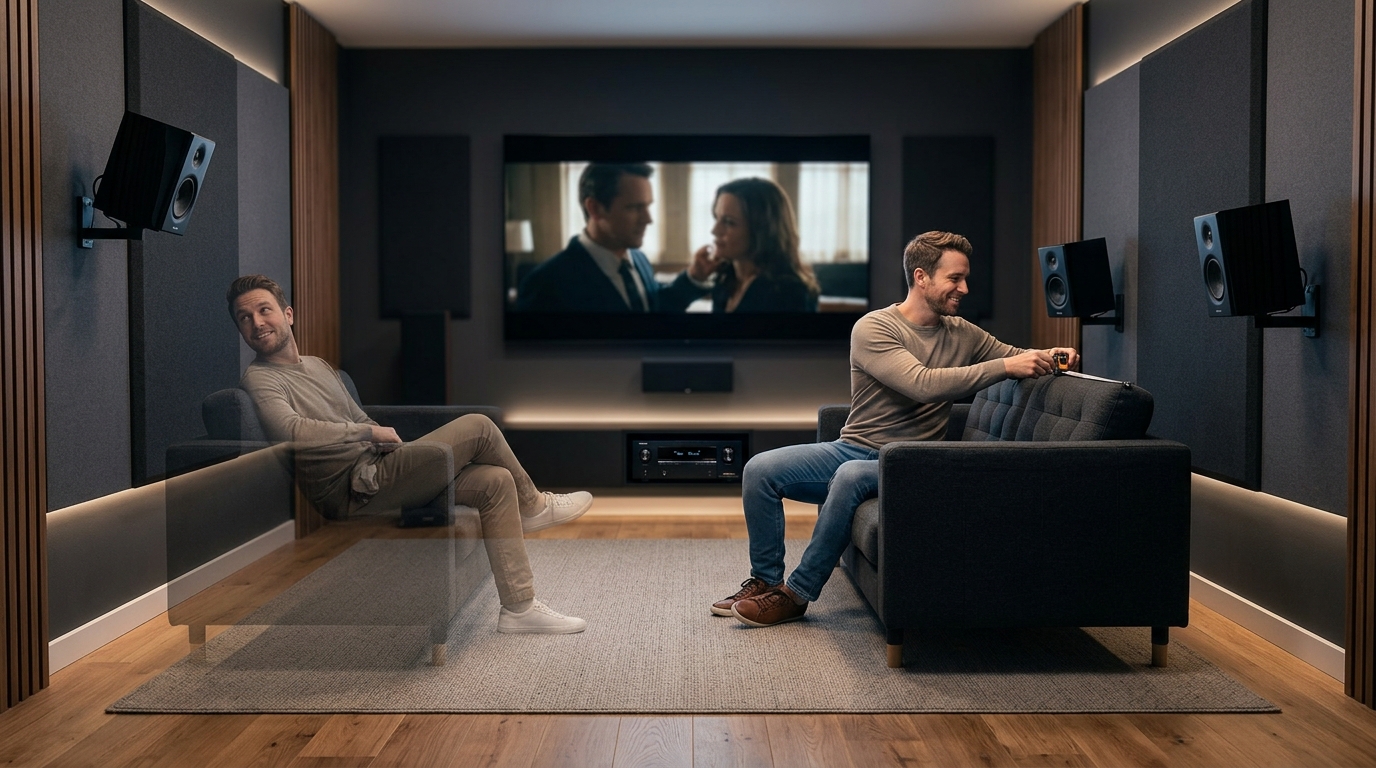
Measuring Speaker Distances
The receiver needs to know how far each speaker sits from your main listening position. This helps it time-align the sound so all channels reach your ears simultaneously.
Grab a tape measure. Sit in your favorite viewing spot and measure the straight-line distance to each speaker. Round to the nearest foot or half-foot.
Enter these measurements in the receiver’s setup menu. Don’t worry about being perfectly precise. Being within a foot is close enough for good results.
Running Automatic Speaker Calibration
After basic settings are configured, most receivers offer automatic calibration using the included microphone.
Setting Up the Calibration Microphone
Place the calibration microphone at head height in your main seating position. If your couch seats three people, put the microphone where the center person’s head would be.
Use a tripod, stack of books, or even a broomstick taped to the couch to hold the microphone steady. Don’t hold it in your hand, as your body will absorb sound and throw off measurements.
Running the Calibration
Follow your receiver’s instructions to start the calibration process. The receiver will play test tones through each speaker while measuring the response with the microphone.
Stay quiet and still during this process. Turn off fans, air conditioning, and anything else that makes noise. Even your breathing can affect measurements if you’re too close to the microphone.
The calibration takes five to ten minutes. The receiver will beep or announce when it’s complete.
Reviewing Calibration Results
After calibration finishes, review the results. Check that:
- All speakers were detected
- Speaker distances match your manual measurements (within a foot or two)
- All speakers are set to similar volume levels (within 3 dB of each other)
- The subwoofer crossover is set between 80 Hz and 120 Hz
If results look wildly off, something went wrong. Common causes include background noise, the microphone falling over, or incorrect speaker wire connections.
Some people find their system sounds worse after auto-calibration. If this happens to you, read why your home theater sounds worse after auto-calibration.
Testing Your Connections with Real Content
Calibration is done. Time to test everything with actual movies and music.
Playing Test Content
Start with content you know well. Pick a movie scene with clear dialogue, surround effects, and bass. The opening of any Marvel movie works great for this.
Play the scene and listen for:
- Clear dialogue from the center speaker
- Sound effects moving between speakers smoothly
- Bass that feels powerful but not boomy
- No hissing, crackling, or distortion
Walk around your room during playback. You should hear sound coming from the correct speakers as effects move around the screen.
Verifying Each Channel Works
Use your receiver’s test tone feature to verify each speaker individually. This feature plays pink noise through one speaker at a time.
Access this through your receiver’s menu, usually under “Audio,” “Speaker Setup,” or “Test Tone.” As each speaker plays, you should hear clear, undistorted sound at the same volume level.
If one speaker is silent, recheck its wire connections at both the receiver and speaker ends. If one speaker is much quieter, you may have reversed its polarity.
Common Connection Problems and Solutions
Even with careful setup, issues can occur. Here are the most common problems and their fixes.
| Problem | Likely Cause | Solution |
|---|---|---|
| No sound from any speaker | Receiver not selected as TV audio output | Check TV audio settings and enable HDMI ARC |
| One speaker silent | Loose wire connection or incorrect terminal | Recheck connections at both ends |
| Weak bass and thin sound | Reversed speaker polarity | Verify all speakers have matching polarity |
| No video on TV | Wrong HDMI input selected | Cycle through TV inputs to find receiver |
| Receiver shuts off during use | Impedance mismatch or ventilation issue | Check speaker impedance rating and clear vents |
When One Speaker Doesn’t Work
If a speaker stays silent during the test tone, the problem is almost always a bad connection. Turn off the receiver and check that speaker’s terminals.
Look for:
- Loose wire not fully inserted into the terminal
- Stray wire strands touching the wrong terminal
- Wire insulation caught in the terminal, blocking the connection
- Broken wire conductor inside the insulation
Strip a fresh section of wire and reconnect if you see any of these issues.
When Everything Sounds Flat or Weird
If your system sounds strange but all speakers work, you likely have a polarity problem. One or more speakers are wired backwards.
Turn off the receiver. Check each speaker connection, verifying that the marked (positive) wire goes to the red terminal on both the receiver and speaker.
Fix any reversed connections, power back on, and test again. The improvement should be immediate and obvious.
When the Receiver Keeps Shutting Down
Receivers have built-in protection that shuts them down when they overheat or detect a problem. If yours keeps shutting off, first check ventilation.
Make sure the receiver has at least three inches of clearance above it and isn’t enclosed in a cabinet with no airflow. Receivers generate significant heat and need breathing room.
If ventilation is fine, you may have an impedance mismatch. Check your speaker specifications. If they’re rated below 6 ohms and you have many speakers connected, the receiver may be overloaded. Read about why your new AVR keeps shutting off for detailed solutions.
Fine-Tuning Your Setup After Initial Connection
Your system works, but you can make it better with some adjustments.
Adjusting Individual Channel Levels
Even after calibration, you might want to adjust speaker levels to personal preference. Some people like louder surrounds for a more immersive experience. Others prefer a boosted center channel for clearer dialogue.
Use your receiver’s channel level adjustment feature to make small changes. Adjust in 1 dB increments and test with familiar content after each change.
Don’t go crazy with adjustments. If you’re making changes larger than 3 dB, you probably have a speaker placement problem rather than a level problem.
Setting the Right Listening Mode
Receivers offer multiple listening modes like “Movie,” “Music,” “Game,” and “Direct.” Each processes audio differently.
For movies, use “Movie” or “Cinema” mode. For music, try “Stereo” or “Music” mode. For gaming, “Game” mode reduces audio processing lag.
Some receivers also offer brand-specific modes like Dolby Surround or DTS Neural:X. These upmix stereo content to surround sound. Try them and see what you prefer.
Managing Multiple Input Devices
As you add more devices, you’ll need to organize your receiver’s inputs. Most receivers let you rename inputs to match your devices.
Go into the receiver’s input setup menu and rename “HDMI 1” to “Apple TV” or whatever device you connected there. This makes switching inputs much easier since you’ll see device names instead of port numbers.
You can also disable unused inputs so they don’t appear when cycling through sources.
Maintaining Your Connections Over Time
Your setup is complete, but connections need occasional maintenance.
Check your wire connections every few months. Terminals can loosen over time, especially spring-clip types. A loose connection causes intermittent sound or distortion.
Keep cables organized and away from power cords when possible. While modern cables have good shielding, running signal cables parallel to power cables for long distances can introduce noise.
Dust your receiver’s vents regularly. Blocked vents reduce cooling efficiency and can lead to shutdowns or reduced lifespan.
Getting Sound from Your System to Your Ears
Connecting an AV receiver isn’t complicated once you understand the signal path. Speakers wire to the receiver terminals with consistent polarity. Source devices connect via HDMI to the receiver’s inputs. One HDMI cable runs from the receiver’s output to your TV. Power everything on, run the setup wizard, calibrate, and you’re done.
The most common mistakes are reversed speaker polarity, using the wrong HDMI output port, and skipping calibration entirely. Avoid these and your system will sound great from day one. Take your time with the physical connections and double-check everything before powering on. An extra five minutes of careful work now prevents hours of troubleshooting later.


Leave a Reply