
Getting a home theater that looks stunning and sounds incredible starts with proper speaker placement. Installing in-wall speakers is a smart way to keep your space clean and stylish. But knowing how to install in-wall speakers for home theater without creating headaches takes a bit of planning and the right tools. This guide walks you through the process, helping you achieve a seamless, professional-looking setup that delivers top-notch sound.
Installing in-wall speakers for your home theater involves careful planning, choosing the right gear, precise cutting, and proper wiring. Follow these steps to ensure a clean, professional look and optimal sound quality. Avoid common mistakes like incorrect placement or poor sealing for the best experience.
Planning Your In-Wall Speaker Installation
Before you start cutting into walls, spend time planning. Think about the room layout, speaker positions, and wiring routes. Proper planning minimizes surprises and makes the installation smoother.
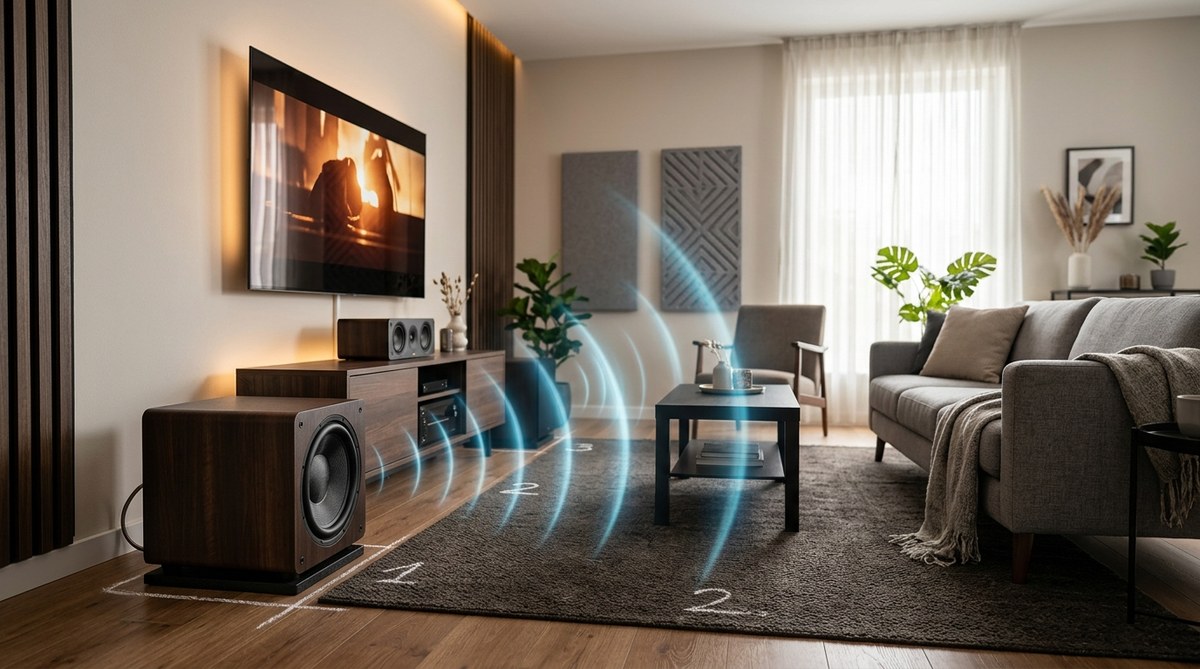
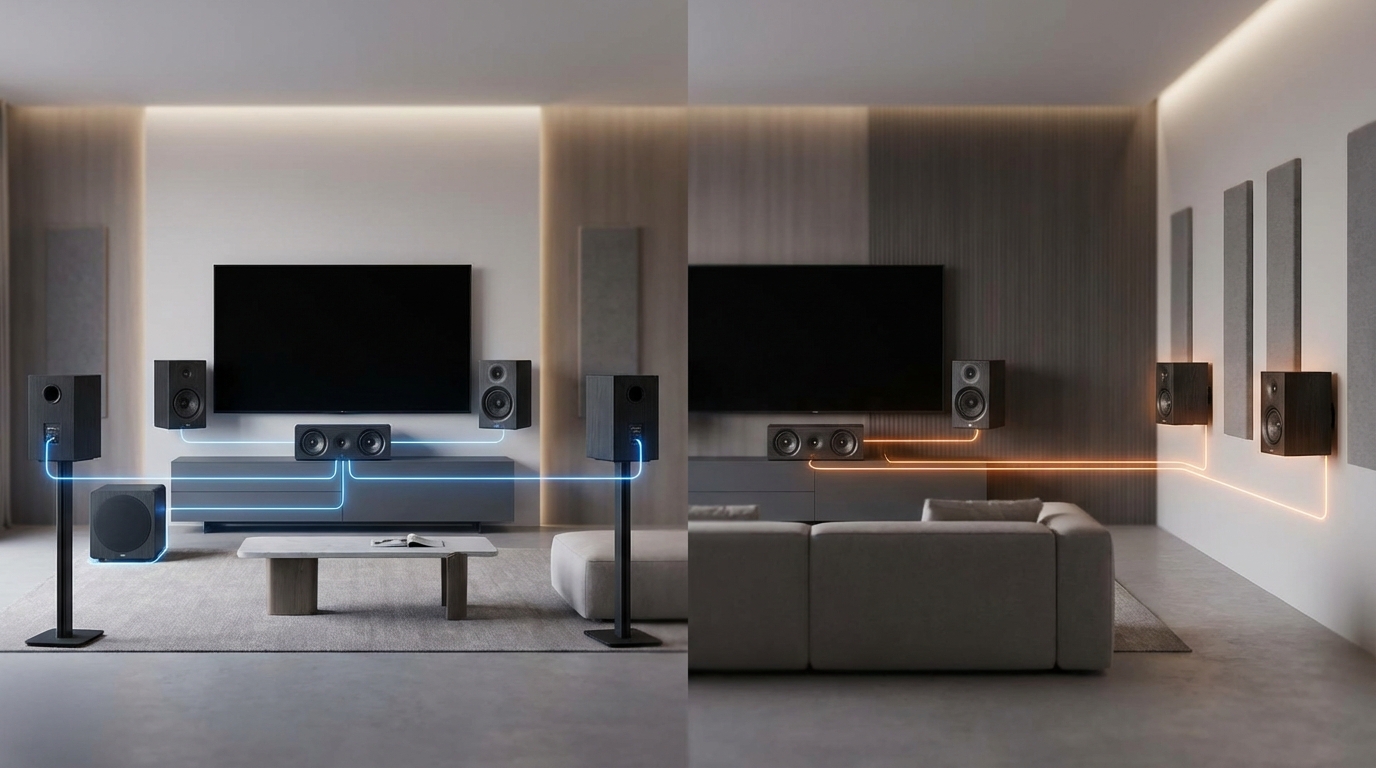
Determine speaker locations
Decide where your front, surround, and rear speakers will go. For a balanced soundstage, front speakers should be near ear level when seated. Surrounds are usually placed slightly above and to the sides. Use room measurements to find ideal spots.
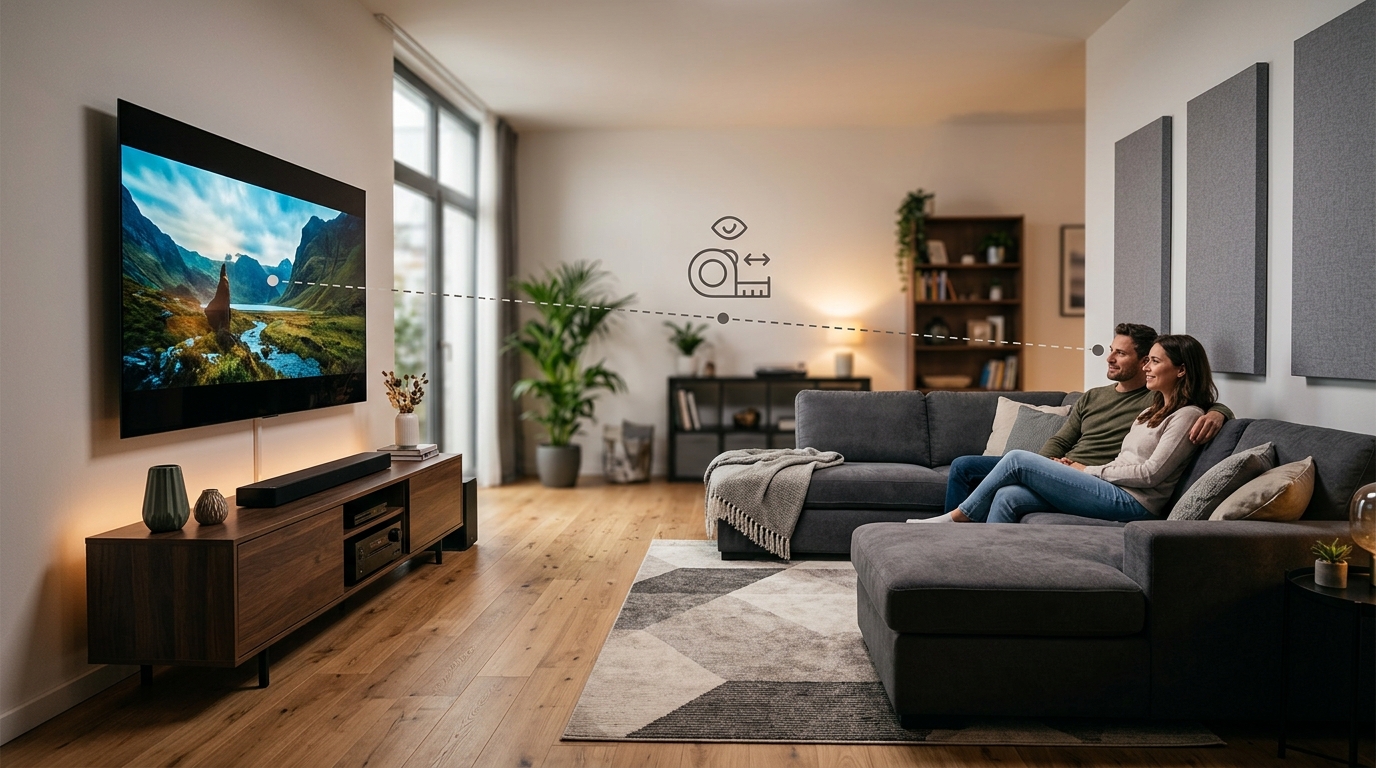
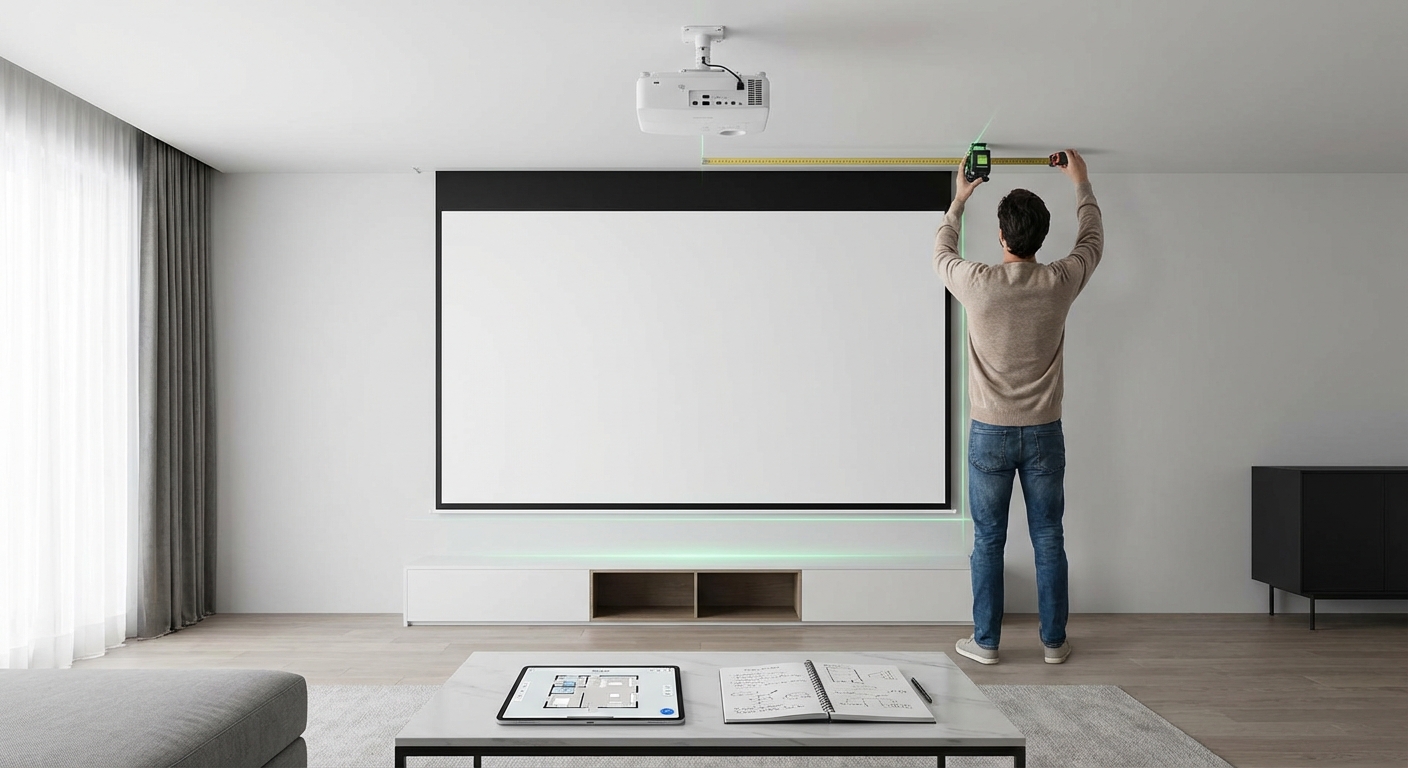
Measure and mark
Use a tape measure and a pencil to mark the exact spots on the wall. A laser level can help ensure your speakers will be aligned horizontally and vertically. Check for obstructions like studs or wiring before making cuts.
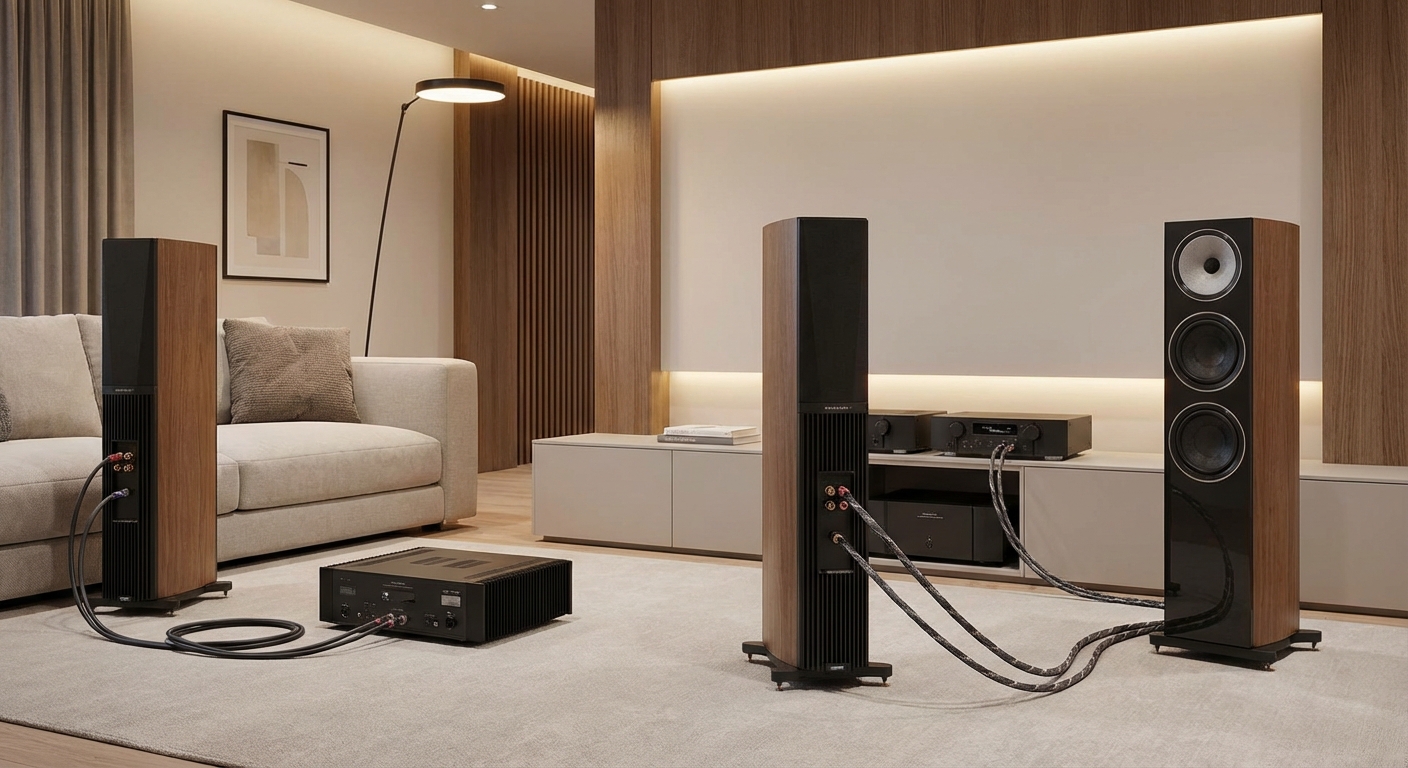
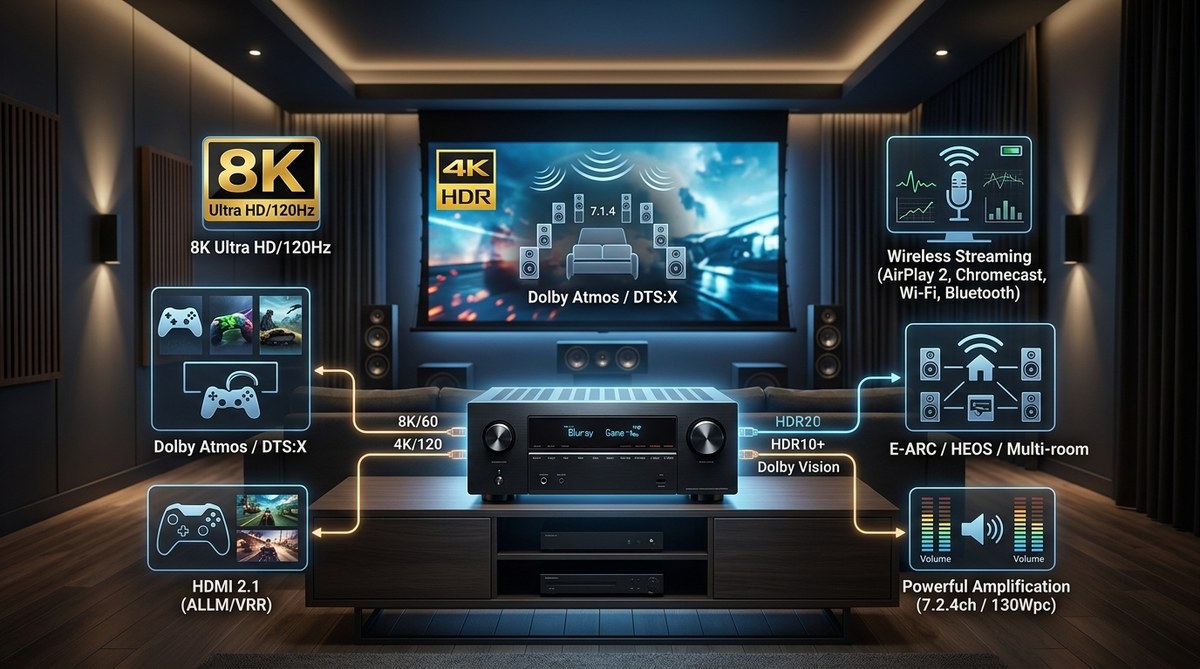
Choose the right gear
Select in-wall speakers compatible with your system. Check power ratings, impedance, and size. For a seamless look, opt for speakers with a low profile or paintable grille. Have a high-quality speaker wire, a drywall saw, a stud finder, and a level ready.
Step-by-Step Guide to Installing In-Wall Speakers
Follow these practical steps for a smooth installation.
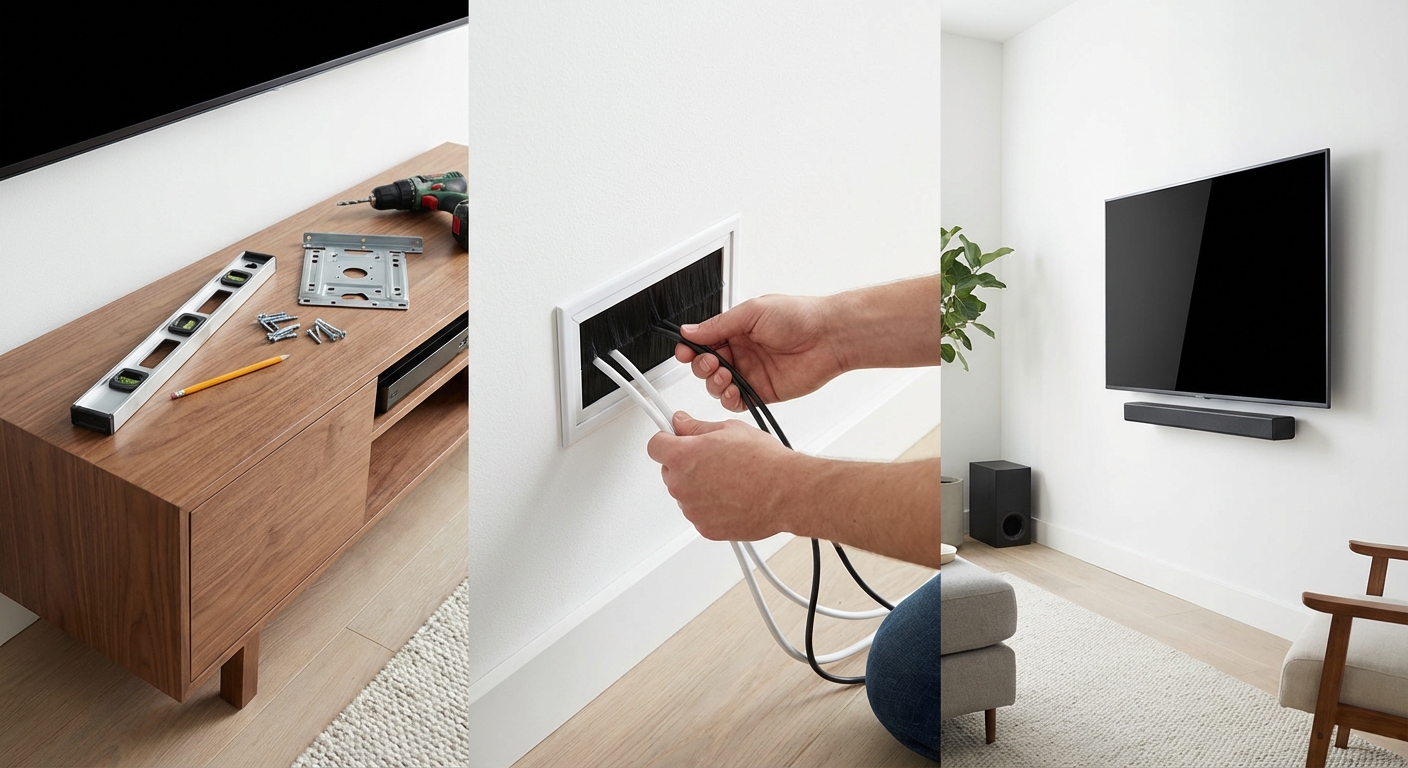
1. Prepare the workspace
Clear the area and cover furniture. Turn off power if working near electrical outlets. Use a stud finder to locate studs, wiring, and pipes. Mark the safe zones for cutting.
2. Cut the wall openings
Using a drywall saw or a reciprocating tool, carefully cut along your markings. Make sure to cut straight and smooth edges. If your speaker comes with a template, use it to trace the exact size.
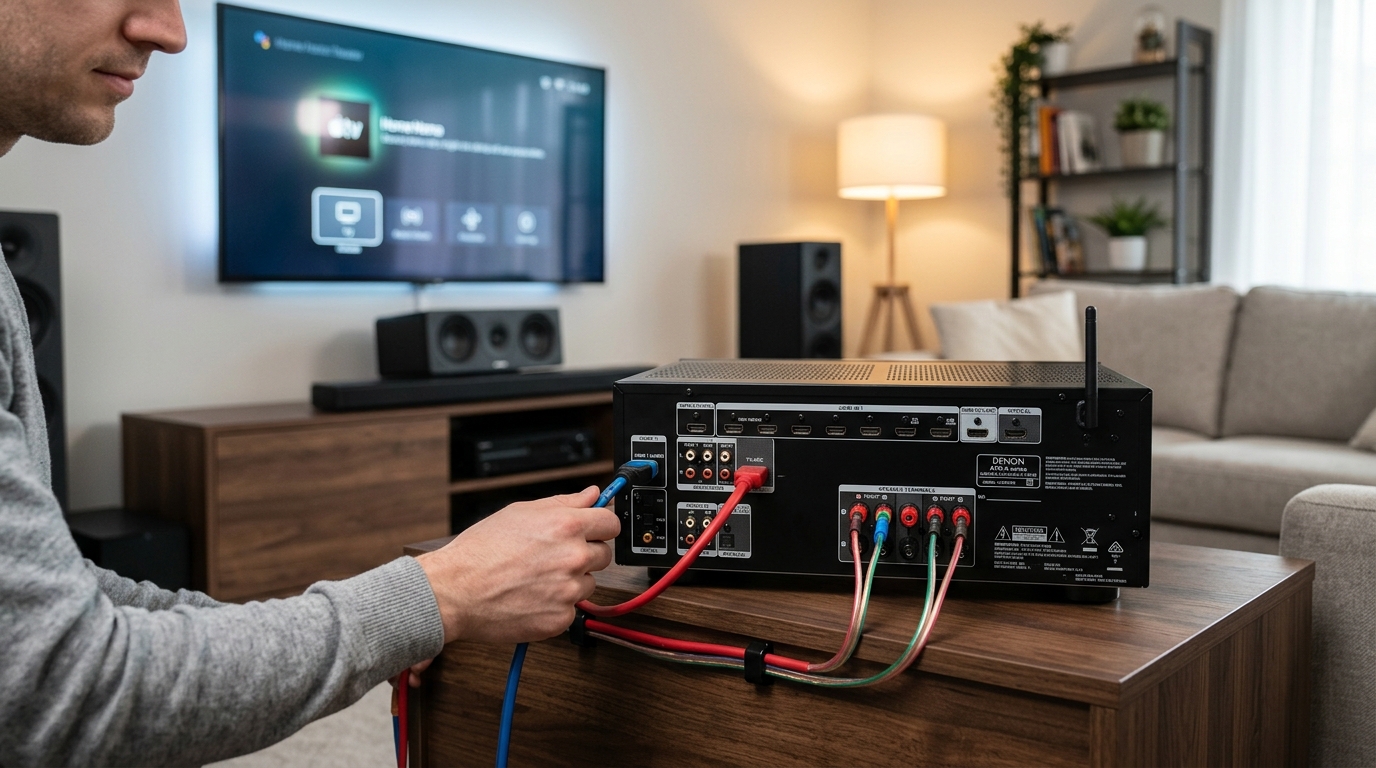
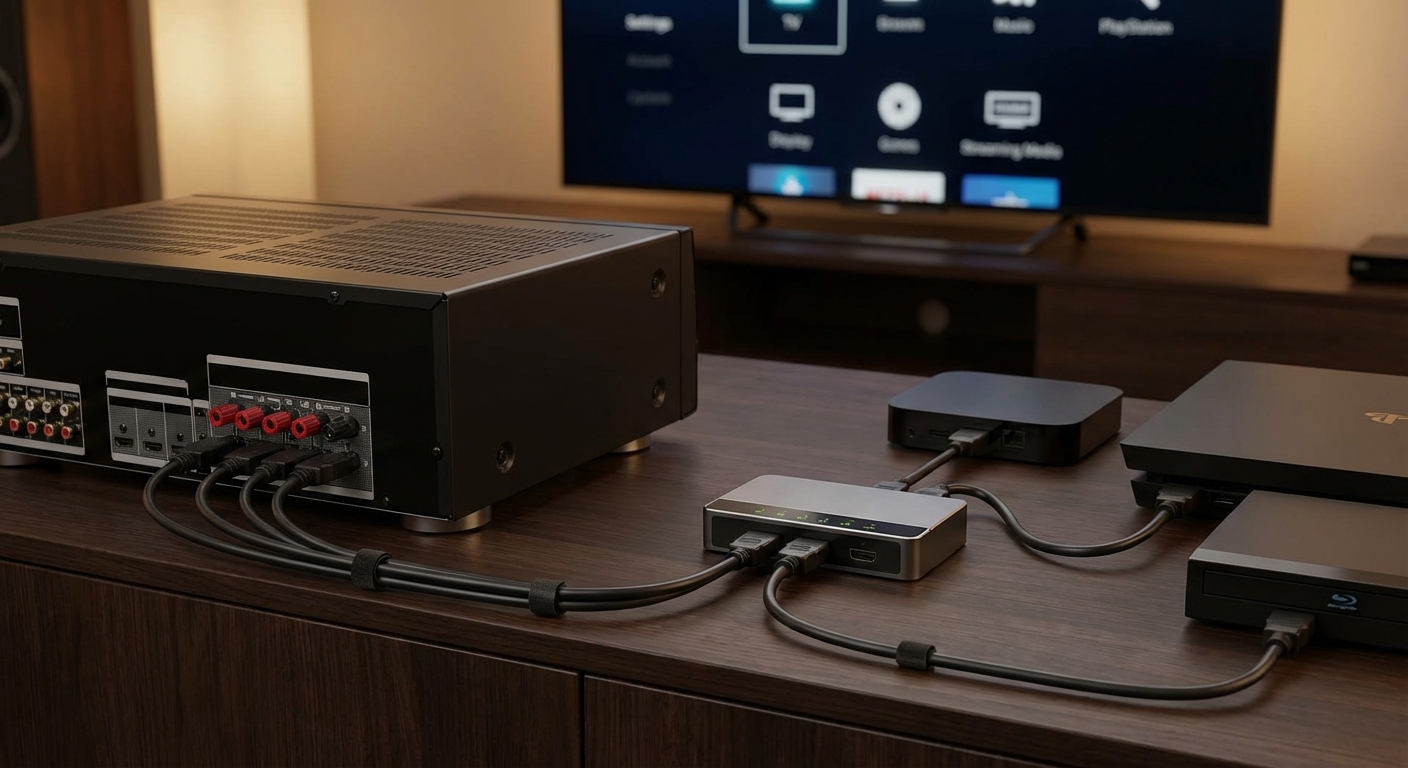
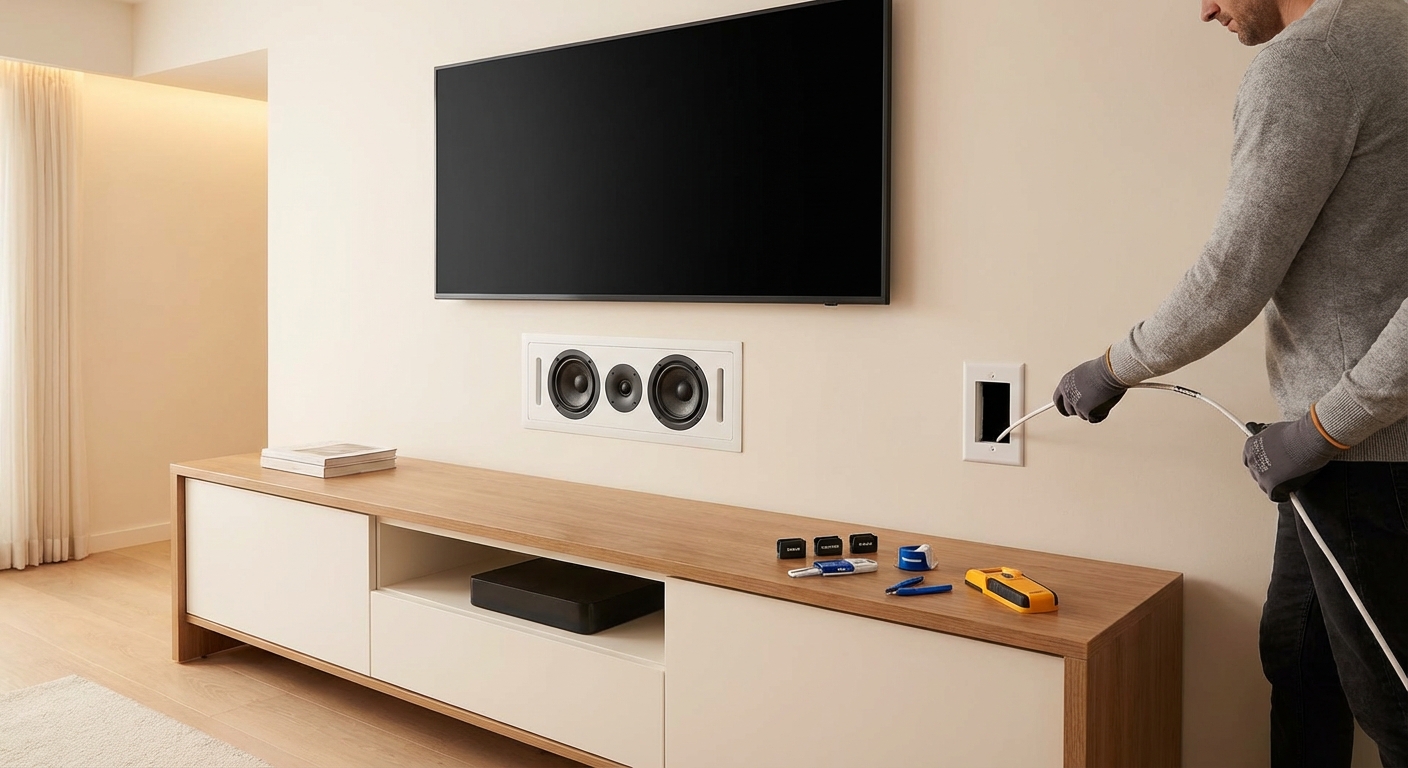
3. Run wiring
Pull your speaker wire through the wall from your amplifier or receiver location. Use fish tape or a wire puller if needed. Keep wire runs neat, avoiding sharp bends or pinches. Leave enough slack for connections.
Expert tip: Avoid running speaker wire parallel to electrical cables to prevent interference. Keep wires away from power sources whenever possible.
4. Connect the speakers
Strip the wire ends and connect to the speaker terminals. Use a wire stripper for clean, secure connections. Confirm polarity is correct; positive to positive and negative to negative. Secure the speakers into the wall box or mounting bracket.
5. Seal and finish
Insert the in-wall speaker into the opening. Secure with screws or mounting brackets as instructed by the manufacturer. Use acoustic sealant around the edges to prevent sound leaks. Finally, install the grille or paint it to match your wall.
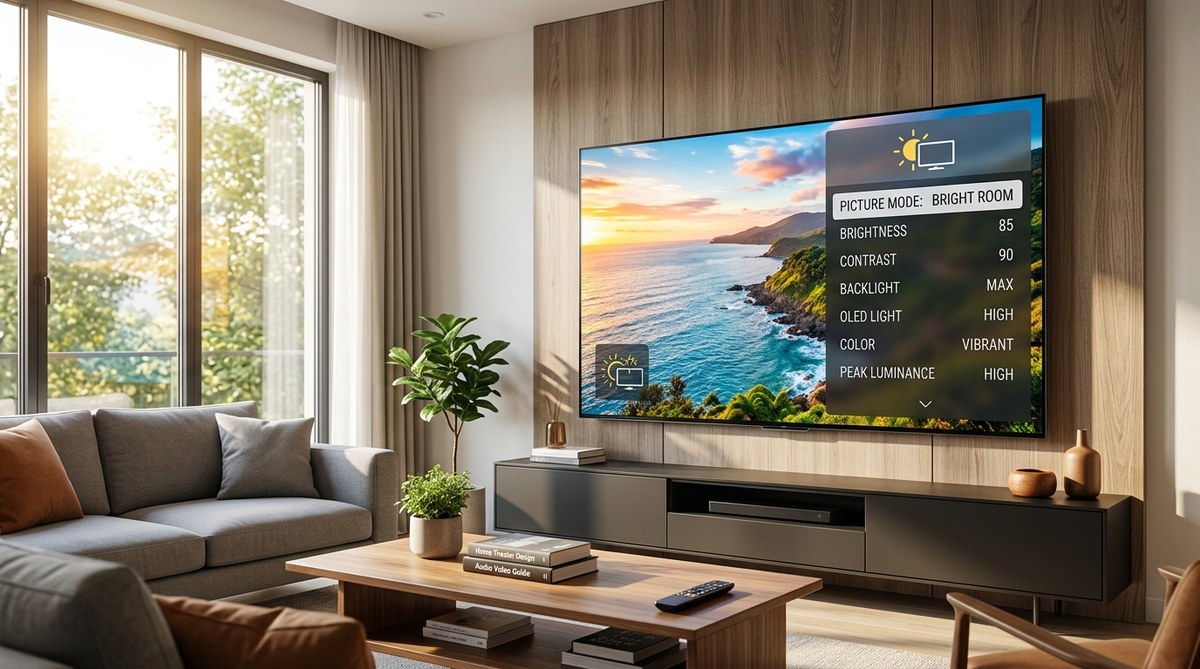
6. Test and calibrate
Power on your system and check sound quality. Adjust placement if needed. Use your receiver’s calibration tools to fine-tune the sound for the room.
Common Mistakes to Avoid
| Technique | Mistake | Why it Matters |
|---|---|---|
| Proper positioning | Installing speakers too high or low | Worst sound experience and uneven soundstage |
| Sealing edges | Leaving gaps around the speakers | Sound leaks and reduced bass response |
| Wiring route | Running wires near electrical cables | Interference and noise |
| Using the right wire | Choosing thin or low-quality wire | Poor sound quality and insufficient power |
Tips for a Flawless In-Wall Installation
- Use a stud finder to avoid damaging studs or electrical wiring
- Mark your cuts carefully before drilling
- Double-check the speaker orientation and polarity
- Use in-wall speaker boxes if your model doesn’t include one
- Paint or match the grille color for a seamless look
- Keep extra wire slack for future adjustments
- Test the system after installation to catch issues early
Remember: patience and attention to detail make all the difference. Rushing can lead to mistakes that are hard to fix later.
Final Thoughts on In-Wall Speaker Setup
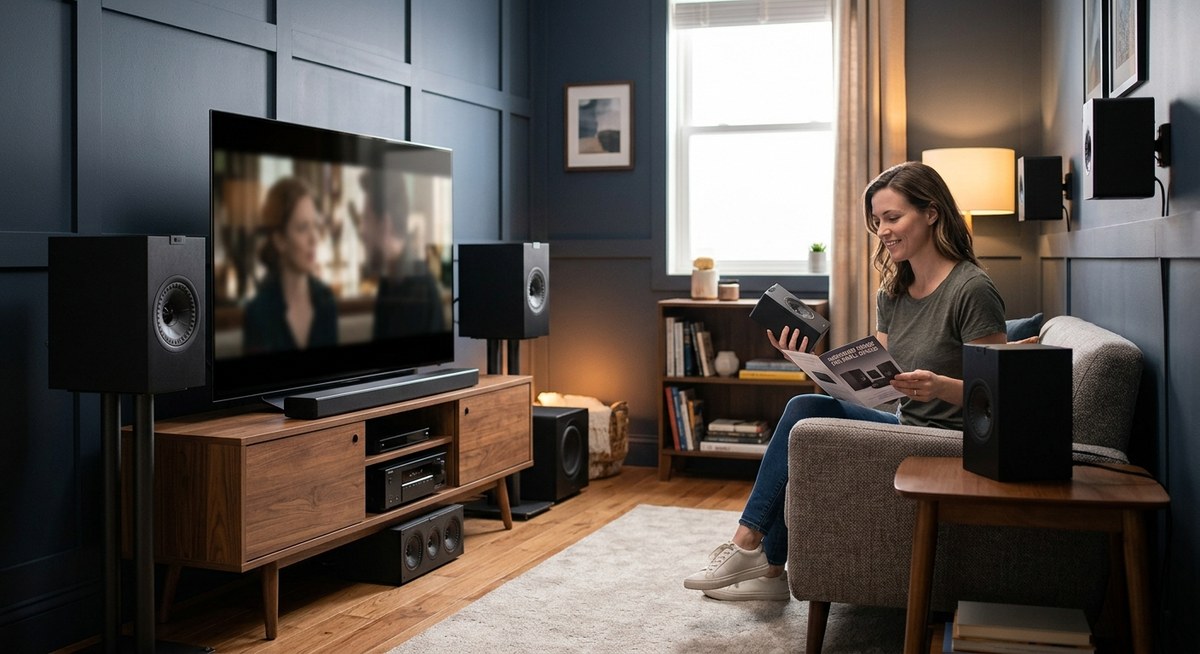
Installing in-wall speakers for home theater can transform your space into a sleek, immersive environment. By carefully planning, choosing quality gear, and following a step-by-step process, you can achieve a professional result. Always measure twice and cut once, and don’t forget to test your setup before finishing. With the right approach, your home theater will look stunning and sound incredible, giving you a cinematic experience every time.
Keep Your Home Theater Looking and Sounding Great
Taking the time to learn how to install in-wall speakers properly pays off in both aesthetics and audio performance. Whether you’re a DIY enthusiast or a homeowner eager to upgrade, following these guidelines ensures a seamless installation. Once completed, enjoy the clean look and rich sound that in-wall speakers provide. Start planning your project today, and enjoy the satisfaction of a job well done.

Leave a Reply