You just unboxed your new acoustic panels. They look professional. They feel solid. You spent good money on them.
But if you hang them in the wrong spots, they’ll do almost nothing.
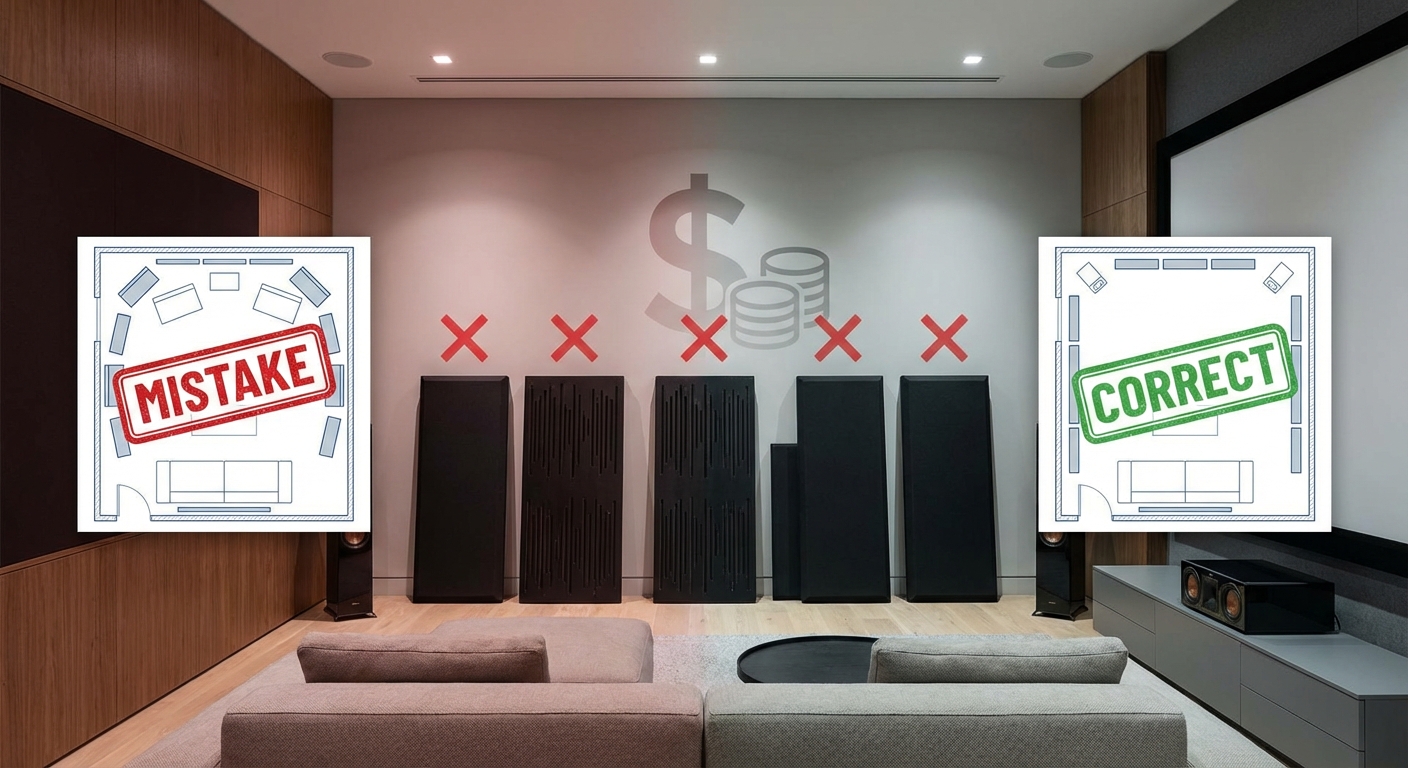
Most people treat acoustic panels like wall art. They spread them evenly around the room or stick them wherever there’s empty space. Then they wonder why their recordings still sound muddy or why echoes bounce around during podcast sessions.
The truth is, panel placement matters more than panel quality. A cheap foam panel in the right spot will outperform an expensive panel in the wrong one.
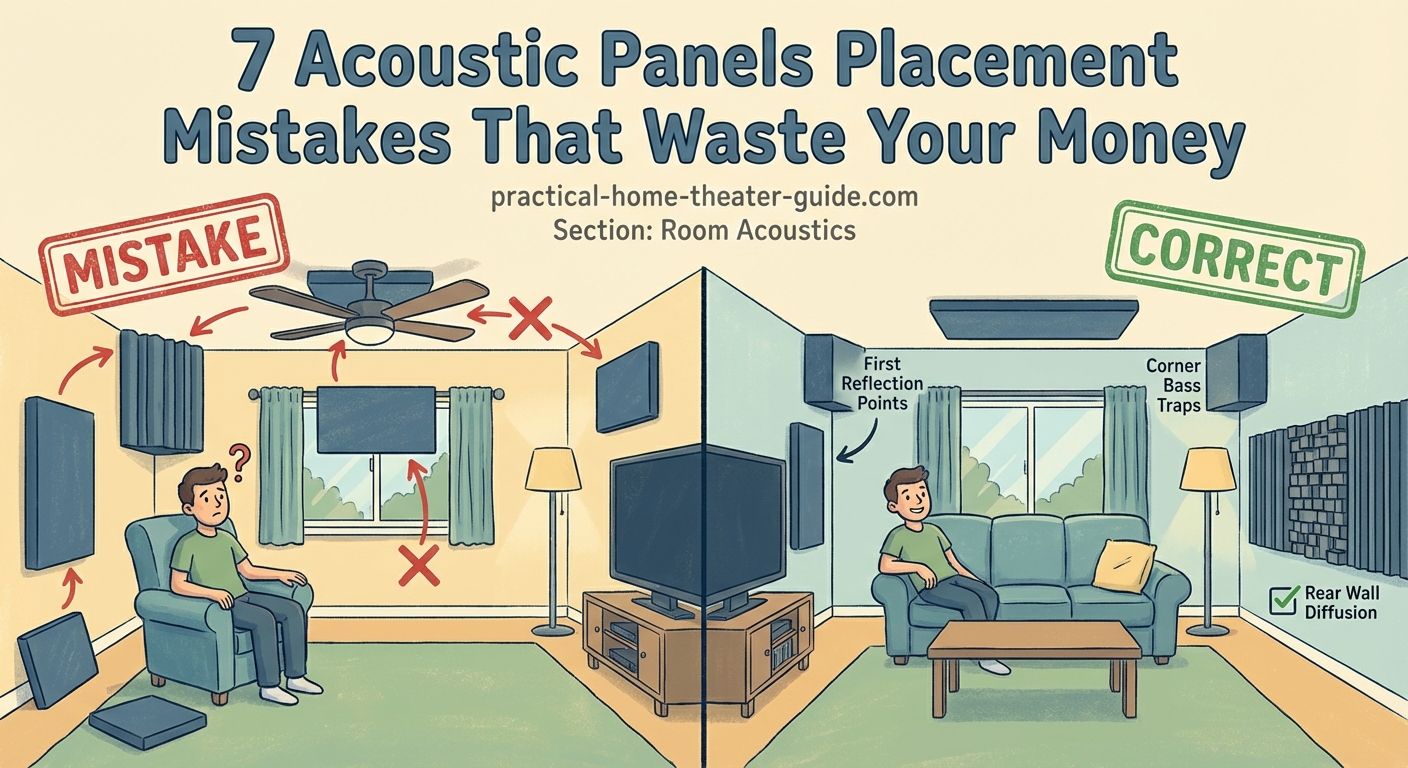
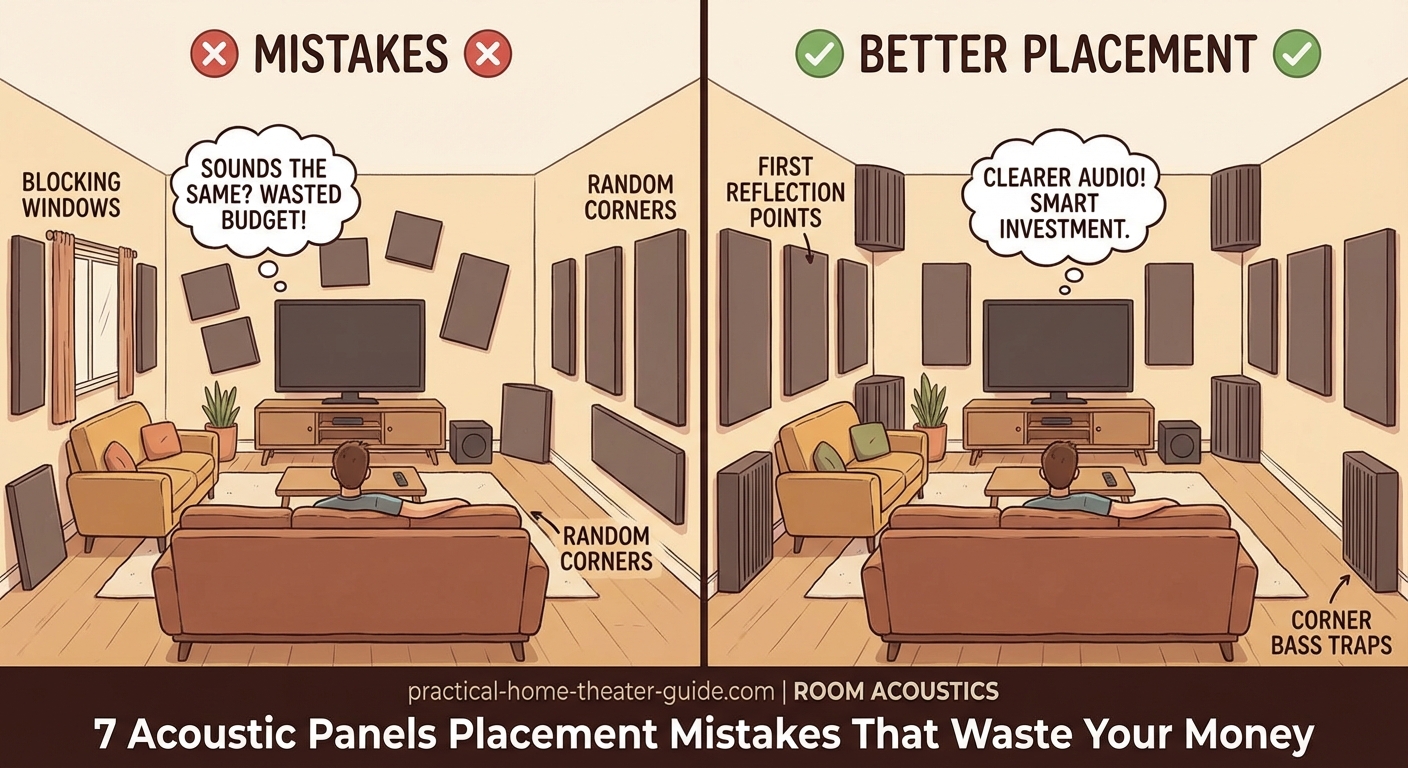
Most acoustic treatment failures stem from seven common placement errors: ignoring reflection points, spreading panels too thin, neglecting corners, mounting at wrong heights, using only one panel type, skipping bass traps, and treating walls before testing the room. Fix these mistakes to maximize sound quality without buying more panels.
Ignoring First Reflection Points
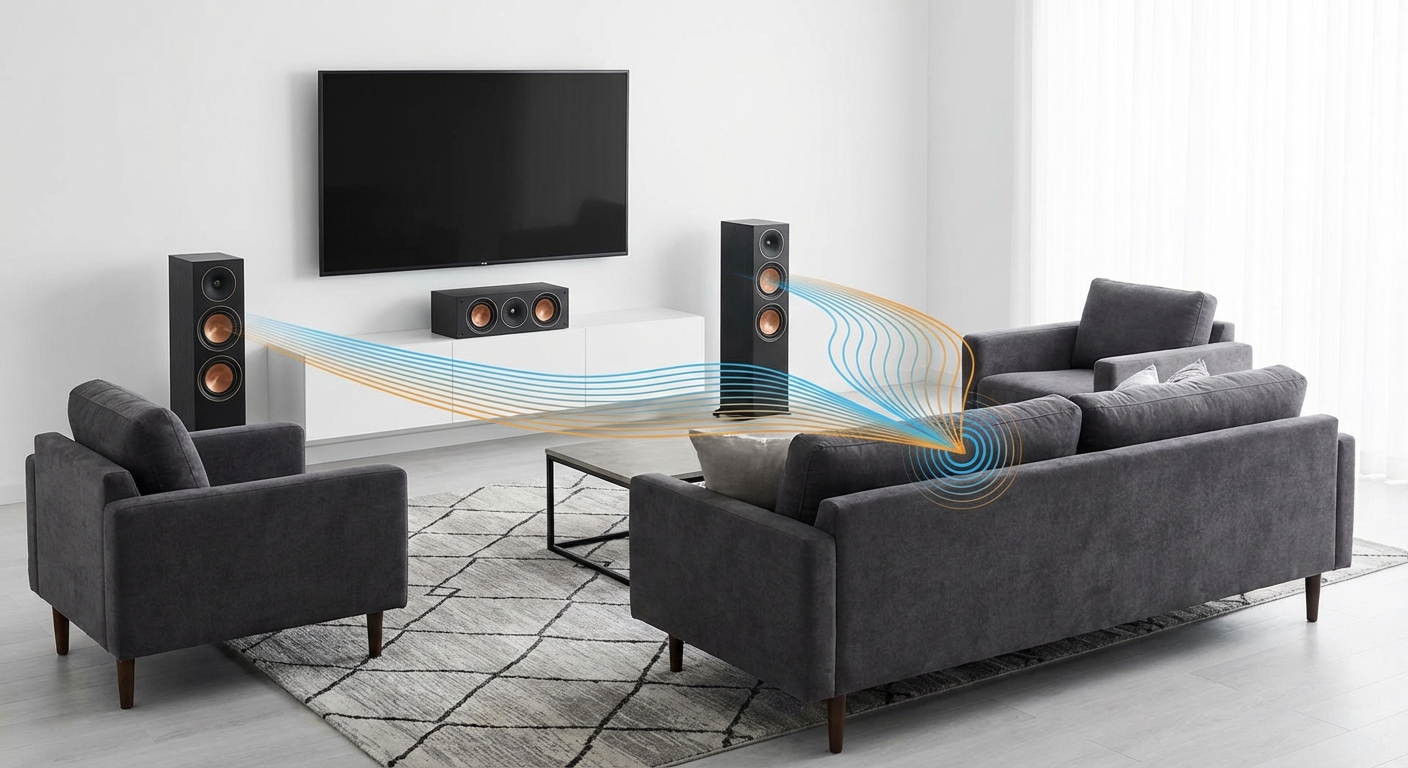
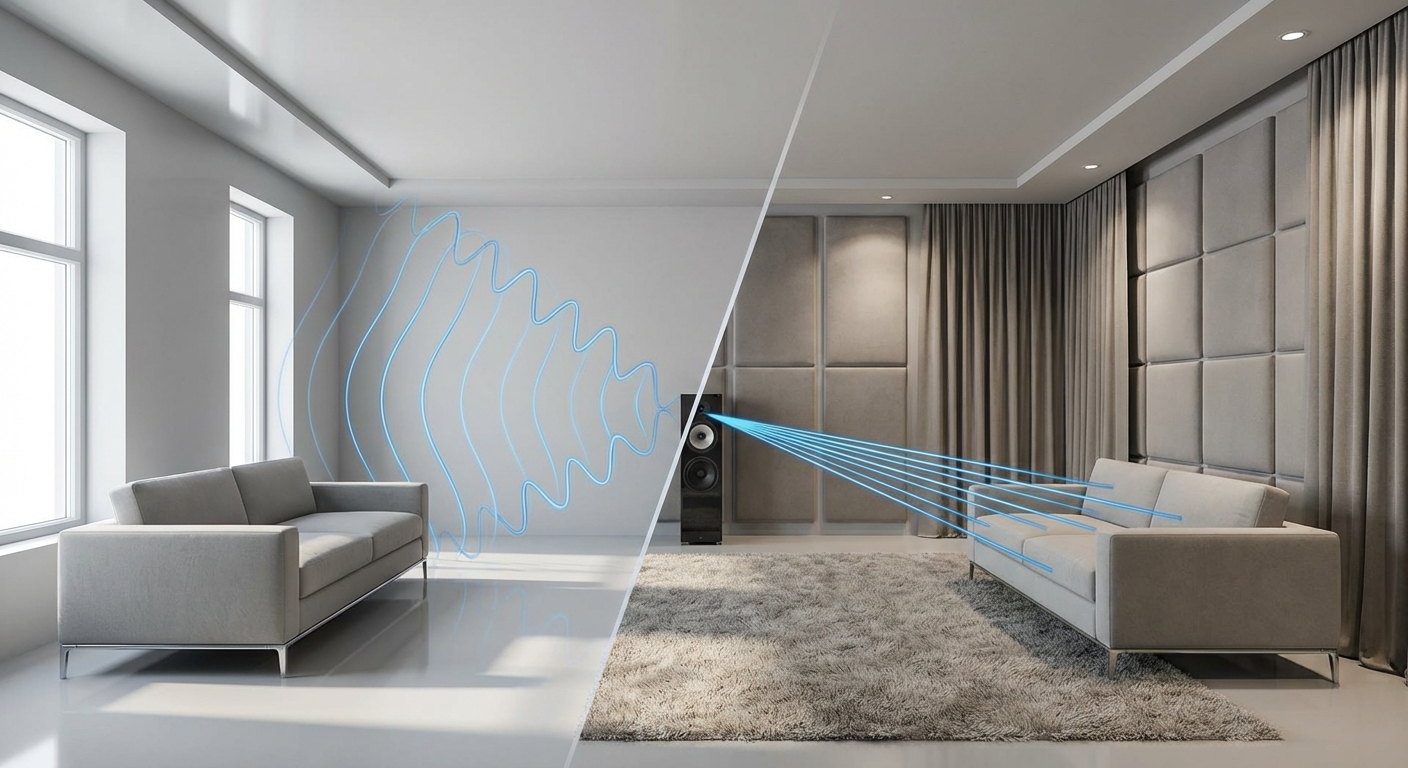
Your speakers send sound waves in every direction. Some waves hit your ears directly. Others bounce off walls, ceilings, and floors before reaching you.
These bounced waves are called reflections. They arrive slightly later than the direct sound, creating a smeared, unclear audio image.
First reflection points are the spots where sound bounces once before hitting your listening position. These are the most important places for acoustic treatment.
Here’s how to find them:
- Sit in your normal listening or recording position
- Have someone hold a mirror flat against the wall
- Move the mirror until you can see your speaker reflected in it
- Mark that spot with painter’s tape
- Repeat for all walls and the ceiling
Place panels at every marked spot. This single step fixes more audio problems than any other treatment method.
Most people skip this process entirely. They guess at panel placement or follow a generic room diagram they found online. Every room is different. Your reflection points depend on speaker position, furniture layout, and room dimensions.
“Treating first reflection points reduces early reflections by 60 to 80 percent. This is the foundation of any effective acoustic treatment plan. Everything else builds on this.” — Acoustic treatment specialist
Spreading Panels Too Thin Across Every Wall
You bought twelve panels. You have four walls. Simple math says three panels per wall, right?
Wrong.
Acoustic treatment works through concentration, not distribution. A cluster of panels in one problem area will outperform scattered panels every time.
Sound absorption follows the law of diminishing returns. The first panel in a spot might absorb 70% of the sound hitting it. The second panel nearby absorbs 70% of what’s left. The third absorbs 70% of that remainder.
Three panels together create serious absorption. Three panels spread across different walls create three mediocre results.
Common spreading mistakes include:
- One panel per wall corner for “balance”
- Evenly spaced panels for visual symmetry
- Matching panel count on opposite walls
- Filling gaps in furniture arrangements
- Treating based on available wall space
Instead, treat specific problems intensively. If you have flutter echo between parallel walls, put multiple panels on both surfaces. If your ceiling causes slap echo, cluster panels overhead.
Test your room before hanging anything. Clap your hands and listen for echoes. Play music and walk around. Record yourself speaking. These simple tests reveal where problems actually exist.
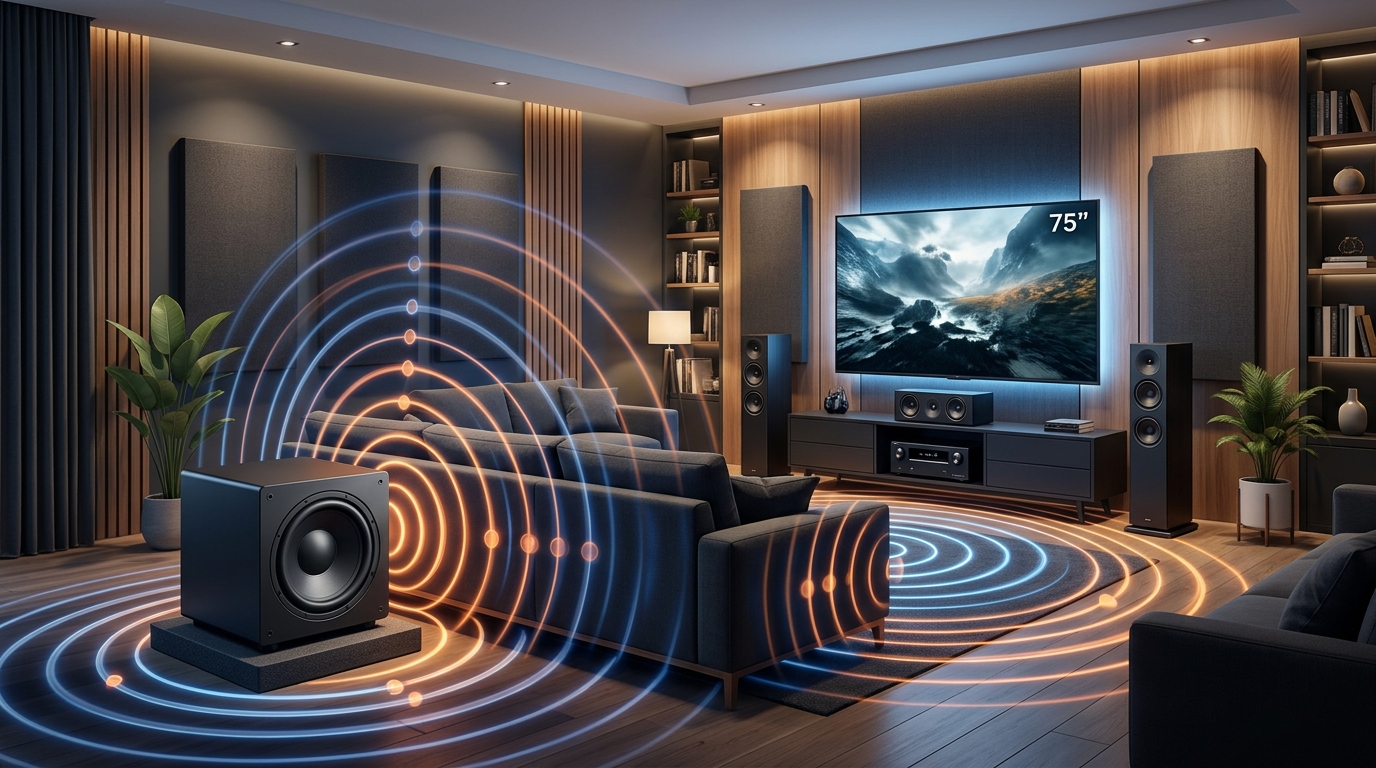
Forgetting About Corner Bass Traps
Low frequency sound behaves differently than mid and high frequencies. Bass waves are long. Really long. A 100 Hz wave measures over 11 feet from peak to peak.
These massive waves don’t care about your thin wall panels. They pass right through 2-inch foam like it’s not even there.
Bass energy accumulates in room corners. Both wall corners and ceiling corners. Physics forces it there through a process called room modes.
This creates boomy, muddy low end that ruins recordings and makes music sound unbalanced. You can’t fix it with regular panels.
You need bass traps. These are thick, dense absorbers designed specifically for low frequencies. They work best when placed in corners where bass energy naturally builds up.
| Panel Type | Thickness | Best Frequency Range | Placement |
|---|---|---|---|
| Standard foam | 2 inches | 500 Hz and above | First reflection points |
| Thick panels | 4 inches | 250 Hz and above | Wall surfaces |
| Corner bass traps | 6-12 inches | 80-300 Hz | Room corners |
| Ceiling clouds | 2-4 inches | 400 Hz and above | Overhead reflection points |
Many home studio owners spend their entire budget on wall panels. They ignore bass completely. Then they try to fix bass problems with EQ, which just creates new problems.
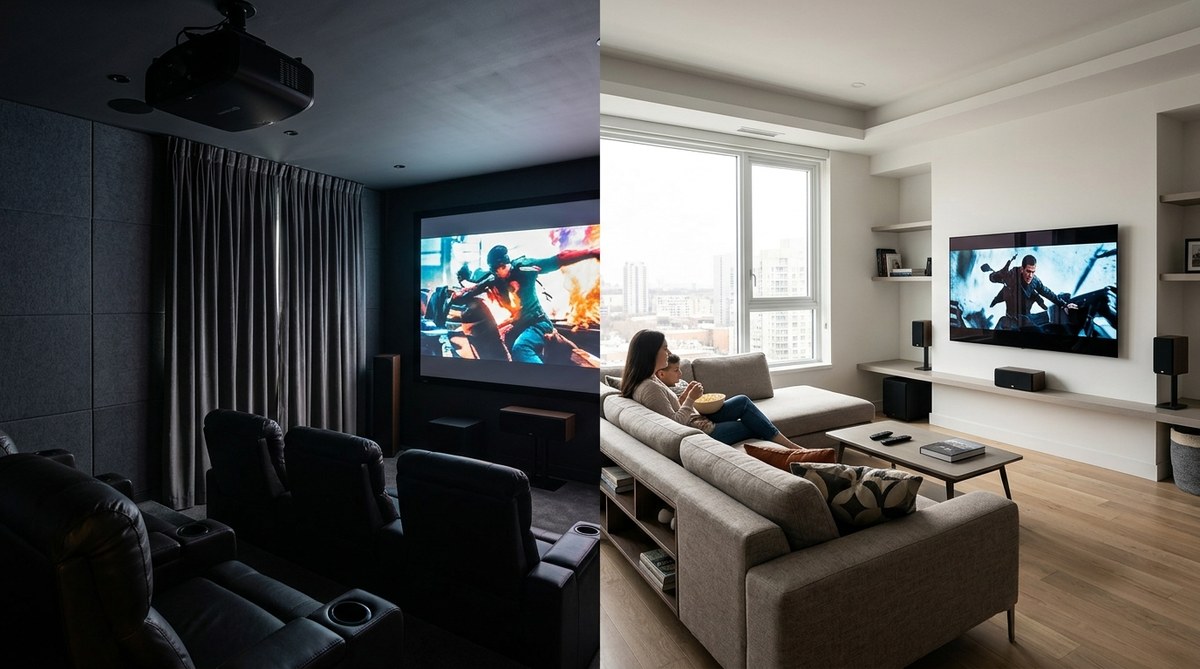
If you’re setting up a home theater, the same principle applies. How to stop echo and reverb ruining your home theater sound requires addressing low frequencies just as much as reflections.
Allocate at least 30% of your acoustic budget to bass traps. Your room needs them more than it needs extra wall panels.
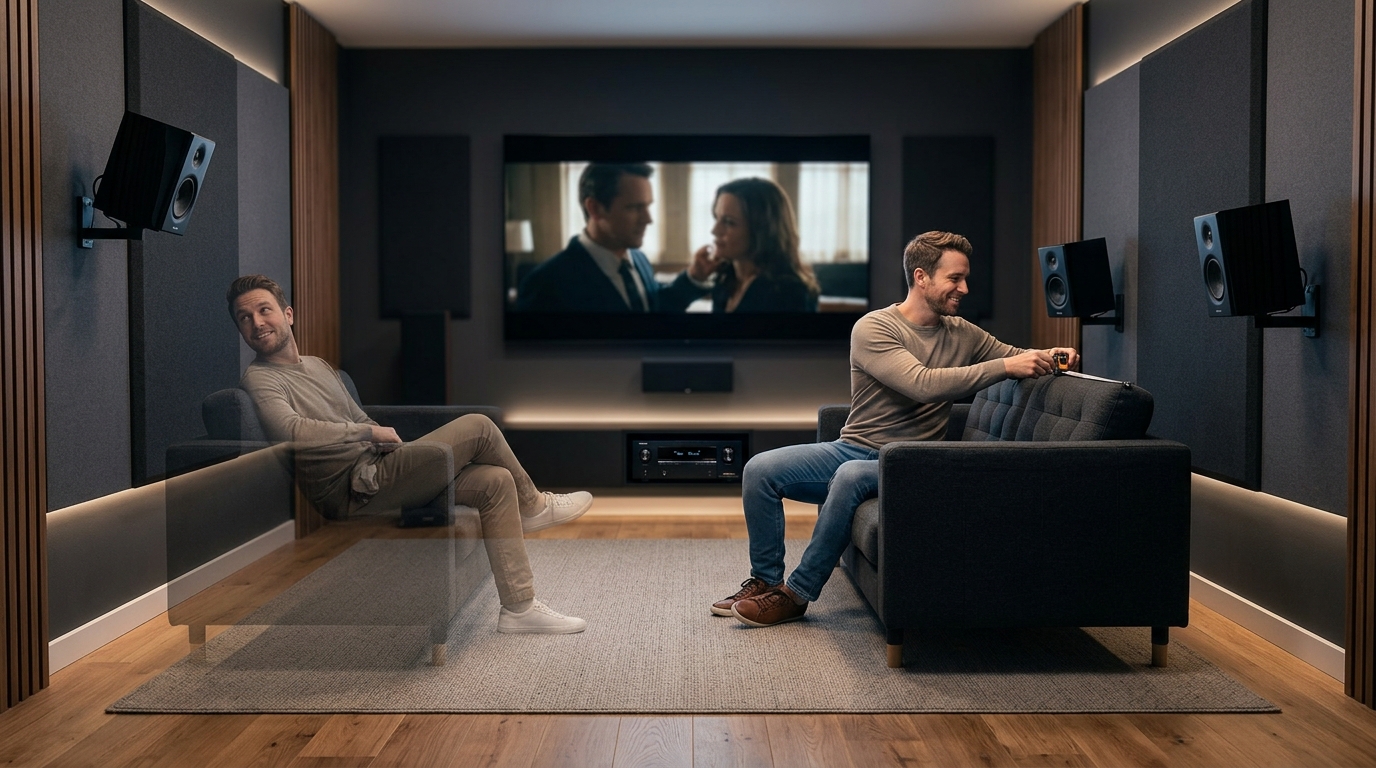
Mounting Everything at Eye Level
You’re not listening with your eyes. You’re listening with your ears.
Most people hang acoustic panels at picture frame height. It looks nice. It feels natural. It does almost nothing for sound quality.
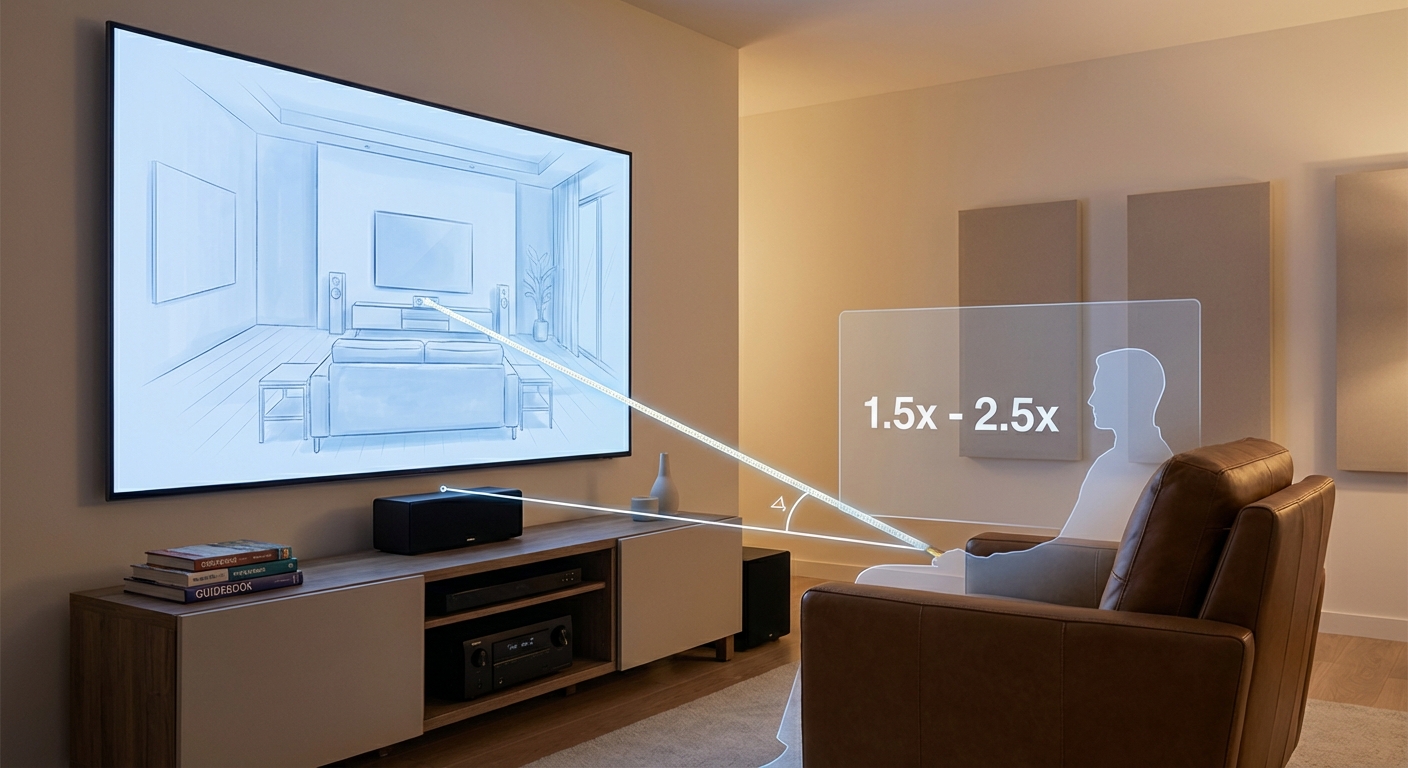
Sound reflects at the same angle it arrives. If your speakers sit on stands at 4 feet high, reflections happen at 4 feet high. If you’re sitting down while recording, your ears are probably 3.5 feet off the floor.
Panels mounted at 5 to 6 feet high miss these critical reflection points completely.
The correct mounting height depends on three factors:
- Speaker or monitor height
- Listening position ear height
- Ceiling height and angle
For most home studios and podcast setups, this means panels between 3 and 5 feet off the floor. Some panels might sit even lower to catch floor reflections.
Ceiling treatment matters more than most people think. Sound bouncing off the ceiling arrives with a specific delay that confuses your brain’s ability to locate sound sources. This is especially problematic for voice recording.
Don’t let aesthetics drive acoustic decisions. A room that looks symmetrical but sounds terrible serves no one. Function first, appearance second.
Using Only One Type of Acoustic Treatment
Acoustic panels absorb sound. Diffusers scatter sound. Bass traps control low frequencies. Each tool solves different problems.
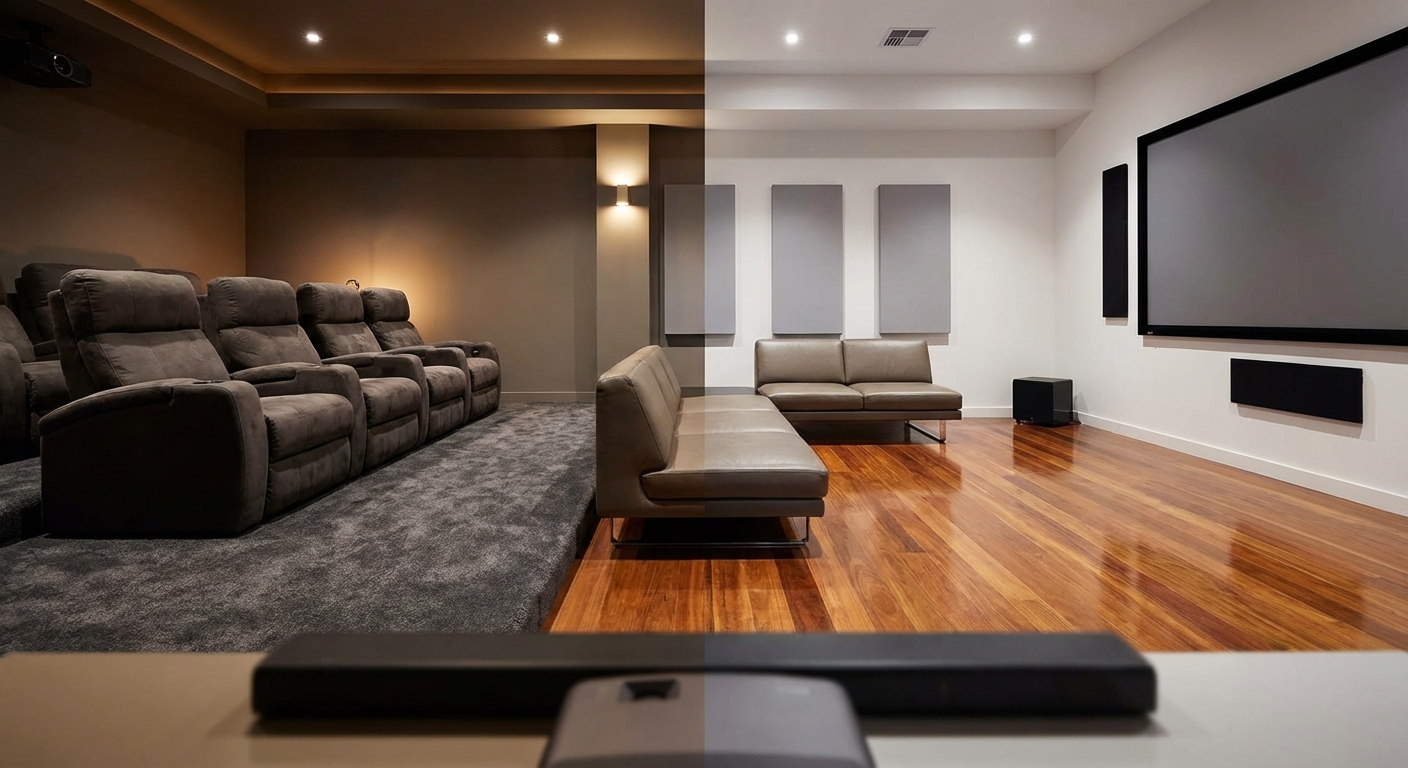
A room covered entirely in absorption sounds dead. Lifeless. Like recording inside a closet full of clothes. There’s no ambience, no natural reverb, no sense of space.
Professional studios use a mix of treatment types. They absorb problem frequencies and reflection points. They diffuse sound in areas where some liveliness helps. They trap bass in corners while leaving mid and high frequencies more natural.
Home studio owners often buy one product type and cover everything with it. Usually foam panels. The room goes from too reflective to over-damped.
Here’s a balanced approach:
- 20-30% absorption at first reflection points
- 10-15% bass trapping in corners
- 10-20% diffusion on rear walls or ceilings
- 40-50% untreated surfaces for natural ambience
Diffusion works particularly well behind the listening position. It breaks up reflections without killing the room’s sense of space. This keeps recordings and playback sounding natural instead of clinical.
You don’t need to buy everything at once. Start with first reflection points and bass traps. Add diffusion later if the room sounds too dry.
Skipping the Corners Entirely
Room corners are acoustic pressure zones. Bass frequencies build up there because of how sound waves interact with boundaries.
When a sound wave hits a wall, it reflects back. When it hits two walls meeting at a corner, it reflects twice. When it hits three surfaces meeting at a corner (two walls and ceiling or floor), it reflects three times.
This creates massive energy buildup at specific frequencies determined by your room dimensions. These are called room modes or standing waves.
Regular wall panels can’t touch this problem. The energy is too concentrated and the frequencies are too low.
Corner-mounted bass traps attack the problem where it lives. They sit in the tri-corner (where two walls meet the ceiling or floor) and absorb low frequency energy before it bounces back into the room.
Skipping corners is the single biggest mistake in home studio acoustic treatment. You can have perfect mid and high frequency control, but boomy bass will still ruin everything.
Install bass traps in at least four corners. All eight tri-corners is better. Yes, they’re bulky. Yes, they take up space. They also work better than any other acoustic treatment you can buy.
Some people try to hide bass traps behind furniture or curtains. This defeats the purpose. Bass traps need direct exposure to the room to function properly.
If you’re running speaker wire for a surround system, you’re already making permanent room modifications. How to run speaker wire through walls without damaging your home takes planning. So does acoustic treatment. Do both right the first time.
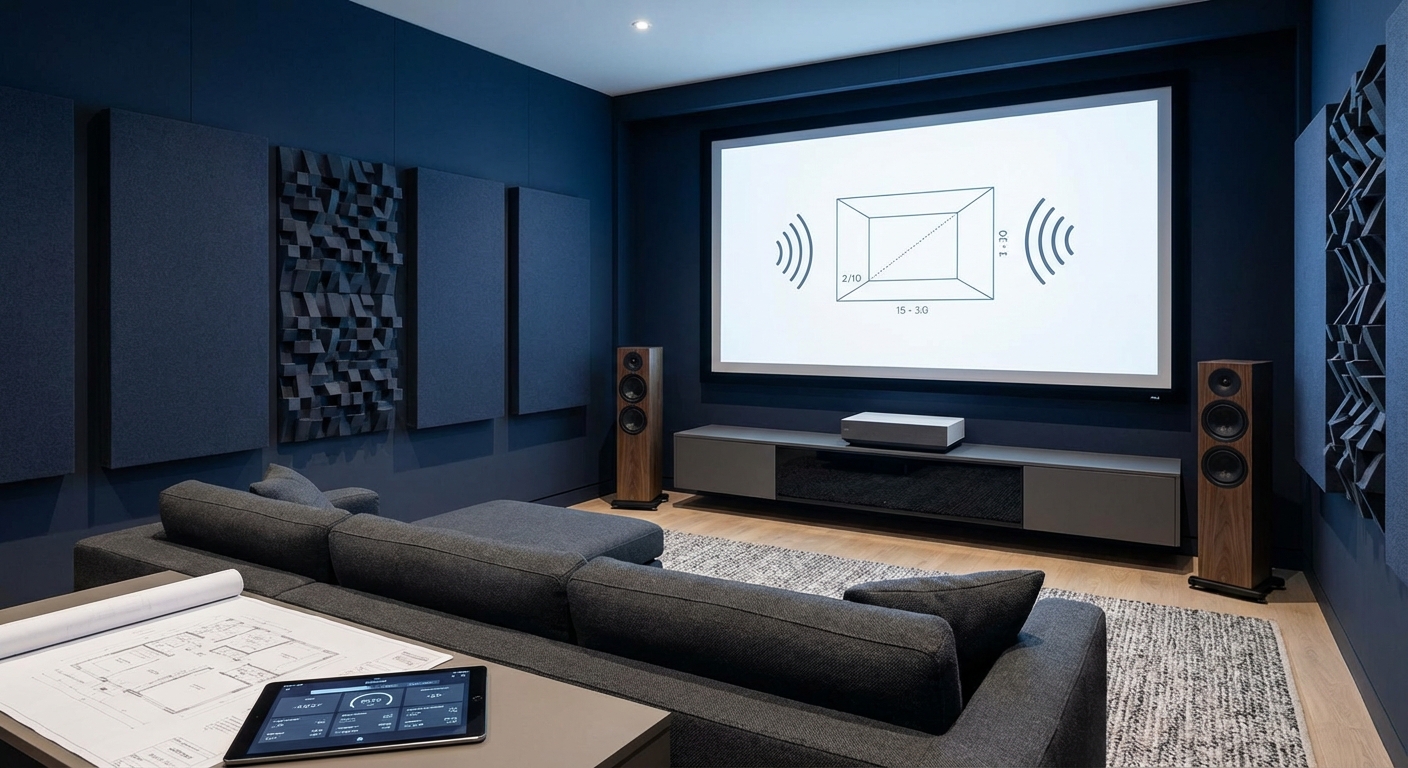
Treating Before Testing Your Room
You wouldn’t buy prescription glasses without an eye exam. You wouldn’t repair a car without diagnosing the problem first.
Yet people buy hundreds of dollars in acoustic panels without testing their room.
Every room has unique acoustic problems. Dimensions create specific resonant frequencies. Materials affect absorption. Furniture changes reflection patterns. Windows, doors, and vents all impact sound.
A treatment plan that works perfectly in one room might fail completely in another.
Before buying anything, test your room:
- Record yourself speaking in different positions
- Play familiar music and listen for imbalances
- Clap your hands to identify echo and flutter
- Use a free room mode calculator with your dimensions
- Take smartphone measurements with acoustic apps
These tests cost nothing. They reveal exactly what your room needs.
Many people buy acoustic treatment kits marketed for “small rooms” or “home studios.” These generic packages include random assortments of panels and foam. They might address your problems. They might not.
The most expensive mistake is buying treatment twice. Once for what you thought you needed. Again for what actually works.
Test first. Buy second. Install third.
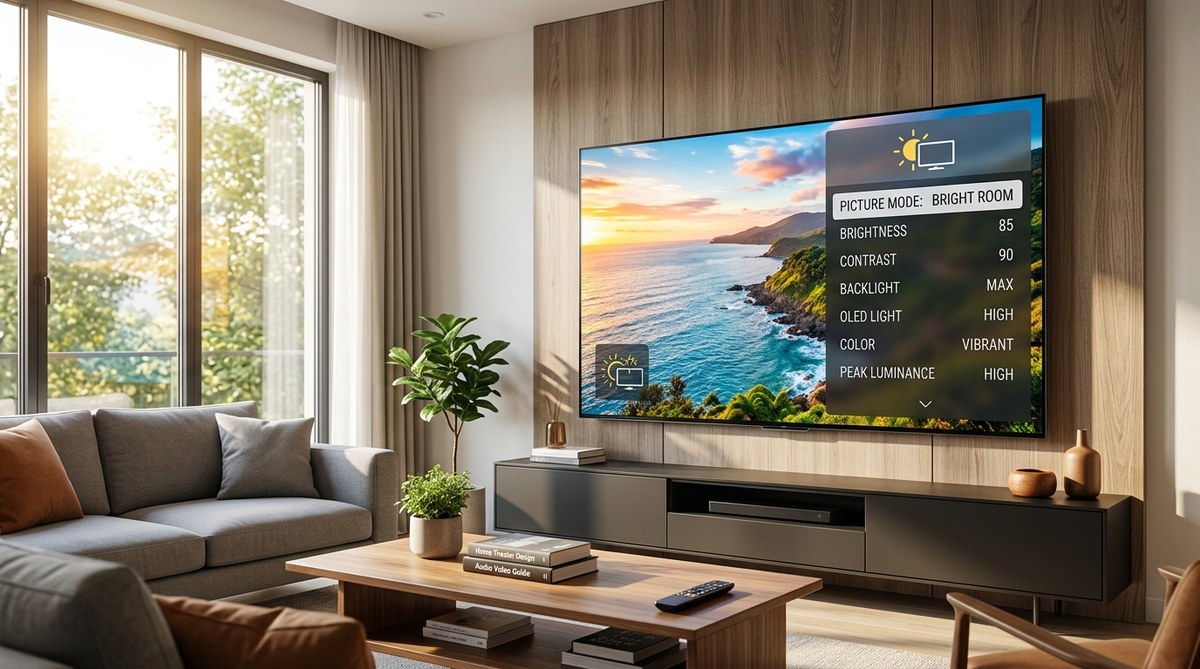
Room acoustics interact with your equipment choices too. If you’re calibrating display settings, you’re already thinking about optimization. How to calibrate your TV in 30 minutes without hiring a professional shows the same principle: measure before adjusting.
Getting Your Room Treatment Right the First Time
Acoustic treatment isn’t complicated. But it is specific.
The panels you buy matter less than where you put them. A $50 panel in the right spot beats a $200 panel in the wrong one every single time.
Start with the seven mistakes covered here. Avoid them and you’ll get better results than 90% of home studios and podcast setups.
Find your first reflection points. Concentrate your panels instead of spreading them thin. Install corner bass traps. Mount panels at the correct height for your listening position. Mix absorption with diffusion. Prioritize corners. Test your room before buying anything.
Follow this checklist and your acoustic investment will actually improve your sound. Skip these steps and you’re just decorating walls with expensive foam.
Your recordings, your podcasts, and your listening sessions deserve better than guesswork. Treat your room right and hear the difference immediately.


Leave a Reply