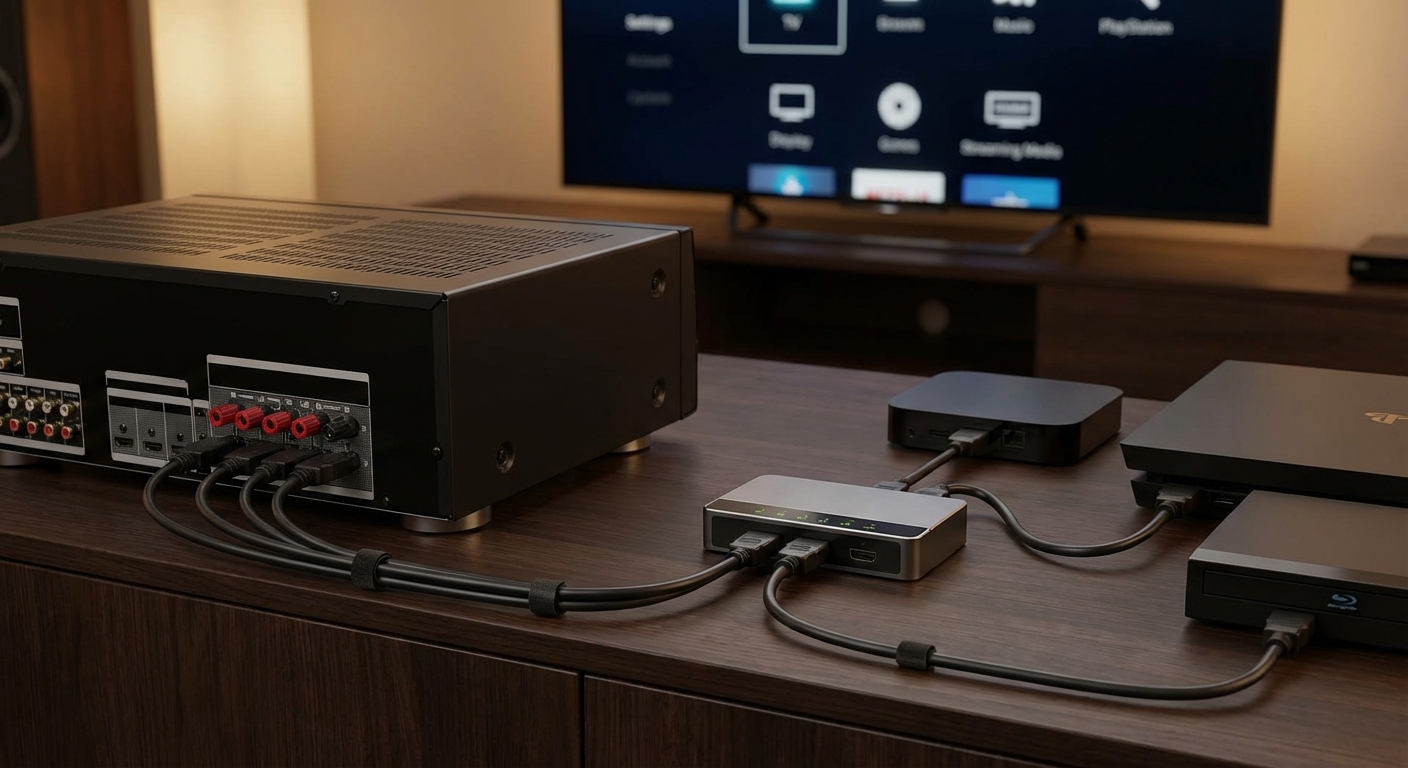
You just bought a new streaming stick, but every HDMI port on your TV is already occupied. Your gaming console, cable box, and Blu-ray player have claimed their spots. Now you’re stuck swapping cables behind your entertainment center every time you want to watch something different.
You can add more HDMI ports using three main methods: HDMI switches (simplest and cheapest), AV receivers (best for surround sound setups), or soundbars with HDMI inputs (middle ground solution). Each method has different costs, features, and complexity levels. Your choice depends on your audio needs, budget, and how many extra ports you need.
Why swapping cables is a bad solution
Constantly unplugging and replugging HDMI cables wears out the ports over time. The connectors weren’t designed for hundreds of insertion cycles.
You also risk damaging the delicate pins inside your TV or device. One bent pin can render an entire port useless.
Plus, reaching behind your TV stand gets old fast. Especially if your setup involves a wall-mounted display or a heavy entertainment center.
There’s a better way. Several, actually.
Understanding your options for adding HDMI ports

Three main solutions exist for expanding your HDMI connectivity. Each serves different needs and budgets.
HDMI switches are the simplest option. They let multiple devices share one HDMI port on your TV. Think of them as power strips for video signals.
AV receivers offer the most ports and best audio quality. They’re the right choice if you want surround sound speakers.
Soundbars with HDMI inputs split the difference. They improve your audio while adding a few extra ports.
Here’s how they compare:
| Solution | Extra Ports | Audio Upgrade | Typical Cost | Best For |
|---|---|---|---|---|
| HDMI Switch | 3-8 ports | None | $20-$80 | Adding ports only |
| AV Receiver | 4-8 ports | Full surround | $300-$1500 | Complete audio systems |
| Soundbar | 1-3 ports | Better TV audio | $150-$600 | Moderate upgrades |
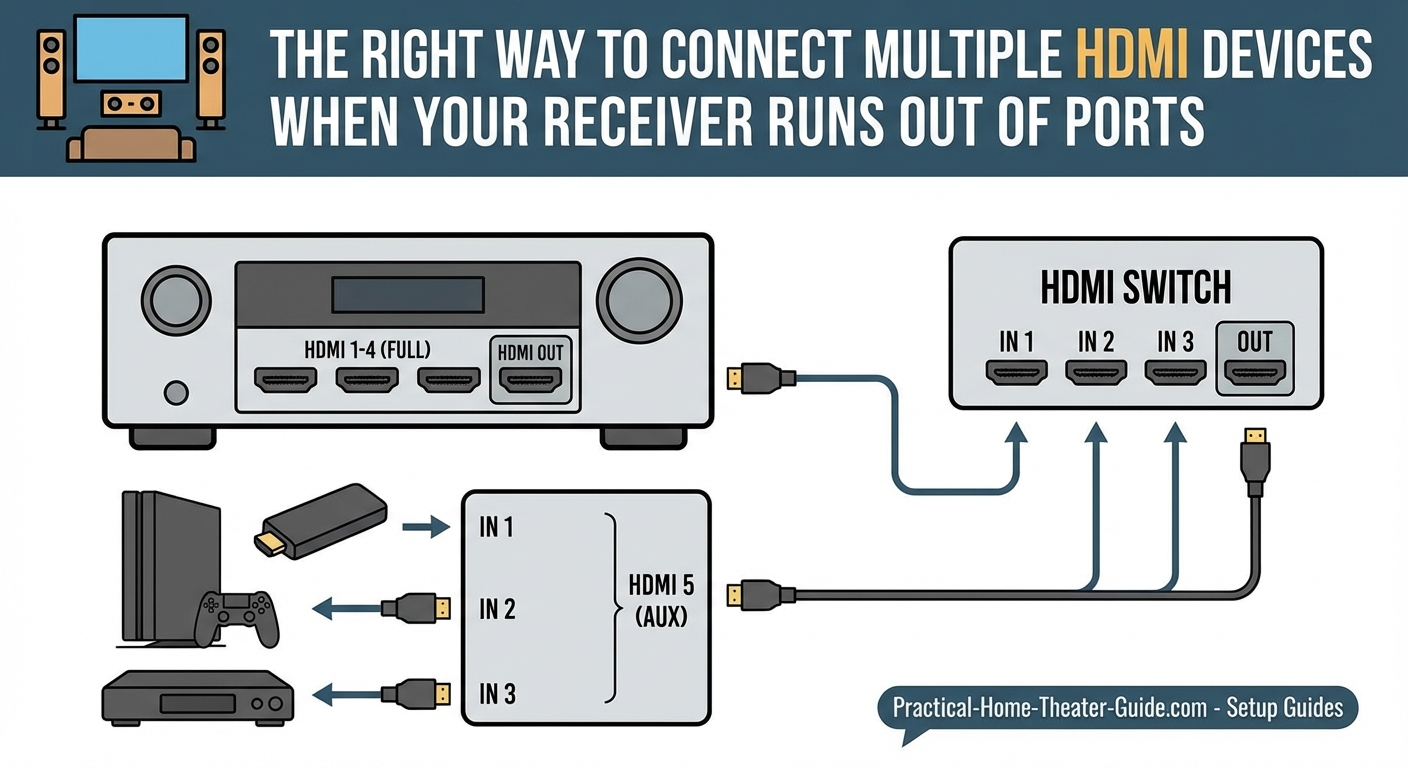
Method 1: Using an HDMI switch
An HDMI switch is a small box that takes multiple HDMI inputs and sends one output to your TV. You connect all your devices to the switch, then run one cable from the switch to your TV.
Most switches include a remote control or button to change between inputs. Some automatically detect which device is active and switch for you.
Choosing the right HDMI switch
Not all switches handle the same video quality. Match your switch to your equipment.
For 4K TVs, get a switch that supports 4K at 60Hz. Check the specifications carefully. Some cheap switches claim 4K support but only handle 30Hz, which causes stuttering during fast motion.
Gaming on a PS5 or Xbox Series X? You need HDMI 2.1 support for 4K at 120Hz. These switches cost more but prevent input lag and screen tearing.
Look for these features:
- Automatic switching that detects active devices
- Remote control for manual selection
- HDR and Dolby Vision support if your TV has them
- Enough ports for your current devices plus two extras
Avoid switches with external power adapters unless you need more than five ports. Powered switches introduce another cable and potential failure point.
Setting up your HDMI switch
Installation takes about ten minutes. No technical skills required.
- Unplug all HDMI cables from your TV
- Place the switch near your devices (cable length matters)
- Connect your devices to the switch’s input ports
- Run one HDMI cable from the switch’s output to your TV
- Plug in the switch if it requires power
- Turn on each device to verify the connection
Label each input on the switch with tape or a label maker. You’ll thank yourself later when troubleshooting.
Test every device before you tuck cables away. Make sure the video quality matches what you had before. If you see snow, sparkles, or dropouts, try a different HDMI cable. Cable quality matters more with switches because the signal travels through extra connections.
Always buy HDMI switches from brands with good return policies. Signal compatibility issues are common, and you may need to try a different model if your first choice doesn’t work with your specific devices.
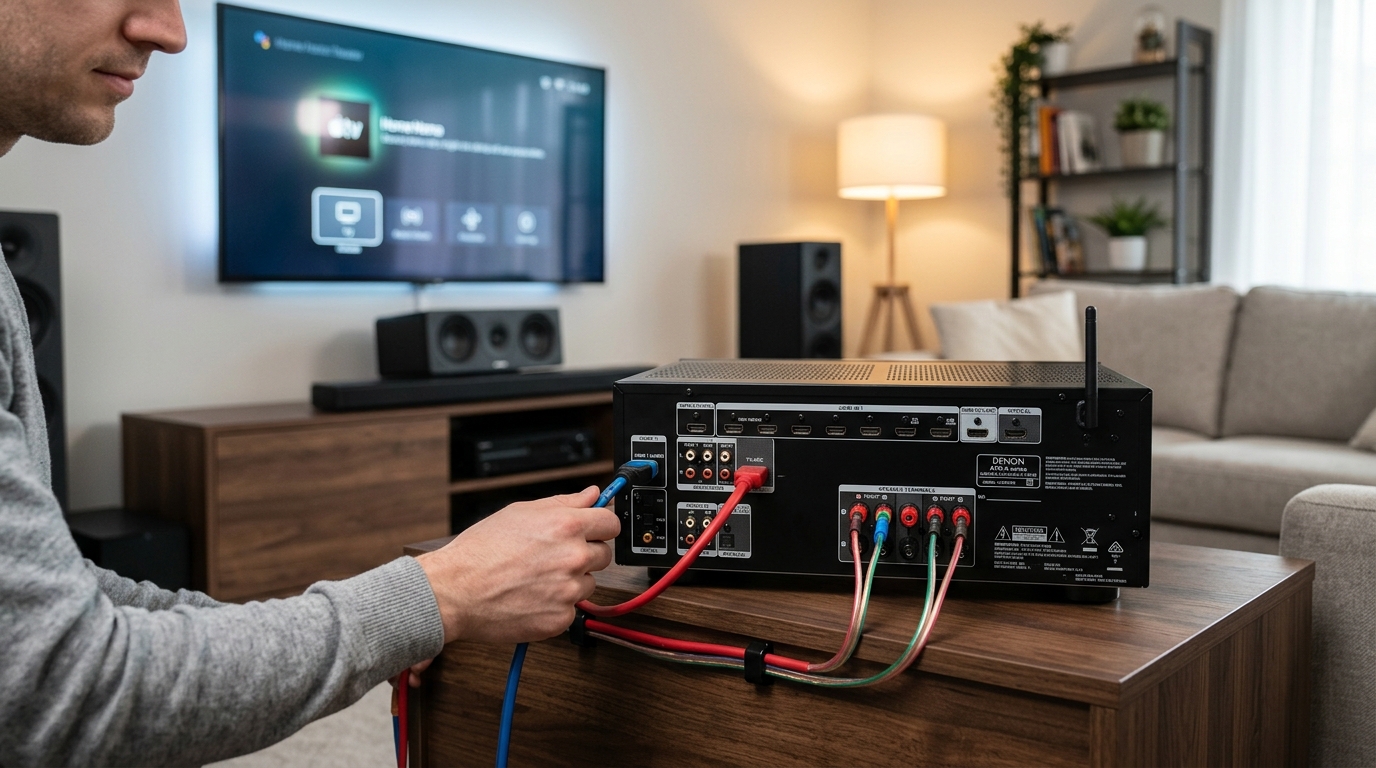
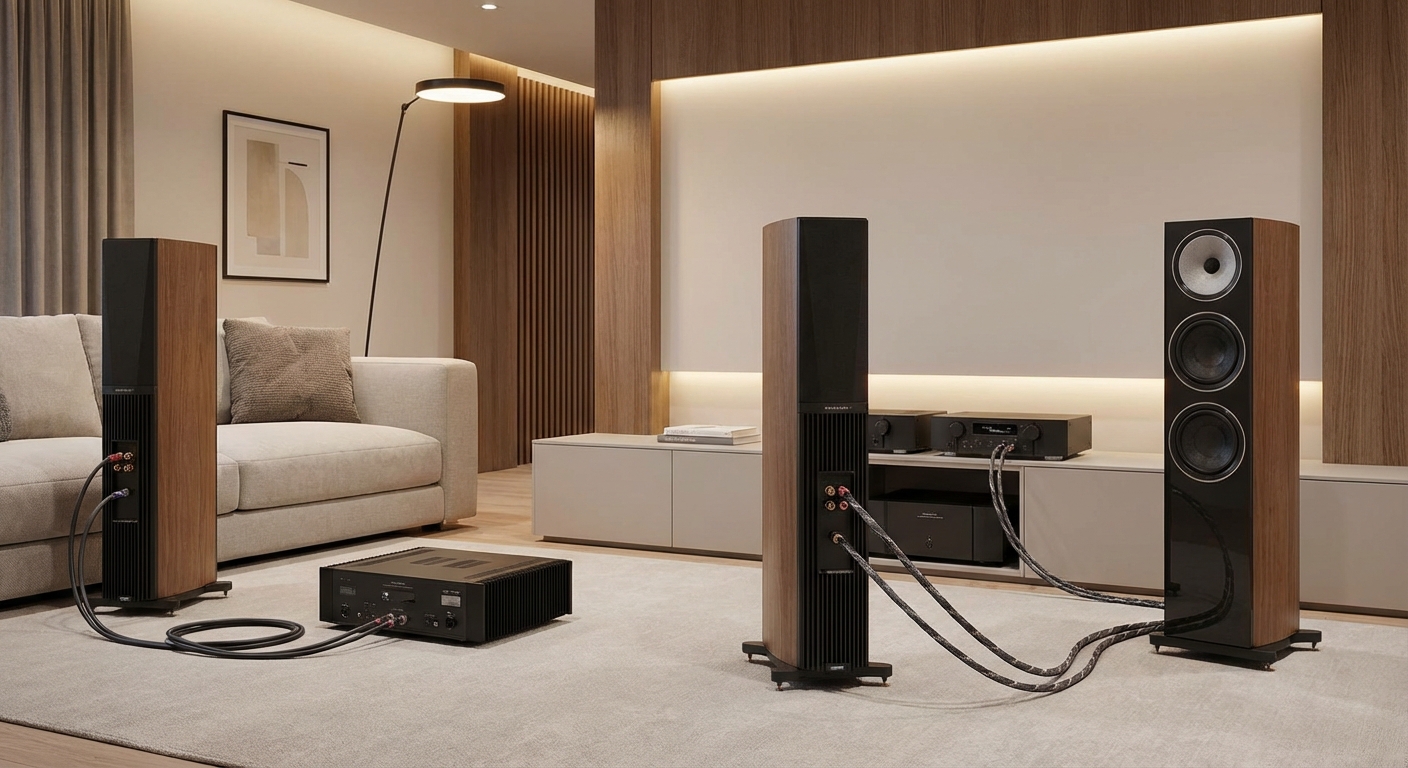
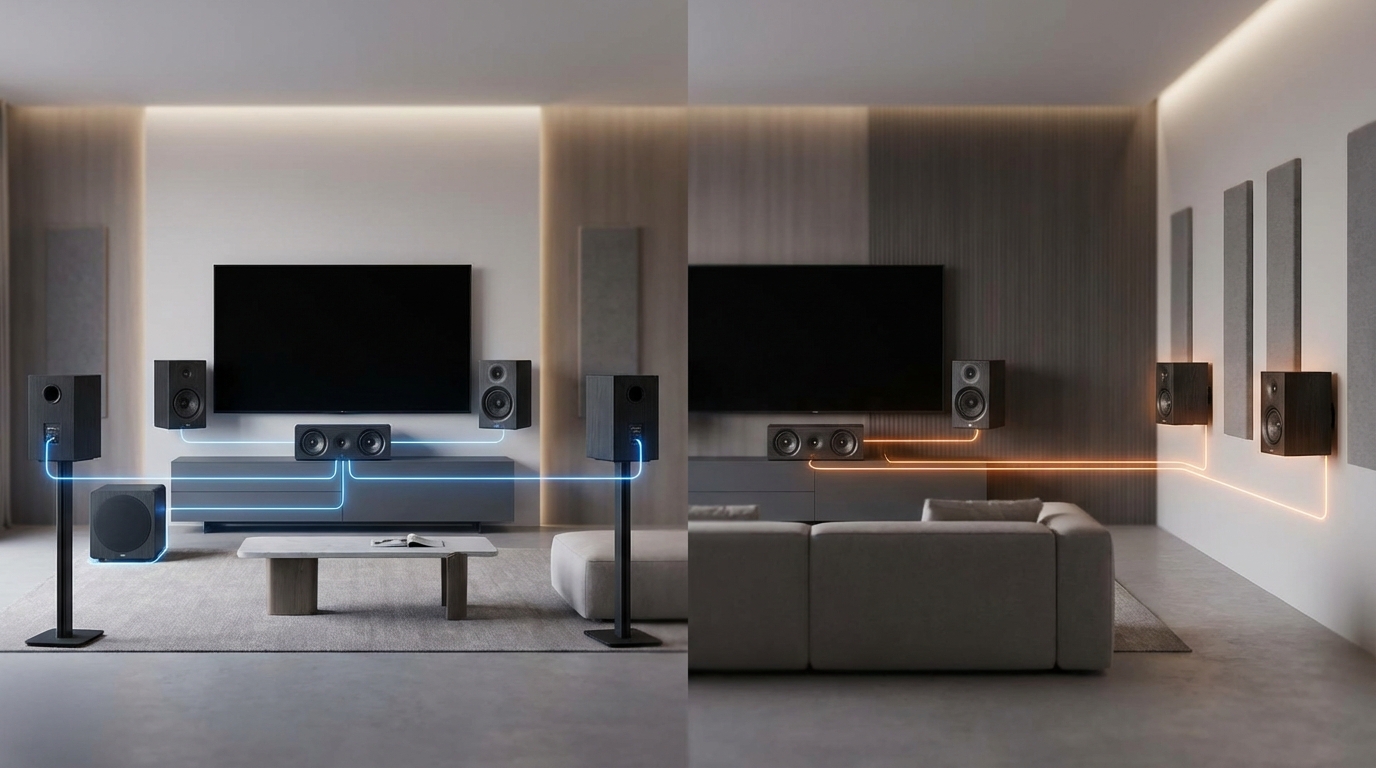
Method 2: Upgrading to an AV receiver
An AV receiver acts as the central hub for your entire home theater. It routes video signals and powers surround sound speakers.
Receivers typically include 4 to 8 HDMI inputs. High-end models offer even more. They also handle audio processing, room correction, and multi-room audio.
This solution costs significantly more than a simple switch. But if you want proper surround sound, you need a receiver anyway. The extra HDMI ports become a bonus feature.
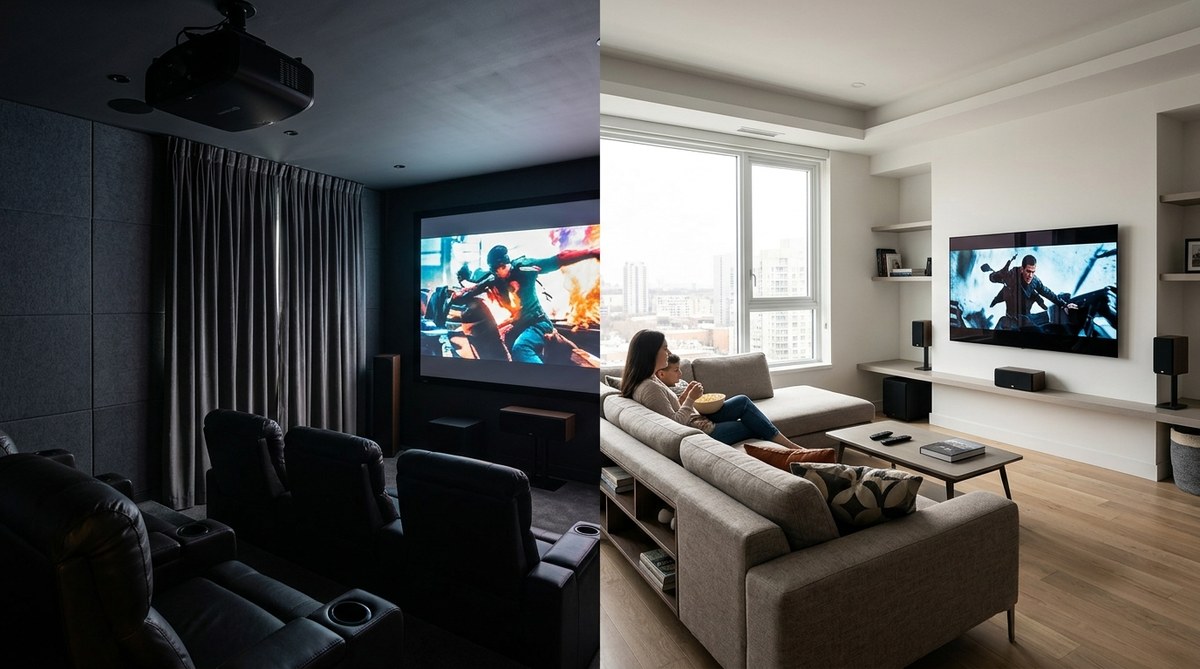
Deciding if a receiver makes sense
Only buy a receiver if you plan to use surround sound speakers. Otherwise, you’re paying for features you won’t use.
Consider a receiver if:
- You want 5.1 or 7.1 surround sound
- You already own or plan to buy multiple speakers
- You have space for speaker placement
- Your room layout supports proper speaker positioning
- You’re willing to run speaker wire through walls or use wireless options
Skip the receiver if you’re happy with TV speakers or a basic soundbar. The complexity and cost aren’t worth it just for extra HDMI ports.
What to look for in a receiver
Modern receivers need HDMI 2.1 for future-proofing. This supports 4K at 120Hz for gaming and 8K if you upgrade your TV later.
Check how many HDMI inputs you need. Count your current devices and add two for future purchases. Most people do fine with six inputs.
Audio formats matter if you stream movies. Look for Dolby Atmos and DTS:X support. These create overhead sound effects using ceiling speakers or upward-firing drivers.
Room correction software helps too. Audyssey, Dirac, and YPAO measure your room and adjust the sound automatically. This compensates for echo and reverb problems that plague most living rooms.
Power ratings are often misleading. Manufacturers measure them under unrealistic conditions. Read professional reviews for real-world performance data.
Connecting everything to your receiver
Receiver setup is more involved than a simple switch. Plan for an hour of work.
- Position the receiver in your entertainment center with good ventilation
- Connect all HDMI sources to the receiver’s inputs
- Run one HDMI cable from the receiver’s output to your TV
- Connect your speakers to the appropriate terminals
- Plug in the power cable and turn on the receiver
- Run the automatic setup microphone calibration
- Test each input source and adjust settings as needed
Most receivers include an on-screen setup wizard. Follow it step by step. The wizard configures video resolution, speaker sizes, and audio formats.
Update the receiver’s firmware before finishing setup. Manufacturers fix bugs and add features through updates. Connect the receiver to your home network via ethernet or WiFi to download updates.
Method 3: Using a soundbar with HDMI inputs
Some soundbars include HDMI inputs alongside their standard HDMI ARC connection. This gives you better audio than your TV speakers plus a few extra ports.
Soundbars with HDMI inputs typically offer 2 to 3 additional ports. Not as many as a receiver, but enough for most people.
This middle-ground option works well if you want better sound without the complexity of a full receiver and speaker system.
Finding a soundbar with enough inputs
Most basic soundbars only have HDMI ARC, which connects to your TV. You need a model specifically designed with extra HDMI inputs.
These soundbars cost more than basic models. Expect to pay $200 to $600 depending on audio quality and features.
Look for HDMI 2.1 support if you game. Some soundbars only include HDMI 2.0 ports, which limits you to 4K at 60Hz.
Check if the soundbar supports eARC (enhanced Audio Return Channel). This lets your TV send high-quality audio formats back to the soundbar from its built-in streaming apps.
Popular models with HDMI inputs include the Sonos Arc, Samsung HW-Q series, and Sony HT-A7000. Read reviews carefully because HDMI implementation varies widely between brands.
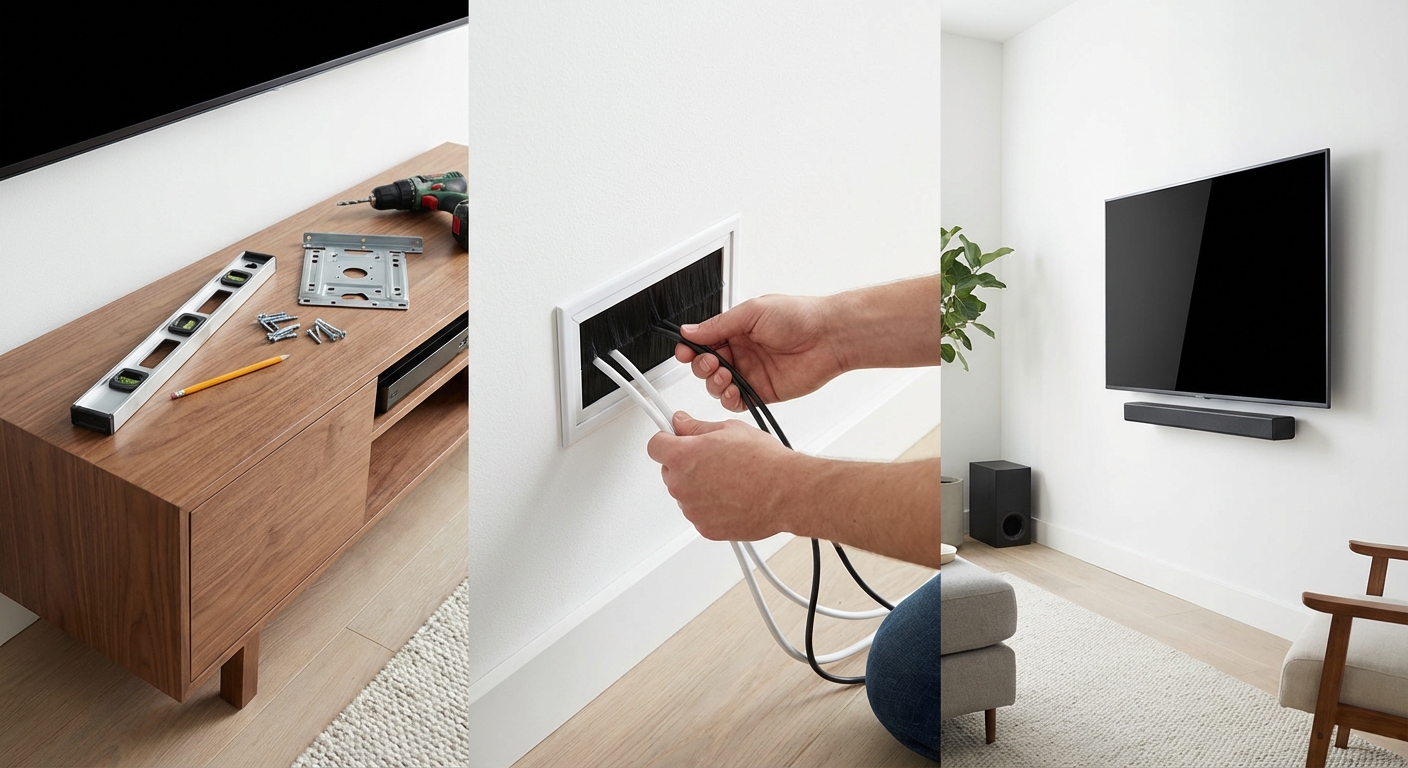
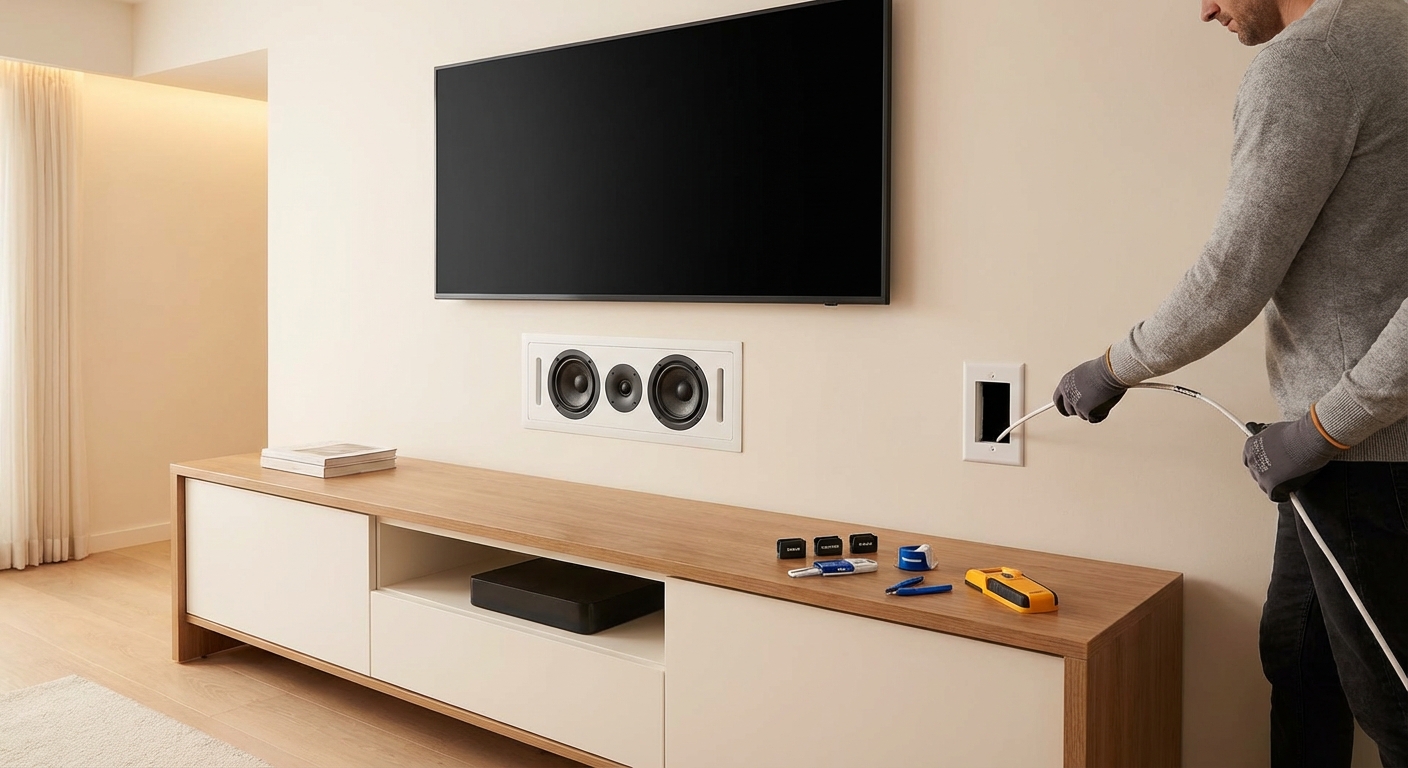
Installation steps for soundbar setups
Soundbar installation is simpler than a receiver but more complex than a switch.
- Mount or place the soundbar below or above your TV
- Connect your devices to the soundbar’s HDMI inputs
- Run one HDMI cable from the soundbar to your TV’s HDMI ARC port
- Enable HDMI CEC in your TV settings (may be called Anynet+, Bravia Sync, or Simplink)
- Configure the soundbar’s audio settings
- Test each input source
HDMI CEC lets your TV remote control the soundbar volume. This feature saves you from juggling multiple remotes.
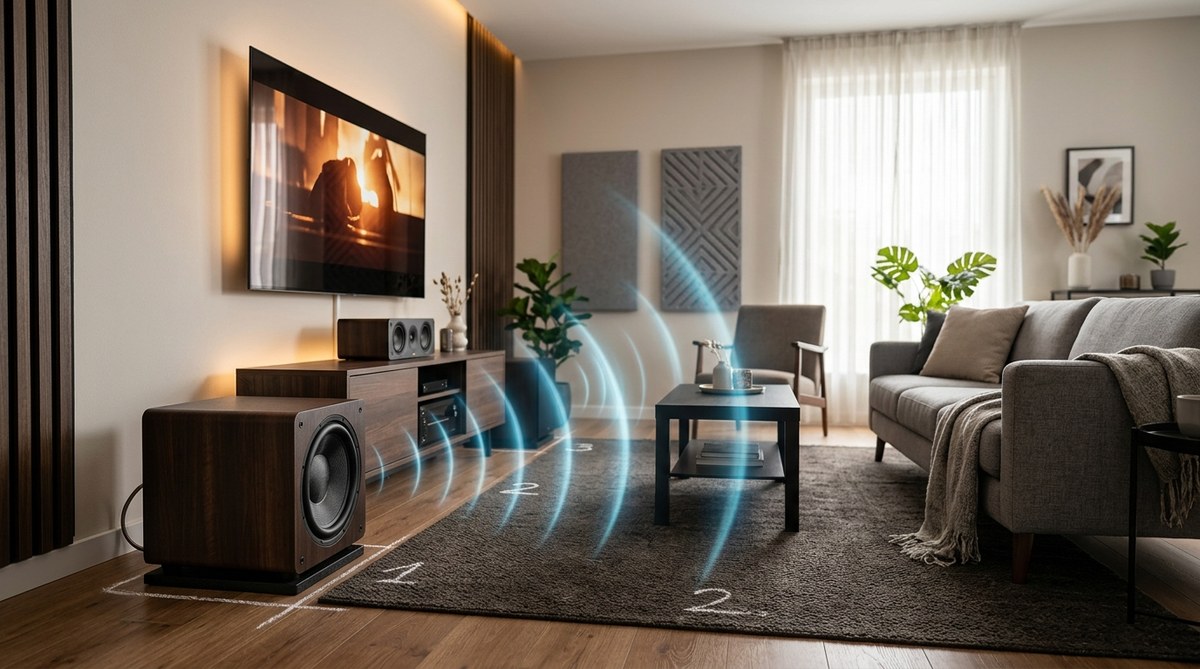
Some soundbars include a separate subwoofer. Place it near a wall for better bass response. The exact position affects sound quality, so experiment with placement.
Common mistakes that cause problems
People often buy switches or receivers without checking their specifications. Then they wonder why their 4K TV only displays 1080p.
Always verify the HDMI version. Older equipment can’t pass through newer video formats. Your switch or receiver needs to support the highest resolution and refresh rate your TV and devices can handle.
Cable length matters more than most people realize. HDMI signals degrade over distance. Keep cables under 15 feet for 4K content. Longer runs need active cables with built-in signal boosters.
Mixing HDMI versions causes headaches. If your TV supports HDMI 2.1 but your switch only supports HDMI 2.0, you lose the advanced features. Every link in the chain must support the features you want to use.
Port confusion trips up newcomers. HDMI ARC ports look identical to regular HDMI ports but serve different purposes. Regular ports carry video to your TV. ARC ports send audio back from your TV to a soundbar or receiver. Using the wrong port prevents proper audio routing.
Troubleshooting connection issues
No picture after connecting your switch? Try these fixes in order:
- Verify all devices are powered on
- Check that you selected the correct input on your TV
- Swap HDMI cables one at a time to identify bad cables
- Try connecting a device directly to your TV to rule out device problems
- Power cycle everything (unplug for 30 seconds, then reconnect)
- Update firmware on your switch, receiver, or soundbar
Intermittent signal drops usually indicate a cable problem. HDMI cables either work or don’t. There’s no such thing as a cable that works “most of the time.” Replace any cable that causes dropouts.
Audio but no video means your resolution settings don’t match. Lower the output resolution on your source device. Some devices default to resolutions your TV can’t display.
Video but no audio points to an ARC configuration problem. Make sure you connected to the correct HDMI ARC port on your TV. Enable CEC in your TV’s settings menu. Different manufacturers call this feature different names.
Planning for future device additions
Buy more ports than you currently need. Most people add 2 to 3 devices within a year of setting up their system.
An 8-port switch costs only slightly more than a 4-port model. The extra capacity prevents another purchase later.
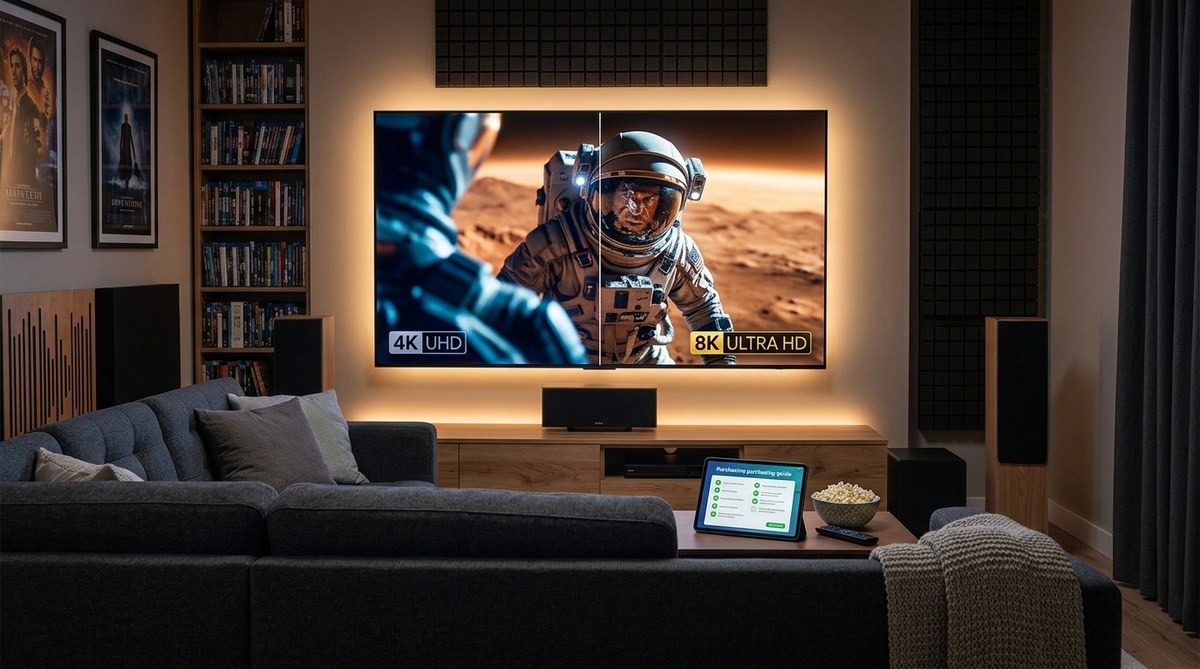
Consider your TV’s capabilities before buying new equipment. A 1080p TV doesn’t benefit from a 4K switch. But if you plan to upgrade your TV soon, buy the 4K switch now.
Gaming requirements change fast. The jump from HDMI 2.0 to 2.1 brought massive improvements for gamers. Variable refresh rate, auto low latency mode, and 120Hz support all require HDMI 2.1. Future game consoles will demand even more bandwidth.
Streaming services keep increasing their quality standards. Netflix, Disney+, and Apple TV+ now stream 4K HDR content. Some offer Dolby Vision and Dolby Atmos. Your switch or receiver needs to pass these formats without degrading them.
Making your setup last
Organize your cables from the start. Use velcro straps instead of zip ties. Velcro lets you add or remove cables without cutting anything.
Label both ends of every cable. Write the source device and destination on each label. This saves massive amounts of time during troubleshooting.
Keep your equipment firmware updated. Manufacturers fix compatibility problems and add features through updates. Set a calendar reminder to check for updates every three months.
Protect your investment with a good surge protector. HDMI ports are sensitive to power spikes. A $30 surge protector can save thousands of dollars in equipment.
Document your setup with photos. Take pictures of your cable connections before you hide everything. Future you will appreciate having a reference when something needs adjustment.
Getting your extra ports working today
Running out of HDMI ports doesn’t mean you need a new TV or complicated installation. A simple switch solves the problem for most people in under fifteen minutes.
If you’re already thinking about better audio, a receiver or soundbar with HDMI inputs kills two birds with one stone. You get the ports you need plus a significant audio upgrade.
Start by counting how many devices you need to connect right now. Add two for future purchases. That number tells you which solution makes sense.
The best time to fix your port shortage is before you find yourself crawling behind your TV again. Pick your solution, order the right equipment, and spend one afternoon setting everything up properly. Your future self will thank you every time you switch inputs with a remote instead of swapping cables by hand.

Leave a Reply