Wall-mounting your TV transforms your living space. It frees up floor space, improves viewing angles, and gives your room a modern, uncluttered look. But dangling cables can ruin the entire effect. The good news? You can achieve that clean, professional appearance yourself without hiring an installer or spending hundreds of dollars.
Mounting a TV and hiding cables requires choosing the right mount, locating wall studs, drilling precise holes, and routing cables through in-wall conduits or raceways. The process takes 2 to 4 hours for most DIYers and creates a clean, professional look that eliminates visible wiring while keeping your setup safe and code-compliant.
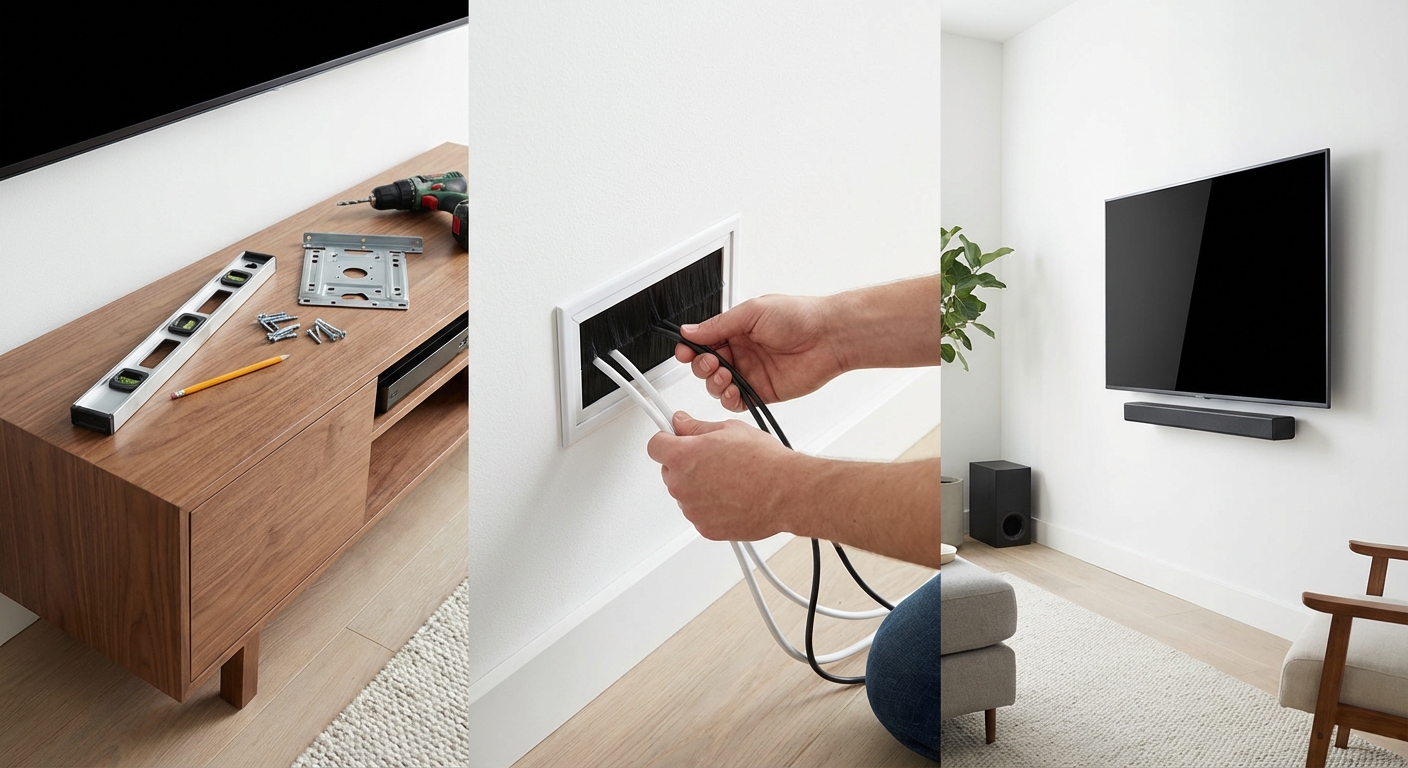
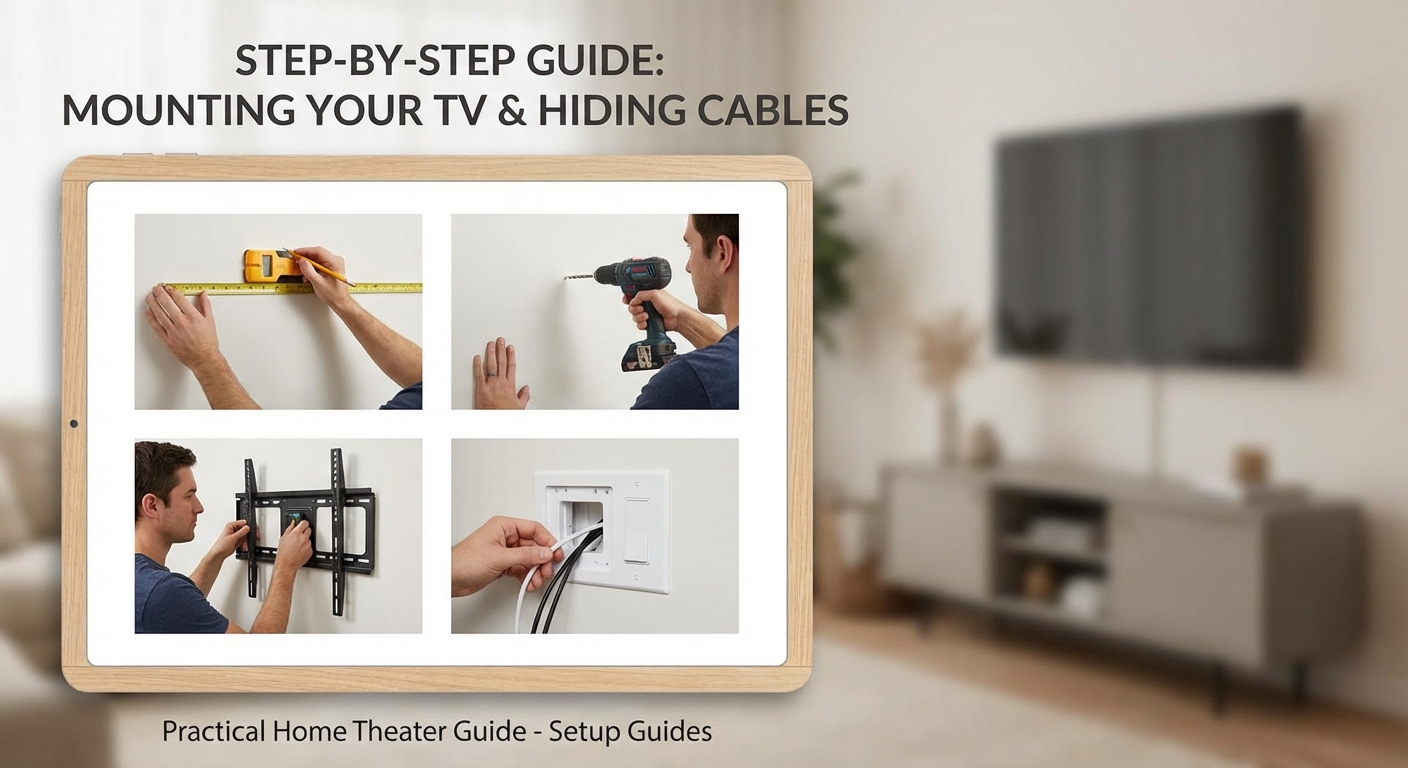
Gather Your Tools and Materials First
Before you start drilling holes, collect everything you need. Missing a single tool halfway through the project means stopping to run to the hardware store.
Here’s your complete checklist:
- Stud finder (electronic models work best)
- Level (24-inch or longer)
- Power drill with bits
- Screwdriver set
- Pencil for marking
- Measuring tape
- TV mount (rated for your TV’s weight)
- In-wall cable management kit or surface raceway
- Cable ties or velcro straps
- Drywall anchors (if needed)
Most TV mounts include the mounting hardware you need. Double-check the package contents before you begin. Some mounts come with HDMI cables and cable covers as bonus items.
Choose the Right Mount Type for Your Setup
Not all TV mounts work the same way. Your choice affects both installation difficulty and how you’ll route cables.
Fixed mounts sit flat against the wall. They’re the simplest to install and create the slimmest profile. The downside? Zero adjustment after mounting. These work best when your seating position stays constant.
Tilting mounts let you angle the screen up or down by 10 to 15 degrees. Perfect for TVs mounted higher than eye level. They add about an inch of depth from the wall.
Full-motion mounts extend, swivel, and tilt. They’re ideal for rooms with multiple viewing positions or when you need to reduce glare. These are bulkier and require more clearance behind the TV.
Check your TV’s VESA pattern before buying a mount. This standardized measurement tells you the distance between mounting holes on your TV’s back panel. You’ll find it in your TV manual or by measuring the holes yourself.
The most common mistake is buying a mount that can’t support your TV’s weight. Always choose a mount rated for at least 20% more than your TV weighs. This safety margin accounts for the leverage forces when extending full-motion mounts.
Find and Mark Your Wall Studs
Wall studs provide the structural support your TV needs. Mounting into drywall alone will fail, potentially destroying your TV and damaging your wall.
Run your stud finder horizontally across the wall at your desired mounting height. Mark both edges of each stud with a pencil. Studs are typically 16 inches apart, though older homes sometimes use 24-inch spacing.
Verify your findings by drilling a small test hole in an inconspicuous spot. You should feel resistance when the bit hits wood. If you hit empty space, adjust your search.
For the cleanest cable management, choose a location near an existing outlet. This minimizes the distance you need to run cables through the wall.
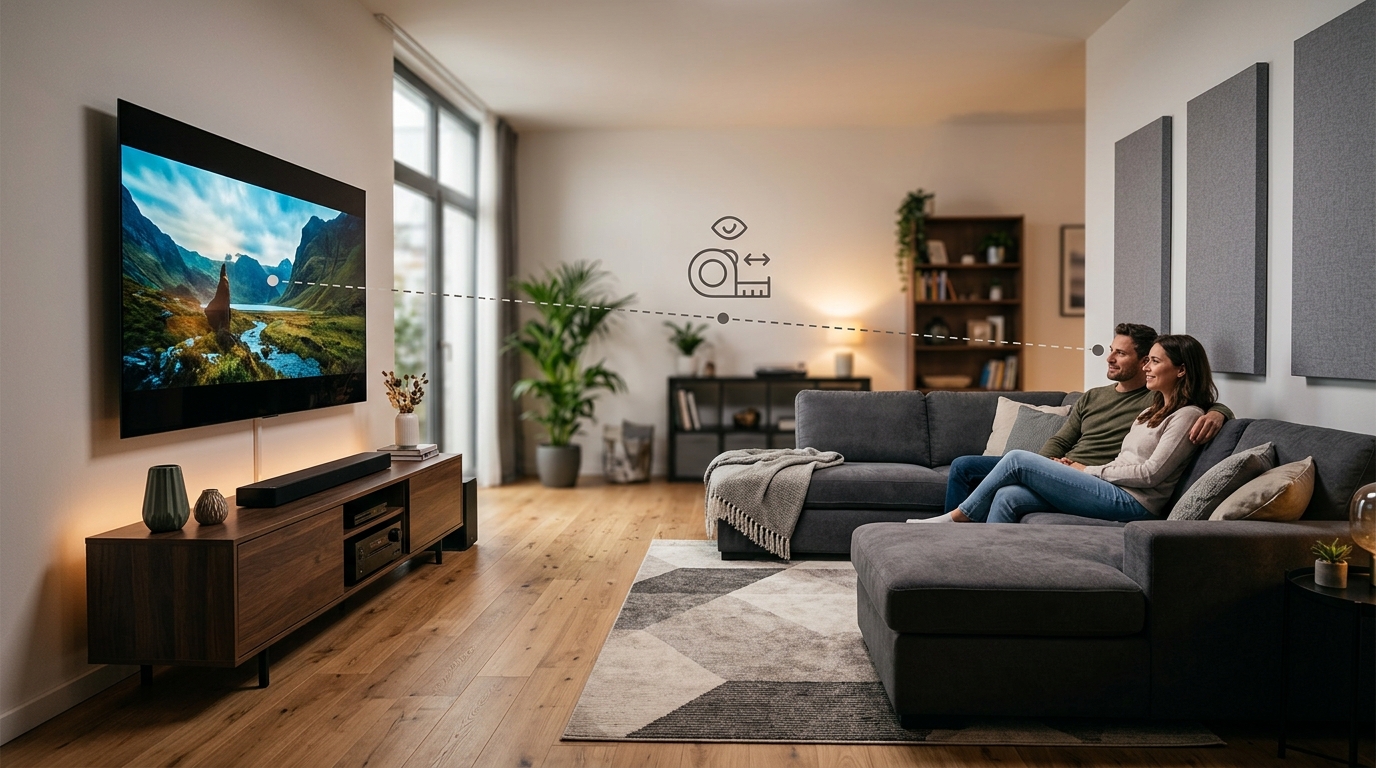
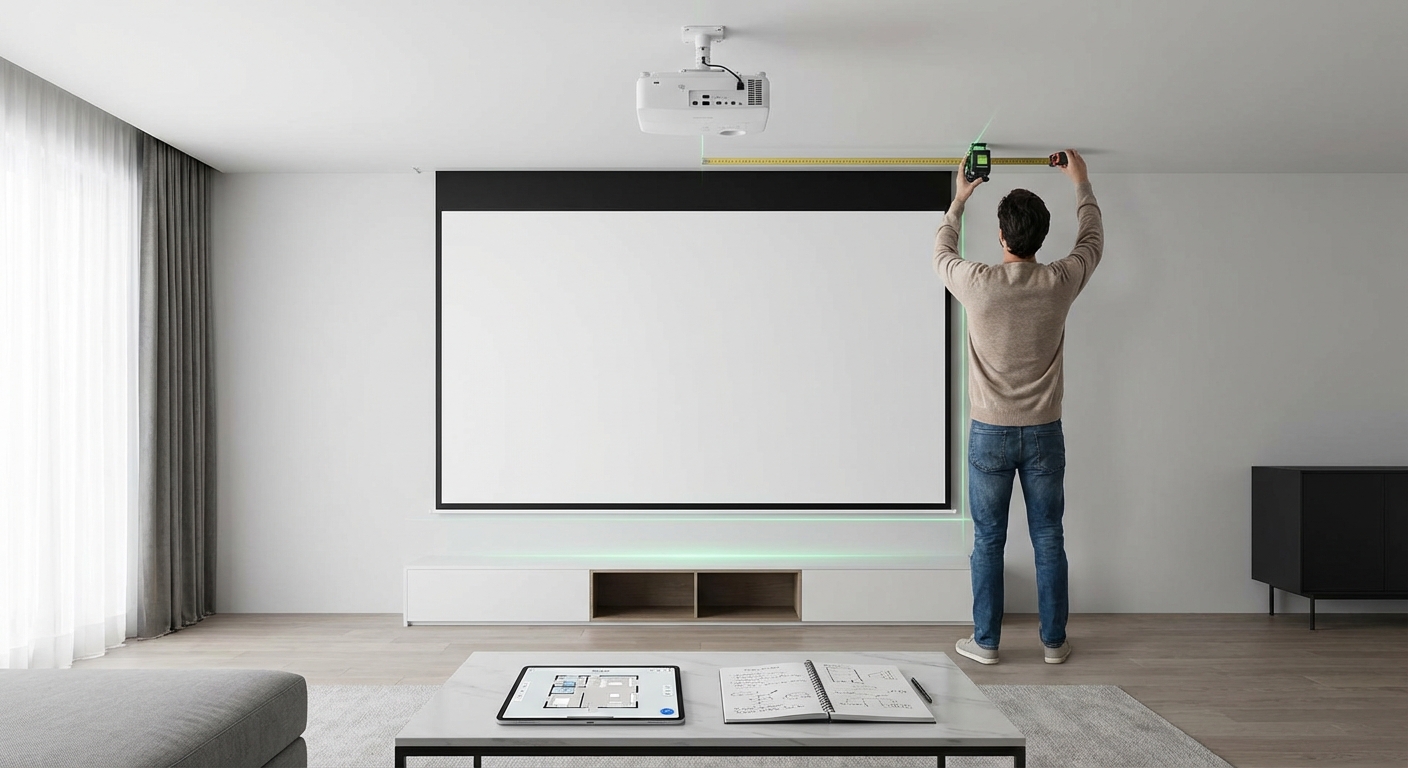
Consider the viewing height carefully. Eye level when seated is ideal for most rooms. That typically means the TV’s center sits 42 to 48 inches from the floor. If you’ve already thought about how to choose the right TV size for your room distance, apply that same thoughtful approach to mounting height.
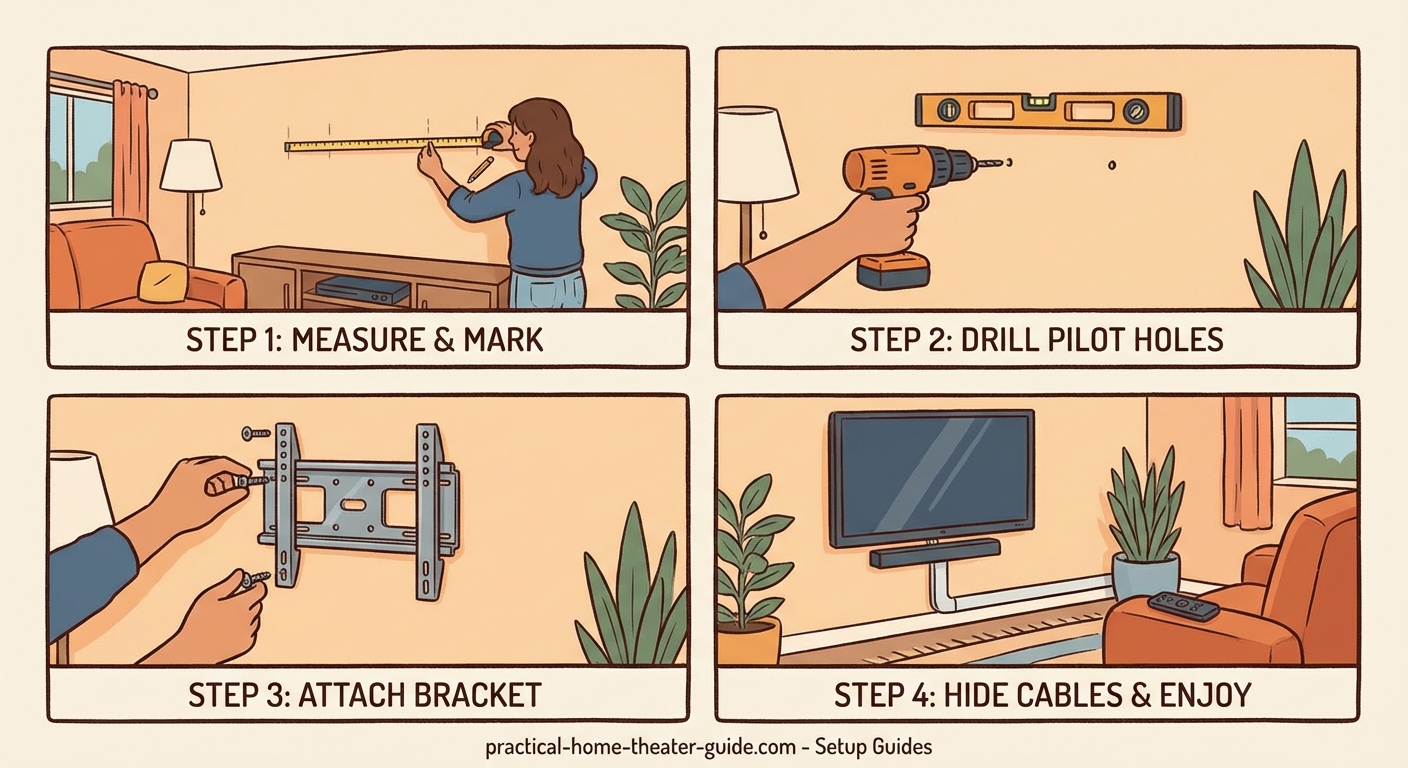
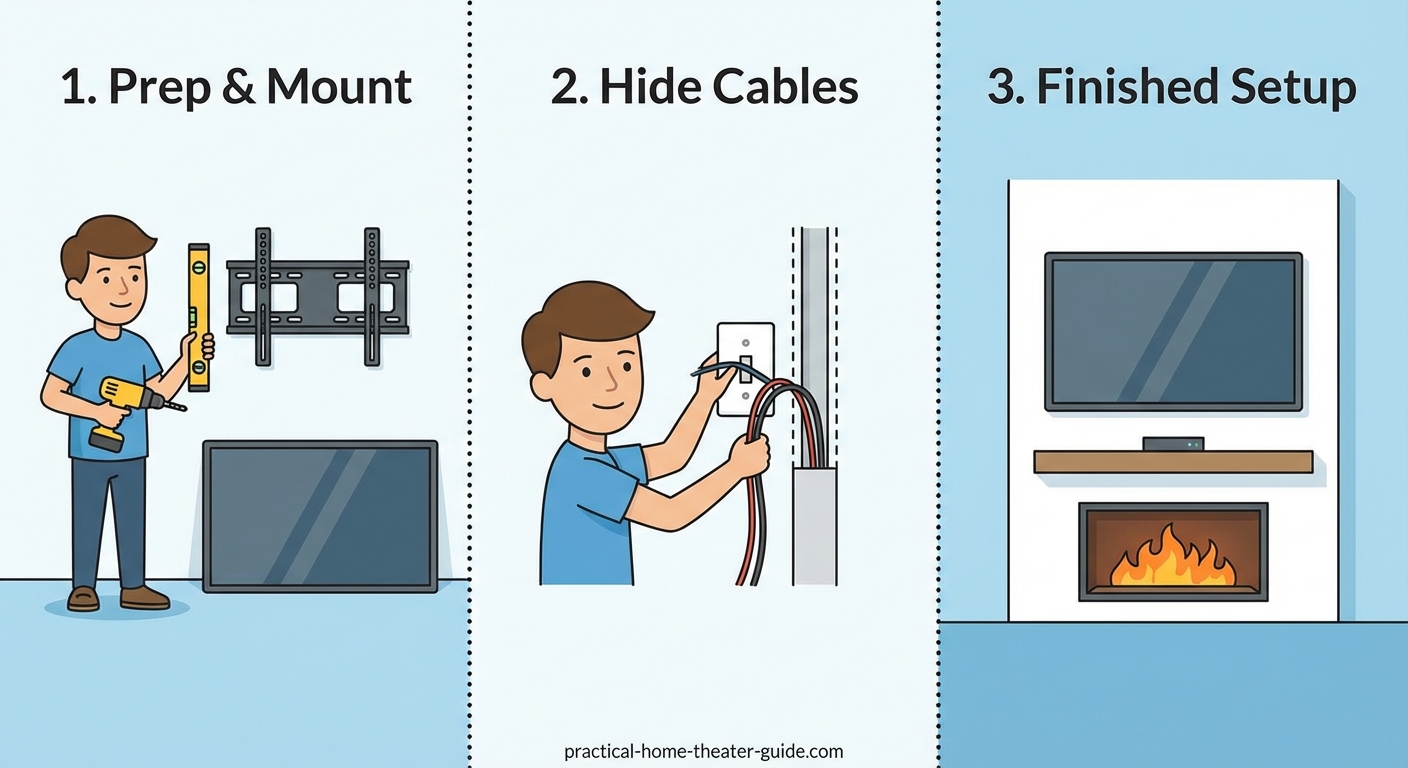
Install the Wall Plate Securely
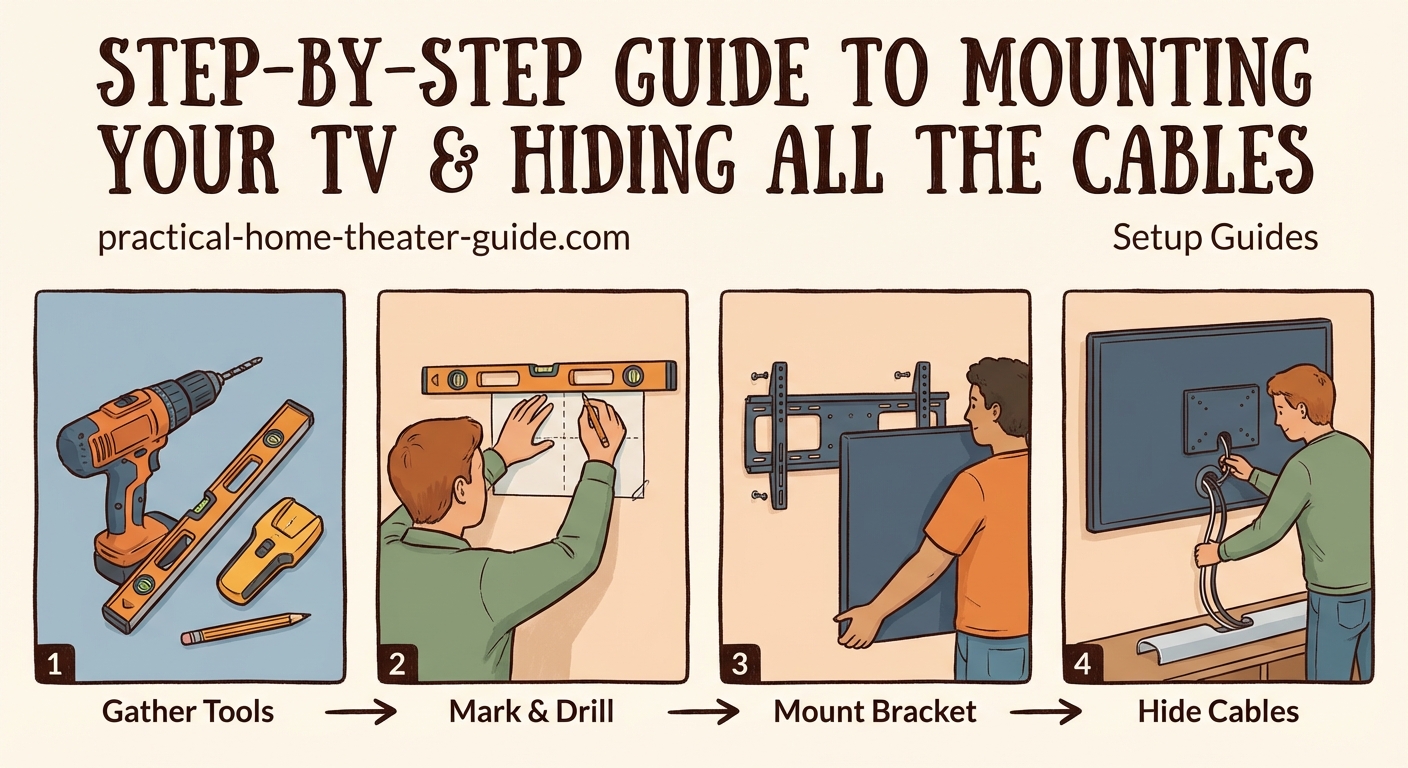
The wall plate attaches directly to the studs and supports your TV’s weight. This step demands precision.
- Hold the wall plate against the wall at your marked height
- Use your level to ensure it’s perfectly horizontal
- Mark the screw hole locations with a pencil
- Drill pilot holes into the studs at each mark
- Drive lag bolts through the wall plate into the studs
- Tighten bolts firmly, but don’t overtighten and strip the threads
Most mounts include lag bolts that are 2.5 to 4 inches long. These bite deep into the stud for maximum holding power.
Test the installation by pulling down hard on the mounted plate. It shouldn’t budge at all. Any movement means you need to relocate to a stud or use proper anchors.
Attach the Mounting Brackets to Your TV
While the wall plate is secure, turn your attention to the TV itself. You’ll attach mounting arms or brackets to the back panel.
Lay your TV face-down on a soft surface like a blanket or foam padding. This prevents scratching the screen.
Locate the VESA mounting holes on the TV’s back. Remove any plastic covers if present. Line up the mounting brackets with these holes.
Thread the provided bolts through the brackets into the TV. Hand-tighten first, then snug them with a screwdriver. Don’t use power tools here. Overtightening can crack the TV’s housing.
Some TVs have recessed mounting areas. You may need spacers (usually included with the mount) to create proper clearance for cables and ventilation.
Plan Your Cable Route Before Mounting
This is where most DIYers rush and regret it later. Plan your cable path before you hang the TV.
You have three main options for hiding cables:
| Method | Best For | Difficulty | Rental-Friendly |
|---|---|---|---|
| In-wall power kit | Permanent installations | Moderate | No |
| Surface raceway | Renters or easy changes | Easy | Yes |
| Cord covers | Simple setups | Very easy | Yes |
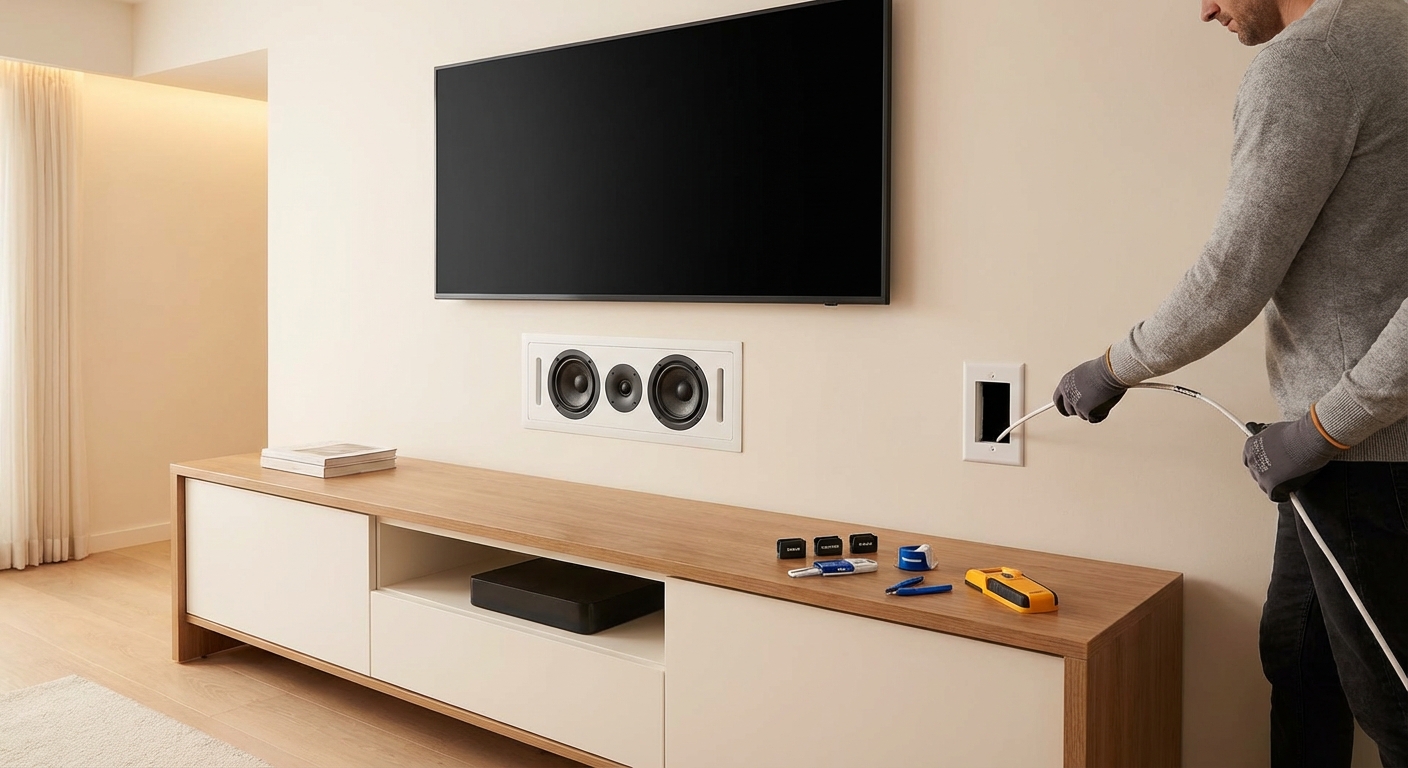
In-wall power kits include two receptacles connected by flexible conduit. One mounts behind the TV, the other near the floor by your components. You run all cables through the conduit between them. This creates the cleanest look but requires cutting two holes in your drywall.
Surface raceways are channels that mount directly on the wall. You run cables inside, then snap on a cover. They’re visible but much neater than loose cables. Paint them to match your wall for a subtle appearance.
Cord covers are simple adhesive channels. They work well for single-cable runs but look less professional with multiple cables.
For in-wall installations, never run standard power cables through your walls. This violates electrical code and creates fire hazards. Use only UL-listed in-wall power kits designed for this purpose.
Cut and Install In-Wall Cable Management
If you’re going the in-wall route, here’s the process:
- Mark locations for both receptacles (one behind TV, one at baseboard level)
- Use a drywall saw or hole saw to cut openings
- Fish the flexible conduit down through the wall cavity
- Connect both receptacles to the conduit ends
- Secure the receptacles to the wall with the provided mounting brackets
- Run your HDMI, optical, and other low-voltage cables through the conduit
- Plug your TV’s power cord into the upper receptacle
The upper receptacle connects to the lower one, which plugs into your existing outlet. This keeps everything code-compliant.
Check for obstacles before cutting. Electrical wires, plumbing, and HVAC ducts hide in walls. A wire detector helps identify these hazards.
For homes with insulation or horizontal fire blocking between studs, you may need to drill access holes to fish cables. Patch these later with drywall compound.
Mount Your TV on the Wall Plate
With cables ready, you can finally hang your TV. Get a helper for this step. Even smaller TVs are awkward to position alone.
Lift the TV and align the mounting brackets with the wall plate. Most mounts use a hook-and-slot system. The brackets slide onto the plate, then drop into locked position.
Listen for the click or feel the brackets seat fully. Give the TV a gentle tug to confirm it’s secure.
If you installed a tilting or full-motion mount, adjust the tension screws now. These control how easily the TV moves. Set them tight enough that the TV stays where you position it but loose enough to adjust without forcing.
Step back and check that the TV is level. If it’s tilted, loosen the mounting bolts slightly, adjust, and retighten.
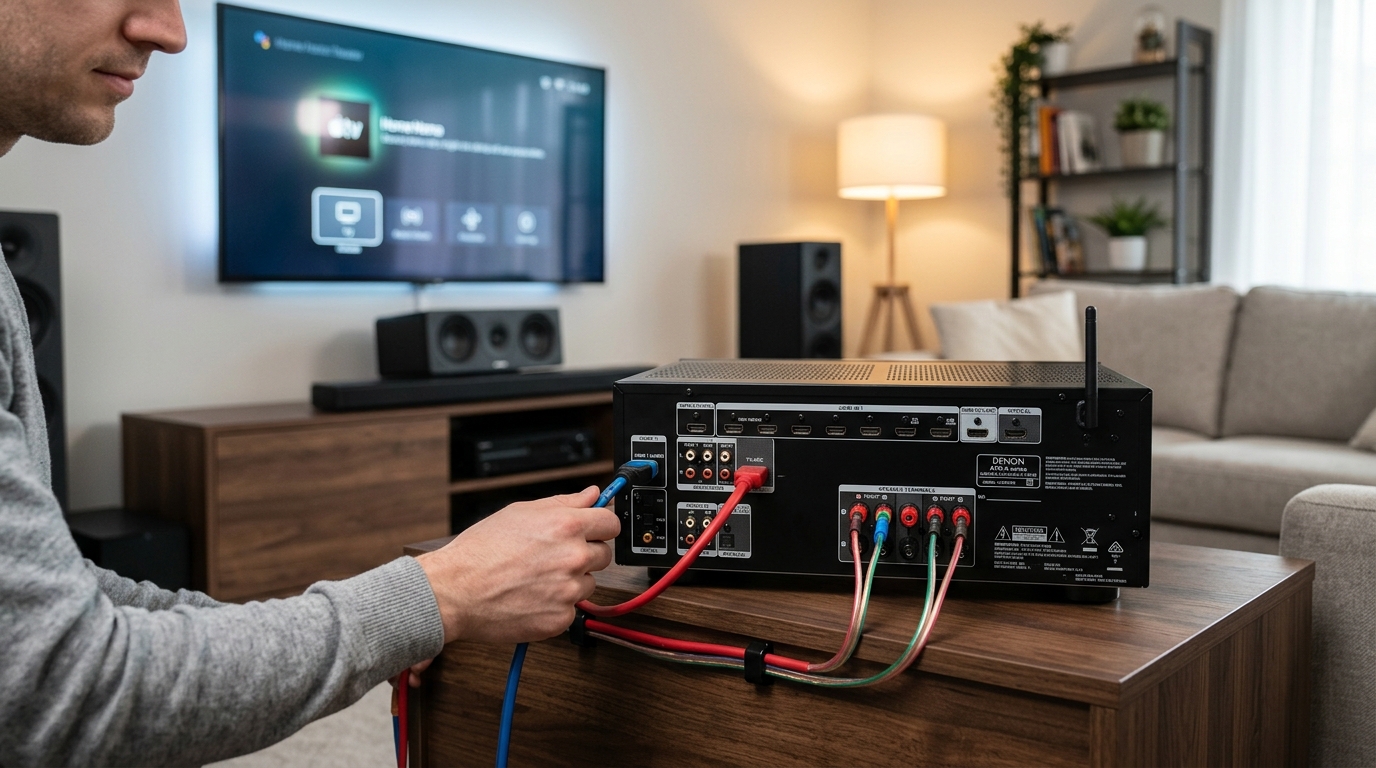
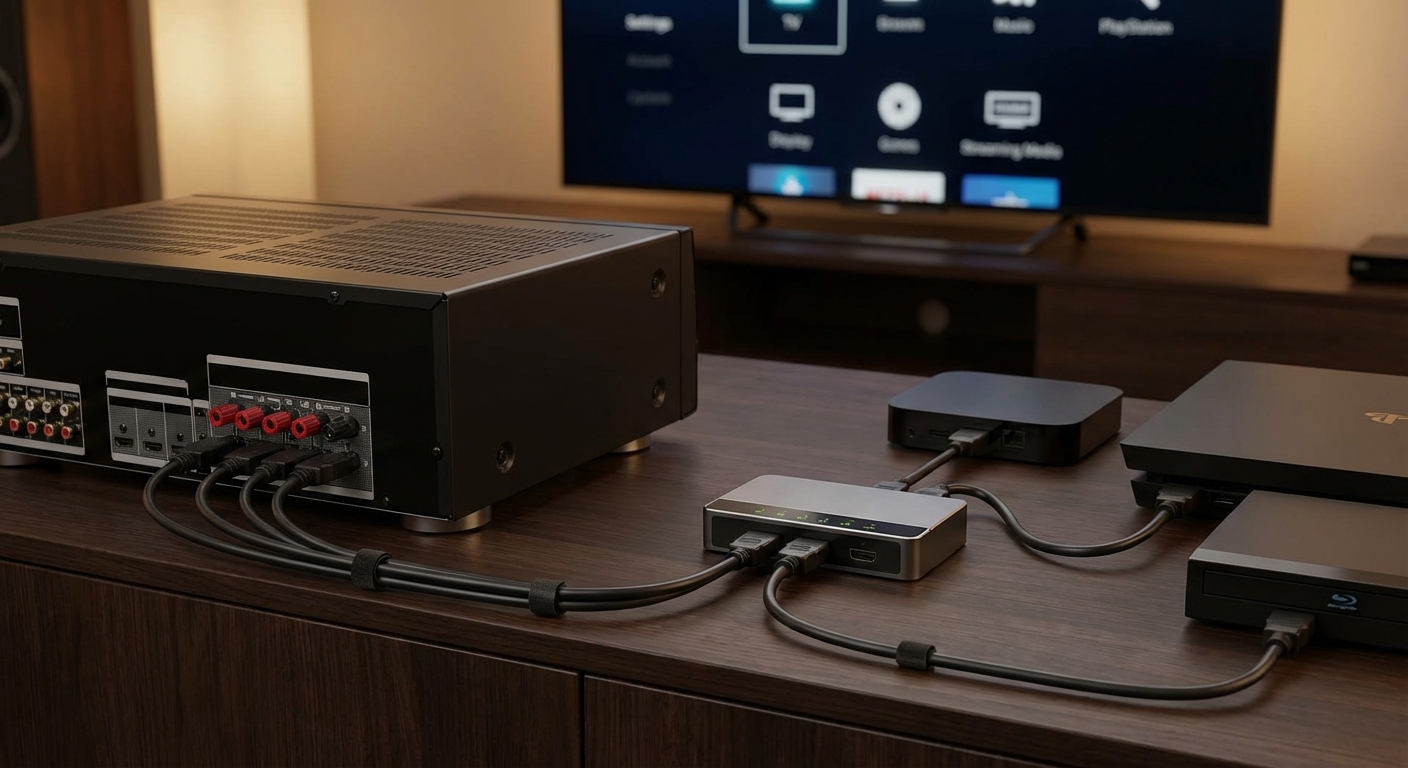
Connect and Organize Your Cables
Now comes the satisfying part. Connect all your devices and tuck away the cables.
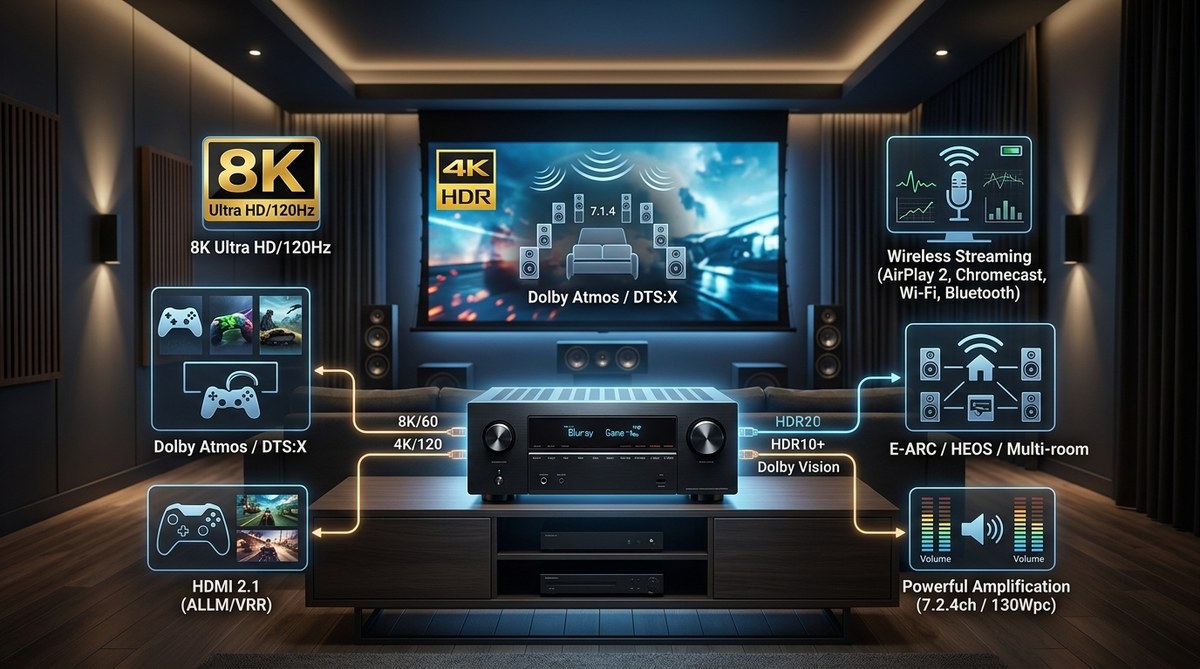
Start with HDMI cables from your streaming devices, game consoles, and cable box. Route each cable through your in-wall conduit or raceway before plugging it into the TV.
Bundle cables together with velcro straps every 12 inches. This keeps them organized and makes future changes easier. Avoid zip ties. They’re permanent and can damage cables if overtightened.
Label both ends of each cable with tape and a marker. Write “Xbox,” “Apple TV,” or whatever device it connects to. This saves huge frustration when troubleshooting later.
Leave a small service loop of extra cable behind the TV. This slack lets you pull the TV away from the wall slightly for adjustments without unplugging everything.
Power on your TV and test all connections. Flip through inputs to verify each device works. If you’ve recently calibrated your TV for better picture quality, now’s a good time to check those settings again.
Handle Tricky Wall Situations
Not every wall cooperates. Here’s how to handle common problems.
No studs where you want them? Use a mounting board. Cut a piece of 3/4-inch plywood large enough to span two studs. Screw it into the studs, then mount your TV bracket to the plywood. Paint it to match your wall first.
Brick or concrete walls? You’ll need a masonry bit and concrete anchors. Drill slowly to avoid cracking. Tapcon screws or sleeve anchors work well for heavy loads.
Metal studs? Standard wood screws won’t hold. Use toggle bolts or snap toggles rated for your TV’s weight. These spread the load across a wider area of drywall.
Mounted over a fireplace? Heat rises and can damage electronics. Install a mantel or heat shield to deflect warmth away from the TV. Consider the viewing angle too. Mounting too high strains your neck.
Add Finishing Touches for a Professional Look
Small details separate amateur installations from pro-quality work.
If you used an in-wall power kit, install the blank wall plates that came with it. These cover the rough drywall edges around your cable openings.
Touch up any screw holes, marks, or scratches with matching paint. A small craft brush works perfectly for this.
For surface raceways, run a bead of paintable caulk along the edges where they meet the wall. This creates a seamless transition. Paint over everything once the caulk dries.
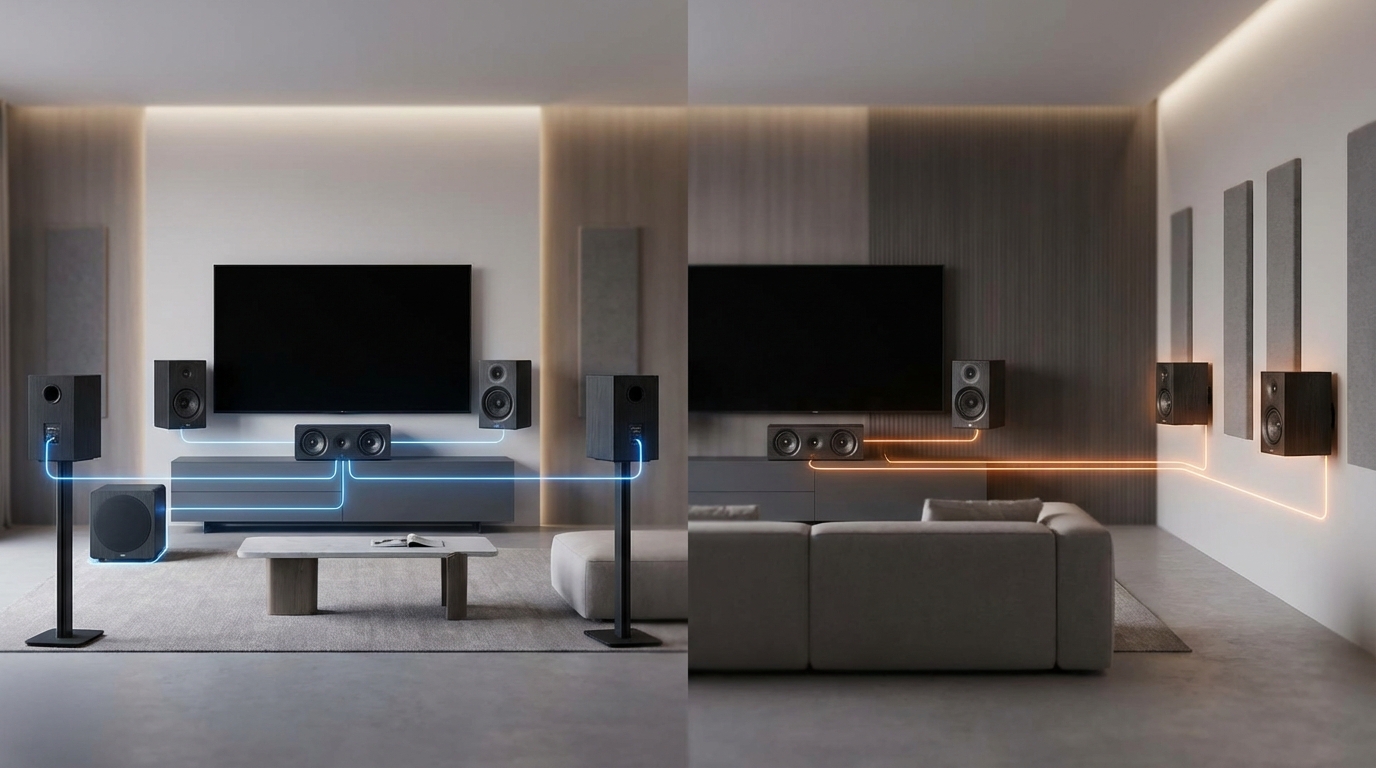
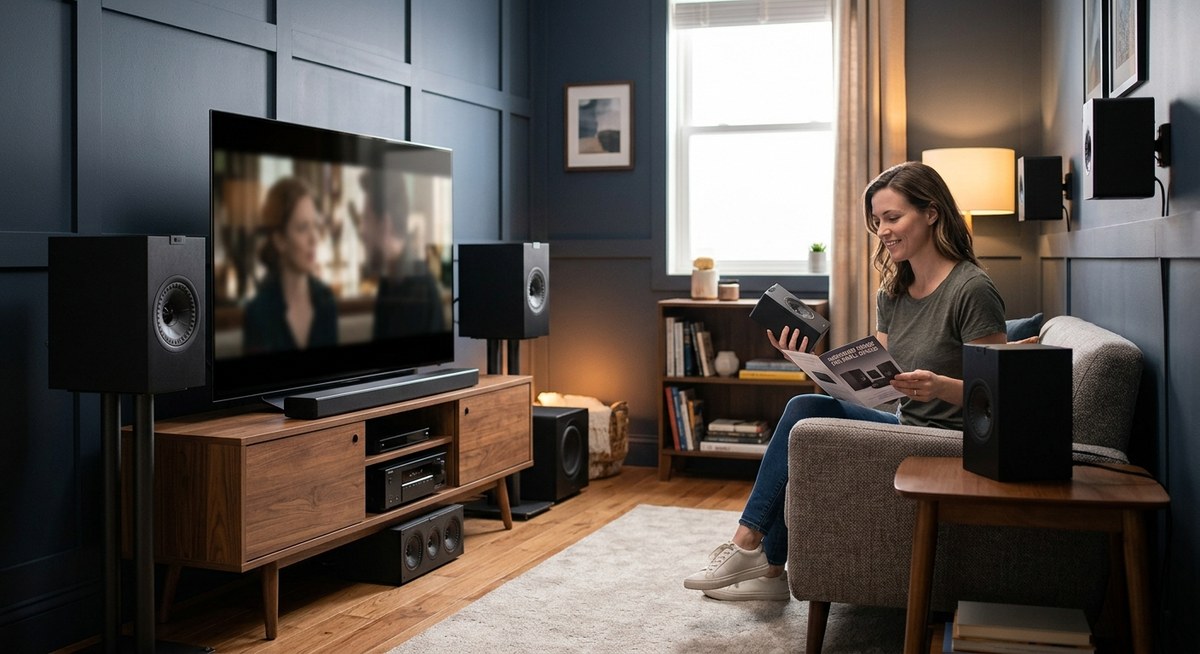
Arrange your media console or shelving below the TV to balance the visual weight. A floating shelf mounted at the same width as your TV creates symmetry.
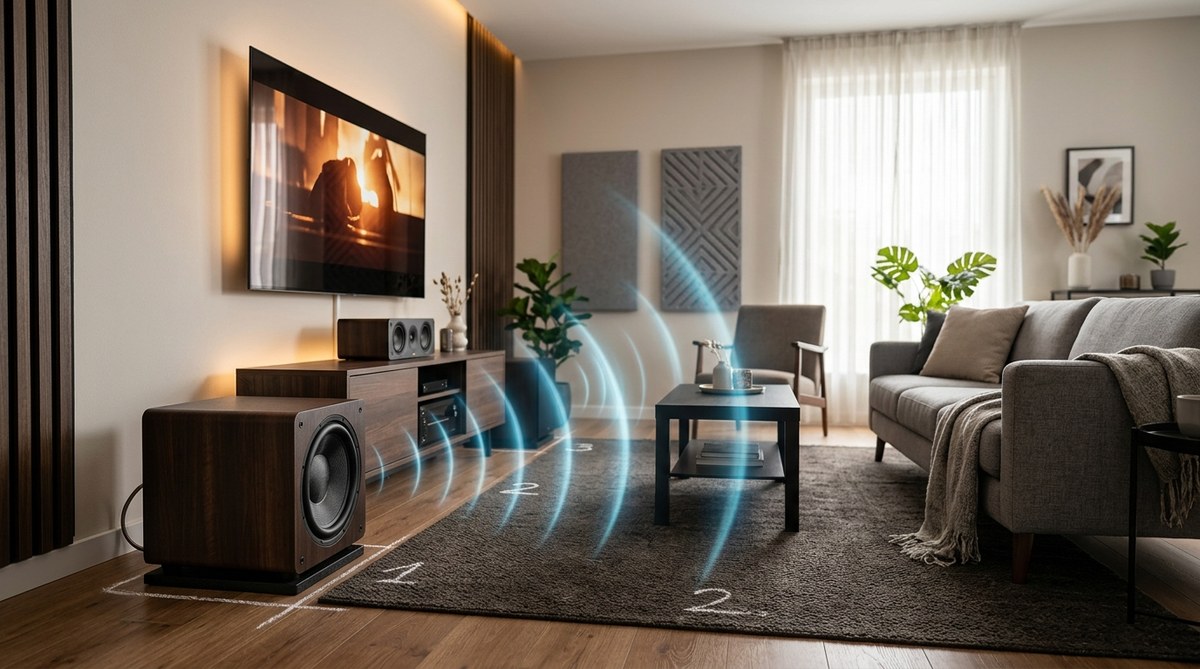
If your room has acoustic challenges that affect your viewing experience, you might want to address echo and reverb issues while you’re improving your setup.
Avoid These Common Installation Mistakes
Learning from others’ errors saves time and money.
Mounting too high is the number one mistake. Your neck will hurt after 30 minutes of viewing. Aim for eye level when seated, not standing.
Using the wrong hardware causes failures. Match screw length to your wall type. Too short won’t hold. Too long hits wiring or pipes.
Forgetting cable length means you can’t connect devices. Measure the distance from TV to components, then add 25% for routing around obstacles.
Ignoring weight limits risks disaster. A 65-inch TV can weigh 50 to 60 pounds. Add the mount weight, and you’re pushing 70 pounds of force on those bolts.
Skipping the stud finder because you think you know where studs are usually ends badly. Always verify.
Not planning for future changes locks you into your current setup. Leave access to cables and use cable management that allows additions.
Troubleshoot Installation Problems
Things don’t always go smoothly. Here are fixes for typical issues.
TV won’t sit flush against the wall? Check for outlet boxes, baseboards, or wall texture behind the mounting area. You may need spacers or a different mount type.
Cables won’t fit through the conduit? Don’t force them. Remove connectors if possible, feed cables through, then reattach. Or use a larger conduit.
Mount feels loose? You probably missed the stud or used screws that are too short. Remove the mount, verify stud location, and reinstall with proper hardware.
Picture looks worse after mounting? You might have changed the viewing angle significantly. Adjust tilt settings or recalibrate your display settings for the new position.
Devices lose signal intermittently? Check for pinched or sharply bent cables. HDMI cables especially need gentle curves, not tight corners.
Maintain Your Mounted TV Setup
A proper installation lasts for years with minimal maintenance.
Check mounting bolts every six months. Vibration from sound systems can gradually loosen hardware. Tighten any bolts that have backed out slightly.
Dust the TV and cables monthly. Buildup blocks ventilation and can cause overheating. Use a microfiber cloth. Never spray cleaner directly on the screen.
Inspect cables annually for damage. Look for frayed insulation, bent connectors, or kinks. Replace damaged cables immediately.
If you move furniture or change your room layout, reassess your viewing angle. You may need to adjust tilt or swivel settings.
When you upgrade components, take time to reorganize cables properly. Don’t just stuff new cables behind the TV. Route them through your existing management system.
Your Clean Setup Starts Now
You’ve got the knowledge to mount your TV and hide every cable like a professional installer. The process takes an afternoon, but the results last for years.
Start by measuring your space and ordering the right mount. Take your time finding studs and planning cable routes. Rush the preparation, and you’ll regret it when you’re patching extra holes or dealing with cables that won’t reach.
The cleanest installations happen when you think through the entire process before making the first cut. Your living room will thank you with a sleek, modern look that makes your TV the focal point, not a tangle of wires.

Leave a Reply