
Your mixes sound great in your headphones. But play them back through your monitors and suddenly the bass is booming, vocals are muddy, and everything feels wrong.
The problem isn’t your gear. It’s your room.
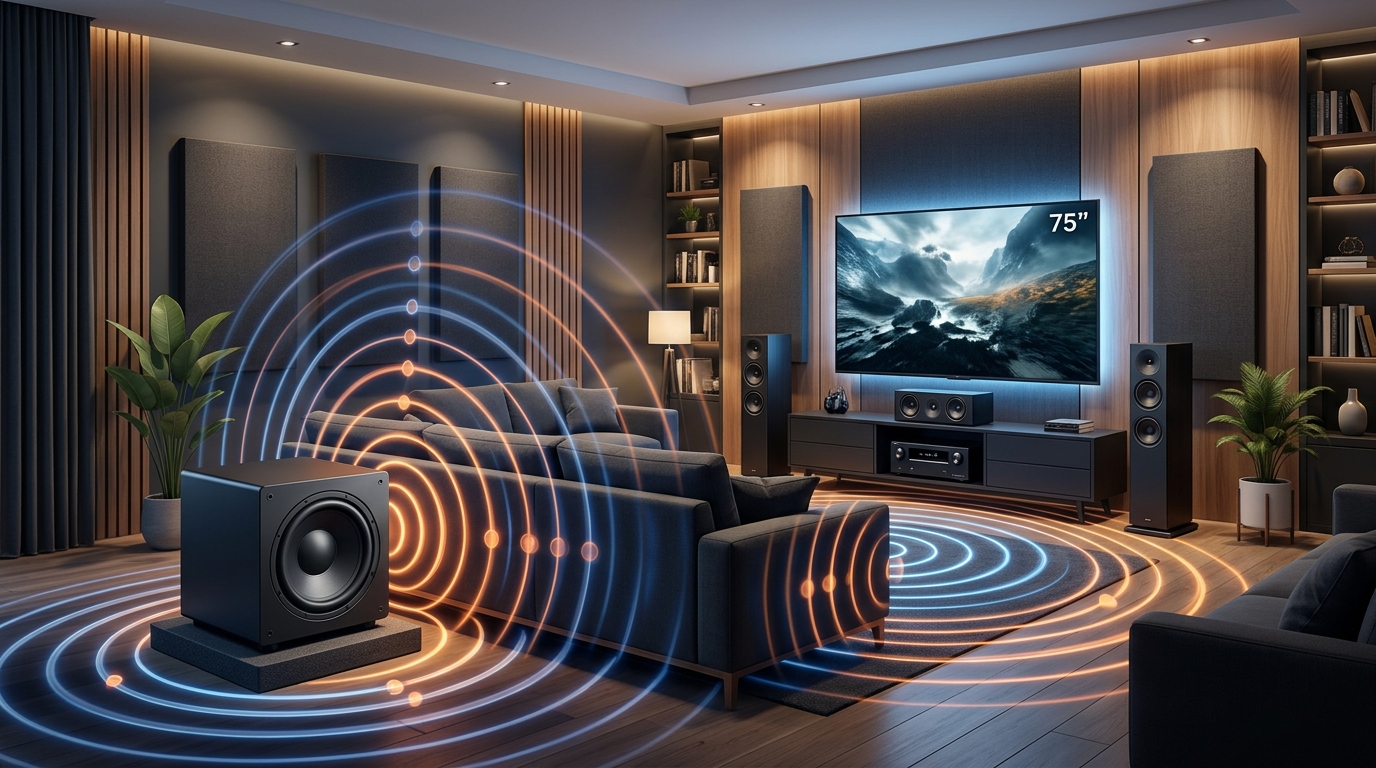
Most home studio owners spend hundreds on monitors and interfaces while ignoring the acoustic space around them. You can have the best speakers in the world, but if your room has flutter echo, bass buildup, or standing waves, you’ll never hear what your music actually sounds like.
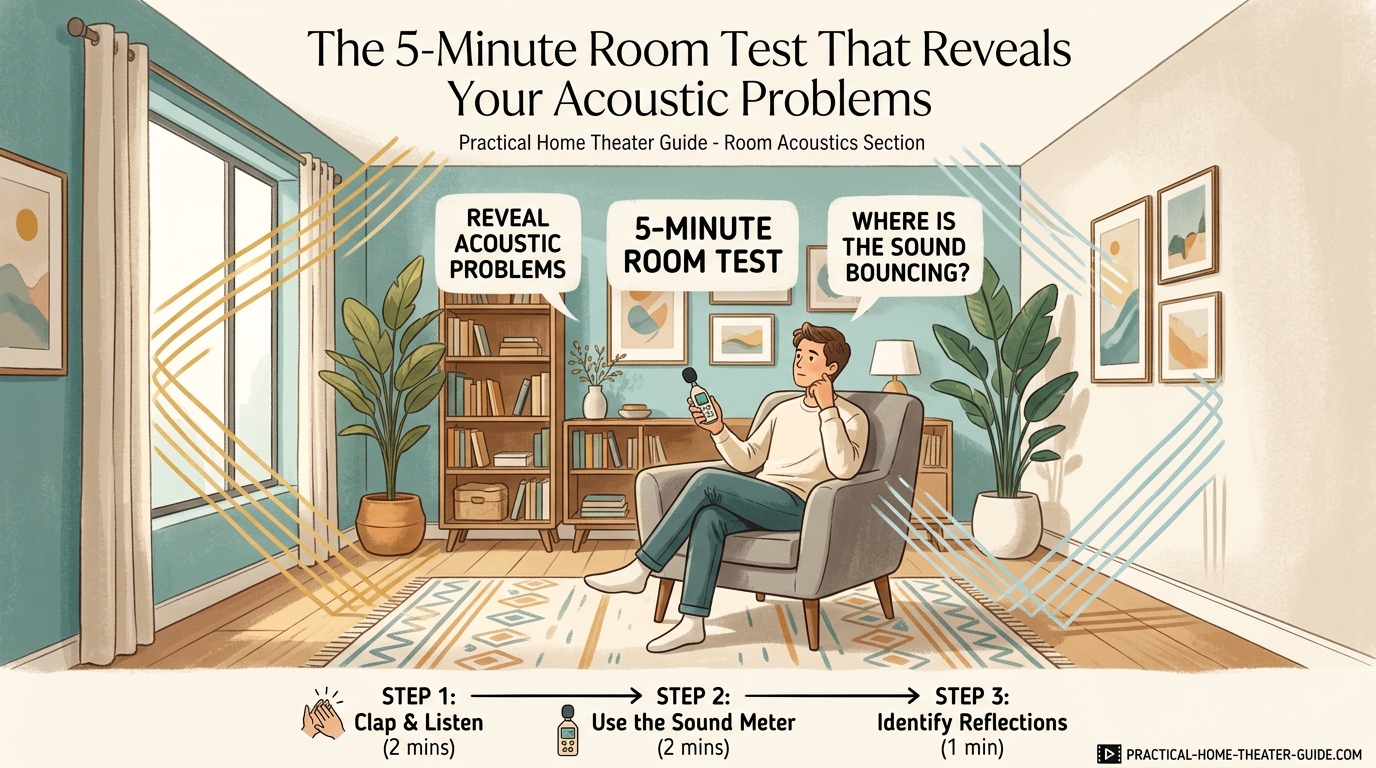
A basic room acoustics test reveals echo, reverb, and frequency problems in under five minutes using just claps, sweeps, and music playback. These simple tests identify where your space needs treatment before you waste money on panels that don’t solve your actual problems. You’ll know exactly which acoustic issues matter most for your mixing or recording work.
Why Your Room Needs Testing Before Treatment
Walking into a music store and buying foam panels is like prescribing medicine without a diagnosis.
Every room has unique acoustic problems. Corner bass traps might solve someone else’s boomy low end but do nothing for your flutter echo. Ceiling clouds could tame overhead reflections in a square room but miss the side wall slap in a rectangular space.
A proper room acoustics test shows you where sound behaves badly. You’ll identify specific frequencies that build up, surfaces that create harsh reflections, and dead spots where bass disappears completely.
This saves you from the classic mistake of covering every wall in foam and wondering why your mixes still translate poorly. Treatment works when it targets real problems, not imagined ones.
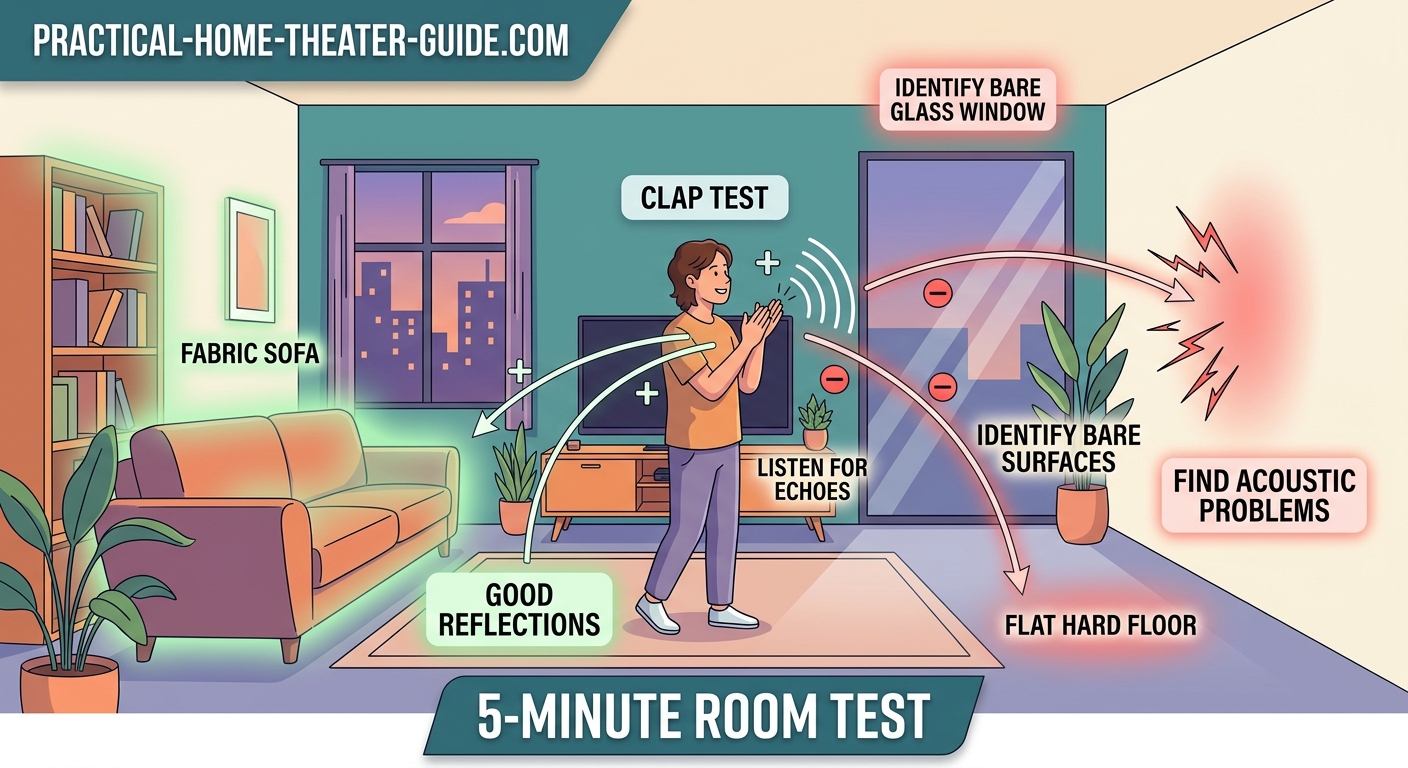
The Clap Test for Flutter Echo
Stand in the center of your room and clap once. Sharply.
Listen to what happens after the initial sound. A good room gives you a clean decay. A problem room sends back a rapid flutter, like a metallic ringing or a machine gun echo.
This flutter echo happens when sound bounces between parallel walls too quickly. It colors everything you record and makes it impossible to hear reverb tails or subtle mix details accurately.
Try the clap test in different positions:
- Center of the room facing your monitors
- Each corner of the space
- Your mixing position with monitors off
- Standing near large reflective surfaces
Take notes on where the flutter is worst. Those spots need acoustic treatment first.
If you hear a smooth decay without metallic ringing, your parallel surfaces are either far enough apart or already have enough diffusion. That’s rare in small home studios, but it happens in rooms with bookshelves, angled walls, or heavy curtains.
The Sweep Test for Frequency Buildup
Download a sine wave sweep from 20Hz to 20kHz. Free test tones are available from multiple audio websites, or you can generate one in any DAW.
Play the sweep through your monitors at a moderate level. Walk around your room slowly while it plays.
Pay attention to moments when certain frequencies suddenly get louder or completely disappear. These are your room modes, the resonant frequencies where your room dimensions create standing waves.
You’ll typically notice:
- Bass frequencies that boom in corners and thin out in the center
- Midrange frequencies that sound harsh near walls
- High frequencies that seem louder or deader depending on where you stand
Mark these problem areas mentally or with tape on the floor. Your mixing position should avoid the worst nulls and peaks, but that’s not always possible in small rooms.
The sweep test reveals what your ears can’t judge from memory. A 3dB boost at 120Hz might feel normal until you hear it compared to 100Hz and 140Hz in the same pass.
The Music Playback Test
Play a well-produced track you know inside and out. Something mixed by professionals in a treated room.
Listen at your normal mixing level. Then walk around the entire room while the track plays.
Notice how the bass changes. Does it get booming near walls? Does it vanish in certain spots? Do vocals sound clearer or muddier depending on your position?
This test shows you how much your room is lying to you. If the bass balance shifts dramatically between your mixing chair and the doorway, you’re making decisions based on room problems, not the actual mix.
Try these reference positions:
- Your normal mixing seat
- Two feet behind your chair
- Each corner of the room
- Standing in the doorway
The goal isn’t perfect consistency everywhere. That’s impossible without extensive treatment. But if your mixing position is in a massive bass null or peak, you’ll never make accurate low-end decisions.
Consider testing this with tracks from different genres. Electronic music will reveal bass problems. Acoustic recordings will show midrange honesty. Sparse productions will expose reverb and decay issues.
Understanding What You’re Hearing
Your tests just gave you three types of information.
The clap test identified time-based problems. Flutter echo and slap delay both come from early reflections arriving too close together. These need absorption or diffusion on the offending surfaces.
The sweep test found frequency-based problems. Standing waves and room modes are caused by your room dimensions. These need bass traps in corners and strategic panel placement at reflection points.
The music test revealed the practical impact. This tells you which problems actually matter for your work. A little flutter echo might not hurt podcast recording, but it’ll destroy a vocal tracking session.
Here’s how different problems show up in each test:
| Problem | Clap Test | Sweep Test | Music Test |
|---|---|---|---|
| Flutter echo | Metallic ringing | Midrange harshness | Smeared transients |
| Bass buildup | Deep rumble | Low frequency peaks | Boomy, uncontrolled bass |
| Standing waves | Uneven decay | Specific frequency nulls | Inconsistent bass across room |
| Lack of absorption | Long reverb tail | Bright, ringy response | Muddy, unclear mixes |
Understanding the relationship between these tests helps you prioritize treatment. A room with severe flutter echo but mild bass issues needs wall panels before corner traps.
Measuring Your Room’s Decay Time
Clap once more, but this time record it on your phone or a portable recorder.
Import the recording into any audio editor. Look at the waveform and measure how long it takes for the sound to drop by 60dB. This is your RT60, the standard measurement for room reverb time.
Most home studios benefit from an RT60 between 0.2 and 0.4 seconds. Longer than that and you’re mixing in a reverberant space that masks detail. Shorter than 0.2 seconds and the room feels dead, fatiguing to work in for long sessions.
You don’t need expensive measurement software for a ballpark figure. Just zoom in on your clap recording and count the seconds until the tail disappears into the noise floor.
If your decay time is too long, you need more absorption. If it’s already short but you still have problems, your issues are likely frequency-specific rather than overall reverb.
“The best room treatment addresses specific problems identified through testing, not generic advice from internet forums. Every space is different, and cookie-cutter solutions rarely work.” – Bob Katz, mastering engineer
The Corner Bass Trap Test
Bass problems hide in corners. That’s where low-frequency energy builds up due to room boundaries reinforcing each other.
Play a bass-heavy track and stand in each corner of your room. You’ll likely hear the low end get significantly louder and less controlled.
Now try this: temporarily stack some thick blankets, pillows, or couch cushions in one corner. Play the same track and listen from your mixing position.
If the bass tightens up and feels more controlled, that corner needs a proper bass trap. If nothing changes, your bass problems are coming from a different mode or a different corner.
Test all four floor-to-ceiling corners this way. You might find that two corners cause major issues while the other two barely matter. This tells you where to invest in treatment first.
Professional bass traps work better than blankets because they’re denser and designed to absorb low frequencies. But this test proves the concept before you spend money.
Understanding how to arrange furniture without blocking your speakers or creating dead zones can also help minimize bass buildup in problematic corners.
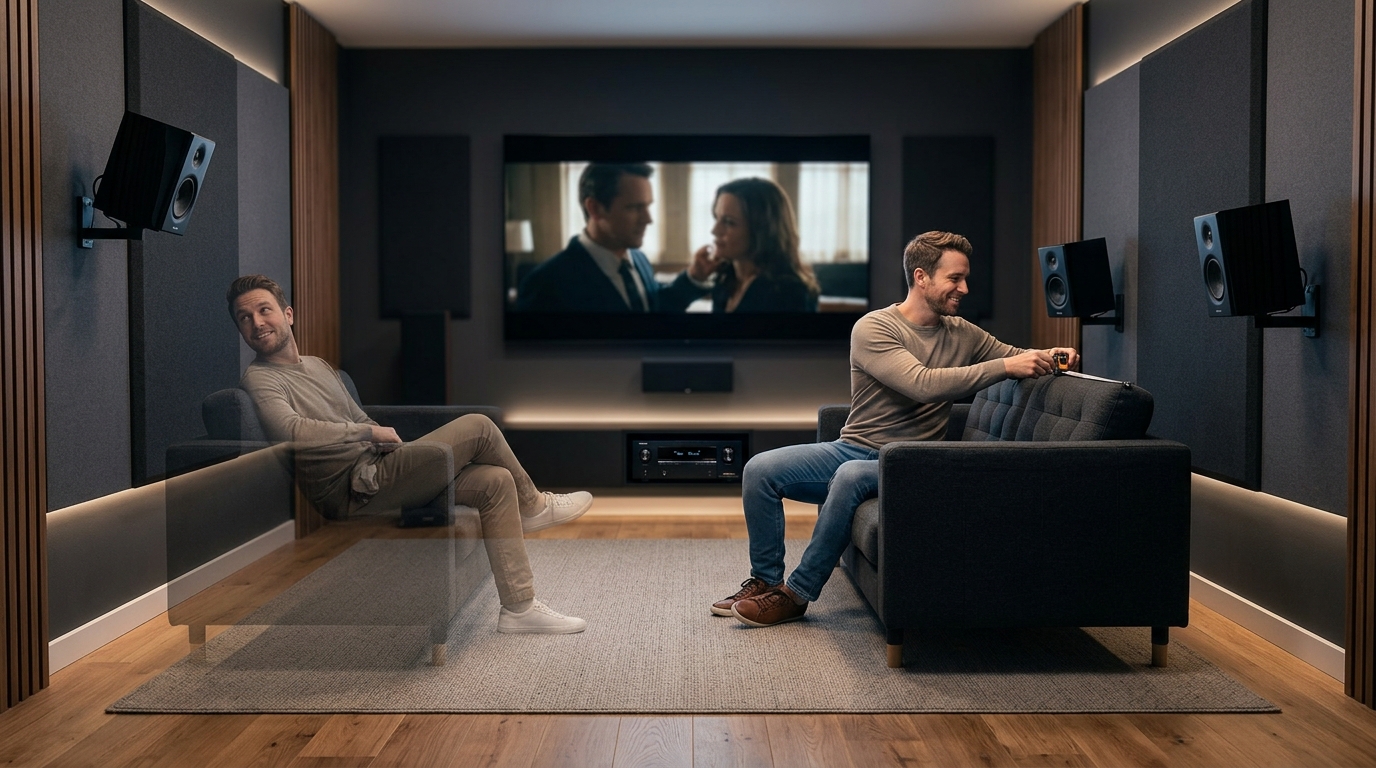
Testing for First Reflection Points
Sit in your mixing position. Have someone hold a small mirror flat against the side wall and move it slowly.
Watch the mirror. When you can see your speaker’s tweeter reflected in it, mark that spot. This is a first reflection point where sound bounces directly from the speaker to your ears.
Repeat this on both side walls, the ceiling above your head, and any surface between you and your monitors.
These reflection points create comb filtering, where the direct sound and reflected sound arrive at slightly different times. This causes frequency cancellations and peaks that color everything you hear.
Testing these points shows you exactly where absorption panels will make the biggest difference. A 2-foot square panel at a first reflection point does more than covering an entire back wall randomly.
Most home studios need treatment at:
- Both side wall reflection points
- The ceiling reflection point directly above the mixing position
- The wall behind the monitors if the speakers are close to it
The mirror test takes two minutes and gives you a precise treatment plan. Skip it and you’ll end up guessing where panels should go.
The Mono Compatibility Test
Play a mono mix or switch your DAW output to mono. Listen for how the sound changes.
A well-treated room sounds similar in mono and stereo. A problematic room will have dramatic shifts because reflections and phase issues become more obvious when stereo width collapses.
Pay attention to:
- Does the center image stay centered or shift to one side?
- Do certain frequencies get louder or quieter?
- Does the overall tone change significantly?
These problems often come from asymmetrical room treatment or speaker placement. If your left side has a bookshelf but your right side has a bare wall, reflections won’t match.
The mono test also reveals speaker placement issues. If your monitors aren’t equidistant from you or aren’t angled correctly, mono will expose it immediately.
This test matters more than you think. Many playback systems collapse stereo to mono, including phone speakers, some Bluetooth devices, and club PA systems. If your mix falls apart in mono, you have acoustic or placement problems.
Recording the Results
Don’t trust your memory. Document what you found.
Take photos of your room from multiple angles. Mark the spots where flutter echo was worst, where bass built up, and where first reflections hit.
Write down specific observations:
- Which corners had the most bass buildup
- What frequencies stood out during the sweep test
- How much the music changed between your mixing position and other locations
- Your estimated RT60 from the clap recording
This documentation becomes your treatment roadmap. When you’re ready to buy panels or build bass traps, you’ll know exactly what problems you’re solving.
It also gives you a baseline for testing improvements. After adding treatment, run the same tests again. You should hear measurable differences in flutter echo, decay time, and frequency response.
Some producers keep a simple spreadsheet tracking their room acoustics test results over time. This helps justify treatment purchases and shows what actually worked versus what was a waste of money.
If you’re also dealing with echo and reverb ruining your home theater sound, these same testing principles apply to identifying treatment needs.
Common Test Result Patterns
Certain acoustic problems show up together. Understanding these patterns helps you diagnose your room faster.
Small rectangular rooms typically have:
- Strong flutter echo between parallel walls
- Bass buildup in all four corners
- A prominent standing wave at the dimension-related frequency
- Harsh midrange reflections from bare walls
Square rooms add:
- Even worse flutter echo because all parallel walls are the same distance
- Multiple overlapping room modes at similar frequencies
- Difficulty finding a good listening position that avoids nulls
Rooms with low ceilings show:
- Strong floor-to-ceiling standing waves
- Overhead reflections that blur stereo imaging
- Bass modes that are harder to treat because ceiling height can’t change
Large rooms often have:
- Less severe bass buildup but more complex modal patterns
- Longer reverb times that need more absorption overall
- Better stereo imaging because speakers can be positioned farther from walls
Your test results should match one of these patterns. If they don’t, you might have unusual construction (concrete walls, angled ceilings) or furniture that’s already providing treatment.
What Your Tests Can’t Tell You
A room acoustics test done by ear has limits.
You won’t catch subtle phase problems that only show up in detailed measurements. You won’t see the exact frequency response curve or identify narrow notch filters caused by comb filtering.
Professional acoustic measurement software like Room EQ Wizard gives you graphs, waterfall plots, and precise data. But it also requires a calibrated measurement mic, proper setup, and knowledge to interpret the results.
For most home studio owners, ear-based testing is enough to identify the big problems. Once you’ve treated obvious flutter echo, tamed corner bass buildup, and addressed first reflections, you’ve solved 80% of your acoustic issues.
The remaining 20% might need measurement software and more advanced treatment. But start with what your ears can identify. It’s free, it’s fast, and it works.
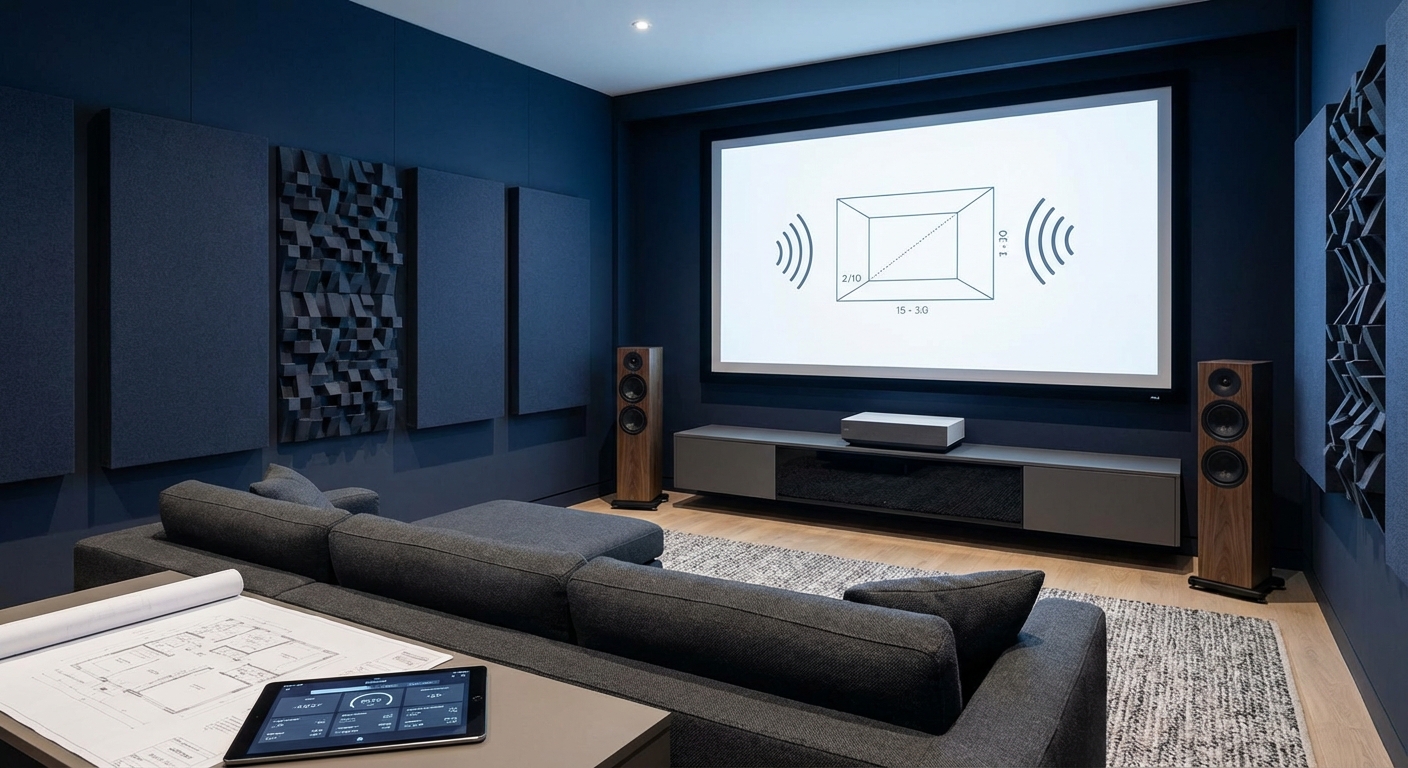
Understanding what room dimensions actually work best for home theater sound quality can also help you understand why your space behaves the way it does.
Prioritizing Treatment Based on Test Results
You can’t fix everything at once. Budget and space limit how much treatment you can add.
Use your test results to prioritize:
- First reflection points – These affect everything you hear and are cheap to treat with small panels
- Flutter echo – Ruins recordings and makes mixing fatiguing over long sessions
- Corner bass traps – Solve the most common and most destructive room problem
- Overall reverb time – Adds broader absorption once specific problems are handled
If your tests showed severe flutter echo but only mild bass issues, start with wall panels. If bass was booming in every corner but flutter was minimal, invest in bass traps first.
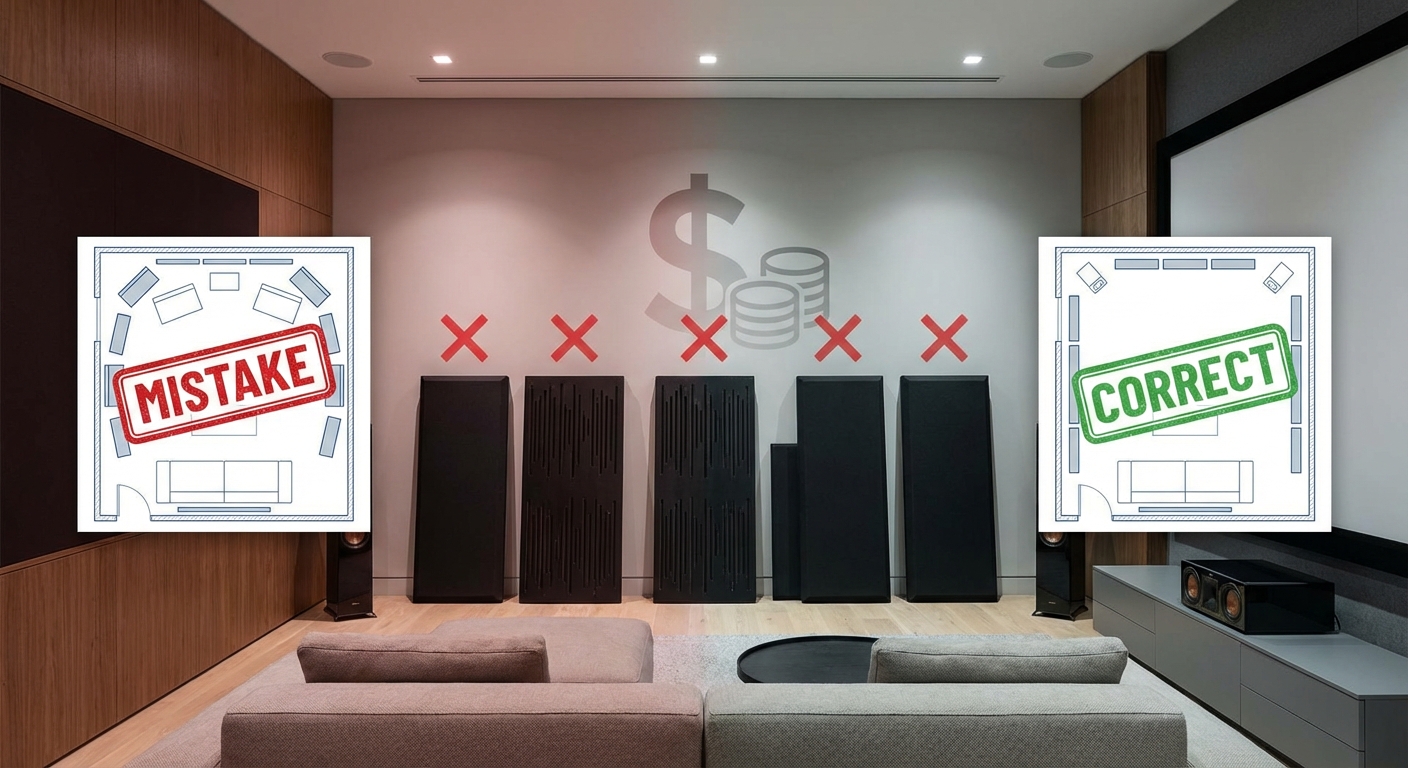
Don’t fall for the “cover every surface” approach. Targeted treatment based on actual test results outperforms random panel placement every time.
Some problems also have free or cheap solutions. Moving your desk away from a wall might reduce bass buildup more than a $200 bass trap. Angling your monitors differently could eliminate a first reflection point entirely.
Test first, treat second, test again to verify. This cycle prevents wasted money and ensures every treatment decision solves a real problem.
Your Room Is Part of Your Signal Chain
You wouldn’t mix through broken headphones or a distorted interface. But mixing in an untreated room is essentially the same thing.
Your room colors every decision you make. If it’s lying about bass levels, you’ll compensate by turning bass down in your mix. Then your track sounds thin everywhere else. If it’s hiding detail with flutter echo, you’ll over-brighten your mix trying to hear clarity that isn’t there.
A simple room acoustics test takes five minutes but changes how you approach your entire workspace. You’ll stop blaming your monitors or your ears and start addressing the actual problem.
Run these tests today. Clap, sweep, and play reference tracks. Document what you hear. Then treat the specific problems your room actually has, not the ones internet forums say you should worry about.
Your mixes will translate better, your recordings will sound cleaner, and you’ll stop second-guessing every decision because you’ll finally hear what’s really happening in your music.
Leave a Reply