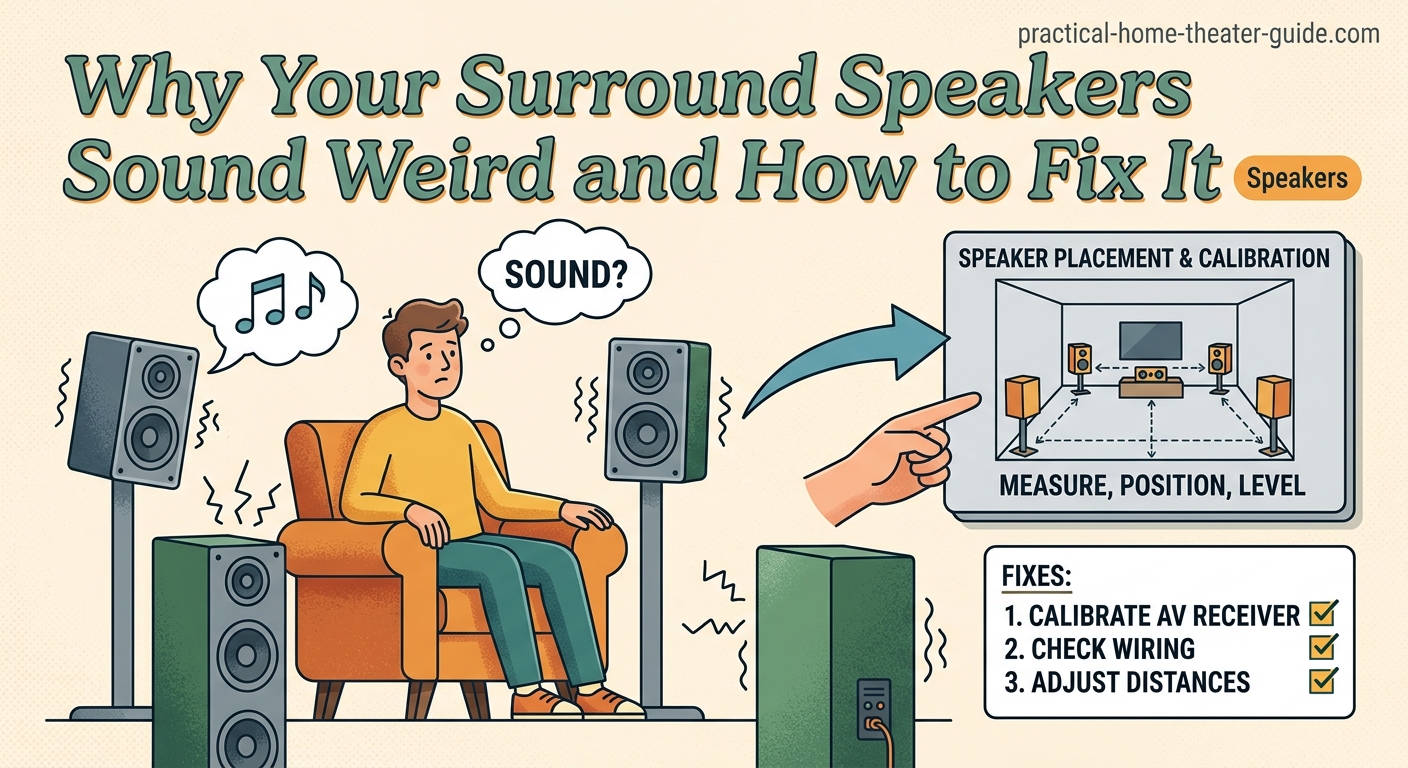
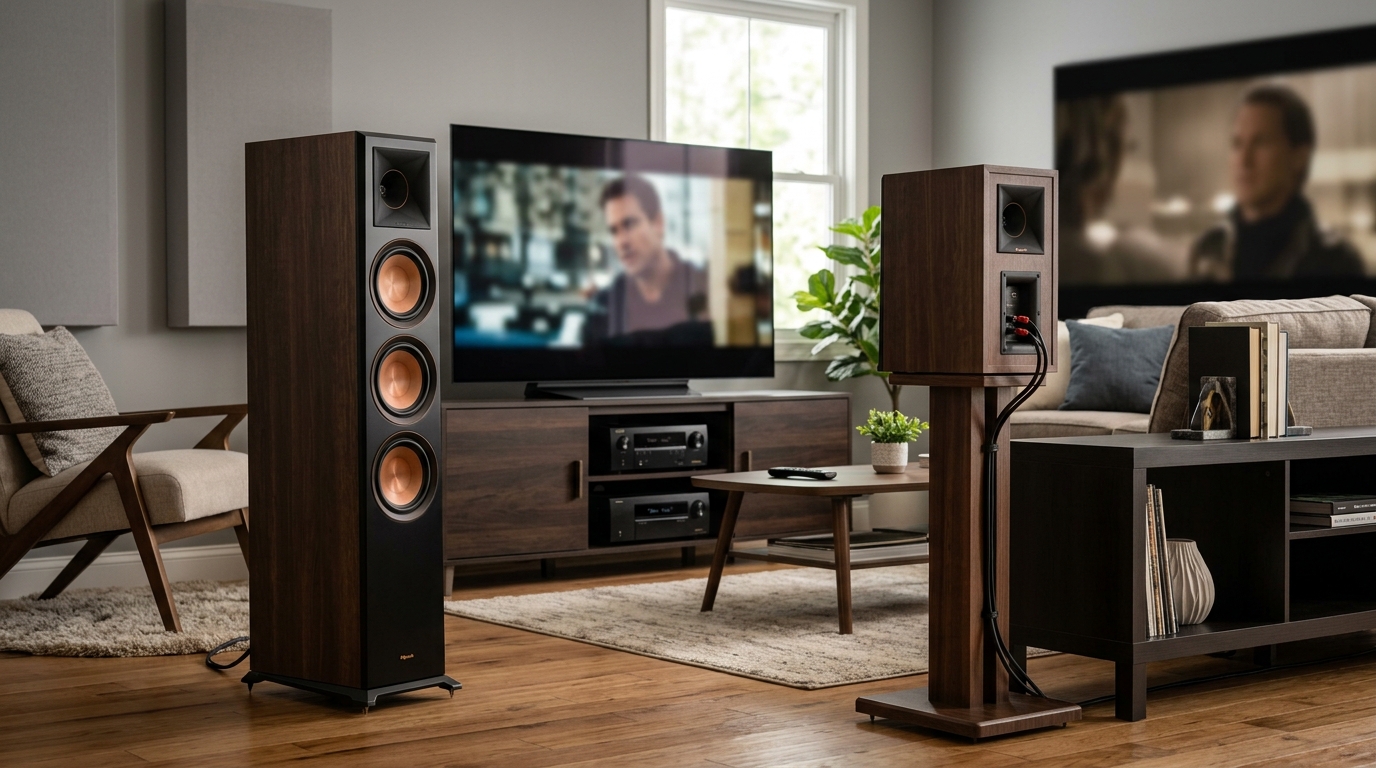
You finally finished setting up your surround sound system. You sit down to watch a movie, and something feels off. The rear speakers sound hollow, distant, or just plain wrong. Sometimes you hear effects that should be behind you coming from the front. Other times, dialogue seems to float around the room instead of staying put.
When surround speakers sound weird, the problem usually stems from incorrect placement, reversed polarity, wrong receiver settings, or poor room acoustics. Most issues can be fixed in under 30 minutes by checking speaker connections, adjusting your receiver’s distance and level settings, verifying phase alignment, and repositioning speakers to the correct height and angle. Auto-calibration systems help but often need manual fine-tuning for optimal results.
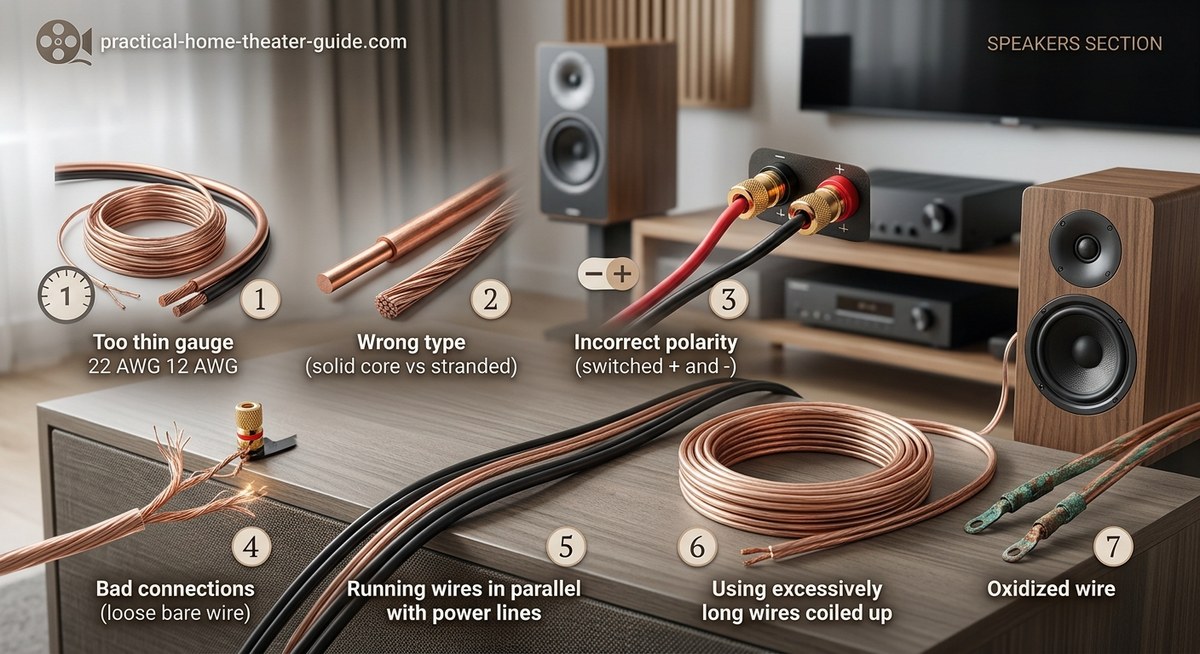
Check your speaker wire connections first
Before you change any settings, verify that every speaker wire is connected correctly.
Strip back the wire jacket at each connection point. Look for any stray strands touching the opposite terminal. A single copper strand bridging positive and negative creates a short that kills sound quality.
Check that positive connects to positive and negative to negative at both ends. Red terminals go to red, black to black. Mixing these up creates phase issues that make audio sound thin and hollow.
Tighten all binding posts or spring clips firmly. Loose connections cause intermittent dropouts and distortion. Give each wire a gentle tug to confirm it’s secure.
If you ran speaker wire through walls, inspect both ends carefully. Long wire runs increase the chance of damage or crossed connections.
Verify your receiver’s speaker configuration settings
Your receiver needs to know exactly what speakers you have and where they are.
Navigate to your receiver’s speaker setup menu. Find the configuration section that lists each channel. Make sure every surround speaker position shows as “present” or “small” rather than “none.”
Select the correct speaker size for each channel. Setting surrounds to “large” when they’re actually bookshelf speakers forces them to play frequencies they can’t handle. This creates muddy, distorted sound.
Check your speaker configuration choice matches your physical setup. If you have a 5.1 system but your receiver thinks it’s 7.1, sound will be routed incorrectly.
Disable any virtual surround or upmixing modes for now. These processing features can interfere with troubleshooting. Test with pure direct or stereo mode first to isolate the issue.
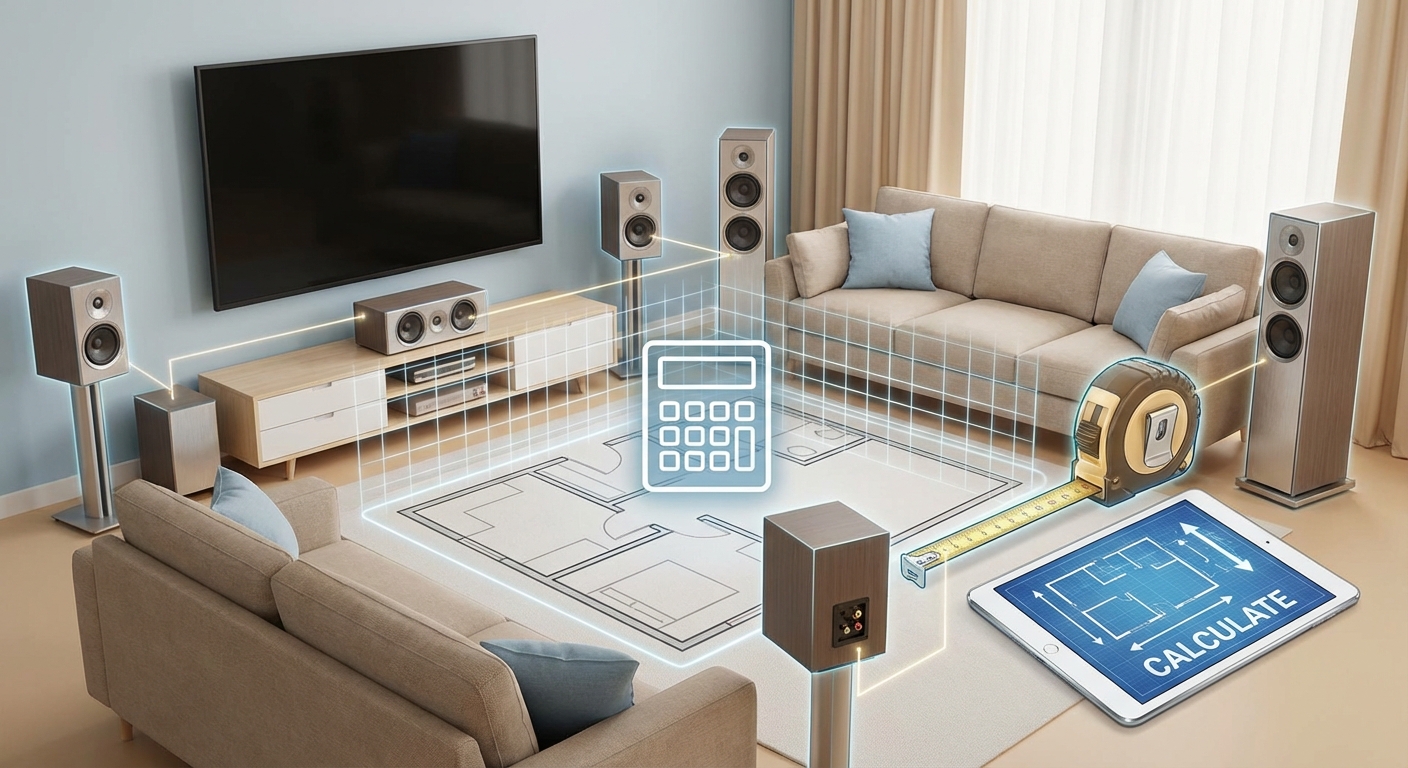
Measure and adjust speaker distances accurately
Your receiver uses distance measurements to time-align all speakers. Wrong distances make surround effects arrive at your ears at the wrong moment.
Grab a tape measure and measure from each speaker to your main listening position. Measure to where your head sits when you’re seated, not to the floor.
- Start with the front left speaker and measure to the center of the couch
- Repeat for every speaker including the center and surrounds
- Write down each measurement in feet or meters
- Enter these exact numbers into your receiver’s distance settings
Most receivers measure in feet, but some use meters. Double-check which unit your receiver expects.
If your measurements differ significantly from what auto-calibration set, trust your tape measure. Automatic systems can be fooled by room reflections.
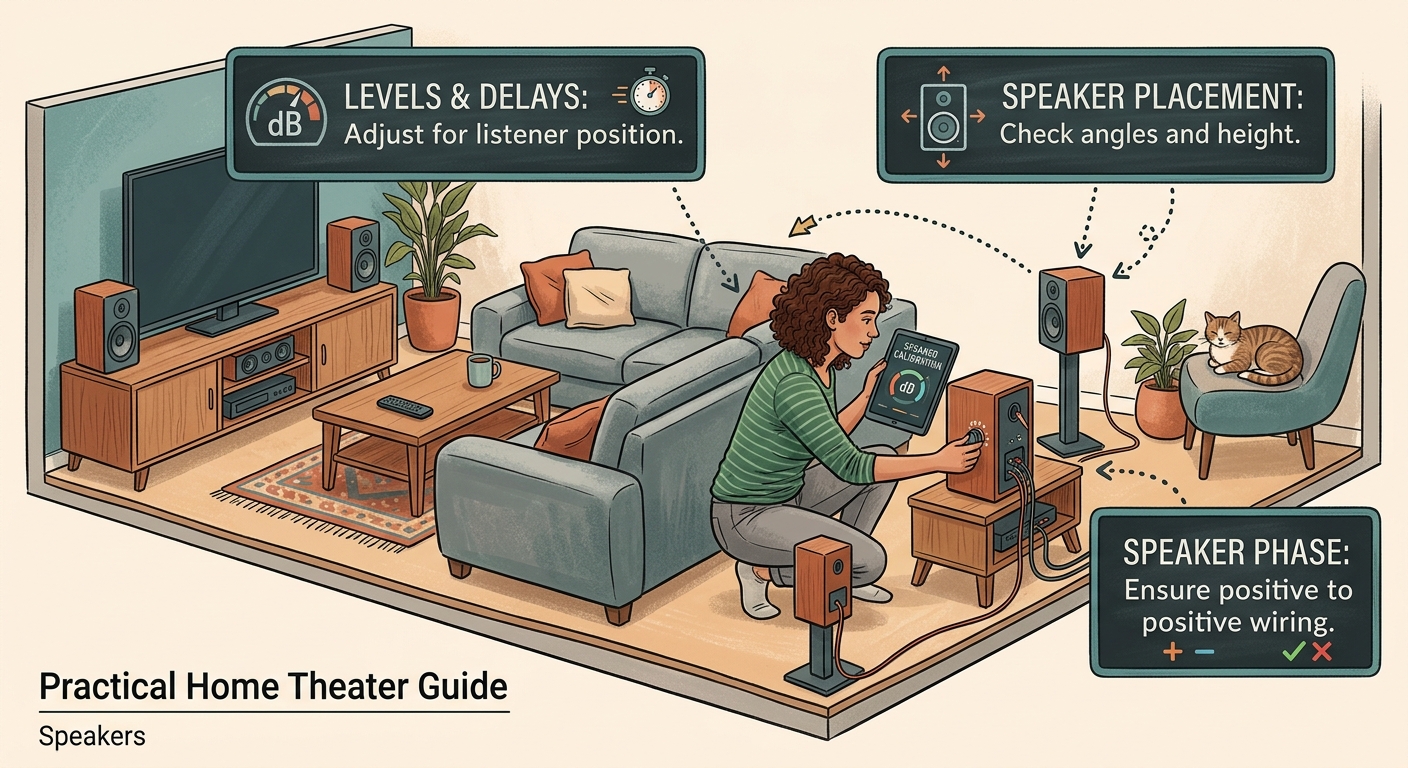
Run through the level adjustment process
Even perfectly placed speakers need level balancing.
Use your receiver’s test tone feature. It will play pink noise through each speaker in sequence. Sit in your main viewing spot with a sound level meter app on your phone.
Hold the phone at ear height, pointing the microphone straight up. Note the decibel reading for each speaker as the test tone cycles through.
All speakers should measure within 1-2 dB of each other. If your surrounds are 5 dB quieter than your fronts, they’ll sound distant and weak.
Adjust each channel’s level in your receiver menu until all speakers measure the same. Make small changes, 1-2 dB at a time, then re-measure.
Most people set surrounds too quiet because they worry about them being too loud. In reality, surrounds should match your front speakers in volume when you’re seated in the listening position. Don’t be afraid to turn them up.
Fix reversed polarity between speakers
Polarity issues are sneaky. Your speakers will make sound, but it won’t sound right.
When one speaker is wired backwards, it moves out while others move in. This phase cancellation makes audio sound hollow, weak, or like it’s coming from nowhere and everywhere at once.
Test for polarity problems with a bass-heavy movie scene. If bass sounds weak or undefined compared to when you disconnect the surrounds, you likely have a polarity issue.
Check each surround speaker wire at both the receiver and speaker ends. The wire with the stripe, ridge, or text should connect to positive at both ends.
If you’re still unsure, try this test. Play a mono signal through your front left and surround left speakers. Walk between them. The sound should stay consistent. If it gets quieter in the middle, one speaker is reversed.
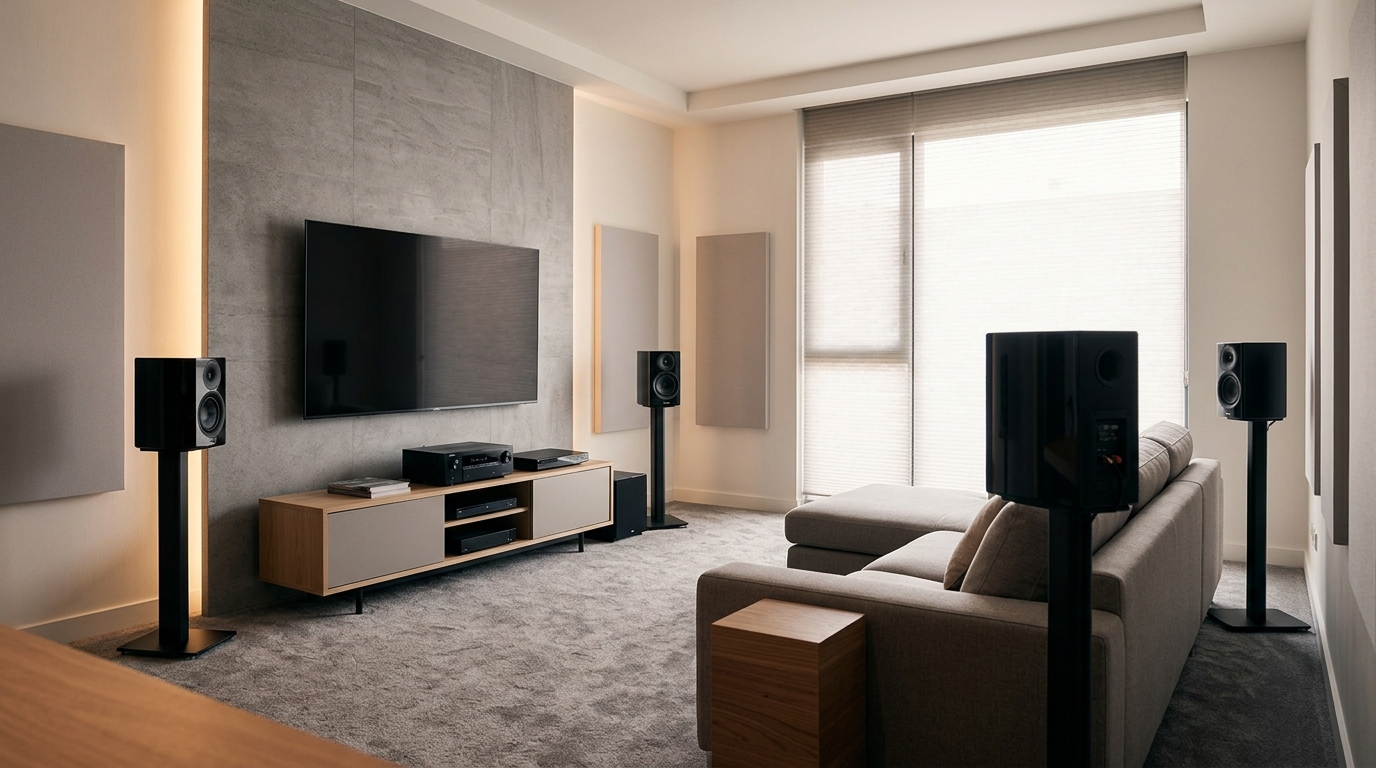
Reposition speakers to the correct locations
Speaker placement matters more than most people think.
| Speaker Position | Correct Placement | Common Mistake | Why It Sounds Weird |
|---|---|---|---|
| Surround left/right (5.1) | 90-110 degrees from center, ear level | Directly behind listener | Effects sound disconnected from screen action |
| Surround back (7.1) | 135-150 degrees, ear level | Too close together | No sense of spaciousness or width |
| Height speakers | 45 degrees elevation | Mounted at ceiling level | Overhead effects sound too high and distant |
| All surrounds | 1-2 feet above ear level | At floor or ceiling level | Poor integration with front soundstage |
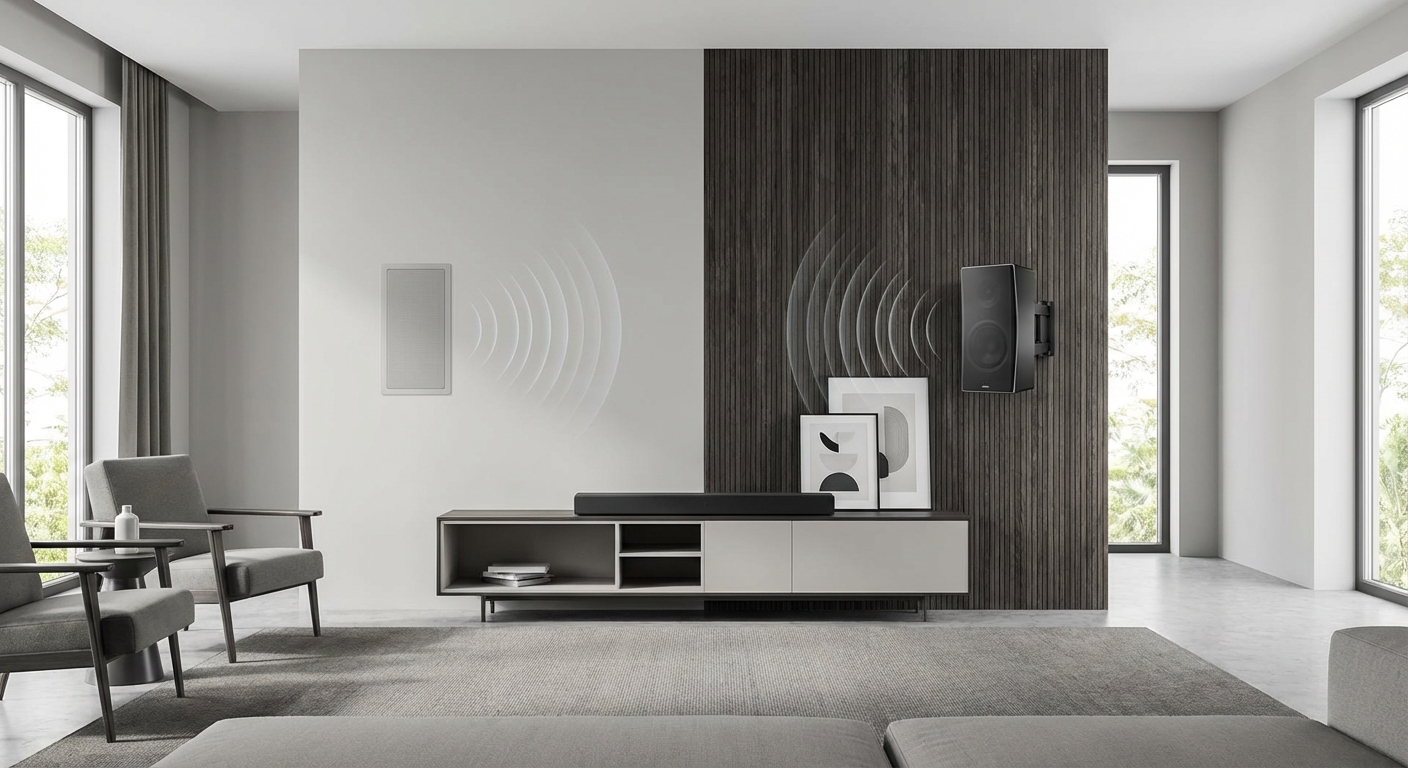
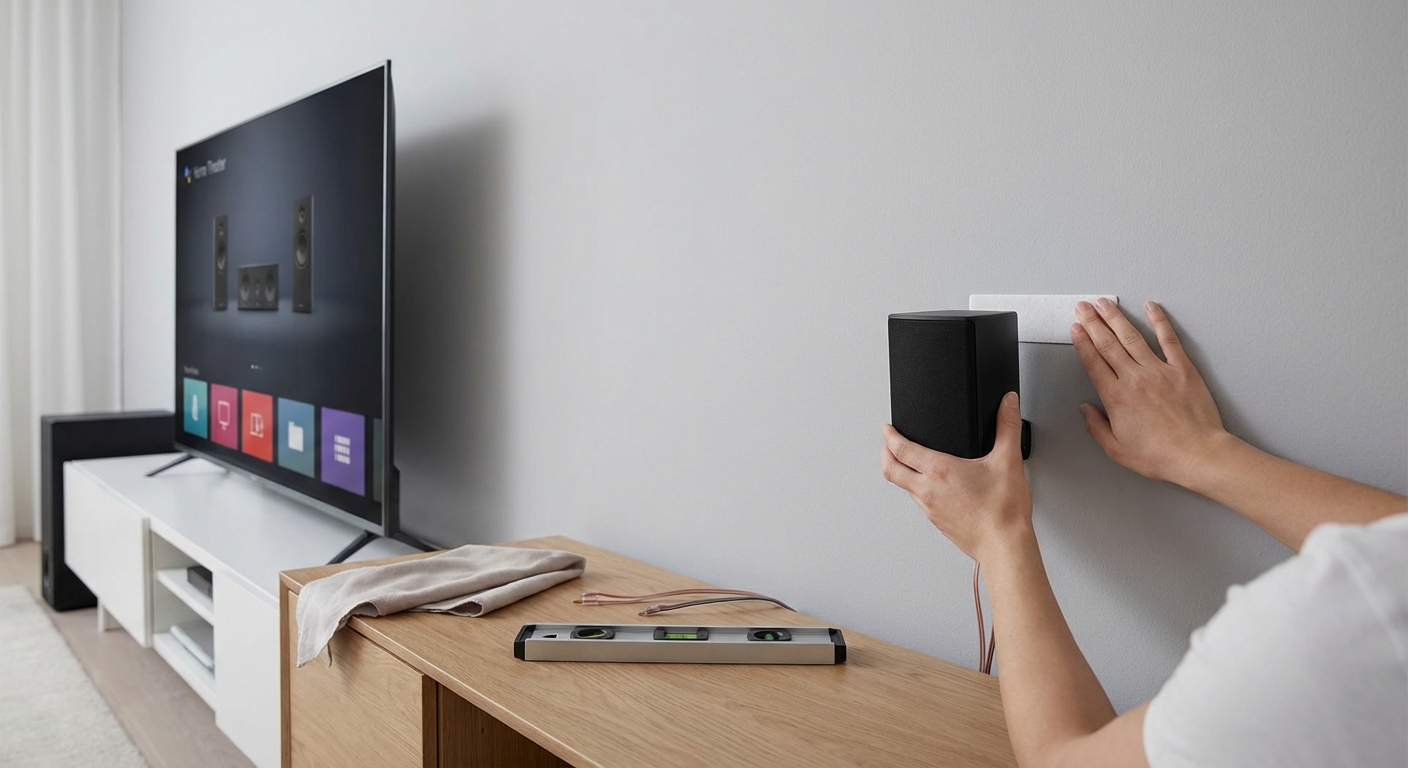
For a standard 5.1 setup, your surround speakers should sit to the sides and slightly behind you. Picture yourself at the center of a clock face. Your surrounds should be at 4 o’clock and 8 o’clock, not at 6 o’clock directly behind.
Mounting surrounds on walls works well if you angle them toward the listening position. Avoid pointing them directly at your ears. A slight angle toward the back wall creates better diffusion.
Raise them 1-2 feet above seated ear height. This helps effects blend naturally without drawing attention to the speaker locations.
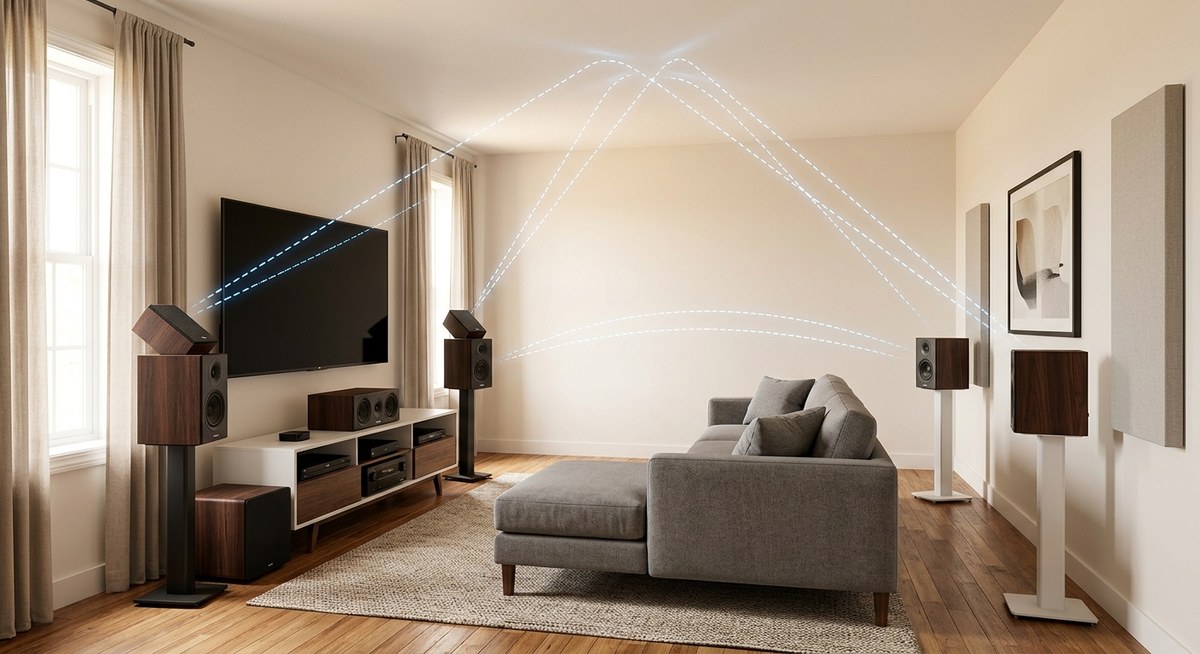
Address room acoustic problems
Hard surfaces reflect sound in ways that make surround speakers sound strange.
Large windows, bare walls, and hardwood floors create strong reflections that confuse your ears about where sound is coming from. Your brain hears the direct sound from the speaker plus multiple delayed reflections.
This makes pinpointing sound locations difficult. A helicopter should fly smoothly across the room, but instead it seems to jump around or smear across multiple locations.
Test your room with a simple clap. One sharp clap should decay quickly. If you hear a flutter echo or long reverb tail, your room needs acoustic treatment.
Start with these targeted improvements:
- Add a rug between your seating and front speakers if you have hard flooring
- Hang curtains over large windows near surround speakers
- Place a bookshelf or acoustic panel on the wall behind your couch
- Add some soft furniture or throw pillows to break up parallel walls
You don’t need to cover every surface. Strategic placement of absorptive materials at reflection points makes the biggest difference. Understanding your room’s acoustic behavior helps you target problem areas.
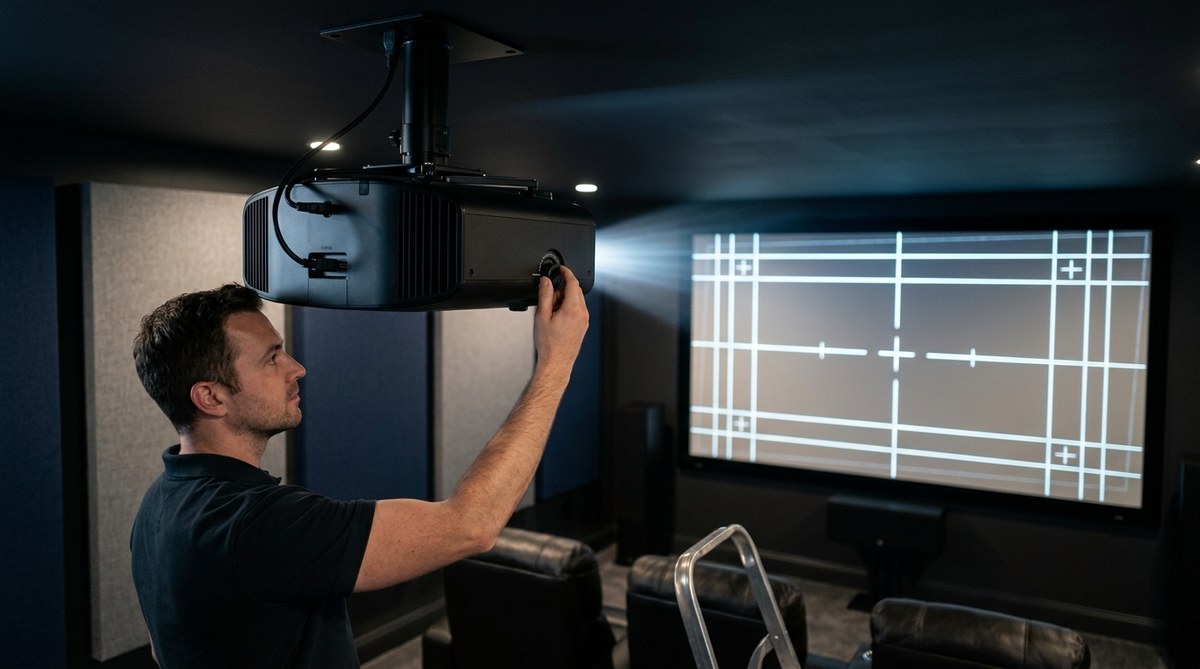
Recalibrate after making physical changes
Any time you move speakers or adjust room acoustics, run your receiver’s auto-calibration again.
Place the calibration microphone exactly where your head sits when watching movies. Use a tripod or stack of books to hold it steady at ear height.
Close all doors and windows. Turn off fans, air conditioning, and any other noise sources. The system needs to hear only the test tones.
Let the calibration run completely. Most systems take 5-10 minutes and play test tones through each speaker multiple times.
After auto-calibration finishes, review the settings it chose. Check that distances match your measurements within a few inches. Verify that levels are within 3-4 dB of each other.
Auto-calibration systems provide a solid starting point but rarely nail every setting perfectly. Use the automatic results as a baseline, then fine-tune based on what you hear.
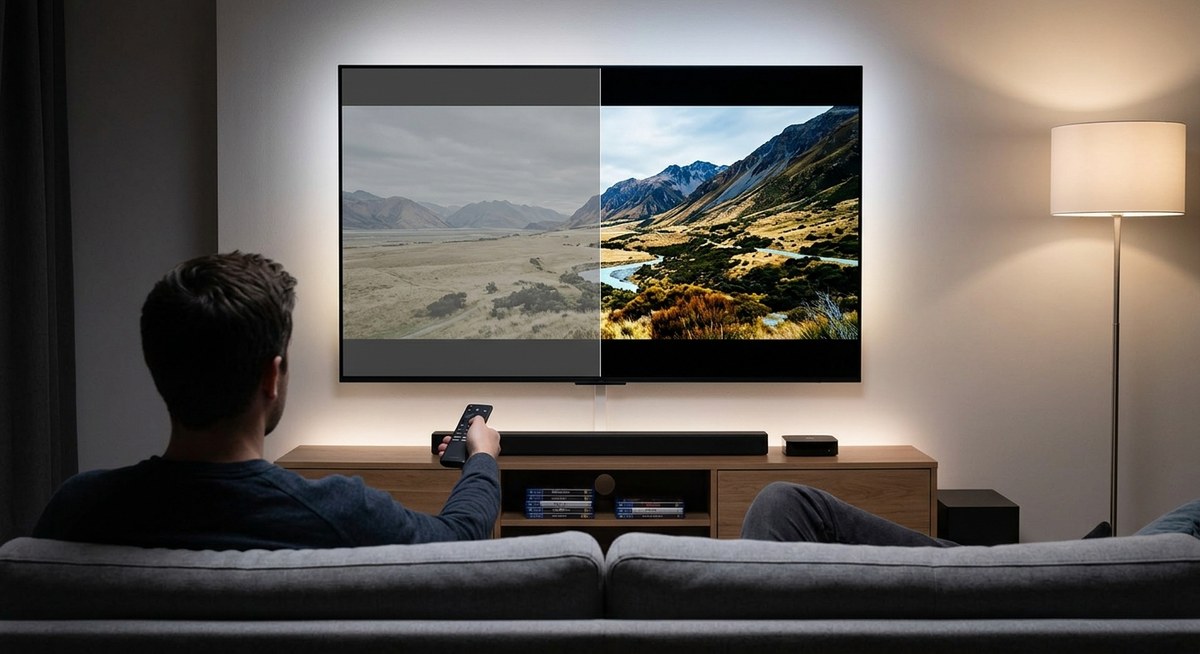
Test with known good content
Not all audio content is created equal.
Some streaming services compress audio heavily. This compression can make surround channels sound thin or artificial. Test with high-quality sources before assuming your setup is wrong.
Use these reference materials:
- Blu-ray discs with DTS-HD Master Audio or Dolby TrueHD soundtracks
- Streaming services set to highest quality audio settings
- Movie scenes known for excellent surround mixing (action sequences from major studio releases)
- Receiver test tones to verify each channel plays correctly
Play a scene with obvious surround activity. Helicopter flyovers, rain, crowd ambience, or action sequences should place sounds clearly around you.
If test tones sound fine but movies don’t, the issue might be your source quality or receiver processing settings rather than speaker setup.
Disable problematic receiver features
Modern receivers pack dozens of audio processing features. Some help, others hurt.
Turn off these common culprits that make surround speakers sound weird:
- Dialog enhancement modes that pull voices from surrounds to center
- Stadium or concert hall effects that add artificial reverb
- Loudness or dynamic range compression in surround channels
- Virtual surround or height virtualization when you have real speakers
Find your receiver’s pure direct or direct mode. This bypasses all processing and plays audio exactly as mixed. If your surrounds suddenly sound better, one of those features was causing problems.
Some receivers have separate settings for different inputs. Check that your Blu-ray player, game console, and streaming device all use the same basic audio settings.
Connecting your receiver properly ensures clean signal paths without unnecessary processing stages.
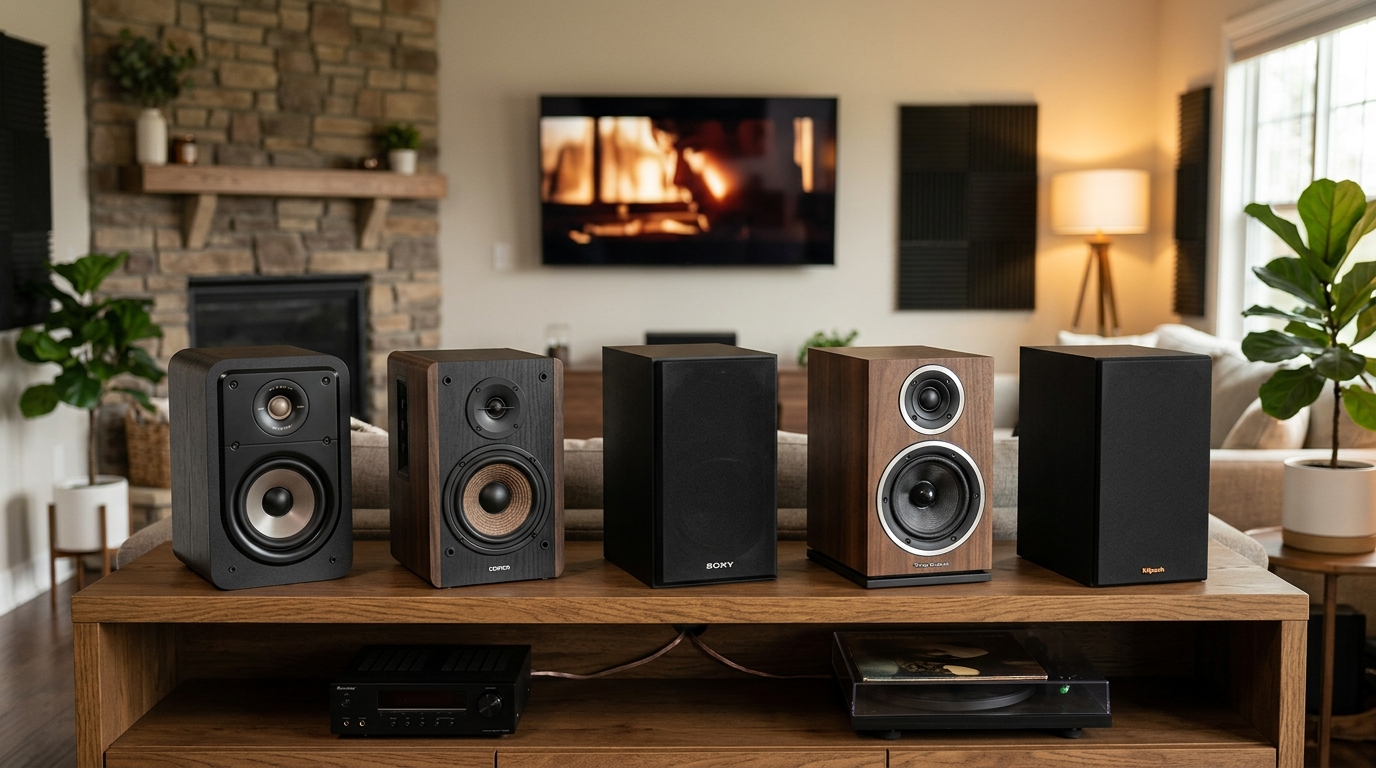
Match surround speakers to your front speakers
Timbre matching matters more than most people realize.
When your front speakers are bright and detailed but your surrounds are warm and mellow, sounds that pan from front to back change character as they move. This draws attention to the speakers themselves rather than creating a seamless soundfield.
Ideally, use identical speakers all around. If budget doesn’t allow that, at least match the brand and series. Manufacturers voice speaker lines to work together.
If you already have mismatched speakers, you can’t change their fundamental character. But you can optimize placement and settings to minimize the differences.
Choosing speakers sized appropriately for your room ensures they can all play at similar levels without strain.
Verify your source device settings
Sometimes the problem isn’t your speakers at all.
Check your Blu-ray player or streaming device audio output settings. Make sure it’s set to output multichannel PCM or bitstream audio, not stereo.
If set to stereo, your receiver might try to create fake surround from a two-channel signal. This never sounds as good as true discrete surround channels.
For game consoles, verify that audio format is set to 5.1 or 7.1 uncompressed. Some games default to stereo even when surround is available.
Streaming apps sometimes have separate audio quality settings. Netflix, Disney+, and others may default to lower-quality audio to save bandwidth. Check each app’s settings independently.
Understanding what normal surround sound should be
Many people expect surround speakers to be constantly active and loud. That’s not how good surround mixing works.
Surround channels handle ambient sounds, environmental effects, and occasional discrete sounds. During dialogue scenes, they might play nothing but subtle room tone.
This is correct behavior, not a problem. Surrounds should be noticeable when needed but invisible most of the time.
Action movies and nature documentaries use surrounds heavily. Dialogue-focused dramas use them sparingly. If your surrounds are quiet during a conversation scene, that’s exactly what should happen.
Test with a variety of content before deciding something is wrong. A quiet drama won’t stress your surround speakers the same way an action blockbuster will.
When to suspect equipment problems
Sometimes weird surround sound indicates a hardware issue.
If one surround channel sounds distorted at all volume levels, and you’ve verified all connections and settings, the speaker itself might be damaged. Swap left and right surrounds. If the distortion moves with the speaker, you’ve found the problem.
Intermittent crackling or dropouts suggest a failing receiver channel. Connect the problem speaker to a different receiver output. If it works fine there, the receiver needs service.
Hissing or buzzing that changes with volume control usually indicates a ground loop or interference issue rather than speaker problems.
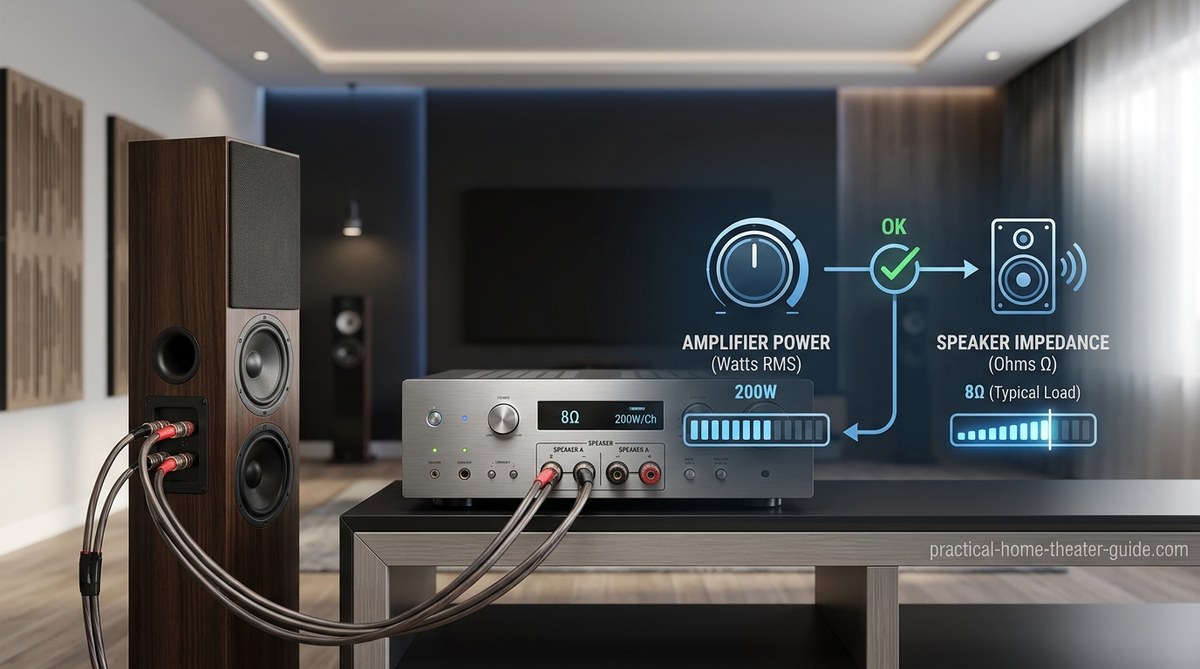
Matching your receiver’s power to your speakers prevents distortion from underpowering or clipping.
Getting surround sound that actually works
Fixing weird surround speakers usually comes down to methodical troubleshooting.
Start with the physical. Check every wire, verify every connection, measure every distance. These basic steps solve most problems.
Then move to settings. Confirm your receiver knows what speakers you have and where they sit. Run calibration, but don’t trust it blindly.
Finally, test with quality content. Make sure you’re actually hearing problems with your setup rather than poor source material.
Most surround sound issues have simple solutions. The key is working through each possibility systematically rather than randomly changing settings and hoping something works. Take your time, make one change at a time, and listen carefully to the results. Your patience will pay off with immersive audio that puts you right in the middle of the action.
Leave a Reply