You unbox your shiny new TV, plug it in, and immediately notice something feels off. Colors look cartoonish. Motion feels weird. Faces have an unnatural glow. The problem isn’t your TV. It’s the factory settings designed to catch your eye on a bright showroom floor, not to deliver accurate picture quality in your living room.
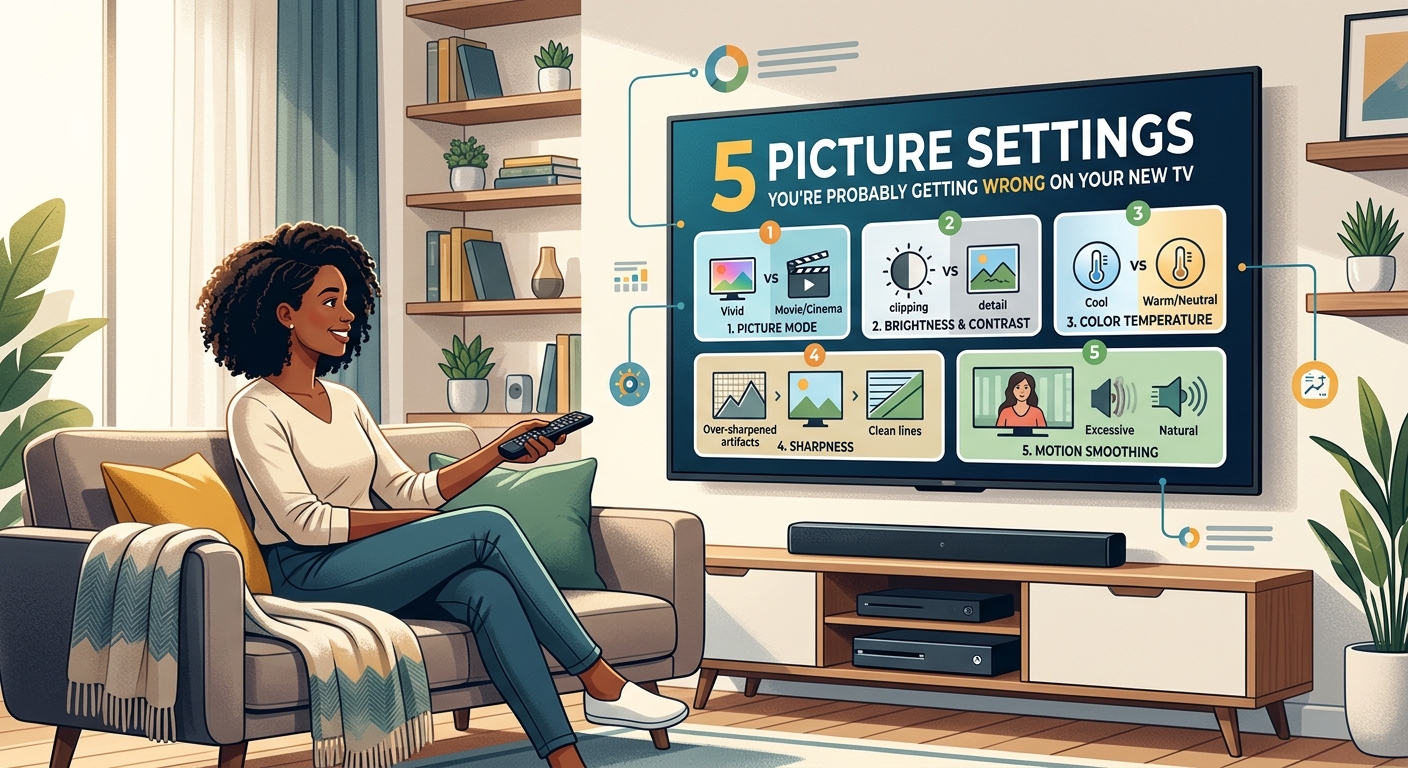
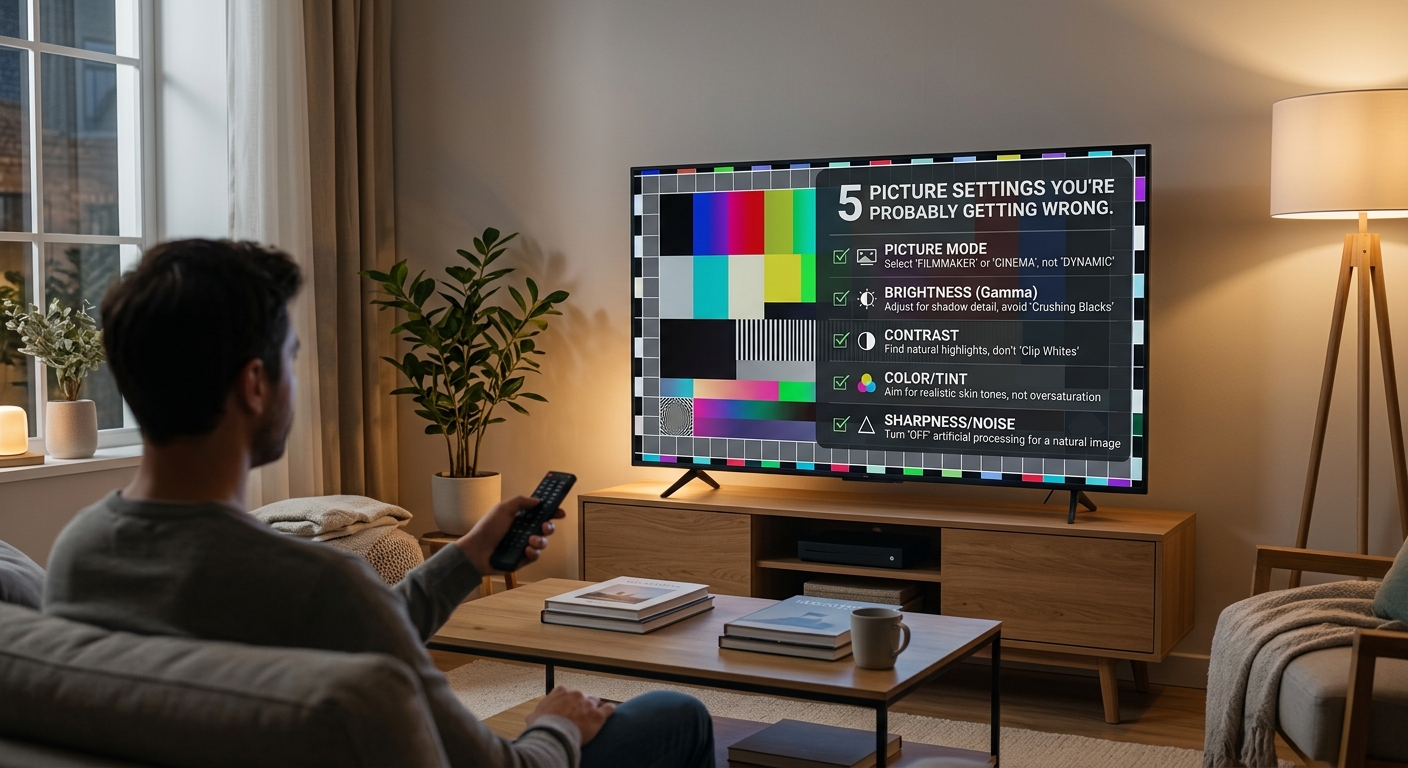
Most TVs ship with overly bright, oversaturated picture modes that prioritize shelf appeal over accuracy. Changing just five settings (picture mode, motion smoothing, sharpness, color temperature, and brightness) takes under ten minutes and dramatically improves how movies, shows, and games actually look. You don’t need calibration equipment or technical knowledge, just the right adjustments in the right order.
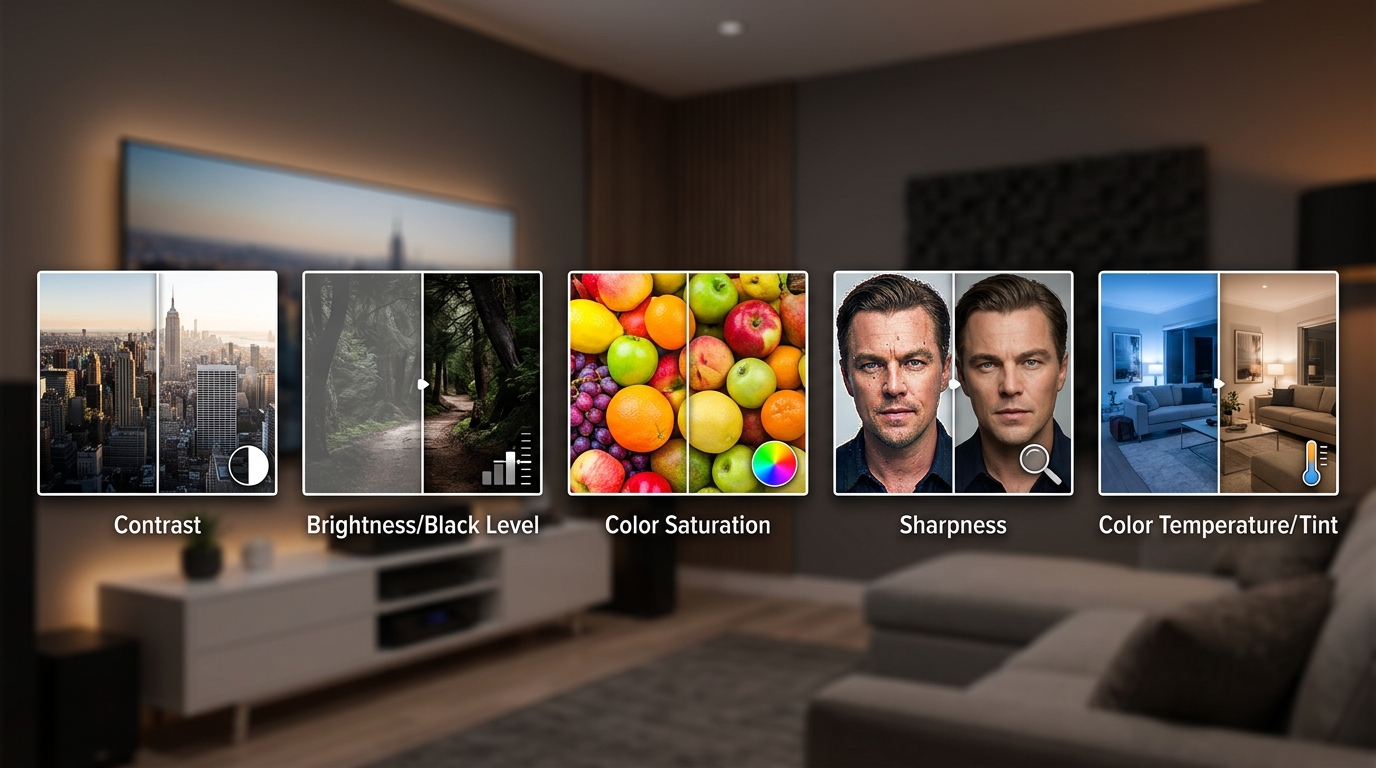
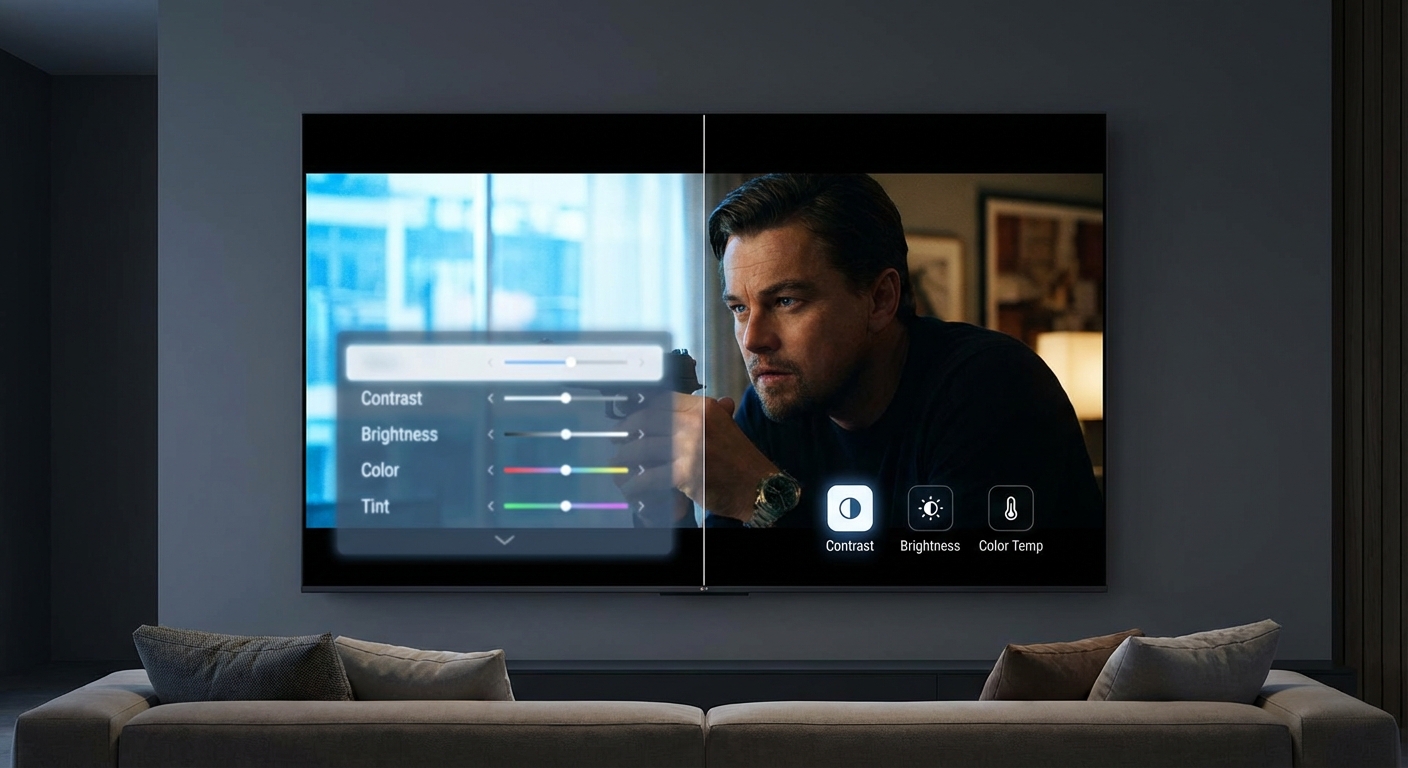
Picture Mode Makes the Biggest Difference
Your TV’s picture mode controls dozens of settings at once. Most TVs default to “Vivid,” “Dynamic,” or “Store Display” mode straight from the factory.
These modes crank brightness to maximum, oversaturate colors, and add artificial sharpening. They’re designed to make TVs look impressive under fluorescent store lighting when sitting next to 50 competing models.
In your home, they make skin tones look orange, whites look blue, and everything feel exhausting to watch for more than 30 minutes.
Switch to “Movie,” “Cinema,” or “Filmmaker” mode instead. These modes follow industry standards for how content creators intended their work to look.
Here’s what happens when you change modes:
- Brightness drops to appropriate levels for home viewing
- Colors shift to accurate reference points
- Artificial processing gets disabled or minimized
- Black levels improve dramatically
Some brands hide their accurate modes under confusing names. LG calls it “Cinema.” Samsung uses “Movie” or “Filmmaker Mode.” Sony labels it “Custom” or “Cinema Pro.”
The mode might look dim or flat at first. Your eyes adapted to the nuclear brightness of the default setting. Give yourself 15 minutes. Your brain will adjust, and you’ll start noticing details you never saw before.
If you’re watching sports or playing video games, you might want different settings. Most TVs let you save separate picture modes for different inputs or content types. Set your Blu-ray player to Movie mode and your game console to Game mode.
For more guidance on getting your display positioned correctly, check out what’s the ideal distance between your TV and seating position.
Motion Smoothing Ruins Everything
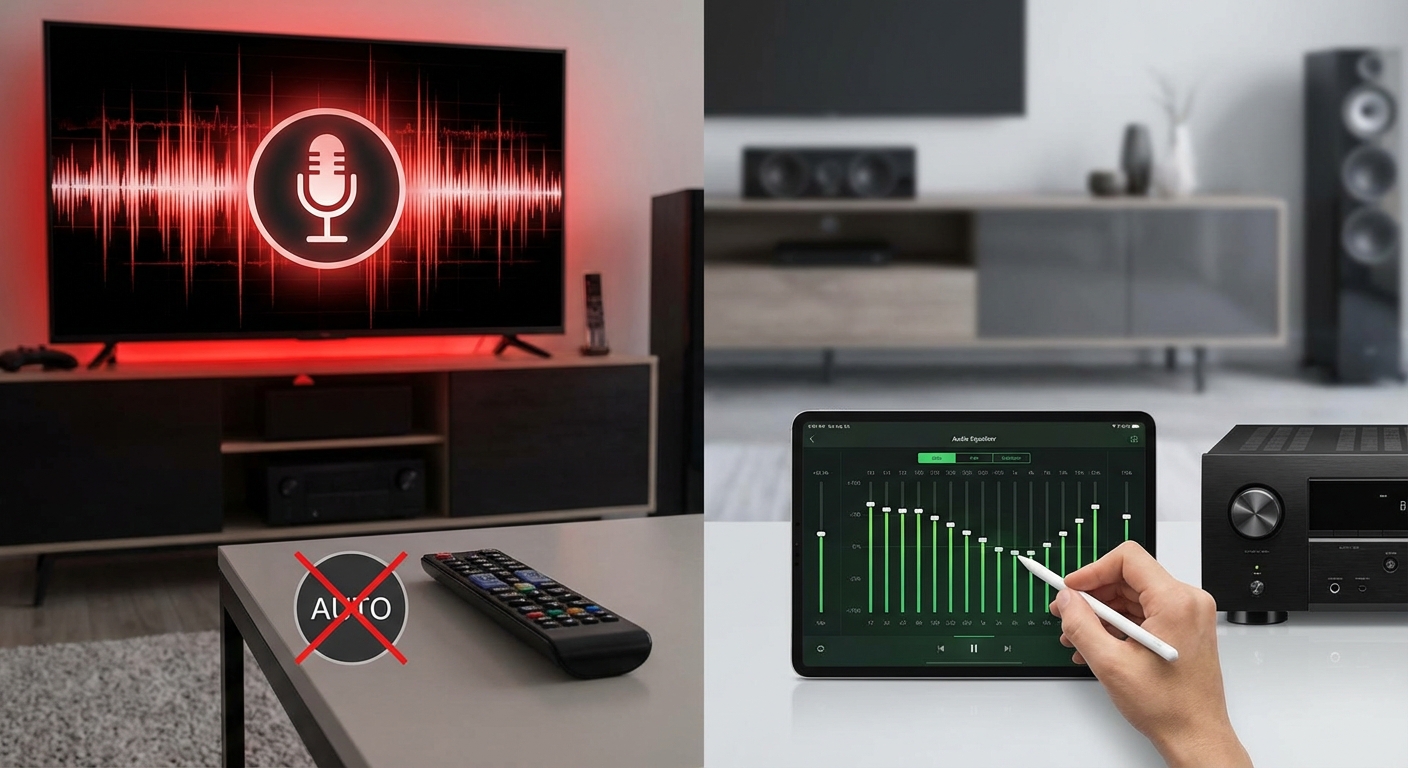
Motion smoothing goes by many names. Samsung calls it Auto Motion Plus. LG uses TruMotion. Sony labels it MotionFlow.
Whatever your brand calls it, turn it off.
This feature uses frame interpolation to make 24fps movies look like 60fps video. It creates artificial frames between real frames, making everything look like a daytime soap opera shot on cheap video cameras.
Directors hate it. Cinematographers hate it. Tom Cruise recorded a PSA asking people to disable it.
| Setting Name by Brand | Where to Find It | What to Do |
|---|---|---|
| Auto Motion Plus (Samsung) | Picture Settings > Expert Settings | Set to Off or Custom (all sliders to 0) |
| TruMotion (LG) | Picture Settings > Picture Options | Set to Off |
| MotionFlow (Sony) | Picture Settings > Motion | Set to Off or True Cinema |
| Motion Enhancement (Vizio) | Picture Settings > More Picture | Set to Off |
The soap opera effect makes dramatic scenes feel cheap and removes the cinematic quality that filmmakers work hard to achieve. Action scenes might seem smoother at first, but you lose the intentional motion blur that makes movement feel natural.
Some people prefer motion smoothing for sports. Live sports broadcast at 30 or 60fps already, so the effect is less jarring. If you want it for Sunday football, create a separate picture mode just for sports channels.
Gaming presents a special case. Motion smoothing adds input lag, making your controller feel sluggish. Always disable it for game consoles. Modern gaming TVs include dedicated game modes that automatically turn off all processing that adds delay.
Understanding why your new TV looks too smooth helps you explain the problem to family members who might not immediately notice the difference.
Sharpness Should Go Way Down
Despite the name, the sharpness setting doesn’t actually make your picture sharper. It adds artificial edge enhancement that creates halos around objects and makes everything look harsh and digital.
Most TVs ship with sharpness set between 50 and 100. That’s way too high.
Set it to 0. Yes, zero.
Your TV displays every pixel your source sends it. A 4K TV showing 4K content needs no artificial sharpening. The detail is already there in the source material.
When you first lower sharpness, the image might look soft. That’s because you’re seeing what the content actually looks like without artificial processing. Real film has a natural softness. Digital video has clean edges without halos.
After a few minutes, you’ll notice:
- Text looks cleaner without double edges
- Faces appear more natural
- Fine details become visible instead of being obscured by edge halos
- The overall image feels more three-dimensional
Some TVs benefit from a sharpness setting of 5 or 10 instead of 0, particularly when watching lower-resolution content like cable TV or streaming at 1080p. Start at 0 and only increase if you’re certain you need it.
Gaming might require slightly higher sharpness, especially for text-heavy games or competitive shooters where you need to spot enemies at a distance. Test different values between 0 and 20 to find what works for your eyes.
Set sharpness to zero first, then only add back the minimum amount needed for your specific content. Most people never need to go above 10, even for lower-resolution sources.
Color Temperature Needs Adjustment
Color temperature controls whether your picture looks warm (reddish) or cool (bluish). Most TVs default to “Cool” or “Normal,” which adds a blue tint to everything.
Switch to “Warm” or “Warm2” instead.
Professional calibrators aim for a color temperature of 6500K, which matches daylight and how our eyes naturally perceive white. The “Cool” setting on most TVs measures closer to 9000K or higher, making whites look blue and giving everything an artificial, clinical appearance.
The “Warm” setting looks orange at first. Your brain adapted to the blue tint. Give it time.
Within 20 minutes, whites will look properly white instead of blue. Skin tones will look natural instead of sickly. The entire image will feel more realistic and less fatiguing.
Some high-end TVs include multiple warm settings. Try “Warm2” or “Warm3” if available. These get even closer to the reference standard.
If you watch TV with a lot of ambient light, the “Warm” setting might look too yellow. That’s because your room lighting has its own color temperature affecting how you perceive the screen. Consider adjusting your room lighting or accepting that accurate color requires controlled lighting conditions.
Many calibration improvements start with getting the basics right, which you can learn more about in how to calibrate your TV in 30 minutes without hiring a professional.
Brightness and Contrast Need Balancing
Brightness and contrast are confusingly named. Brightness actually controls black level, while contrast controls white level.
Most TVs ship with both cranked too high, crushing detail in dark scenes and blowing out highlights in bright scenes.
Here’s how to adjust them properly:
- Find a scene with dark content and some visible detail in shadows
- Lower brightness until black areas lose all detail and become completely black
- Raise brightness slowly until you can just barely see detail in the darkest areas
- Switch to a scene with bright content like clouds or snow
- Lower contrast until bright areas show texture instead of being pure white
- Raise contrast slowly until whites look bright but still show detail
You’re not trying to make the picture as bright as possible. You’re trying to preserve detail across the entire range from black to white.
Proper brightness and contrast settings vary by room lighting. If you watch TV in a dark room at night, you need lower settings than if you watch in a bright room during the day.
Many TVs let you save different picture modes for different viewing conditions. Create a “Day” mode with higher brightness and contrast for afternoon viewing, and a “Night” mode with lower settings for evening movies.
OLED TVs handle this differently than LED TVs. OLEDs can display perfect blacks without any backlight bleed, so you can often leave brightness at higher settings without crushing shadow detail. LED TVs with local dimming need more careful adjustment to balance black level against backlight blooming.
For detailed guidance on getting these settings perfect, see how to calibrate TV brightness and contrast for perfect black levels.
Common Settings That Sound Good But Aren’t
TV manufacturers love adding features with impressive names that sound beneficial but actually degrade picture quality.
Dynamic Contrast analyzes each scene and adjusts contrast on the fly. This causes brightness to shift noticeably between scenes, creating a distracting pumping effect. Turn it off.
Noise Reduction blurs the image to hide compression artifacts from low-quality sources. It also blurs intentional detail and makes everything look soft. Set it to low or off.
Black Tone or Shadow Detail tries to make dark scenes more visible by raising black levels. This destroys the depth and atmosphere of properly-lit scenes. Leave it at the default or turn it off.
Dynamic Color oversaturates colors to make them pop. Real content doesn’t look like that. Disable it.
Edge Enhancement is another name for extra sharpening. It creates the same problems as high sharpness settings. Turn it off.
Eco Mode or Power Saving dims the backlight to reduce electricity usage. That sounds responsible, but it also reduces contrast and makes the picture look dull. Disable it unless you’re genuinely concerned about power bills.
These features exist because they make TVs look impressive in stores or appeal to people who think more features equal better quality. In reality, the best picture quality comes from accurate display of the source material without artificial processing.
HDR Content Requires Different Settings
HDR (High Dynamic Range) content uses different picture settings than standard dynamic range content. Your TV should automatically detect HDR and switch to appropriate settings, but the defaults often need adjustment.
HDR content can look dim because it’s mastered for peak brightness levels your TV might not reach. If everything looks dark and murky, you need to adjust HDR-specific settings, not your regular picture settings.
Look for settings labeled “HDR Tone Mapping,” “HDR Brightness,” or similar. These control how your TV maps the HDR signal to its actual capabilities.
Increase these settings if:
– Dark scenes are too dark to see detail
– The overall picture looks dim compared to SDR content
– Colors look washed out or gray
Don’t confuse dim HDR with proper HDR. Proper HDR should show brighter highlights than SDR while maintaining deep blacks. If your entire picture is dim, something’s wrong.
Some TVs offer multiple HDR modes. “HDR Cinema” or “HDR Movie” typically provides the most accurate results. “HDR Vivid” or “HDR Dynamic” oversaturates and overbrightens, creating the same problems as Vivid mode for regular content.
Gaming in HDR requires even more specific adjustments. Many games include built-in HDR calibration tools. Use them. They’re designed for that specific game’s HDR implementation.
If HDR content consistently looks worse than SDR content on your TV, your TV might not have the brightness or contrast capabilities to properly display HDR. You’re better off disabling HDR at the source and watching in SDR.
For troubleshooting HDR issues, read how to fix HDR content that looks washed out or too dark on your TV.
Gaming Needs Special Consideration
Gaming requires different priorities than movies. Input lag matters more than perfect color accuracy. Motion clarity matters more than film-like motion.
Enable Game Mode. Every modern TV includes one. It disables all processing that adds delay, reducing input lag from 100+ milliseconds to under 20 milliseconds.
Game Mode automatically turns off:
– Motion smoothing
– Noise reduction
– Advanced color processing
– Dynamic contrast
Some picture quality suffers in Game Mode, but the responsiveness improvement is worth it. A beautiful picture doesn’t matter if your character dies because your inputs arrive late.
You can still adjust basic settings in Game Mode:
– Set picture mode to Game (obviously)
– Adjust brightness and contrast for your room
– Set color temperature to Warm
– Leave sharpness at 0 unless you need text clarity
Modern gaming TVs include additional features specifically for gaming. VRR (Variable Refresh Rate) eliminates screen tearing. ALLM (Auto Low Latency Mode) automatically enables Game Mode when it detects a game console.
If you play competitive multiplayer games, prioritize input lag above everything else. If you play single-player story games, you might prefer slightly higher picture quality settings even if they add a few milliseconds of lag.
For comprehensive gaming TV guidance, see gaming TV buying guide: HDMI 2.1, VRR, and input lag explained.
Your Viewing Environment Matters
Perfect picture settings in a dark room look terrible in a bright room, and vice versa.
Room lighting affects:
– How bright your TV needs to be
– What color temperature looks correct
– Whether you can see detail in dark scenes
– How much glare reflects off the screen
Ideally, you control your viewing environment. Draw curtains during the day. Use dim, indirect lighting at night. Avoid placing lamps or windows directly behind your seating position where they reflect off the screen.
Reality doesn’t always cooperate. If you can’t control room lighting, you need to compromise on picture settings.
For bright rooms:
– Increase brightness and contrast
– Consider using Standard or Vivid mode instead of Movie mode
– Accept that black levels won’t look as deep
– Position the TV to minimize reflections
For dark rooms:
– Lower brightness and contrast
– Use Movie or Cinema mode
– Enjoy deep blacks and subtle shadow detail
– Appreciate colors that match the filmmaker’s intent
Many TVs include light sensors that automatically adjust brightness based on room lighting. These work reasonably well but aren’t perfect. You might prefer manual control for consistent results.
The best compromise is creating multiple picture modes for different times of day. Use Movie mode with low brightness for evening viewing and Standard mode with higher brightness for afternoon viewing.
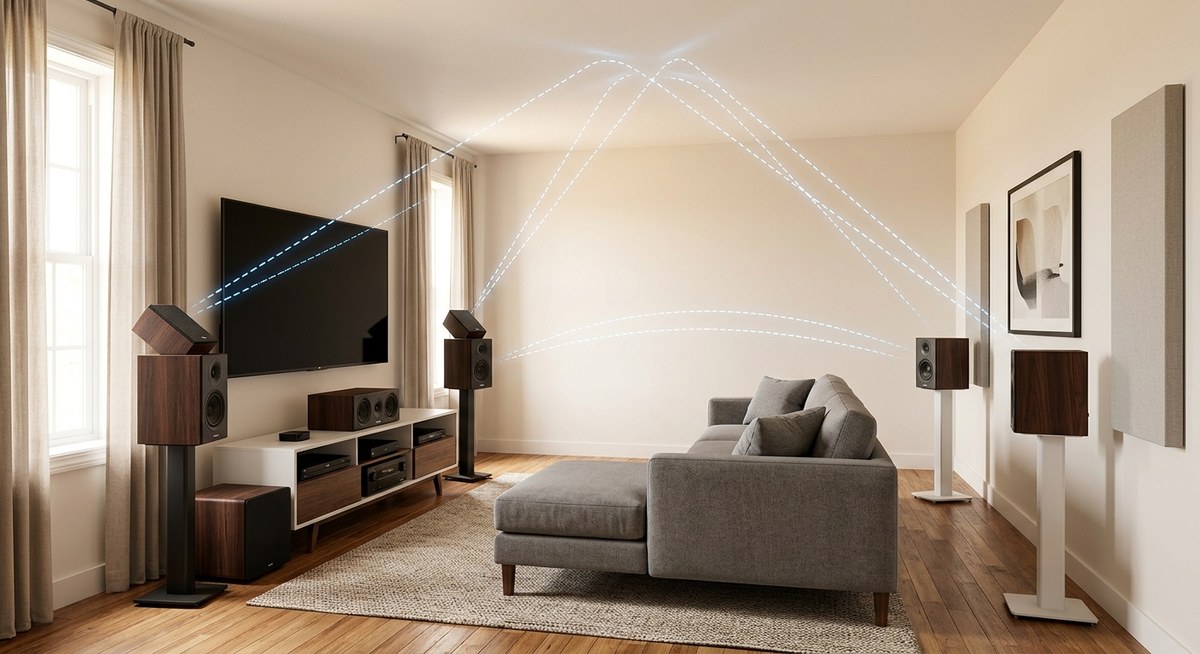
Understanding room acoustics helps with the full experience, covered in how to stop echo and reverb ruining your home theater sound.
Testing Your Changes
After adjusting settings, you need to verify they actually improved picture quality.
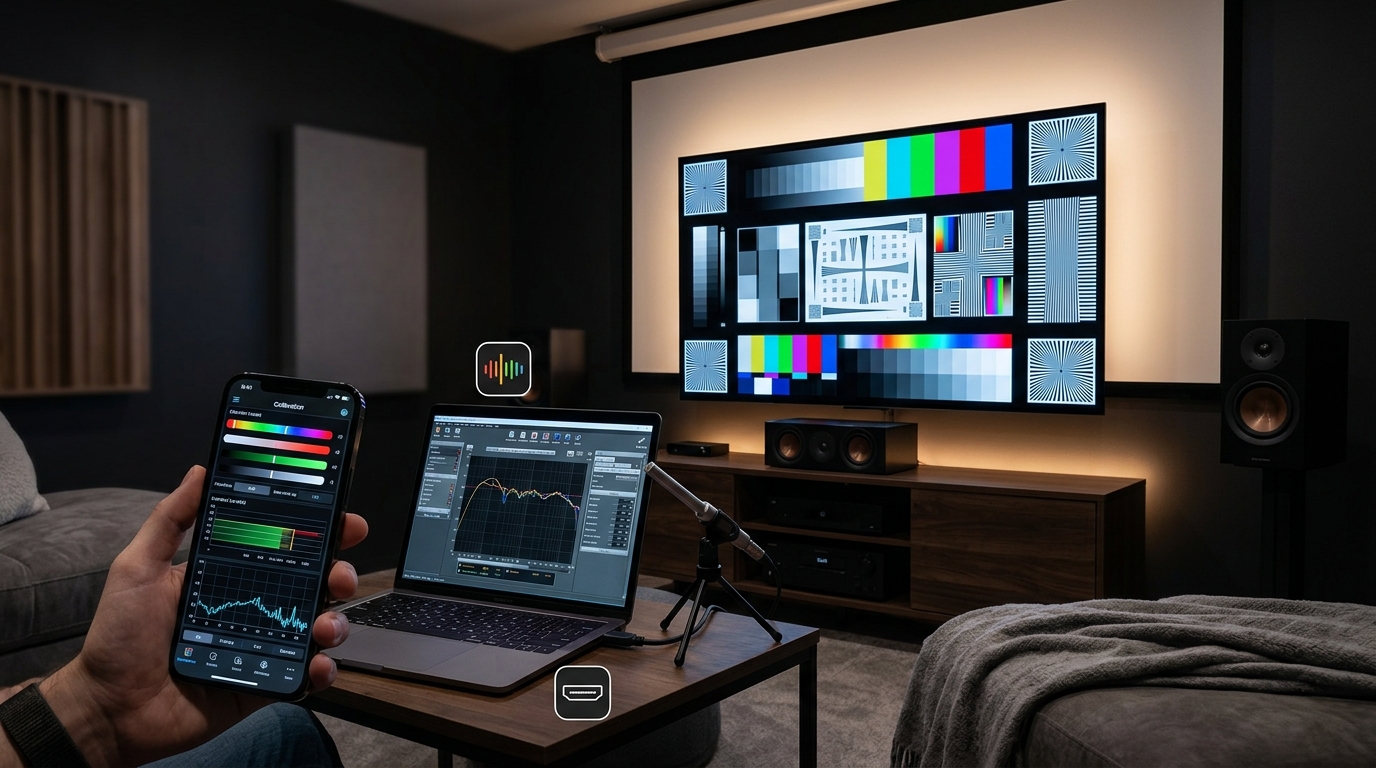
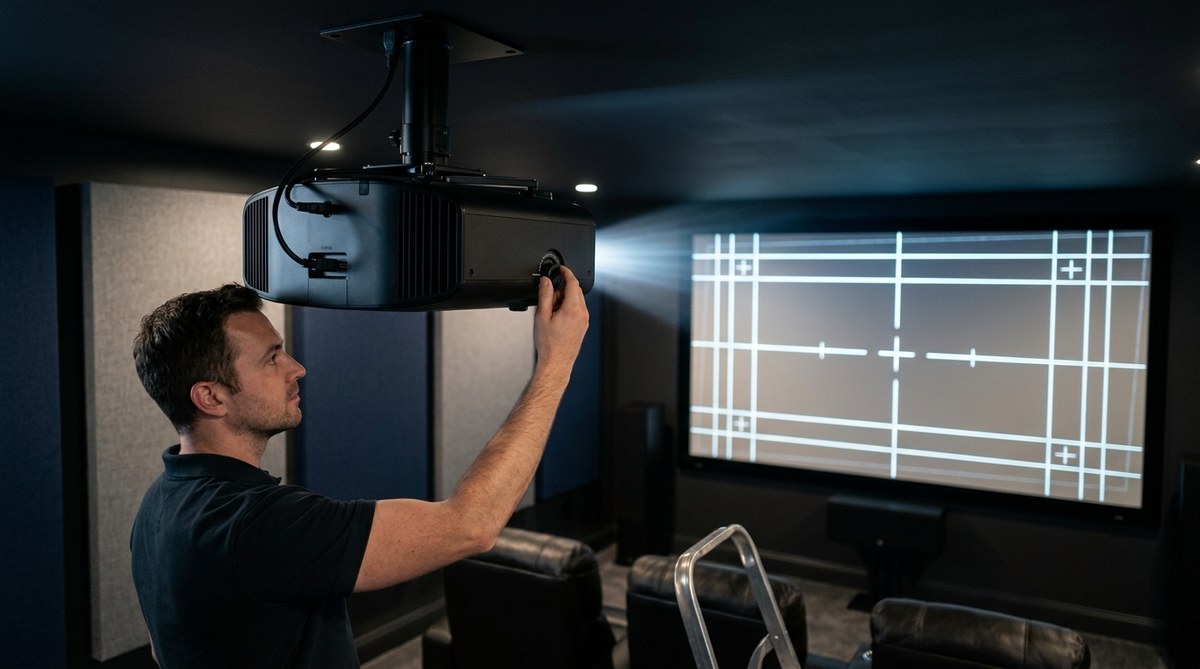
Use test patterns if you want precision. Many calibration discs and apps include patterns for checking brightness, contrast, color accuracy, and more.
For everyday verification, use familiar content you’ve watched before. Pick scenes you know well and see if they look better.
Good test scenes include:
– Dark scenes with visible shadow detail (like cave scenes or night exteriors)
– Bright scenes with white detail (clouds, snow, white clothing)
– Scenes with natural skin tones (close-ups of faces in natural lighting)
– Scenes with rich, varied colors (nature documentaries, animated films)
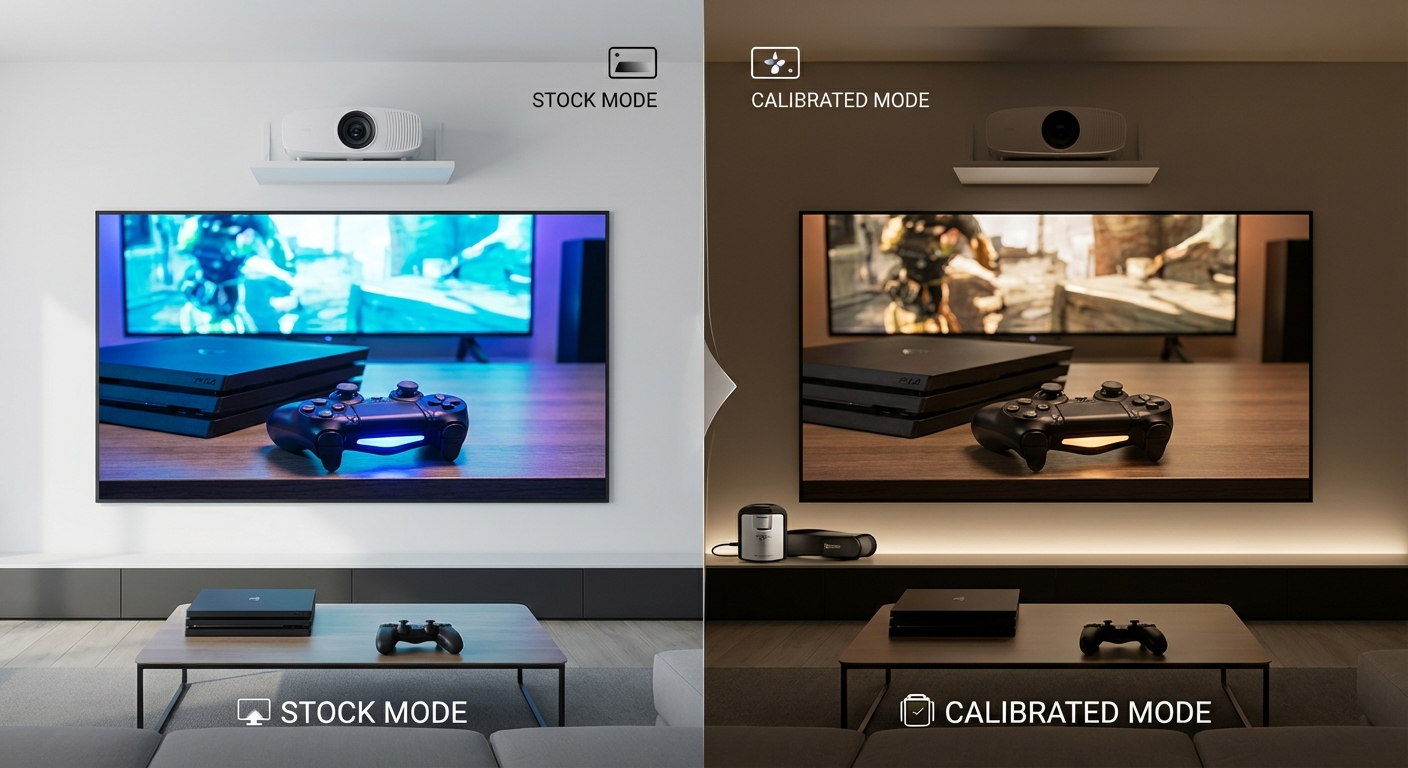
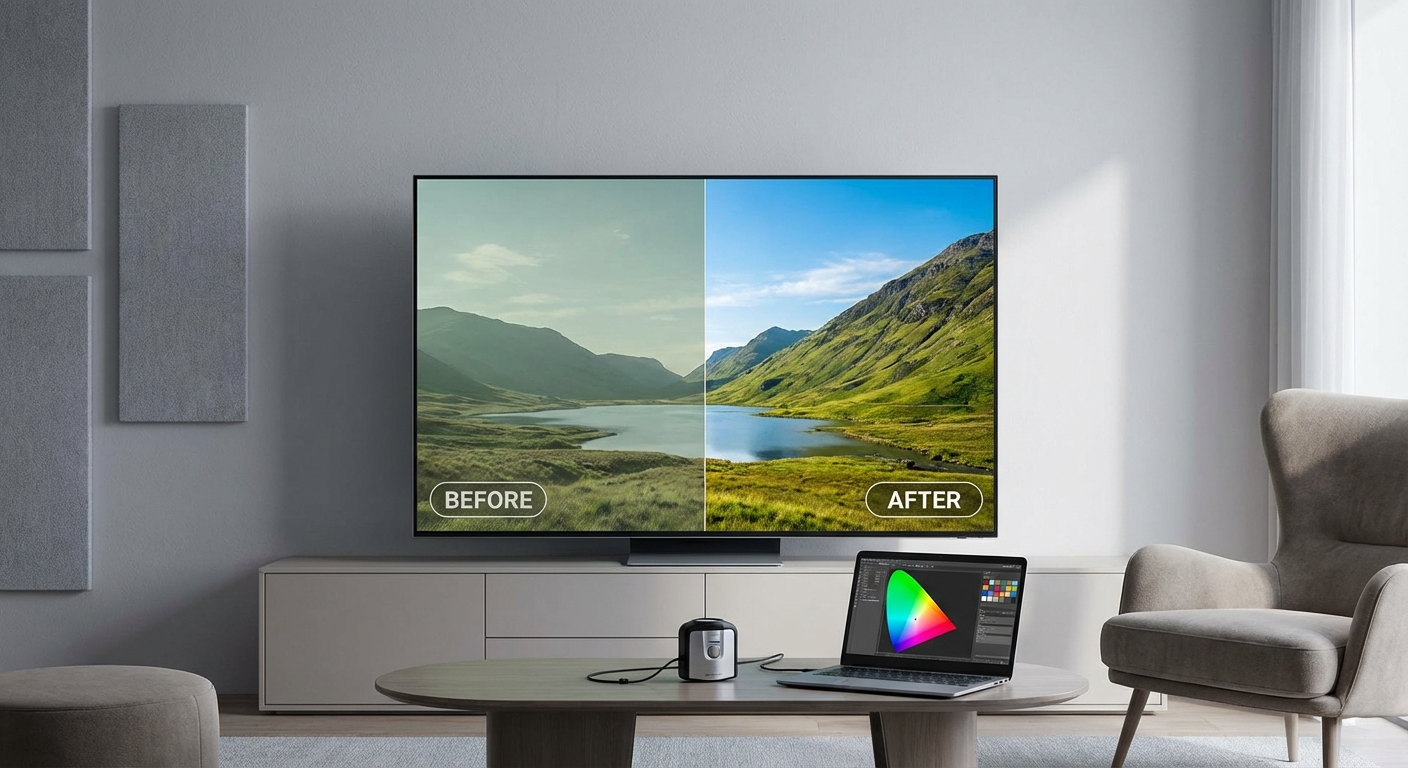
Compare before and after by switching between your old settings and new settings. If you can’t immediately tell which is better, the change might not matter for your eyes and viewing conditions.
Trust your eyes more than numbers. If something looks wrong to you, adjust it. The “correct” setting that measures perfectly but looks bad to you isn’t actually correct for your situation.
Some people prefer slightly inaccurate settings. That’s fine. These guidelines provide a starting point, not absolute rules. Adjust to your preference after understanding what each setting actually does.
For more advanced verification techniques, explore how to tell if your TV calibration actually improved picture quality.
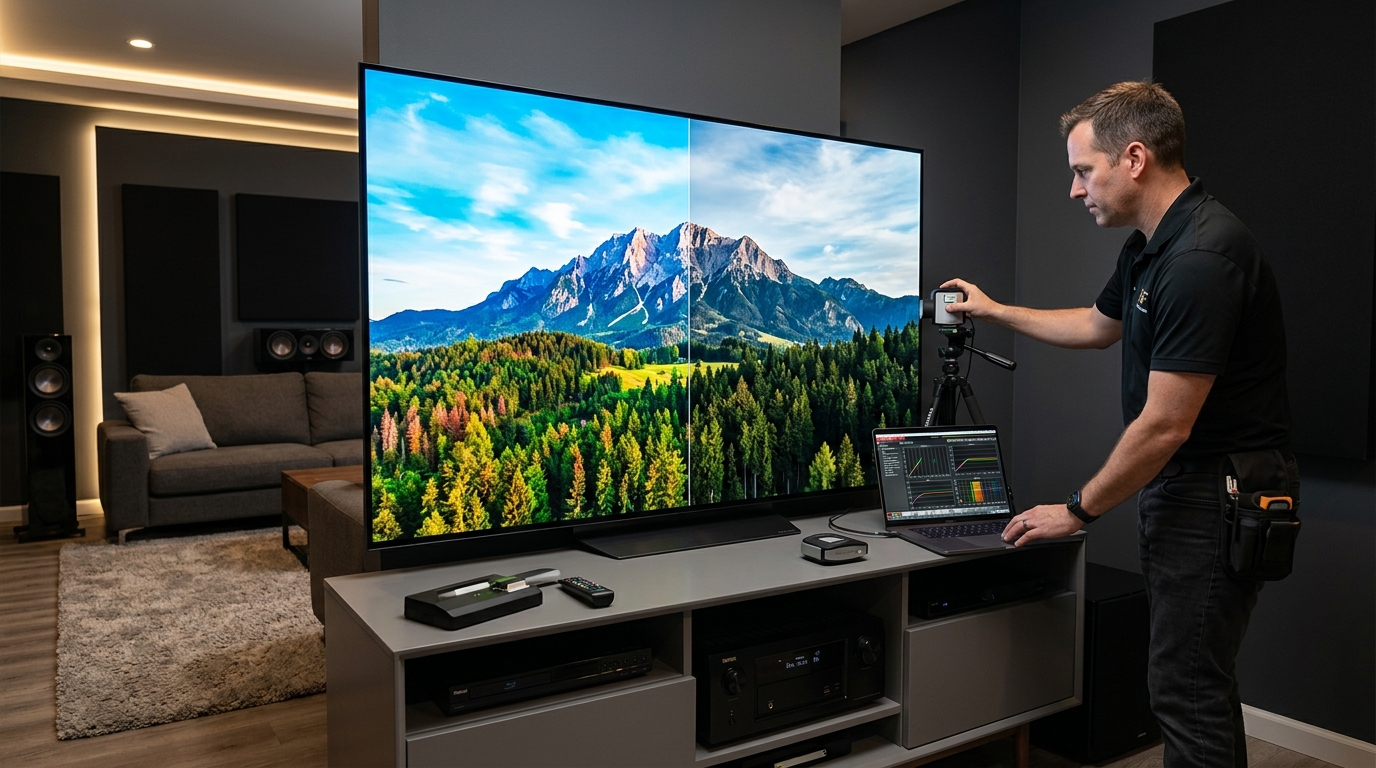
When Professional Calibration Makes Sense
These basic adjustments get you 90% of the way to optimal picture quality. Professional calibration provides the final 10%.
Consider professional calibration if:
– You own a high-end TV worth $2000 or more
– You’re extremely sensitive to color accuracy
– You watch a lot of reference-quality content
– You’ve maxed out what manual adjustments can achieve
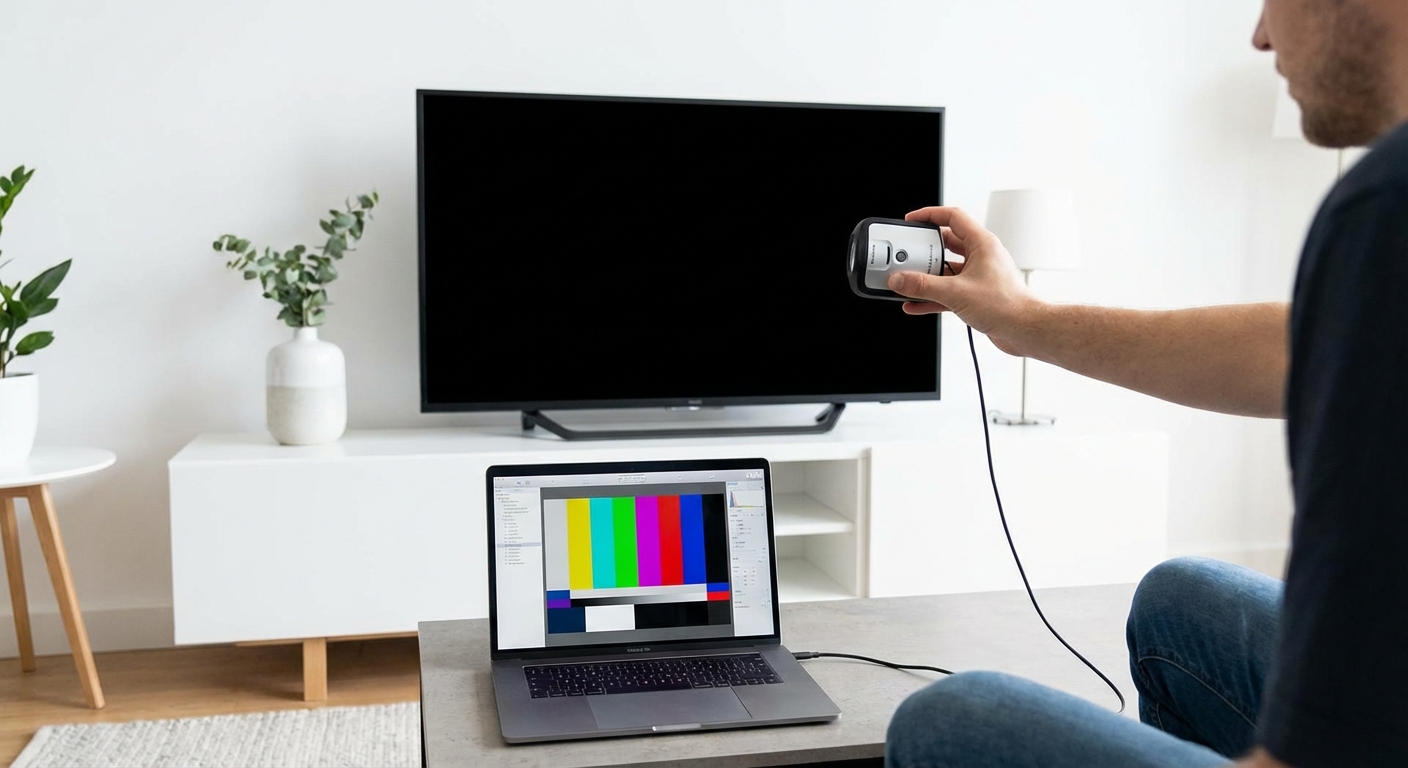
Professional calibrators use specialized equipment to measure your TV’s output and adjust settings to precise targets. They calibrate grayscale, color gamut, gamma, and other parameters you can’t accurately adjust by eye.
The cost typically ranges from $300 to $500. That’s worth it for a $3000 OLED but probably not for a $600 budget LED TV.
You can achieve good results yourself using calibration apps and tools. Some apps use your phone’s camera to measure your TV’s output. They’re not as accurate as professional equipment but cost under $20.
Basic calibration discs cost $30 to $50 and include test patterns with instructions. They won’t get you professional-level accuracy but help you dial in settings better than eyeballing it.
Most people don’t need professional calibration. The five settings covered in this guide provide the biggest improvements with zero cost and minimal time investment.
Learn about calibration options in do you really need a calibration disc for your home theater.
Settings to Change Right Now
Here’s your checklist for immediate improvements:
- Change picture mode to Movie or Cinema
- Provides the foundation for accurate picture quality
- Takes 30 seconds
-
Makes the biggest single improvement
-
Disable motion smoothing completely
- Restores natural film motion
- Eliminates the soap opera effect
-
Found in motion or picture settings
-
Set sharpness to 0
- Removes artificial edge enhancement
- Reveals true detail in the source
-
Adjust up slightly only if needed
-
Switch color temperature to Warm
- Corrects blue tint
- Matches industry standards
-
Looks orange at first but your eyes adapt
-
Adjust brightness and contrast for your room
- Preserves shadow and highlight detail
- Requires test scenes to dial in properly
- Changes based on room lighting
These five changes take under ten minutes total. You don’t need test equipment, calibration discs, or technical knowledge. Just your TV’s remote and a willingness to ignore the factory defaults.
Better Picture Quality Starts Today
Your TV can look dramatically better without spending a dollar on calibration equipment or professional services. The factory settings prioritize shelf appeal over accuracy, but five simple changes restore how content creators intended their work to look.
Start with picture mode. That single change affects dozens of settings at once and provides the biggest improvement. Then tackle motion smoothing, sharpness, color temperature, and brightness. Test each change with familiar content to verify the improvement.
Your eyes might need time to adjust, especially to the warmer color temperature and lower brightness. Give yourself 20 minutes before deciding you don’t like the changes. Your brain adapts quickly to accurate color and proper brightness levels.
These settings aren’t about personal preference or subjective opinion. They’re about displaying content as it was mastered, without artificial processing that degrades the image. Once you see what your TV actually looks like with proper settings, you won’t want to go back.
Grab your remote and start with picture mode. Everything else follows from there.

Leave a Reply