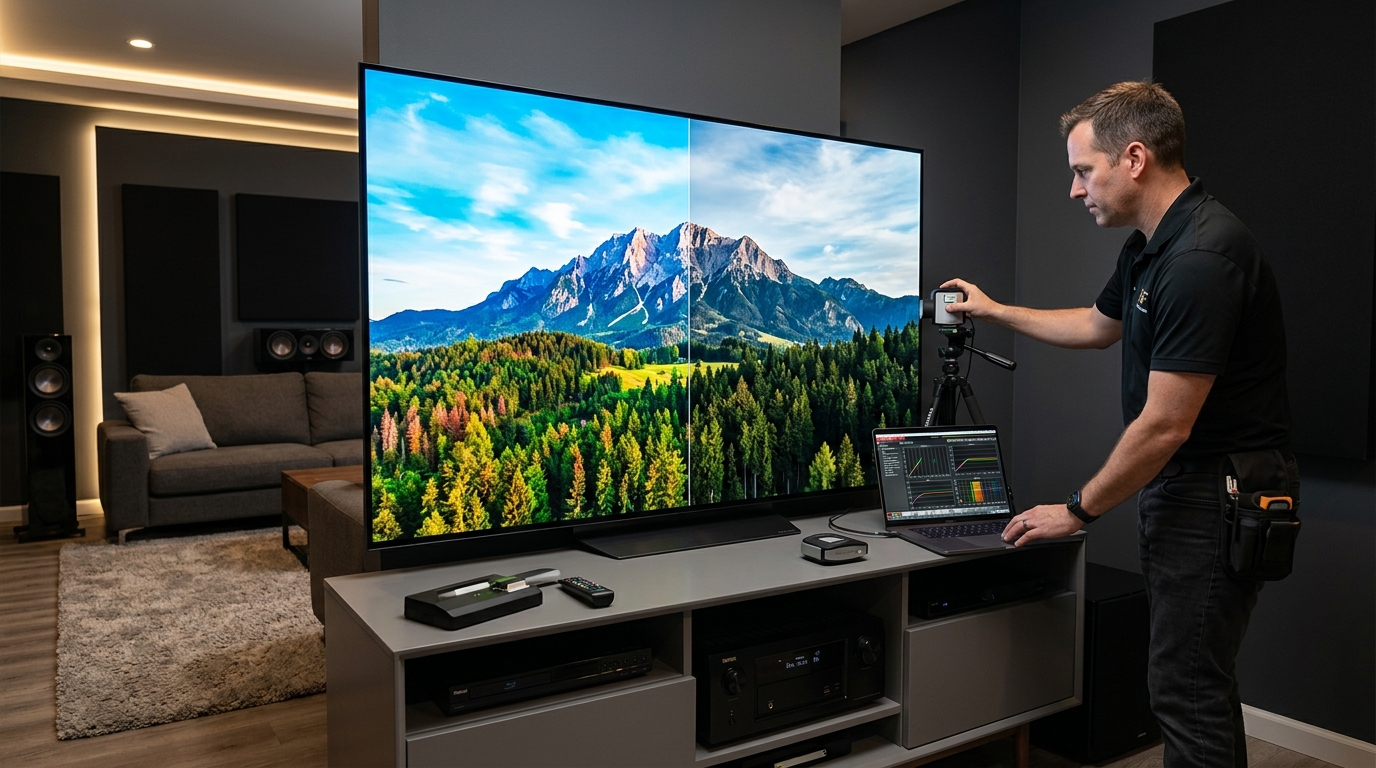
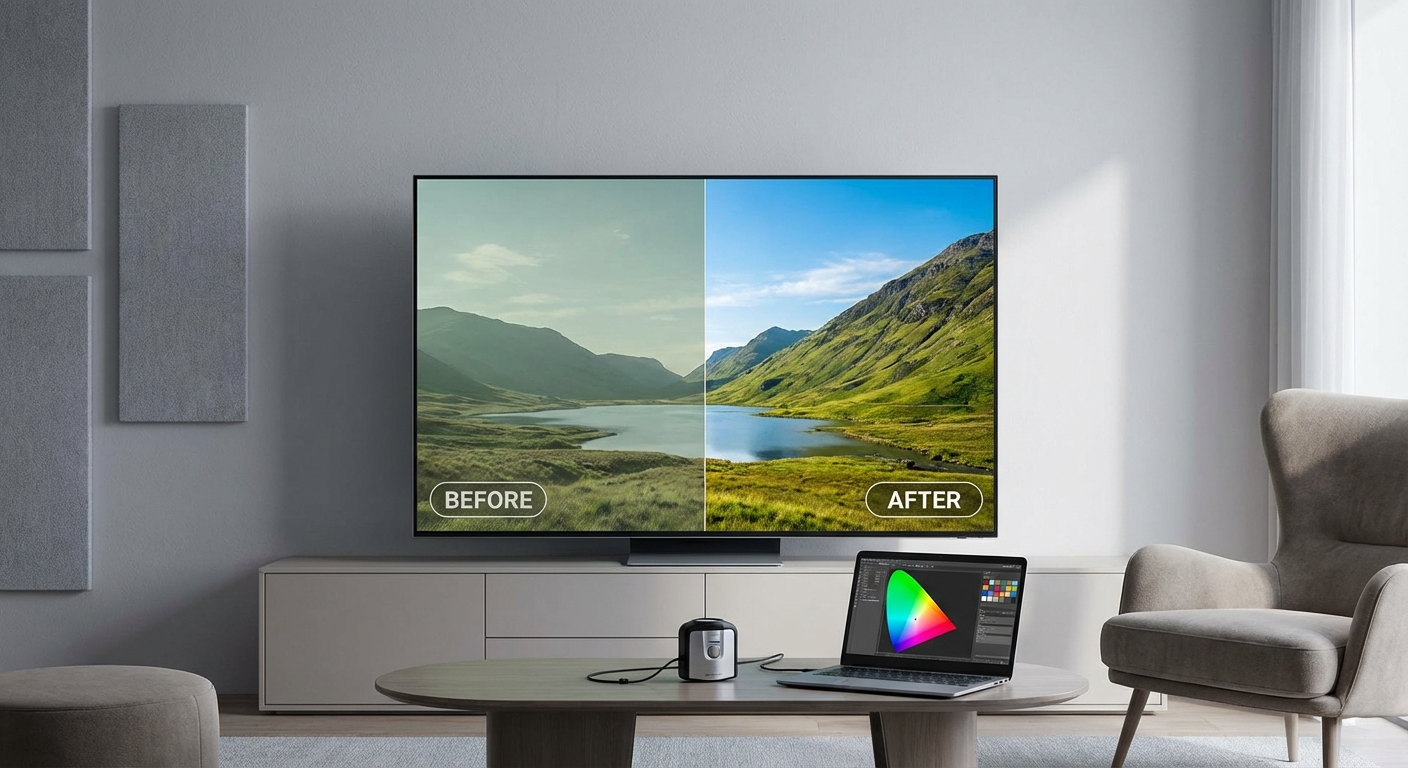
Your TV probably looks worse than it should right out of the box. Manufacturers ship displays with settings cranked up to grab attention on bright showroom floors, not to deliver accurate colors in your living room. The good news? You can fix this yourself in about half an hour.
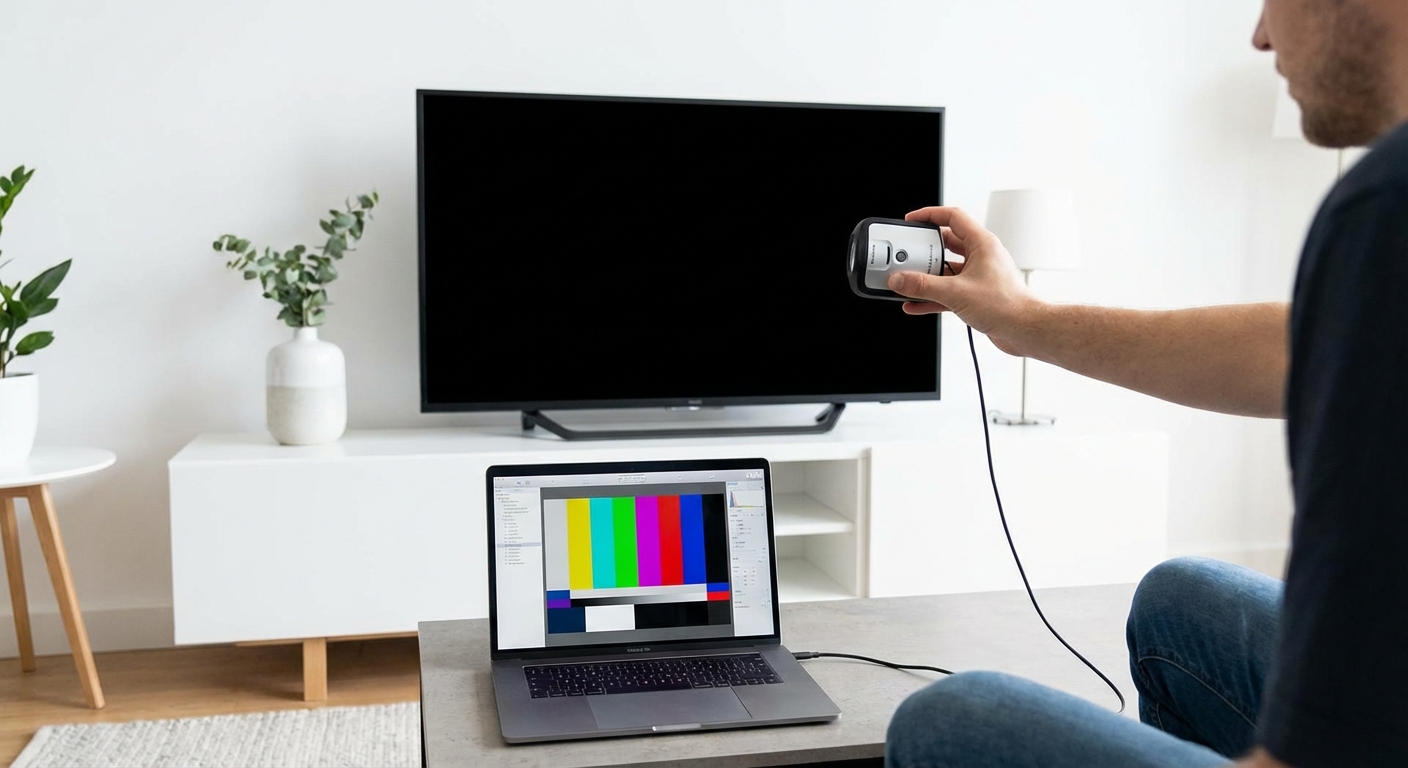
TV calibration adjusts brightness, contrast, color, and sharpness to match industry standards. You can dramatically improve picture quality using free test patterns and your TV’s built-in settings. The process takes 30 minutes and requires no special equipment beyond your remote control. Professional calibration costs hundreds, but DIY methods deliver 80% of the results for free.
Why Your TV Needs Calibration
Most televisions arrive with picture modes like “Vivid” or “Dynamic” enabled by default. These modes boost brightness and oversaturate colors to compete with fluorescent store lighting.
At home, these settings cause eye strain during long viewing sessions. They also crush detail in dark scenes and make skin tones look unnatural.
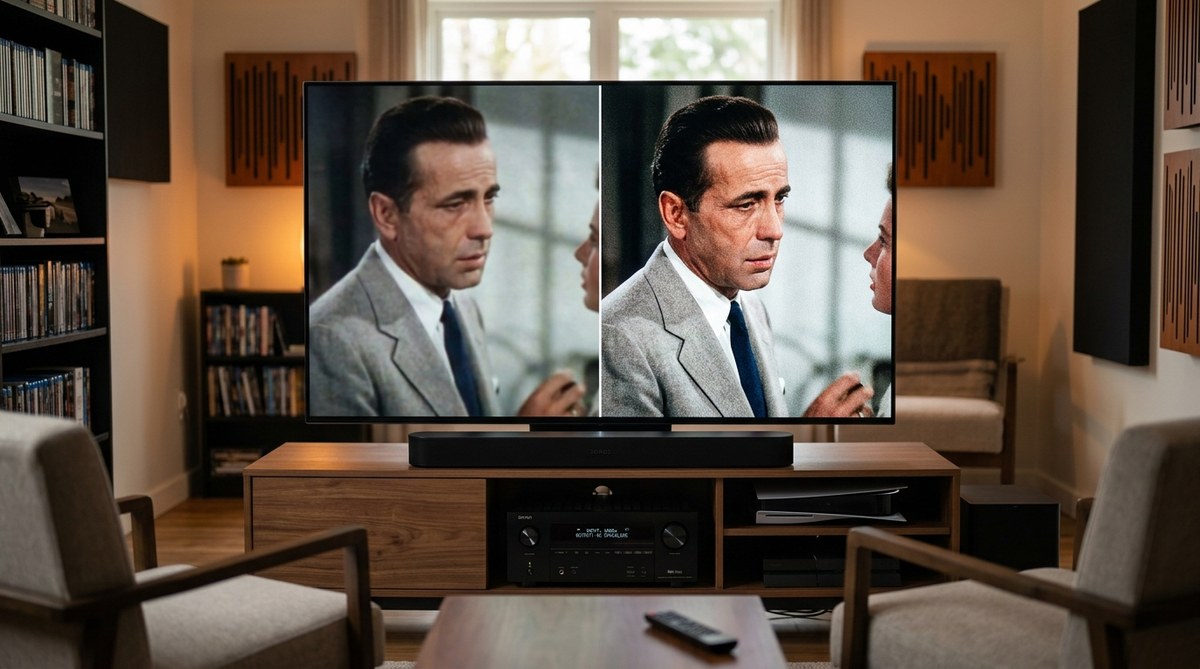
Calibration brings your display closer to what directors and cinematographers intended. You’ll see more detail in shadows, more accurate colors, and a more comfortable viewing experience.
What You’ll Need Before Starting
The calibration process requires minimal equipment:
- Your TV remote control
- A streaming device or Blu-ray player
- Access to free calibration patterns online
- A dark or dimly lit room
- About 30 minutes of uninterrupted time
You don’t need colorimeters, calibration discs, or expensive software. Those tools help professionals achieve perfect accuracy, but you can get excellent results without them.
Preparing Your Viewing Environment
Turn off overhead lights and close blinds or curtains. Your TV should be the primary light source in the room.
Let your television warm up for at least 15 minutes before making adjustments. Picture characteristics change slightly as the panel reaches operating temperature.
Sit at your normal viewing distance. Settings that look good from two feet away might appear different from your couch.
Understanding Picture Mode Settings
Every TV includes preset picture modes. Here’s what they actually do:
| Picture Mode | Purpose | Best For |
|---|---|---|
| Vivid/Dynamic | Maximum brightness and saturation | Retail displays only |
| Standard | Balanced but still oversaturated | Daytime viewing in bright rooms |
| Movie/Cinema | Closest to industry standards | Calibration starting point |
| Game | Reduced input lag | Gaming sessions |
| Sports | Enhanced motion and brightness | Live sports broadcasts |
Start with Movie or Cinema mode. These presets use color temperatures and gamma curves closer to professional standards.
Some manufacturers call this mode “Filmmaker Mode” or “THX.” Use whichever option prioritizes accuracy over punch.
Step-by-Step Calibration Process
Follow these adjustments in order. Each setting builds on the previous one.
1. Disable Motion Smoothing and Enhancements
Navigate to your TV’s advanced picture settings. Look for features with names like:
- Motion smoothing
- TruMotion
- MotionFlow
- Auto Motion Plus
- Clear Motion
Turn all of these off. They create the “soap opera effect” that makes movies look like daytime television.
Also disable:
- Dynamic contrast
- Black tone
- Flesh tone enhancement
- Edge enhancement
- Noise reduction (unless watching low-quality sources)
These processing features introduce artifacts and reduce picture accuracy.
2. Adjust Backlight or OLED Light
This setting controls your screen’s overall brightness output. It doesn’t affect color or contrast, just how much light the panel produces.
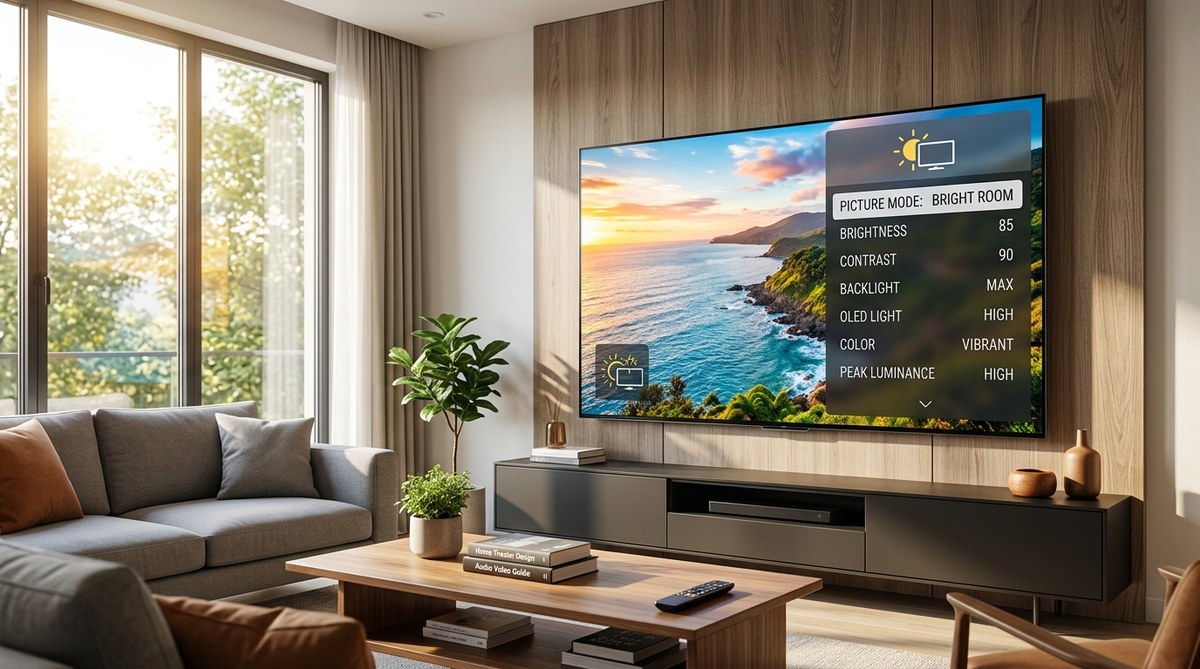
Set backlight based on your room lighting:
- Dark room: 20-30% (reduces eye strain)
- Mixed lighting: 40-60% (balanced for most conditions)
- Bright room: 70-85% (maintains visibility)
Higher backlight settings consume more power but improve visibility in bright environments. Lower settings reduce eye fatigue during nighttime viewing.
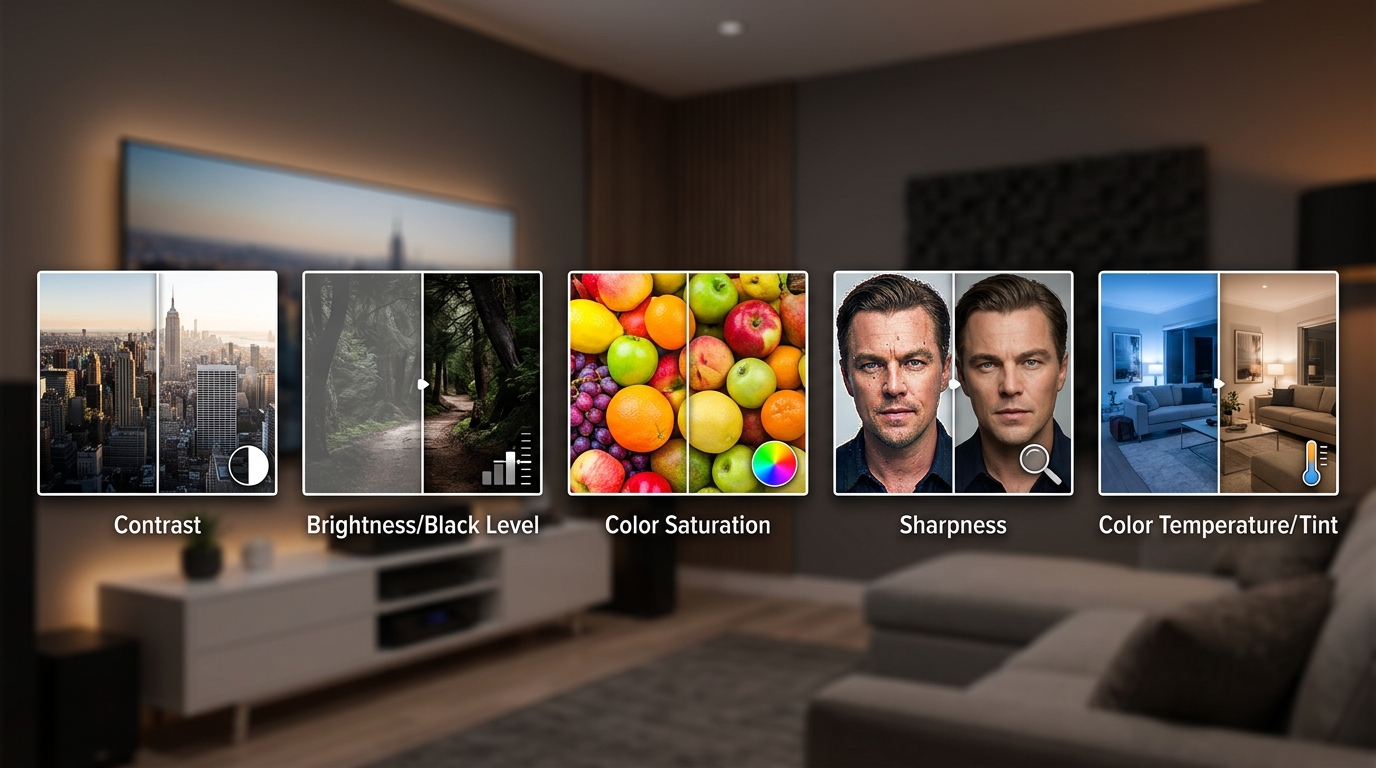
3. Set Brightness (Black Level)
Despite its name, this control adjusts how dark your TV displays black areas. Set it incorrectly and you’ll either crush shadow detail or make blacks look gray.
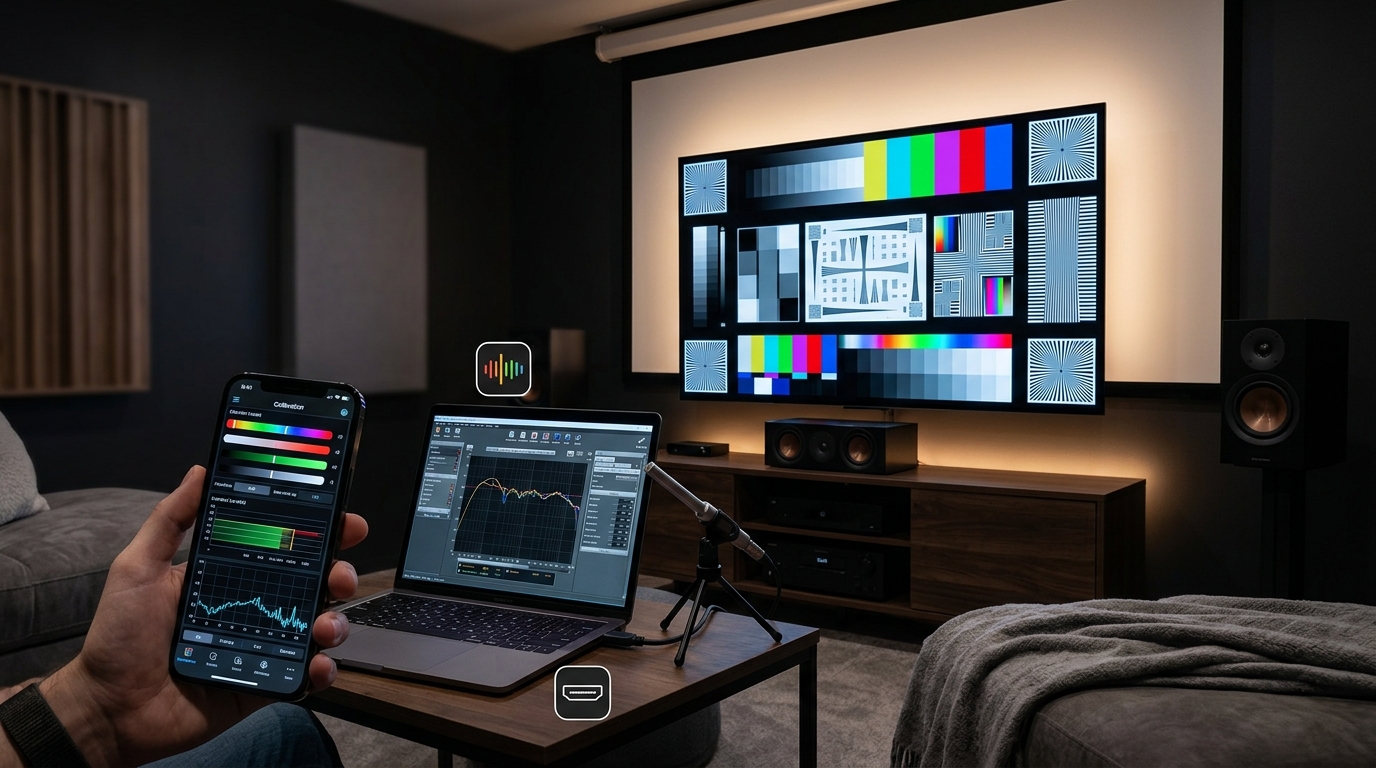
Find a test pattern showing near-black bars numbered from 0 to 5. The Lagom LCD test patterns work well for this.
Adjust brightness until:
- Bar 0 (true black) disappears into the background
- Bars 1-2 are barely visible
- Bars 3-5 are clearly distinct from each other
If you can’t see any difference between bars 0-3, your brightness is too low. If bar 0 looks gray, it’s too high.
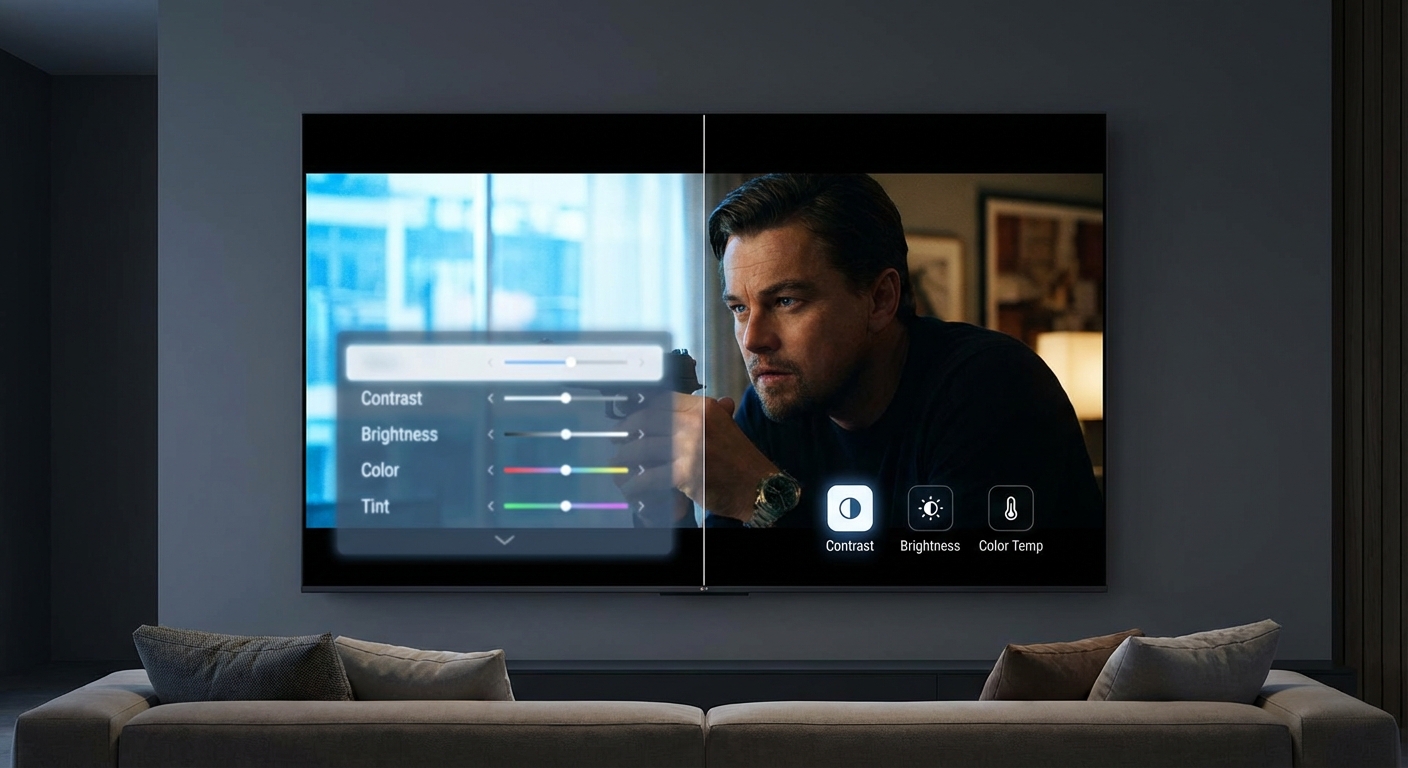
4. Adjust Contrast (White Level)
This setting determines how bright white areas appear. Set it too high and bright details merge together. Too low and the image looks flat.
Use a test pattern showing white bars numbered from 250 to 255. The same Lagom patterns include this.
Increase contrast until:
- Bars 250-253 are clearly separate
- Bar 254 is barely distinguishable from 255
- Bar 255 (peak white) is bright but not glowing
Your eyes should distinguish between bright objects like clouds and pure white elements like text on screen.
5. Calibrate Color and Tint
Color (saturation) controls how vivid colors appear. Tint (hue) adjusts the red-green balance.
Most people should leave color at 45-55% and tint at the center position (0 or 50, depending on your TV).
Look at familiar content with known color references. Skin tones provide the best gauge. Faces should look natural, not orange or pink.
“The most common mistake people make is oversaturating color. If everyone looks like they just returned from a tropical vacation, dial it back 5-10 points.” – Display calibration professionals use this rule of thumb when training new technicians.
6. Set Sharpness
Sharpness doesn’t actually add detail. It applies edge enhancement that creates artificial halos around objects.
Lower sharpness to 0-10% for most content. You want clean edges without visible outlines or ringing artifacts.
Test with small text or fine patterns. Letters should have crisp edges without white halos. Tree branches against sky shouldn’t have glowing outlines.
7. Adjust Color Temperature
Color temperature affects the overall warmth or coolness of the image. Most TVs offer presets like Cool, Normal, and Warm.
Choose Warm or Warm2. This matches the D65 standard used in professional video production.
Cool settings add blue tint that looks “crisp” in stores but causes eye fatigue at home. Warm settings appear slightly yellow at first but look natural after your eyes adapt.
Give yourself 10 minutes to adjust. What seems too warm initially will look correct once your brain recalibrates.
Testing Your Results
After making adjustments, watch familiar content to verify improvements. Look for:
- Visible detail in dark scenes without gray blacks
- Bright areas that maintain detail without blooming
- Natural skin tones across different ethnicities
- Comfortable viewing without eye strain
- Clean edges without artificial sharpening halos
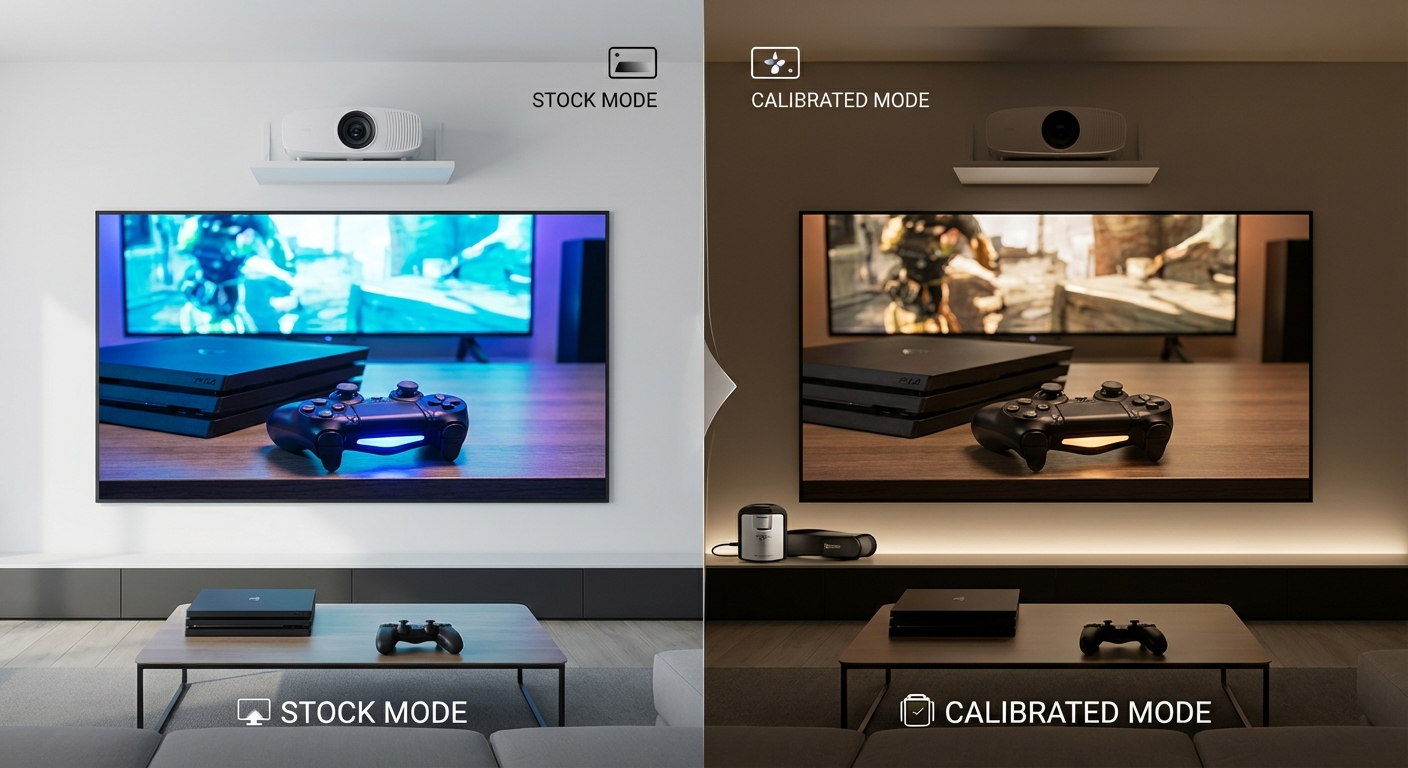
Compare your calibrated settings to the factory defaults by switching picture modes. The difference should be immediately obvious.
Common Calibration Mistakes
| Mistake | Why It Happens | How to Fix |
|---|---|---|
| Setting brightness too high | Confusing brightness with backlight | Use test patterns, not guesswork |
| Maxing out contrast | Assuming brighter is better | Stop when detail disappears |
| Leaving sharpness at 50% | Thinking halfway is balanced | Lower to 0-10% for most content |
| Using Cool color temperature | Preferring the blue-tinted “clarity” | Switch to Warm and adapt for 10 minutes |
| Keeping motion smoothing on | Not knowing it exists | Check advanced settings and disable |
Saving and Protecting Your Settings
Once you’ve finished calibrating, save your settings to a custom picture mode if your TV allows it. This prevents accidental changes.
Write down your final values for each setting. If someone changes them or a firmware update resets your TV, you can restore them without repeating the entire process.
Some TVs apply different settings to each input. Calibrate your most-used input first, then copy those settings to others.
When to Recalibrate
TV panels change slightly over time. Backlight brightness decreases and color shifts occur gradually.
Recalibrate annually to maintain optimal performance. Also recalibrate if you:
- Move your TV to a room with different lighting
- Notice colors looking off compared to other displays
- Update your TV’s firmware
- Add new light sources that change room brightness
The process goes faster the second time since you’ll remember the steps and approximate values.
Advanced Tweaks for Enthusiasts
If you want to go beyond basic calibration, consider these refinements:
Gamma adjustment controls the curve between black and white. Most content assumes gamma 2.2 or 2.4. If your TV offers this setting, start with 2.2 for mixed content or 2.4 for movie-focused viewing.
White balance controls let you adjust red, green, and blue gain independently. Leave these alone unless you have a colorimeter to measure results. Incorrect white balance adjustments create color casts that are hard to fix by eye.
HDR settings require separate calibration. HDR content uses different brightness and color standards. Adjust HDR backlight and tone mapping separately from SDR content.
Picture Quality Beyond Calibration
Calibration maximizes your current TV’s potential, but some limitations can’t be fixed through settings:
- Panel uniformity issues (clouding, vignetting)
- Low native contrast ratios
- Limited color gamut coverage
- Slow pixel response times
If you’ve calibrated properly and still see problems, they’re likely hardware limitations rather than settings issues.
Getting Professional Results at Home
Professional calibrators use $2,000+ equipment to achieve perfect accuracy. They measure light output with colorimeters and adjust settings to match exact industry specifications.
You won’t match that precision with free tools and visual adjustments. But you’ll get 80% of the way there, which is more than enough for enjoyable viewing.
The remaining 20% requires specialized knowledge and equipment that costs more than most TVs. For casual viewing, DIY calibration delivers excellent results.
Making Your Settings Work for Everyone
Different viewers prefer different settings. Some people like punchier colors. Others prefer dimmer screens.
Create multiple custom picture modes if your household has different preferences. Label them clearly: “Calibrated,” “Bright Room,” “Late Night,” etc.
Switch between modes based on content and conditions rather than arguing about the “correct” settings.
Your TV Now Shows What You’ve Been Missing
Proper calibration reveals details that factory settings hide. Dark scenes become watchable. Colors look like real objects instead of cartoon versions. Your eyes relax during long viewing sessions.
The 30 minutes you spent adjusting settings will improve every hour you spend watching. And unlike expensive upgrades, calibration costs nothing but delivers immediate, noticeable results. Grab your remote and start with picture mode selection. The improvement will surprise you.


Leave a Reply