You spent good money on a 5.1 or 7.1 surround sound system, but explosions sound flat and ambient effects feel…
Read More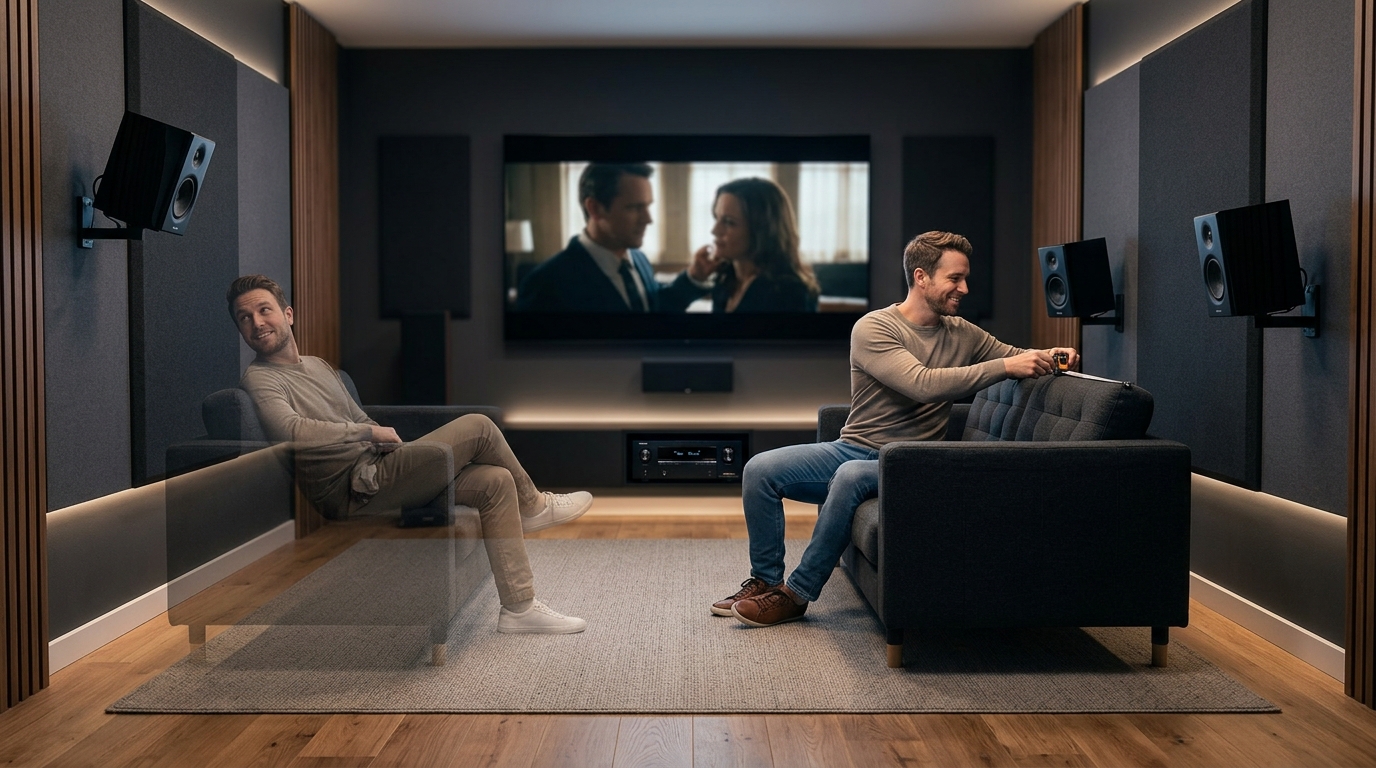
You spent good money on a 5.1 or 7.1 surround sound system, but explosions sound flat and ambient effects feel…
Read More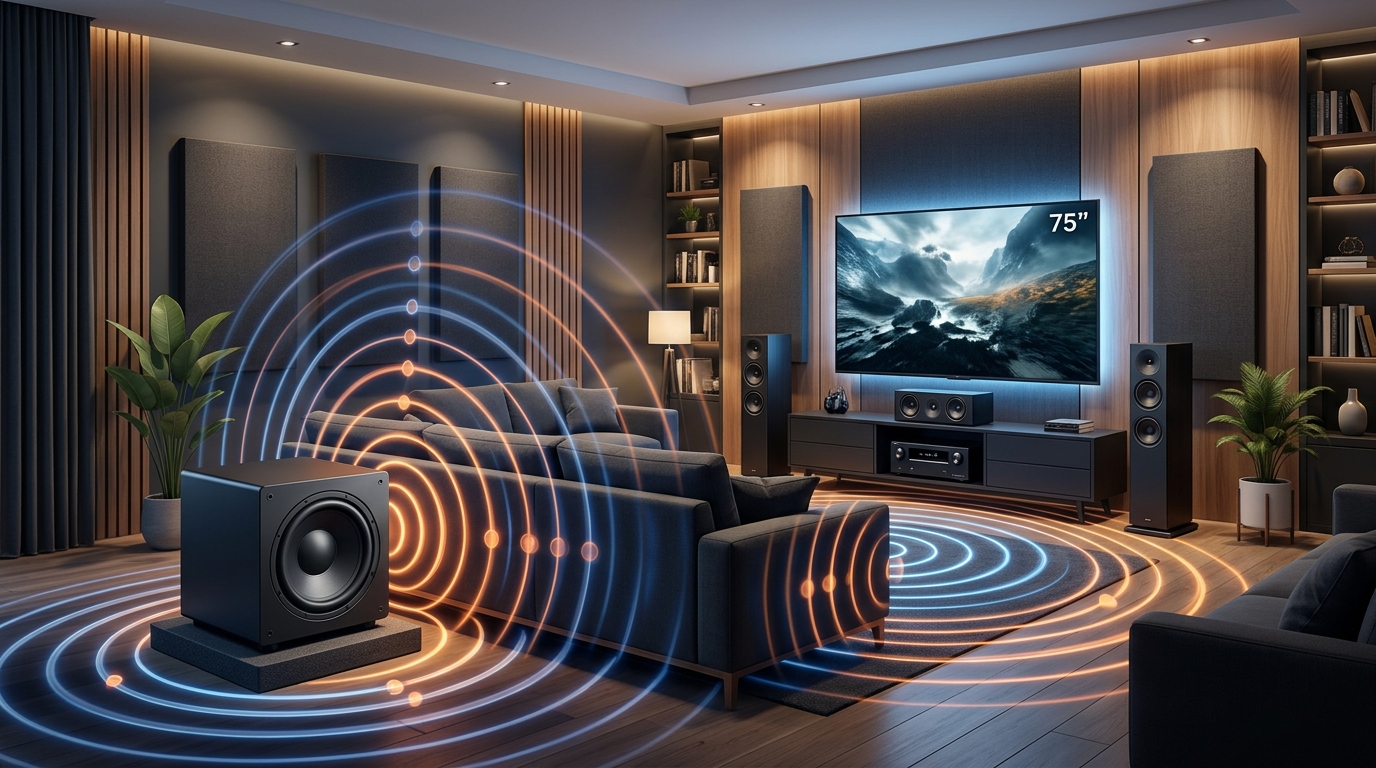
You just unboxed your new subwoofer, plugged it in, and hit play. The bass sounds muddy, weak, or boomy. Moving…
Read More
Your mixes sound great in your headphones. But play them back through your monitors and suddenly the bass is booming,…
Read More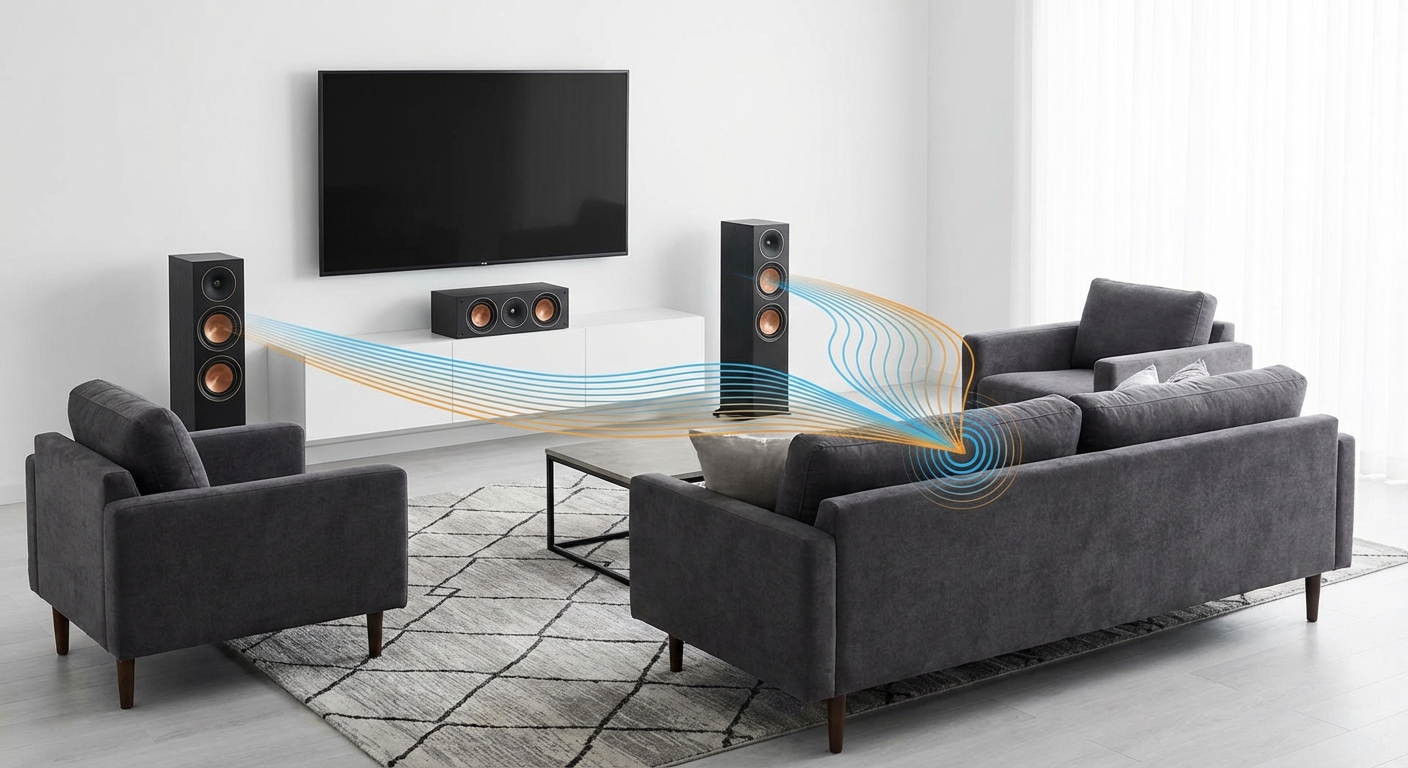
Your surround sound system cost hundreds of dollars, but right now it sounds like you're listening through a cardboard box.…
Read More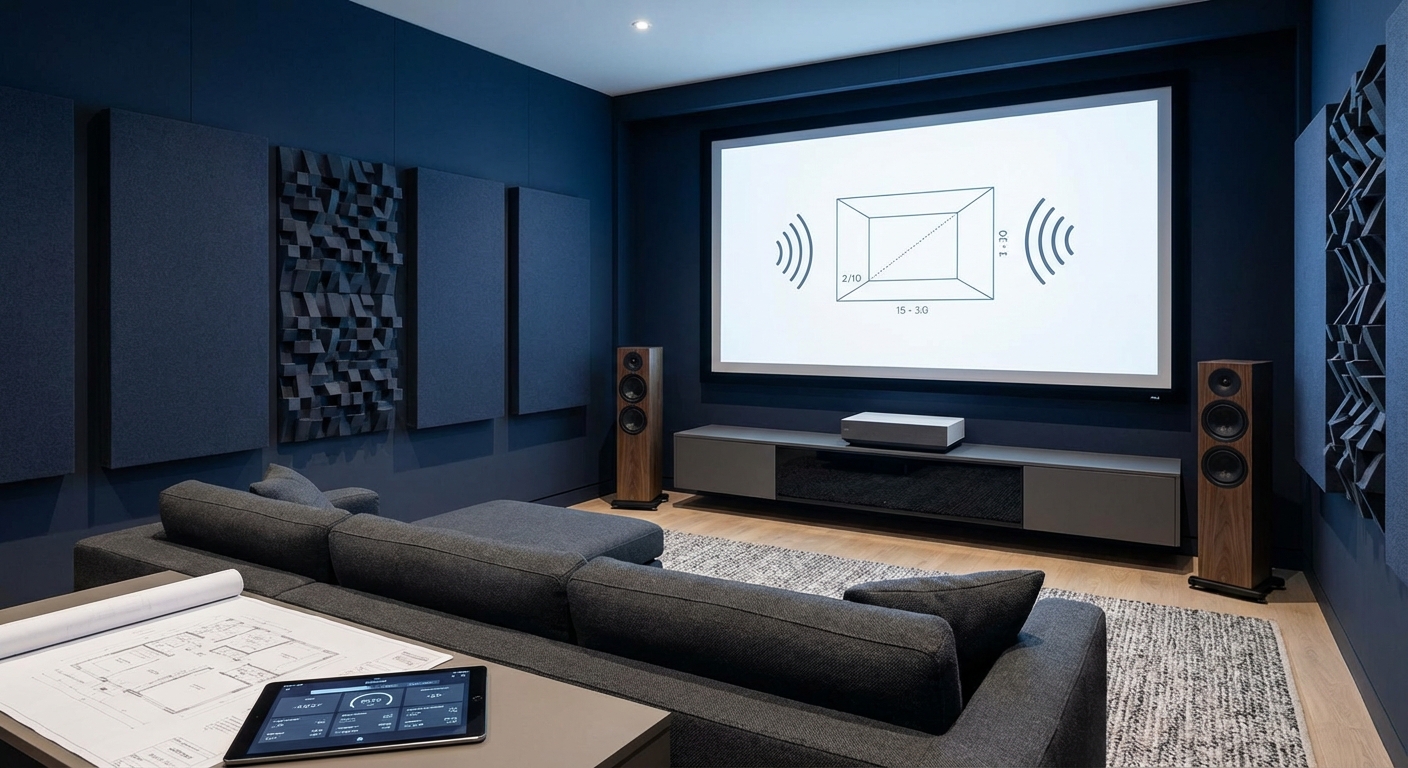
Choosing the right room size for your home theater can make or break your sound quality. Get the dimensions wrong,…
Read More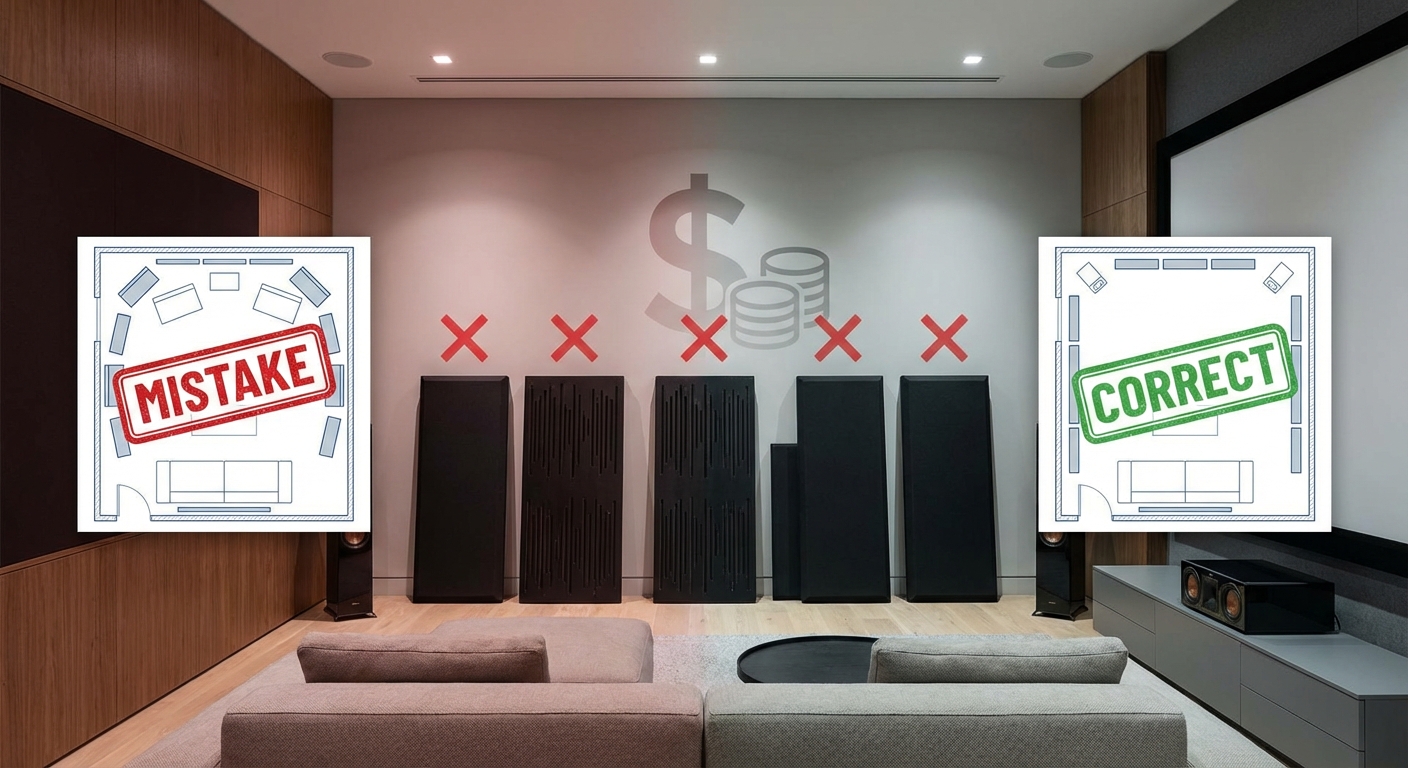
You just unboxed your new acoustic panels. They look professional. They feel solid. You spent good money on them. But…
Read More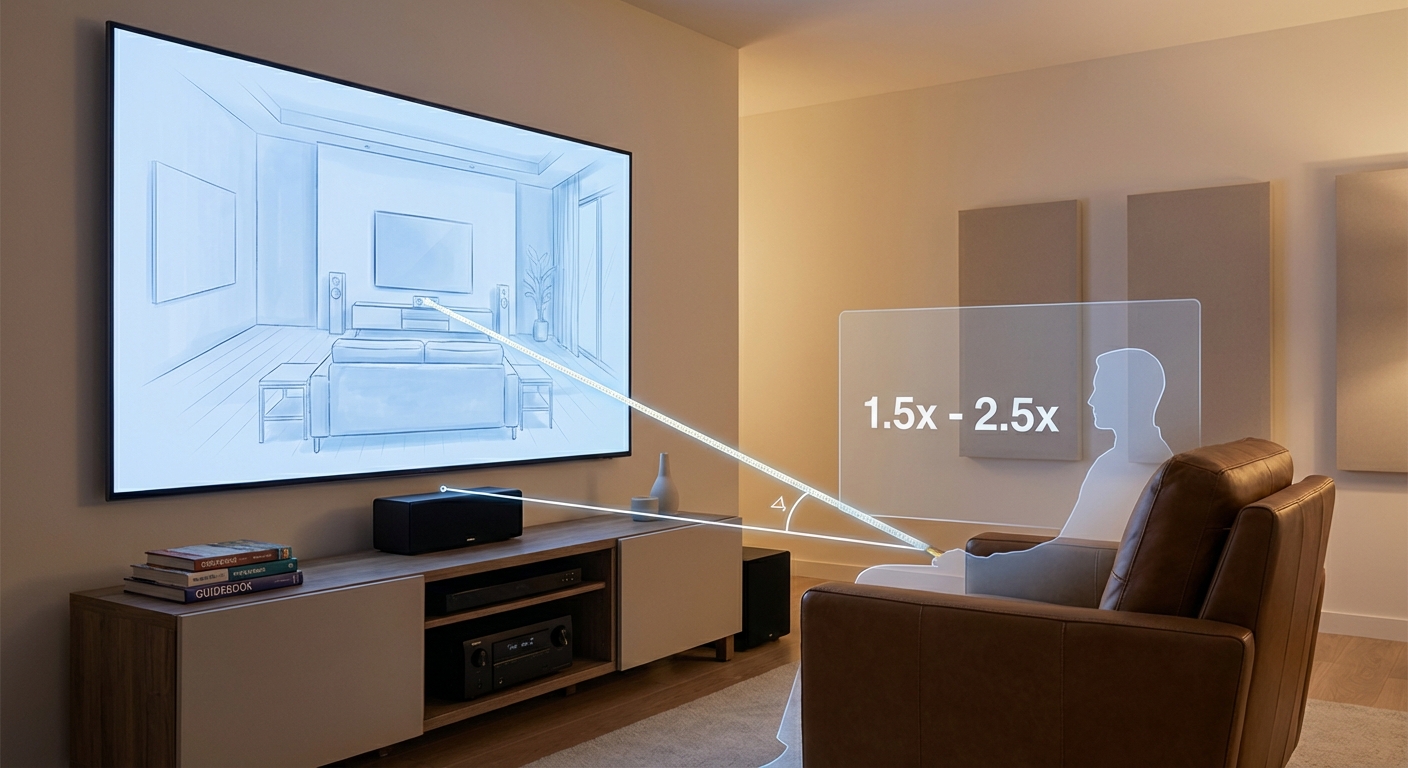
Sitting too close to your screen makes you feel like you’re watching a tennis match. Sitting too far back turns…
Read More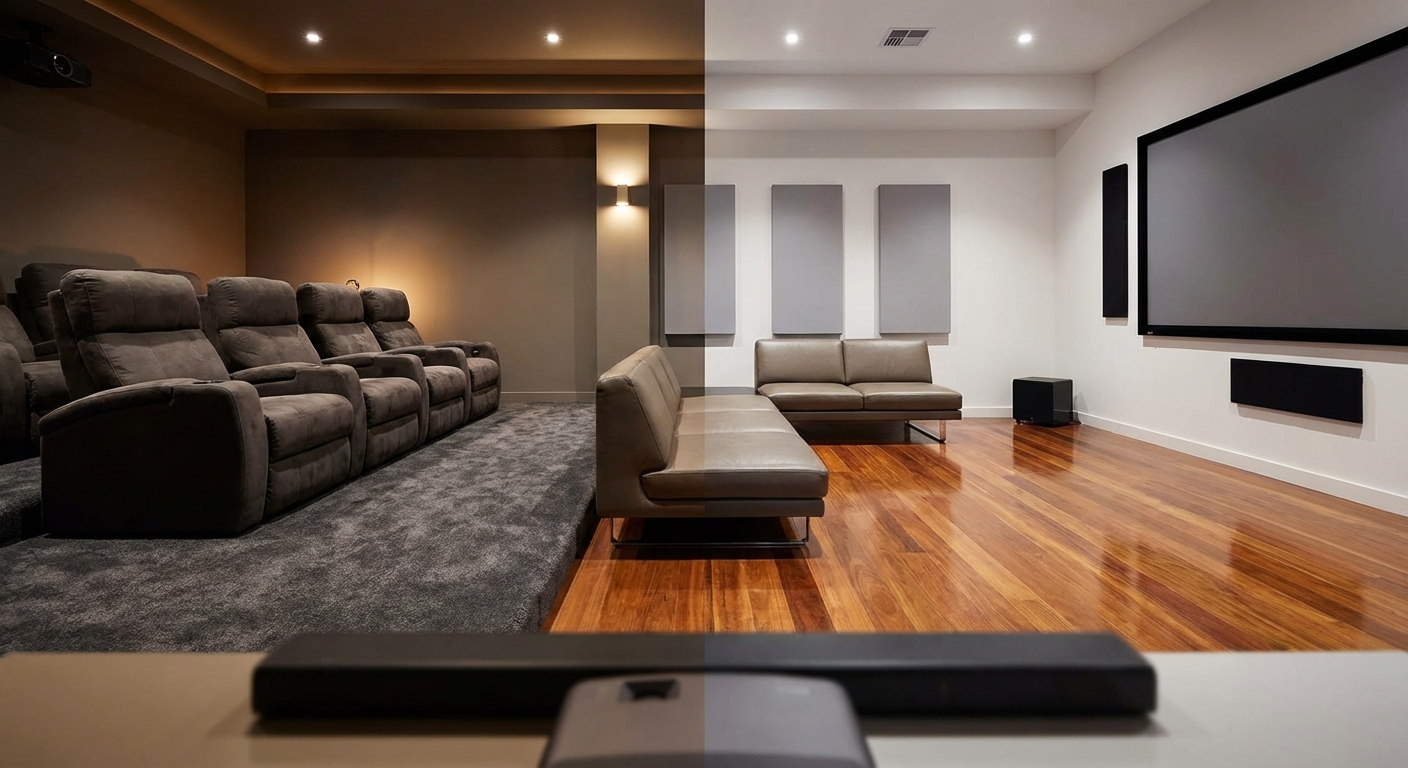
You're building a dedicated home theater and staring at the subfloor. The walls are framed. The projector is ordered. But…
Read More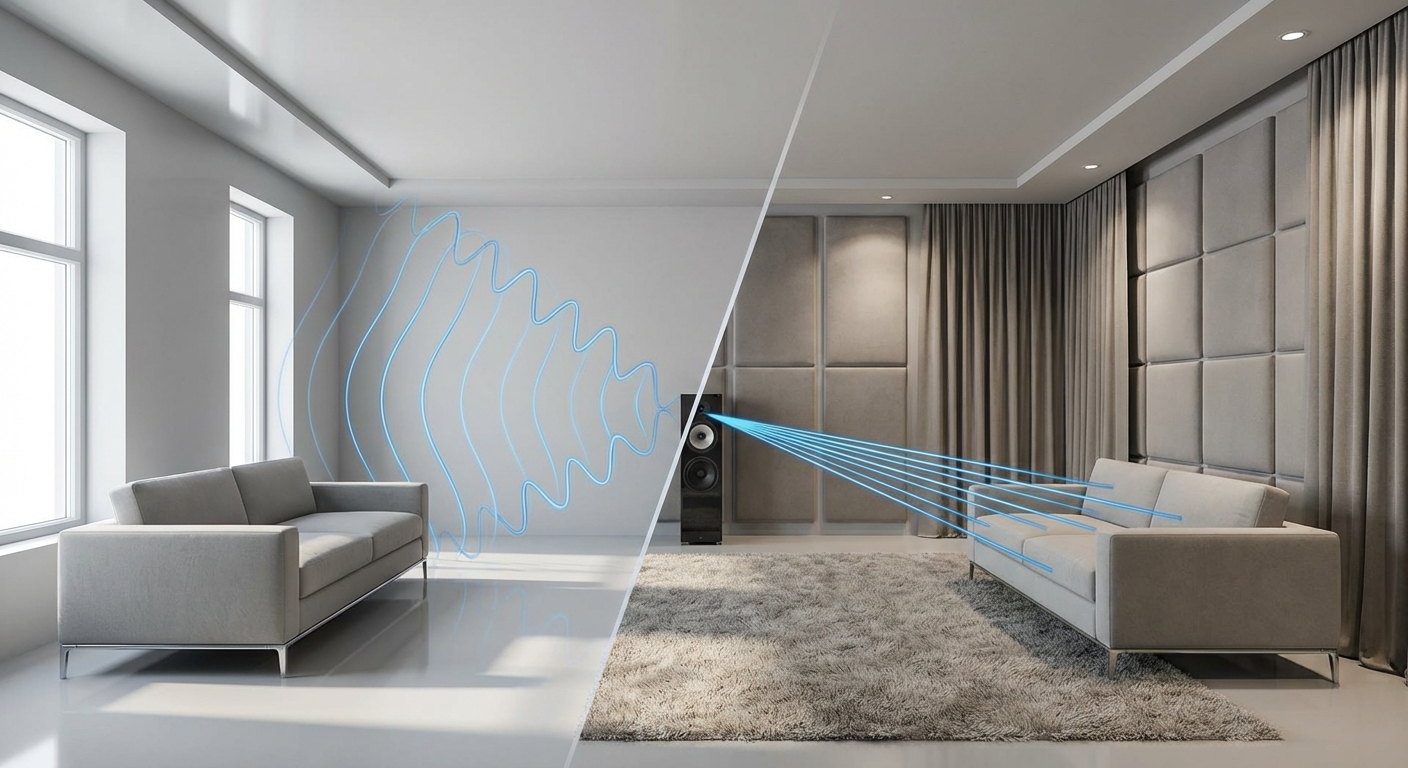
You settle into your favorite chair, press play on your home theater system, and the dialogue sounds like it's bouncing…
Read More