Dolby Atmos promises overhead sound that puts you inside the action, but most installation guides assume you have a perfect…
Read More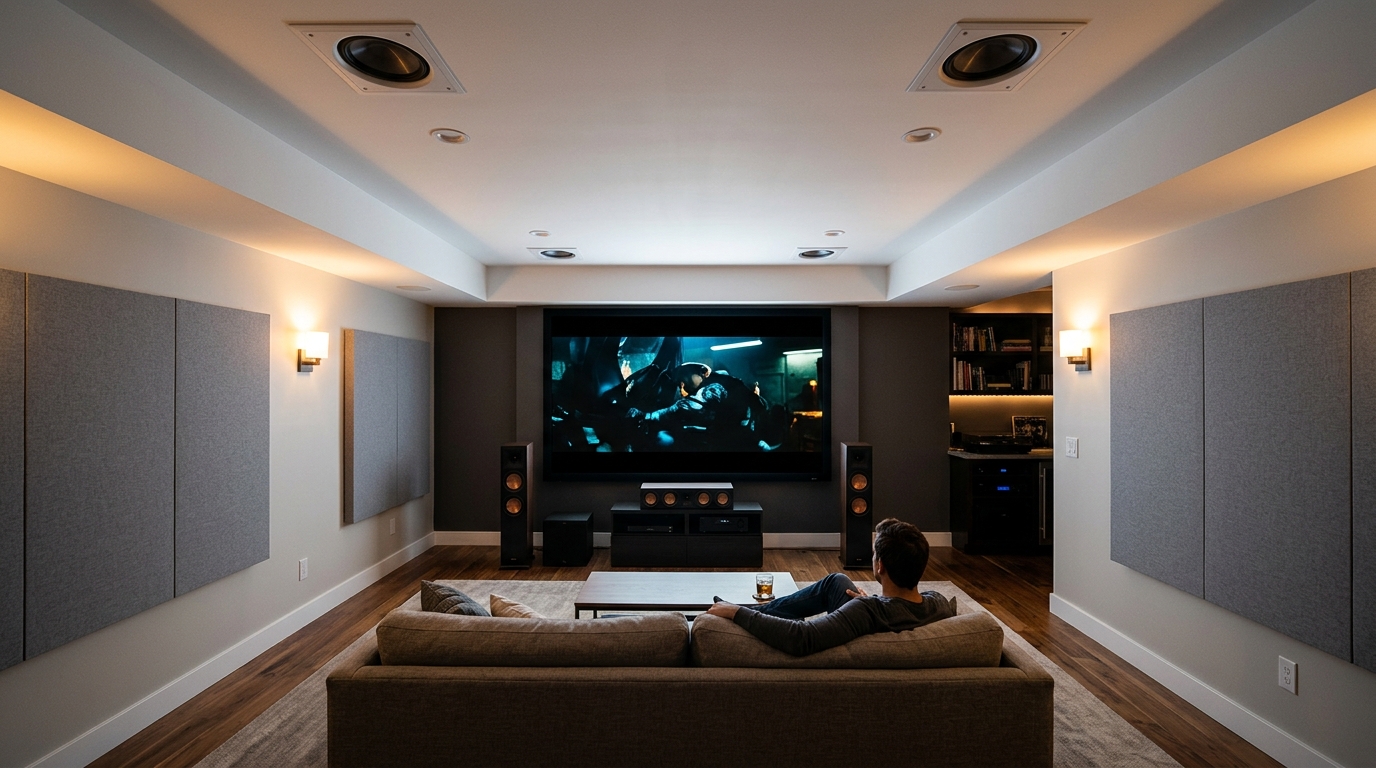
Dolby Atmos promises overhead sound that puts you inside the action, but most installation guides assume you have a perfect…
Read More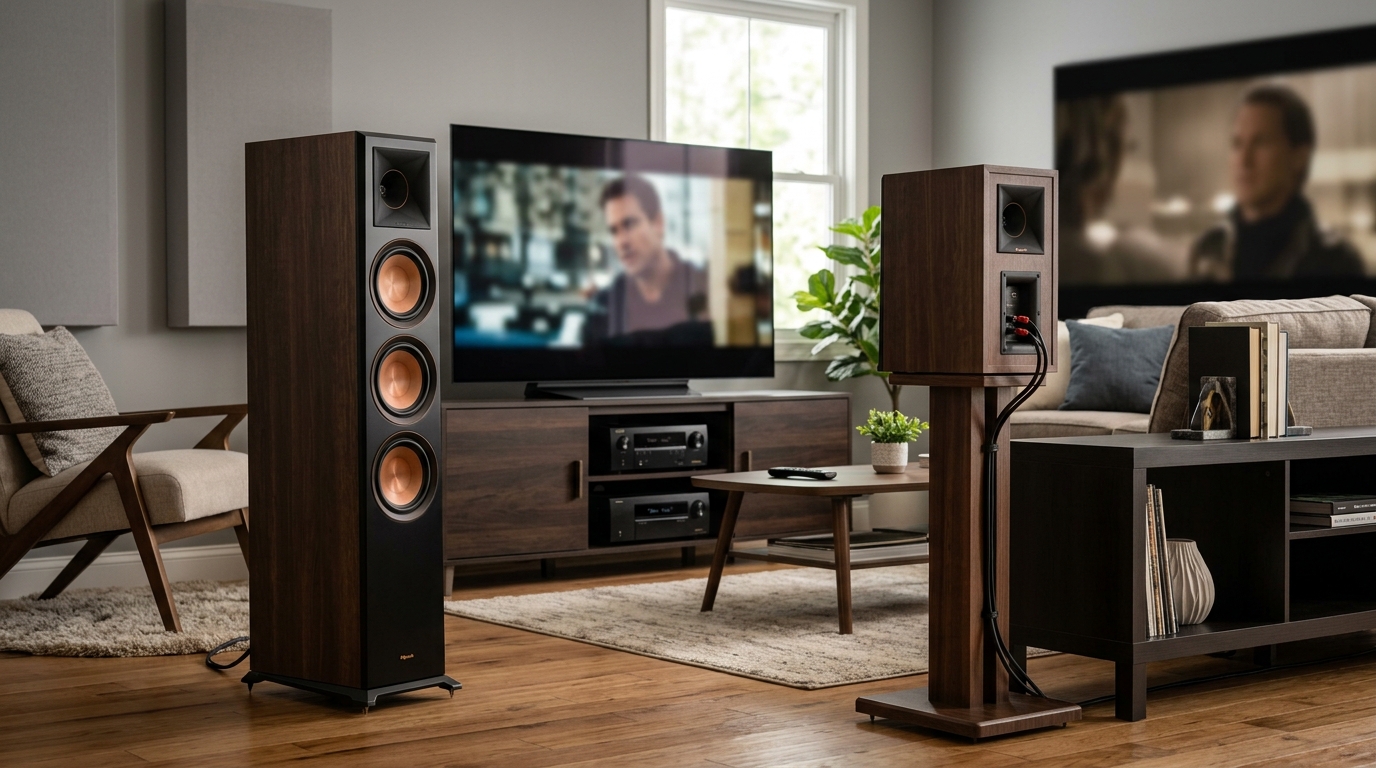
Choosing between bookshelf and floorstanding speakers feels like a high-stakes decision when you're building your first home theater or upgrading…
Read More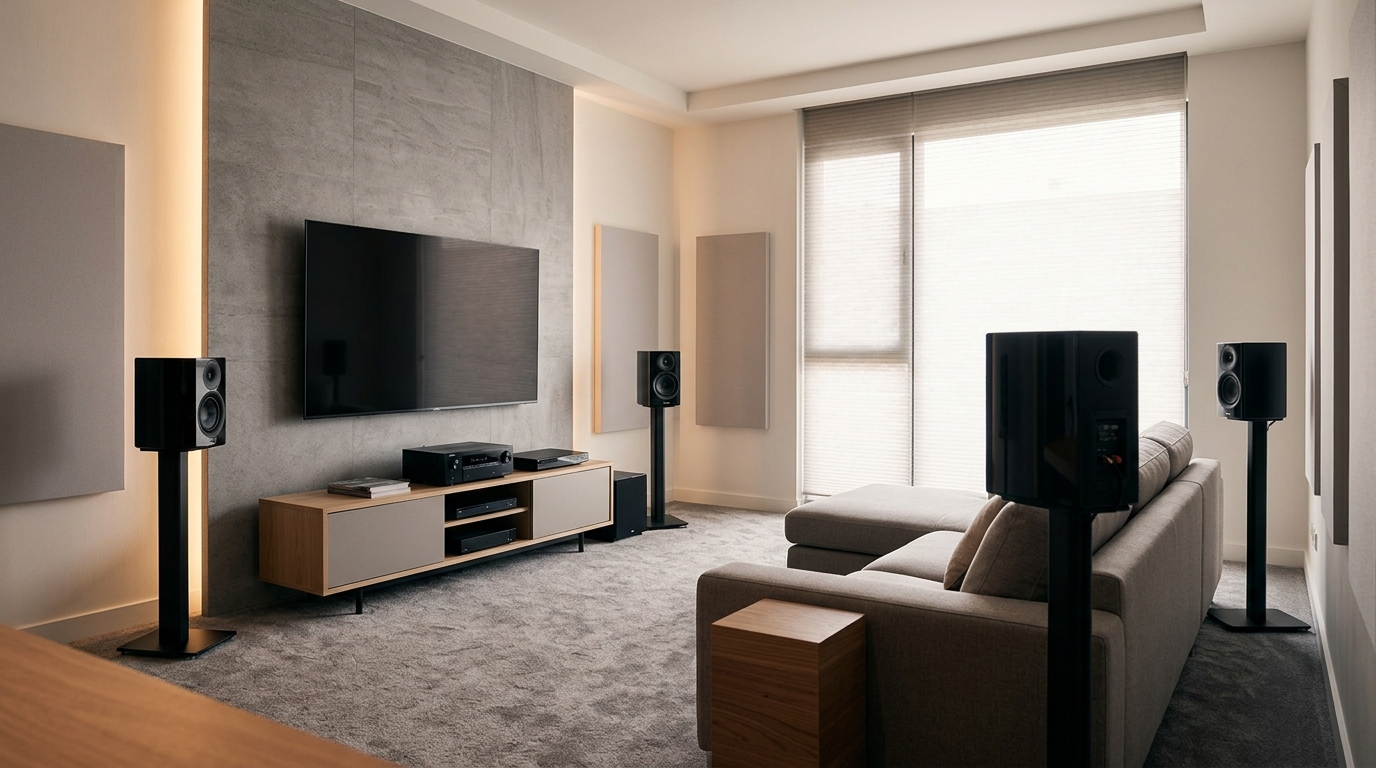
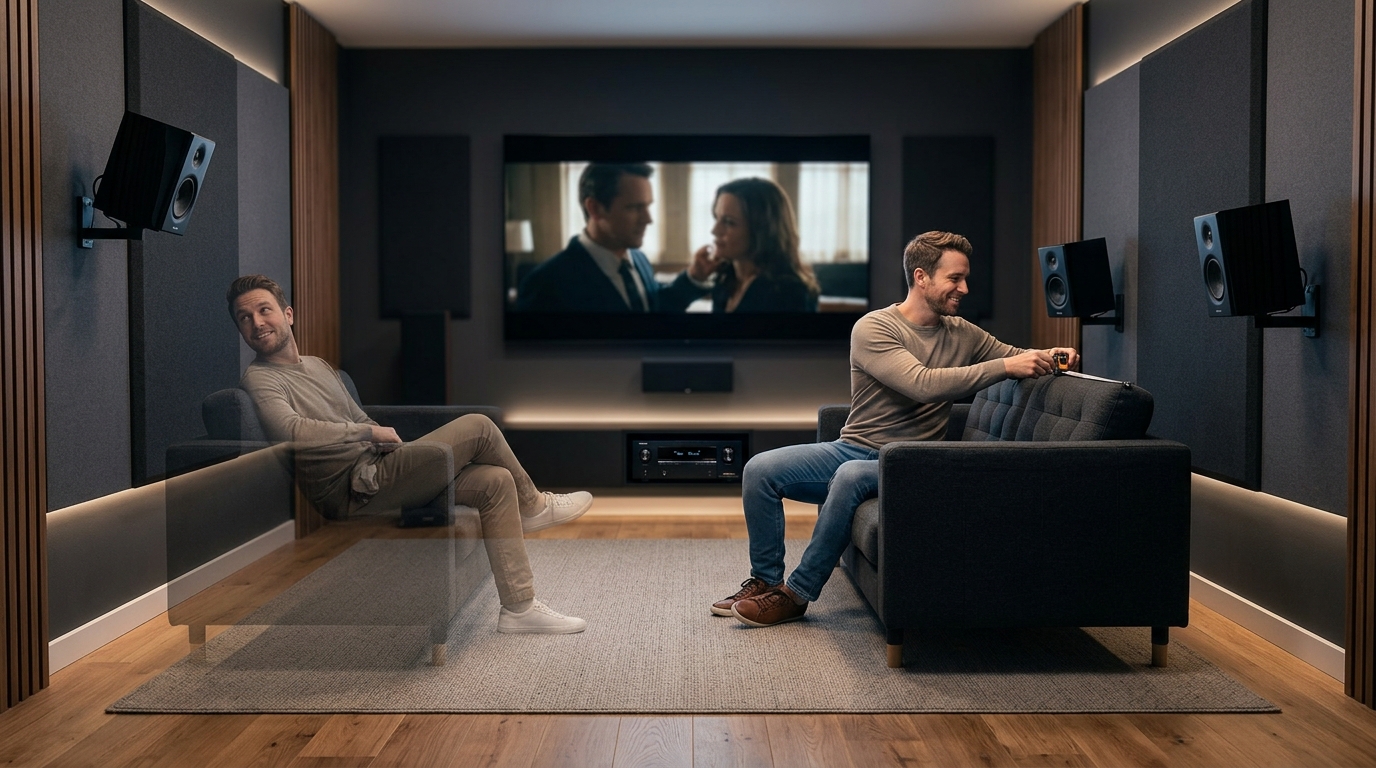
You finally finished setting up your surround sound system. You sit down to watch a movie, and something feels off.…
Read More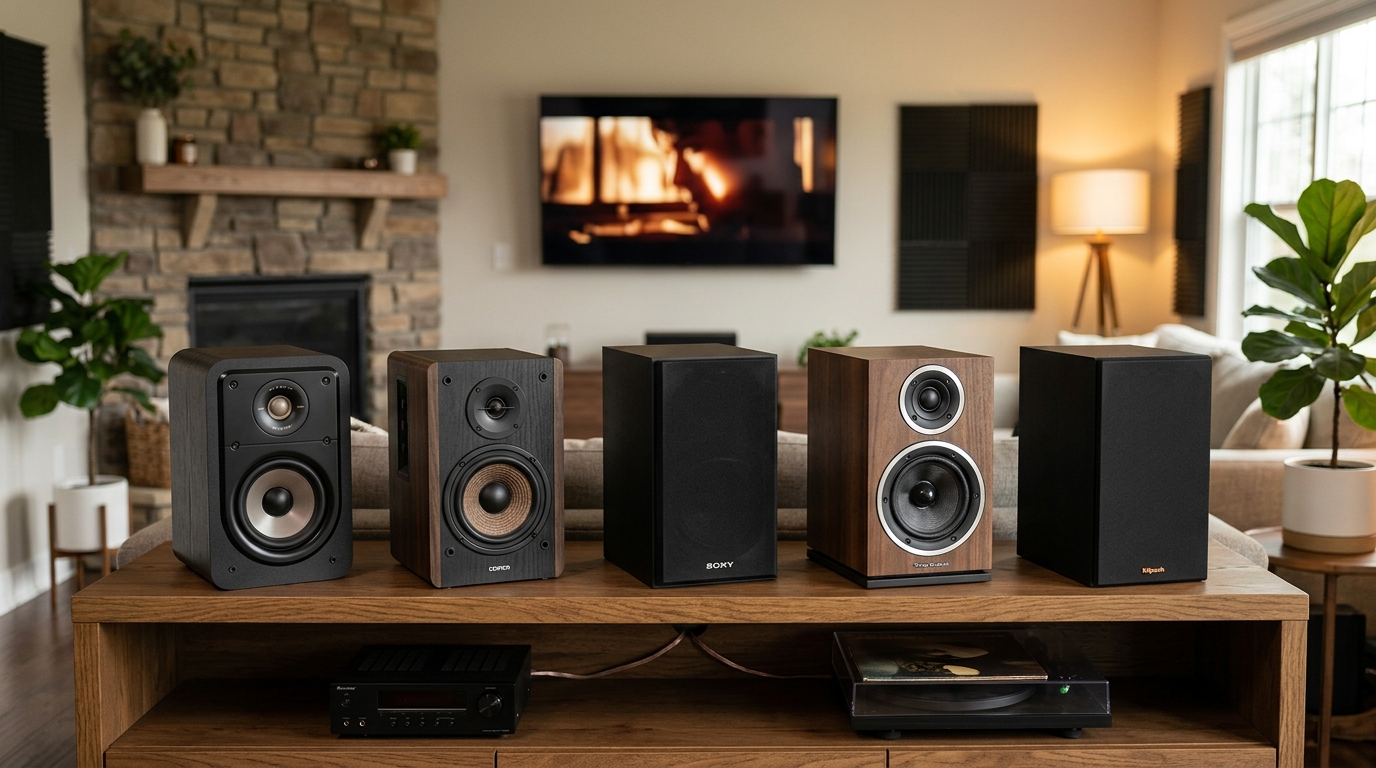
Shopping for bookshelf speakers on a budget doesn't mean settling for tinny highs and muddy bass. The right pair can…
Read More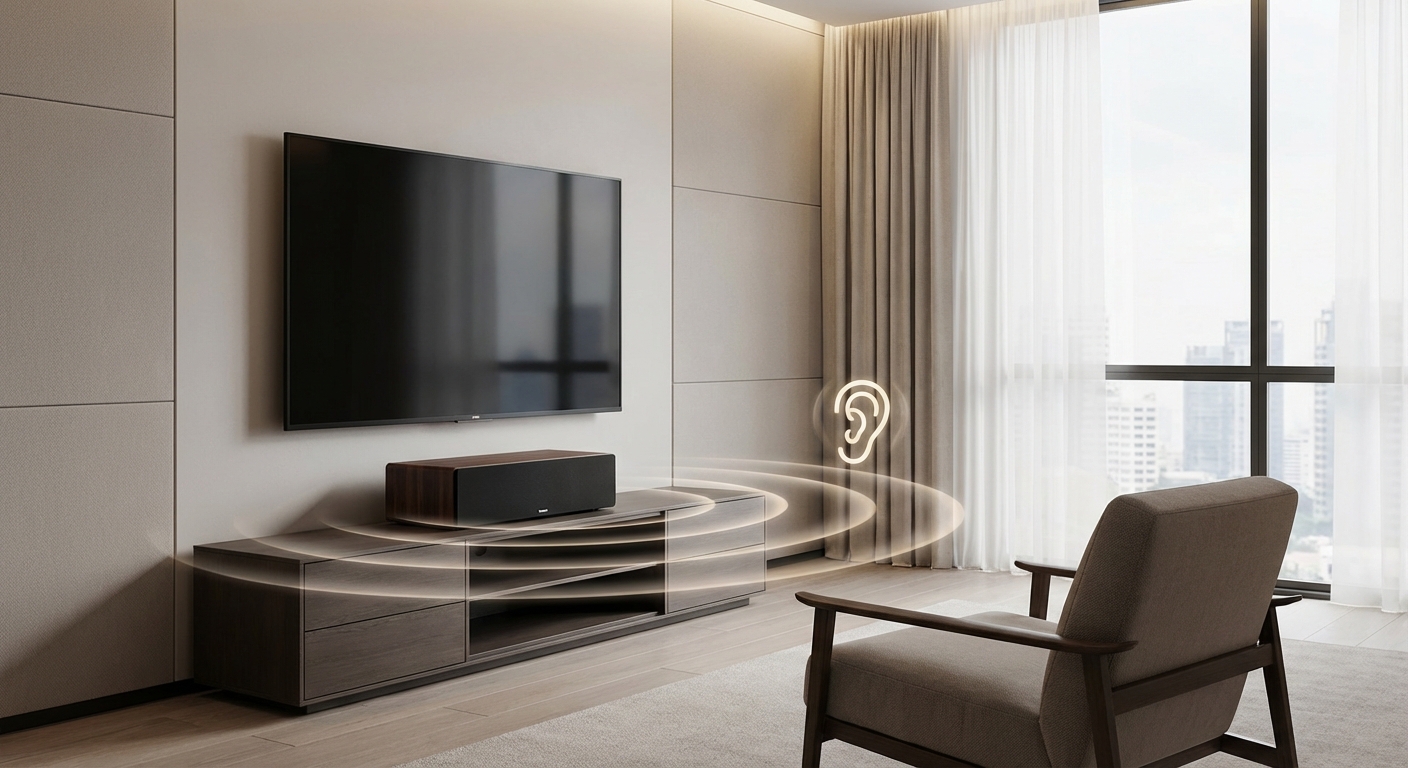
You’re watching a movie, leaning forward, straining to catch what the actors are saying while explosions rattle your walls perfectly.…
Read More
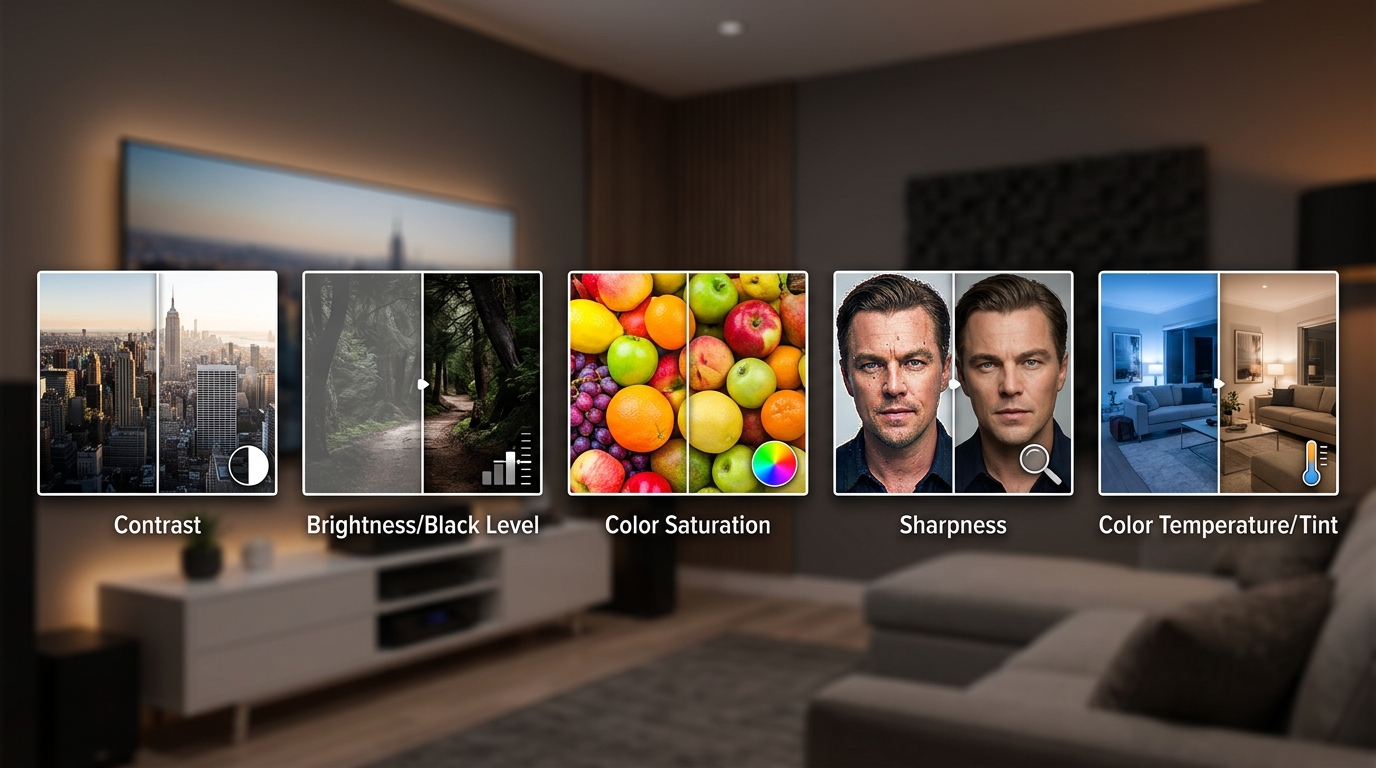
You bought new speakers, set them up, and turned them on. The sound feels wrong. Too boomy in the corners,…
Read More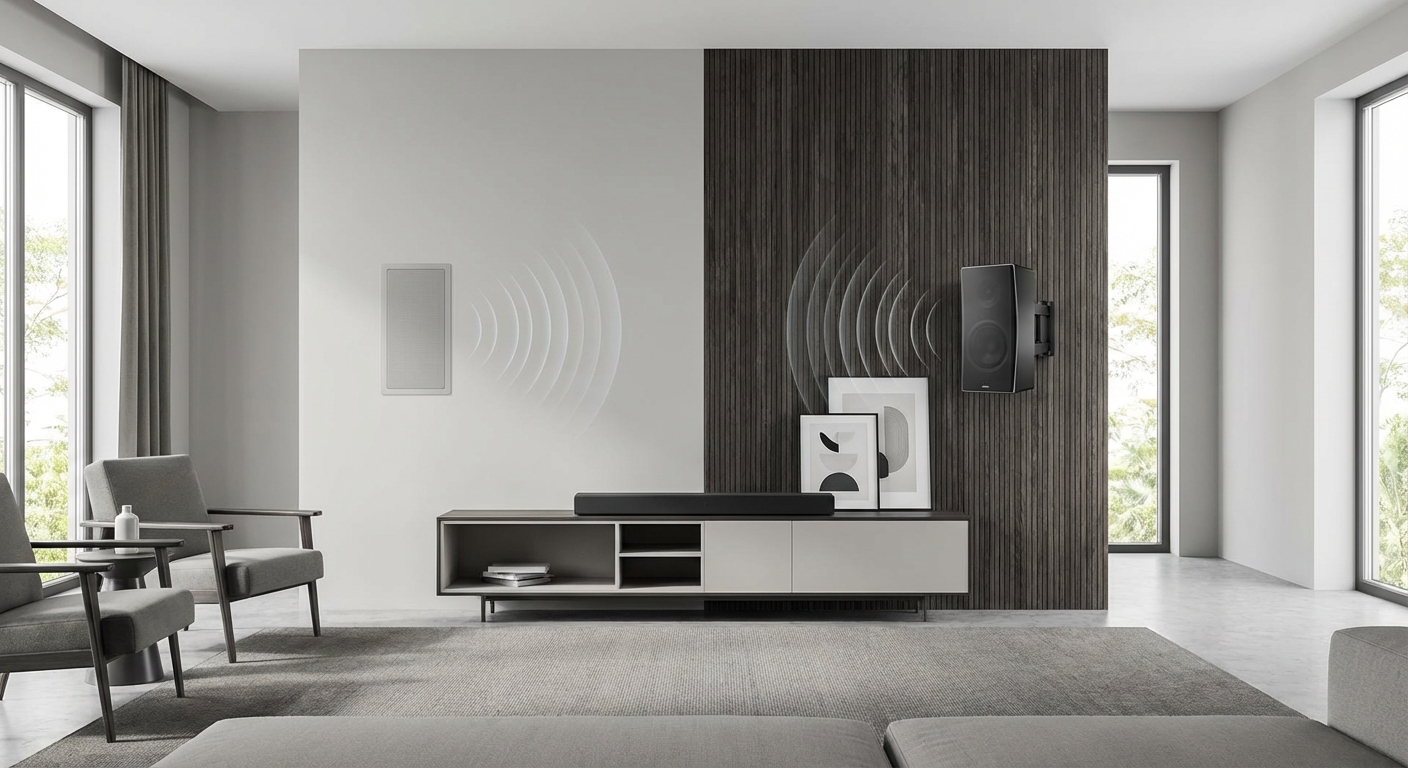
You're planning your home theater and staring at two mounting options that look similar but perform differently. In wall speakers…
Read More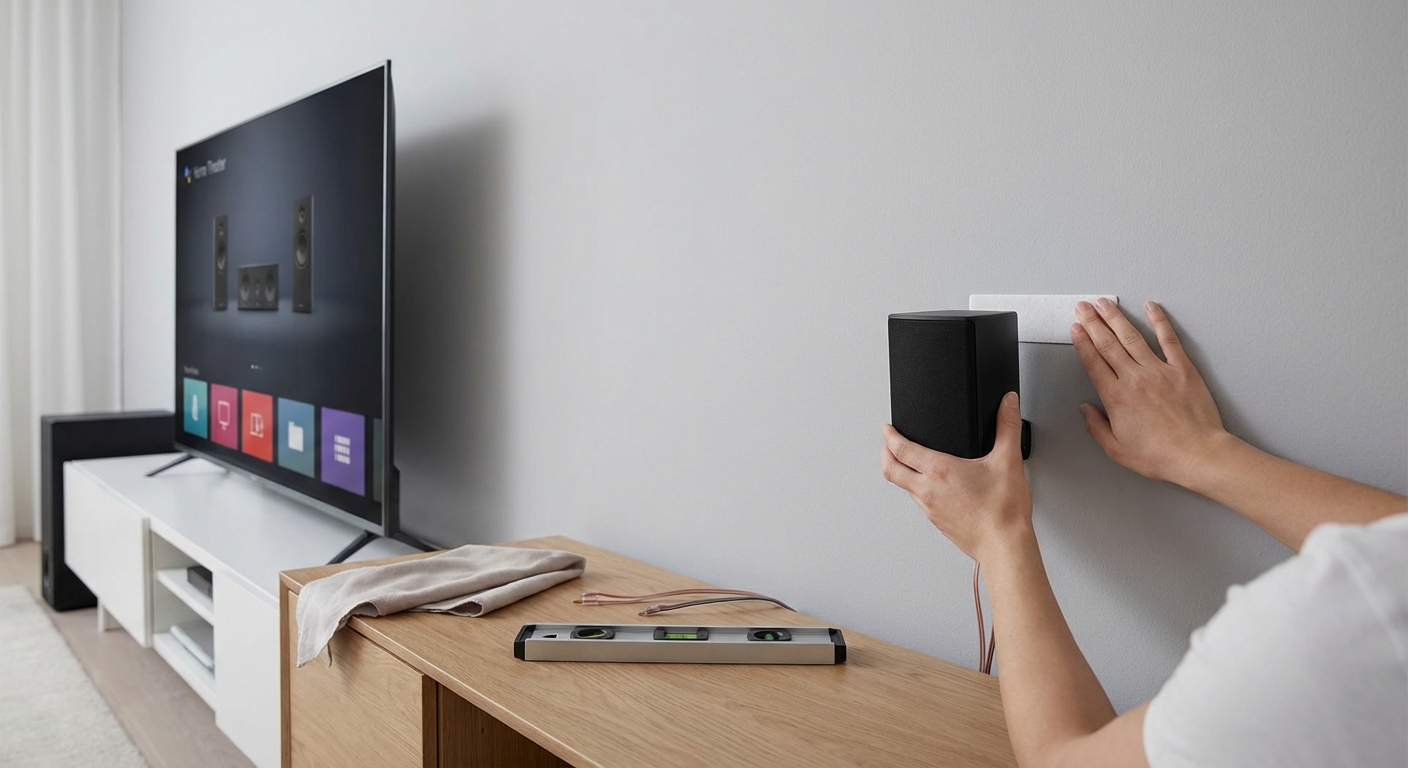
You want that immersive theater experience, but the thought of drilling holes in your walls makes you cringe. Maybe you’re…
Read More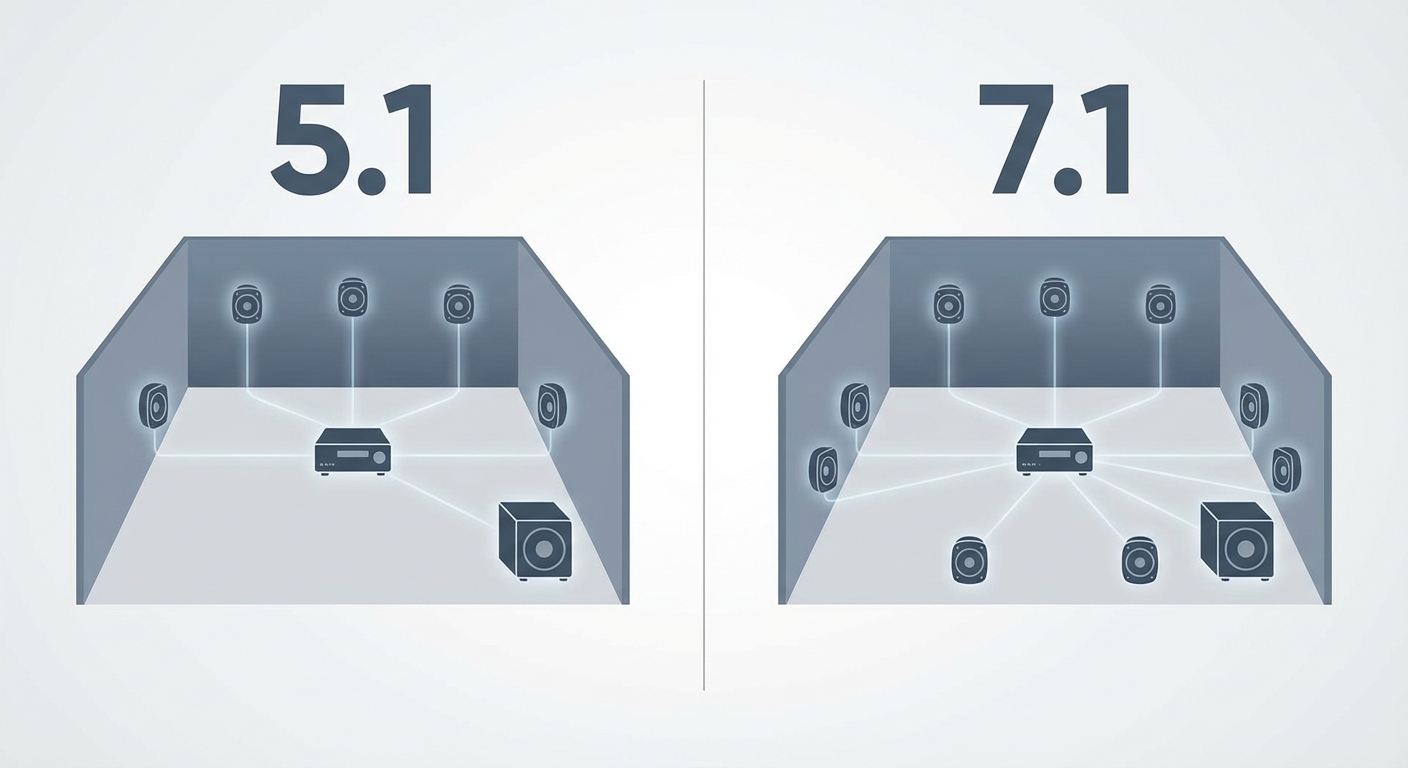
You’re standing in your living room, staring at the back of a receiver box, trying to figure out if those…
Read MoreYou’re building your first home theater and staring at a long list of components. Receiver, speakers, cables, maybe a screen.…
Read More