
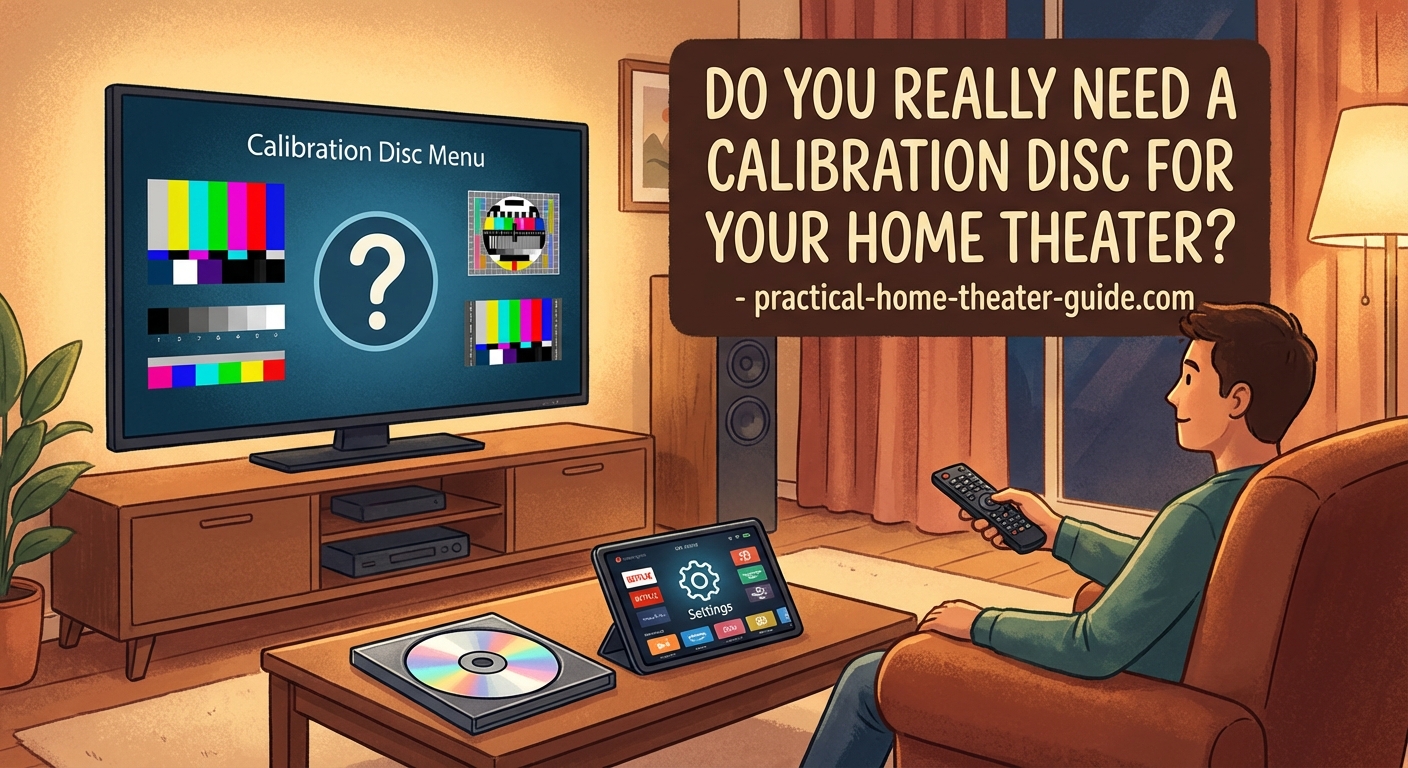
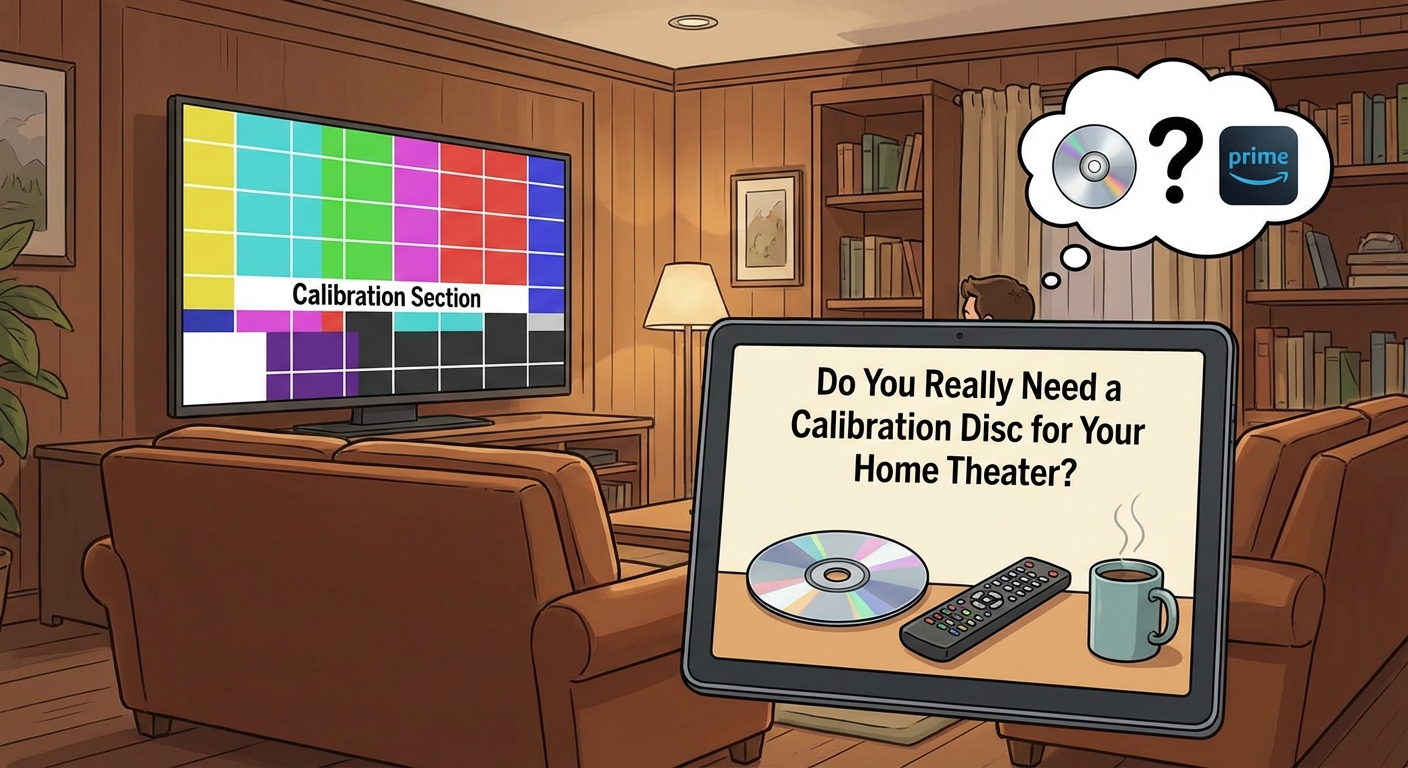
You just spent a few thousand dollars on a new TV or projector. The picture looks pretty good right out of the box, but you keep hearing about calibration discs in forums and reviews. Are they actually necessary, or just another accessory companies want you to buy?
Most home theater owners don’t need a calibration disc. Free built-in patterns and smartphone apps handle basic adjustments perfectly well. You only need a disc if you’re chasing professional-level accuracy, have a high-end display worth thousands, or want to learn advanced calibration techniques. For everyone else, your TV’s settings menu and a few free tools will get you 90% of the way there.
What a calibration disc actually does
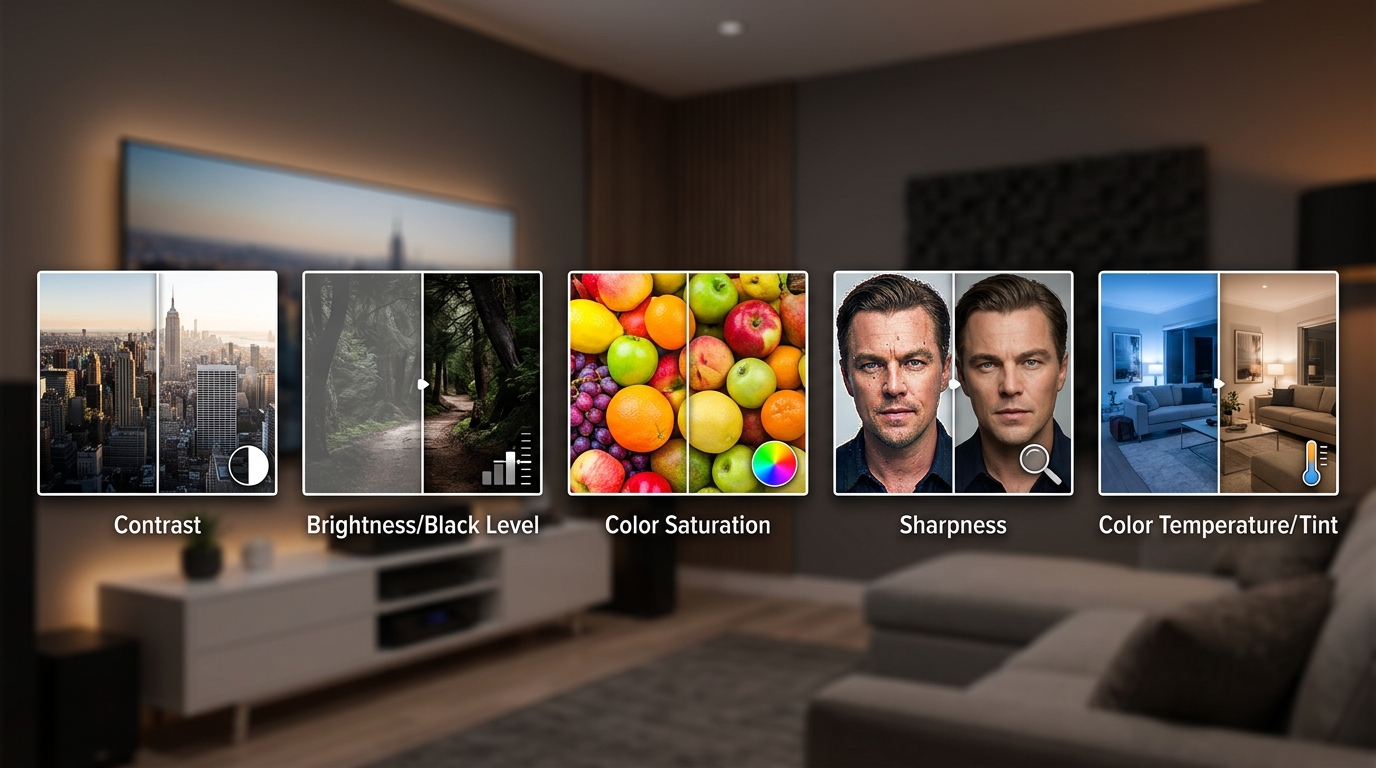
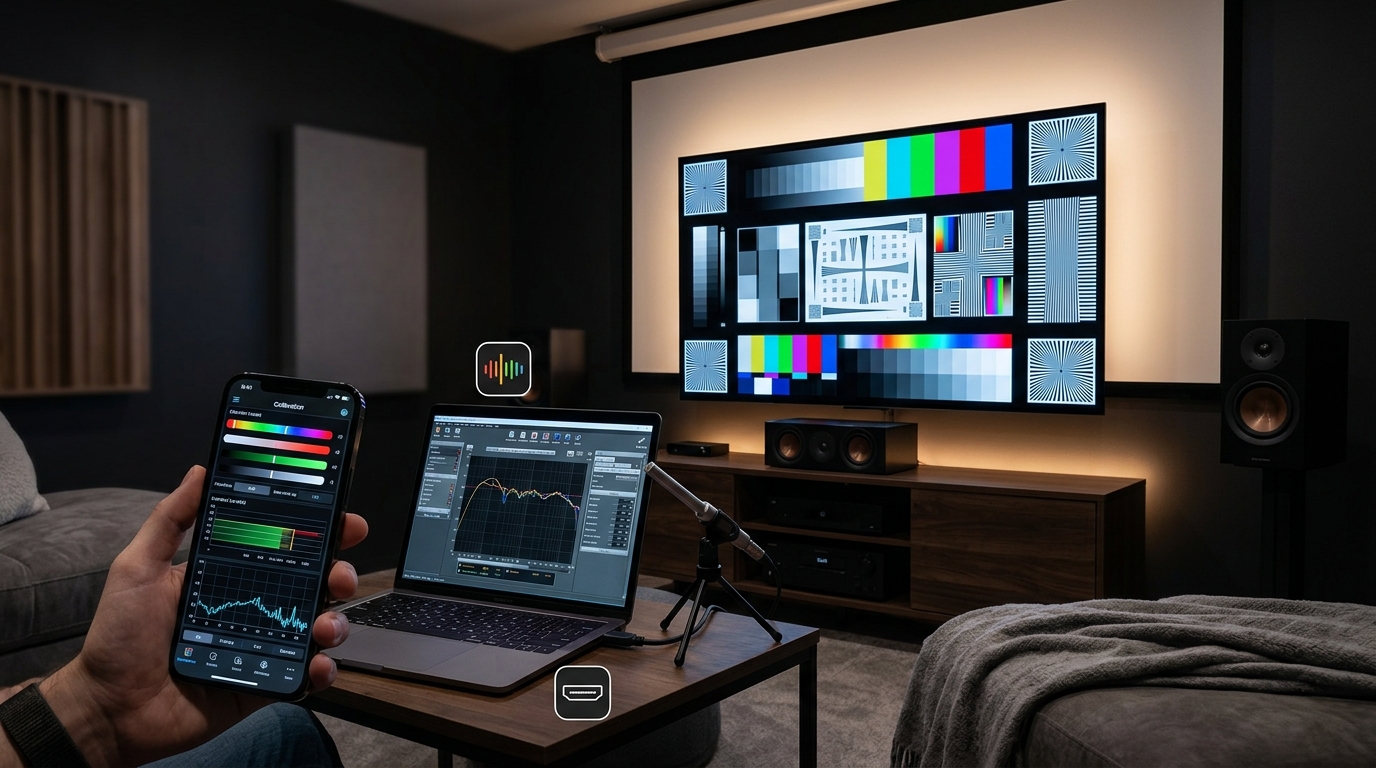
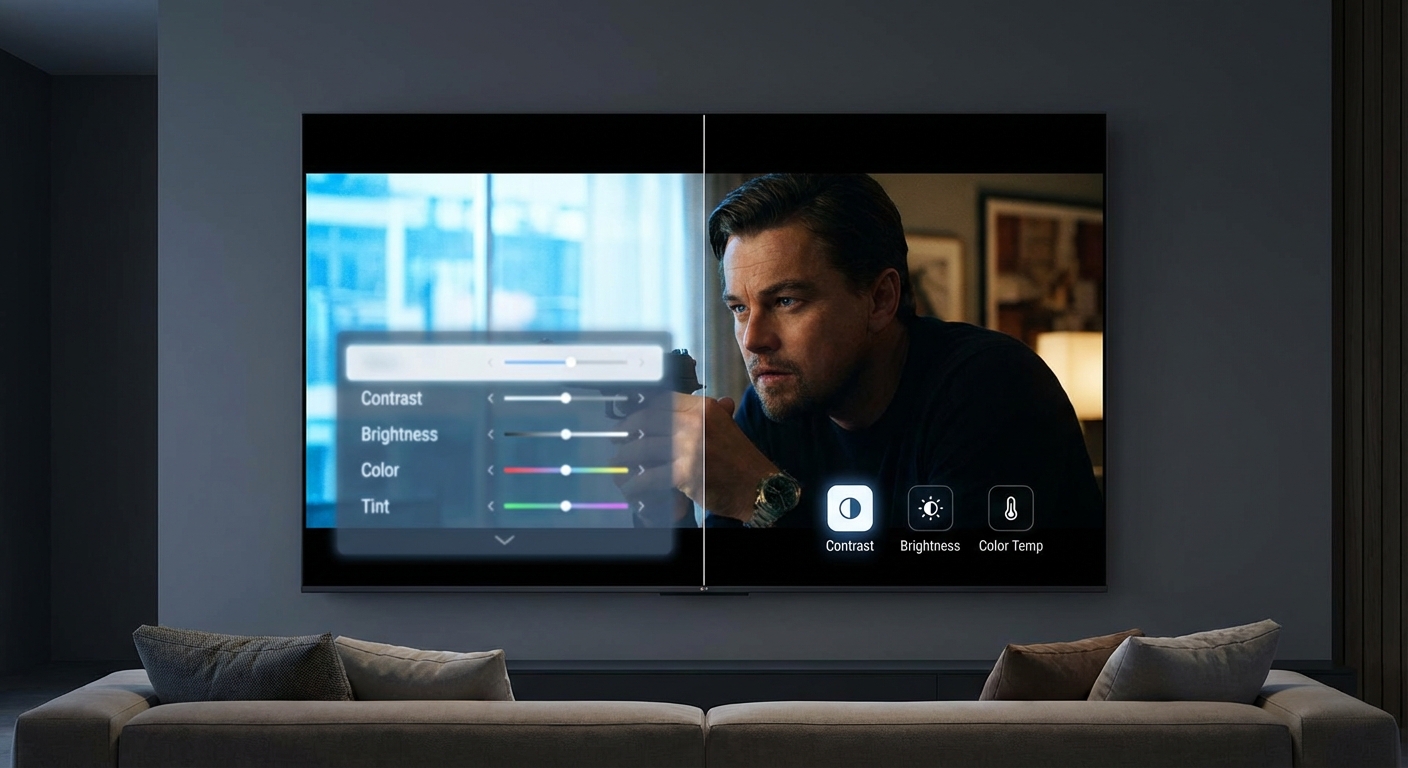
A calibration disc contains test patterns designed to help you adjust your display’s settings. These patterns show you things like brightness levels, color accuracy, sharpness, and motion handling.
The disc displays specific images that make it easier to see when settings are wrong. A pure black screen helps you set contrast. Color bars help you adjust saturation. Geometric patterns help you check for overscan.
Most calibration discs cost between $20 and $50. Some professional versions run over $100.
The patterns themselves aren’t magic. They’re just standardized images that give you a reference point. Your TV already has some of these patterns built into its service menu or settings.
When you actually need one
You should consider buying a calibration disc if you fall into one of these categories.
You own a high-end display. If your TV or projector cost over $3,000, the investment in proper calibration makes sense. These displays usually have wider color gamuts and more granular controls that benefit from precise adjustment.
You’re learning professional calibration. Film students, aspiring colorists, and serious enthusiasts who want to understand the technical side of video need structured test patterns. A disc provides a curriculum of sorts.
Your display has no built-in patterns. Older projectors and some budget TVs lack internal test patterns. A disc fills that gap.
You want to verify professional work. If you hired someone to calibrate your display, a disc lets you check their work and maintain those settings over time.
When you don’t need one
Most people fall into this category. Here’s why you can skip the disc.
Modern TVs ship with decent factory calibration. Manufacturers know most buyers won’t adjust anything, so they tune the display to look good in showrooms and living rooms. The settings aren’t perfect, but they’re usually acceptable.
Your TV probably has built-in test patterns. Check your settings menu for options like “Picture Test” or “Screen Adjustment.” Many brands include basic patterns for free.
Free smartphone apps work surprisingly well. Apps like DisplayCal and others provide test patterns you can use. They’re not as comprehensive as a disc, but they cover the basics.
Most viewers can’t tell the difference between a professionally calibrated display and one adjusted using free tools and the TV’s built-in patterns. The human eye adapts to a wide range of color temperatures and brightness levels.
What you can do without a disc
Here’s a practical approach that costs nothing and takes about 30 minutes.
- Find a scene you know well from a favorite movie or show. Pick something with good contrast, skin tones, and dark scenes.
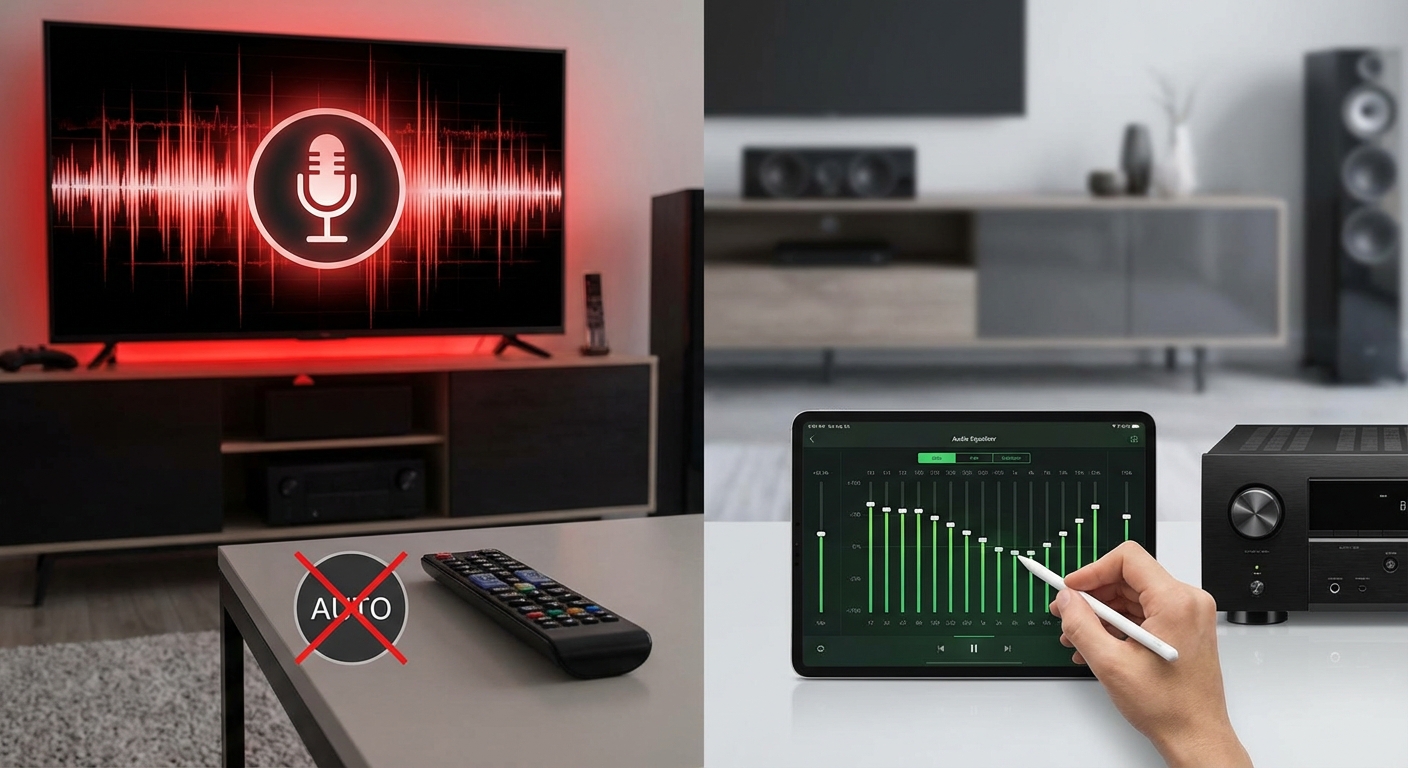
- Turn off all “enhancement” features like motion smoothing, dynamic contrast, and noise reduction. These usually make the picture worse.
- Use your TV’s built-in patterns if available. Adjust brightness until you can see details in dark scenes without crushing blacks.
- Set contrast so bright areas don’t blow out. White clouds should have texture, not look like glowing blobs.
- Adjust color temperature to “Warm” or “Warm2.” Most TVs ship set too blue, which looks punchy in stores but fatiguing at home.
- Leave sharpness at zero or slightly negative. Edge enhancement creates artificial halos around objects.
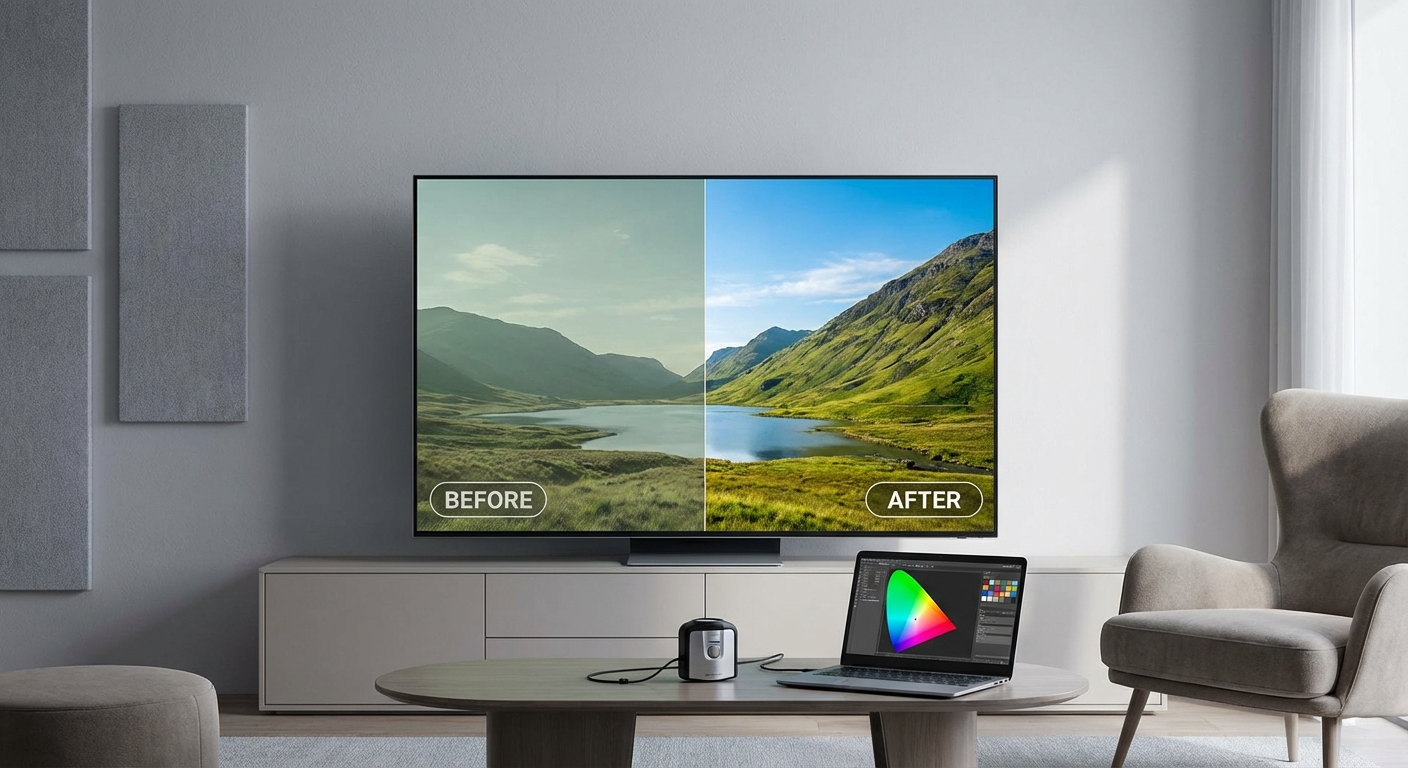
This process gets you most of the way to a good picture. You won’t match professional calibration, but you’ll fix the worst factory defaults.
The real cost of calibration
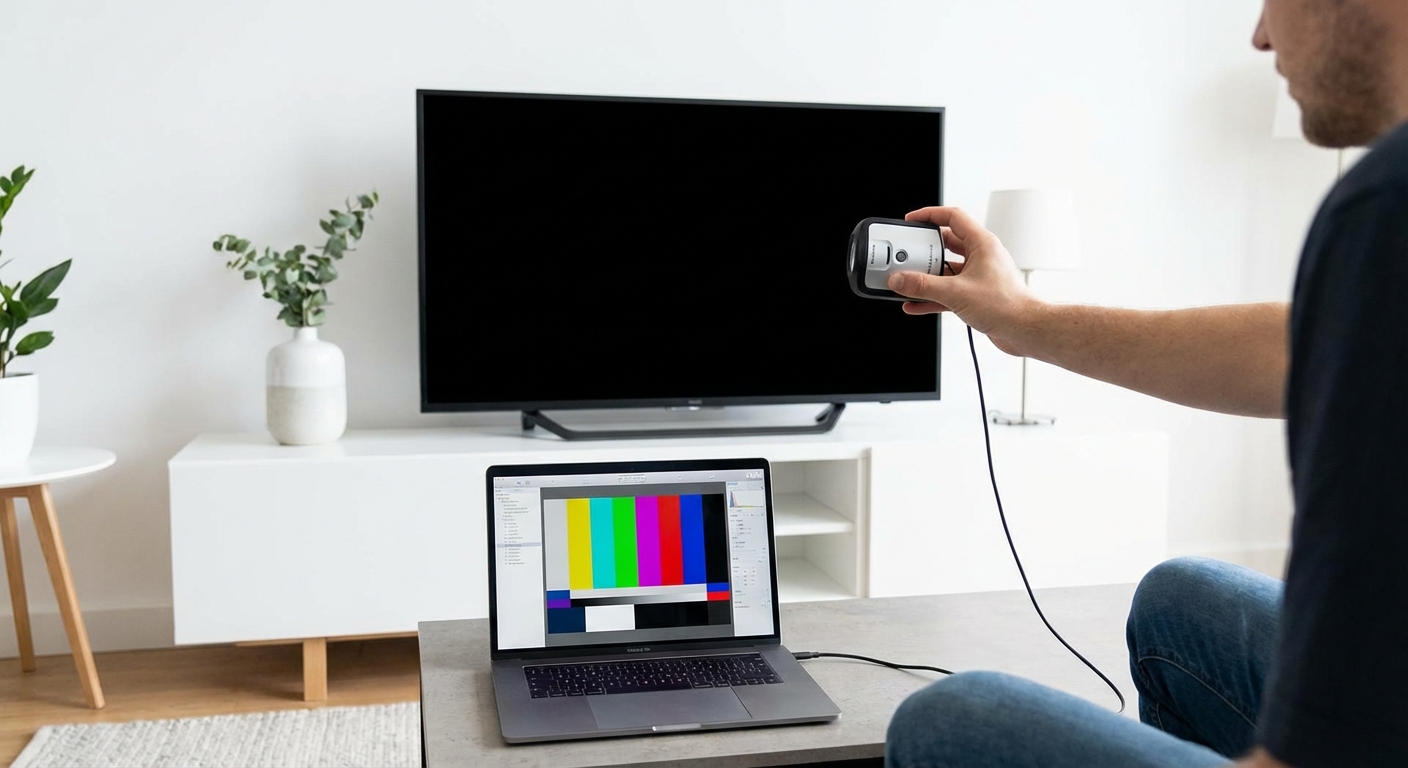
Buying a disc is the smallest expense if you go down this road. Professional calibration equipment starts at several hundred dollars and goes into the thousands.
A colorimeter measures your display’s actual output and costs $200 minimum for entry-level models. Professional units run $1,500 or more. Without measurement tools, you’re just eyeballing adjustments.
Software to interpret those measurements adds another cost. Some is free, but professional packages charge subscription fees.
Time is the hidden cost. Learning to calibrate properly takes dozens of hours. You’ll make mistakes. You’ll overcorrect. You’ll spend an evening tweaking settings only to realize you made the picture worse.
For most people, that time would be better spent watching movies.
Common calibration mistakes
People who buy discs often make these errors.
| Mistake | Why It Happens | Better Approach |
|---|---|---|
| Adjusting in bright rooms | Ambient light throws off perception | Calibrate in your actual viewing conditions |
| Chasing perfect numbers | Focusing on measurements over appearance | Trust your eyes in the final step |
| Copying someone else’s settings | Every display unit varies | Use settings as starting points only |
| Over-sharpening | Thinking sharper always looks better | Keep sharpness at or below zero |
| Ignoring picture modes | Adjusting the wrong mode | Calibrate the mode you actually use |
The biggest mistake is thinking calibration is a one-time task. Displays drift over time. Backlights age. Room lighting changes with seasons. Settings you loved in winter might look wrong in summer.
Tools that actually help
If you want better picture quality without buying a disc, focus on these free resources.
Your display’s manual has recommended settings. Manufacturers often publish guides showing which features to enable and disable. Read it.
Online forums have settings databases for specific models. Sites dedicated to TV reviews often publish calibration results. You can use those as starting points.
Streaming services have test patterns. Netflix has a hidden calibration section if you search for it. These patterns work fine for basic adjustments.
Your eyes are the final judge. Measurements matter for professional work, but at home, you’re trying to create a picture that looks good to you. If it looks right, it is right.
Picture modes matter more
Before you worry about calibration, pick the right picture mode. This single choice affects image quality more than any individual setting adjustment.
Most TVs have modes like Vivid, Standard, Cinema, and Game. Each mode changes dozens of settings at once.
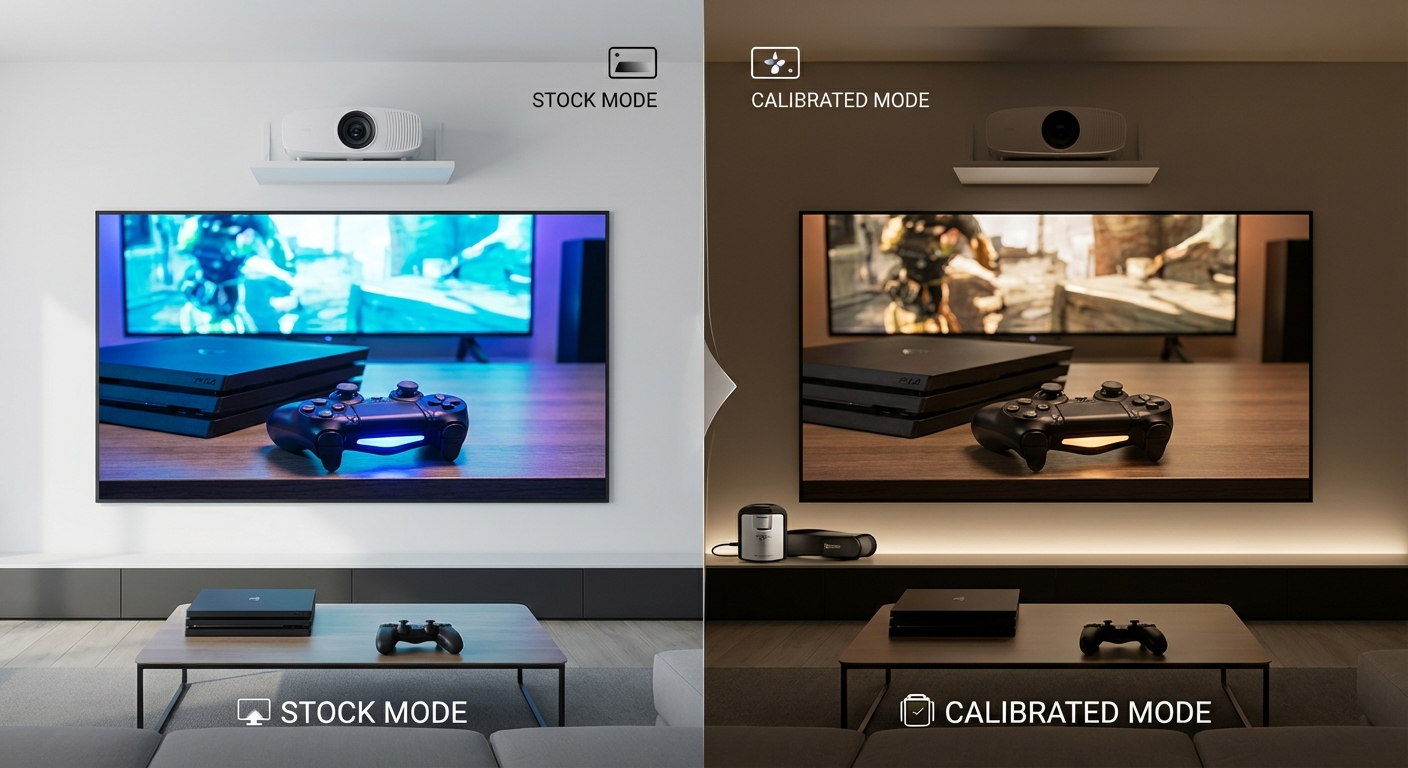
Vivid mode cranks everything up for showroom appeal. Colors are oversaturated. Motion processing creates the soap opera effect. Contrast is exaggerated. Never use this mode.
Standard mode is usually acceptable but still tuned a bit bright and cool. It’s a safe middle ground.
Cinema or Movie mode typically offers the most accurate starting point. Colors are less saturated but more realistic. Motion processing is minimal. This is where you should start.
Game mode reduces input lag by disabling processing. Use it for gaming, but it often looks worse for movies because it skips noise reduction and other helpful features.
Switching from Vivid to Cinema mode often improves picture quality more than any amount of tweaking individual settings.
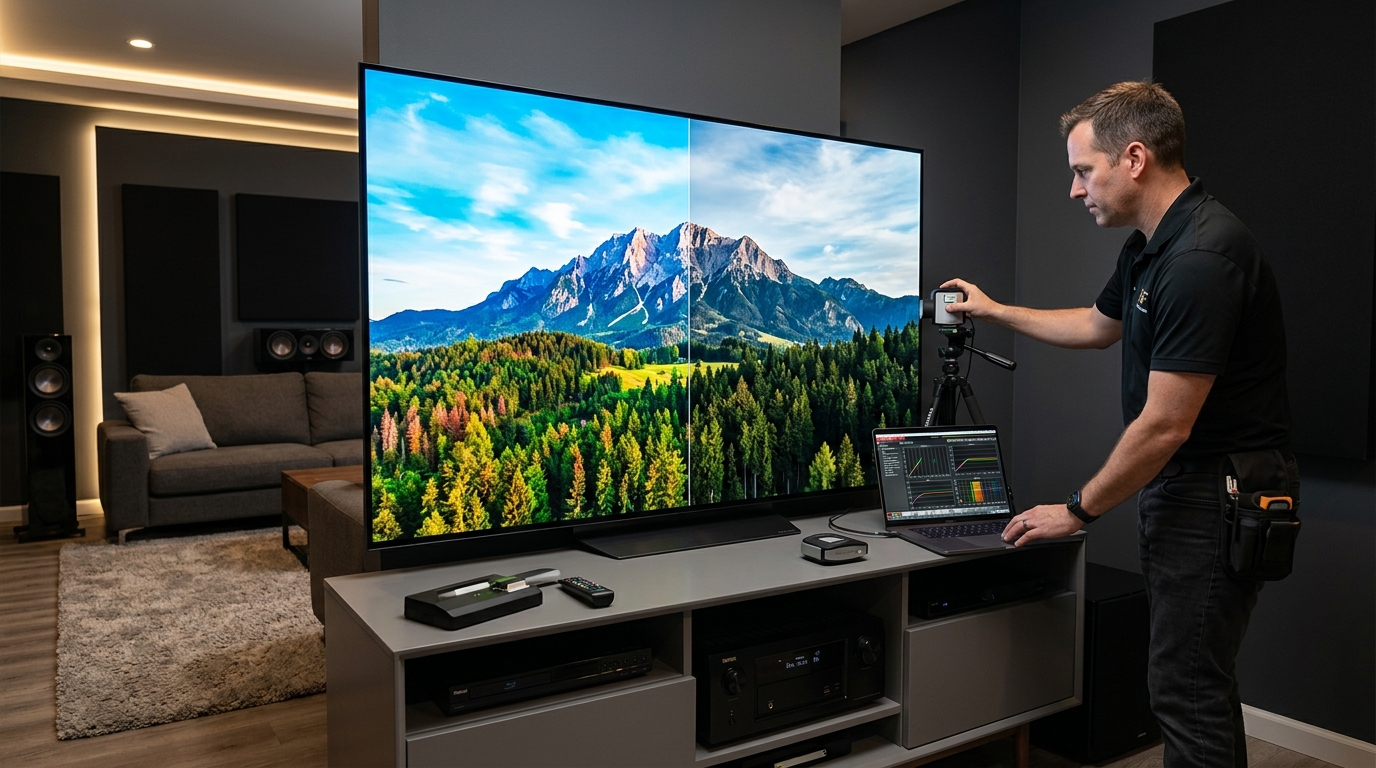
When professional calibration makes sense
Hiring a professional costs $300 to $500 for a basic calibration. Advanced work with 3D LUTs and HDR tuning can run over $1,000.
This makes sense if your display cost $5,000 or more. The calibration fee becomes a reasonable percentage of your total investment.
Professionals bring proper equipment and experience. They can adjust settings you can’t access through normal menus. They understand the interaction between different controls.
But for a $1,500 TV, spending $400 on calibration doesn’t make financial sense. You’re better off putting that money toward a better display next time.
The 80/20 rule applies here
You can get 80% of optimal picture quality with 20% of the effort. That 20% is turning off bad features and selecting the right picture mode.
The remaining 20% of improvement requires 80% of the effort. That’s where calibration discs, meters, and hours of tweaking come in.
For most viewers, that trade-off isn’t worth it. You’ll spend more time adjusting settings than enjoying content.
Your brain adapts to a wide range of “correct” images. Professional colorists argue about white point temperatures differing by 500 Kelvin, but most viewers wouldn’t notice a 1,000 Kelvin difference after a few minutes of watching.
Focus on your viewing environment instead
Room setup affects picture quality more than precise calibration. A perfectly calibrated TV in a bad room looks worse than a roughly adjusted TV in a good room.
Control your lighting. Bright windows behind the TV wash out contrast. Lamps reflecting off the screen reduce black levels. Watch in dim conditions, not complete darkness.
Viewing distance matters. Sit too close and you’ll see pixels and compression artifacts. Sit too far and you won’t appreciate resolution improvements.
Screen height affects comfort. The center of your display should be at eye level when seated. Mounting too high creates neck strain and viewing angle issues.
These physical factors make a bigger difference than whether your color temperature is 6500K or 6700K.
Making the decision
Here’s a simple decision tree.
Do you have a display worth more than $3,000? Consider a disc and professional help.
Are you learning video production or color grading? A disc is a useful educational tool.
Do you enjoy technical hobbies and want to learn calibration as a skill? Buy a disc and have fun.
Are you just trying to get a good picture for movie nights? Skip the disc. Use free tools and your TV’s built-in features.
The answer for most people is clear. You don’t need a calibration disc. You need to turn off the bad features your TV shipped with and pick the right picture mode.
Getting the picture you want
Calibration discs serve a purpose for professionals and serious enthusiasts. For everyone else, they’re an unnecessary expense that solves a problem you probably don’t have.
Your time is better spent learning which settings to turn off than which ones to fine-tune. Disable motion smoothing. Switch to Cinema mode. Adjust brightness and contrast using built-in patterns or a familiar movie scene. That’s it.
The goal isn’t perfection. The goal is a picture that looks good to you in your room with your content. Free tools and 30 minutes of your time will get you there. Save your money for better speakers or more comfortable seating. Those upgrades will improve your home theater experience far more than a calibration disc ever could.


Leave a Reply