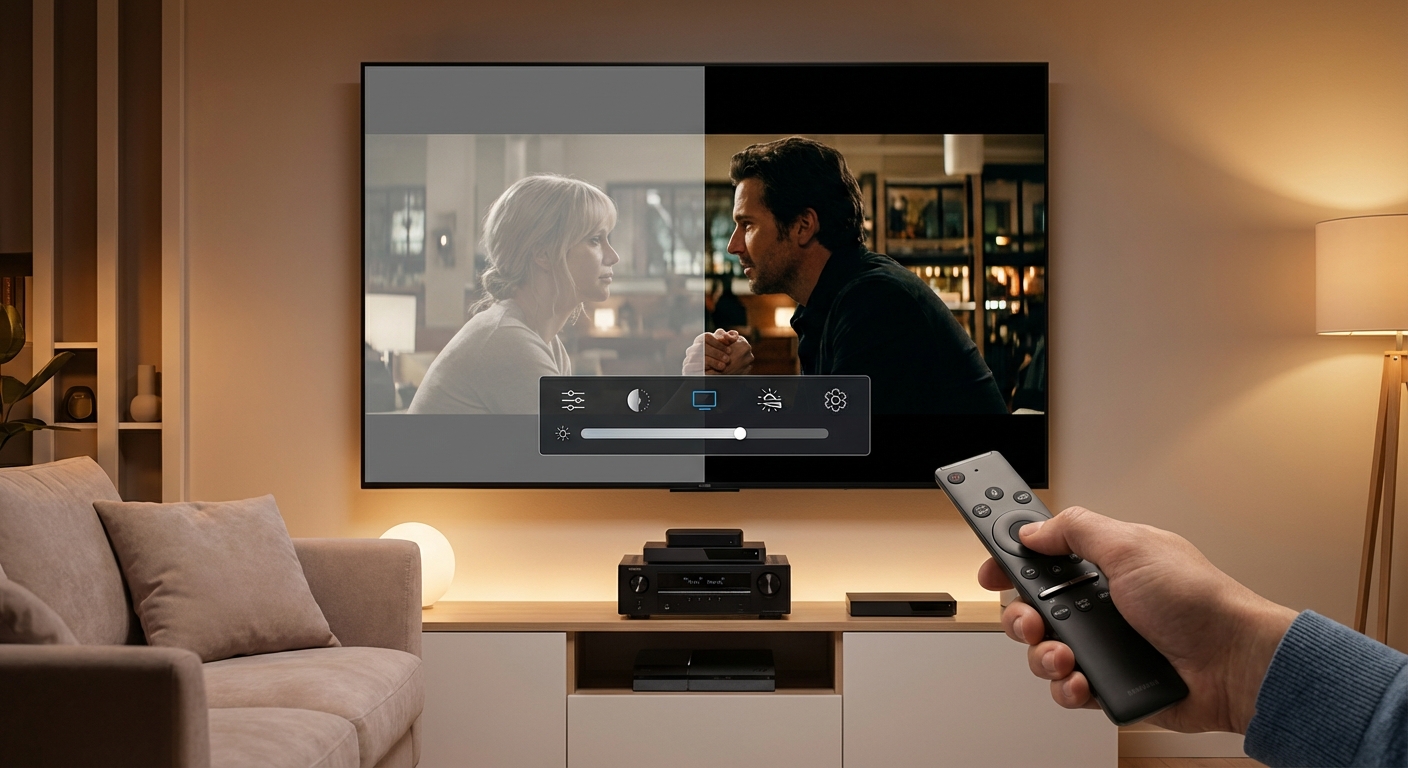
You finally upgraded to a TV with HDR support, fired up your favorite streaming show, and something feels off. The image looks flat and lifeless, or so dark you can barely see what’s happening. You’re not imagining things. HDR content can look terrible when your TV settings aren’t configured properly, and the fix usually takes just a few minutes once you know where to look.
Washed out or overly dark HDR happens when your TV’s picture mode, HDMI settings, or brightness controls conflict with HDR metadata. Fix it by enabling HDR mode on the correct HDMI input, switching to Cinema or Filmmaker picture modes, adjusting OLED light or backlight settings, and turning off dynamic contrast features that crush shadow detail or flatten highlights.
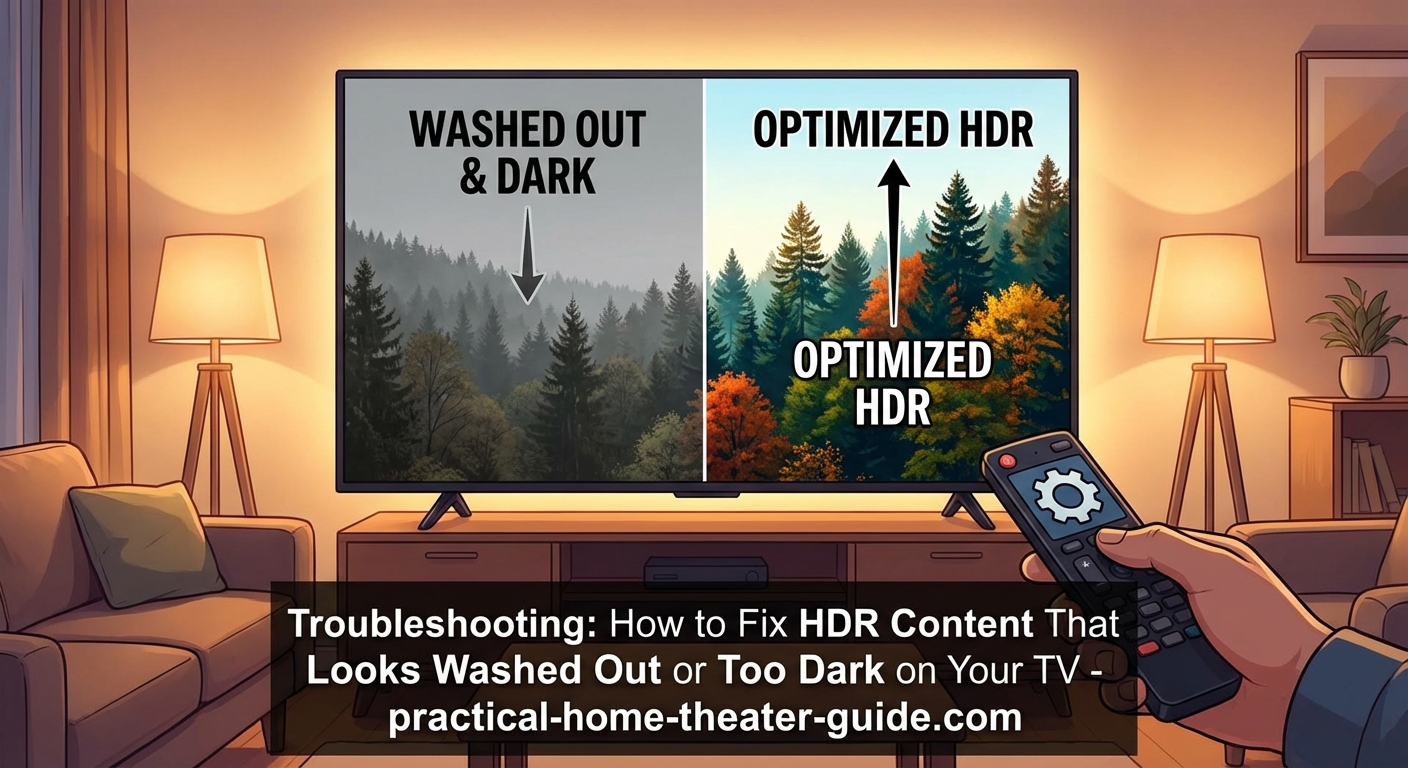
Why HDR looks washed out on some TVs
HDR stands for High Dynamic Range, which means your TV should display a wider range of brightness levels than standard content. When it works correctly, you get brighter highlights and deeper shadows in the same scene.
But many TVs ship with settings designed for standard dynamic range content. When HDR signals arrive, the TV tries to process them using the wrong picture profile. This creates a mismatch between what the content expects and what your display actually does.
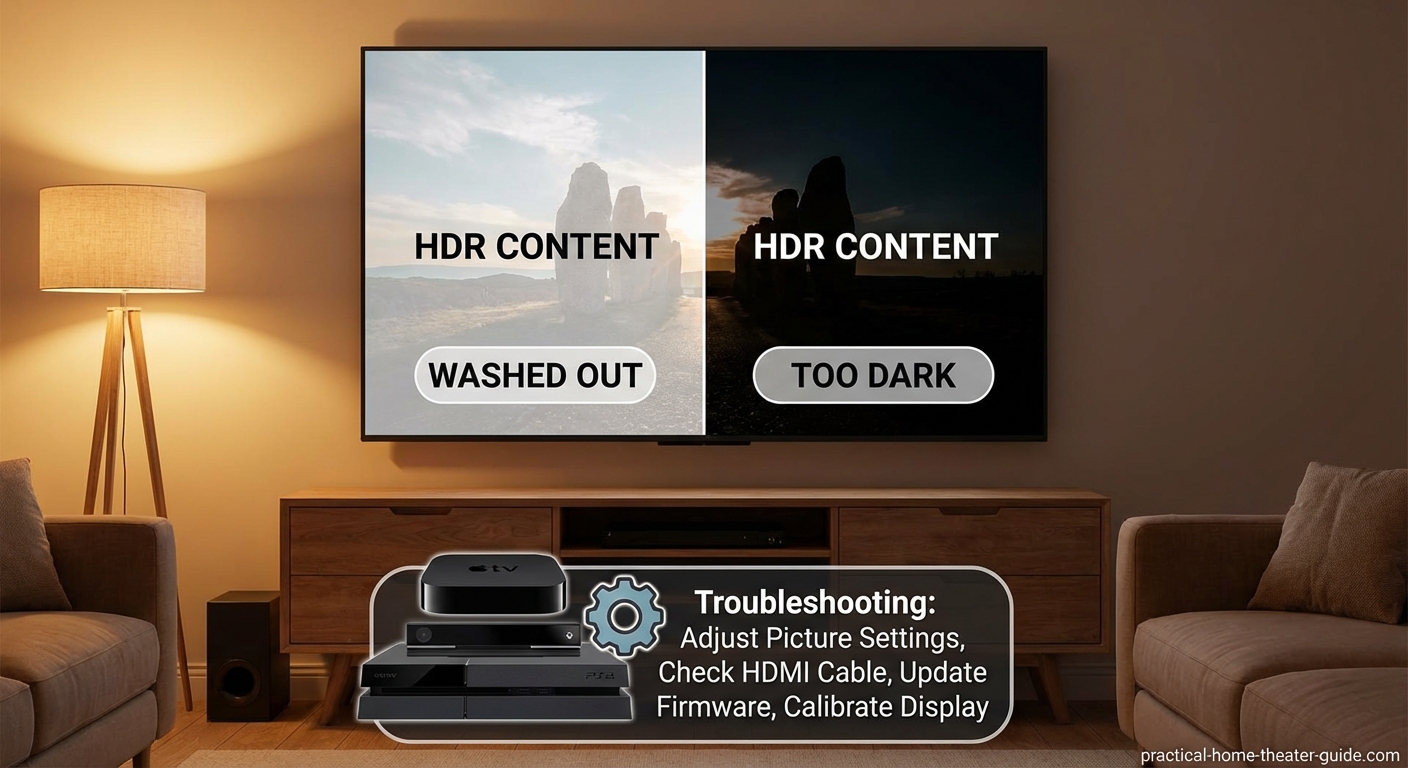
The most common culprit is a picture mode that applies heavy processing. Vivid, Dynamic, and Sports modes boost saturation and sharpness for non-HDR content. Apply those same adjustments to HDR, and you get blown-out highlights or crushed blacks that eliminate all the detail HDR was supposed to preserve.
Another frequent issue is HDMI handshake problems. Your source device sends HDR metadata, but your TV doesn’t recognize it properly. The TV treats the signal as standard content, which makes everything look flat and gray.
Step-by-step troubleshooting for washed out HDR
Follow these steps in order. Most people find their fix in the first three steps.
-
Confirm HDR is actually active. Play HDR content from Netflix, Disney+, or a 4K Blu-ray player. Press the Info or Display button on your TV remote. Look for a label that says HDR, HDR10, Dolby Vision, or HLG. If you don’t see any HDR indicator, your TV isn’t receiving the HDR signal.
-
Enable enhanced HDMI mode on the correct input. Most TVs disable full bandwidth HDMI features by default to maintain compatibility with older devices. Navigate to your TV’s settings menu, find HDMI settings or external inputs, and enable Enhanced HDMI, HDMI UHD Color, or Enhanced Format for the specific HDMI port your streaming device or player uses. The label varies by brand, but the function is the same.
-
Switch to the correct picture mode. When HDR content plays, your TV should automatically switch to an HDR-specific picture mode. If it doesn’t, manually select Cinema, Filmmaker Mode, or Movie. Avoid Vivid, Dynamic, Standard, and Sports modes. These apply processing that ruins HDR tone mapping.
-
Adjust OLED light or backlight. This control determines your TV’s maximum brightness, not the brightness curve. For HDR content in a dark room, set OLED Light or Backlight between 80 and 100. In a bright room, push it to 100. This gives HDR highlights room to shine without clipping detail.
-
Turn off dynamic contrast and local dimming adjustments. Features like Dynamic Contrast, Active Contrast, or Contrast Enhancer analyze the image and adjust brightness on the fly. They work against HDR tone mapping, which already handles contrast intelligently. Set these features to Off or Low.
-
Disable noise reduction and motion smoothing. Digital Noise Reduction, MPEG Noise Reduction, and motion interpolation (TruMotion, MotionFlow, Auto Motion Plus) add processing delay and can interfere with HDR metadata. Turn them all off.
Here’s a comparison of settings that help versus settings that hurt HDR image quality.
| Setting | Recommended Value | Why It Matters |
|---|---|---|
| Picture Mode | Cinema, Filmmaker Mode, Movie | Preserves HDR tone mapping without added processing |
| OLED Light / Backlight | 80-100 | Allows highlights to reach intended brightness |
| Contrast | 85-95 | Controls white level without clipping |
| Brightness | 50 | Sets black level, adjust only if blacks look gray |
| Dynamic Contrast | Off | Prevents interference with HDR metadata |
| Local Dimming | Medium or High | Enhances contrast on LED TVs, but avoid Auto |
| Color Temperature | Warm or Warm2 | Reduces blue tint, closer to cinema standard |
| Sharpness | 0-10 | Eliminates artificial edge enhancement |
Fixing HDR that looks too dark
If your HDR image looks dim instead of washed out, the problem usually sits in a different set of controls.
Check your brightness setting first. This control adjusts black level, not overall image brightness. If it’s set too low, shadow detail disappears into pure black. Set Brightness to 50, then adjust up or down until you can just barely see detail in the darkest parts of the image.
Gamma settings also affect how your TV distributes brightness across the tonal range. Most TVs offer gamma presets like 2.2, 2.4, or BT.1886. For HDR, BT.1886 or 2.4 usually produces the best results. If those options aren’t available, try the middle gamma setting.
Some TVs apply an HDR effect or HDR+ mode that tries to make HDR look more dramatic. These features often make dark scenes even darker. Turn off any setting with “HDR” in the name that isn’t the basic HDR format indicator.
Room lighting plays a bigger role than most people realize. HDR looks best in a dim or dark room. If you watch in bright daylight, your eyes adapt to the ambient light, and even properly configured HDR will look dark by comparison. Close curtains, dim lights, or wait until evening for the best experience.
If you’ve tried every setting and HDR still looks wrong, your TV might not have enough peak brightness to display HDR properly. Budget TVs often support HDR formats but lack the brightness and contrast to show meaningful improvement over standard content. In that case, turning HDR off entirely may produce a better-looking image.
Common mistakes that make HDR worse
Many people accidentally sabotage their HDR image by changing settings that should stay at default.
Cranking contrast to 100 clips highlight detail. HDR content already has extended contrast range. Pushing contrast too high crushes bright areas into featureless white blobs. Keep contrast between 85 and 95.
Using the Standard or Vivid picture mode ruins color accuracy. These modes oversaturate colors to make store displays pop under fluorescent lights. At home, they make skin tones look orange and skies look neon blue.
Leaving eco or power-saving modes enabled limits brightness. Energy-saving features reduce backlight or OLED light to lower power consumption. This defeats the purpose of HDR, which needs high brightness for specular highlights. Turn off all eco modes when watching HDR.
Adjusting color and tint without test patterns creates new problems. Unless you’re using calibration tools, leave Color at 45-55 and Tint at 0. Random adjustments based on one scene will make other content look worse.
Device-specific settings that affect HDR
Your source device has settings that matter just as much as your TV settings.
Streaming devices like Roku, Apple TV, and Fire TV have video output settings. Make sure the output resolution is set to 4K and the dynamic range is set to Auto or Match Content. If you force HDR on all the time, non-HDR content will look washed out.
Gaming consoles need HDR enabled in system settings. On PlayStation 5, go to Settings > Screen and Video > Video Output and enable HDR. On Xbox Series X/S, go to Settings > General > TV & Display Options and configure HDR calibration. Both consoles offer calibration tools that help set brightness and contrast correctly.
4K Blu-ray players usually auto-detect HDR, but some models have output settings that can interfere. Check your player’s video settings and make sure color space is set to Auto and deep color output is enabled.
Cable and satellite boxes rarely support HDR, but if yours does, verify that the box is connected to an HDMI port with enhanced mode enabled. Older HDMI cables can also cause problems. Use High Speed HDMI cables or Ultra High Speed HDMI cables rated for 18 Gbps or higher.
How different TV technologies handle HDR
Understanding your TV’s display technology helps you set realistic expectations.
OLED TVs have perfect blacks and excellent contrast, but lower peak brightness than LED models. HDR on OLED looks best in dark rooms. You won’t get the same eye-searing highlights as a bright LED TV, but you’ll see better shadow detail. If you’re considering different display technologies, learning about OLED vs QLED vs Mini-LED can help you understand these brightness trade-offs.
LED TVs with full-array local dimming produce brighter highlights but can suffer from blooming around bright objects on dark backgrounds. Set local dimming to Medium or High for HDR. Low or Off defeats the benefit of the feature.
Edge-lit LED TVs struggle with HDR because they lack the zone control to dim and brighten different parts of the screen independently. These TVs benefit most from careful brightness and contrast adjustment. Don’t expect the same HDR performance as higher-end models.
QLED TVs use quantum dot technology for wider color gamut and higher brightness. They handle HDR well in bright rooms but can’t match OLED’s black levels. Adjust backlight to maximum for the best HDR experience.
Testing your HDR setup with real content
Once you’ve adjusted settings, test with content that shows a wide range of brightness.
Planet Earth II on Netflix has scenes with bright skies, deep shadows, and rich colors. If you can see detail in both the brightest clouds and darkest caves, your settings are working.
The Mandalorian on Disney+ uses Dolby Vision HDR with challenging mixed lighting. Scenes inside the Razor Crest should show visible detail in shadows while exterior space scenes stay inky black.
4K Blu-ray discs of movies like Blade Runner 2049 or Mad Max: Fury Road push HDR to its limits. If you own a player, these discs reveal whether your TV can handle extreme contrast.
YouTube has HDR test videos that cycle through color bars, brightness ramps, and real-world scenes. Search for “HDR test pattern” and watch in a dark room. You should see smooth gradients without banding and distinct separation between brightness levels.
When to turn HDR off instead of fixing it
Sometimes the best solution is disabling HDR entirely.
If your TV is more than five years old and supports only HDR10 without wide color gamut or high peak brightness, HDR might make content look worse than standard dynamic range. Check your TV’s specs. If peak brightness is below 400 nits, you’re not getting meaningful HDR performance.
Some streaming services apply HDR to content that wasn’t mastered for it. This fake HDR adds nothing and can introduce problems. If a show looks better with HDR disabled, trust your eyes.
Budget TVs sometimes support HDR formats for marketing reasons but lack the hardware to display them properly. If you’ve followed every step in this guide and HDR still looks wrong, your TV might be the limitation. Watch in standard dynamic range until you upgrade.
Room setup affects perceived HDR quality
Your viewing environment changes how HDR looks, even with perfect settings.
Bright windows behind or beside your TV reduce perceived contrast. Your eyes adapt to the ambient light, making even bright HDR highlights look dim. Close blinds, use blackout curtains, or rearrange furniture so windows don’t compete with your screen. Similar to how room distance affects TV size selection, lighting conditions influence your HDR experience.
Colored walls reflect light onto your screen and shift color perception. White or light gray walls work best for home theater setups. Dark walls help, but avoid bright colors that cast tints onto the display.
Light fixtures with dimmer switches give you control over ambient lighting. Dim lights to about 10% of your TV’s brightness for the most comfortable viewing experience. Complete darkness makes bright HDR scenes uncomfortable to watch.
Calibration tools for advanced users
If you want to go beyond basic settings, calibration improves accuracy.
The Spears & Munsil UHD HDR Benchmark disc costs around $40 and includes test patterns for brightness, contrast, color, and sharpness. It walks you through each adjustment with clear instructions.
DisplayCAL is free software that works with colorimeters like the X-Rite i1Display Pro or Datacolor SpyderX. These tools measure your TV’s output and generate a custom calibration profile.
Professional calibration costs $300 to $500 but delivers the most accurate results. Calibrators adjust grayscale, gamma, and color gamut to industry standards. Worth it if you spent $2,000 or more on your TV. For those comfortable with DIY approaches, you can also learn how to calibrate your TV in 30 minutes without hiring a professional.
Most people don’t need professional calibration. Following the settings in this guide gets you 90% of the way there.
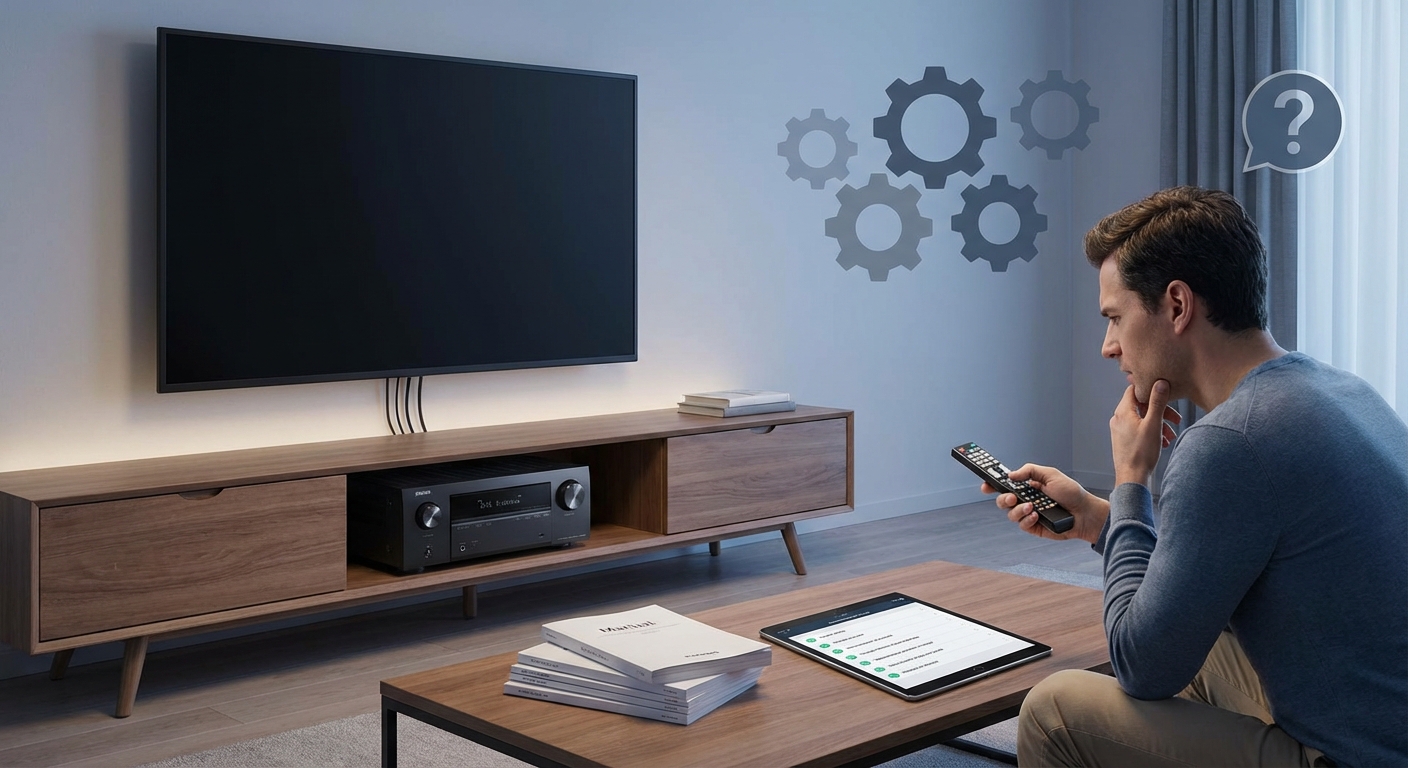
What to do if nothing works
If you’ve tried everything and HDR still looks wrong, a few final checks might help.
Update your TV’s firmware. Manufacturers release updates that fix HDR tone mapping bugs and improve compatibility. Check your TV’s support website or use the built-in update feature.
Try a different HDMI cable. Cheap or damaged cables cause intermittent HDR handshake failures. Swap cables and see if the problem persists.
Test with a different source device. If HDR looks wrong from your streaming stick but fine from your Blu-ray player, the stick is the problem. Replace it or adjust its settings.
Contact the manufacturer. If your TV is under warranty and HDR never works correctly, you might have a defective panel or processing board. Document the issue with photos and request service.
Getting the most out of your HDR setup
HDR transforms how movies and shows look when everything works correctly.
Your TV’s picture mode matters more than any other setting. Cinema and Filmmaker modes preserve the creator’s intent. Vivid and Dynamic modes destroy it.
HDMI settings must match your source device capabilities. Enhanced mode unlocks full bandwidth. Without it, you’re not getting true HDR.
Brightness controls set the foundation. OLED Light or Backlight determines maximum brightness. Brightness adjusts black level. Contrast controls white level. Get these three right, and everything else falls into place.
Room lighting shapes your experience as much as TV settings. Dark rooms reveal shadow detail. Bright rooms wash out highlights. Control your environment for the best results.
Take ten minutes to walk through the steps in this guide. Your HDR content will look the way it was meant to be seen.
Leave a Reply