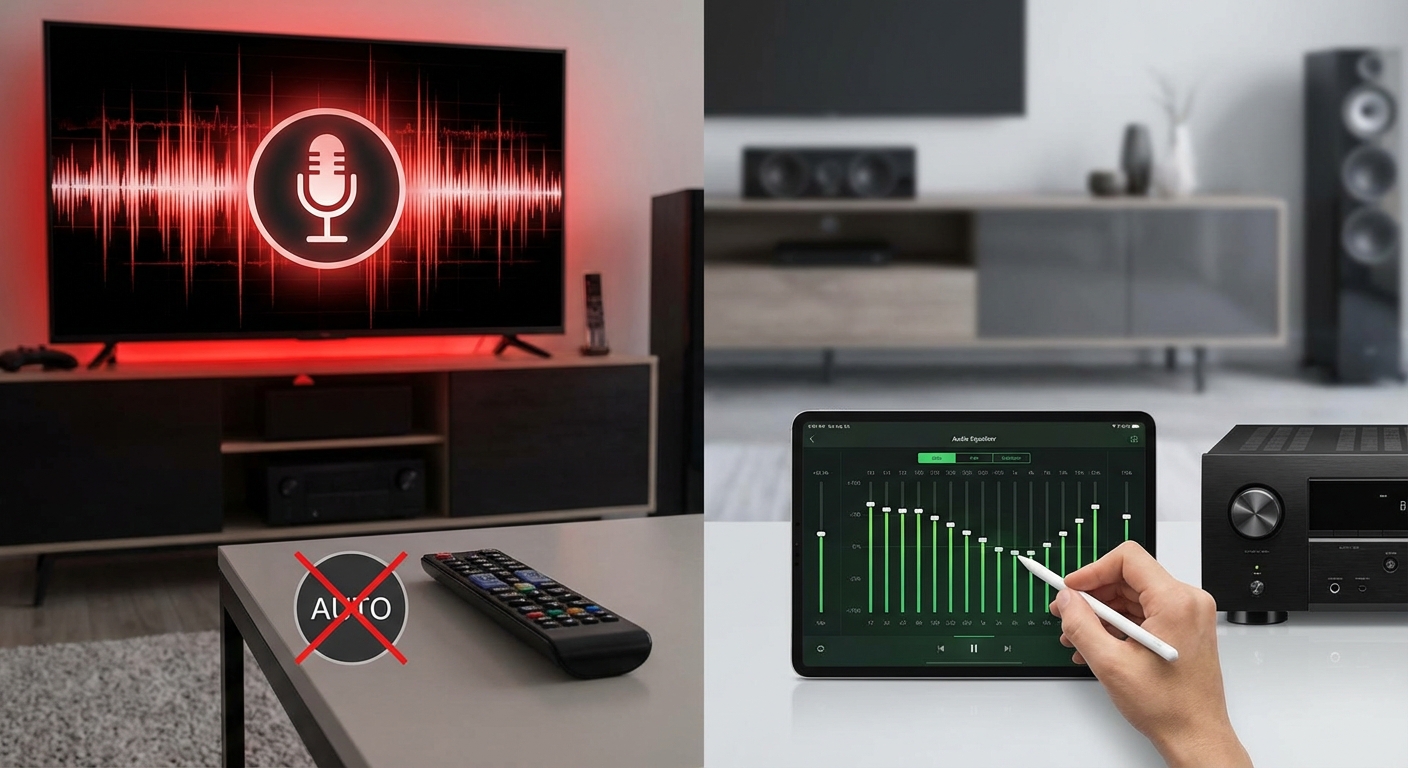
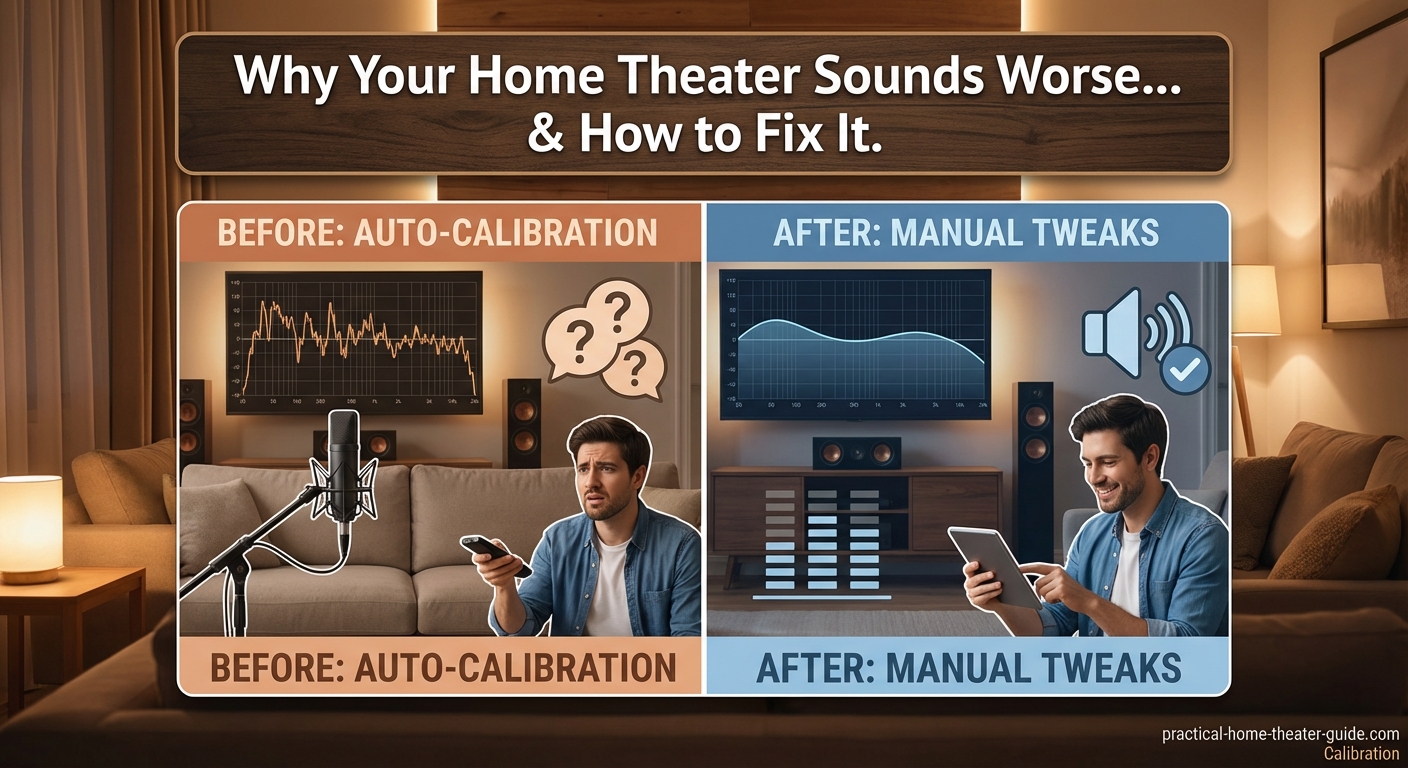
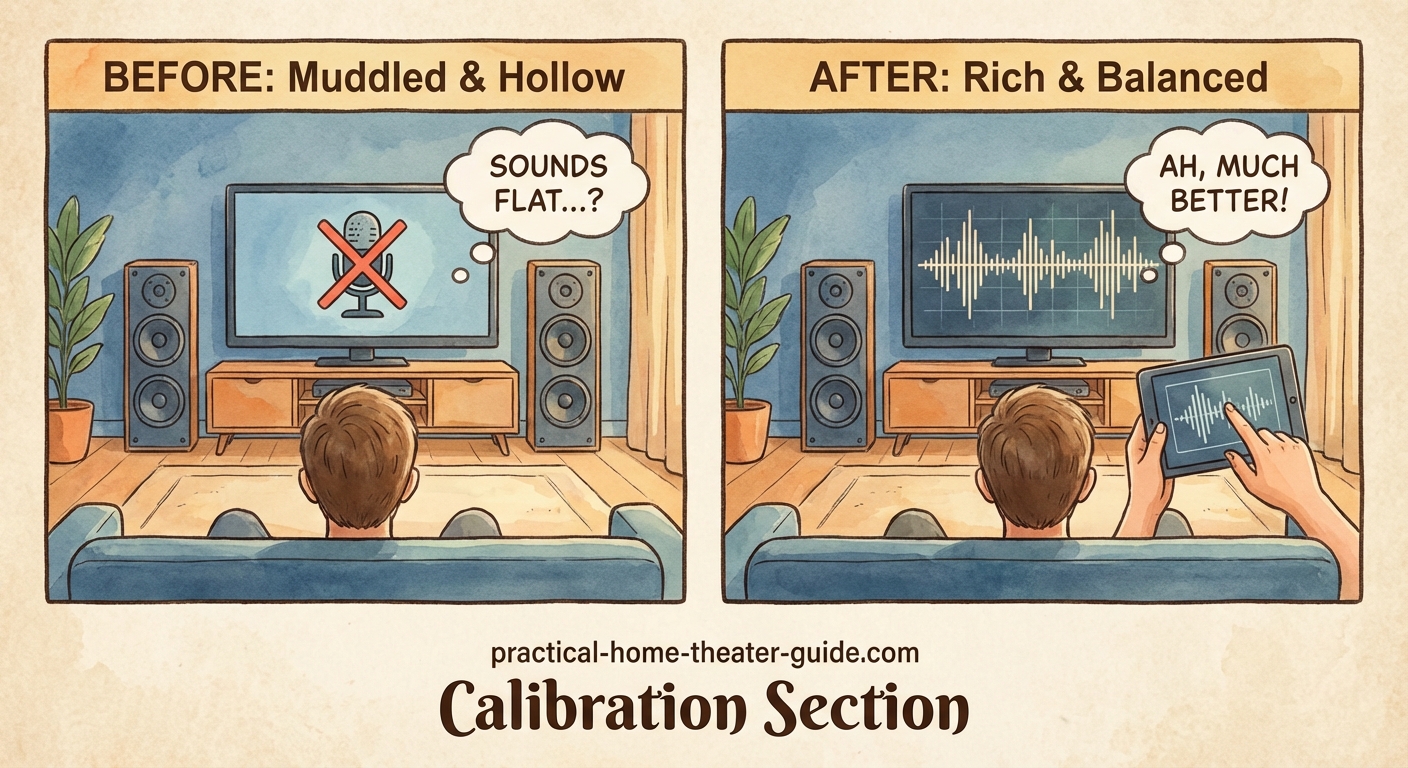
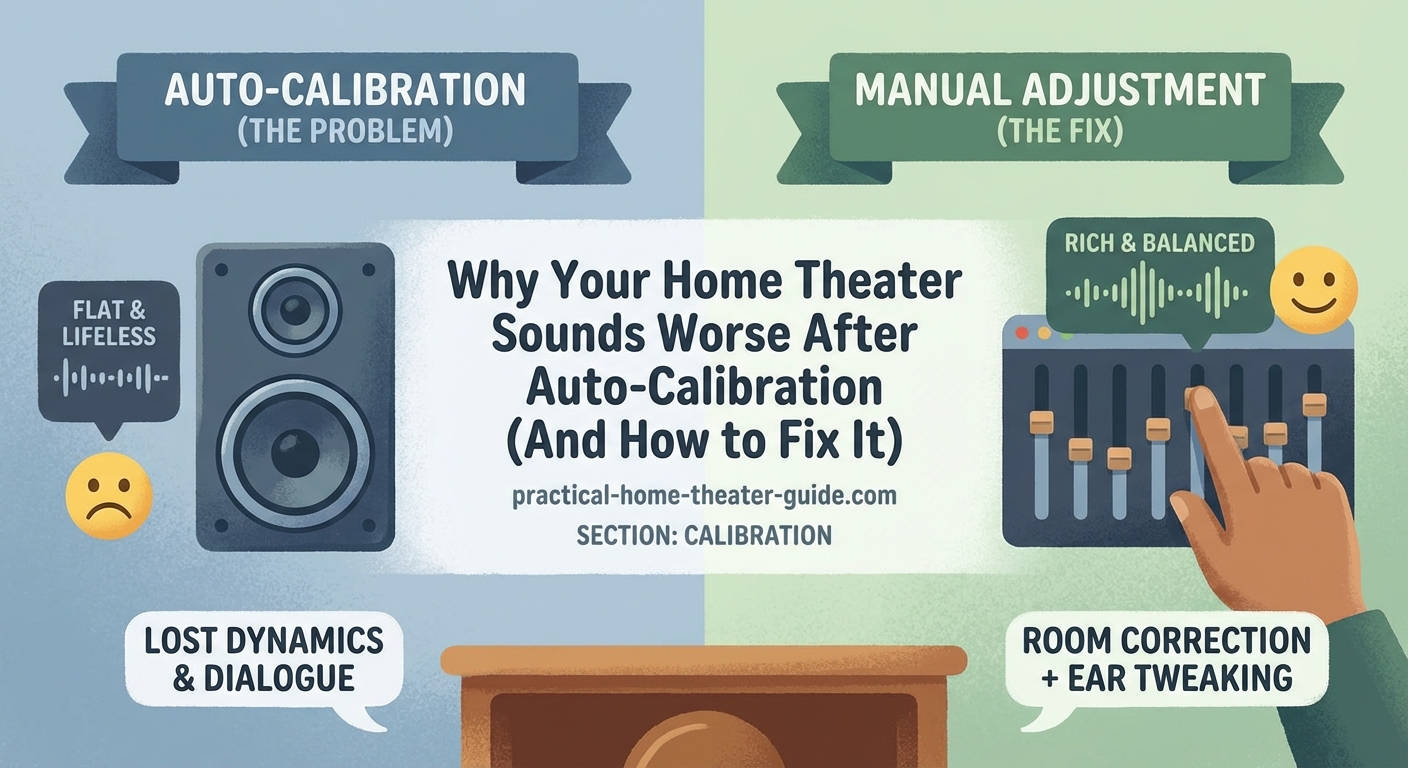
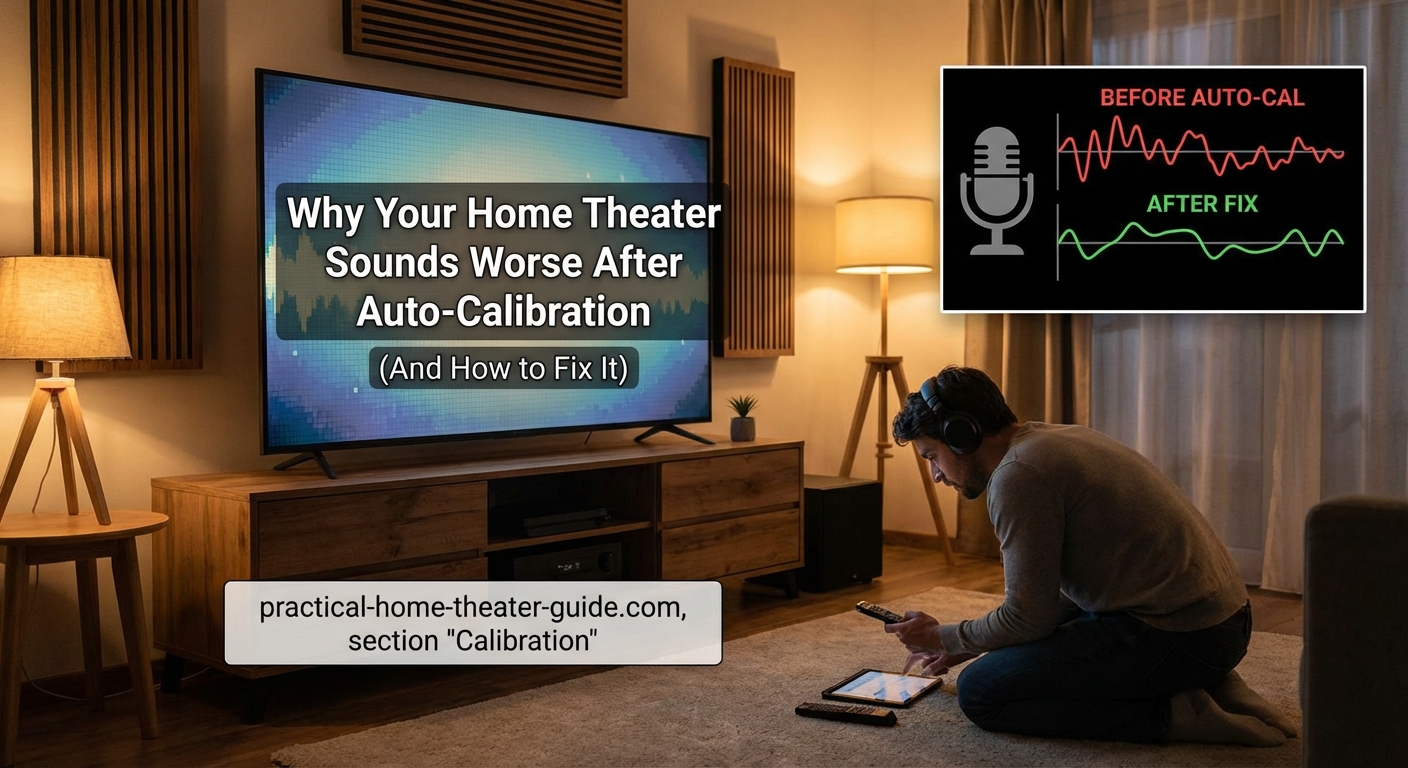
You just spent an hour running auto-calibration on your AV receiver, expecting cinema-quality sound. Instead, dialogue is muffled, bass is anemic, and everything sounds worse than before. You’re not imagining it, and you’re definitely not alone.
Auto-calibration systems like Audyssey, YPAO, and Dirac often create disappointing results because they over-correct room acoustics, set bass too low, and apply aggressive EQ curves. The solution isn’t abandoning calibration entirely but understanding which settings to keep, which to adjust manually, and how to fine-tune levels for your specific room and listening preferences.
Understanding Why Auto-Calibration Falls Short
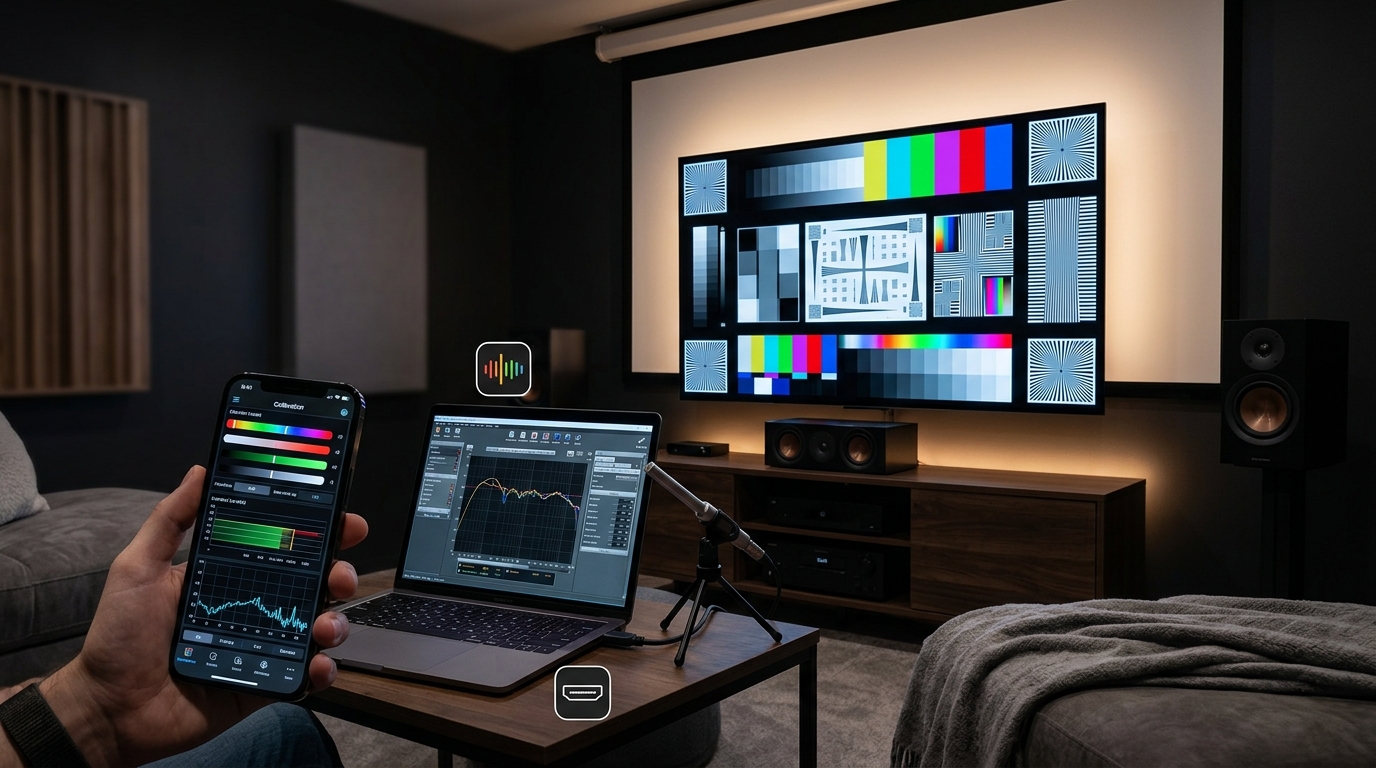
Auto-calibration systems measure your room with a microphone and apply corrections automatically. The technology is impressive, but it makes assumptions that don’t always match real-world listening.
These systems prioritize flat frequency response above everything else. That sounds great on paper. In practice, it often strips the life out of your audio.
Most calibration software also struggles with room reflections. It can’t tell the difference between a genuine speaker problem and a reflection bouncing off your coffee table. The result? Over-correction that dulls your sound.
Here’s what typically goes wrong:
- Bass management gets set too conservatively
- Distance measurements include first reflections, throwing off timing
- EQ curves flatten out the natural warmth of your speakers
- Subwoofer levels end up 3 to 6 dB too quiet
- Center channel volume drops below optimal dialogue clarity
The microphone placement matters more than most people realize. One measurement from your main seat isn’t enough. The system needs multiple positions to understand your room properly.
Common Problems After Running Calibration
Let’s break down the specific issues you’re probably hearing.
Thin or Lifeless Bass
This is the number one complaint. Auto-calibration systems often set your subwoofer crossover too low and reduce the sub level significantly.
The software sees a peak in your bass response and cuts it aggressively. But that peak might be exactly what makes your system sound full and engaging.
Dialogue Clarity Issues
Your center channel probably got turned down. Calibration systems sometimes measure room reflections as excessive center volume and compensate by lowering it.
This makes voices sound distant or buried in the mix. Action scenes might sound great, but conversations become hard to follow.
Overly Bright or Harsh Treble
Some systems boost high frequencies to compensate for room absorption. If you have carpet, curtains, or furniture that naturally dampens treble, the calibration might overdo the correction.
You end up with fatiguing sound that makes you want to turn the volume down.
Loss of Surround Immersion
Distance and level settings for surround speakers often end up wrong. The calibration mic picks up reflections and interprets them as direct sound, leading to incorrect delay times.
Your surround field collapses or sounds disconnected from the front stage.
The Manual Adjustments That Actually Work
You don’t need to throw out your calibration results completely. You just need to know which settings to tweak.
Step 1: Check and Adjust Speaker Distances
Pull up your receiver’s speaker setup menu. Look at the distances it measured for each speaker.
Grab a tape measure and verify them yourself. Measure from each speaker to your main listening position in a straight line.
If the calibrated distance is more than 6 inches different from your actual measurement, change it manually. This is especially important for surround speakers where reflections confuse the microphone.
Step 2: Raise Your Subwoofer Level
Find the subwoofer trim level in your settings. It’s probably somewhere between -10 dB and -5 dB.
Increase it by 3 to 5 dB as a starting point. Play a movie scene with good bass content. Adjust up or down from there until it sounds balanced.
Bass should feel present without overwhelming dialogue or making your walls rattle.
Step 3: Boost Your Center Channel
Your center speaker handles most dialogue. If voices sound weak, increase the center channel level by 2 to 3 dB.
Test with a dialogue-heavy scene. You should hear clear, natural speech without straining.
Some people prefer their center channel 1 to 2 dB hotter than reference. That’s perfectly fine if it works for your room and content.
Step 4: Verify Crossover Settings
Check where your receiver set the crossover points. These determine which frequencies go to your speakers versus your subwoofer.
For most bookshelf speakers, 80 Hz works well. Larger tower speakers might handle 60 Hz. Smaller satellites might need 100 Hz or higher.
If your calibration set everything to 40 Hz or 60 Hz and your speakers are small, change them to 80 Hz. This takes strain off your main speakers and lets your subwoofer handle the heavy lifting.
Step 5: Disable or Reduce Dynamic EQ
Features like Audyssey Dynamic EQ or similar processing apply additional corrections based on volume level. They can sound great at low volumes but become too much at reference levels.
Try turning this feature off completely. Listen for a few days. If bass feels too light at moderate volumes, turn it back on but reduce its effect if your system allows.
Calibration Settings Comparison Table
| Setting | What Calibration Often Does | What You Should Do |
|---|---|---|
| Subwoofer Level | Sets 5 to 10 dB too low | Increase by 3 to 5 dB from calibrated value |
| Center Channel | Reduces to match surrounds | Boost 2 to 3 dB above calibrated level |
| Speaker Distance | Includes first reflections | Verify with tape measure, adjust if off by more than 6 inches |
| Crossover | Sometimes sets too low | Use 80 Hz for most speakers, 100 Hz for small satellites |
| Dynamic EQ | Enabled by default | Try disabling, or reduce effect strength |
| Room EQ Curves | Applies aggressive flattening | Keep for major peaks, consider disabling for preference |
When to Keep Calibration Results
Not everything auto-calibration does is wrong. Some measurements are genuinely helpful.
Speaker distance settings are usually close enough if you have a simple rectangular room. Delay timing matters for proper sound staging.
Crossover recommendations work well if your speakers are typical consumer models. The system correctly identifies which speakers need bass management.
Level matching between left, right, and surround speakers often lands in a good ballpark. You might tweak by 1 dB here or there, but the foundation is solid.
Major room modes and peaks usually get corrected appropriately. If you have a massive 10 dB bass hump at 60 Hz, letting the EQ handle that makes sense.
The best approach is to use auto-calibration as a starting point, not the final destination. Let it handle the technical measurements your ears can’t easily judge, then adjust the subjective elements like bass level and center channel volume to match your preferences and room.
Testing Your Adjusted Settings
Once you’ve made manual changes, you need to verify they actually improved things.
Pick three or four reference scenes you know well. Choose a mix of content types.
- A dialogue-heavy drama scene where you can judge voice clarity
- An action sequence with explosions and dynamic range
- A music performance or concert film
- A quiet scene with subtle ambient sounds
Listen to each scene before and after your adjustments. Take notes on what changed.
Pay attention to these specific elements:
- Can you understand dialogue without turning up the volume?
- Does bass feel present without booming or overwhelming?
- Do sound effects have impact and weight?
- Does the surround field feel immersive and connected?
- Can you listen at reference volume without fatigue?
Give yourself a few days with the new settings. Your ears need time to adjust. What sounds different on day one might sound normal by day three.
If something still feels off, make small changes. Adjust one setting at a time by 1 dB increments. This helps you identify exactly what each change does.
Room Acoustics Matter More Than Settings
Sometimes your home theater sounds worse after calibration because the room itself has serious acoustic problems. No amount of EQ can fix certain issues.
Hard parallel walls create flutter echo. Large windows cause bass cancellation. Bare floors reflect high frequencies harshly.
If you’ve adjusted all your settings and sound still disappoints, consider basic acoustic treatment. You don’t need thousands of dollars in panels.
A thick area rug helps with floor reflections. Curtains on windows reduce glass bounce. A bookshelf or wall hanging breaks up flat surfaces.
How to stop echo and reverb ruining your home theater sound covers specific treatments that make a measurable difference without turning your room into a recording studio.
Different Calibration Systems Have Different Quirks
Audyssey tends to cut bass aggressively and apply strong EQ curves. It often benefits from the MultEQ Editor app, which lets you see and modify the curves it creates.
YPAO from Yamaha usually measures distances accurately but can set subwoofer levels too conservatively. The Natural setting often sounds better than the Flat setting for most rooms.
Dirac Live generally provides the most transparent results but costs extra on many receivers. It still benefits from manual subwoofer level adjustment.
Each system has strengths. Learning your specific calibration software’s tendencies helps you know which settings to trust and which to override.
Building Your Personal Calibration Checklist
Create a simple checklist you can reference after running auto-calibration. This saves time and ensures consistent results.
Your checklist might look like this:
- Run auto-calibration with microphone in 3 to 5 positions
- Review distance measurements, verify with tape measure
- Check crossover settings, adjust to 80 Hz for bookshelf speakers
- Increase subwoofer level by 4 dB from calibrated value
- Boost center channel by 2 dB
- Disable Dynamic EQ for testing
- Test with reference scenes
- Fine-tune based on listening results
Adjust this checklist based on your specific receiver and room. After a few calibration runs, you’ll know exactly which settings need attention.
Making Peace With Imperfect Measurements
Auto-calibration will never be perfect. Your room is unique. Your speakers have their own character. Your hearing and preferences differ from the engineer who programmed the calibration software.
The goal isn’t mathematical perfection. The goal is sound that makes you want to watch movies and enjoy music.
Trust your ears over graphs and measurements. If it sounds good, it is good.
Some people prefer extra bass. Others like dialogue super clear. Neither approach is wrong.
Use calibration as a tool, not a rulebook. Let it handle the technical heavy lifting, then season to taste with manual adjustments.
Getting Sound That Actually Matches Your Expectations
Your home theater sounds worse after calibration because the software optimized for measurements instead of enjoyment. The fix isn’t complicated.
Keep the accurate distance and crossover settings. Adjust the subjective elements like bass level and center volume to match what sounds right in your room.
Test your changes with familiar content. Make small adjustments. Give your ears time to adapt.
The difference between disappointing sound and engaging audio often comes down to 3 or 4 dB adjustments in the right places. Those small changes transform your system from technically correct to genuinely enjoyable.
Start with the subwoofer and center channel. Those two adjustments alone fix the most common complaints. Then fine-tune from there based on what you hear.
Your calibration system gave you a solid foundation. Now make it yours.


Leave a Reply