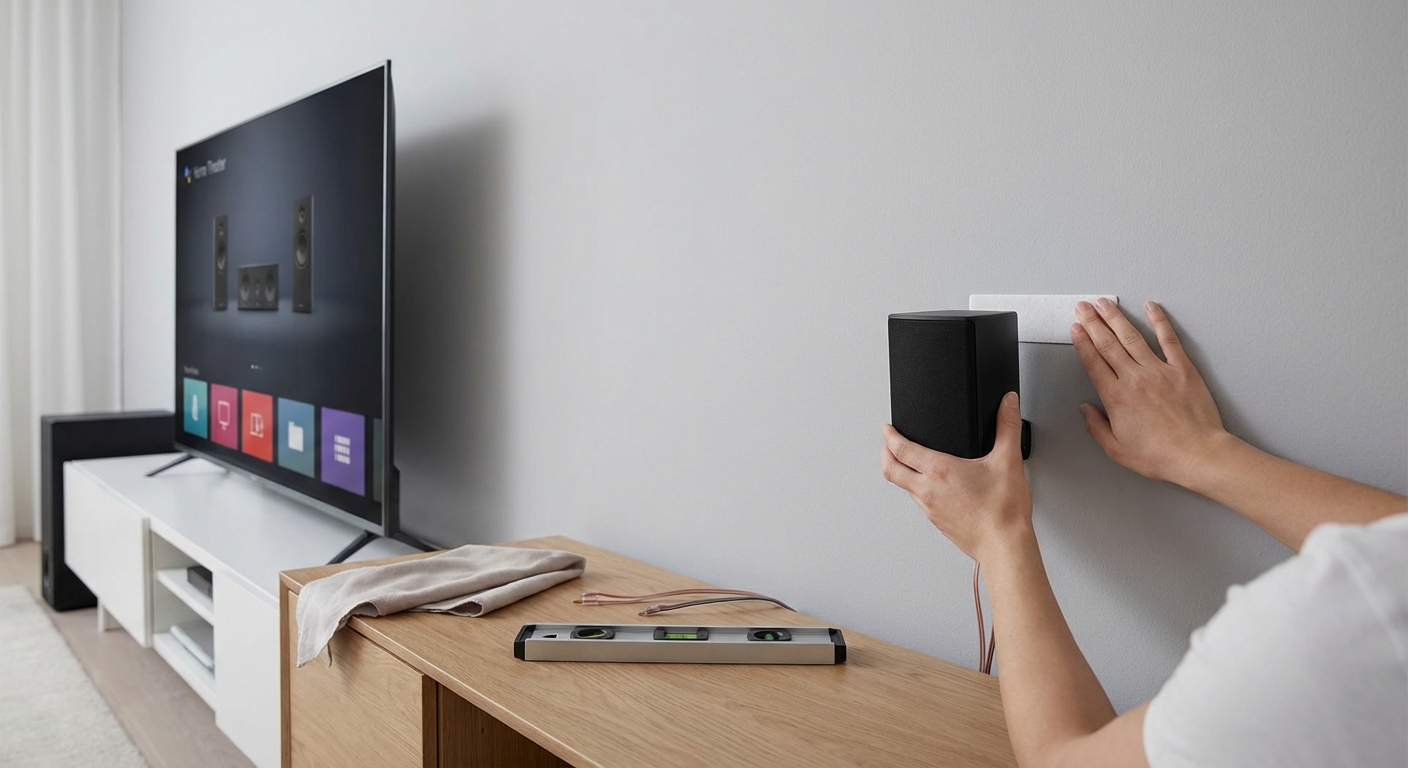
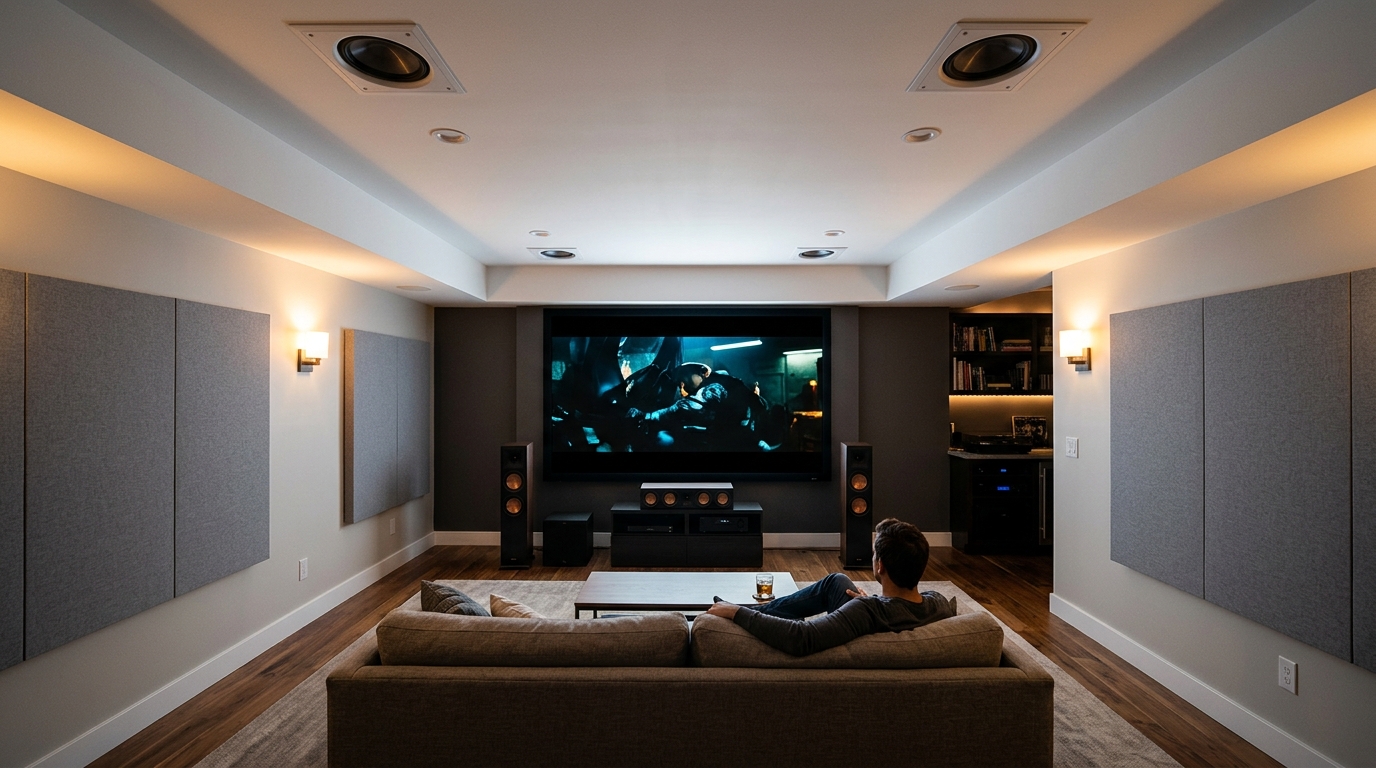
You want that immersive theater experience, but the thought of drilling holes in your walls makes you cringe. Maybe you’re renting and can’t risk losing your security deposit. Or perhaps you own your home but don’t want permanent scars from a speaker setup you might change later. Either way, you need a solution that delivers great sound without turning your walls into Swiss cheese.
You can mount surround speakers without drilling by using adhesive hooks rated for heavy loads, floor stands with adjustable height, tension rods between walls, freestanding shelves, or clamp mounts on existing furniture. Each method preserves your walls while maintaining proper speaker placement for optimal sound quality. Choose based on your speaker weight, room layout, and whether you rent or own.
Understanding Why Traditional Mounting Creates Problems
Most speaker mounting guides assume you’re fine with drilling into studs and leaving holes behind. That works if you’re settled in a home you own and never plan to rearrange your setup. But life isn’t that simple for most people.
Renters face strict lease agreements. One friend lost $400 of his deposit because of eight small holes from speaker mounts. Homeowners who do drill often regret it when they upgrade speakers or rearrange furniture. Those patched holes never quite disappear, especially under certain lighting.
The good news? Modern mounting alternatives have improved dramatically. You don’t need to compromise on sound quality or speaker placement anymore.
Damage-Free Mounting Methods That Actually Work
Let’s walk through proven techniques that keep your walls intact while positioning speakers correctly.
Heavy-Duty Adhesive Hooks and Strips
Industrial-strength adhesive products can now hold surprising amounts of weight. Command strips and similar products have weight ratings up to 16 pounds per set when applied correctly.
Here’s what matters for speaker mounting:
- Clean the wall surface with rubbing alcohol before applying
- Wait 24 hours after application before hanging speakers
- Use multiple hook sets distributed across the speaker bracket
- Check the combined weight rating exceeds your speaker weight by at least 50%
- Avoid textured walls, which reduce adhesive contact area
Most bookshelf speakers weigh between 8 and 15 pounds. A pair of heavy-duty adhesive hook sets can handle this easily. The removal process is clean too. You stretch the adhesive strip down slowly, and it releases without pulling paint or drywall.
One limitation: these work best on painted drywall or smooth surfaces. Brick, concrete, or heavily textured walls need different approaches.
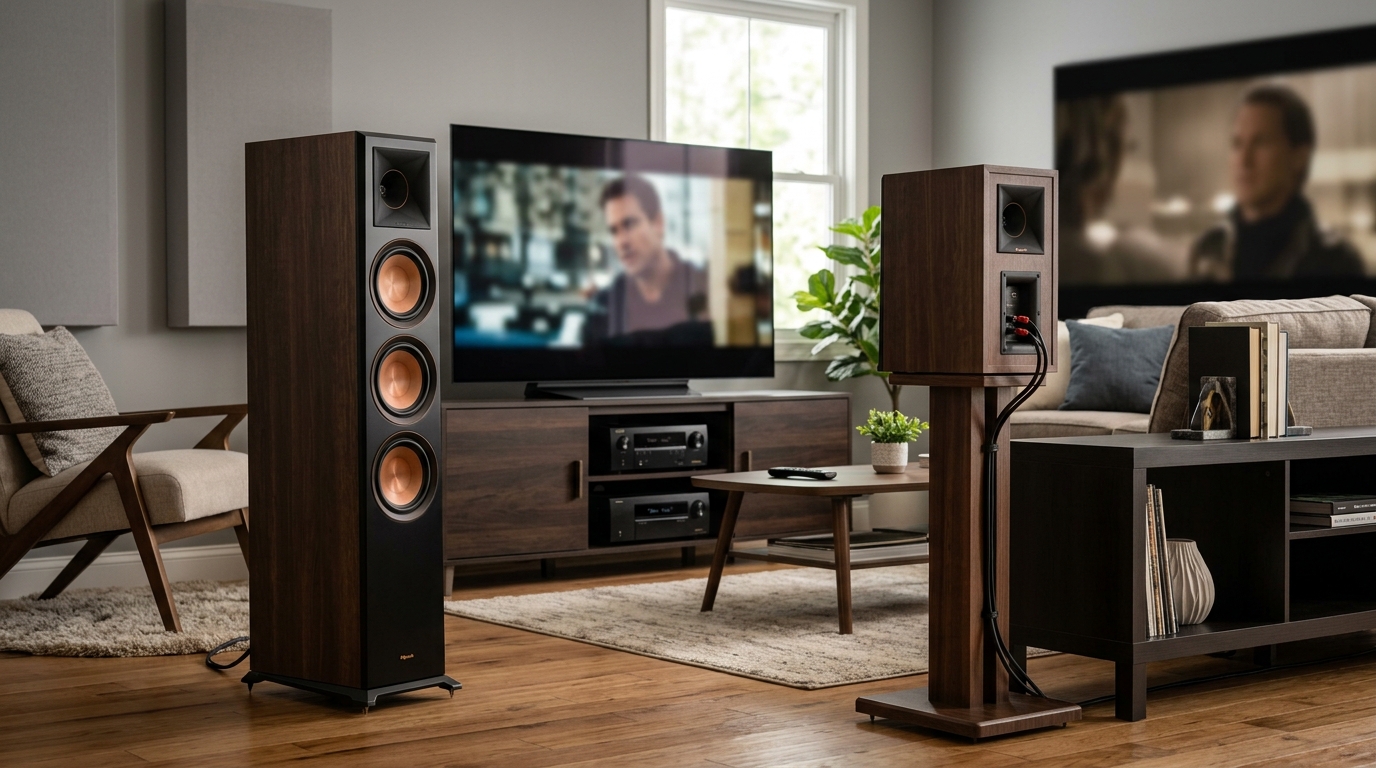
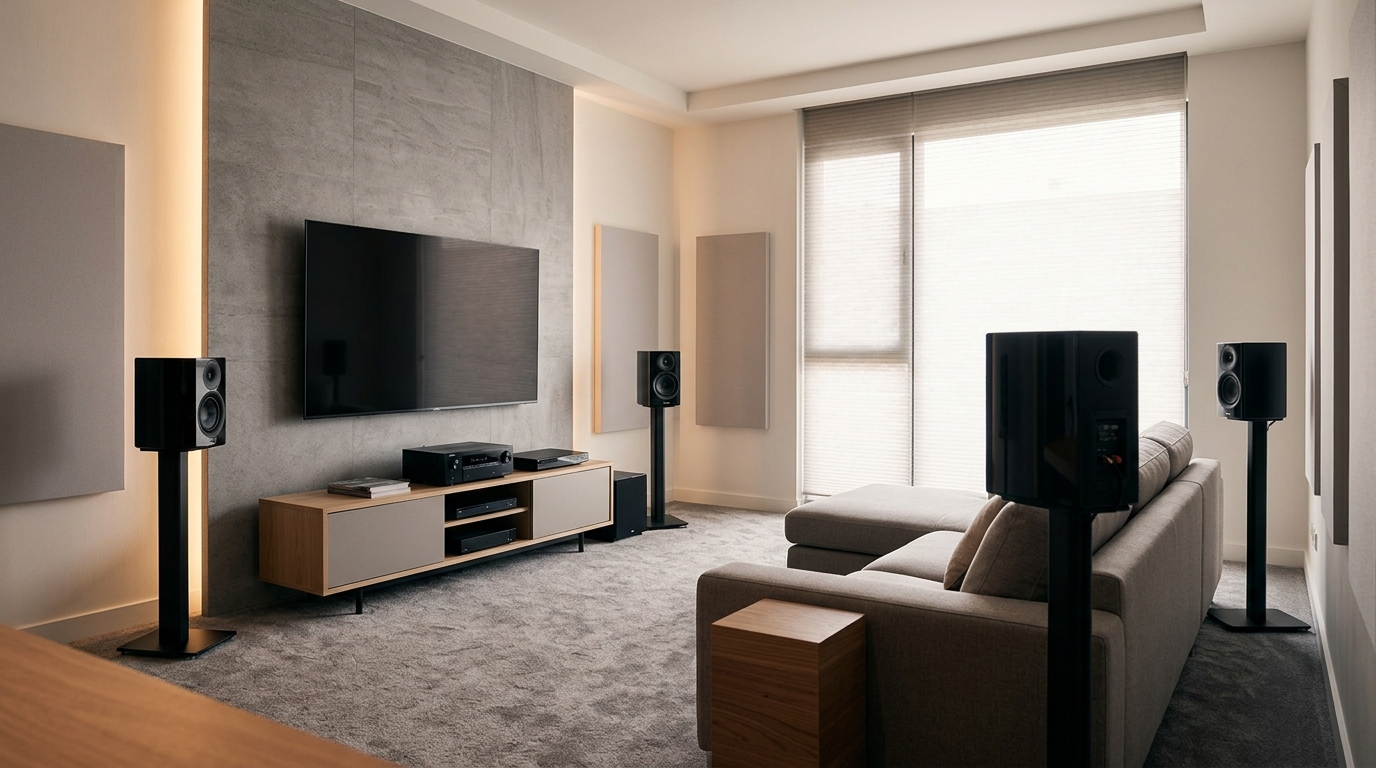
Floor Stands With Height Adjustment
Speaker stands eliminate wall contact entirely. Modern designs include cable management channels and adjustable height from 26 to 48 inches, covering the ideal surround speaker range.
The best floor stands use a tripod base or wide footprint for stability. Look for models with:
- Rubber or felt feet to protect flooring
- Internal cable routing to hide wires
- Adjustable height in one-inch increments
- Base plates at least 10 inches in diameter
- Fill-able columns for added stability and resonance damping
You can fill hollow stands with sand or lead shot to reduce vibrations. This actually improves sound quality compared to basic wall mounts. The added mass dampens cabinet resonance that colors the audio.
Floor stands work particularly well for side and rear surround positions. You can angle them precisely toward the listening position without being constrained by wall stud locations.
Tension Rod Systems Between Walls
If your room has parallel walls 6 to 12 feet apart, tension rods offer an elegant solution. These adjustable poles wedge between walls using spring-loaded pressure, no drilling required.
The setup process takes about 15 minutes:
- Measure the distance between your walls at the desired height
- Adjust the tension rod to about one inch shorter than this measurement
- Position the rod at the correct height and extend it until firmly wedged
- Attach speaker brackets or shelves to the rod
- Test stability by applying gentle downward pressure
Tension rods rated for curtains won’t cut it. You need versions designed for shelving, rated for at least 30 pounds. The rod should have rubber or foam end caps to protect wall surfaces and increase friction.
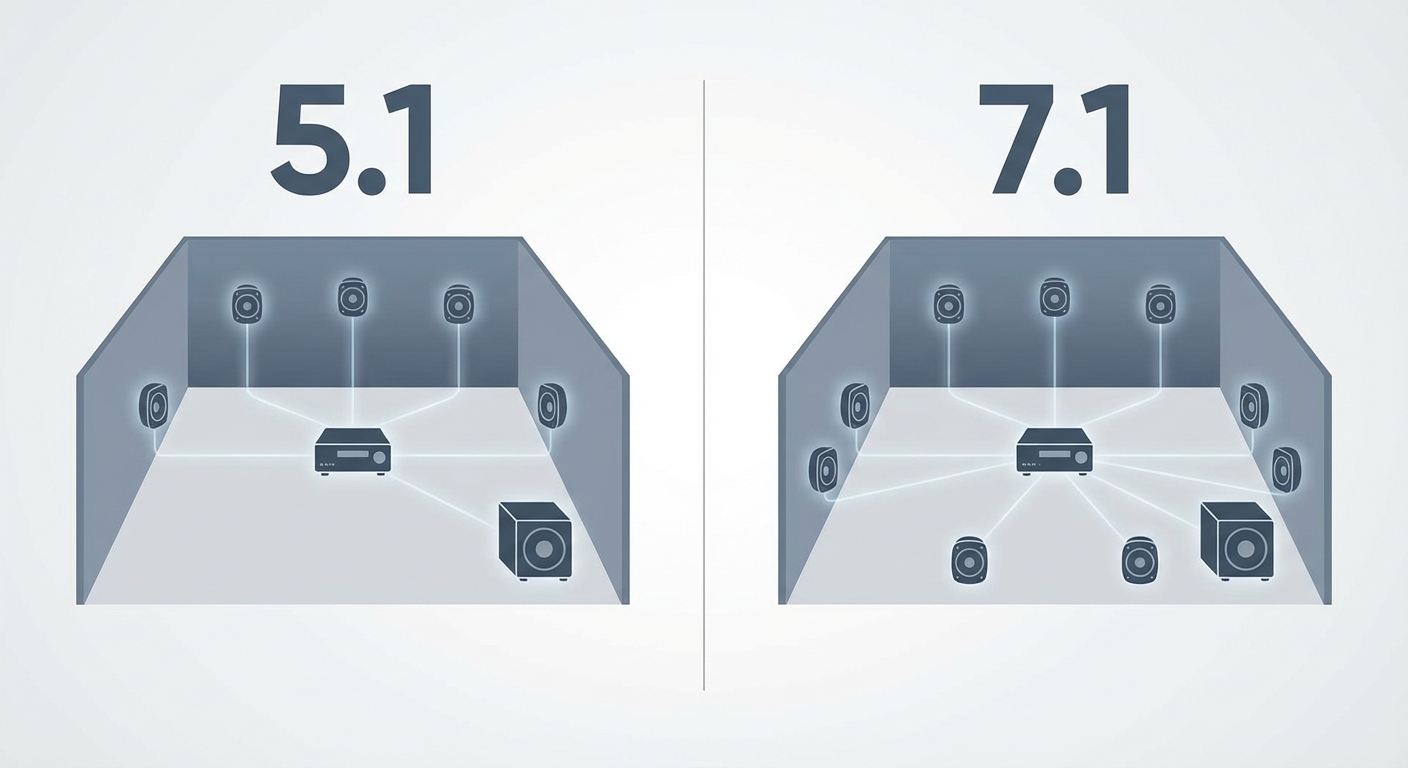
This method shines for rear surround speakers in 5.1 or 7.1 setups. You can position the rod behind the seating area at the recommended height of 2 to 3 feet above ear level.
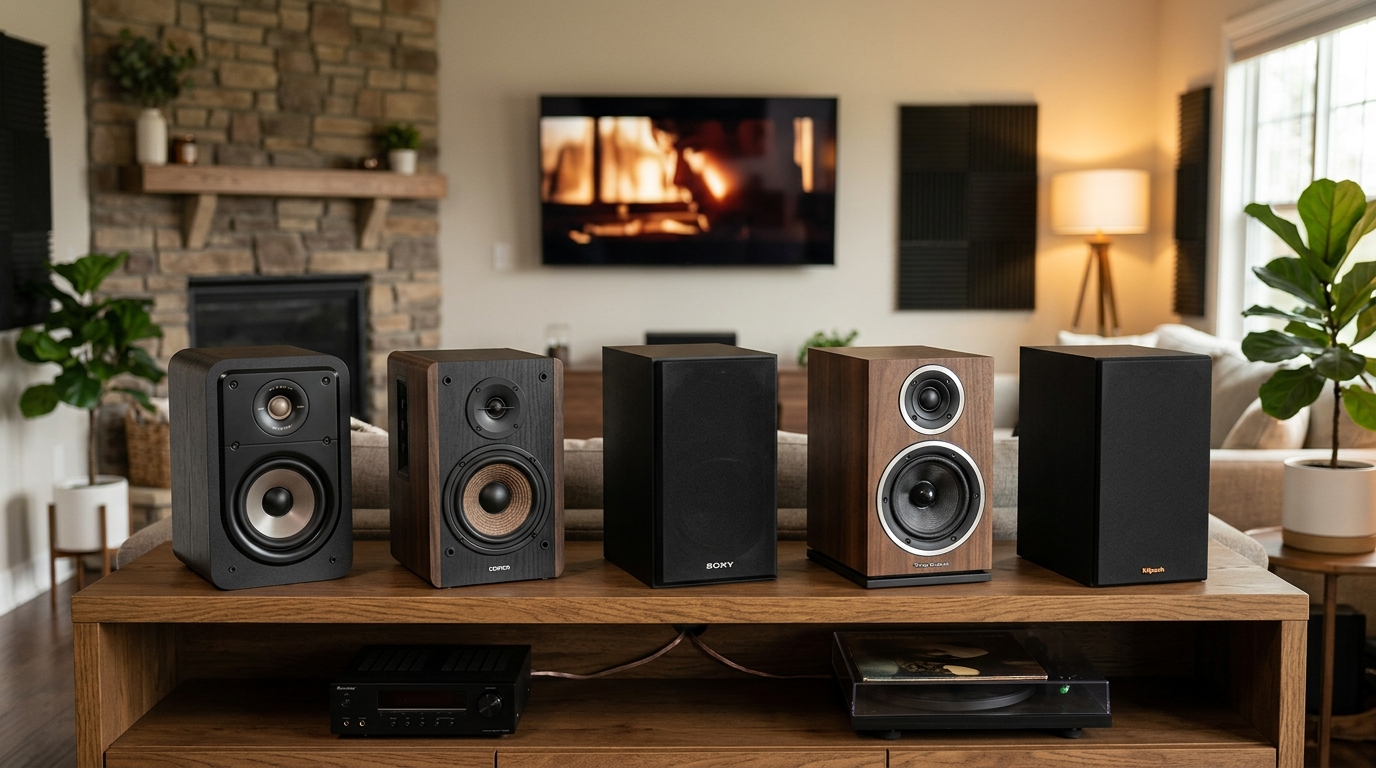
Freestanding Shelving Units
Bookshelf speakers got their name for a reason. A well-placed shelving unit can position speakers at the perfect height without any wall attachment.
Choose shelves with these characteristics:
- Sturdy construction that doesn’t wobble
- Adjustable shelf heights in small increments
- Depth of at least 10 inches to accommodate speaker footprint
- Weight capacity of 50+ pounds per shelf
- Option to anchor to the wall with furniture straps (still less invasive than drilling for mounts)
The challenge is placement. Shelves need to sit where speakers should go acoustically, not just where they fit decoratively. For side surrounds, this often means positioning shelves slightly behind and to the side of the main seating area.
You can use furniture straps (the kind designed for earthquake safety) to secure tall shelves to walls. These attach with small screws much easier to patch than speaker mount holes, or some use adhesive pads.
Clamp and Grip Mounts
These specialized mounts attach to existing furniture, door frames, or architectural features without permanent modification.
C-clamp style mounts work on:
- Thick shelving edges
- Sturdy table edges
- Door frames (though this limits door use)
- Exposed beam edges
- Stair railings in multi-level rooms
The clamp padding prevents surface damage. You tighten a screw mechanism to create holding pressure. Most designs include a ball joint for angle adjustment.
One creative application: mounting to the top edge of a tall bookshelf positioned as a room divider. This puts speakers at ideal height while the shelf serves double duty.
Comparing Mounting Methods Side by Side
Different approaches suit different situations. Here’s how they stack up:
| Method | Max Speaker Weight | Wall Contact | Repositioning Ease | Cost Range | Best For |
|---|---|---|---|---|---|
| Adhesive Hooks | 16 lbs | Minimal (removable) | Moderate | $15-40 | Renters, light speakers |
| Floor Stands | 30+ lbs | None | Easy | $50-200 | Any situation, heavy speakers |
| Tension Rods | 25 lbs | Pressure only | Easy | $30-80 | Parallel walls, rear surrounds |
| Shelving Units | 50+ lbs | None or minimal | Difficult | $60-300 | Multi-purpose furniture |
| Clamp Mounts | 20 lbs | None | Easy | $25-70 | Existing furniture edges |
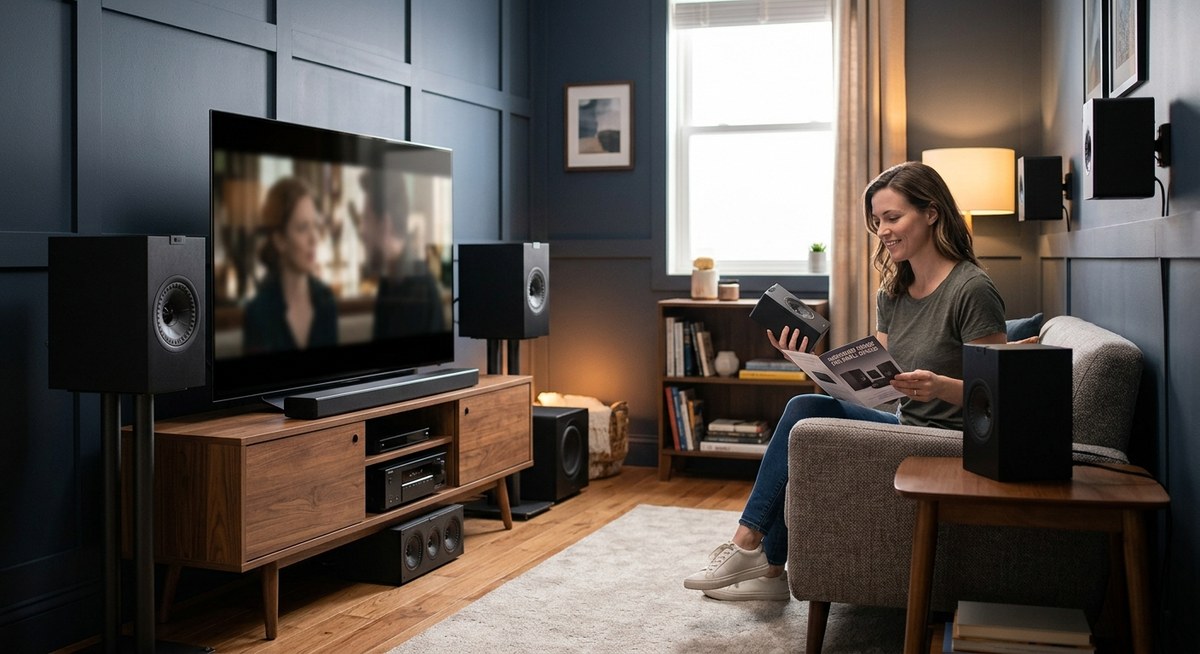
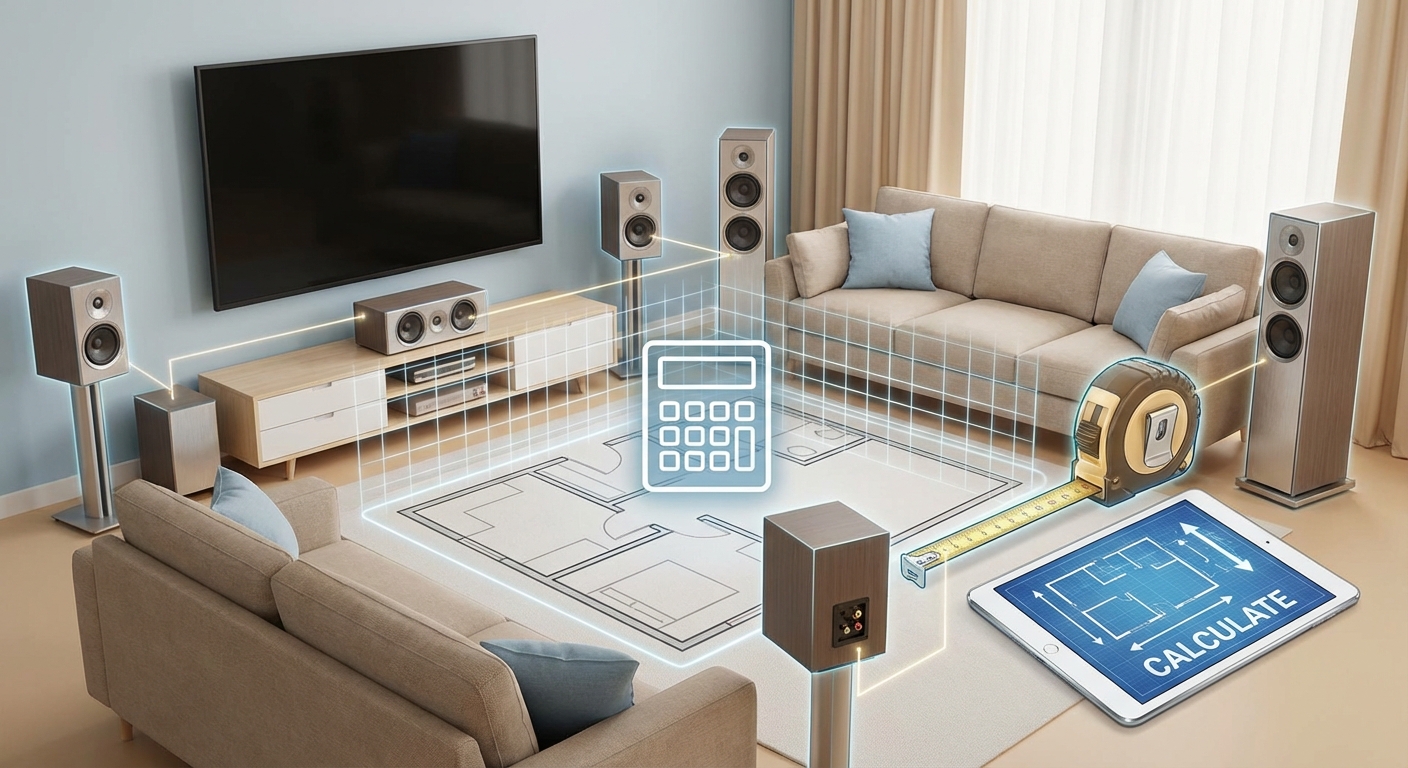
Getting Speaker Placement Right Without Compromising
Avoiding wall damage doesn’t mean ignoring acoustic principles. Your mounting method needs to put speakers in the right spots.
For a 5.1 surround setup, side surrounds should sit 90 to 110 degrees from center, at or slightly above ear level when seated. Rear speakers in a 7.1 system go 135 to 150 degrees back.
If you’re working on the complete setup and need to figure out other components, understanding how to choose the right TV size for your room distance helps create a balanced theater experience.
“The biggest mistake I see is people placing speakers where it’s convenient rather than where they sound good. A floor stand in the right position will always outperform a wall mount in the wrong position, even if the wall mount looks cleaner.” – Audio engineer with 15 years in home theater installation
Use painter’s tape to mark ideal positions on your floor before committing to any mounting method. Sit in your main viewing position and verify the angles feel right.
Dealing With Speaker Wire Without Wall Damage
Mounting speakers is only half the challenge. You need to run wire to them without creating a tripping hazard or more wall holes.
Cable raceways attach to baseboards and walls with adhesive backing. They create a clean channel for wires and remove without damage. The process of how to run speaker wire through walls without damaging your home covers more advanced techniques if you want completely hidden wires.
For floor stand setups, run wires under area rugs or along furniture edges. Use cable clips with adhesive backing to secure wires to the back of furniture legs.
Wireless speaker systems eliminate wire runs entirely, though they still need power cables. Some people prefer this approach despite the higher cost and potential for interference.
Common Mistakes That Ruin Sound Quality
Even with perfect mounting hardware, poor execution kills your audio experience.
Placing speakers too high. Surround speakers work best at or slightly above ear level when seated. Mounting them near the ceiling creates an disconnected soundstage. The audio seems to come from above rather than wrapping around you.
Ignoring weight limits. Adhesive products fail gradually. A mount might hold for weeks before giving way during a loud action scene. Always exceed the rated capacity by at least 50%.
Skipping the waiting period. Adhesive bonds strengthen over 24 hours. Hanging speakers immediately risks failure. Mark your calendar and resist the temptation.
Angling speakers wrong. Surround speakers should aim toward the listening position, not straight out from the wall. Most mounting methods allow angle adjustment. Use it.
Forgetting about room acoustics. Speaker placement interacts with room reflections. Hard walls create echoes that muddy dialogue. Adding some soft furnishings or learning how to stop echo and reverb ruining your home theater sound makes a noticeable difference.
Testing Your Setup Before Committing
Before you consider the job done, run through this verification checklist:
- Play test content with discrete surround effects (movie trailers work well)
- Walk around the room checking for dead spots or overwhelming areas
- Verify all speakers are stable when you gently press on them
- Check that no wires create tripping hazards
- Confirm speaker angles point toward the main listening position
- Test at various volume levels, including uncomfortably loud (briefly)
If something feels off, don’t ignore it. Repositioning takes minutes with damage-free methods. That’s the whole advantage of this approach.
Seasonal Considerations for Adhesive Methods
Temperature and humidity affect adhesive performance. If you’re mounting speakers in summer, the adhesive experiences expansion. Winter brings contraction.
Apply adhesive products when your room is at normal living temperature, ideally between 65 and 75 degrees Fahrenheit. Avoid installation during extreme weather if your home lacks climate control.
Humidity matters too. Very dry air (below 30% relative humidity) can reduce adhesive effectiveness. Very humid conditions (above 70%) prevent proper bonding. A simple humidity monitor costs $10 and prevents failed installations.
If you live somewhere with dramatic seasonal swings, check your mounts every few months. The 30 seconds it takes could prevent a speaker crash.
When to Consider Professional Help
Most damage-free mounting methods are genuinely DIY-friendly. But some situations warrant professional assistance:
- Speakers weighing more than 20 pounds each
- Rooms with unusual architecture (angled walls, vaulted ceilings)
- Valuable or irreplaceable speakers where any risk is unacceptable
- Situations requiring custom mounting solutions
- Historic homes where even adhesive might affect delicate surfaces
A professional installer can assess your specific situation and often knows techniques beyond common retail solutions. The cost typically runs $150 to $400 for a full surround setup, including all hardware.
Making Your Setup Future-Proof
One advantage of damage-free mounting is easy upgrades. When you want to change speakers or rearrange your room, you’re not locked into previous decisions.
Document your current setup with photos and measurements. When you upgrade your display or change furniture layout, you’ll know what worked before.
Keep original packaging for adhesive products. If you move or want to relocate speakers, you can reinstall using the same method in a new position.
Consider starting with the least permanent method that meets your needs. You can always move to something more robust later. Going the other direction (from drilled holes to damage-free) requires patching and painting.
Your Walls Will Thank You
Mounting surround speakers without drilling isn’t a compromise anymore. It’s often the smarter choice even if you own your home and could drill freely. The flexibility alone justifies the approach.
Start by measuring your speaker weight and identifying ideal placement positions. Choose the mounting method that fits your situation best. Take your time with installation, especially if using adhesive products. The extra day of waiting beats dealing with a fallen speaker.
Your theater experience depends on correct speaker placement, not permanent wall modifications. Get the position right first, and the mounting method becomes a simple execution step.
Leave a Reply