Your new TV looks amazing in the showroom, but at home, dark scenes turn into murky messes and bright areas blow out details. The factory settings aren’t calibrated for your living room lighting, and professional calibration costs hundreds of dollars. The good news? You can fix this yourself in under an hour with the right approach and a few test patterns.
Calibrating TV brightness and contrast requires adjusting two separate controls using test patterns. Brightness controls how dark your blacks appear, while contrast determines peak white levels. Start with brightness to set proper black levels, then adjust contrast to maximize whites without clipping detail. Use test images with near-black and near-white gradients to dial in settings that preserve shadow and highlight information across all content.
Understanding What Brightness and Contrast Actually Control
Most people get these settings confused because the names are misleading.
The brightness control doesn’t make your screen brighter. It adjusts the black level, determining how dark the darkest parts of the image appear. Set it too low and you crush shadow detail. Set it too high and blacks look gray.
The contrast control adjusts white level, determining how bright the brightest parts of the image get. Too low and your picture looks washed out. Too high and you lose detail in bright areas like clouds or white shirts.
Your TV’s backlight or OLED light control actually makes the screen brighter or dimmer overall. Many people adjust this thinking they’re fixing brightness, but they’re just changing the light output without addressing black and white levels properly.
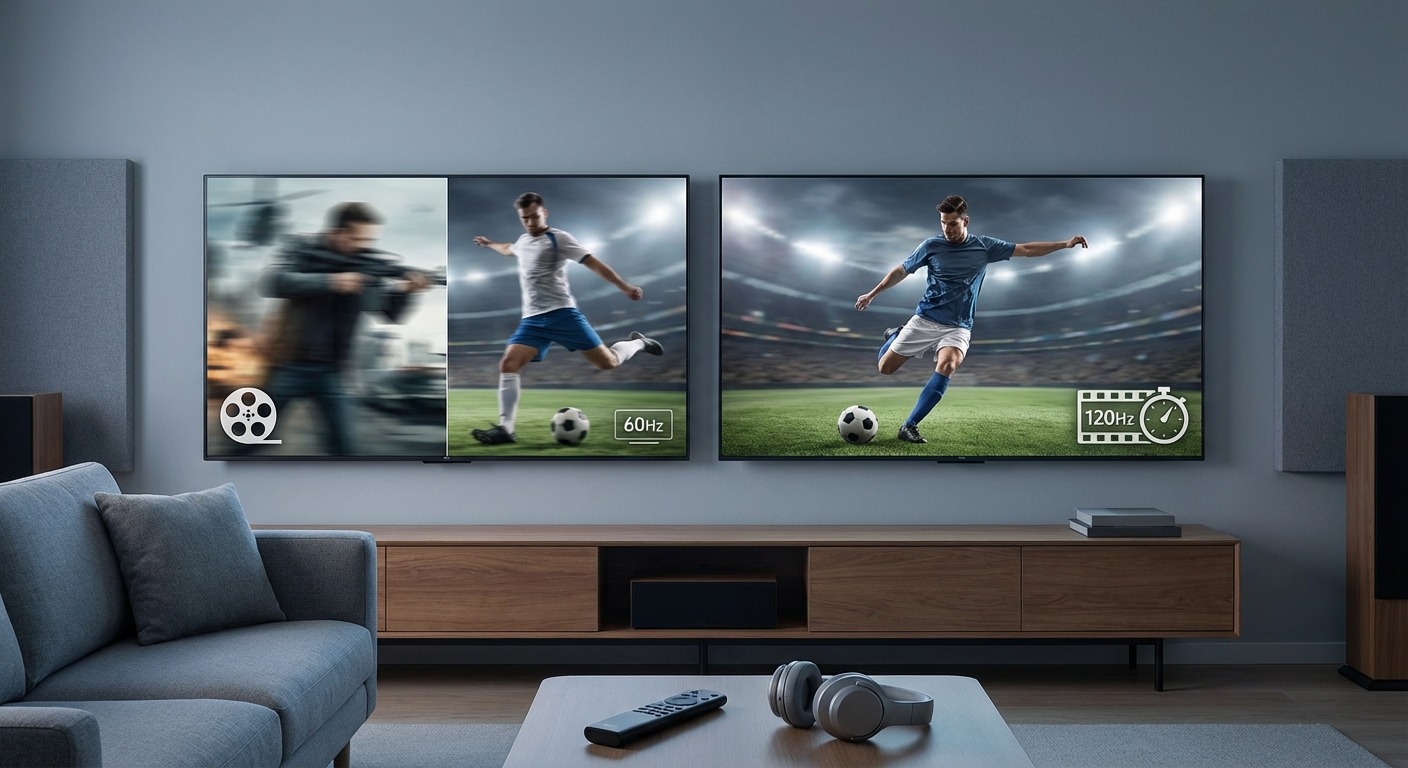
Different panel technologies handle these settings differently. OLED vs QLED vs Mini-LED displays each have unique characteristics that affect how you should approach calibration.
Getting Your Room Ready for Calibration
Lighting conditions dramatically affect how you perceive your TV’s picture.
Calibrate during the time of day when you typically watch TV. If you mainly watch at night with lights dimmed, calibrate then. If you watch during daytime with windows open, that’s your calibration environment.
Close blinds or curtains to minimize screen reflections. You can still have ambient lighting on, just avoid direct light hitting the screen.
Let your TV warm up for at least 30 minutes before starting. Picture characteristics change as the display reaches operating temperature.
Sit at your normal viewing distance. The picture looks different from three feet away versus ten feet. Choosing the right TV size for your space affects how you perceive these settings too.
Finding the Right Picture Mode First
Your picture mode selection matters more than individual settings.
Navigate to your TV’s picture settings menu. You’ll see modes like Vivid, Standard, Cinema, Movie, or Filmmaker Mode.
Avoid Vivid or Dynamic modes. These crank contrast and brightness to unrealistic levels designed for bright showroom floors, not home viewing.
Start with Cinema, Movie, or Filmmaker Mode. These provide the most accurate starting point with reasonable default values for brightness and contrast.
Some TVs offer separate SDR and HDR picture modes. Make sure you’re adjusting the right one for the content you watch most.
“Factory picture modes are tuned for average viewing conditions that don’t match your specific room. Even starting from a good preset, individual adjustments for brightness and contrast make a noticeable difference in black level accuracy and detail preservation.” — Video calibration technician with 15 years experience
Step-by-Step Brightness Calibration Process
Brightness calibration establishes proper black levels first.
-
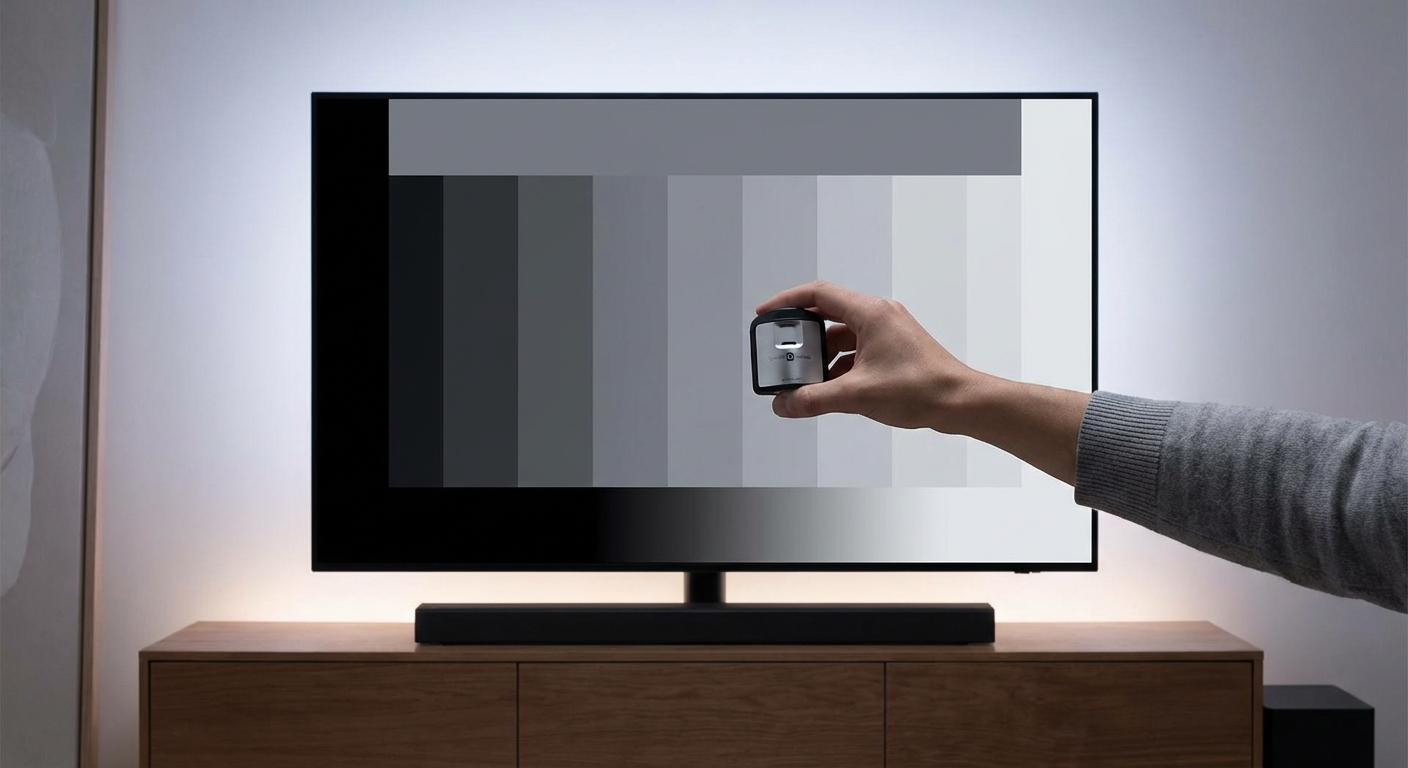
Find a test pattern with near-black bars ranging from true black (RGB 0,0,0) to dark gray (RGB 16,16,16 or similar). Search for “PLUGE pattern” or “black level test pattern” online and display it full screen on your TV.
-
Look at the darkest bars in the pattern. You should barely see the difference between true black and the next darkest shade. The bars labeled below black should disappear into the background.
-
Lower your brightness setting until the near-black bars disappear completely. Then raise it slowly until you can just barely distinguish the first bar above true black from the background.
-
Test with real content. Play a dark movie scene like the opening of a Batman film or a space scene. You should see detail in shadows without blacks looking gray or milky.
-
If dark scenes look washed out with visible gray instead of black, lower brightness. If you can’t see any detail in dark areas and everything blends together, raise it slightly.
The goal is preserving shadow detail while maintaining true blacks. You’re finding the threshold where information stays visible without lifting black levels artificially.
Step-by-Step Contrast Calibration Process
Contrast calibration comes after brightness is set correctly.
-
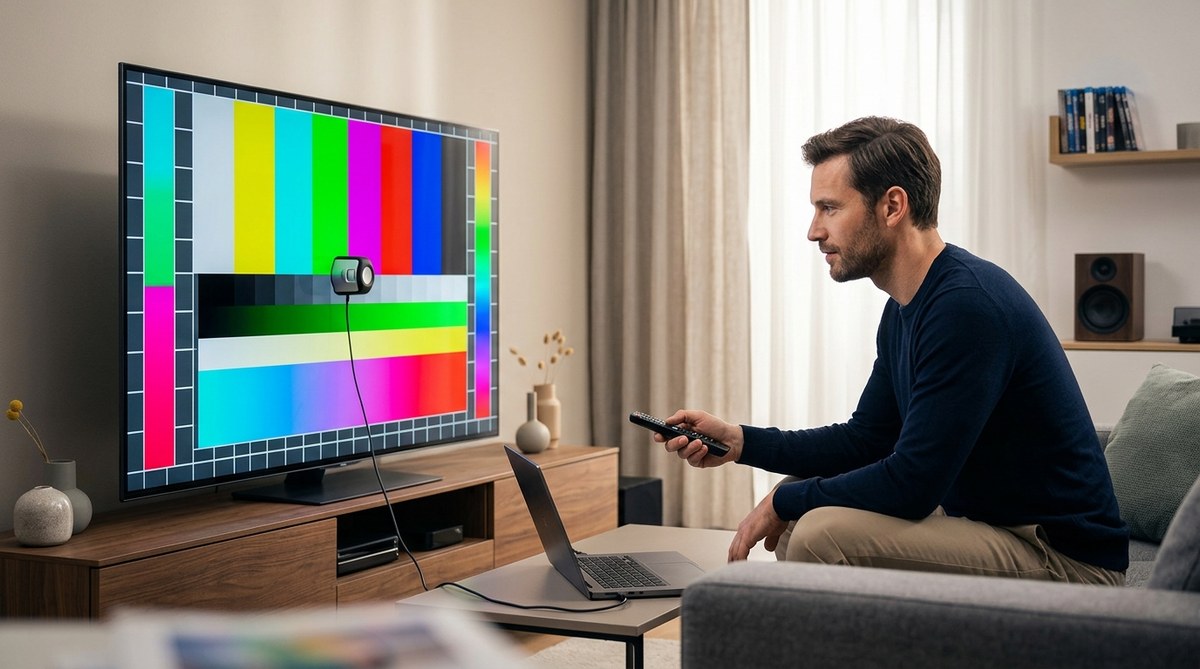
Display a test pattern with near-white bars ranging from peak white (RGB 235,235,235 in video levels) down through lighter grays. Some patterns show bars from 100% white down to 90% or 80% white.
-
Raise your contrast setting until the brightest bars start blending together. You’ll lose the ability to distinguish between them.
-
Lower contrast slowly until you can see distinct separation between each bar, especially between peak white and the next step down.
-
Test with real content showing bright scenes. Clouds should have texture and variation, not appear as flat white blobs. White clothing should show fabric texture and folds.
-
Watch for blooming or haloing around bright objects on dark backgrounds, especially with LED-backlit TVs. If it’s excessive, lower contrast slightly.
Your contrast should be as high as possible while still preserving detail in bright areas. This maximizes the dynamic range between your darkest blacks and brightest whites.
Common Calibration Mistakes and How to Avoid Them
| Mistake | Why It Happens | How to Fix It |
|---|---|---|
| Setting brightness too high | Trying to see more detail in dark scenes | Use test patterns instead of guessing; proper brightness means blacks look black, not gray |
| Maxing out contrast | Assuming higher is always better | Back off until you can distinguish near-white details in test patterns |
| Calibrating with wrong content | Using bright daytime TV shows for dark scene optimization | Use test patterns first, then verify with varied content types |
| Ignoring backlight setting | Focusing only on brightness and contrast | Adjust backlight for comfortable viewing first, then calibrate brightness and contrast |
| Different settings for each input | Calibrating one HDMI input and forgetting others | Check if picture settings apply to all inputs or need individual adjustment per source |
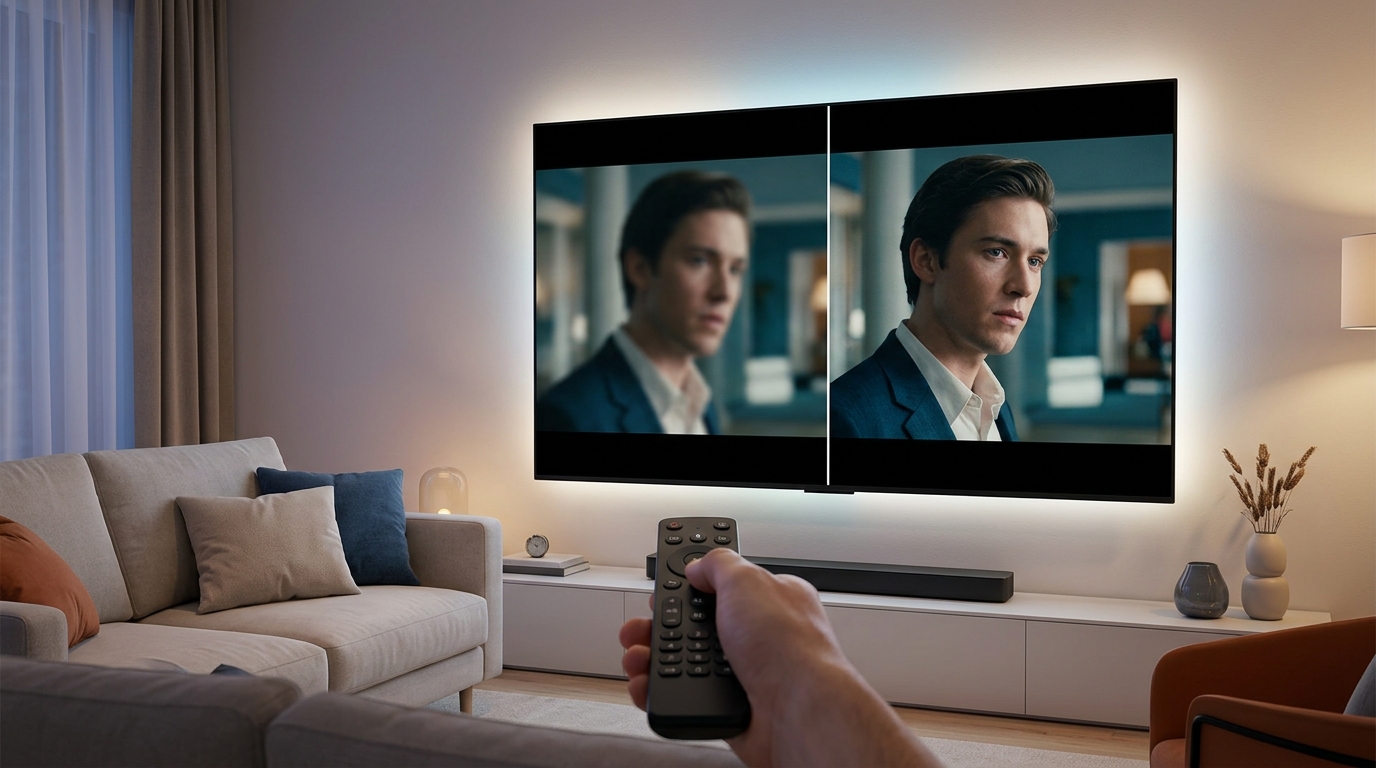
Testing Your Calibration with Real Content
Test patterns get you close, but real content reveals the truth.
Watch a movie with varied lighting. Look for films with both dark scenes and bright outdoor shots. The Dark Knight, Blade Runner 2049, or Mad Max: Fury Road work well for testing contrast range.
Check that you can see detail in both shadow areas and bright highlights. In a dimly lit room scene, you should distinguish furniture and faces without blacks turning gray. In a sunny outdoor scene, clouds and sky should have texture.
Play a nature documentary with lots of bright colors and varied lighting. BBC’s Planet Earth series provides excellent test material with everything from dark caves to bright snow scenes.
If something looks off, make small adjustments. Changes of 2-3 points on a 100-point scale can make a noticeable difference.
Save your settings if your TV allows custom presets. Some TVs reset to defaults after power cycles or software updates.
How Different Display Technologies Affect These Settings
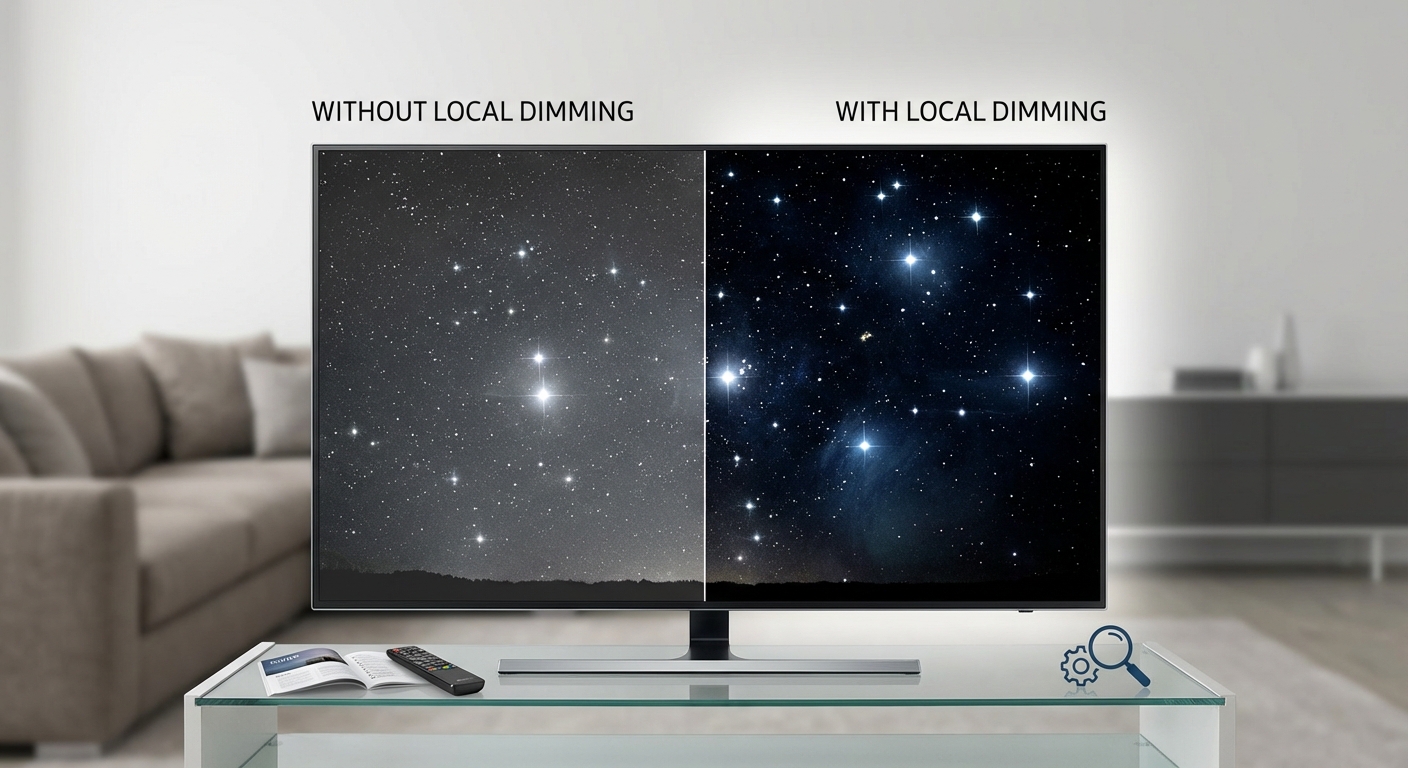
LED-backlit LCD TVs have limited native contrast ratios.
You’ll need to balance brightness and contrast carefully because the backlight illuminates the entire panel. Setting contrast too high causes blooming around bright objects. Setting brightness too low makes dark scenes lose detail unnecessarily.
OLED TVs offer perfect blacks because pixels turn completely off.
Your brightness setting on OLED mainly affects near-black detail preservation. You can usually set it slightly lower than on LCD because true black is already perfect. Contrast can typically go higher without the blooming issues LCD faces.
Mini-LED TVs with local dimming zones fall between LCD and OLED.
These displays can achieve deeper blacks than standard LCD but may show some haloing. Your contrast setting affects how aggressively the local dimming zones respond. Higher contrast may trigger more noticeable zone transitions.
Adjusting for Different Viewing Conditions
Your ideal settings change based on ambient light.
For daytime viewing with windows open, you’ll need higher backlight and slightly elevated brightness. The ambient light raises the perceived black level of your screen anyway, so compensating maintains visible detail.
For nighttime viewing in a dark room, lower backlight and slightly reduced brightness prevent eye strain while maintaining black level accuracy. Your eyes adapt to darkness, making even small amounts of light appear brighter.
Some TVs offer automatic brightness adjustment based on ambient light sensors. These work reasonably well but often overshoot adjustments. Manual control gives better results.
Consider creating two custom picture modes if your viewing conditions vary dramatically. Label one “Day” and one “Night” with appropriate settings for each.
When to Recalibrate Your Settings
TV characteristics change over time.
OLED panels experience gradual brightness decline over thousands of hours. You may need to adjust settings every year or two to compensate. LED backlights also dim with age, though more slowly.
After any software update, check your settings. Some updates reset picture controls to defaults or change how they behave.
If you move your TV to a different room or change your seating arrangement, recalibrate. Room acoustics aren’t the only thing affected by room changes; lighting conditions differ too.
When you notice blacks looking gray or bright scenes losing detail, run through the calibration process again. Your perception can adapt to poor settings over time, making problems less obvious until they’re severe.
Advanced Calibration Considerations
Basic brightness and contrast adjustment gets you 90% of the way to good picture quality.
For the remaining 10%, you’d need a colorimeter, calibration software, and expertise adjusting grayscale tracking, gamma curves, and color management systems. That’s where professional calibration earns its cost.
Some enthusiasts use free calibration software with compatible colorimeters. This requires a Windows PC, calibration patterns, and several hours of work. The investment makes sense if you’re passionate about video quality.
For most viewers, proper brightness and contrast adjustment plus a good picture mode delivers excellent results. Full TV calibration takes more time but covers additional settings beyond these two fundamental controls.
Making These Settings Work for You
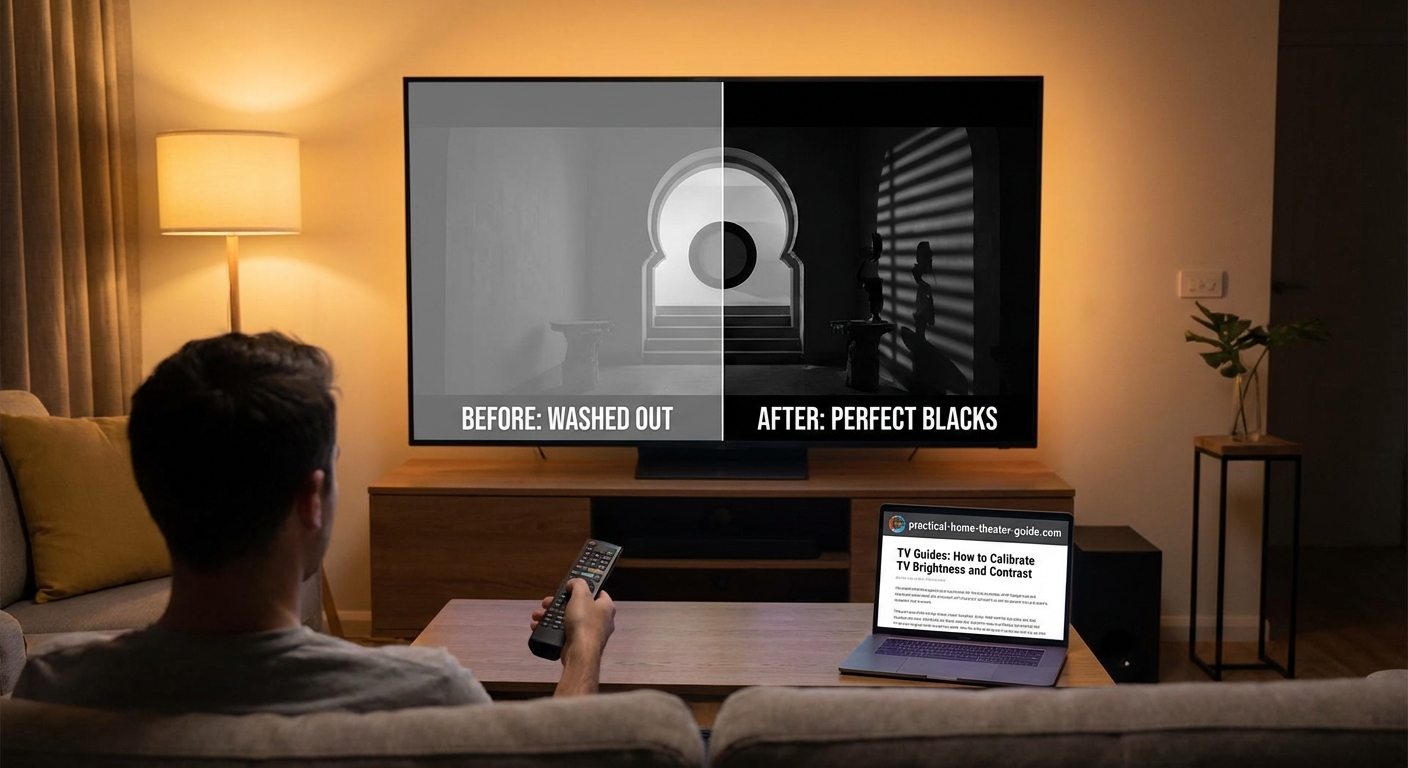
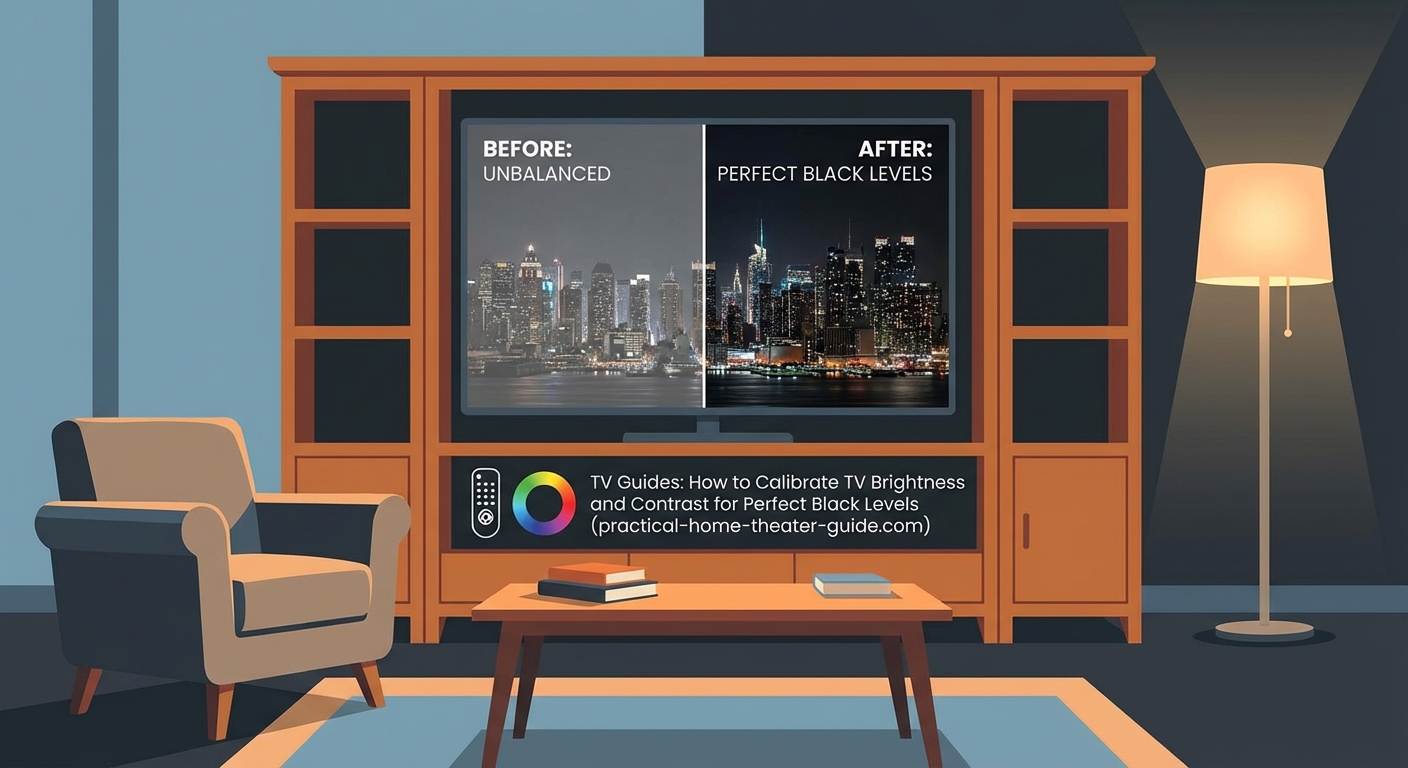
Perfect black levels and contrast make every viewing session better.
You’ll notice details in dark scenes you never saw before. Bright scenes will have depth and texture instead of blown-out flatness. Colors appear more accurate because they’re displayed against proper black levels.
The calibration process takes 30 to 45 minutes the first time. After that, occasional checks take just a few minutes to verify everything still looks right.
Your TV is probably the most-used screen in your home. Taking an hour to set it up properly pays dividends every time you watch anything. Grab those test patterns, dim the lights, and get your brightness and contrast dialed in tonight.

Leave a Reply