You just spent $2,000 on a new OLED TV. The picture looks good right out of the box. But you keep reading about professional calibration and wondering if you’re missing something. Should you really spend another $400 to have someone adjust settings you could probably tweak yourself?
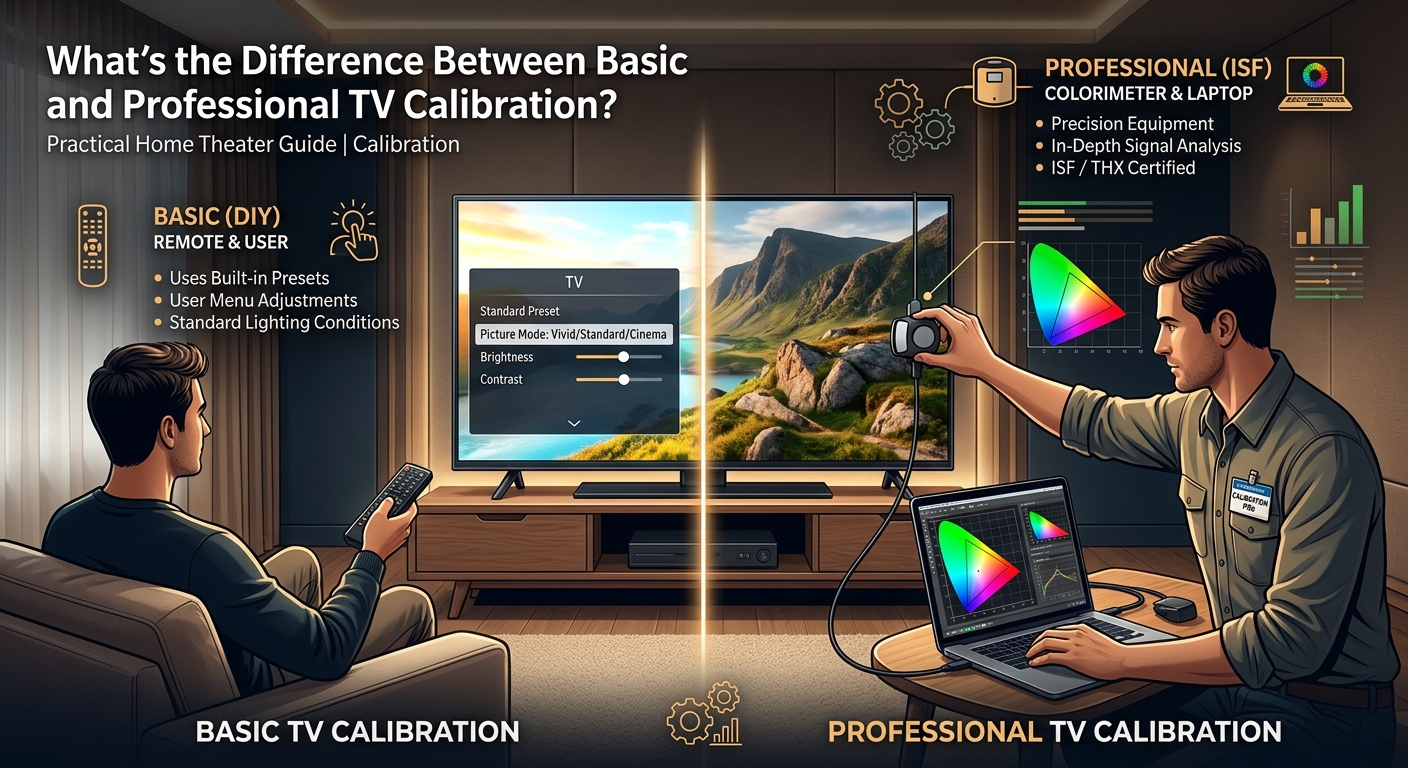
Professional TV calibration costs $300-$500 and uses specialized equipment to measure and correct color accuracy, brightness, and gamma. It delivers measurable improvements on high-end displays but offers diminishing returns on budget TVs. Most viewers see better value from careful DIY calibration using test patterns and basic settings adjustments, reserving professional services for reference-grade setups or color-critical work.
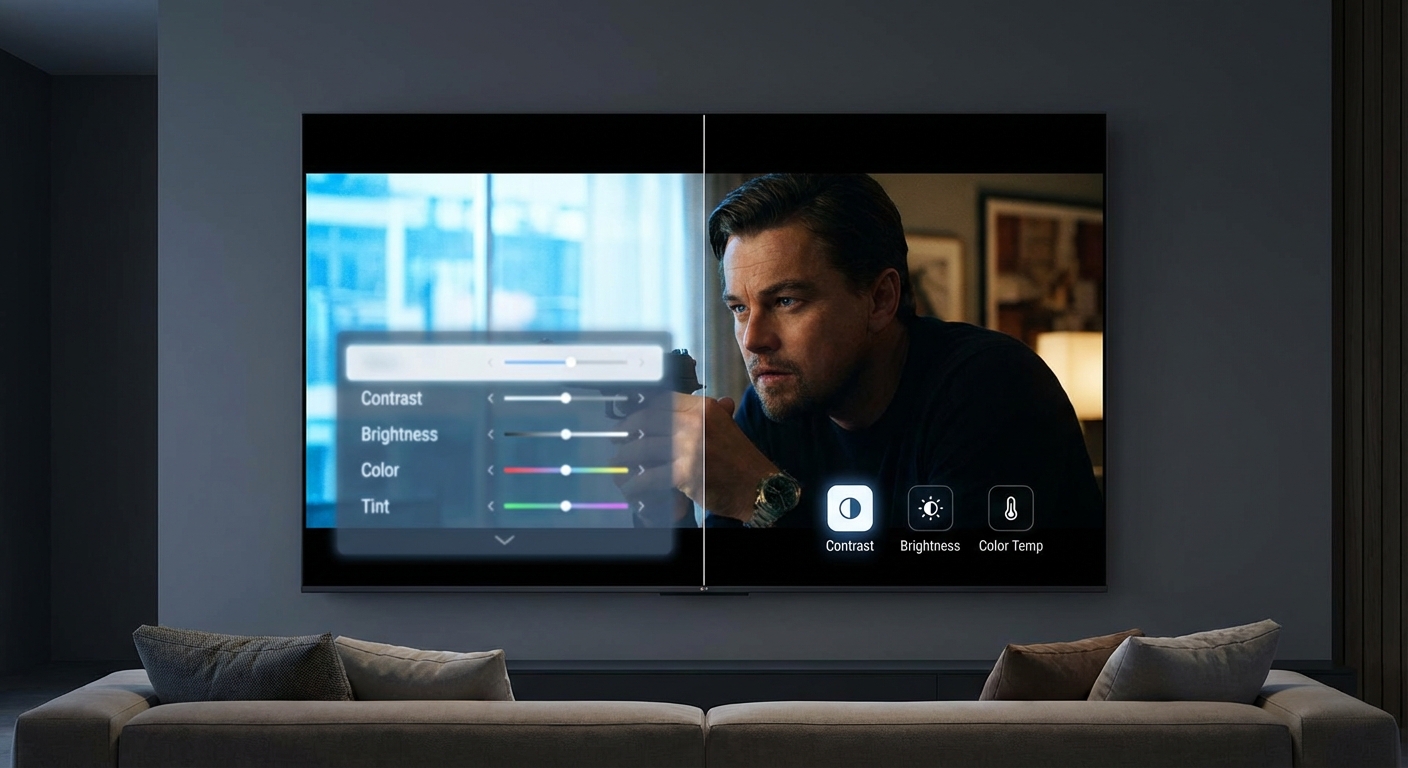
What Professional Calibration Actually Includes
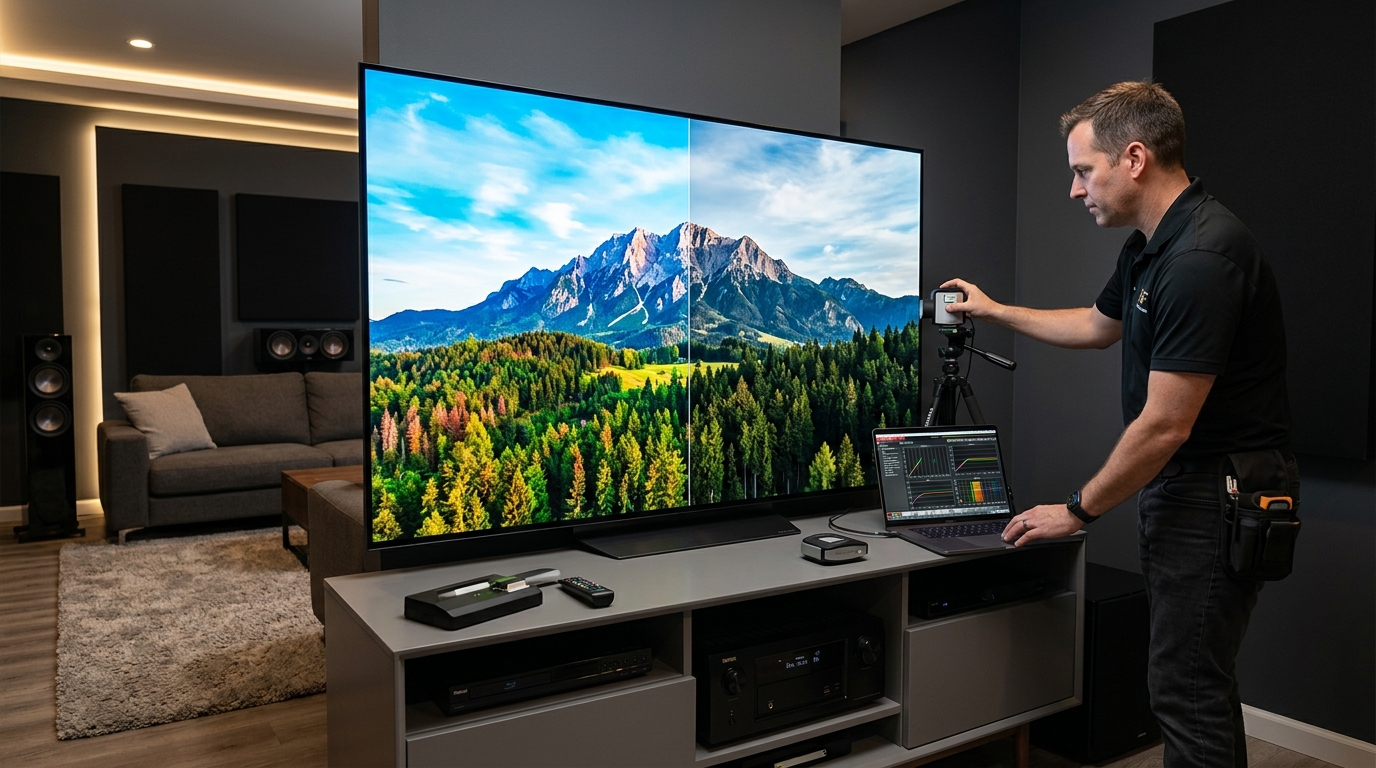
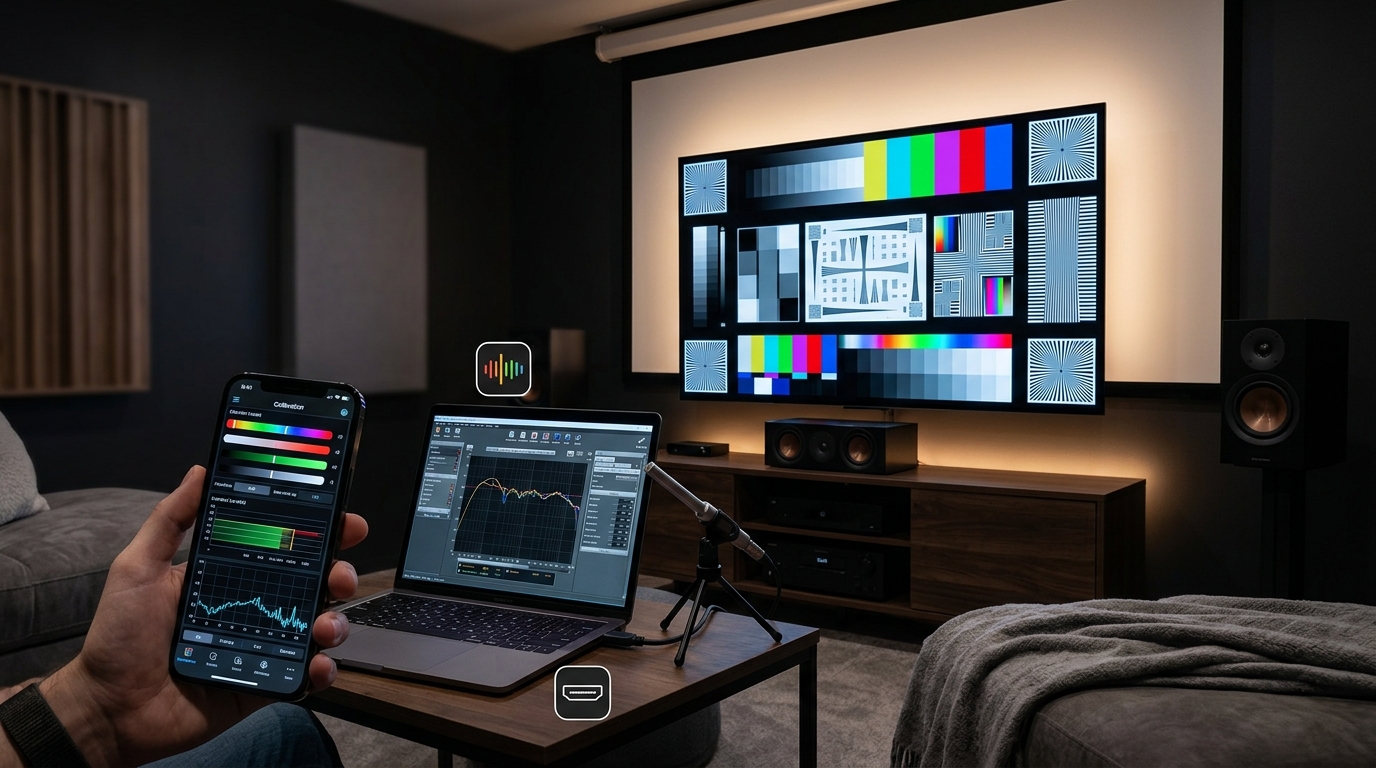
Professional calibrators don’t just adjust your TV’s brightness slider and call it done.
They bring specialized hardware that costs thousands of dollars. A colorimeter measures light output from your screen. A spectroradiometer analyzes color wavelengths. Software records these measurements and calculates corrections.
The process typically takes two to four hours. Here’s what happens:
- The calibrator measures your TV’s native performance using test patterns
- They adjust grayscale to remove color tints in black, white, and everything between
- They calibrate the color gamut so reds, greens, and blues match industry standards
- They set gamma curves to control how brightness transitions from dark to light
- They document everything and provide before/after measurements
Most calibrators work in your actual viewing environment. Room lighting matters. The ambient light in your space affects how colors appear.
Professional calibration also includes access to service menus on many TVs. These hidden settings offer finer control than consumer menus. Calibrators can adjust individual color points and white balance settings that regular users can’t reach.
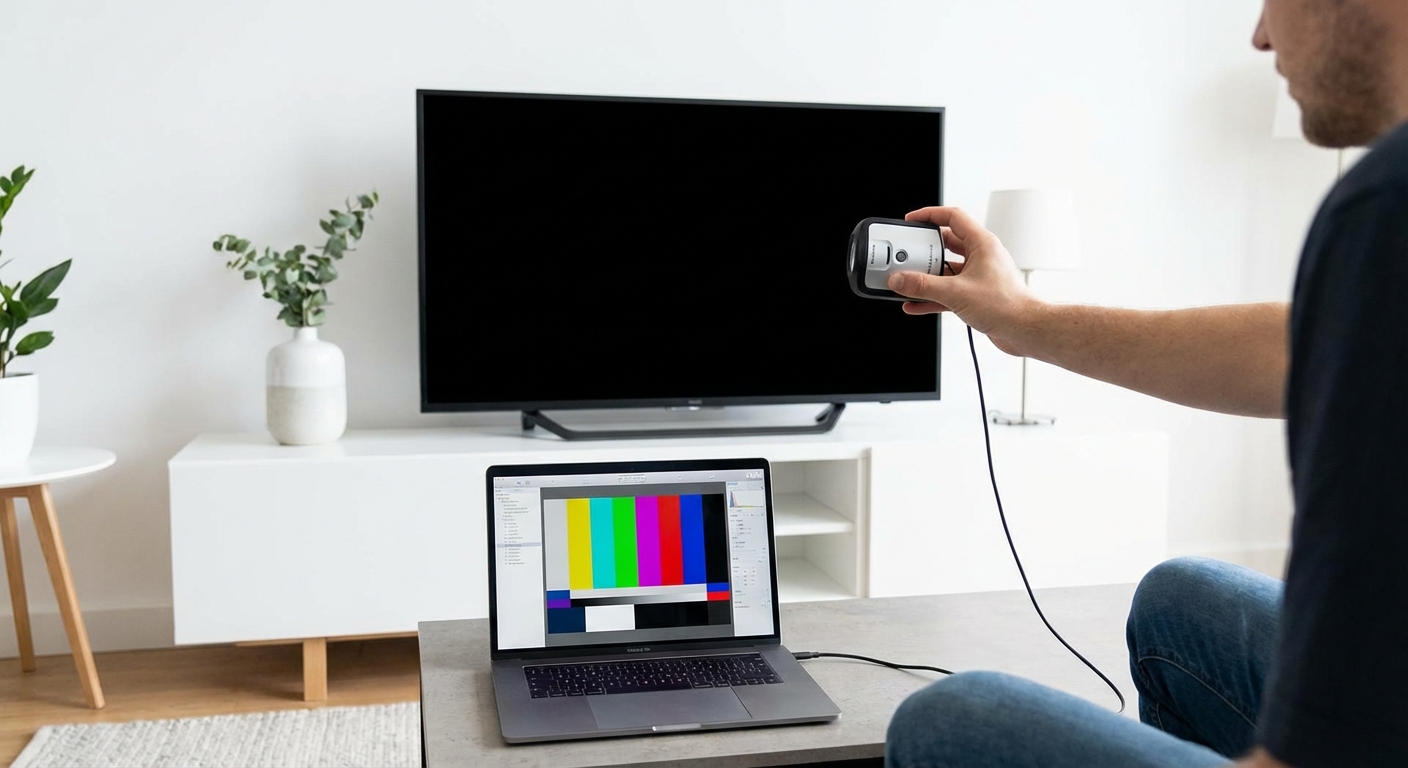
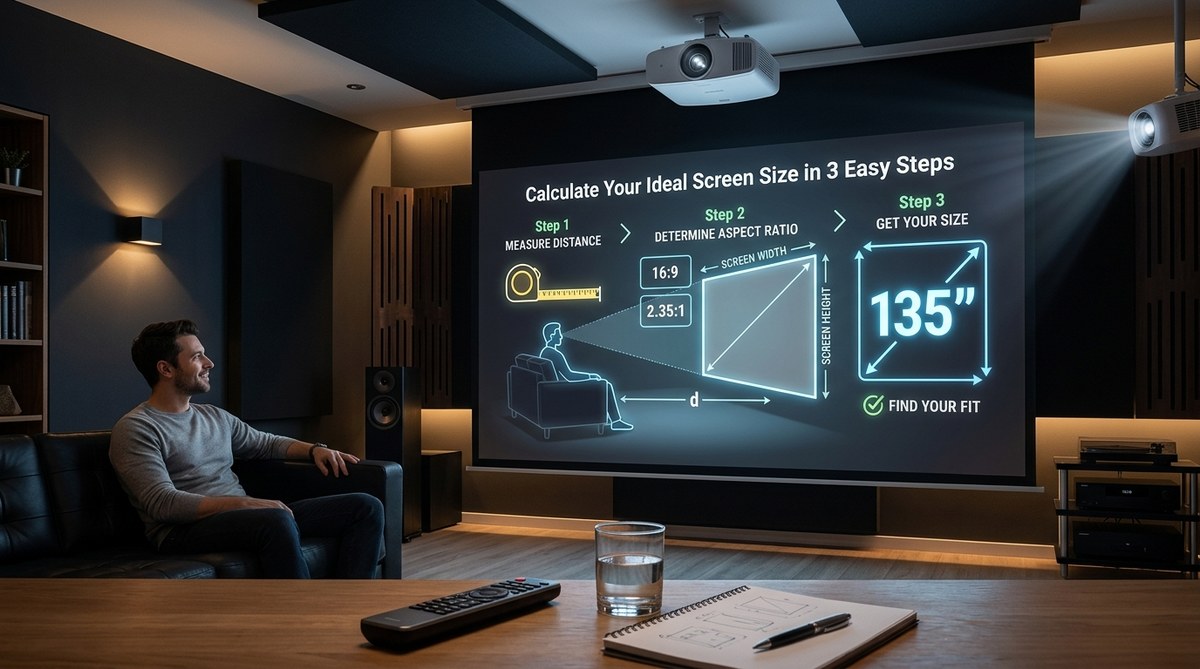
The Equipment Gap Between DIY and Professional Methods
You can buy a basic colorimeter for $200. Professional calibrators use gear that costs $2,000 to $8,000.
The difference shows up in accuracy and capability.
Consumer colorimeters like the X-Rite i1Display measure color well enough for noticeable improvements. But they struggle with wide color gamuts on modern TVs. They can’t always distinguish between different shades of red or measure HDR brightness accurately.
Professional spectroradiometers measure actual wavelengths of light. They work correctly with quantum dot displays, OLED panels, and extended color spaces. They handle peak brightness levels above 1,000 nits without losing accuracy.
| Method | Equipment Cost | Color Accuracy | HDR Support | Service Menu Access |
|---|---|---|---|---|
| Visual adjustment | $0 | Good enough | Limited | No |
| Consumer colorimeter | $200-$400 | Better | Partial | No |
| Professional service | $300-$500 | Reference grade | Full | Yes |
The software matters too. CalMAN, ChromaPure, and LightSpace cost hundreds to thousands of dollars annually. These programs guide the calibration process and generate detailed reports showing exactly what changed.
Can you get close with free apps and tools to calibrate your home theater like a pro? Absolutely. But “close” means within 10-15% of reference standards. Professional calibration aims for 2-3% or better.
When Professional Calibration Makes Financial Sense
Not every TV needs professional calibration.
Budget TVs under $1,000 often can’t hold accurate calibration. Their panels drift over time. The hardware limitations mean you’re paying for temporary improvements.
Mid-range TVs between $1,000 and $2,000 benefit from calibration, but the improvement might not justify $400. These displays usually ship with decent factory settings. Basic DIY calibration gets you 80% of the way there.
High-end TVs above $2,000 show the biggest gains. Premium OLED and mini-LED displays have the hardware capability to display reference-grade images. Factory settings rarely take full advantage. Professional calibration removes the last barriers between your display and its true potential.
Consider professional calibration if you:
- Own a TV costing more than $2,500
- Watch primarily movies and prestige TV shows
- Notice color inaccuracies that bother you
- Work with color-critical content creation
- Plan to keep your TV for five years or more
Skip professional calibration if you:
- Primarily watch sports and news
- Game more than you watch movies
- Own a TV under $1,000
- Frequently watch in bright rooms with windows
- Upgrade your TV every two to three years
Room conditions matter more than people realize. Bright rooms wash out careful calibration work. If you can’t control ambient light, you won’t see the full benefit of professional work.
The Measurable Differences You Can Expect
Professional calibration delivers specific, quantifiable improvements.
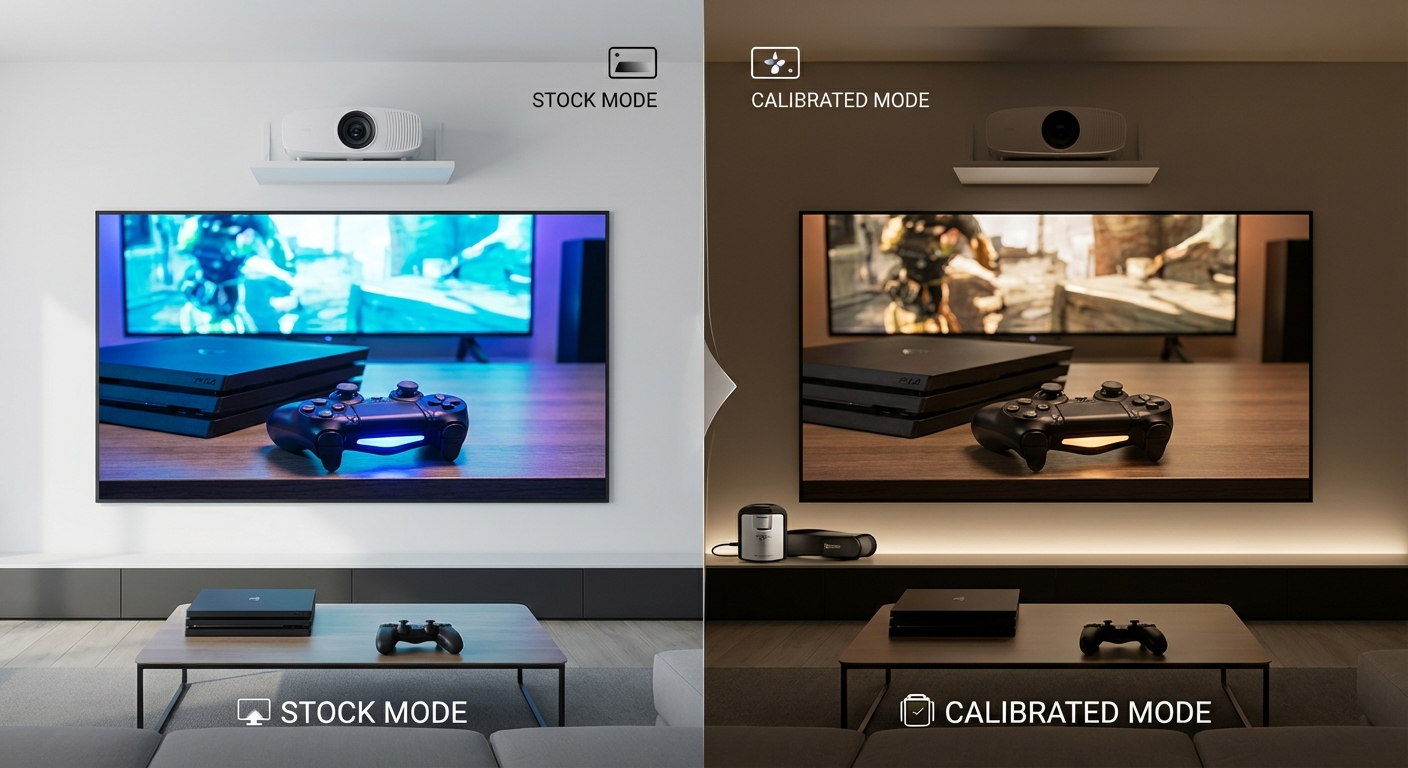
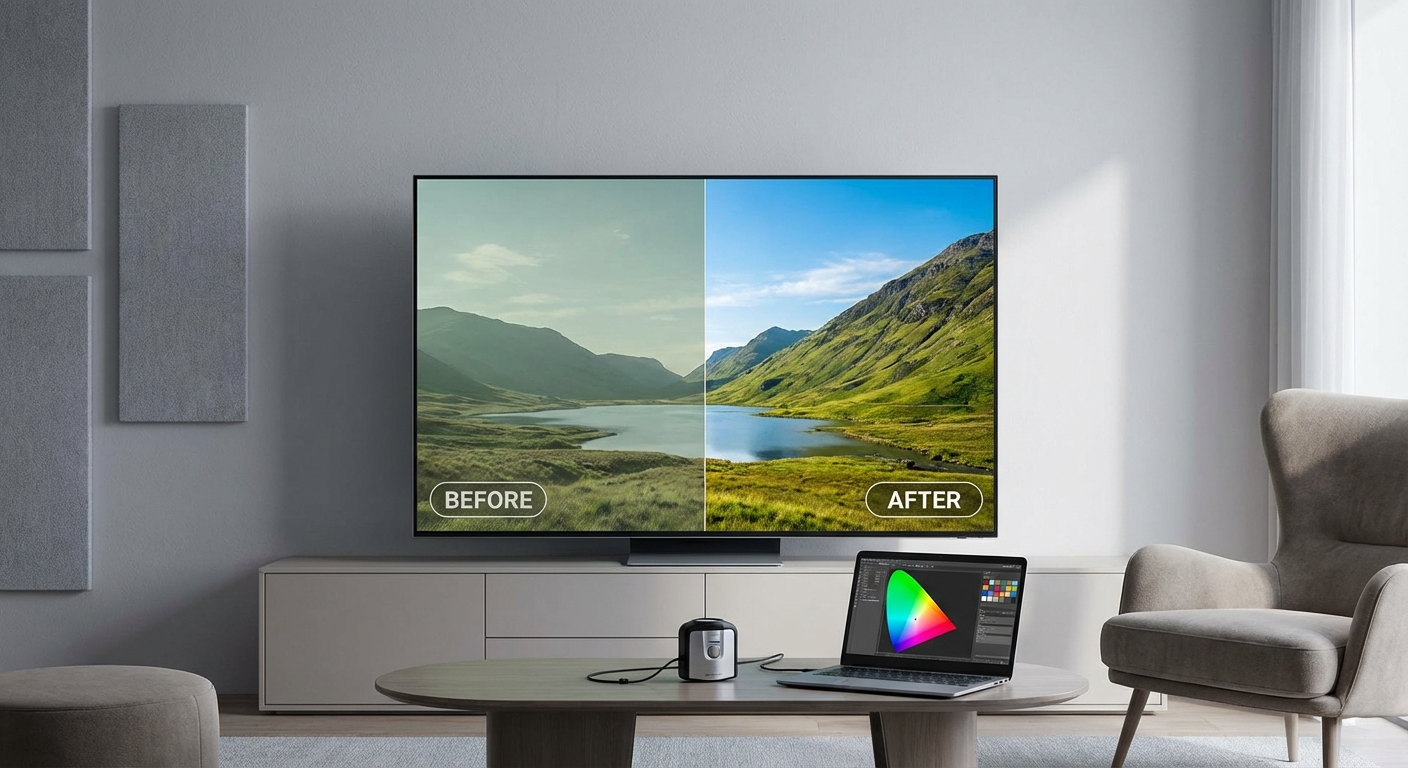
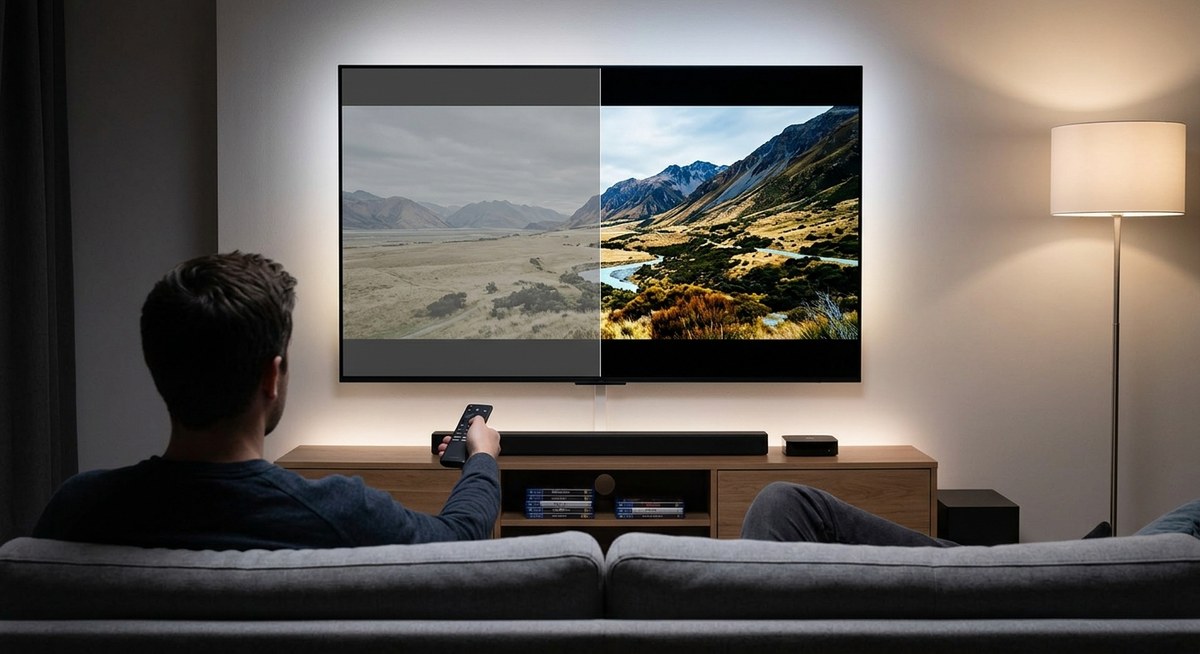
Grayscale accuracy improves dramatically. Out of the box, many TVs show a blue or green tint in grays. This affects every image. After calibration, grays measure neutral from 0% to 100% brightness.
Color accuracy tightens up. Before calibration, reds might be too orange or greens too yellow. After calibration, colors match industry standards within a few percentage points. You see skin tones that look natural instead of sunburned or sickly.
Gamma curves flatten out. This controls shadow detail and highlight rolloff. Proper gamma means you see details in dark scenes without crushing blacks or blowing out bright areas.
Professional calibration typically reduces color error (Delta E) from 5-8 down to 1-2. Most people can’t perceive differences below Delta E of 3. But the cumulative effect of correcting hundreds of color points creates images that just look “right” in ways that are hard to describe but easy to see.
The improvements show up most in specific content. Period dramas with warm candlelight. Nature documentaries with subtle green gradations. Animated films with vibrant but accurate colors.
Sports and action content? The difference matters less. Fast motion and bright lighting hide small color errors.
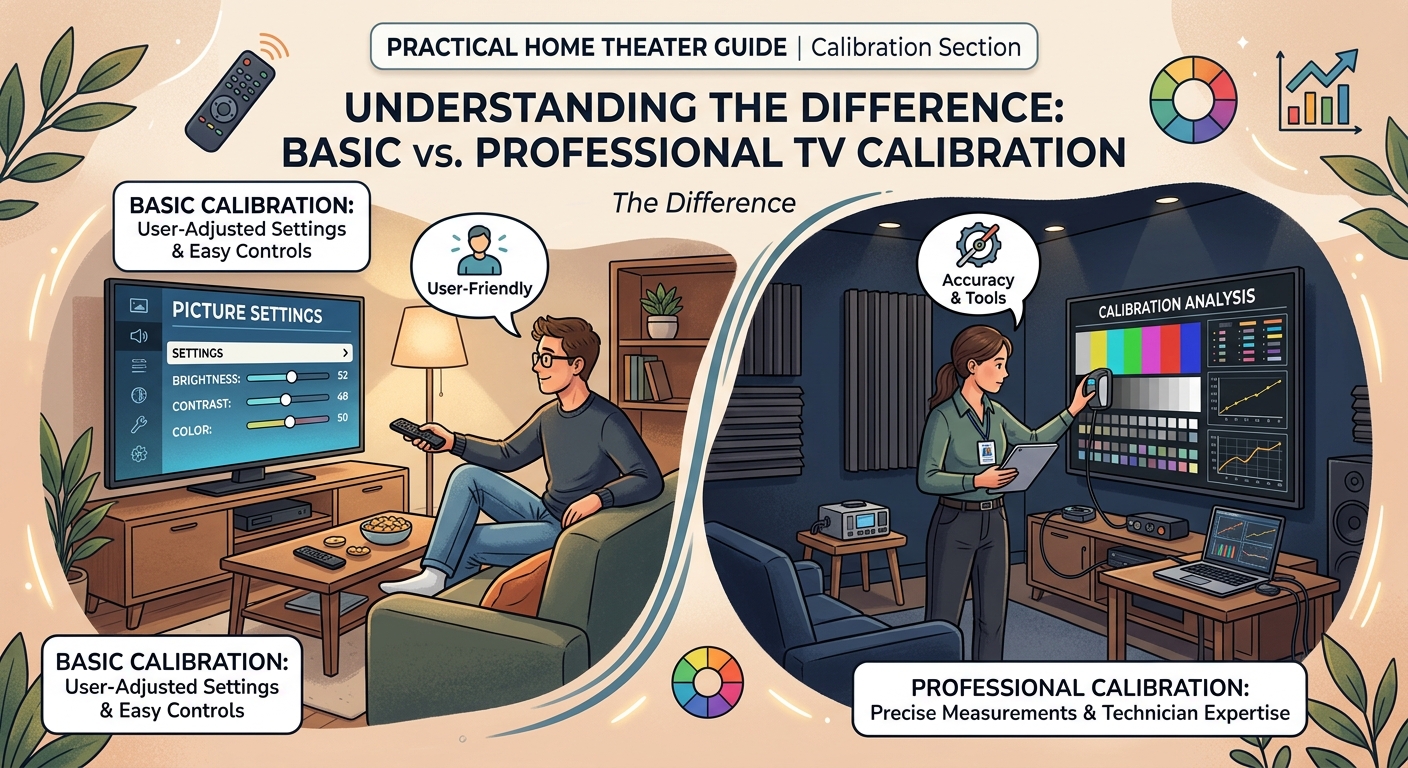
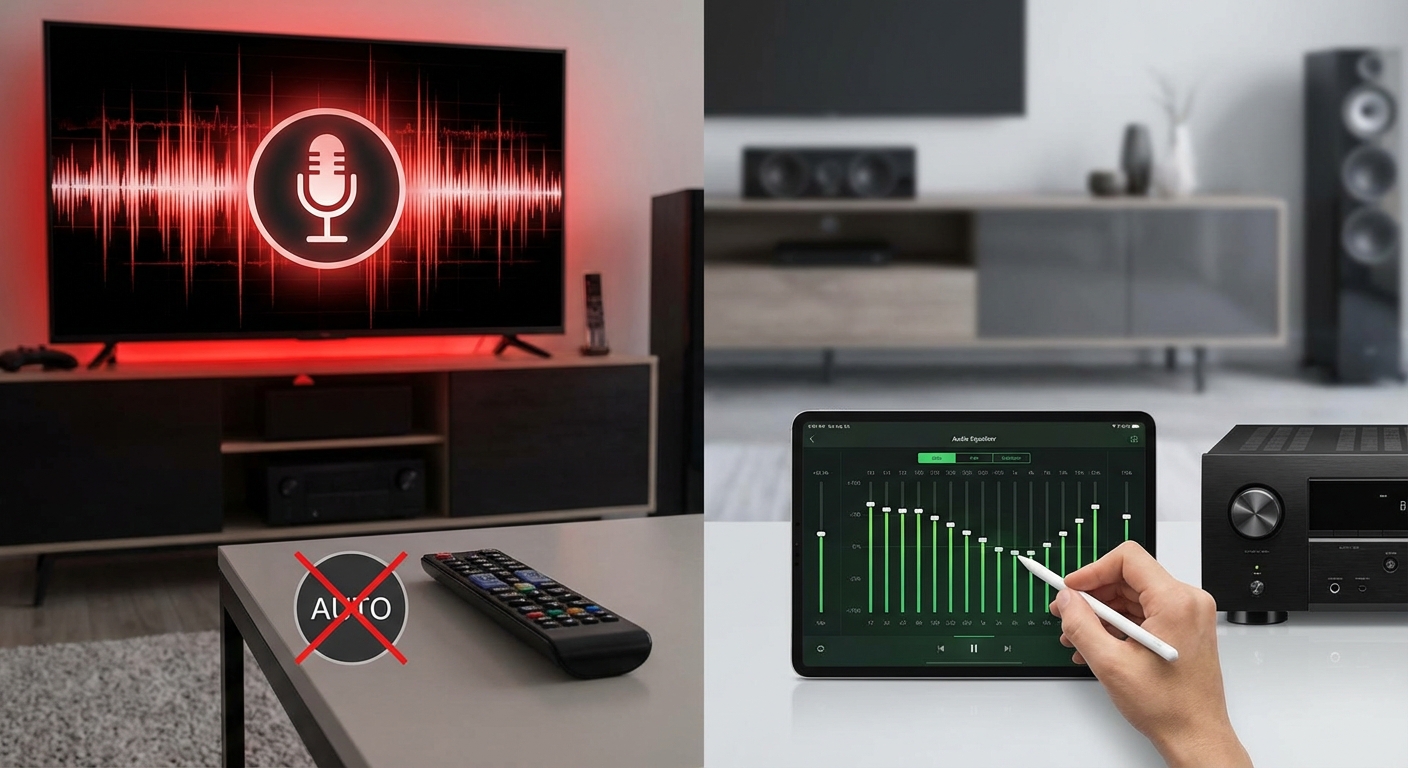
What DIY Calibration Can Realistically Achieve
You can get surprisingly close to professional results with patience and the right approach.
Start with the only TV calibration settings that actually matter for movie watching. These basic adjustments handle 70% of common picture problems.
Use test patterns to guide your work. The free AVSHD disc provides patterns for brightness, contrast, and color. Streaming services like Netflix include test patterns in their menus.
Follow this sequence:
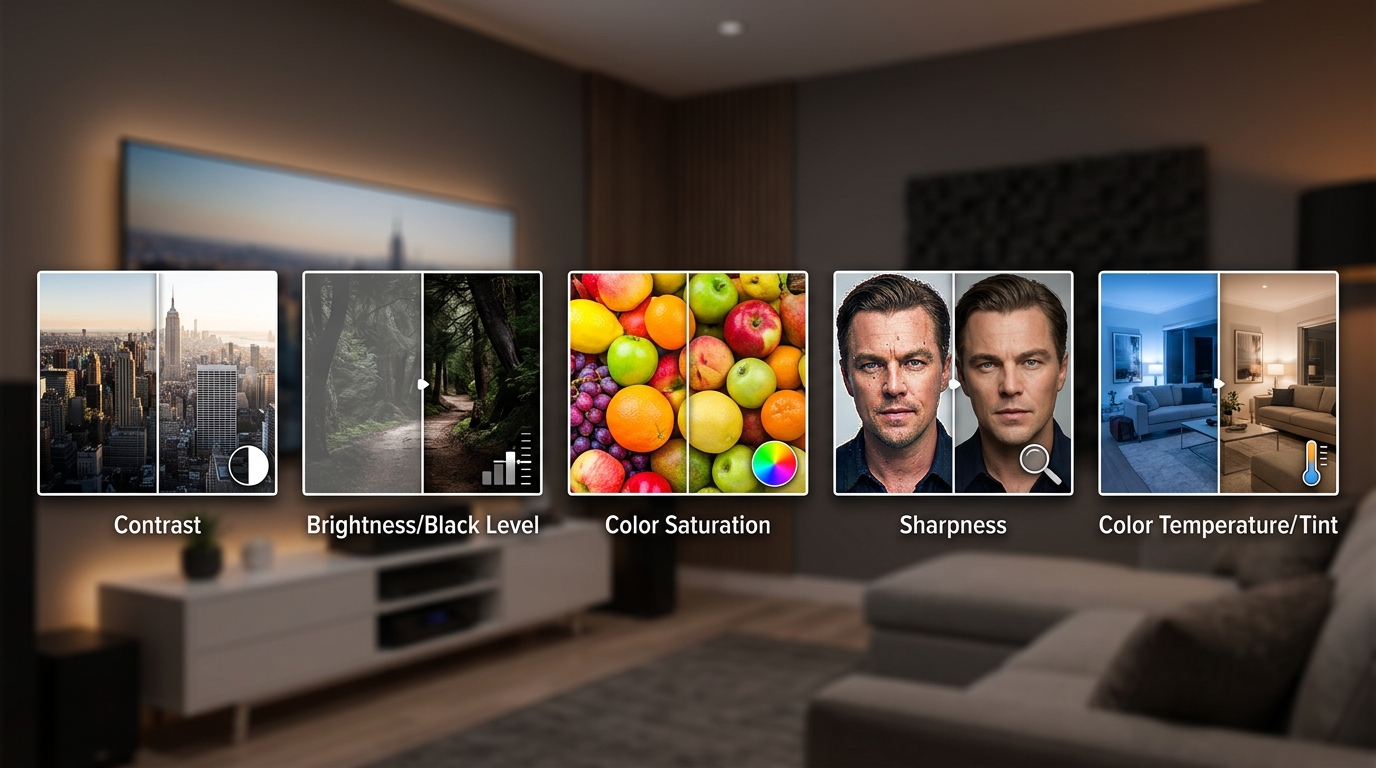
- Select the correct picture mode (usually Cinema, Movie, or Filmmaker Mode)
- Adjust brightness so you see details in near-black scenes without washing them out
- Set contrast so whites look bright but not blown out
- Reduce sharpness to eliminate artificial edge enhancement
- Adjust color saturation until reds look natural, not neon
- Fine-tune tint (if needed) so skin tones don’t look green or purple
This takes 30 to 45 minutes. The results won’t match professional work, but they’ll vastly improve most factory settings.
Adding a consumer colorimeter pushes your results closer to professional standards. The $200 investment pays off if you calibrate multiple displays or plan to keep your TV for years.
The biggest limitation of DIY work is HDR calibration. Consumer tools struggle with high brightness levels and wide color gamuts. Professional equipment handles these scenarios correctly.
The Hidden Costs and Ongoing Maintenance
Professional calibration isn’t a one-time fix.
TV panels drift over time. OLED displays change as the organic materials age. LED backlights shift color temperature after thousands of hours. Most calibrators recommend recalibration every two to three years.
Some services include one free recalibration within the first year. Others charge full price for return visits. Factor this into your decision.
Firmware updates can reset calibration settings. TV manufacturers occasionally push updates that overwrite custom calibrations. You might need to contact your calibrator for a free adjustment, or you might be out of luck.
Different picture modes require separate calibration. If you want accurate SDR and HDR, that’s two calibrations. Add Dolby Vision and you’re looking at three. Some calibrators charge extra for multiple modes.
Travel fees add up in rural areas. Urban customers might pay $300 for calibration. Rural customers could pay $500 once the calibrator factors in drive time.
How Your Display Technology Affects the Value
OLED displays benefit most from professional calibration.
OLED panels offer perfect blacks and precise color control. But they often ship with conservative settings to prevent burn-in and extend lifespan. Professional calibration optimizes performance while maintaining safety margins.
QLED and mini-LED TVs show good improvements. These displays have the brightness range and color volume to benefit from accurate calibration. The challenge is controlling blooming and maintaining accuracy across different brightness zones.
Budget LED TVs offer the least return on calibration investment. Limited color gamuts and inconsistent backlighting mean you’re fighting hardware limitations. No amount of calibration fixes a panel that can’t display accurate colors in the first place.
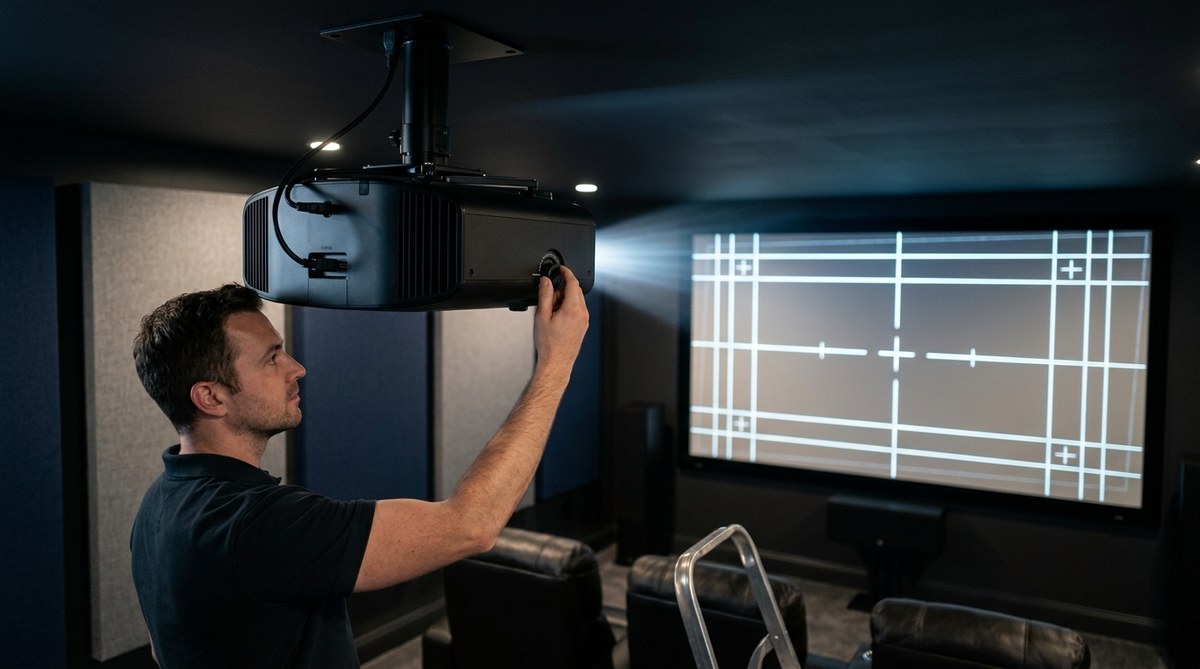
Projectors present unique challenges. Ambient light, screen material, and throw distance all affect calibration. Professional projector calibration often costs more than TV calibration because of these variables. Proper screen selection matters as much as calibration.
Alternative Approaches That Split the Difference
You don’t have to choose between DIY and full professional service.
Remote calibration services cost $150 to $250. You buy a colorimeter, connect it to your computer, and share screen access with a calibrator. They guide the process remotely. You get professional expertise without paying travel fees.
Group calibration events happen in some cities. Local home theater clubs organize sessions where a calibrator handles multiple TVs in one day. You might pay $200 instead of $400.
Manufacturer calibration modes improve yearly. Filmmaker Mode and similar presets come pre-calibrated to industry standards. They’re not perfect, but they’re vastly better than the torch mode most TVs ship in.
Calibration discs provide middle ground. They cost $30 to $50 and include test patterns with detailed instructions. You won’t match professional results, but you’ll get closer than guessing.
Some retailers include basic calibration with high-end TV purchases. The technician who delivers and mounts your TV might spend 15 minutes on basic adjustments. This isn’t reference-grade work, but it’s better than nothing.
Making the Decision for Your Specific Setup
Calculate the percentage cost of calibration relative to your TV price.
A $400 calibration on a $4,000 TV is 10% of the purchase price. That’s reasonable for a reference display you’ll keep for years.
The same $400 on a $1,500 TV is 27% of the purchase price. That’s harder to justify unless you’re extremely sensitive to color accuracy.
Consider your content and viewing habits. If you spend 20 hours per week watching carefully shot films and prestige television, professional calibration enhances hundreds of hours of viewing. If you watch two hours of news and sports per week, you won’t notice much difference.
Room setup matters too. A dedicated theater room with controlled lighting shows off calibration work. A bright living room with windows washes out the improvements.
Your own color sensitivity plays a role. Some people immediately spot color casts and inaccurate skin tones. Others don’t notice until someone points them out. If you’ve never been bothered by how your current TV looks, calibration might not matter to you.
Finding a Qualified Calibrator in Your Area
Not all calibration services deliver equal results.
Look for ISF (Imaging Science Foundation) or THX certification. These programs train calibrators and maintain standards. Certified professionals understand color science and follow established procedures.
Ask about equipment. Calibrators should use spectroradiometers, not just colorimeters, for high-end work. They should have current versions of professional calibration software.
Request sample reports. Good calibrators provide detailed before and after measurements. You should see graphs showing grayscale tracking, gamma curves, and color accuracy. These prove the work was actually done.
Check reviews and references. Other home theater enthusiasts share experiences on forums and local groups. A calibrator with a strong reputation in the community probably does good work.
Understand what’s included. Does the price cover multiple picture modes? Will they return for a free check after a few months? Do they handle firmware updates that reset settings?
Local home theater installers often offer calibration services. They already have the equipment and expertise. The convenience of bundling calibration with installation might justify slightly higher prices.
Getting the Most Value From Professional Work
Prepare your room before the calibrator arrives.
Set up your seating at the final viewing distance. The calibrator needs to measure from where you actually sit. Proper viewing distance affects how you perceive the image.
Control ambient lighting. Close blinds and turn off lights during calibration. The calibrator measures in your actual viewing conditions.
Complete your speaker setup and room acoustics first. You want to calibrate once in a finished room, not recalibrate after every change.
Ask the calibrator to explain their work. Good professionals teach you what they’re doing and why. You’ll learn what to watch for and how to maintain the calibration.
Save all settings and reports. Take photos of the final settings in each menu. Store the calibration report somewhere safe. You’ll need these if firmware updates reset everything.
When Your Money Goes Further Elsewhere
Sometimes calibration isn’t the best next investment.
If your TV sits in a bright room with poor light control, fix that first. Room conditions affect picture quality more than calibration. Blackout curtains cost $100 and improve every viewing session.
If you’re watching compressed streaming content, calibration won’t fix compression artifacts. Better source material improves your experience more than perfect color accuracy on mediocre sources.
If your center channel sounds muffled or your subwoofer placement is wrong, fix the audio first. Most people notice audio problems before they spot color inaccuracies.
If your TV is more than five years old, consider putting that $400 toward a new display instead. Modern TVs ship with better factory calibration and improved picture processing. A new mid-range TV might outperform your old calibrated high-end model.
Your Next Step Based on Your Situation
Professional TV calibration is worth it for specific situations, not universal ones.
You’ll see real value if you own a premium display, watch primarily films and high-quality content, and plan to keep your TV for years. The measurable improvements in color accuracy and image quality enhance hundreds of viewing hours.
You’ll waste your money if you own a budget TV, watch mainly sports and news, or can’t control room lighting. The improvements won’t justify the cost, and your viewing habits won’t let you appreciate the changes.
For most people, careful DIY calibration using test patterns and basic settings delivers the best value. You’ll fix the worst factory setting problems and get 80% of the way to professional results for free.
Start there. Calibrate your brightness and contrast properly. Use good test patterns. Take your time. Then decide if you want to go further.
If you still see problems that bother you, or if you’re setting up a serious home theater with a high-end display, professional calibration makes sense. Just make sure you’re getting what you pay for by hiring a certified professional with proper equipment.
The goal isn’t perfection. It’s getting your display to look right for your eyes, in your room, with your content. Sometimes that requires professional help. Often it doesn’t.

Leave a Reply