
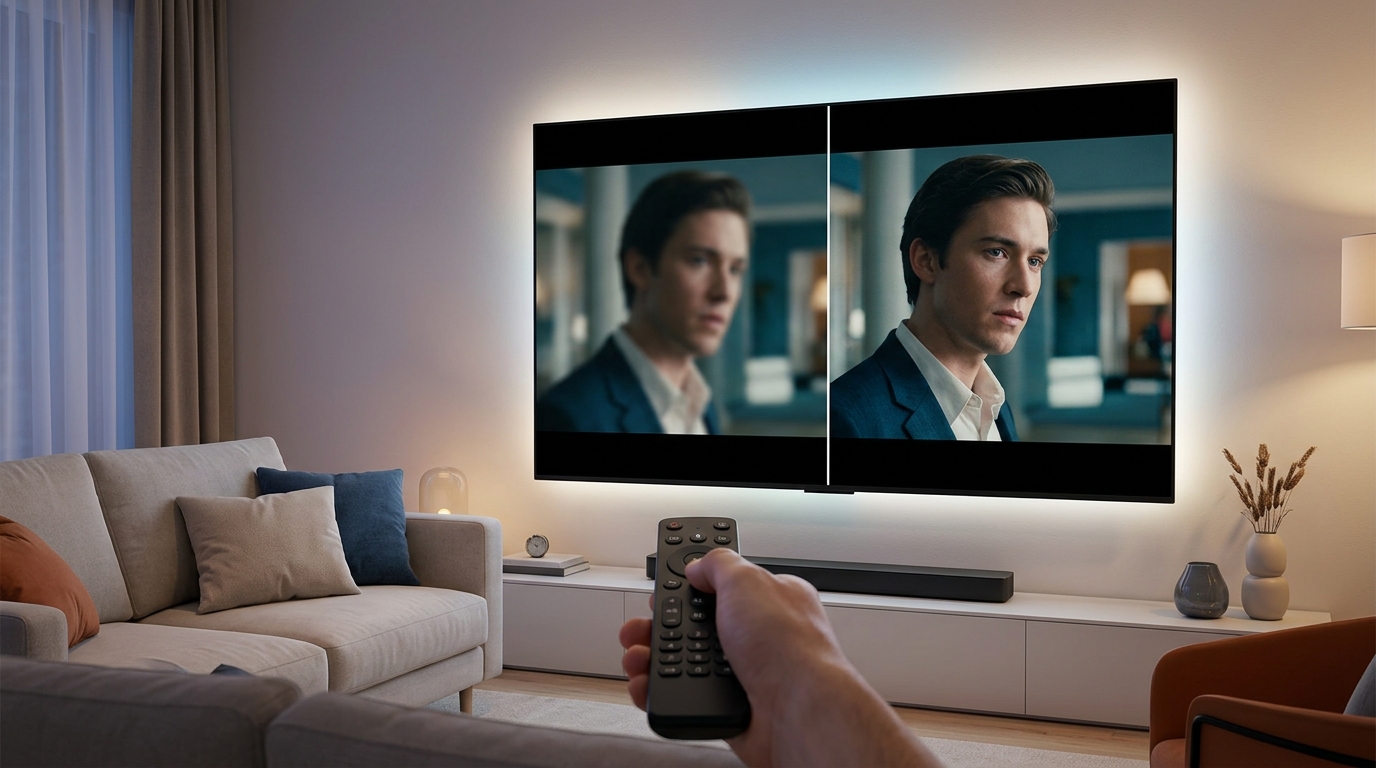
You just unboxed your new TV, plugged it in, and turned it on. The picture looks bright, colorful, and impressive at first glance. But after watching for an hour, something feels off. Colors seem oversaturated. Motion looks unnaturally smooth. Dark scenes lose all their detail.
Most TVs ship with factory settings designed to grab attention on a bright showroom floor, not to deliver accurate picture quality in your living room. Manufacturers crank up brightness, oversaturate colors, and enable motion smoothing features that make movies look like soap operas. The good news? You can fix these issues in about 15 minutes without any technical expertise.
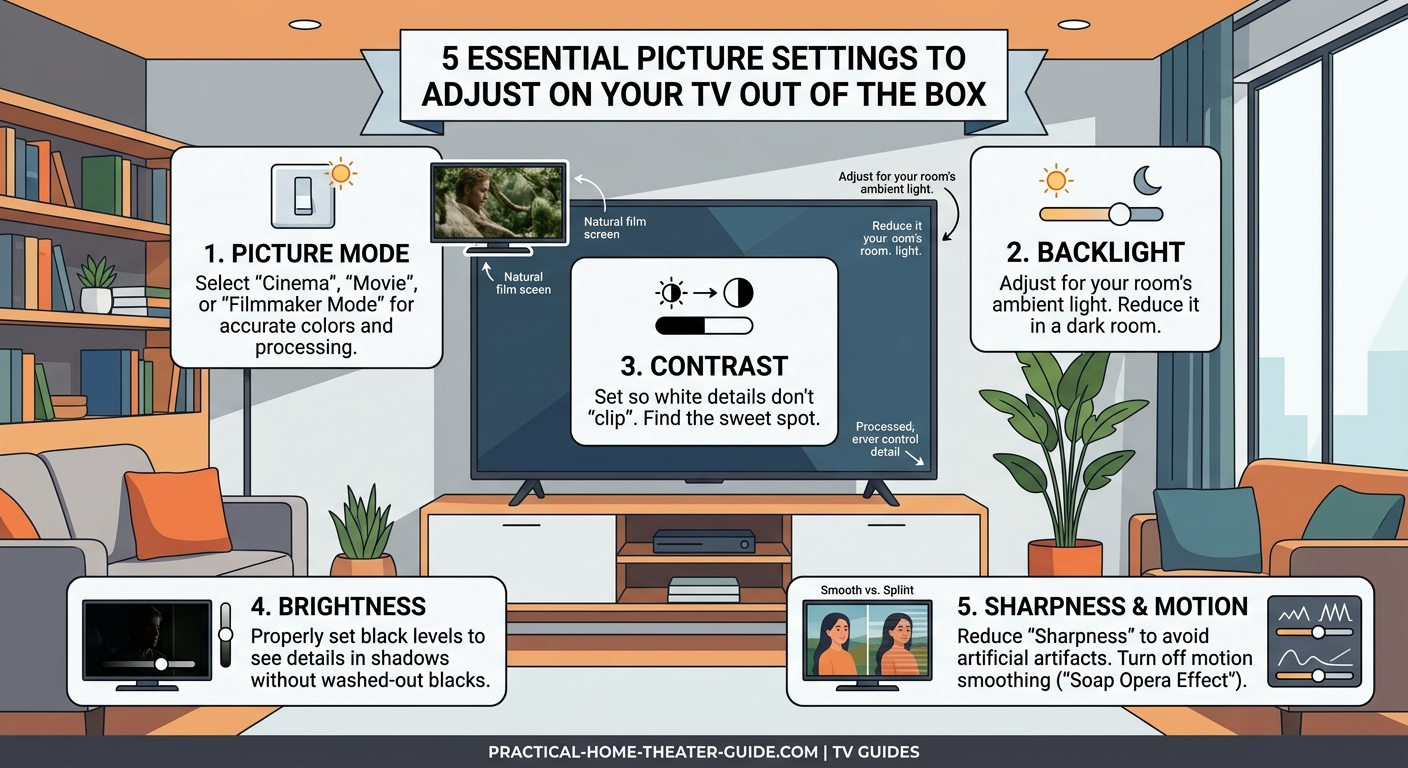
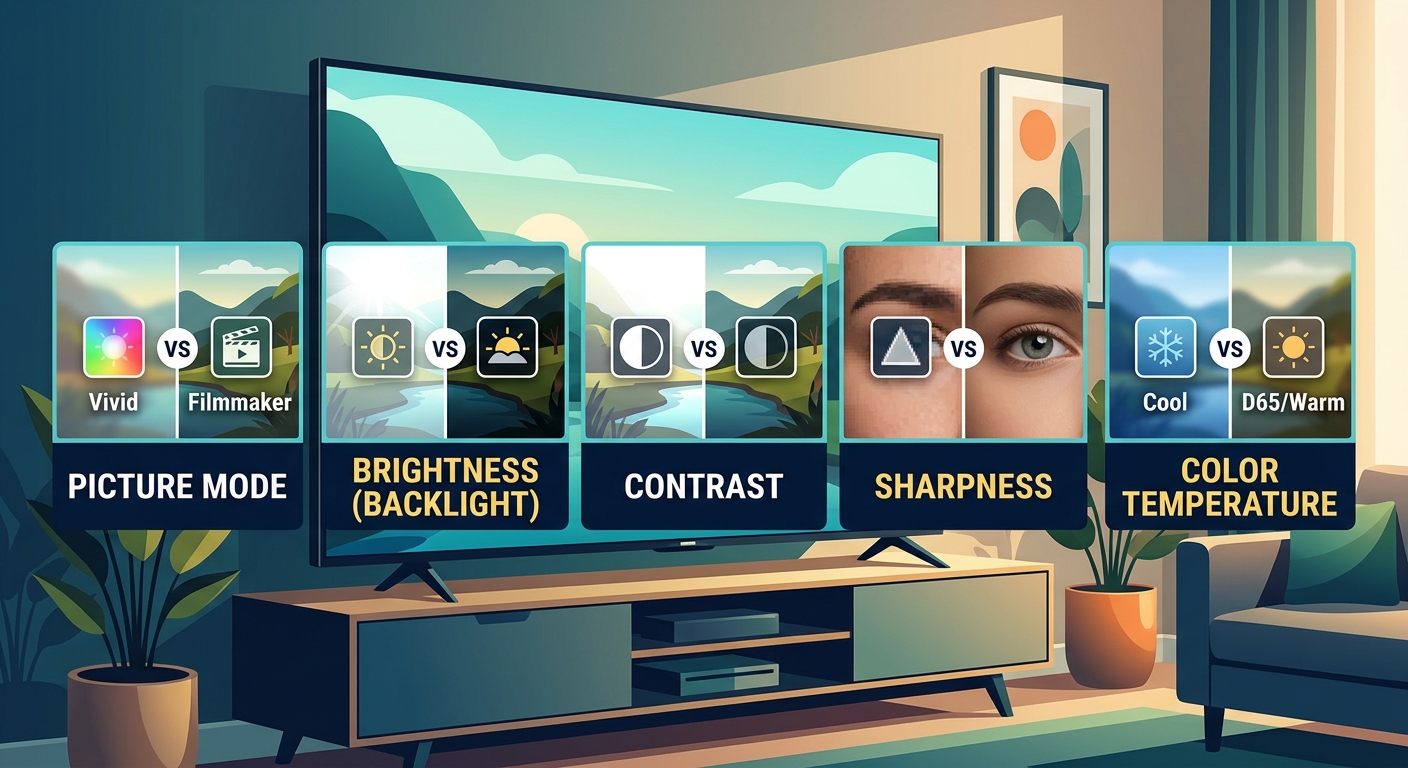
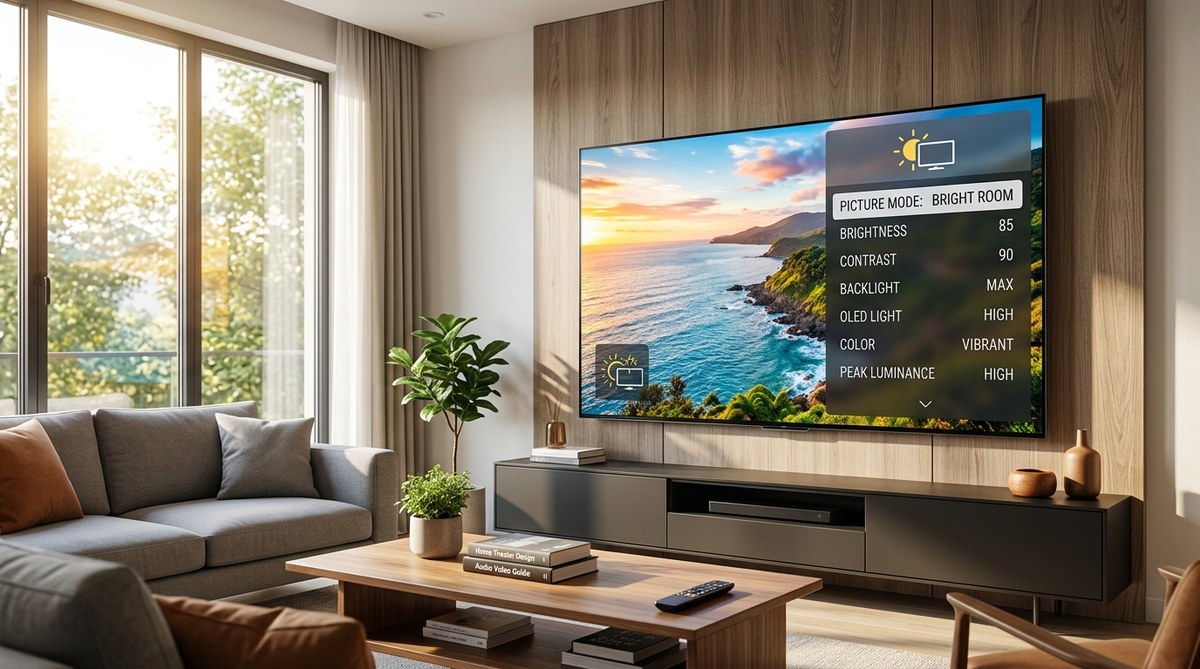
The best TV picture settings start with selecting the right picture mode (usually Movie or Cinema), turning off motion smoothing, adjusting brightness and contrast for your room’s lighting, fine-tuning [color temperature](https://en.wikipedia.org/wiki/Color_temperature) to warm, and disabling unnecessary image processing features. These five adjustments will dramatically improve picture quality on any television without requiring professional calibration tools or technical knowledge.
Why factory settings make your TV look worse
TV manufacturers face a problem. Their displays sit in brightly lit stores next to dozens of competitors. To stand out, they boost every setting to maximum. Brightness gets pushed to eye-searing levels. Color saturation gets cranked up until reds look radioactive. Sharpness gets enhanced until you can see halos around objects.
These settings work in a showroom. They fail in your home.
The “Vivid” or “Dynamic” picture mode that comes pre-selected makes skin tones look orange. It crushes shadow detail in dark scenes. It creates motion artifacts during action sequences. And it causes eye fatigue after extended viewing.
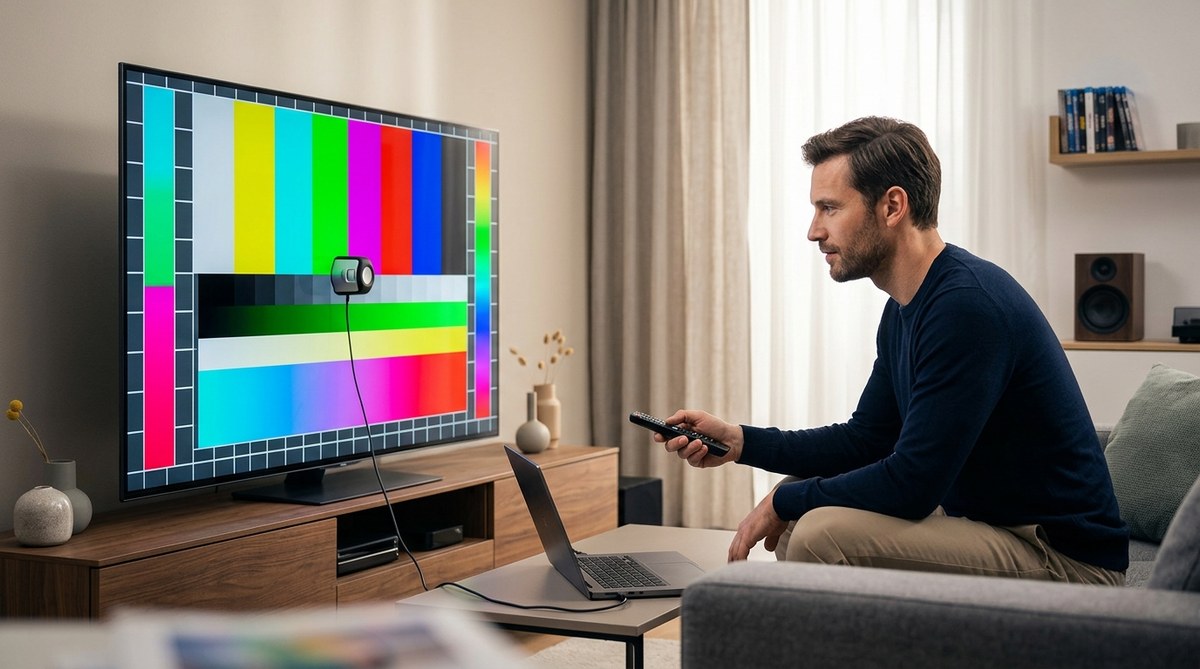
Professional calibrators spend hours with specialized equipment to achieve accurate picture quality. But you don’t need that level of precision. Following these best TV picture settings will get you 90% of the way there using only your TV’s built-in controls.
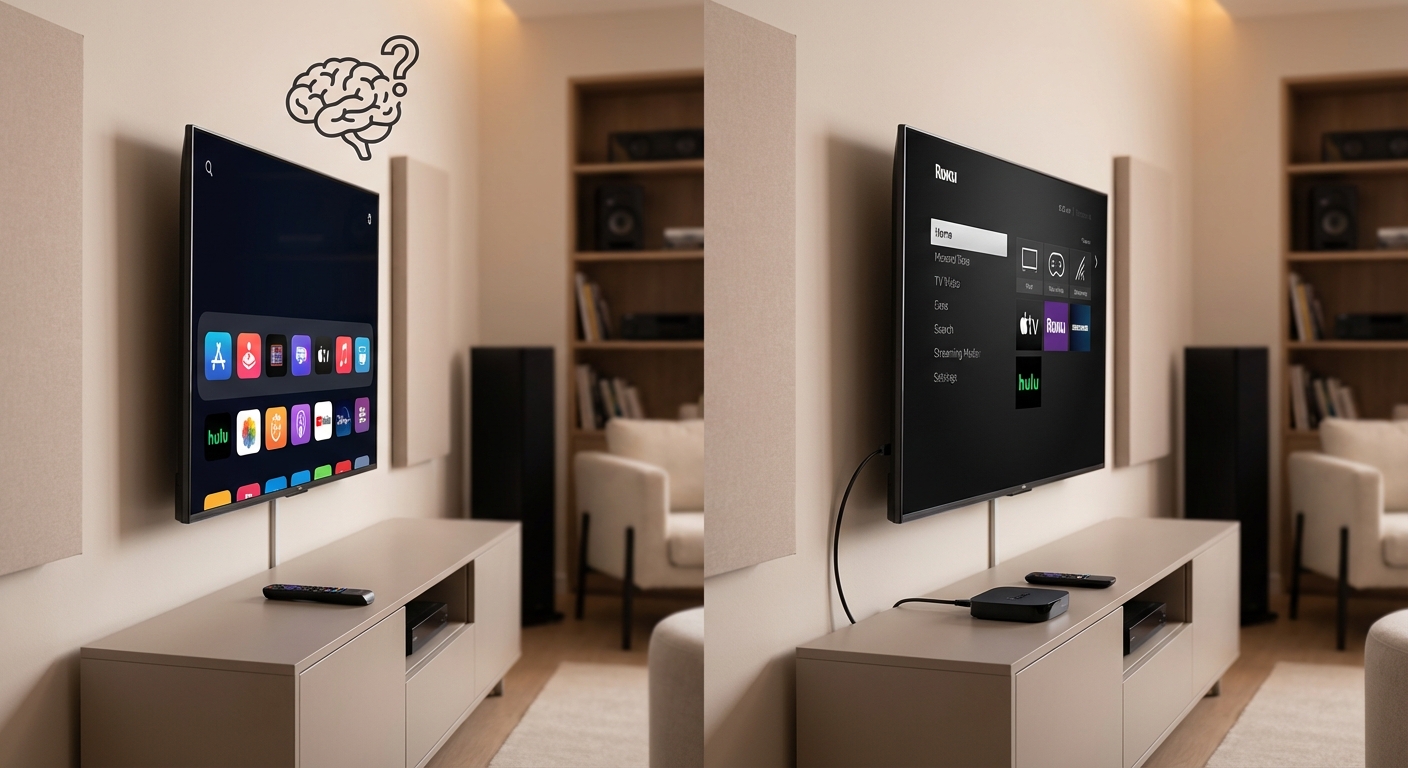
Start with the right picture mode
Your TV includes several preset picture modes. Each one adjusts dozens of settings simultaneously. Choosing the correct mode is the single most important adjustment you’ll make.
Here’s what each mode actually does:
| Picture Mode | What It Does | When to Use It |
|---|---|---|
| Vivid/Dynamic | Maximum brightness and color saturation | Never (unless in direct sunlight) |
| Standard/Normal | Balanced but still oversaturated | Casual daytime viewing only |
| Movie/Cinema | Accurate colors and proper brightness | Movies, TV shows, streaming content |
| Sports | Enhanced motion and brightness | Live sports in bright rooms |
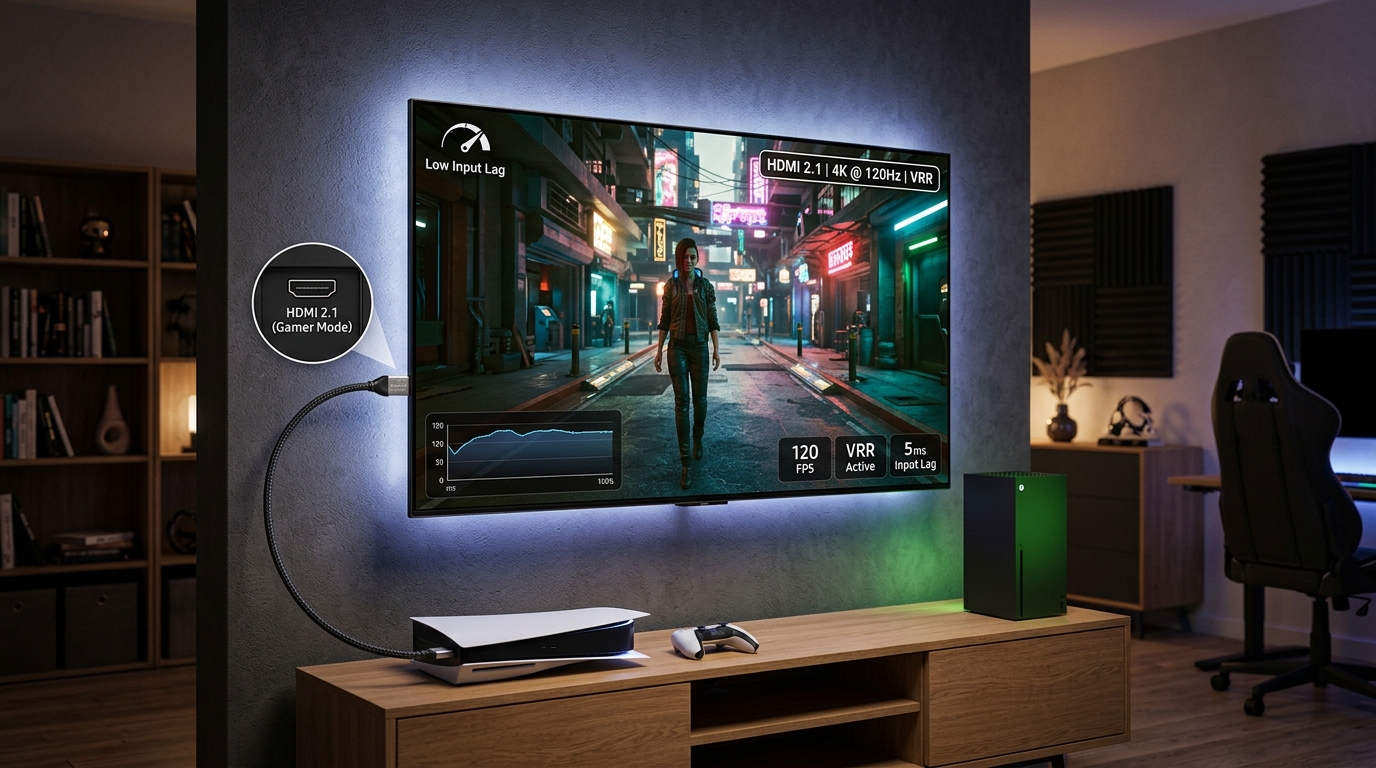
| Game | Reduced input lag for gaming | Video games only |
Select Movie or Cinema mode. This preset gets you closest to how filmmakers intended their content to look. It uses the industry-standard color temperature (6500K). It displays proper black levels. It shows accurate skin tones.
Some manufacturers call this mode “Filmmaker Mode” or “Calibrated.” The name varies, but the goal remains the same: accurate picture reproduction.
After switching modes, your TV will look dimmer and less saturated. That’s correct. Your eyes need about 20 minutes to adjust. After that adaptation period, the old Vivid mode will look cartoonish and oversaturated.
If you want to understand how different TV technologies handle these picture modes, each panel type has unique strengths and weaknesses.
Turn off motion smoothing immediately
Motion smoothing goes by many names. Samsung calls it Auto Motion Plus. LG calls it TruMotion. Sony calls it MotionFlow. Every manufacturer uses different terminology for the same feature.
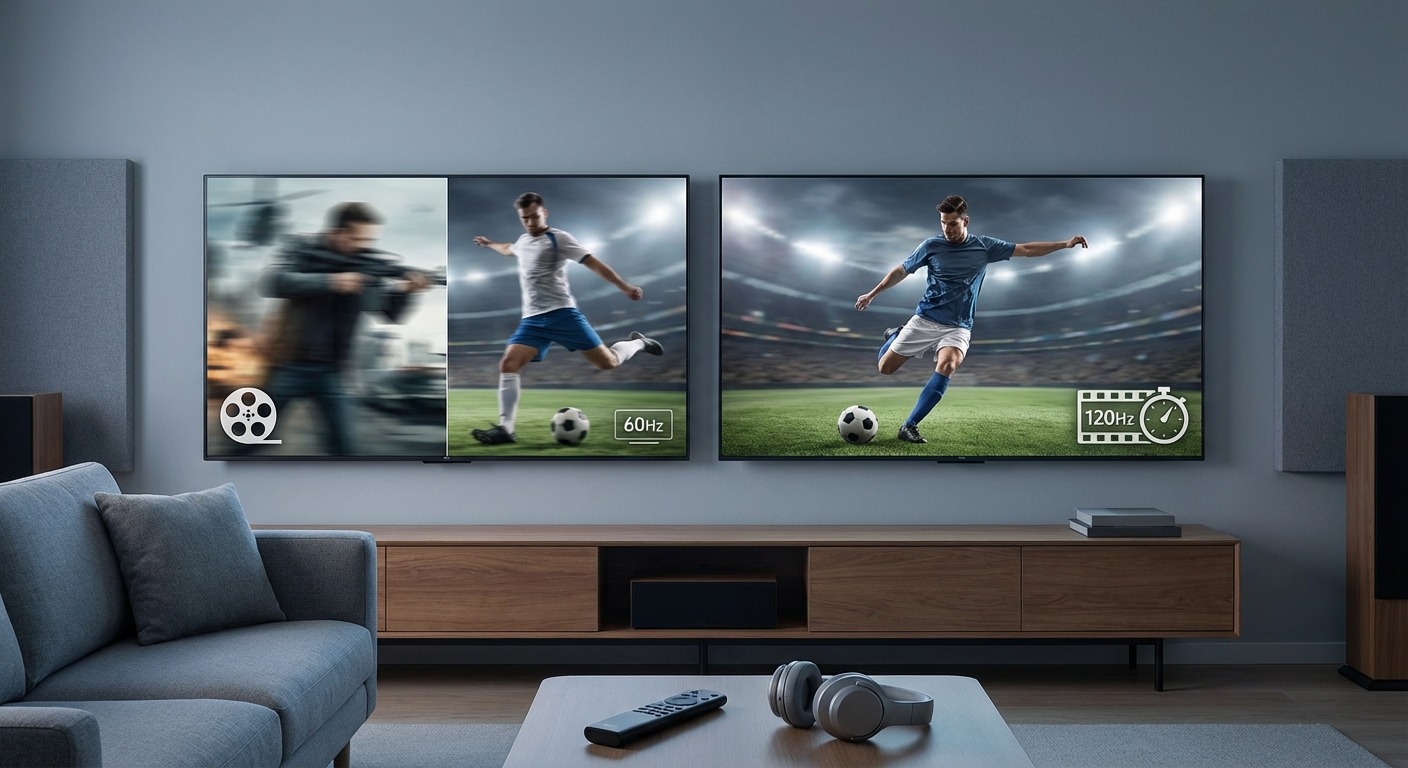
This processing takes 24 frames per second film content and artificially generates extra frames to create smoother motion. It makes movies look like they were shot on cheap video cameras. Directors hate it. Cinematographers hate it. Anyone who cares about preserving artistic intent hates it.
The feature exists for sports broadcasts, where it can reduce motion blur during fast action. But it ruins the cinematic look of movies and TV shows.
Here’s how to disable it:
- Open your TV’s picture settings menu
- Look for any setting with “motion,” “smooth,” or “flow” in the name
- Set it to Off or 0 (not “Auto” or “Low”)
- Check for related settings like “judder reduction” and turn those off too
Some TVs hide this setting in multiple places. Check both the main picture menu and any “advanced” or “expert” submenus.
Game mode usually disables motion processing automatically to reduce input lag. But Movie mode often leaves it enabled by default. Double-check your settings.
The difference becomes obvious immediately. Film content will look like film again instead of a behind-the-scenes documentary. You’ll see the natural motion blur that cinematographers intentionally captured. Action scenes will feel more cinematic.
We’ve covered why your new TV looks too smooth in more detail if you want to understand the technical reasons behind this effect.
Adjust brightness and contrast for your room
Brightness and contrast sound similar but control completely different aspects of your picture. Understanding the difference helps you set both correctly.
Brightness controls black levels. It determines how dark the darkest parts of the image appear. Set it too low and you crush shadow detail. Set it too high and blacks look gray.
Contrast controls white levels. It determines how bright the brightest parts of the image appear. Set it too low and the picture looks flat. Set it too high and you lose detail in bright areas.
Most TVs ship with contrast maxed out and brightness set too high. Both need adjustment.
To set brightness properly:
- Find a dark scene in a movie (the opening of any Batman film works perfectly)
- Lower the brightness setting until black areas disappear completely
- Raise it slowly until you can just barely see detail in the darkest shadows
- Stop there
To set contrast properly:
- Find a bright scene with white objects (clouds, snow, white clothing)
- Lower the contrast until you can see texture and detail in bright areas
- Raise it slowly until bright areas just start to lose detail
- Back it off one notch
Your room’s lighting affects these settings significantly. A TV in a bright room needs higher brightness and contrast than one in a dark home theater. You might need different settings for daytime and nighttime viewing.
Some TVs offer automatic brightness adjustment based on ambient light. This feature works reasonably well on modern displays. Try it and see if you prefer it to manual control.
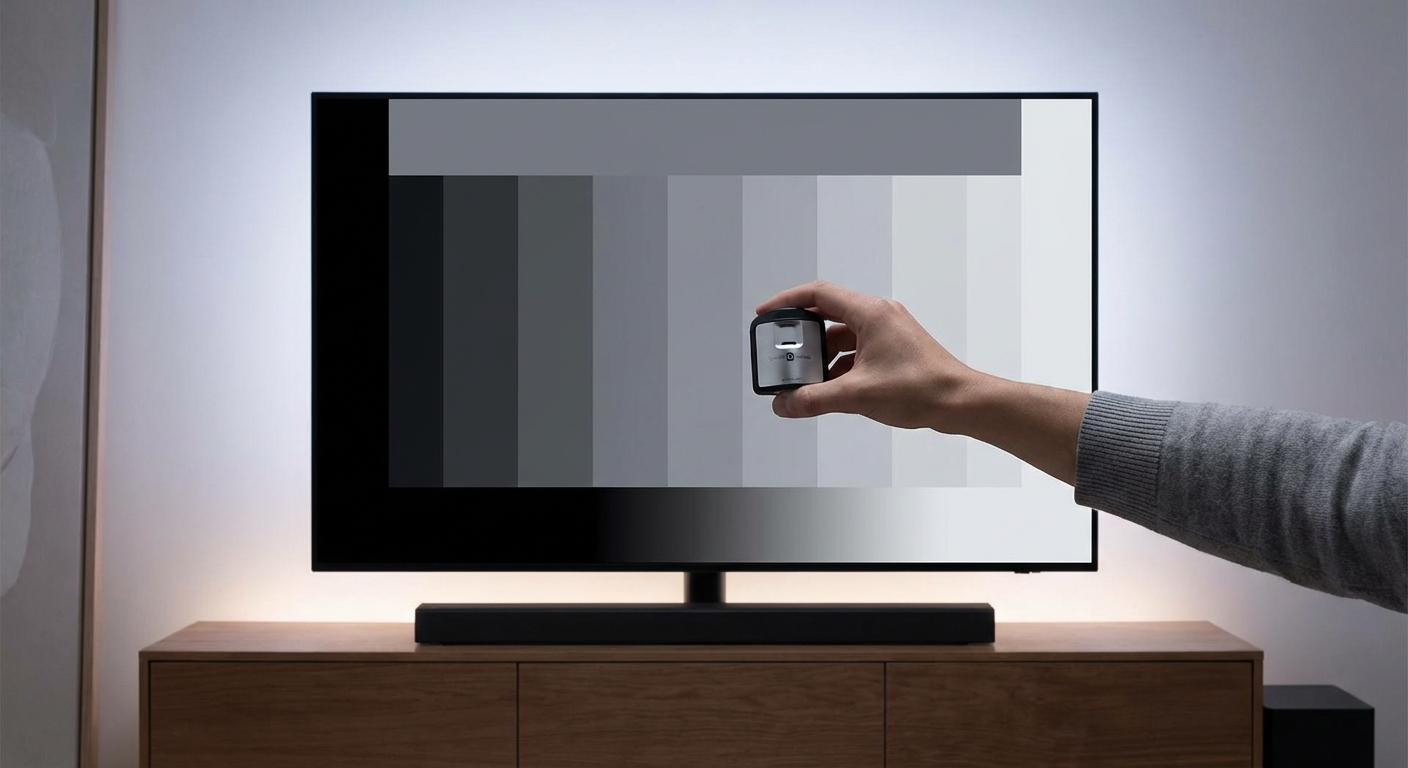
For more precise adjustment, our guide on how to calibrate TV brightness and contrast walks through the process using test patterns.
Set color temperature to warm
Color temperature determines whether your picture looks bluish (cool) or reddish (warm). Most people instinctively prefer cooler temperatures because they look brighter and more vivid. But cooler temperatures are objectively less accurate.
The film and television industry uses a standard color temperature of 6500K, which corresponds to the “Warm” setting on most TVs. This produces accurate whites and natural skin tones.
Factory settings usually default to “Normal” or “Cool,” which pushes color temperature up to 8000K or higher. This makes whites look blue-white instead of neutral. It makes skin tones look pale and lifeless.
Change your color temperature to Warm or Warm2. If your TV offers multiple warm options, start with Warm and only move to Warm2 if Warm still looks too blue.
Your eyes will rebel at first. The picture will look orange-tinted and dim. Give it 30 minutes. Your visual system will adapt, and the old cool setting will look absurdly blue.
Some TVs label their most accurate setting as “Low” instead of “Warm.” Check your manual if you’re unsure which option provides 6500K.
Professional calibrators use specialized meters to set color temperature precisely. But the Warm preset gets you close enough for everyday viewing. The difference between Warm and a professionally calibrated 6500K is minimal compared to the massive gap between Cool and correct.
Disable unnecessary image processing
Modern TVs include dozens of image processing features with impressive-sounding names. Most of them degrade picture quality instead of improving it.
These features add processing delay (input lag), introduce artifacts, and alter the image in ways that reduce accuracy. Filmmakers and content creators never intended for these filters to be applied to their work.
Here are the most common offenders:
- Dynamic Contrast: Constantly adjusts brightness based on scene content, causing distracting brightness shifts
- Edge Enhancement/Sharpness: Creates artificial halos around objects and emphasizes compression artifacts
- Noise Reduction: Softens the image and removes fine detail along with actual noise
- Black Frame Insertion: Reduces motion blur but also reduces brightness and can cause flicker
- Color Enhancement: Oversaturates colors beyond accurate levels
- Flesh Tone Correction: Attempts to improve skin tones but usually makes them look plastic
Turn all of these off. Set them to 0 or Off in your picture settings menu.
The only processing feature worth keeping enabled is local dimming on LED TVs. This feature dims the backlight in dark areas to improve black levels. Set it to High or Maximum for the best results. If you’re curious about what local dimming does, it’s one of the few processing features that genuinely improves picture quality.
OLED TVs don’t need local dimming since each pixel produces its own light. But they might offer similar-sounding features for HDR content. Check your manual.
Fine-tune sharpness to zero (or close to it)
Sharpness is the most misunderstood picture setting. The name suggests it makes the picture sharper and more detailed. It doesn’t.
Sharpness is actually an edge enhancement filter. It detects edges in the image and artificially brightens pixels on one side while darkening pixels on the other. This creates the illusion of increased sharpness at first glance.
But edge enhancement causes problems:
- Creates visible halos around objects
- Emphasizes compression artifacts from streaming
- Reduces fine detail in textures
- Makes the image look harsh and artificial
Set sharpness to 0 on most TVs. Some displays look slightly soft at 0 and benefit from a setting of 5 to 10. But anything above 20 causes visible artifacts.
To test your sharpness setting, find a scene with high-contrast edges. Tree branches against a bright sky work well. Watch for white halos around the branches. If you see them, lower the sharpness setting.
Proper sharpness makes the image look natural and film-like. Excessive sharpness makes everything look like it was processed through an Instagram filter.
Understanding HDR settings
If your TV supports HDR (High Dynamic Range), you have additional settings to consider. HDR content can look spectacular when configured properly or terrible when set incorrectly.
HDR uses different picture settings than standard dynamic range (SDR) content. Your TV should automatically detect HDR and switch to appropriate settings. But you still need to verify a few things.
Common HDR picture issues include:
- HDR content looking too dark overall
- Bright highlights appearing washed out
- Colors looking oversaturated or undersaturated
- Excessive brightness causing eye fatigue
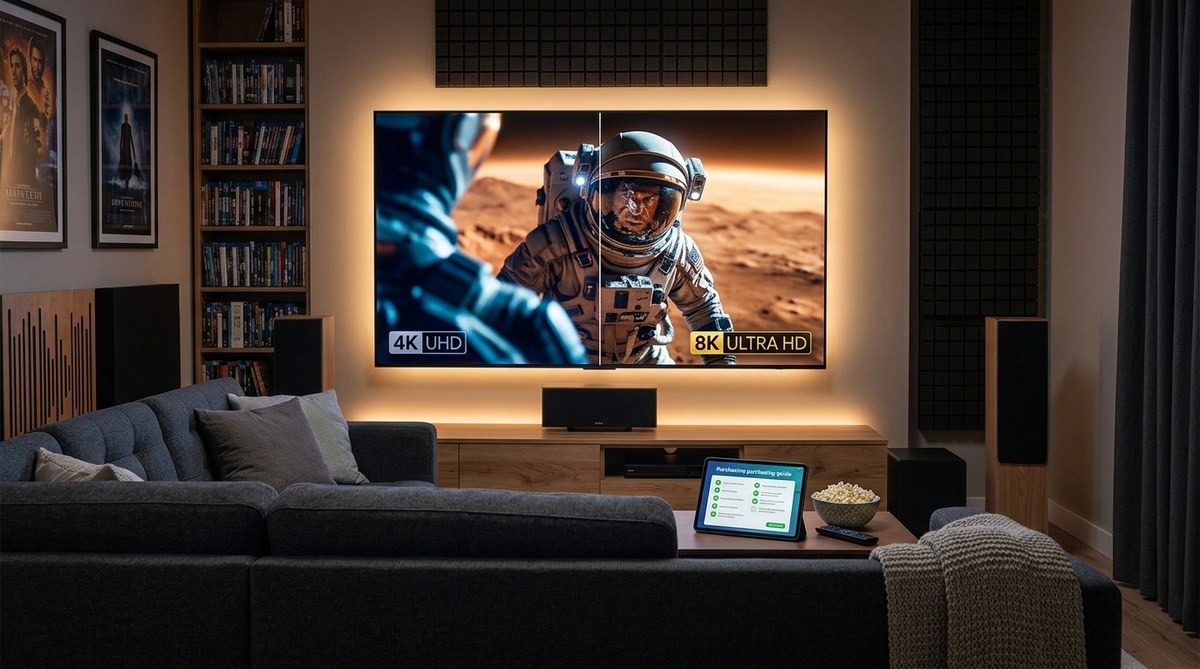
Most of these problems stem from incorrect brightness and contrast settings for your viewing environment. HDR content is mastered for specific peak brightness levels (usually 1000 or 4000 nits). Your TV might only reach 400 to 800 nits.
If HDR looks too dark, resist the urge to crank up brightness. Instead, reduce ambient light in your room or wait until evening to watch HDR content. Increasing brightness defeats the purpose of HDR by raising black levels.
If bright areas look washed out, your TV might be using tone mapping to compress the HDR signal to fit its capabilities. Look for settings called “HDR Tone Mapping” or “Dynamic Tone Mapping” and experiment with different options.
Some streaming services deliver inconsistent HDR quality. The same show might look perfect on one service and terrible on another. This isn’t your TV’s fault.
For persistent HDR issues, check out our troubleshooting guide on how to fix HDR content that looks washed out or too dark.
Save your settings for different inputs
Most TVs let you save different picture settings for each input. This feature is incredibly useful because different sources often need different adjustments.
Your cable box might need higher sharpness to compensate for compression. Your game console needs Game mode for reduced input lag. Your Blu-ray player works best with Movie mode and all processing disabled.
Configure each input separately:
- Switch to the input you want to adjust
- Make all your picture setting changes
- The TV automatically saves those settings for that specific input
- Repeat for each input
Some TVs also let you save multiple custom picture modes. You could create one for daytime viewing with higher brightness and another for nighttime viewing with lower brightness.
Label your custom modes clearly so you remember which is which. “Daytime Movie” and “Nighttime Movie” work better than “Custom 1” and “Custom 2.”
Remember that your settings apply per input and per picture mode. If you switch from Movie mode to Standard mode on the same input, you’ll lose your adjustments.
Common picture setting mistakes to avoid
Even with the best intentions, it’s easy to make mistakes when adjusting TV settings. Here are the most common errors and how to avoid them.
Mistake 1: Comparing your TV to the display model in the store
Store displays use different settings, different lighting, and often different input sources. Your TV at home will never look like the store display. That’s a good thing.
Mistake 2: Trusting your eyes immediately after making changes
Your visual system adapts to whatever you’re viewing. Any change will look wrong at first. Wait 20 to 30 minutes before deciding if a setting improves picture quality.
Mistake 3: Adjusting too many settings at once
Change one setting at a time. Watch content for a few minutes. Decide if it’s better or worse. Then move to the next setting. Changing everything simultaneously makes it impossible to know which adjustments helped and which hurt.
Mistake 4: Using vivid picture mode because it looks more impressive
Vivid mode fatigues your eyes and displays inaccurate colors. It’s designed for bright showrooms, not home viewing. Stick with Movie or Cinema mode.
Mistake 5: Ignoring your TV’s picture presets for different content types
Sports mode has its place for live sports. Game mode is essential for gaming. Movie mode works best for films. Use the right mode for the right content.
Mistake 6: Setting everything to maximum
More isn’t better with picture settings. Maximum brightness, maximum contrast, maximum color, and maximum sharpness all degrade picture quality. Proper settings fall in the middle range.
Testing your settings with real content
After adjusting your picture settings, test them with varied content to ensure they work well in different scenarios.
Watch these types of content and look for specific issues:
- Dark movies: Can you see shadow detail in dark scenes without blacks looking gray?
- Bright outdoor scenes: Do clouds and snow show texture without looking blown out?
- Skin tones: Do people look natural, not orange or pale?
- Fast action: Does motion look smooth without soap opera effect?
- Animated content: Do colors look vibrant but not oversaturated?
If you notice problems with specific content types, you might need to tweak your settings slightly. But avoid the temptation to constantly adjust. Pick settings that work well for most content and stick with them.
Professional calibrators use test patterns and measurement tools. You can too if you want more precision. Our guide on how to calibrate your TV without hiring a professional covers the process using free tools and test patterns.
But for most viewers, the adjustments covered in this article provide excellent results without additional equipment.
When professional calibration makes sense
The best TV picture settings you can achieve with basic adjustments get you very close to optimal. But professional calibration can squeeze out that last bit of performance.
Consider professional calibration if:
- You have a high-end TV (OLED or premium LED model)
- You watch movies in a dedicated, light-controlled room
- You notice color accuracy issues after basic adjustments
- You want to maximize your investment in premium display technology
Professional calibration costs $300 to $500 typically. The calibrator uses specialized meters to measure and adjust color accuracy, gamma, white balance, and grayscale tracking. They create a custom calibration profile for your specific TV in your specific viewing environment.
The improvement over properly configured picture settings is subtle. Most people can’t see the difference. But videophiles and professionals who work with color-critical content appreciate the increased accuracy.
For everyone else, the settings covered in this article provide 90% of the benefit at 0% of the cost. That’s a pretty good deal.
You can learn more about the difference between basic and professional TV calibration if you’re considering whether the investment makes sense for your situation.
Your TV is ready to watch
You’ve now configured the best TV picture settings for your display. Movie mode provides accurate colors. Motion smoothing is disabled. Brightness and contrast match your room. Color temperature is set to warm. Unnecessary processing is turned off.
Your TV finally looks the way filmmakers intended. Colors appear natural. Black levels show proper depth. Motion looks cinematic instead of artificial. And you accomplished all of this in about 15 minutes using only your remote control.
These settings work for the vast majority of content. You might occasionally switch to Sports mode for live games or Game mode for gaming. But Movie mode should be your default for everything else.
Now grab some popcorn and enjoy your properly configured television. The picture quality you’re seeing now is what you paid for when you bought the TV. Everything else was just factory settings getting in the way.

Leave a Reply