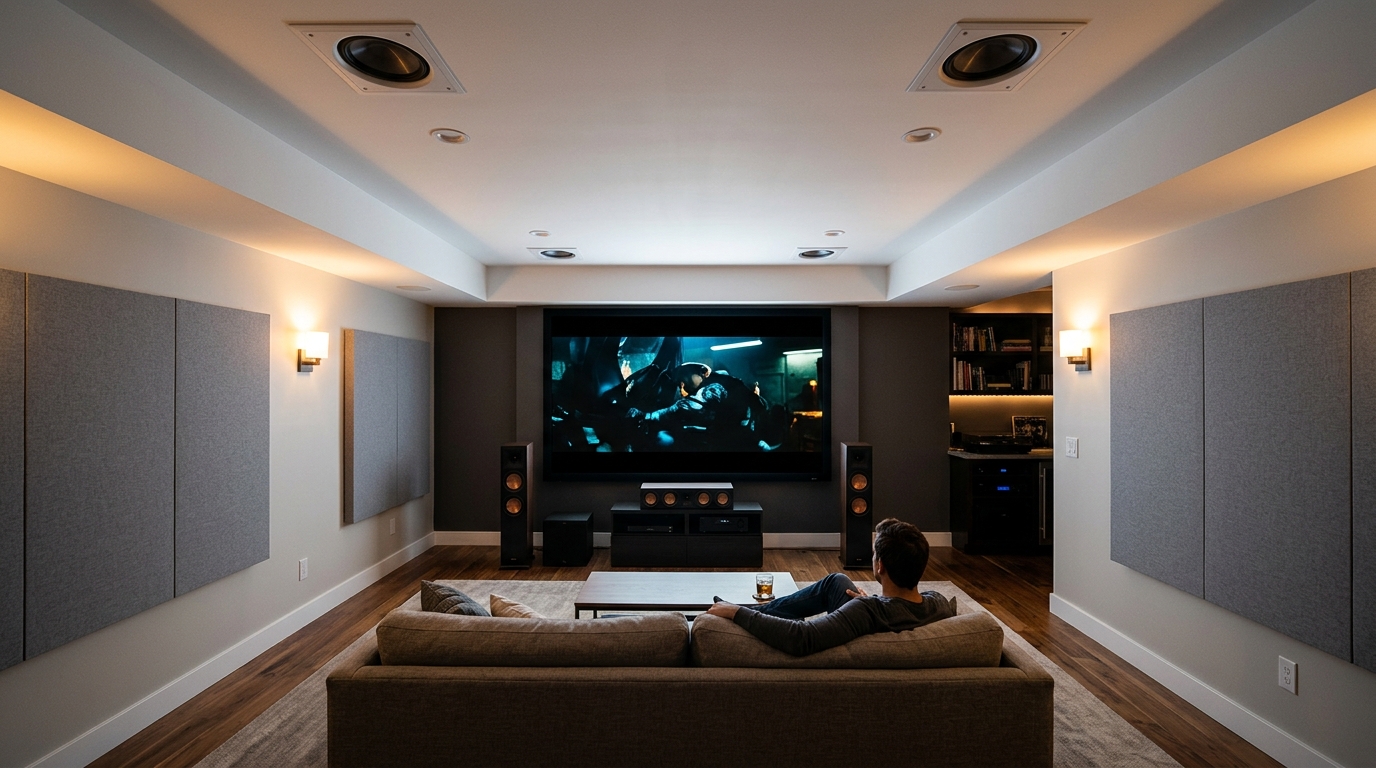
Dolby Atmos promises overhead sound that puts you inside the action, but most installation guides assume you have a perfect room with an ideal ceiling. Real homes have ceiling fans, beams, sloped ceilings, and furniture that gets in the way. Getting your Atmos height speakers in the right spots makes the difference between immersive overhead effects and a muddled mess that sounds like it’s coming from nowhere in particular.
Proper atmos speaker placement depends on your ceiling type, seating layout, and room constraints. Front height speakers work best 45 to 55 degrees from the listening position, while overhead speakers perform optimally when placed slightly in front of and behind your main seating area. Ceiling bounce speakers require flat surfaces and precise aiming to create convincing height effects without dedicated ceiling installations.
Understanding Atmos Height Channel Configurations
Dolby Atmos adds height channels to traditional surround sound setups. The naming convention tells you exactly what you’re getting.
A 5.1.2 system means five ear-level speakers, one subwoofer, and two height speakers. A 7.1.4 setup adds four height channels to a seven-speaker surround system.
More height speakers create better overhead imaging, but two properly placed height speakers beat four poorly positioned ones every time.
Your receiver determines how many height channels you can run. Most mid-range receivers support two or four height channels. High-end models handle six or more.
The two most common Atmos configurations for real homes are:
- 5.1.2 or 7.1.2: Two height speakers, either front or overhead
- 5.1.4 or 7.1.4: Four height speakers for full overhead coverage
Start with two height speakers and add more later if your room and budget allow.
Choosing Between Height Speaker Types
You have three main options for adding height channels.
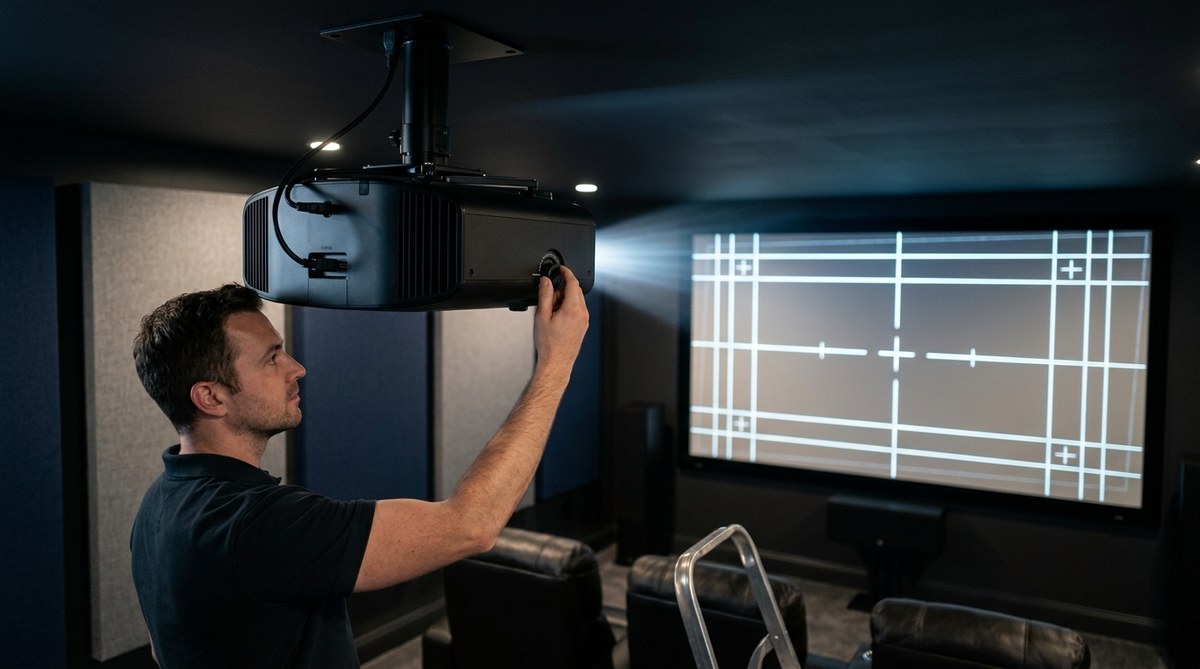
In-ceiling speakers mount flush with your ceiling. They provide the most accurate overhead sound because they’re actually overhead. Installation requires cutting holes and running wire through the ceiling.
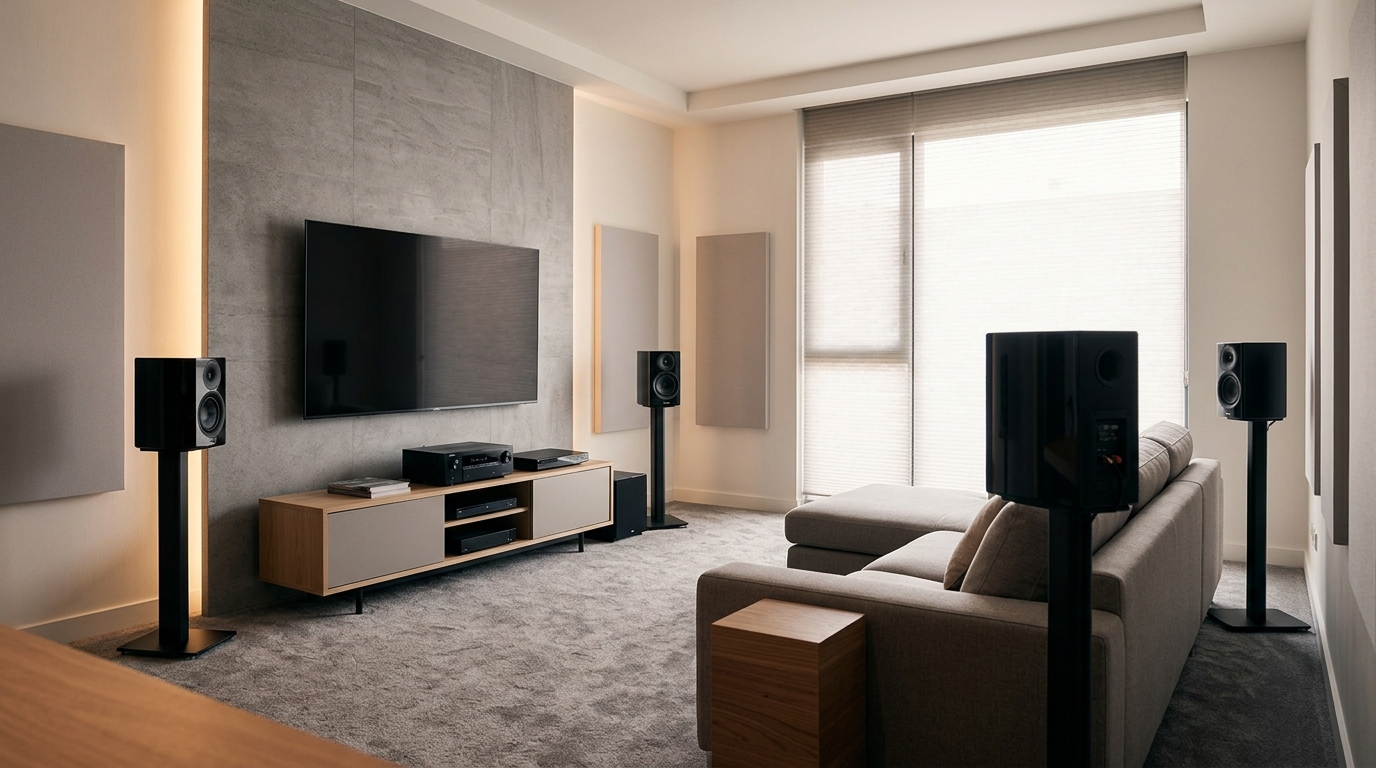
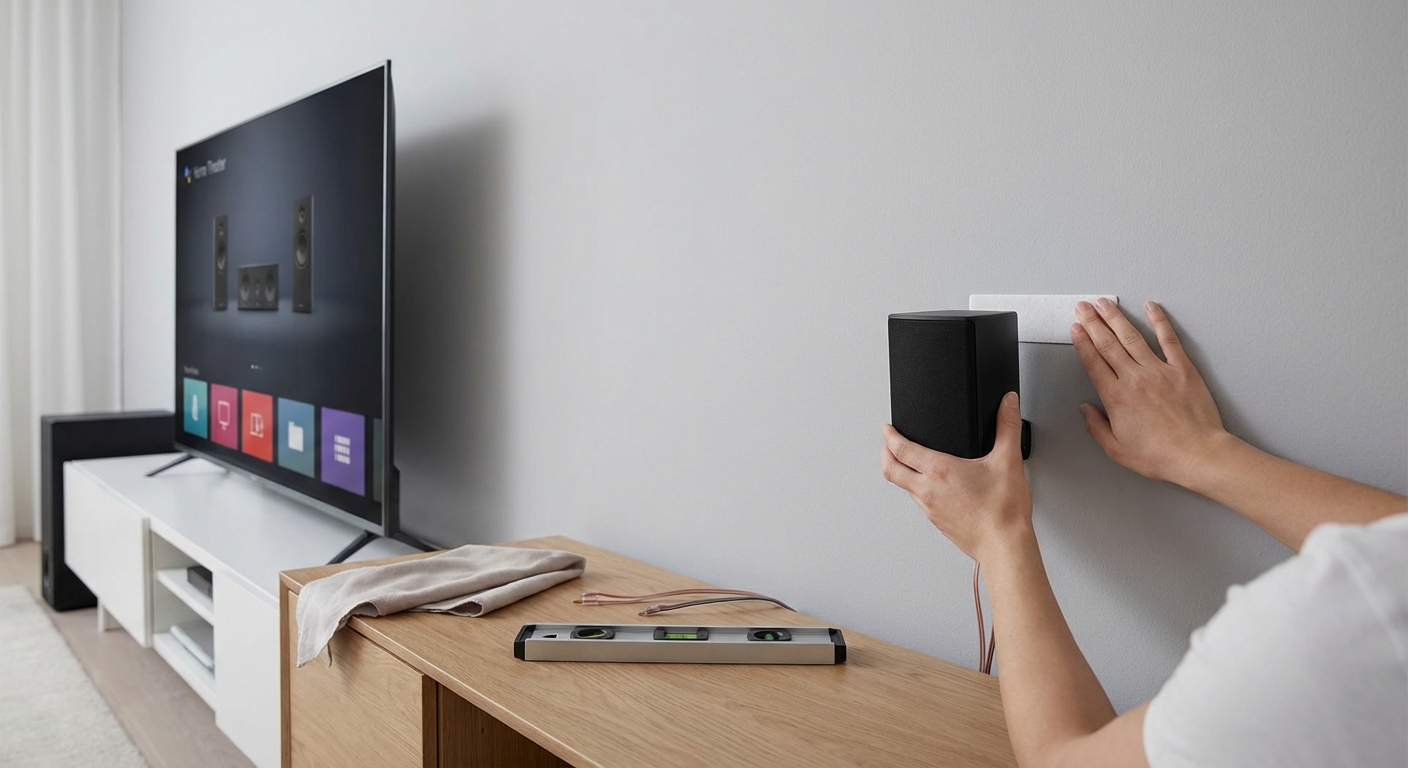
Height speakers mount on your front wall above your main speakers or on stands. They fire sound upward at an angle. Easier to install than ceiling speakers but less precise for overhead effects.
Atmos-enabled speakers bounce sound off your ceiling to create the illusion of overhead audio. These sit on top of existing speakers or come built into tower speakers. They only work with flat ceilings 8 to 14 feet high.
In-ceiling speakers deliver the best performance when installed correctly. Height speakers offer a good compromise when ceiling installation isn’t practical. Bounce speakers work in specific room conditions but represent the least reliable option.
Front Height vs Overhead Placement Strategy
With two height speakers, you face a choice between front height or overhead positions.
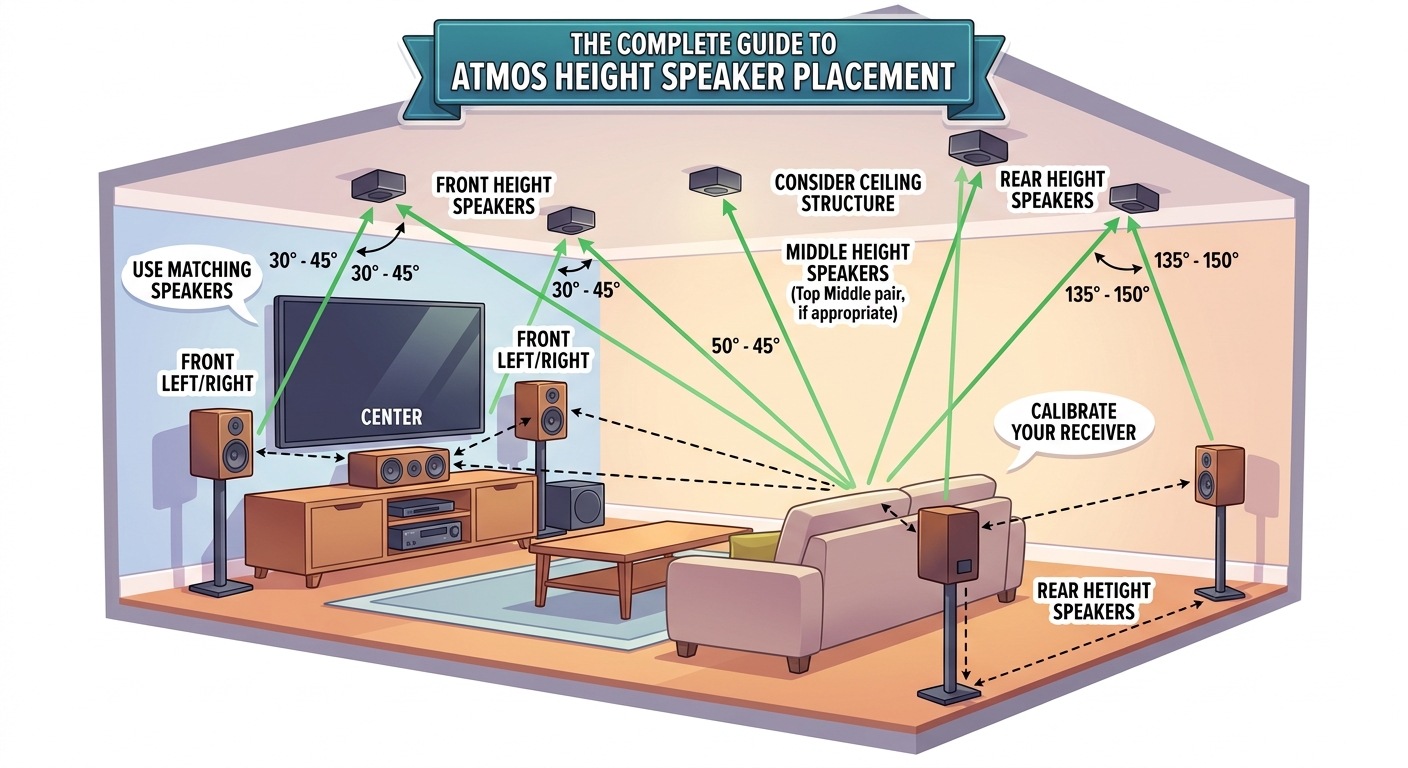
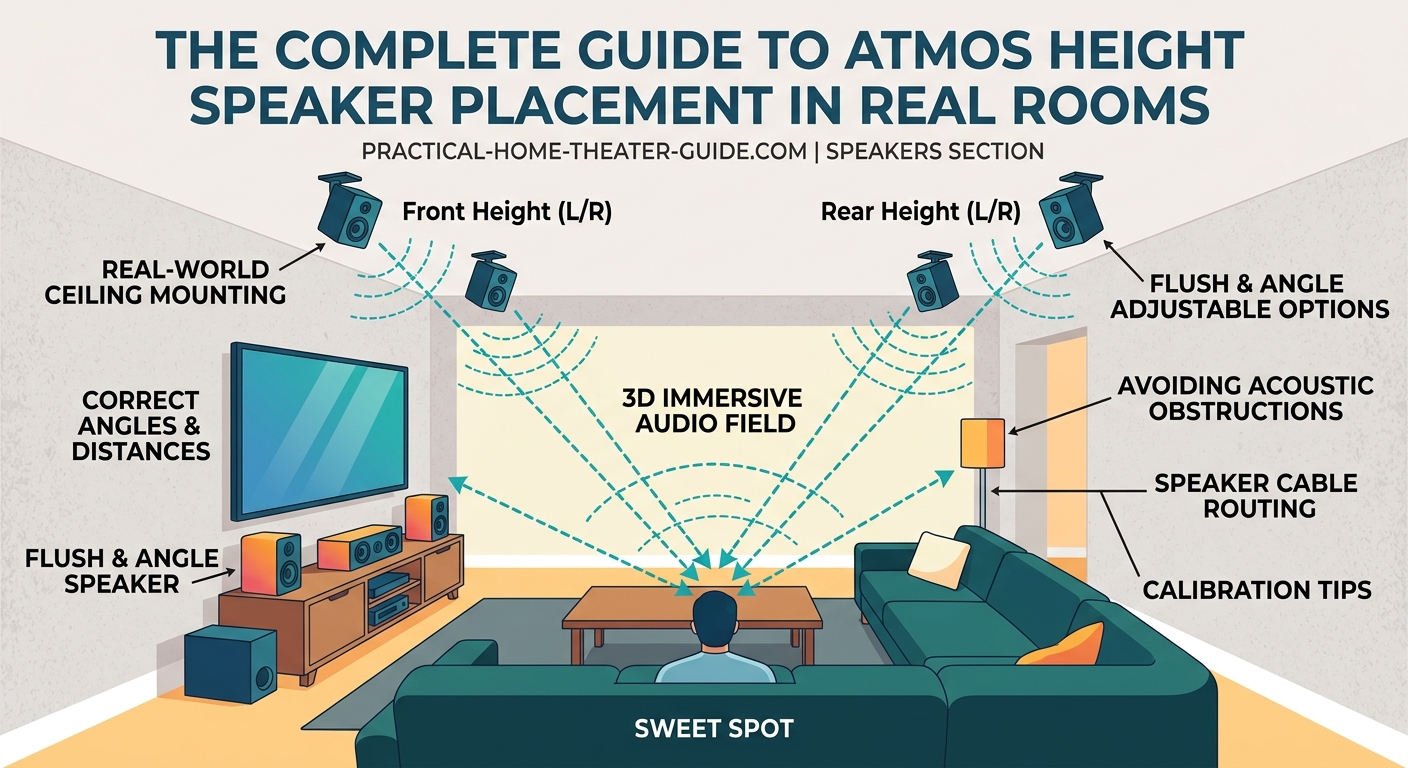
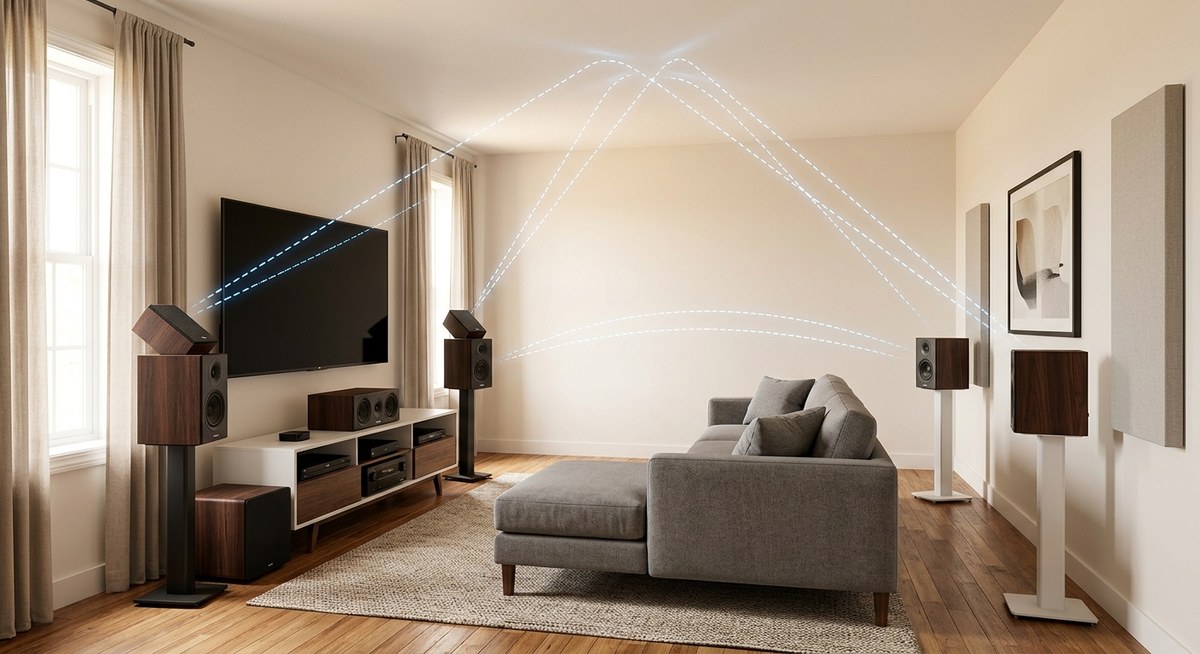
Front height placement puts speakers on your front wall, above and outside your left and right main speakers. This configuration works well for rooms where ceiling installation is impossible or impractical.
Mount front height speakers 45 to 55 degrees above ear level when seated. Measure the angle from your main listening position to the speaker center.
A 9-foot ceiling typically allows mounting at 7 to 8 feet high. Higher ceilings give you more flexibility to hit the ideal angle.
Overhead placement positions speakers in the ceiling, slightly forward and behind your seating area. This creates more convincing overhead effects for helicopters, rain, and atmospheric sounds.
Overhead speakers should sit 65 to 100 degrees from the listening position when measured from floor level. Place them 2 to 4 feet in front of and behind your main seating row.
If you can only install two height speakers and your ceiling allows it, overhead placement typically delivers more dramatic Atmos effects than front height.
Four-Speaker Height Channel Layout
Four height channels give you complete overhead coverage. The standard configuration uses front and rear height pairs.
Place front height speakers at 45 to 55 degrees, positioned above and slightly outside your front left and right speakers. These handle most forward overhead effects.
Rear height speakers go at 135 to 150 degrees, above and slightly outside your surround speakers. They create rear overhead effects and connect front-to-back movement.
For in-ceiling installations with four speakers, use this spacing:
- Measure from your main listening position to the screen
- Place front height speakers at roughly 1/3 that distance from the screen
- Place rear height speakers at roughly 2/3 that distance from the screen
- Maintain left-right spacing that matches or slightly exceeds your front speaker width
A 15-foot room might place front heights 5 feet from the screen and rear heights 10 feet from the screen. This creates even overhead coverage across the seating area.
Working with Ceiling Height and Angles
Ceiling height affects speaker placement angles and sound quality.
Standard 8 to 9-foot ceilings work fine for Atmos but limit your placement options. You’ll likely use the steeper end of the recommended angle range.
10 to 12-foot ceilings offer ideal conditions. You have room to fine-tune angles and create proper separation between height and ear-level channels.
Ceilings above 14 feet start creating problems. Sound has farther to travel, and you may need more powerful speakers to maintain proper volume balance. How to arrange furniture without blocking your speakers or creating dead zones becomes even more critical in tall rooms.
Vaulted or sloped ceilings require creative solutions. Aim for speaker positions that maintain consistent angles to the listening area, even if that means placing speakers at different heights.
Cathedral ceilings with a center peak work best with speakers positioned on the lower sections of the slope, not at the peak. Mount speakers where the ceiling is 9 to 12 feet high if possible.
Dealing with Ceiling Obstructions
Real ceilings have fans, lights, beams, and HVAC vents exactly where you want to put speakers.
Ceiling fans: Move speakers at least 3 feet away from fan blades. Fan vibration and air movement affect sound quality. Consider relocating the fan or using wall-mounted height speakers instead.
Recessed lighting: Maintain 12 inches of clearance between in-ceiling speakers and recessed lights. Heat from lights can damage speaker components over time.
Exposed beams: Use beams as natural boundaries for speaker placement. Mount speakers in the ceiling sections between beams rather than trying to attach speakers to the beams themselves.
HVAC vents: Keep speakers at least 2 feet from supply vents and 1 foot from return vents. Air movement creates unwanted noise and can rattle speaker components.
When your ideal speaker location has an obstruction, move the speaker along the same arc from your listening position. A speaker 6 inches left or right of optimal placement still performs well.
Atmos-Enabled Speaker Positioning Rules
Bounce speakers require specific conditions to work properly.
Your ceiling must be flat, smooth, and 8 to 14 feet high. Textured ceilings scatter sound and reduce effectiveness. Vaulted or angled ceilings don’t provide the consistent reflection angle these speakers need.
Place Atmos-enabled speakers on top of your front left and right speakers, or use towers with built-in upward-firing drivers. The speakers should aim at a ceiling point roughly halfway between the speaker and your listening position.
Typical listening distances of 10 to 12 feet work best. Sitting too close or too far reduces the illusion of overhead sound.
Ceiling material matters. Drywall and plaster reflect sound well. Acoustic tile, wood planks, or popcorn texture absorb too much high-frequency information.
Test your ceiling with a simple clap. A sharp, clear echo indicates good reflection properties. A dull, muted sound means bounce speakers will struggle in your room.
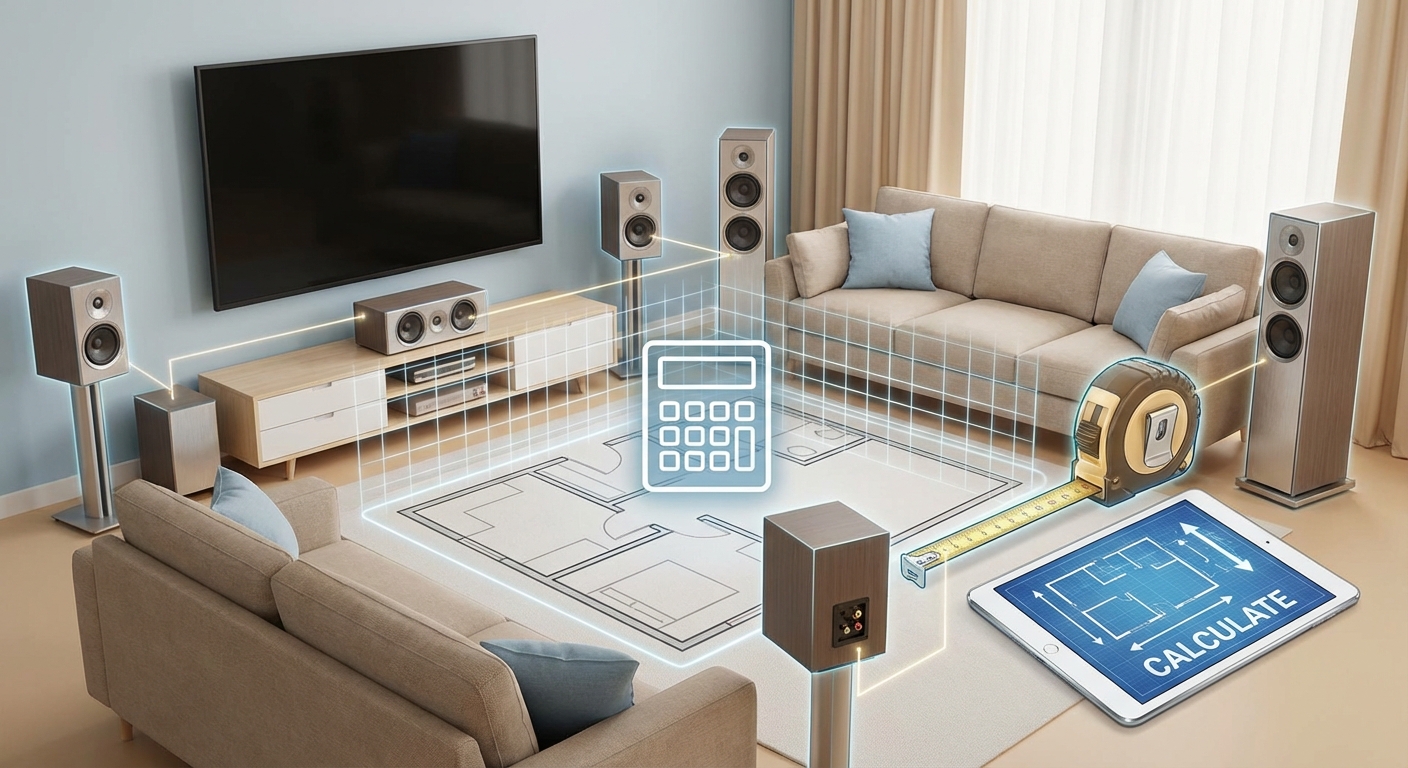
Calibrating Speaker Distance and Angles
After physical installation, your receiver needs accurate measurements to time-align all channels.
Most receivers include automatic calibration systems like Audyssey, YPAO, or Dirac. These measure speaker distances and set levels using a microphone placed at your listening position.
Run auto-calibration first, then verify the measurements manually.
Measure from each height speaker to your main listening position using a tape measure. The measurement should follow the actual sound path, not a straight line across the floor.
For ceiling speakers, measure diagonally from the speaker down to ear level at your seat. For wall-mounted height speakers, measure from the speaker to your ear position.
Enter these distances in your receiver’s manual speaker setup menu if they differ significantly from the auto-calibration results.
Check the angles your receiver calculated. Most systems display the degree measurements for each speaker. Front heights should show 45 to 55 degrees, rear heights 135 to 150 degrees.
If angles fall outside these ranges, your speakers may be positioned incorrectly, or your receiver may have measured wrong during calibration.
Common Placement Mistakes and Fixes
These errors compromise Atmos performance in most home installations.
| Mistake | Why It Fails | Better Approach |
|---|---|---|
| Placing all four heights in a square directly above the seating | Creates a small sweet spot and weak front imaging | Move front heights forward and rear heights back to create a rectangle |
| Installing height speakers too close together | Reduces width of overhead soundstage | Match or exceed the width of your front left and right speakers |
| Mounting front heights too high (over 60 degrees) | Sound disconnects from the screen and feels unnatural | Keep angles between 45 and 55 degrees for cohesive front soundstage |
| Using tiny speakers for height channels | Can’t match the volume and dynamics of ear-level speakers | Choose height speakers with similar sensitivity ratings to your mains |
| Skipping the calibration microphone step | Receiver can’t properly time-align speakers or set correct levels | Always run auto-calibration even if you manually measured distances |
The most common mistake is treating height speakers as an afterthought. They need the same care in selection and placement as your main speakers.
“Height channels should integrate seamlessly with your ear-level speakers. If you can consciously locate where the overhead sound is coming from, they’re either too loud or poorly positioned. The best Atmos systems make you forget where the speakers are and focus on the sound moving through three-dimensional space.”
Adjusting for Multiple Seating Rows
Atmos works best for a single listening position, but most rooms have multiple seats.
Optimize placement for the center seat in your main row. This position gets the most accurate height effects and proper speaker angles.
Second-row seats will experience less precise imaging, but they still benefit from overhead effects. The sound won’t collapse to the ear-level speakers.
For rooms with two distinct seating rows:
- Position front height speakers to maintain 45 to 55 degrees from the front row center seat
- Place rear height speakers between the two rows, not behind the back row
- Run calibration from the front row center position
- Test from multiple seats and adjust levels if the back row sounds too quiet
Wide seating arrangements present different challenges. Three or four seats across in a single row all experience reasonably good Atmos effects if your height speakers are spaced wide enough.
Maintain height speaker spacing that equals or exceeds your seating width. A 10-foot-wide seating area needs height speakers spaced at least 10 feet apart.
Fine-Tuning After Installation
Physical placement is only half the job. Your receiver’s settings determine how well everything works together.
Start by checking individual speaker levels. Play Atmos test tones and verify that height channels match your ear-level speakers in volume. Height channels often need a 1 to 2 dB boost to sound properly integrated.
Adjust the crossover frequency if you’re using smaller height speakers. Set the crossover between 80 and 120 Hz depending on speaker size. Smaller speakers need higher crossover points.
Test with actual Atmos content, not just test tones. Action movies with helicopter scenes, rain sequences, or overhead debris provide clear examples of height channel performance.
Listen for these issues:
- Height effects that sound disconnected from the action on screen suggest levels are too high
- Overhead sounds that seem to come from your front speakers mean height channels are too quiet
- Localization of individual height speakers indicates they’re positioned too far from ideal angles
Make small adjustments to levels rather than repositioning speakers. A 2 to 3 dB change often fixes integration problems without physical work.
Why your home theater sounds worse after auto-calibration and how to fix it covers advanced tweaking for systems that sound off after initial setup.
Integrating Height Channels with Existing Surround Speakers
Your height speakers work with your ear-level surround system, not independently.
Dolby Atmos treats height channels as extensions of your surround field. The processor decides which speakers play specific sounds based on where objects are positioned in the mix.
This means your surround speaker placement affects how well height channels integrate. Poorly positioned surround speakers create gaps that height channels can’t fill.
For 5.1 vs 7.1 configurations, adding height channels to a 7.1 system generally produces better results than adding them to 5.1. The additional side surround speakers create smoother panning between front and rear.
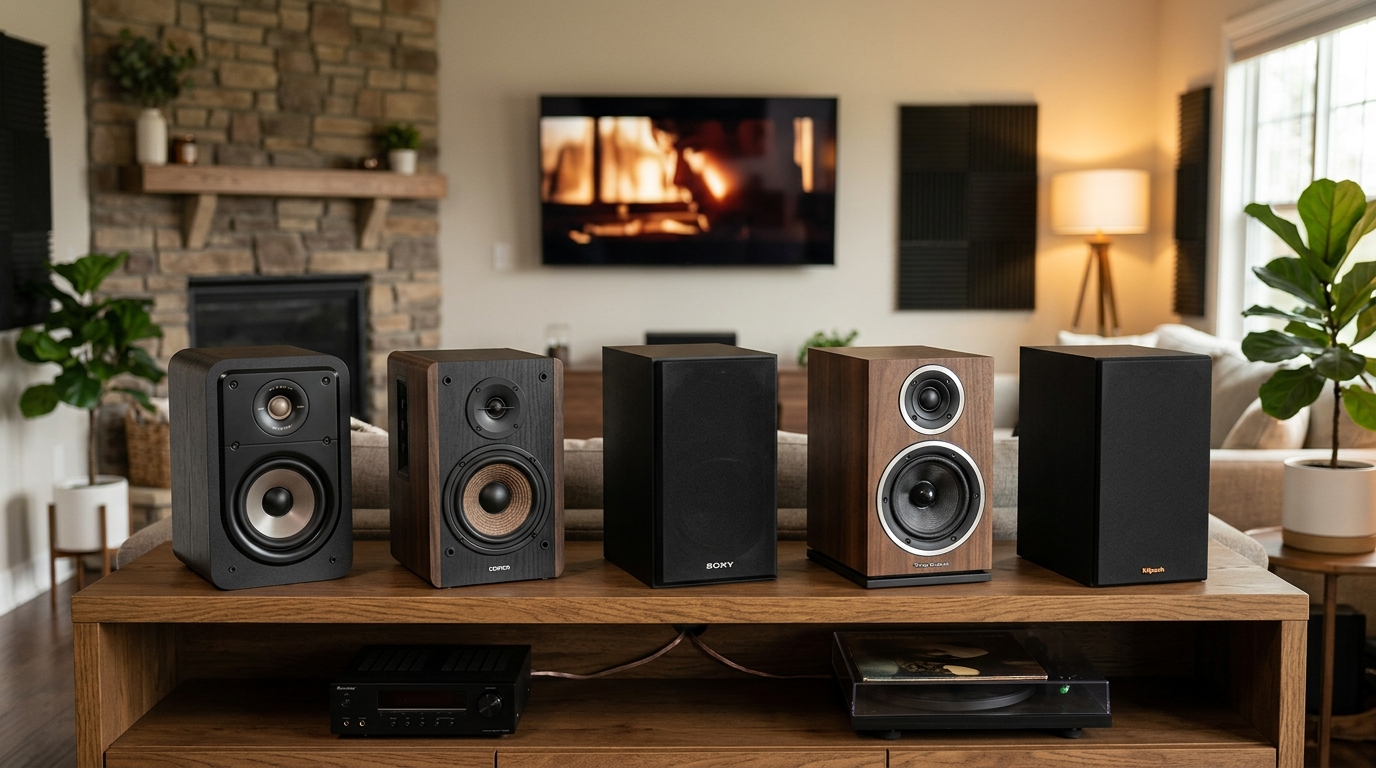
Timbre matching matters less for height channels than for your front three speakers, but it still helps. Similar tonal characteristics across all speakers create more seamless movement as sounds pan through the room.
Budget constraints often force choices between more height speakers or better ear-level speakers. Invest in quality ear-level speakers first. Two height speakers added to an excellent 5.1 or 7.1 system outperform four height speakers paired with mediocre surrounds.
Room Acoustics Impact on Height Channels
Height speakers interact with your room differently than ear-level speakers.
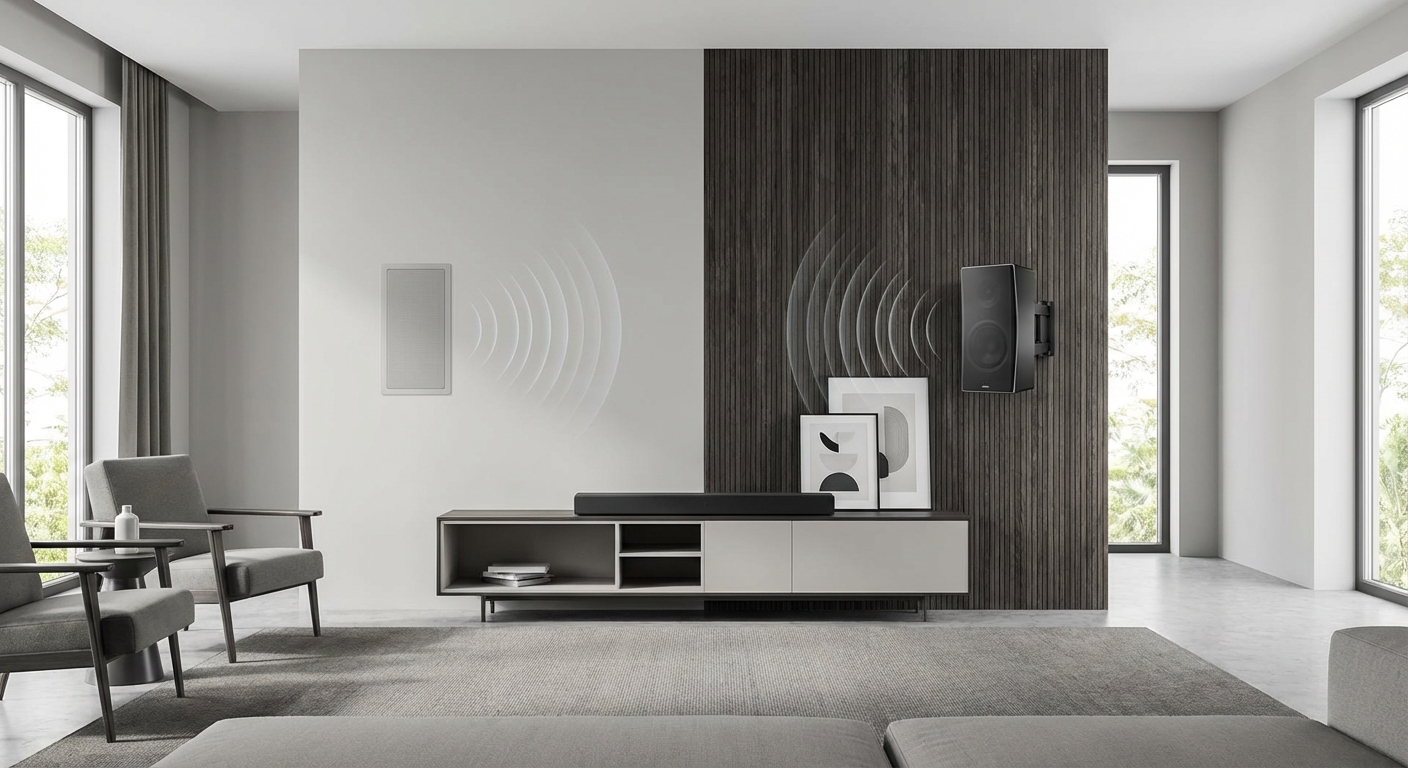
Sound reflects off your ceiling before reaching your ears, even with properly aimed in-ceiling speakers. Hard, reflective ceilings create strong early reflections that can enhance or muddy the sound depending on ceiling height and material.
Acoustic treatment typically focuses on ear-level reflections, but ceiling reflections matter for Atmos. A completely dead ceiling absorbs too much height channel information. A highly reflective ceiling creates excessive ambience.
Room acoustic problems that affect your main speakers also impact height channels. Flutter echo between parallel walls, standing waves from room modes, and excessive reverberation all degrade height channel clarity.
The good news is that fixing ear-level acoustic issues usually improves height channel performance as well. Wall treatments that control side reflections and bass traps that manage low-frequency buildup benefit the entire system.
Floor material choices affect how sound from ceiling speakers reaches your ears. Carpet absorbs some ceiling reflections bouncing off the floor. Hardwood creates an additional reflection point that can either enhance spaciousness or create confusion.
Expanding from Two to Four Height Speakers
Many people start with a 5.1.2 or 7.1.2 system and add rear heights later.
The upgrade path is straightforward if you plan ahead. Running speaker wire through walls during initial installation saves work later.
When adding rear heights to an existing two-height system:
- Verify your receiver supports four height channels (check the manual for 5.1.4 or 7.1.4 capability)
- Run new wire to the rear height positions before mounting speakers
- Reassign your existing height speakers to the front height channels in your receiver’s setup menu
- Install rear height speakers at 135 to 150 degrees from the listening position
- Run full calibration again with all four heights connected
The performance jump from two to four heights is significant. Two-height systems excel at front overhead effects but lack convincing rear imaging. Four heights create complete overhead coverage.
Budget around the same cost for rear heights as you spent on front heights. Mixing different speaker types between front and rear heights works, but matching speakers sound more cohesive.
Receiver channel requirements determine whether you need to upgrade your AVR when expanding height channels. A 7-channel receiver running 5.1.2 needs an upgrade to run 5.1.4 or 7.1.2 simultaneously.
Making Atmos Work in Your Actual Room
Perfect speaker placement exists in diagrams and ideal rooms. Your room has constraints that require compromise.
Prioritize these factors in order:
- Correct angles from the listening position (45 to 55 degrees front, 135 to 150 degrees rear)
- Adequate spacing between height speakers (match or exceed front speaker width)
- Clearance from obstructions (fans, lights, vents)
- Aesthetic concerns (visible speakers, wire runs, ceiling cutouts)
When you can’t achieve ideal placement, small deviations beat not installing height speakers at all. A front height speaker at 40 or 60 degrees still provides overhead effects. It won’t match 50-degree placement, but it works.
Document your speaker positions before finishing the installation. Take photos and write down measurements. Future troubleshooting or system expansion becomes much easier with this information.
Test your system with various Atmos content types. Action movies stress different aspects of height channels than atmospheric films or music. A system that sounds great with helicopter flyovers might struggle with gentle rain effects if levels aren’t balanced properly.
Calibration refinement often reveals issues that weren’t obvious during initial testing. Give yourself permission to adjust settings over several weeks as you learn how your specific room and speaker combination performs.
Getting Overhead Sound Right in Real Spaces
Atmos speaker placement combines technical requirements with practical constraints. Your room dictates what’s possible, but understanding the principles behind the placement guidelines helps you make smart compromises.
Focus on proper angles first, spacing second, and aesthetics last. A slightly visible speaker positioned correctly beats a perfectly hidden speaker in the wrong spot. The goal is immersive sound that makes you forget about the speakers entirely.
Start with two height speakers if budget or installation complexity is a concern. A well-executed 5.1.2 system provides satisfying overhead effects and leaves room for future expansion. You can always add more height channels later once you understand how Atmos works in your specific room.
Leave a Reply