How to Play Local Movie Files on Your TV Without Buying More Gear
Play computer movie files on your TV using HDMI or casting. Choose what fits your setup and fix missing audio, buffering, and subtitle trouble.
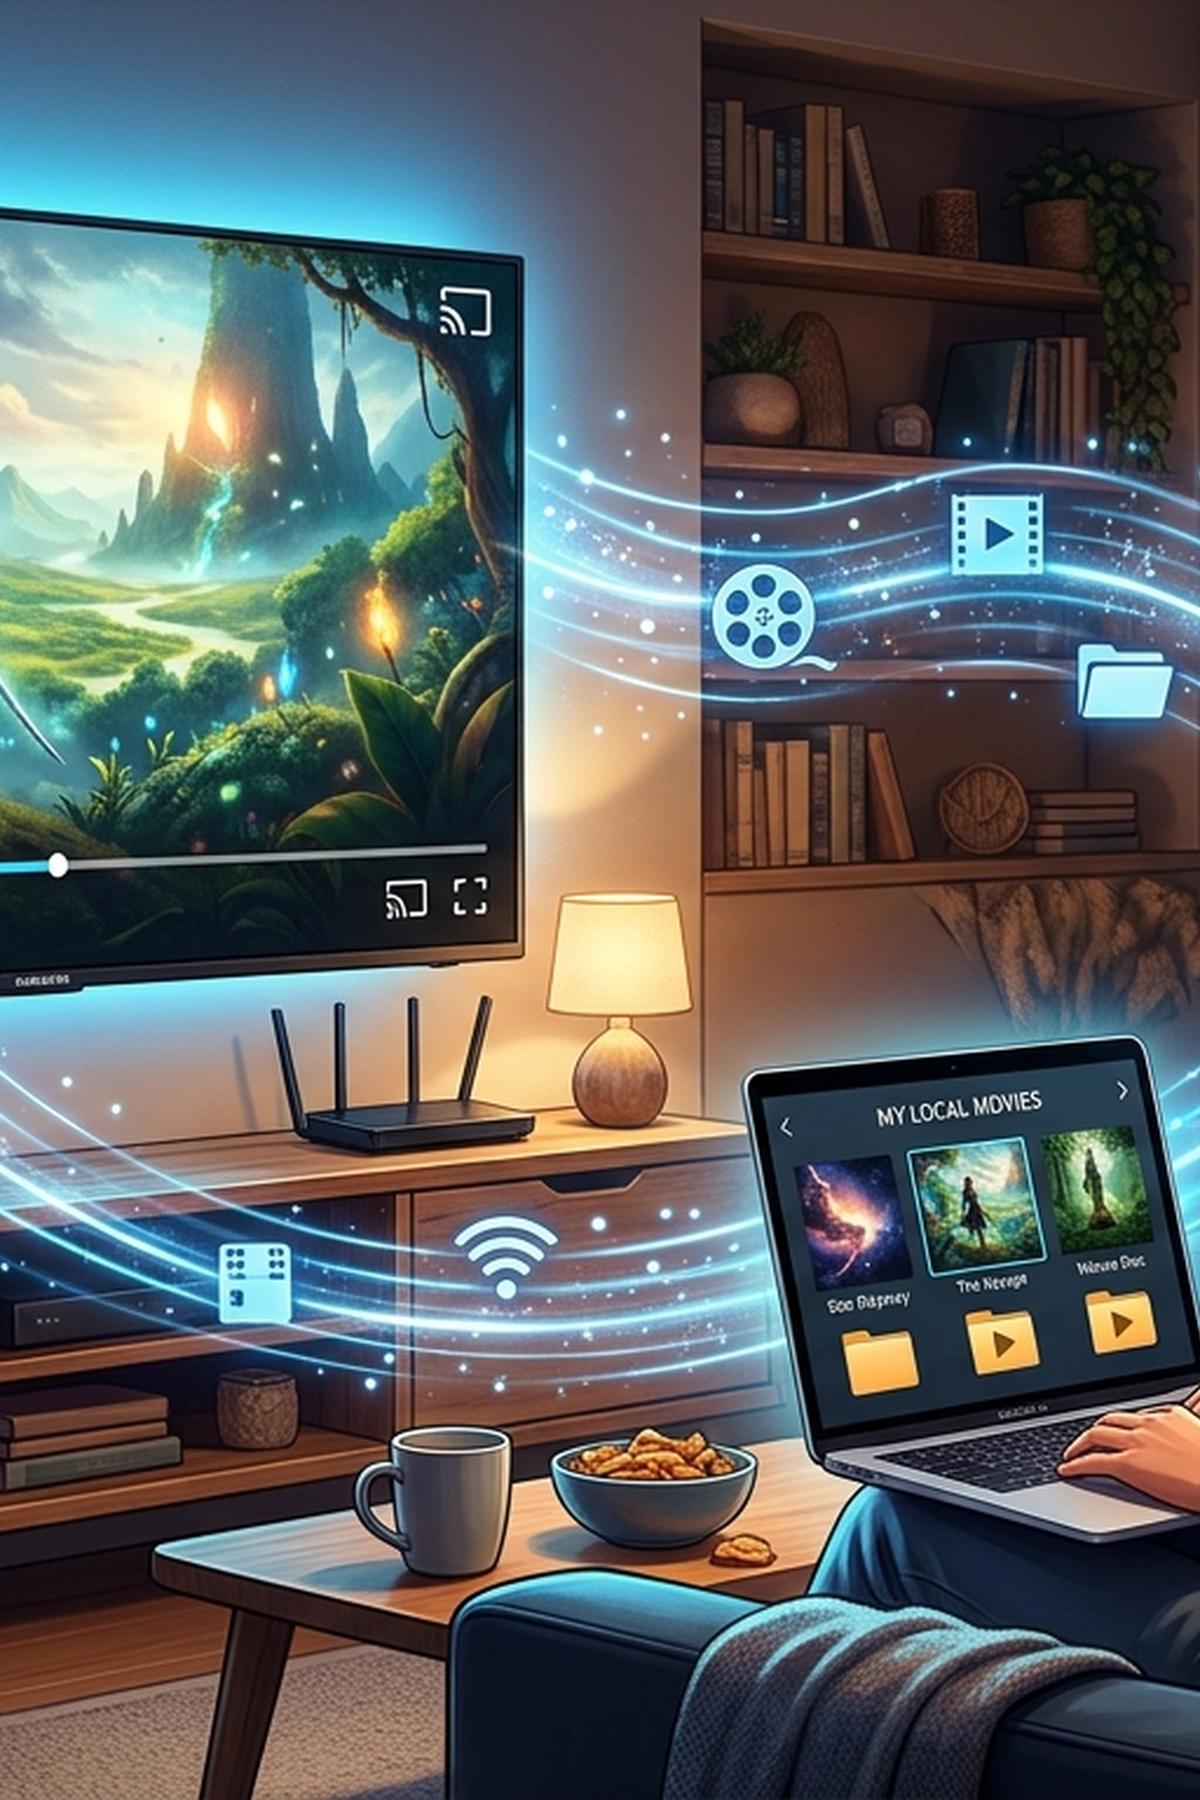
Your movie is ready, the couch is calling, and the file is sitting on a laptop instead of your TV. Getting it onto the big screen may take nothing more than a cable you already own or a casting feature built into your current setup. The best route depends on where your computer sits, how your speakers connect, and whether your movie needs subtitles.
Your Movie-Night Starting Point: Use HDMI when your computer can reach the TV with a cable you already have, especially for demanding files or reliable subtitles. Try casting when your TV or an existing connected device supports it and your home network is steady. Check your sound path before choosing either method. A working picture does not guarantee that your receiver or soundbar can play the file’s audio format. Test a few minutes before settling in.
Choose a Route That Fits Your Existing Setup
Start by looking at what is already connected. An HDMI socket on your computer and a spare HDMI cable give you a direct route to the TV. A compatible casting receiver gives you a wireless route. That receiver might be built into the television or connected to one of its HDMI inputs.
A smart TV does not automatically support every casting system. A television that accepts AirPlay, for example, may not appear as a Chromecast receiver in VLC. Check the TV’s input menu, settings, or manual for the actual feature name before spending time hunting for it on your computer.
Also check your computer’s ports. A USB-C connector does not guarantee video output. If your computer needs an adapter you do not own, HDMI may involve a purchase. For this project, favor the connection your current equipment can already make.
How HDMI and Casting Fit Different Rooms
| Your Situation | Best Starting Point | What to Check |
|---|---|---|
| Laptop sits near the TV | HDMI | Available ports, cable reach, and audio output |
| Computer stays across the room | Casting | Compatible receiver and local network access |
| Movie relies on subtitles | HDMI | Correct subtitle track in the computer player |
| Large movie file stutters wirelessly | HDMI | Whether the computer plays the file smoothly by itself |
Connect With HDMI for Predictable Playback
HDMI carries picture and sound through one cable. Your computer plays the movie, including its subtitles, and sends the finished output to the television. This avoids the extra file compatibility questions that can appear during casting.
Connect the computer to a free HDMI input, then select that input with the TV remote. Open your computer’s display settings if the desktop does not appear automatically. Mirroring shows the same image on both screens. Extending treats the television as another display, which lets you move the player onto the TV while keeping controls on the laptop.
Start with a display resolution and refresh rate that both devices support. A basic 1080p connection is useful for checking that everything works. If you have a 4K TV, increase the output afterward if your computer, cable, and connection support it. Selecting a higher desktop resolution cannot add detail that is missing from the movie file.
Send Sound Through the Right Connection
If you use the TV’s speakers, choose the television or HDMI device in your computer’s sound output settings. The computer may continue sending audio to its own speakers even while the picture appears on the TV.
If your speakers connect to an AV receiver, connecting the computer to an available receiver input can provide a direct audio path. Select that receiver input and leave its HDMI output connected to the TV. Check that the receiver supports the picture format you want, since an older receiver can limit video resolution or HDR.
For a soundbar connected through the TV’s ARC or eARC port, connect the computer to another TV input. Leave the soundbar connection in place. The TV must be configured to send sound to the external audio system. Supported audio formats depend on the television, soundbar, and return connection.
For the first test, ordinary decoded stereo audio is a useful baseline. Once it works, adjust surround sound settings if your system supports them. Avoid enabling audio passthrough simply because it appears in the player. That setting asks equipment farther along the chain to decode the audio.
Make the Computer Comfortable for a Full Movie
Keep the computer connected to power if possible. Adjust its sleep settings for the viewing session, and silence notifications before entering full screen. Closing a laptop lid can put it to sleep unless its settings and hardware support playback with the lid closed.
Keep the cable out of walkways and leave the computer’s vents clear. A laptop balanced on a blanket beside the couch can become hot during playback. A stable, uncovered surface is a better spot.
Cast Wirelessly Using the Receiver You Already Own
Casting is convenient when the computer cannot sit beside the TV. With VLC and a compatible Chromecast receiver, the computer sends the movie over your local network. The computer remains part of the playback process, so it needs to stay awake and connected.
Connect the computer and receiver to the same home network. They can use different Wi-Fi bands if your router allows communication between them. Guest networks often isolate devices, which can prevent the receiver from appearing.
Open the movie in VLC, then look under Playback > Renderer for your receiver. Follow this casting walkthrough for the setup sequence and receiver selection. Menu wording can vary with the operating system and software version.
This sends media to the receiver rather than displaying every part of your desktop. VLC may need to convert an unsupported format while the movie plays. That conversion uses computer resources and can introduce delays.
If the receiver is missing, narrow the problem before changing several settings:
- Confirm that the TV is on the correct input and the receiver is awake.
- Try casting from another compatible app to check whether the receiver is reachable.
- Move both devices off a guest network and onto your regular home network.
- Check whether a VPN blocks local network access, and allow local access if your VPN supports it.
- Allow VLC through the firewall for your trusted home network instead of disabling the firewall.
Fix Missing Audio by Following the Sound Path
A moving picture with silence usually calls for checking outputs and formats before replacing anything. Begin with the simplest checks: player volume, TV mute, soundbar volume, and receiver input. Then play the file through the computer’s own speakers to confirm that it contains a working audio track.
In VLC, check the selected audio track. A movie can contain multiple languages, commentary, or tracks encoded in different formats. If one track fails, try another available track.
Check HDMI Audio at the Computer First
With HDMI, open the computer’s sound settings and select the connected display or receiver. If you disconnected and reconnected the cable, the output may have changed. Restarting playback after selecting the correct output can help the player use the new device.
If you enabled passthrough and hear silence, disable it temporarily so the computer can decode the audio. Test stereo output. If stereo works but surround does not, investigate the supported formats and channel settings across the computer, TV, and audio system.
Separate Casting Compatibility From Speaker Trouble
With casting, a file that sounds fine locally can still contain audio the receiver cannot handle directly. Try another audio track or a different movie file. If other files work, the troublesome file’s audio format becomes a stronger suspect.
For a TV feeding a soundbar, temporarily selecting PCM in the television’s digital audio settings can help diagnose a format mismatch. It may reduce the available surround formats. Treat it as a test, then choose the setting that suits your working system.
Stop Buffering by Finding the Actual Bottleneck
Local casting usually depends on your home network rather than your internet download speed. Buying a faster internet plan will not repair a weak connection between the computer, router, and receiver.
First, play the movie on the computer without casting. If it stutters there, investigate local playback, file damage, or a slow storage device. If it plays smoothly until casting starts, check wireless conditions and the computer’s workload.
Pause large downloads and cloud backups during your test. Move the laptop closer to the router if practical. A nearby 5 GHz connection may help, but distance and walls can change the result. Use an existing Ethernet connection where available.
Try these checks one at a time:
- Cast a lower-bitrate file to see whether the original movie exceeds the connection’s practical capacity.
- Watch CPU use during playback. Heavy activity can suggest that live conversion is straining the computer.
- Close demanding applications and keep the computer connected to power.
- Test a demanding action scene, since some files require more bandwidth during busy sequences.
- Use HDMI if wireless playback remains unreliable and your existing cable reaches safely.
File size alone does not tell the whole story. Video bitrate, encoding, receiver support, and live conversion all affect playback. A highly compressed file can be small yet difficult for an older computer to convert.
Keep Subtitles Visible and in Time
Subtitles are a strong reason to choose HDMI. The computer draws them into the displayed picture, so the television does not need to understand the subtitle format. Select the correct track in your player and check its size from your actual seat.
If subtitles come in a separate file, load that file through the player’s subtitle menu. Matching the subtitle filename to the movie filename can help automatic detection. Make sure you have the subtitle version for the same release of the movie.
Handle Subtitles That Disappear During Casting
Subtitles visible on the computer may not appear on the cast stream. Support varies by subtitle format, receiver, and playback method. Loading a subtitle file locally does not guarantee that VLC will deliver it successfully to the television.
If subtitles are required for tonight’s movie, HDMI is the most direct fallback. Another option is making a converted copy with subtitles burned into the picture. That takes processing time and makes those subtitles permanent in that copy, so keep your original file.
If subtitles appear consistently early or late, adjust their delay in the player. Check a conversation near the beginning and another later in the movie. A timing error that grows over time often means the subtitle file belongs to a different edit or frame rate. A fixed delay will not fully repair that mismatch.
Get the Movie Running Before the Popcorn Cools
Choose the method your room already supports. HDMI is a dependable starting point for nearby computers, difficult files, and subtitle-heavy movies. Casting earns its place when you already have a compatible receiver and a stable network connection.
Before committing to either route, play a few minutes with dialogue, a busy scene, and subtitles if needed. Confirm that sound comes from the intended speakers and that the computer stays awake. That small test gives you time to fix the actual problem and settle into the movie with the equipment you already own.