You spent an hour tweaking settings or paid someone to calibrate your TV. But now you’re staring at the screen wondering if anything actually changed. Maybe it looks different, but is it better? Or did you just waste your time adjusting numbers that don’t matter?
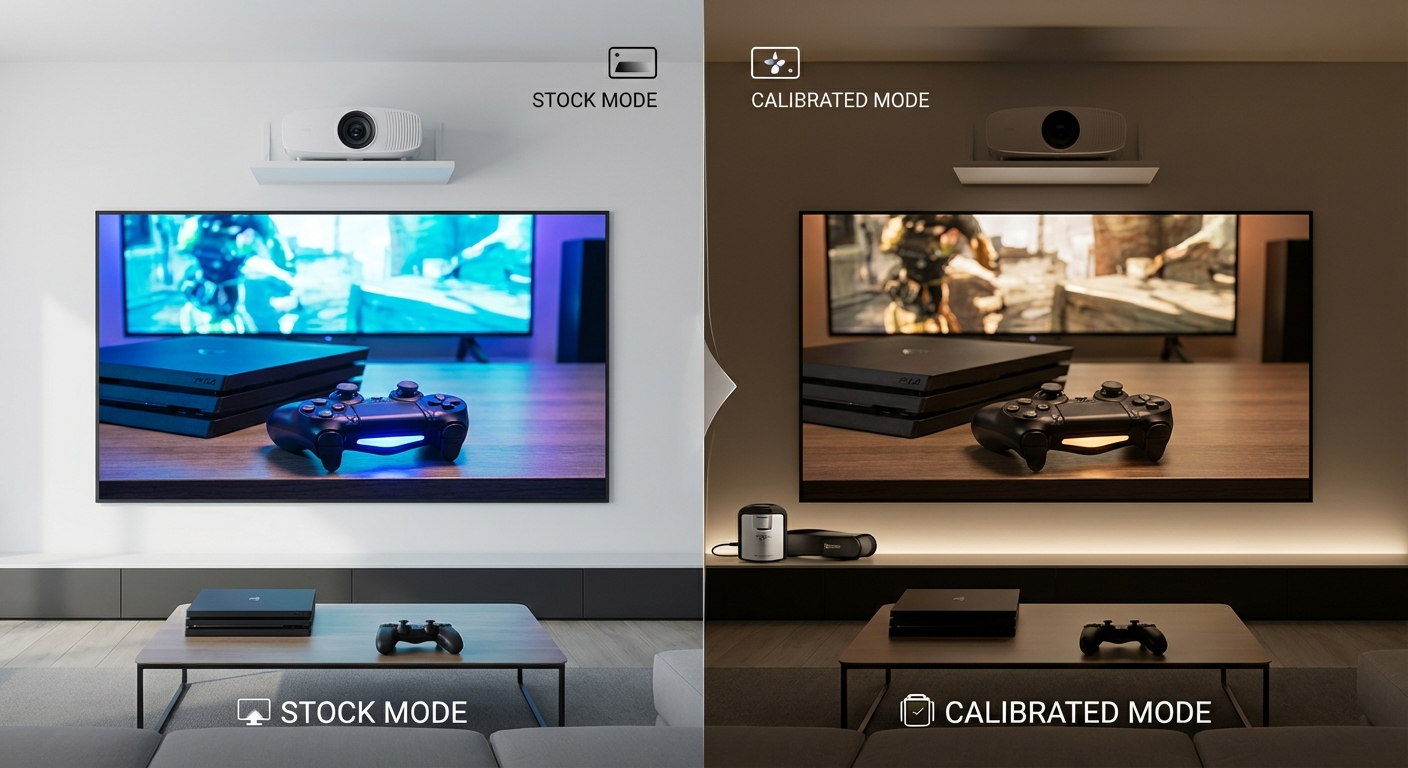
Effective TV calibration produces visible improvements in color accuracy, black levels, and detail retention. Test your results by comparing before and after photos, watching familiar content, and checking test patterns for crushing, banding, and color accuracy. If you can’t see a difference in real content, your calibration either failed or your original settings were already close to optimal.
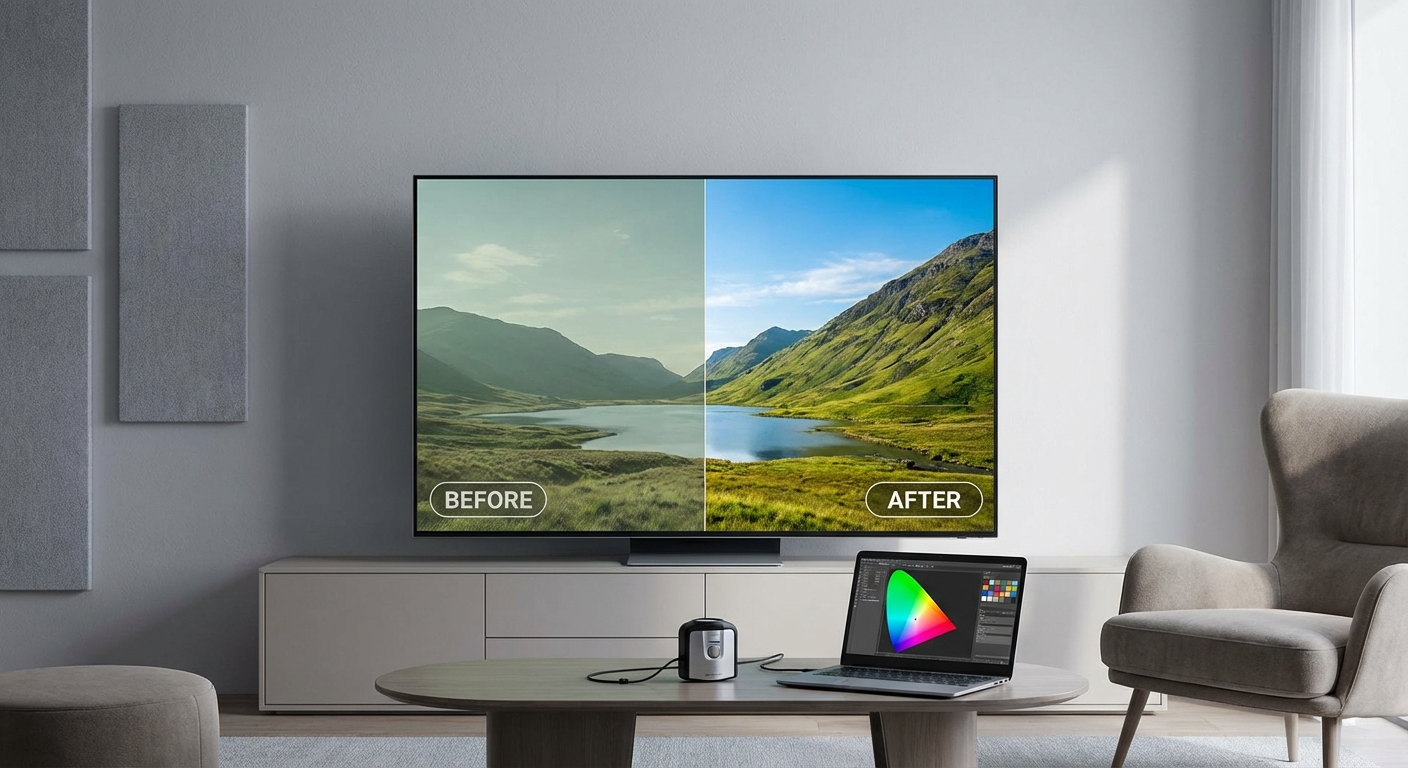
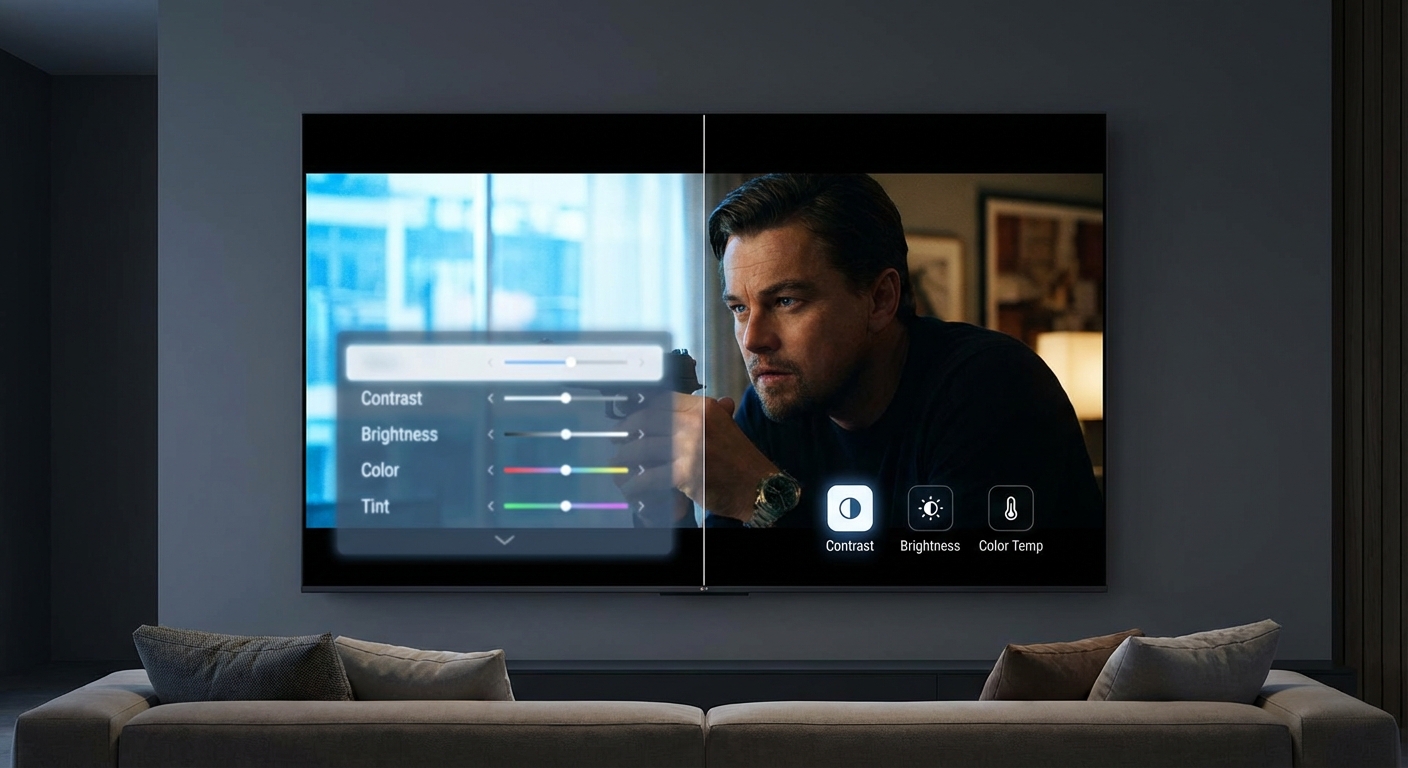
Take Before and After Photos
Your memory lies to you. After 10 minutes of viewing, your brain adapts to the new settings and the old version becomes fuzzy in your mind.
Before you change anything, photograph your screen. Use the same content for both shots. A colorful movie scene works better than a blank test pattern.
Keep these settings consistent:
- Same room lighting
- Same camera position
- Same camera settings (turn off auto mode)
- Same content paused at the exact frame
Take your “after” photo once calibration finishes. Now you can flip between images on your phone and see actual differences instead of relying on memory.
This method catches problems too. If skin tones shifted green or the image got dimmer, the photos will show it clearly.
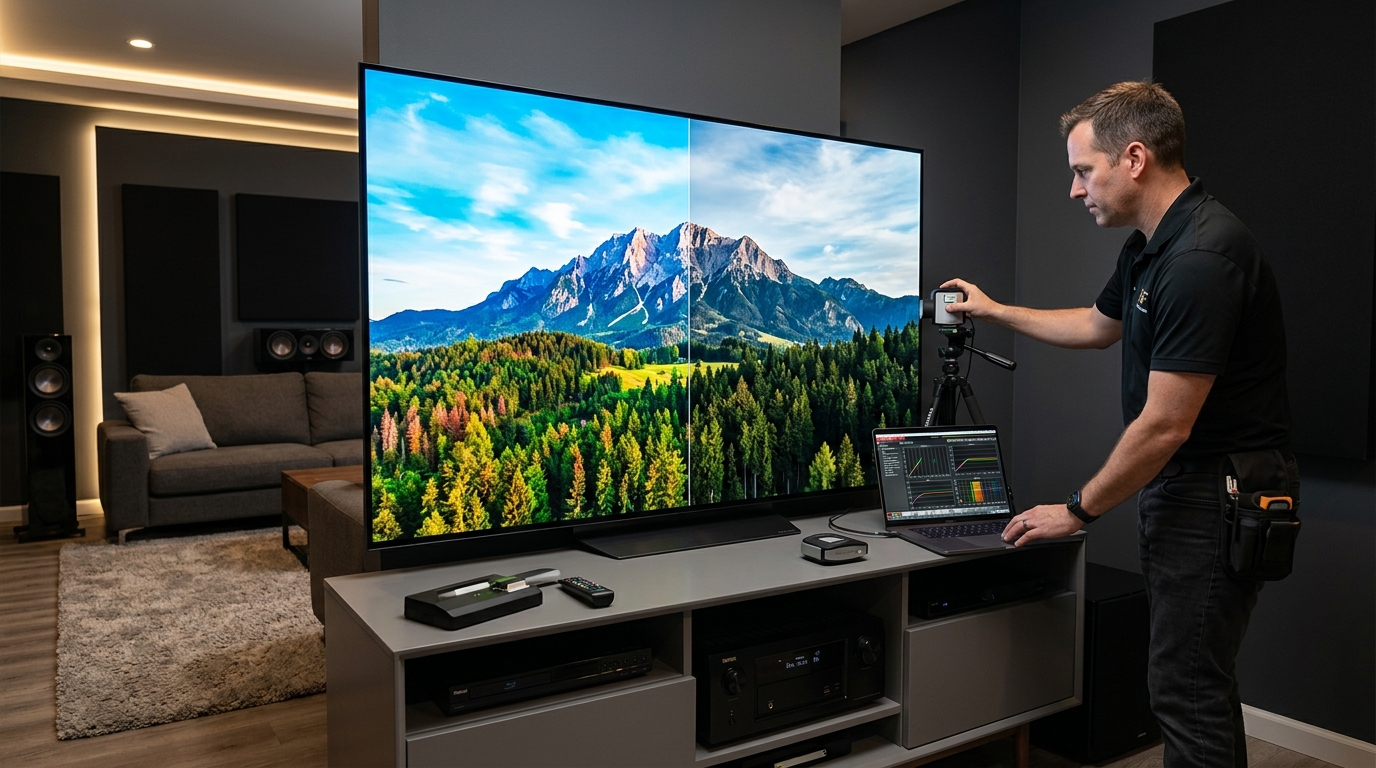
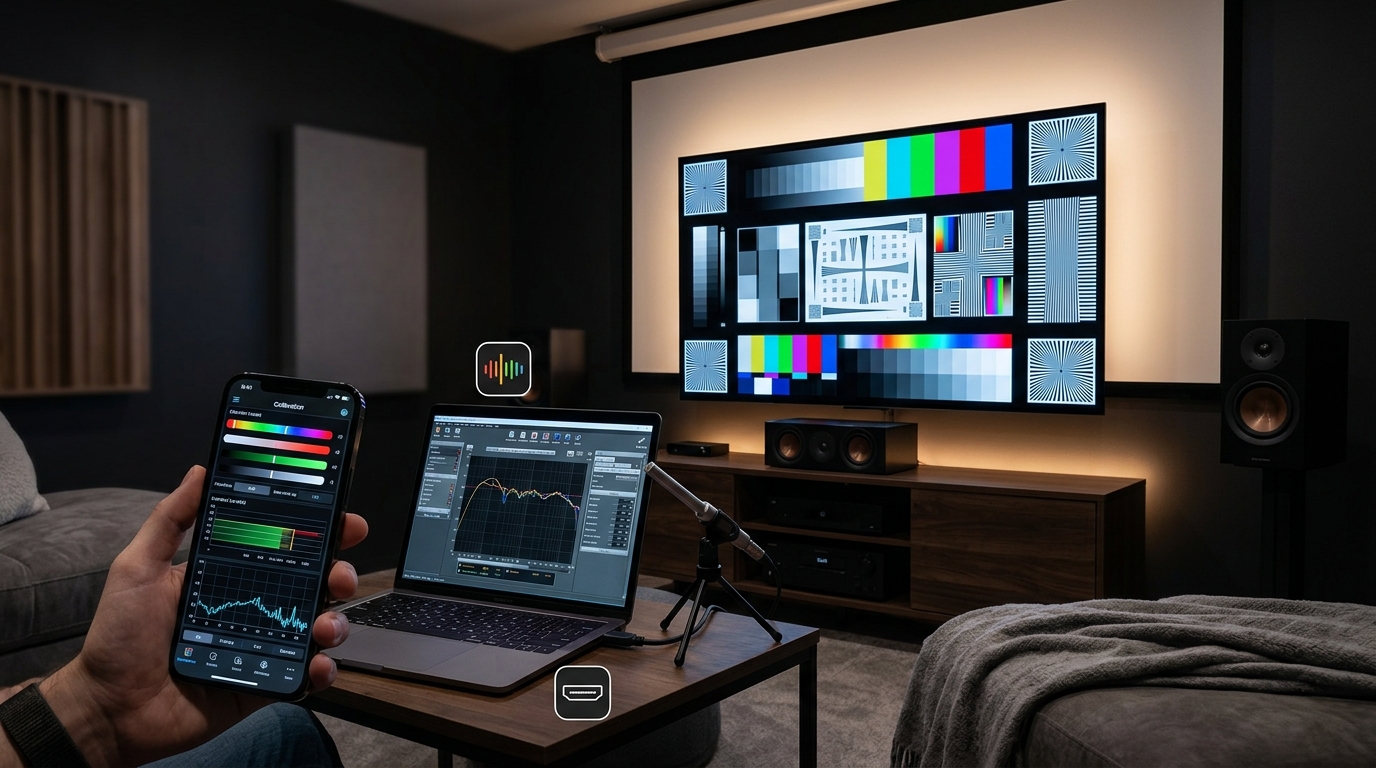
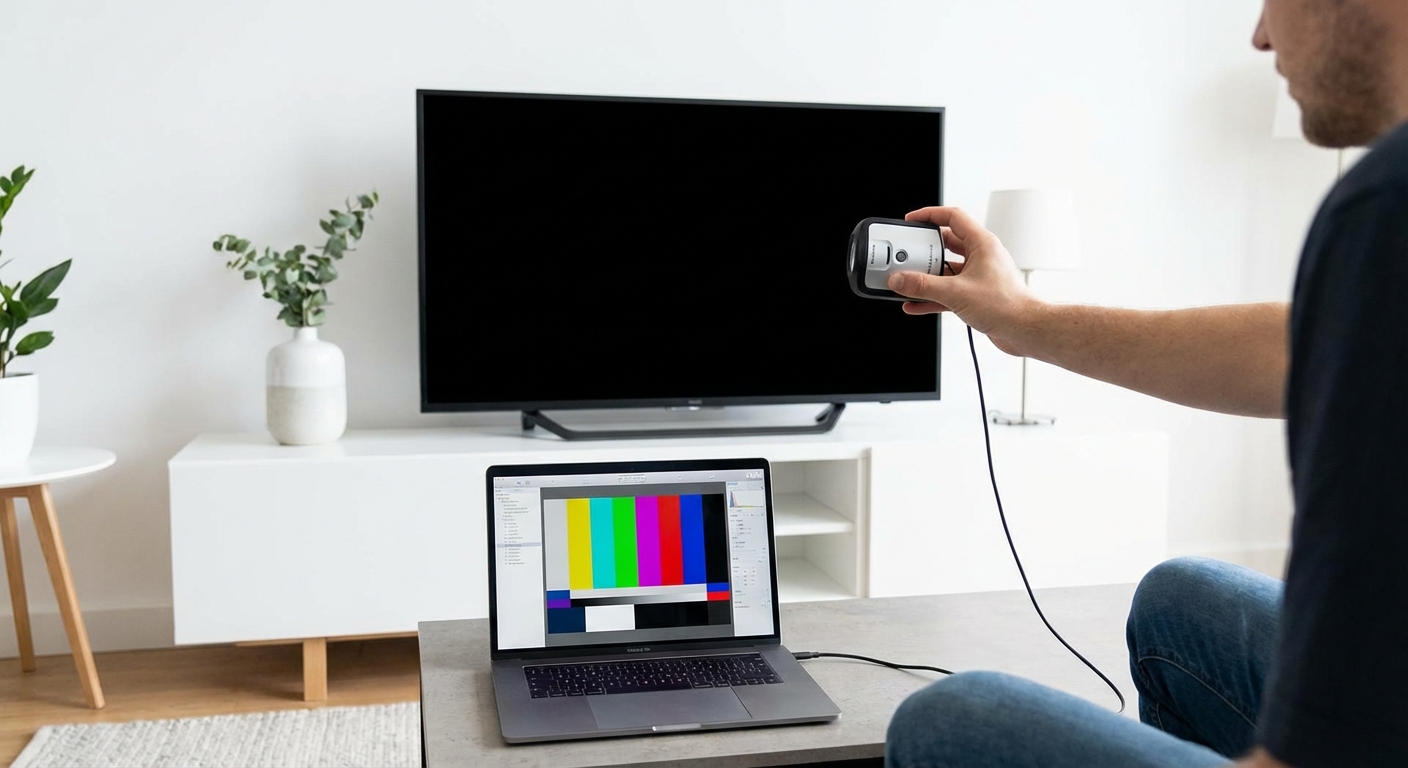
Run the Same Test Patterns Again
If you calibrated your TV using test patterns, run them again after finishing.
Good calibration eliminates these issues:
- Black bars that look gray instead of pure black
- White text with colored halos or tints
- Color bars that blend together
- Banding in gradients (visible steps instead of smooth transitions)
- Crushed shadows (lost detail in dark areas)
- Blown highlights (lost detail in bright areas)
Load a grayscale pattern. You should see distinct steps from pure black to pure white. If the darkest few blocks all look identical, your black level is too high. If the brightest blocks blend together, your contrast or backlight is too aggressive.
Color bars should look saturated but not glowing. If reds look orange or blues look purple, your color temperature or color settings need adjustment.
Watch Something You Know Well
Pick a movie or show you’ve watched multiple times. Your brain already knows how it should look.
Start with an animated film. Animation uses controlled, consistent colors. If calibration worked, you’ll notice:
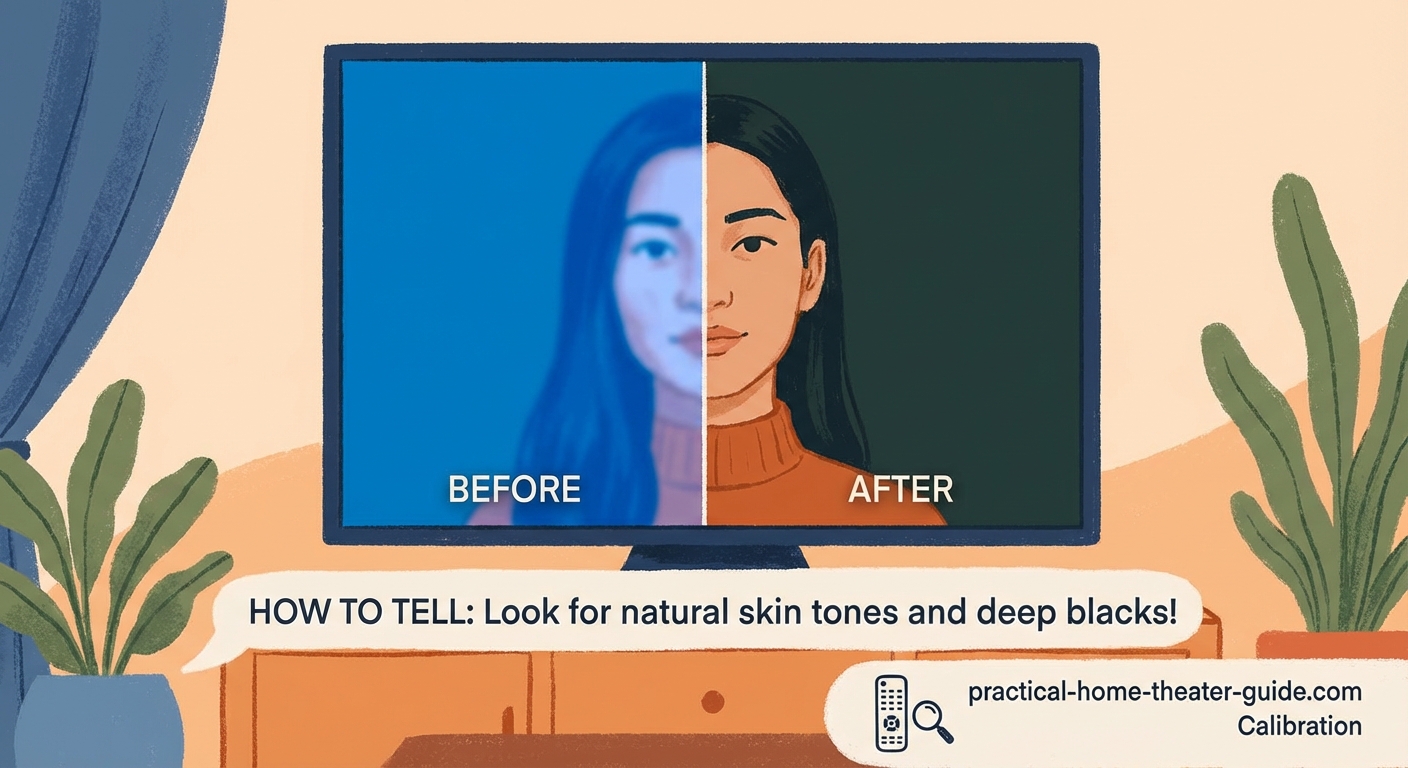
- Skin tones look natural instead of orange or pink
- Blues in skies don’t oversaturate and glow
- Dark scenes show detail instead of murky shadows
- Bright scenes don’t hurt your eyes
Now try a live action film with varied lighting. Period dramas and nature documentaries work great. Look for scenes with candles, sunsets, or mixed indoor and outdoor shots.
Bad calibration makes these scenes worse. Good calibration makes them comfortable to watch for hours.
Check for Common Calibration Mistakes
Not every calibration improves the picture. Some settings changes actually make things worse.
| Problem | What You See | Likely Cause |
|---|---|---|
| Image too dim | Hard to see details in normal room light | Backlight set too low |
| Washed out blacks | Black bars look gray | Brightness (black level) too high |
| Lost shadow detail | Can’t see anything in dark scenes | Brightness too low or contrast too high |
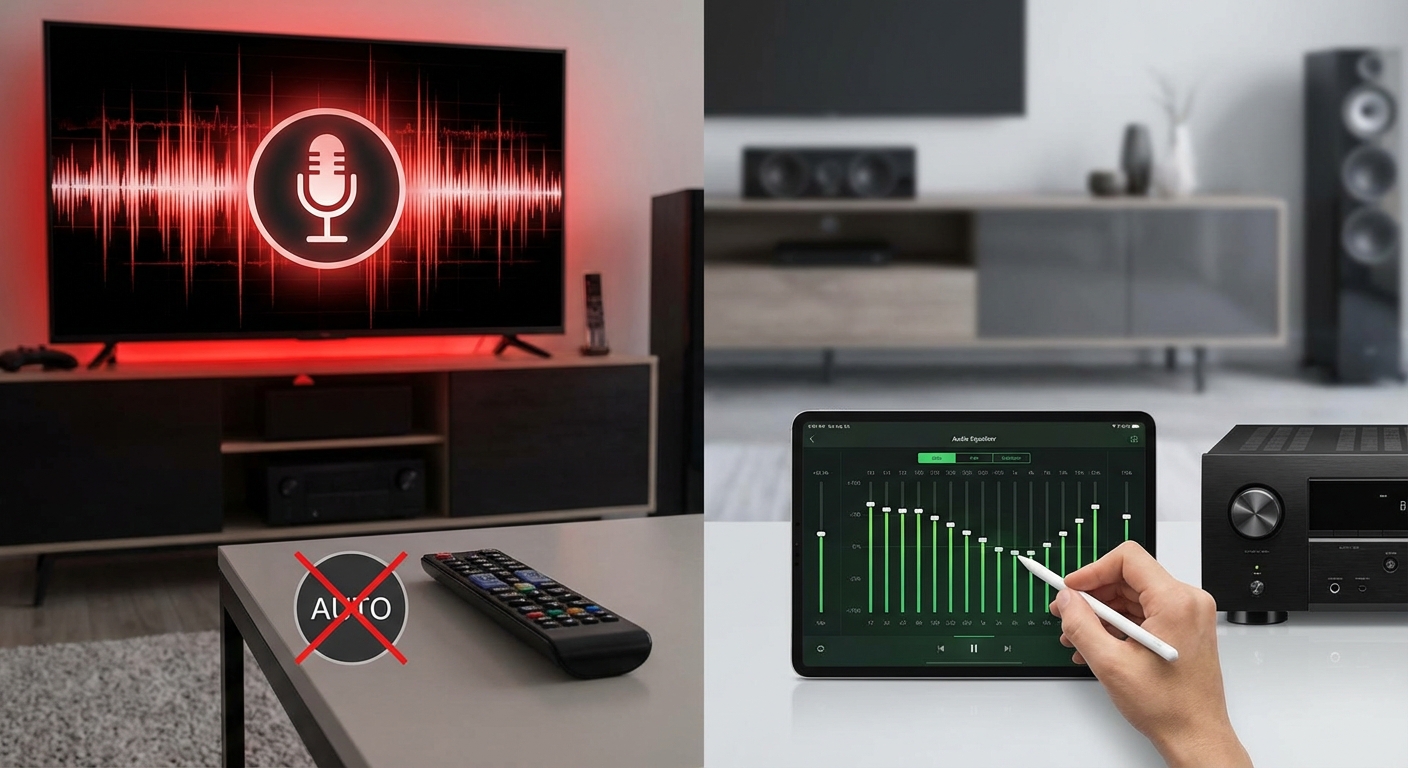
| Oversharpened edges | Halos around objects, grainy texture | Sharpness set above zero |
| Unnatural skin tones | People look orange, pink, or yellow | Wrong color temperature or tint |
| Soap opera effect | Movies look like cheap video | Motion smoothing still enabled |
If you see any of these problems after calibration, something went wrong. Go back and verify each setting.
Compare Against Reference Settings
Professional calibrators publish target values for specific TV models. Find your model and compare your final settings.
Your numbers won’t match exactly. Panel variance means two identical TVs need slightly different settings. But you should be in the same ballpark.
If reference settings suggest brightness at 50 and yours is at 80, something’s off. Either your test patterns were wrong or you misread the adjustment.
Professional calibrator tip: The biggest gains come from picture mode selection and turning off processing features. If you picked the right mode and disabled motion smoothing, edge enhancement, and dynamic contrast, you’ve done 80% of the work. The remaining adjustments are fine-tuning.
Test in Different Lighting Conditions
A calibration that looks perfect at night might fail during the day.
Test your settings in three scenarios:
- Complete darkness (movie theater simulation)
- Dim ambient light (evening viewing with one lamp)
- Bright room (afternoon with windows open)
The image should remain watchable in all three. If daytime viewing looks washed out, your backlight is too low. If nighttime viewing feels blinding, your backlight or OLED light is too high.
Some TVs offer multiple picture modes for this reason. Calibrate your main mode for typical viewing conditions, not the extremes.
Look for Detail Retention
Calibration should reveal more detail, not hide it.
Find a scene with complex textures. Fabric, tree bark, or brick walls work well. You should see individual threads, cracks, and surface variation.
Now find a scene with both bright and dark elements in the same frame. A person standing in a doorway with sunlight behind them. A campfire at night. City lights against a dark sky.
Good calibration preserves detail in both the highlights and shadows simultaneously. Bad calibration forces you to choose. Either the bright areas blow out or the dark areas crush to black.
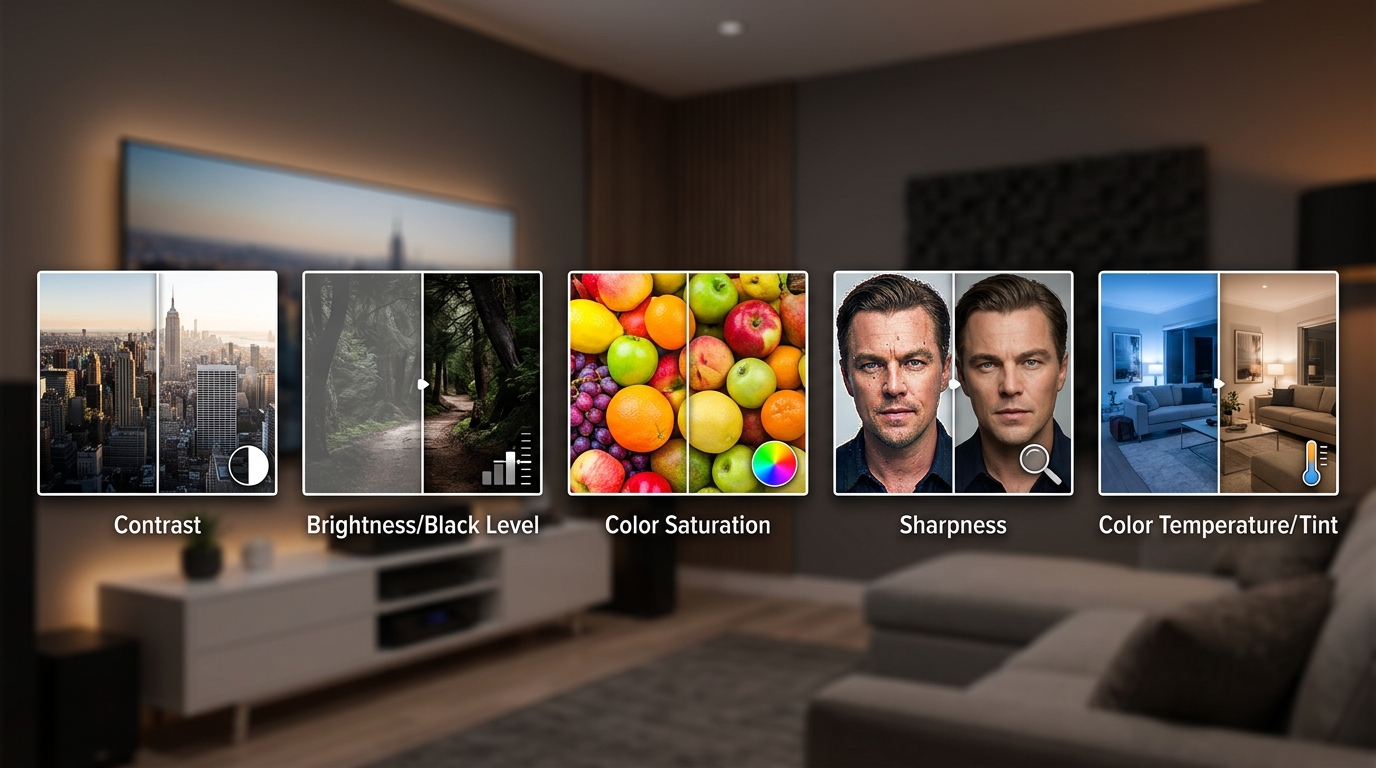
Use Your TV’s Built-In Tools
Modern TVs include helpful verification tools. Look in your picture settings menu for:
- White balance test (checks for color tints in grays)
- Color accuracy test (compares your TV’s colors to reference values)
- Gamma curve display (shows if your brightness curve is correct)
These tools aren’t as accurate as professional meters, but they catch obvious problems.
Some manufacturers include calibration verification in their apps. LG and Samsung both offer smartphone apps that can measure your screen’s output and suggest corrections.
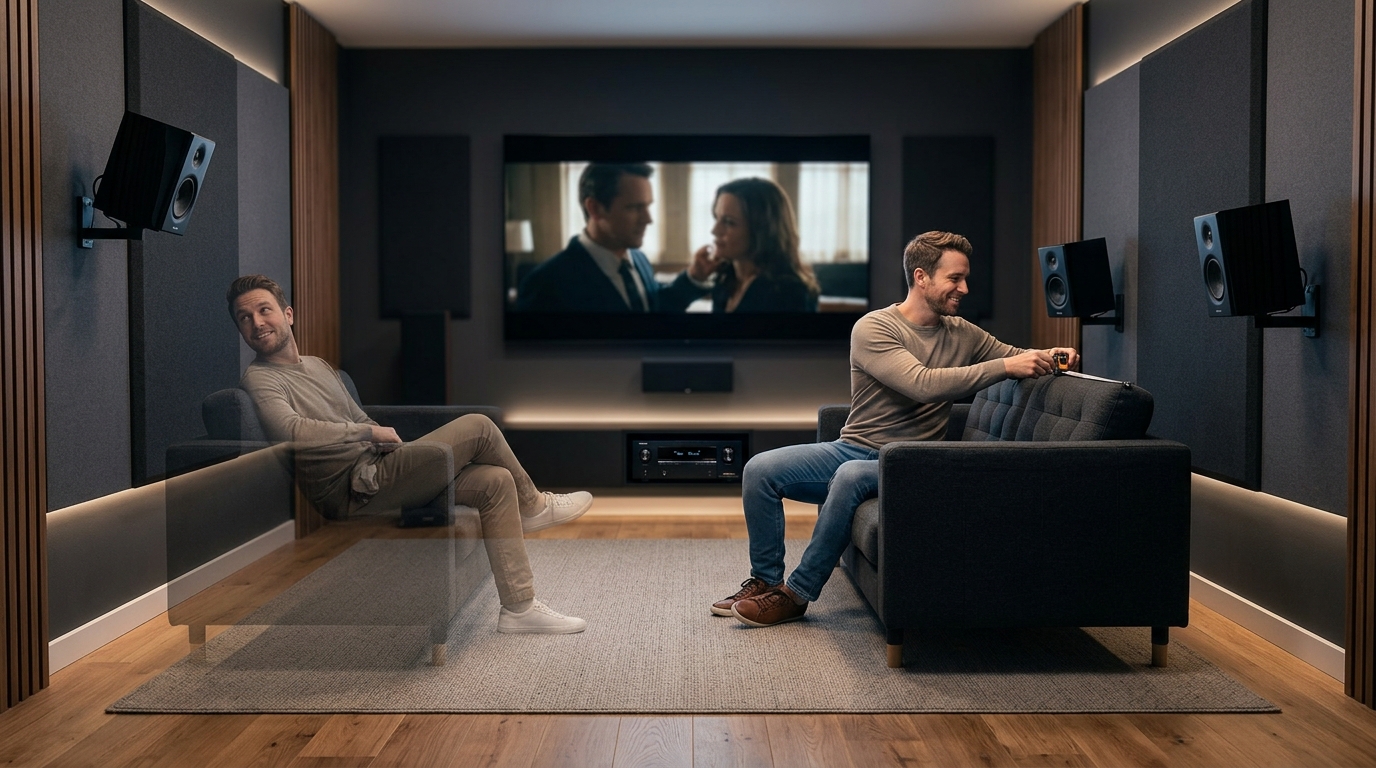
The Five Minute Reality Check
Step away from your TV for an hour. Do something else. Let your eyes reset.
Come back and turn on a familiar show. Don’t think about settings or calibration. Just watch.
If the image looks better than you remember, calibration worked. If you can’t tell the difference, it didn’t matter. If it looks worse, you need to start over.
Trust your gut on this test. Your eyes adapt quickly, but that first impression after a break reveals the truth.
When Calibration Doesn’t Make a Difference
Sometimes you calibrate perfectly and see minimal improvement. This happens when:
- Your TV was already close to accurate out of the box
- You’re watching low quality sources (streaming at low bitrate, cable TV)
- Your room lighting overwhelms the screen
- Your TV size doesn’t match your viewing distance
Budget TVs often show dramatic improvements from calibration. High-end models in filmmaker mode might already be 90% accurate.
If you’re streaming everything at 1080p with heavy compression, calibration can’t fix source quality issues. The content itself limits what you can see.
Signs Your Calibration Actually Succeeded
You’ll know calibration worked when these things happen naturally:
- You stop thinking about picture settings
- You watch longer without eye fatigue
- You notice details you missed before
- Other TVs look wrong by comparison
- You don’t feel the urge to keep tweaking
The best calibration becomes invisible. The picture just looks right and you forget about the technology.
Bad calibration keeps nagging at you. Something feels off. Colors seem weird. You keep opening the settings menu.
Keep Your Settings Documented
Write down your final values. Every setting, every mode, every number.
TV firmware updates sometimes reset picture settings. Power surges can corrupt saved profiles. You’ll want those numbers backed up somewhere safe.
Take a photo of each settings page with your phone. Store them in a folder labeled with your TV model. Future you will appreciate having the reference.
Some TVs let you export settings to a USB drive. Use this feature if available. It’s the fastest way to restore everything after a reset.
What Good Calibration Feels Like
Calibration isn’t about making your TV look different. It’s about making it look right.
Colors should match what you see in real life. Skin tones should look like actual skin. Grass should look like grass, not neon green. The sun should look bright without being painful.
Black bars in movies should disappear into your TV’s bezel. White text should be neutral, not pink or blue. Shadows should show texture and depth, not just solid black shapes.
If your calibrated TV achieves this, you succeeded. The technology gets out of the way and you just see the story.
Now stop tweaking and watch something great.


Leave a Reply