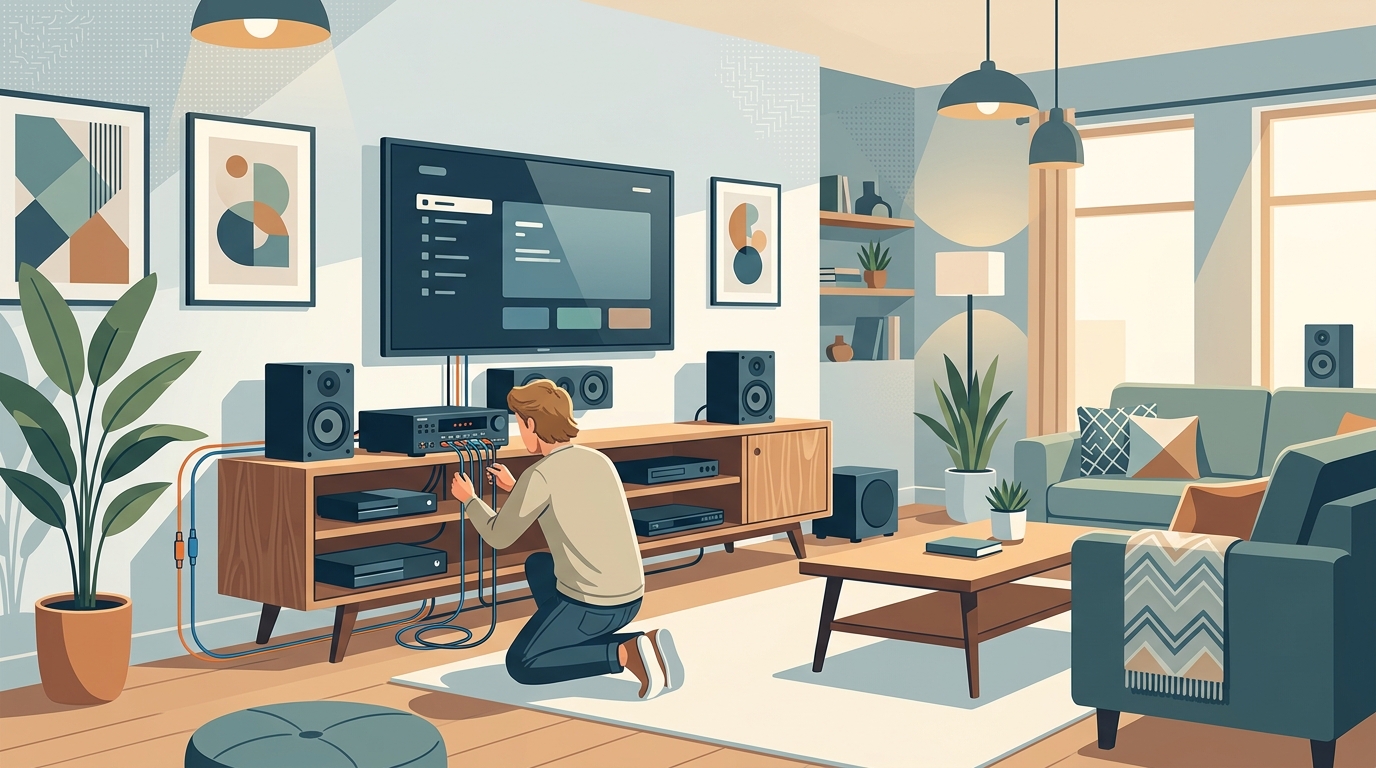
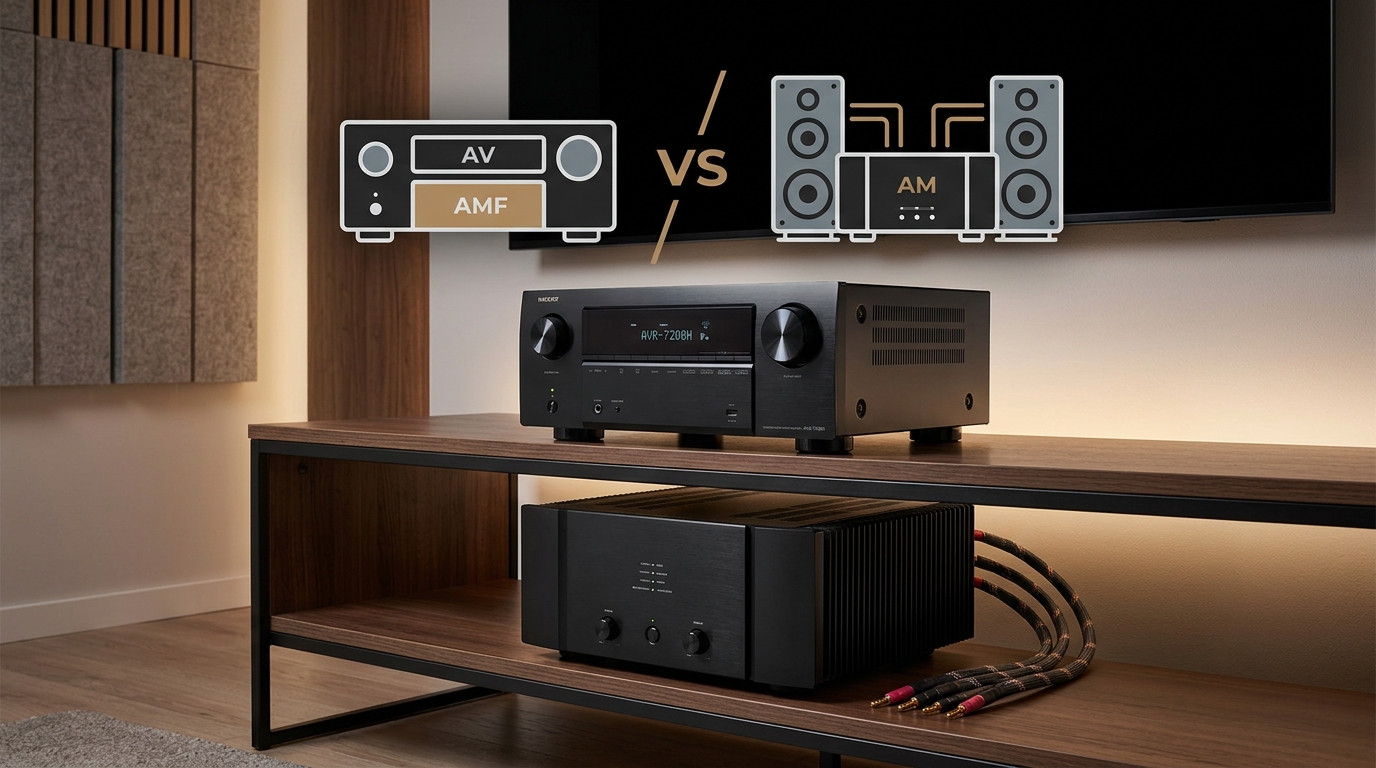
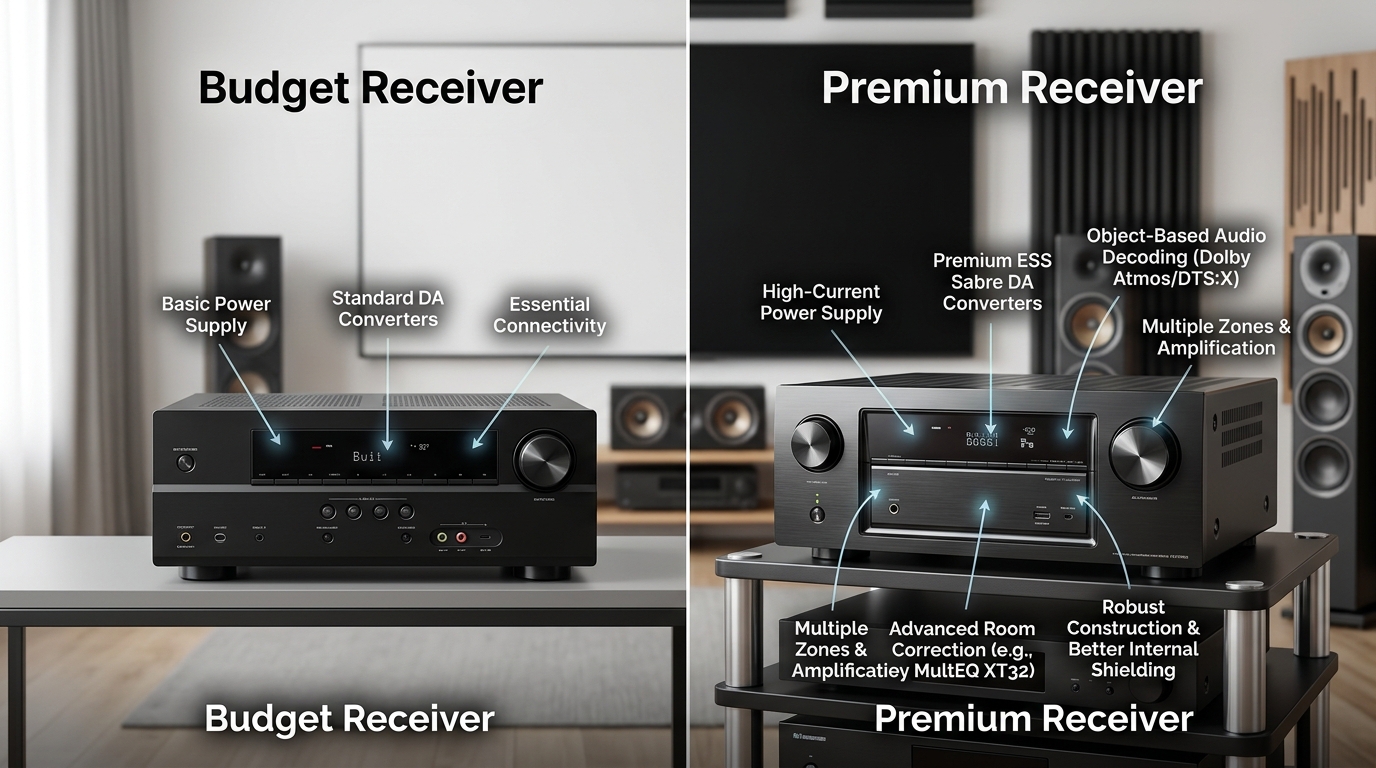
You just unboxed your new AV receiver and stared at the back panel. Dozens of ports, labels you don’t recognize, and a manual thick enough to stop a door. Most people feel overwhelmed at this point. But setting up an AV receiver doesn’t require an engineering degree. You need a clear plan, the right cables, and about an hour of focused work.
Setting up an AV receiver involves connecting your TV and speakers in the correct order, running automatic calibration, and adjusting a few key settings. Most problems come from using the wrong HDMI ports or skipping the calibration step. This guide walks you through each connection, shows you which settings actually matter, and helps you avoid the mistakes that waste hours of troubleshooting.
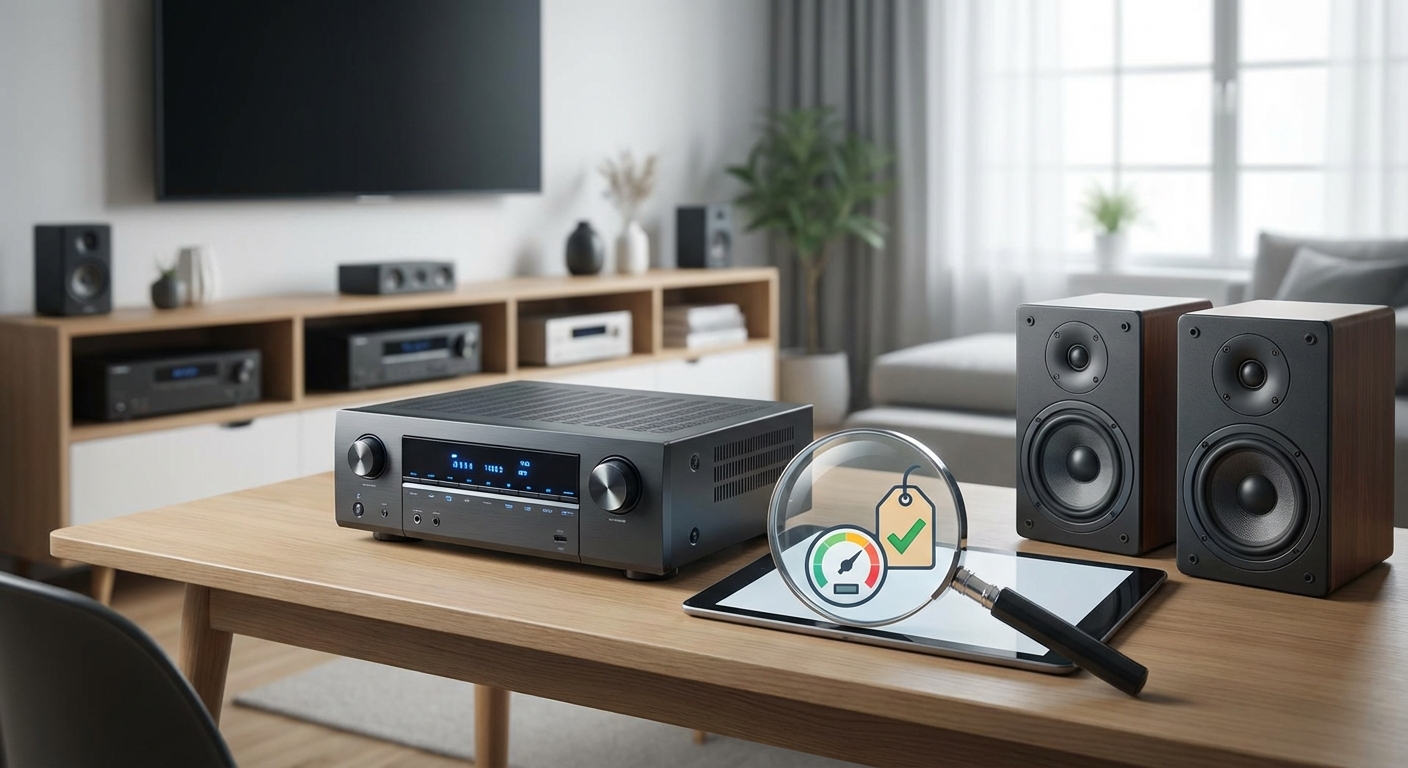
What You Need Before You Start
Gather everything before you touch a single cable. Missing one adapter can turn a 60-minute setup into a three-day project waiting for Amazon deliveries.
Your receiver box should include a calibration microphone, power cable, and remote. Check the box carefully because the mic often hides under cardboard flaps.
You’ll need these cables:
- HDMI cables (one for each device plus one for your TV)
- Speaker wire (16-gauge or thicker for runs under 50 feet)
- A smartphone or tablet for the receiver’s setup app (optional but helpful)
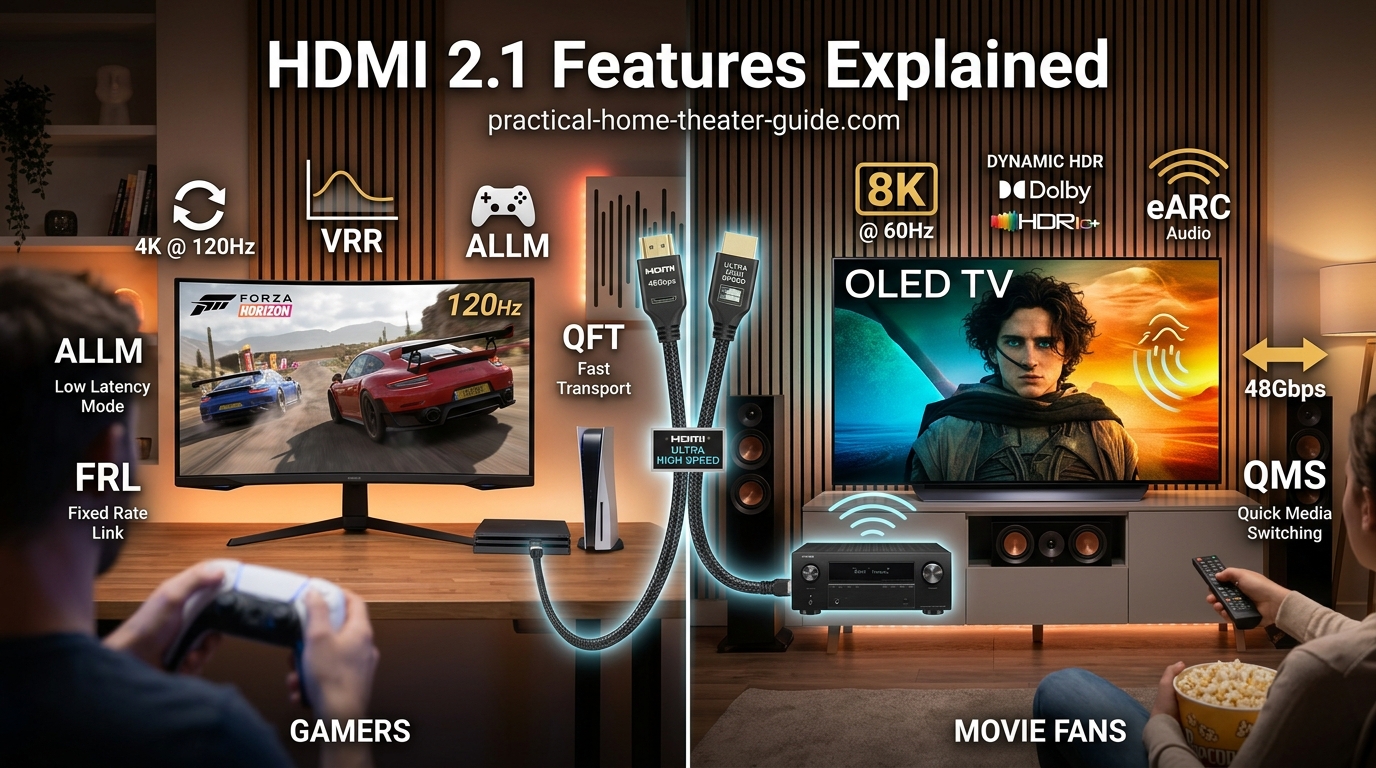
Most receivers don’t include HDMI cables. Buy certified cables rated for the resolution you plan to use. A 4K TV needs cables marked “High Speed” or “Ultra High Speed.”
Wire strippers make speaker connections easier, but scissors work if you’re careful. Label your cables with masking tape before you start running them. Trust me on this one.
Connecting Your Display the Right Way
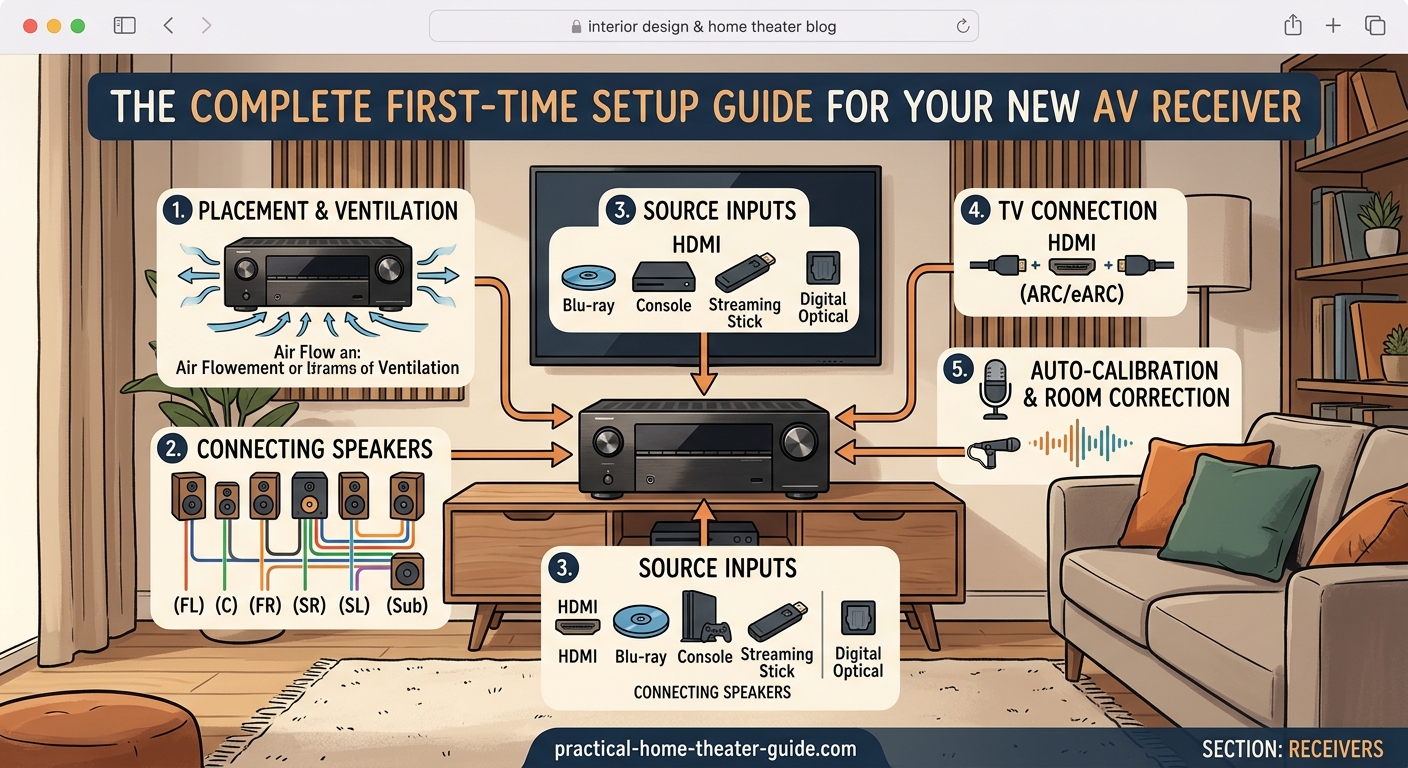
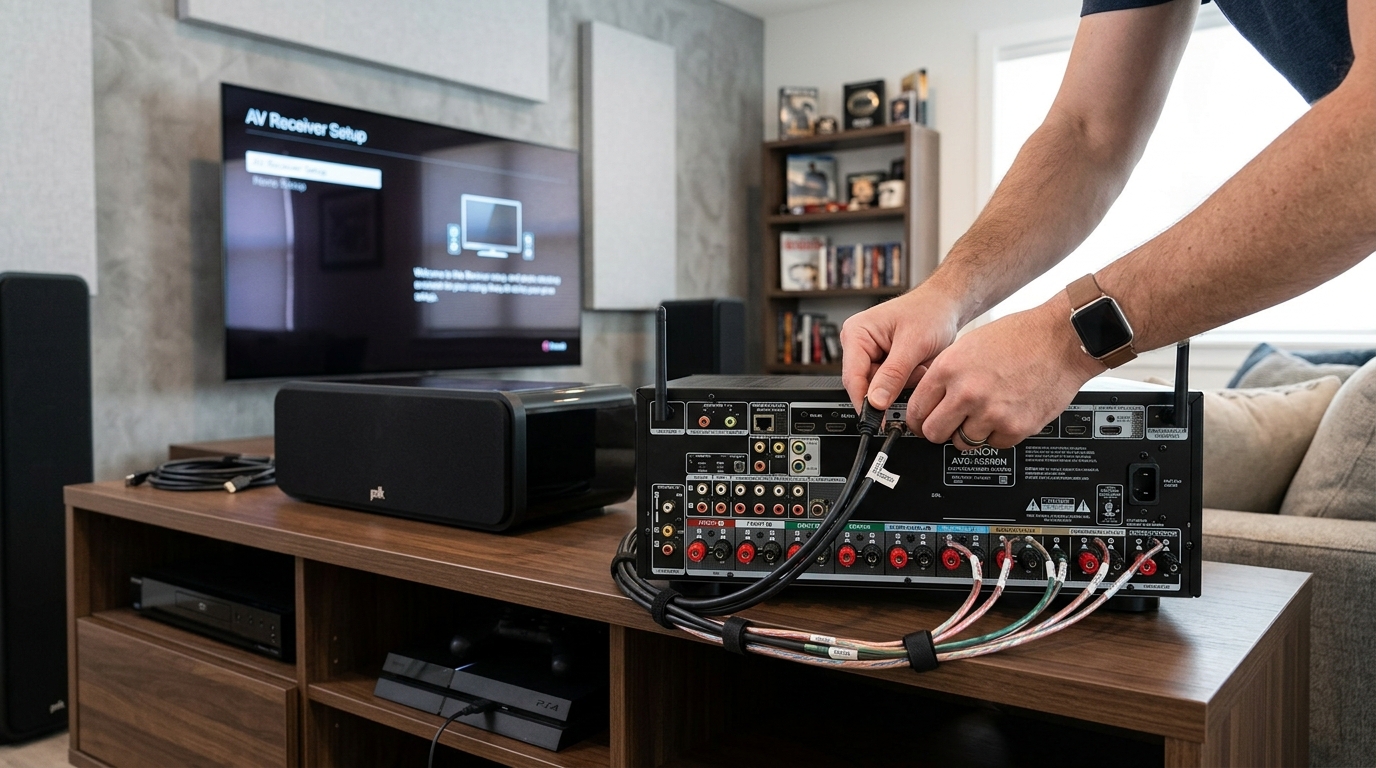
The TV connection confuses more people than any other step. Your receiver has multiple HDMI outputs, and using the wrong one causes headaches.
Find the HDMI port labeled “Monitor Out,” “TV Out,” or “Main.” Some receivers have two monitor outputs. Use “Monitor 1” or “Main” for your primary TV.
Run an HDMI cable from this output to any HDMI input on your TV. Write down which TV input you used because you’ll need to select it later.
Turn on your TV and receiver. You should see the receiver’s setup screen. If you don’t, check three things:
- Is the receiver set to the correct output resolution for your TV?
- Did you select the right input on your TV?
- Is the HDMI cable seated fully on both ends?
Some 4K TVs require you to enable “Enhanced” or “UHD Color” mode on specific HDMI inputs. Check your TV’s manual if you see a black screen with 4K sources.
How to Wire Your Speakers Without Mistakes
Speaker connections look intimidating, but they follow a simple pattern. Each speaker needs two wires: positive and negative.
Strip about half an inch of insulation from each wire end. Twist the exposed copper strands tightly so no loose threads stick out.
Look at the back of your receiver. Speaker terminals are labeled by channel: Front Left (FL), Front Right (FR), Center (C), Surround Left (SL), Surround Right (SR), and Subwoofer (SUB or LFE).
Match each speaker to its terminal. The center channel speaker goes directly below or above your TV. Front left and right speakers flank your seating position at ear height.
Push the red terminal tab down, insert the positive wire (usually marked with a stripe or different color), and release. Repeat for the black negative terminal.
Double-check polarity on every connection. Reversed polarity makes your system sound hollow and weak.
“The single biggest setup mistake I see is reversed speaker polarity. It takes 30 seconds to check, but it ruins your sound for months until you figure it out.” – Audio installer with 15 years of experience
For subwoofer connections, use a single RCA cable from the receiver’s subwoofer output to the sub’s LFE input. Set the subwoofer’s volume to halfway and its crossover to the maximum setting. The receiver will handle crossover duties.
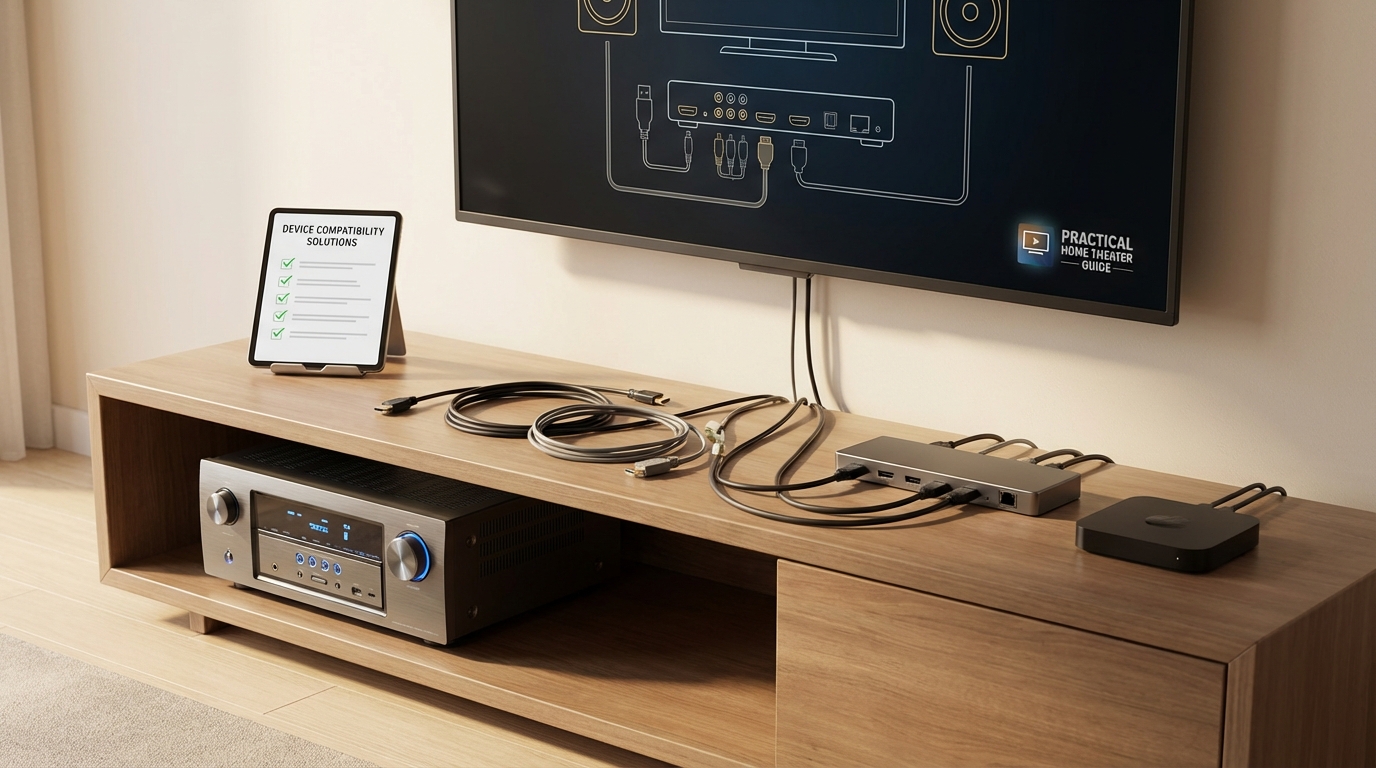
Connecting Your Source Devices
Your Blu-ray player, game console, and streaming box all connect to the receiver’s HDMI inputs, not directly to your TV.
Plug each device into any available HDMI input on the receiver. The input labels (BD, Game, Media Player) are suggestions, not requirements. A Blu-ray player works fine in the “Game” input.
Write down which device you plugged into each input. You’ll rename these later in the receiver’s menu, but notes prevent confusion during setup.
Cable boxes and older devices might use component or composite video. These analog connections work, but use HDMI whenever possible. The receiver can’t apply video processing to analog signals on most models.
If you run out of HDMI inputs, you have options. Adding an HDMI switch solves the problem without upgrading your receiver.
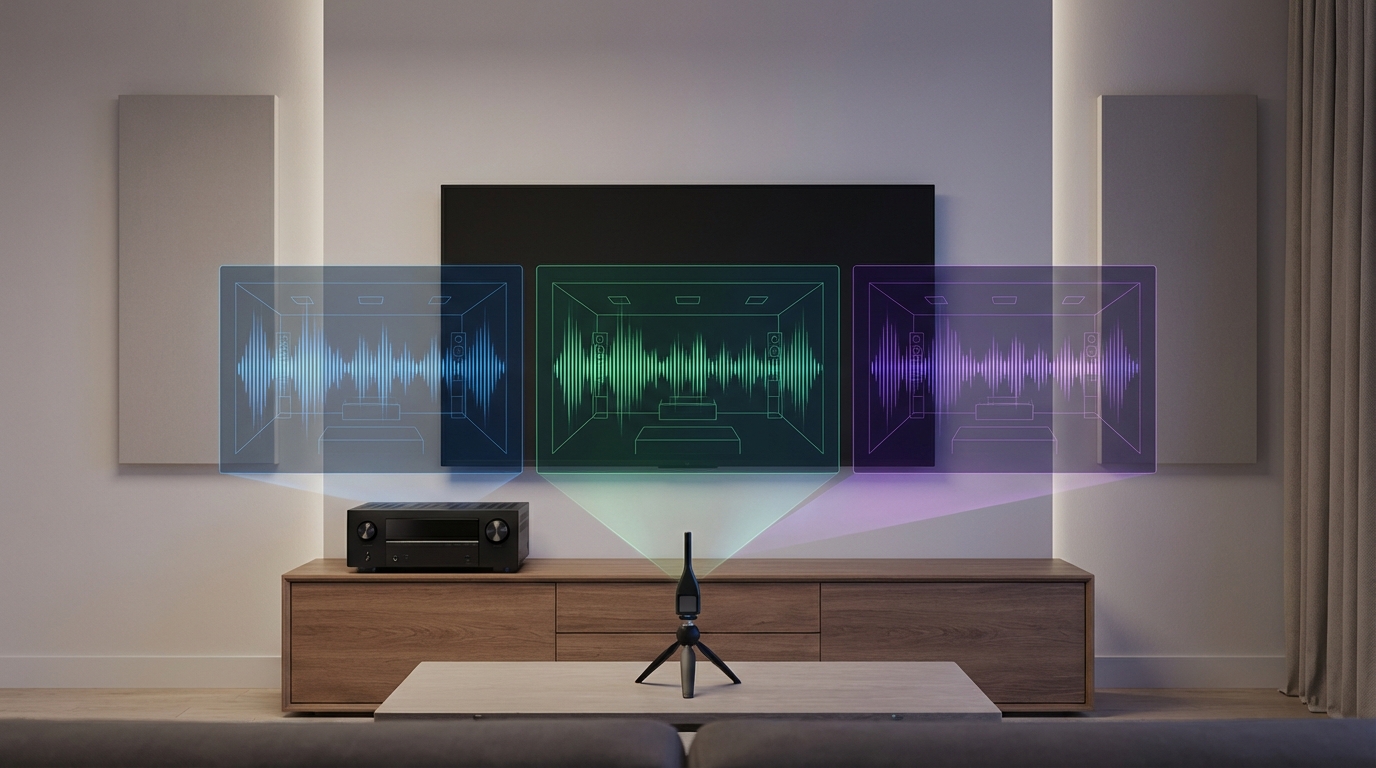
Running the Automatic Calibration
This step makes the biggest difference in sound quality. Skipping it leaves your system sounding unbalanced and muddy.
Find the calibration microphone that came with your receiver. Set it on a tripod or stack of books at ear height in your main seating position.
Plug the microphone into the port on the receiver’s front panel. It’s usually labeled “Setup Mic” or “Cal Mic.”
Navigate to the receiver’s setup menu and select the automatic calibration option. Names vary by brand:
- Denon and Marantz: Audyssey
- Yamaha: YPAO
- Sony: DCAC
- Pioneer: MCACC
The system will play test tones through each speaker. Leave the room or stay completely silent. Background noise throws off the measurements.
Some systems ask you to place the mic in multiple positions. Follow the on-screen instructions exactly. This multi-position calibration accounts for how sound varies across your seating area.
After calibration finishes, the receiver sets speaker distances, levels, and crossover points automatically. Review these settings but don’t change them yet. Calibration systems sometimes make mistakes, but you need a baseline before tweaking.
Essential Settings You Should Adjust
Automatic calibration handles most settings, but a few adjustments improve your experience.
Speaker Configuration
Check that the calibration correctly identified your speakers. Navigate to Speaker Setup and verify:
- Speaker size (small or large)
- Crossover frequency
- Distance from listening position
Most bookshelf speakers should be set to “Small” even if they’re physically large. This sends low bass to your subwoofer, which handles it better.
The crossover frequency determines which frequencies go to your subwoofer versus your main speakers. Start with 80Hz for most systems. Lower it to 60Hz if you have tower speakers with 6-inch or larger woofers.
HDMI Settings
Enable HDMI Control (also called CEC, Simplink, or Bravia Sync). This lets your TV remote control receiver volume and power.
Set the receiver’s HDMI mode to match your TV’s capabilities. If you have a 4K TV, enable 4K pass-through. For HDR content, enable HDR and Dolby Vision support.
Some receivers default to video upscaling. Turn this off if your TV has better processing. Most modern TVs handle upscaling better than receivers.
Audio Format Settings
Your receiver can decode multiple surround sound formats. Enable these in the audio settings:
- Dolby Digital
- Dolby TrueHD
- DTS
- DTS-HD Master Audio
Leave “Auto” selected for input audio format. The receiver will detect and decode whatever your source sends.
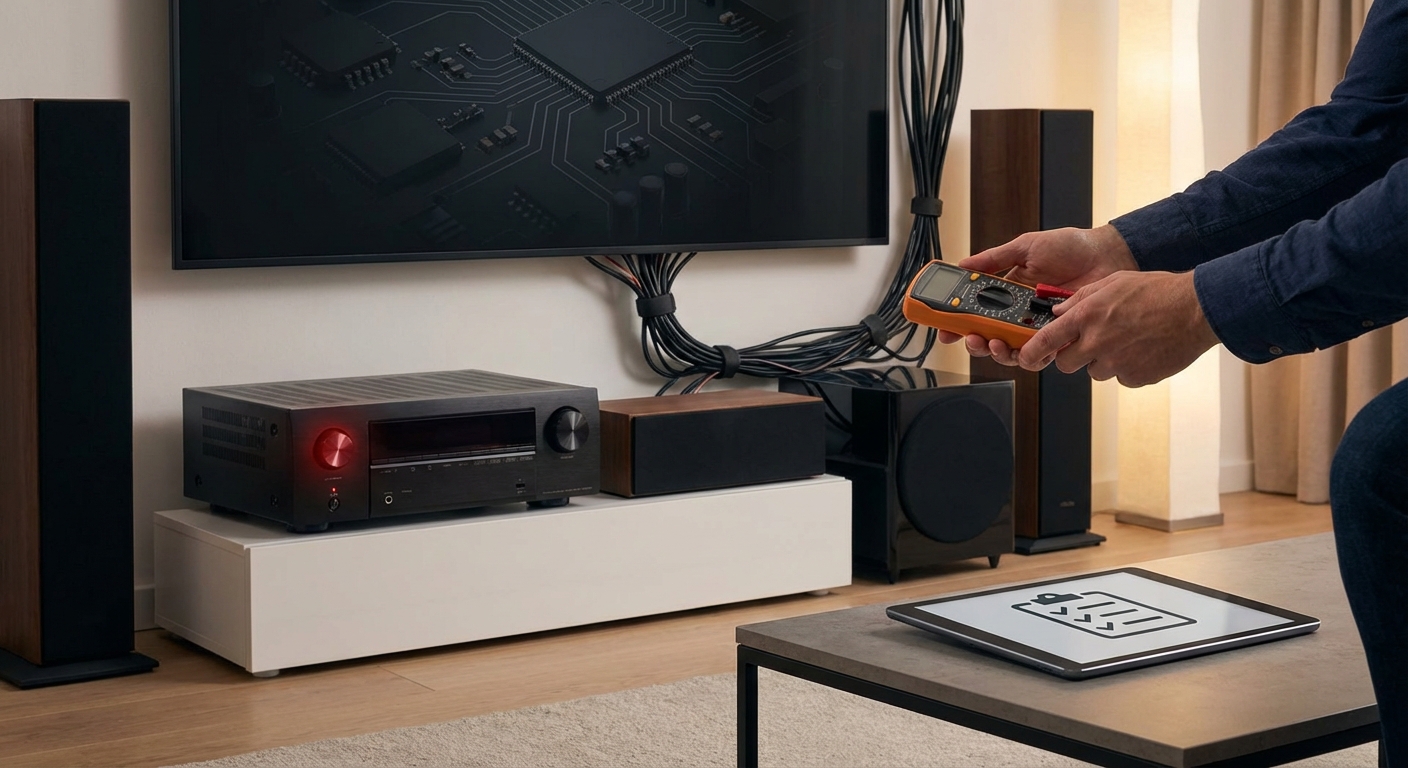
Common Setup Problems and Solutions
Even careful setups hit snags. These issues account for 90% of support calls.
| Problem | Likely Cause | Solution |
|---|---|---|
| No picture on TV | Wrong HDMI output used | Use “Monitor Out” or “Main” output |
| No sound from speakers | Input not selected | Press input button to select correct source |
| Subwoofer not working | LFE cable loose or sub powered off | Check connections and power switch |
| Dialogue sounds quiet | Center channel level too low | Increase center channel by 2-3dB |
| Receiver shuts off randomly | Impedance mismatch or overheating | Check speaker impedance settings and ventilation |
If your receiver keeps shutting off, it’s protecting itself from damage. Give it more breathing room and verify your speakers match the receiver’s impedance rating.
HDMI ARC problems plague many setups. Use the TV’s ARC-labeled HDMI port and enable ARC in both the TV and receiver settings.
Testing Your System
Play content you know well. A familiar movie or album reveals problems better than test tones.
Listen for these issues:
- Does dialogue sound clear and centered?
- Do effects move smoothly between speakers?
- Does bass feel powerful without overwhelming other sounds?
- Can you hear subtle background details?
Walk around your room during playback. Sound should stay balanced as you move within the main seating area. Huge variations suggest speaker placement problems.
Test different content types. Action movies stress your system differently than music or dialogue-heavy dramas.
Fine-Tuning After the Initial Setup
Live with your system for a week before making major changes. Your ears need time to adjust to the new sound.
Common adjustments after the break-in period:
- Raising center channel level by 2-3dB for clearer dialogue
- Lowering subwoofer level if bass sounds boomy
- Adjusting surround speaker levels if effects seem too loud or quiet
Take notes when something sounds off. “The helicopter scene in that action movie sounded weird” helps you remember what to fix later.
Room acoustics affect sound as much as equipment. Hard surfaces create echoes. Soft furnishings absorb sound. Your room’s shape and contents matter.
Choosing the Right Sound Mode
Receivers offer dozens of sound modes. Most of them make your system sound worse.
Stick to these modes:
- Direct or Pure Direct for music (bypasses all processing)
- Dolby Surround or DTS Neural:X for upmixing stereo content
- The native format for surround content (Dolby Digital, DTS, etc.)
Avoid “Stadium,” “Hall,” “Arena,” and similar gimmick modes. They add artificial reverb that muddies the sound.
For movies, let the receiver automatically select the format. Modern receivers detect Dolby Atmos, DTS:X, and other formats without manual intervention.
Music sounds best in stereo or Pure Direct mode. Surround processing rarely improves two-channel recordings.
Maintaining Your Setup Over Time
Dust accumulates on receiver vents and speaker terminals. Clean both every few months.
Firmware updates fix bugs and add features. Check your manufacturer’s website quarterly for updates. Most receivers can download updates over your network.
Recalibrate your system if you:
- Move speakers
- Rearrange furniture
- Add acoustic treatments
- Notice sound quality degradation
Cable connections loosen over time, especially if you move components for cleaning. Tighten speaker terminals annually.
Your System Is Ready
You’ve connected everything, run calibration, and adjusted the key settings. Your AV receiver is now configured properly.
Don’t stress about perfection. Even professional installers tweak systems over time as they learn a room’s quirks. Start watching movies and listening to music. You’ll notice what needs adjustment as you use your system.
The setup process taught you how your receiver works. That knowledge helps when you add new devices, upgrade speakers, or troubleshoot problems. You’re not starting from scratch anymore.


Leave a Reply