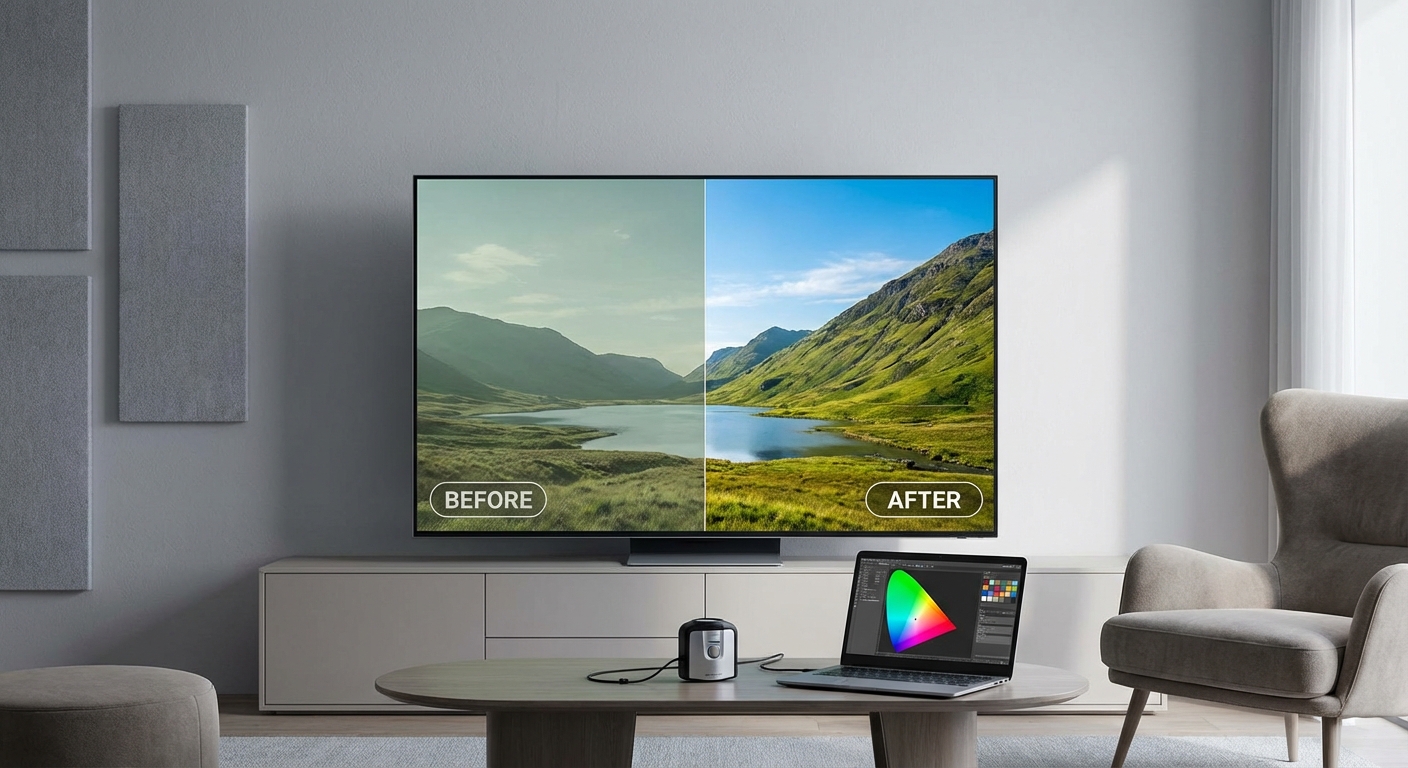
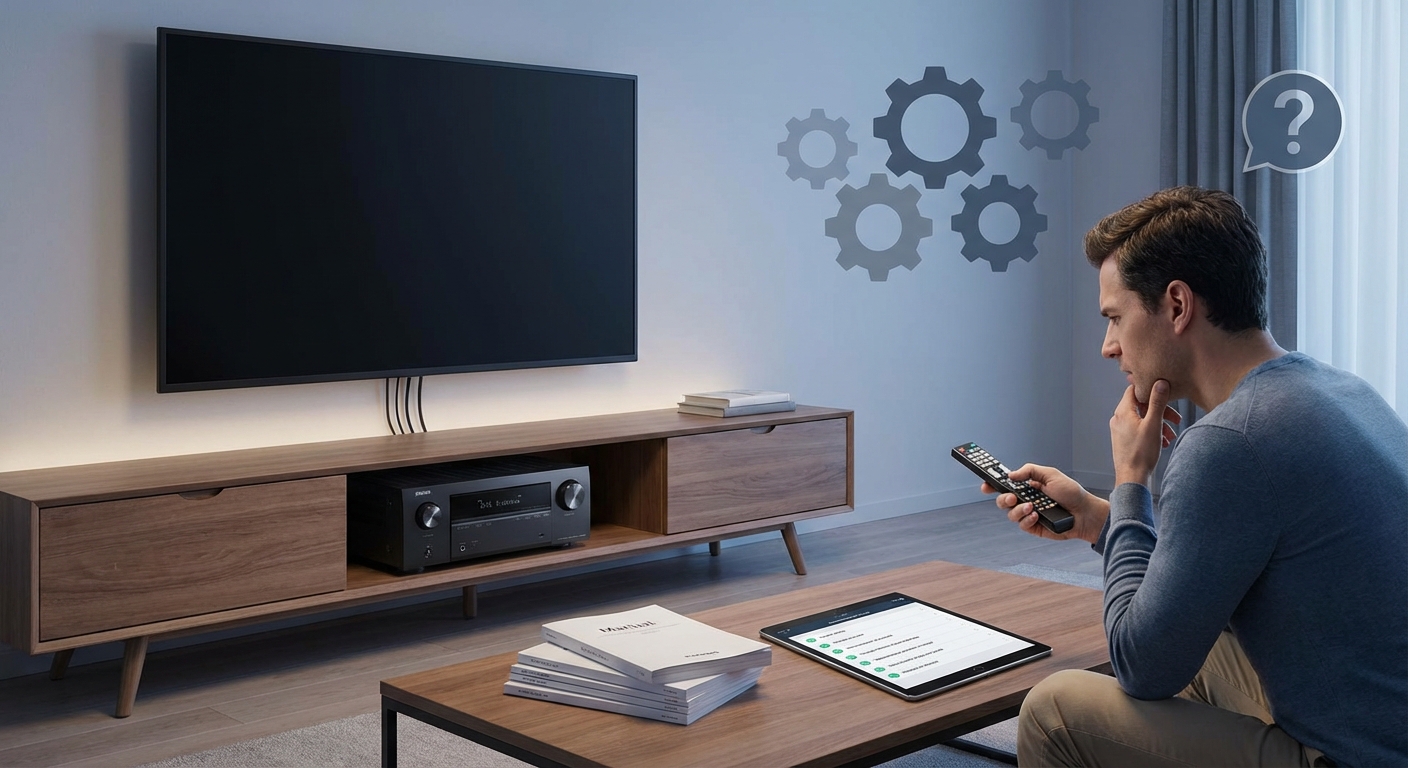
You just bought a new TV and the picture looks off. Colors are too bright, motion looks fake, and movies feel more like soap operas than cinema. The problem isn’t your TV. It’s the factory settings.
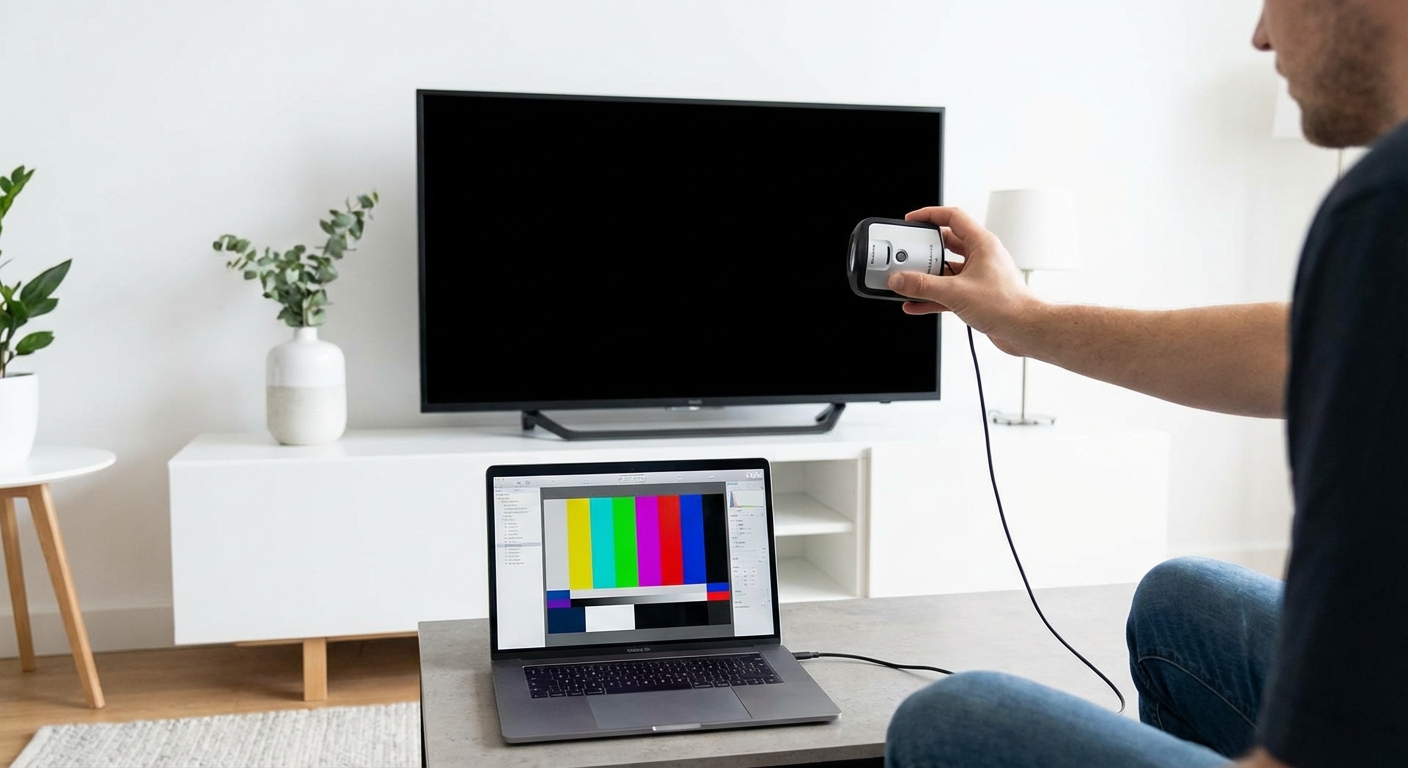
Most TVs ship with settings optimized for showroom floors, not your living room. The good news? You can fix this yourself in about 20 minutes without spending a dime on professional calibration.
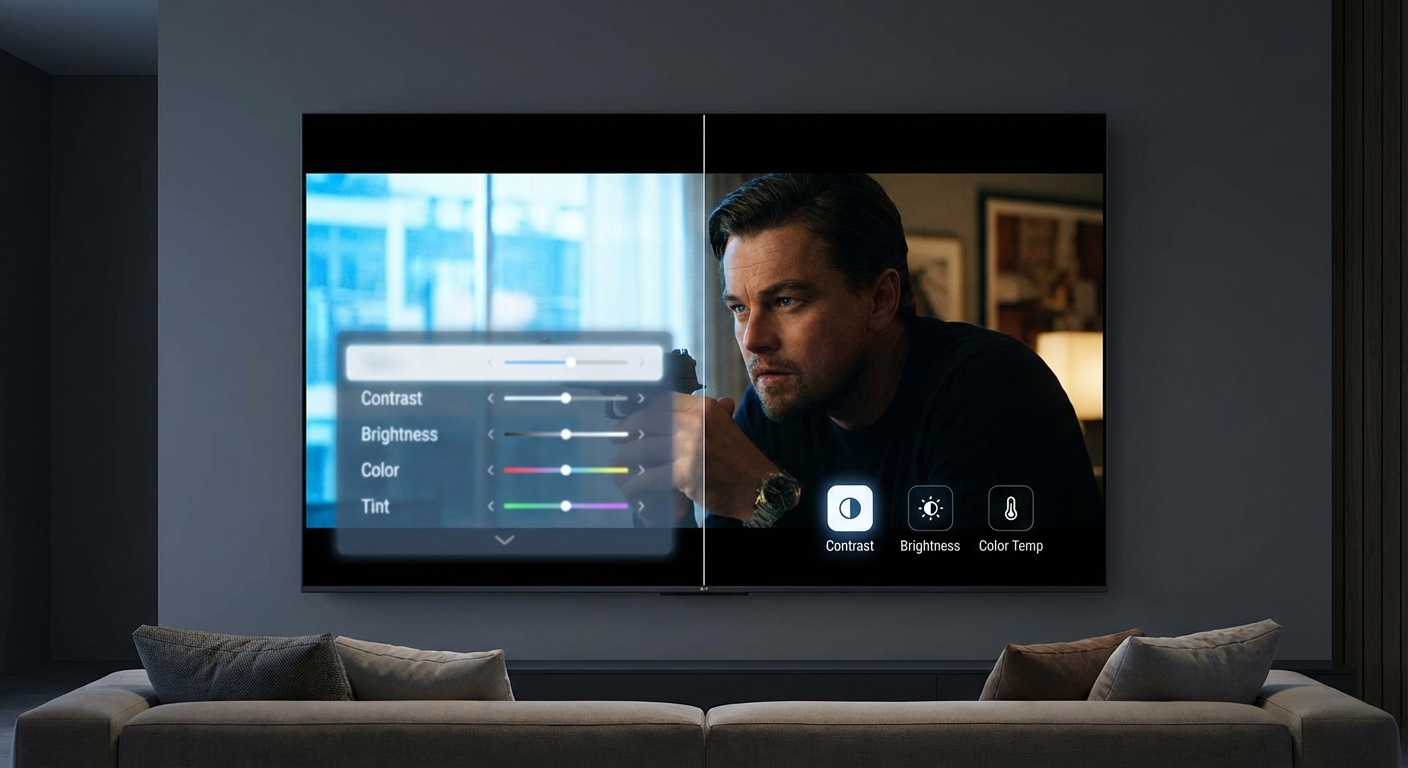
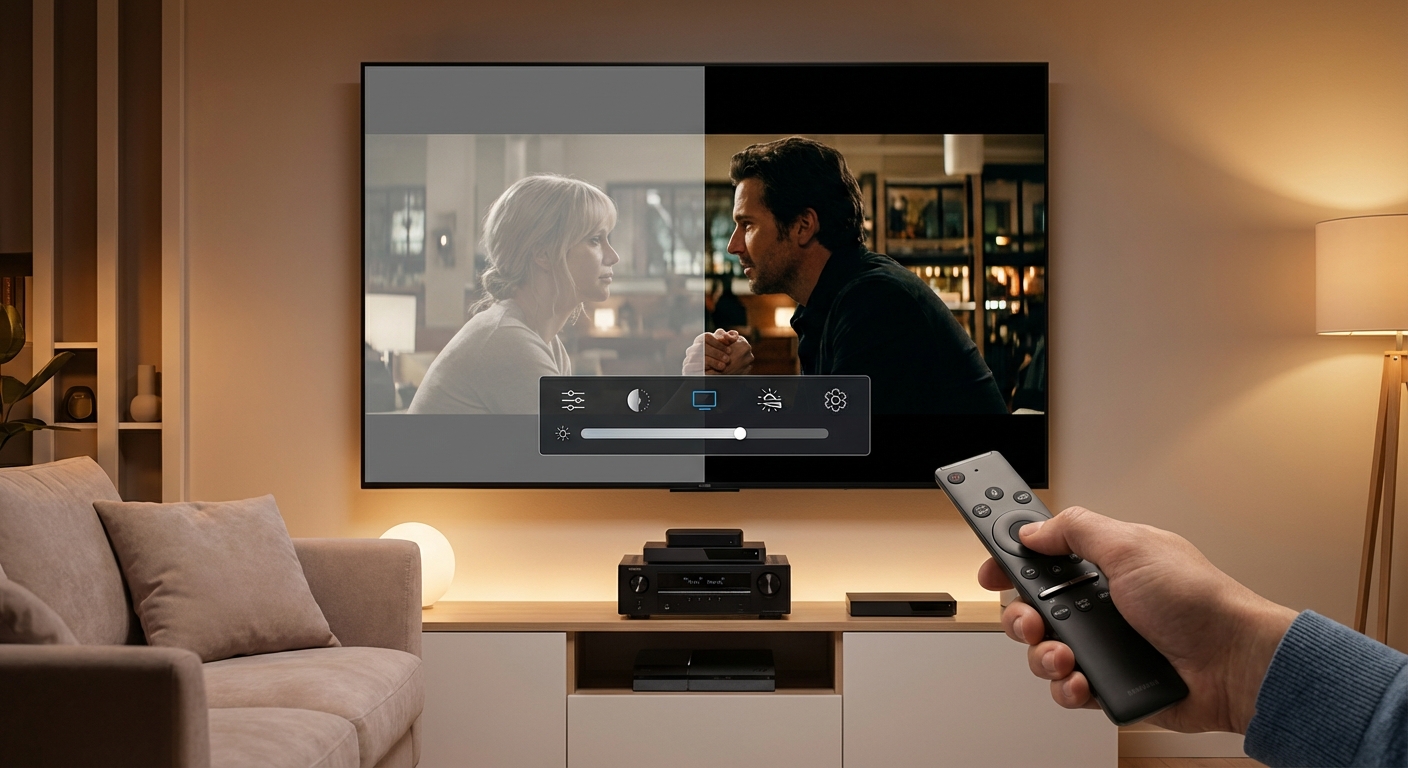
Most TV calibration settings for movies come down to five adjustments: picture mode, motion smoothing, sharpness, color temperature, and HDR settings. Start with Cinema or Filmmaker mode, turn off all motion processing, set sharpness to zero, choose warm color temperature, and enable HDR when watching compatible content. These changes take minutes but transform your viewing experience.
Start With the Right Picture Mode
Your TV’s picture mode is the foundation of everything else. It’s the single most important setting you’ll adjust.
Most TVs come set to Vivid, Dynamic, or Standard mode. These modes boost brightness, oversaturate colors, and crank up contrast to catch your eye in a brightly lit store. They look terrible for movies.
Switch to Cinema, Movie, or Filmmaker mode instead. These modes are calibrated closer to how directors intended their films to look. The picture might seem dim or flat at first because your eyes are used to the overblown factory settings. Give yourself a week to adjust.
Filmmaker mode, if your TV has it, is specifically designed to match theatrical standards. It automatically disables motion smoothing and sets color temperature correctly. This is your best starting point.
“The single biggest improvement most people can make is switching out of Vivid mode. That one change gets you 80% of the way to a properly calibrated picture.” – Professional TV Calibrator
Turn Off Motion Smoothing Immediately
Motion smoothing goes by different names depending on your TV brand. Samsung calls it Auto Motion Plus. LG calls it TruMotion. Sony calls it MotionFlow. Whatever the name, it ruins movies.
This feature creates artificial frames between the real ones to make motion look smoother. It works fine for sports. For movies, it creates the soap opera effect, making films shot at 24 frames per second look like daytime television.
Here’s how to disable it on major brands:
- Samsung: Go to Settings > Picture > Expert Settings > Auto Motion Plus > Turn Off
- LG: Settings > Picture > Advanced Settings > TruMotion > Off
- Sony: Settings > Display & Sound > Motion > Motionflow > Off
- TCL/Roku: Settings > Advanced Picture Settings > Action Smoothing > Off
Some TVs hide this setting under “judder reduction” or “blur reduction.” Turn those off too. You want the original 24 frames per second that the director shot.
If your how to calibrate your TV in 30 minutes without hiring a professional guide didn’t cover motion settings thoroughly, this is your chance to fix it.
Set Sharpness to Zero or Near Zero
TV manufacturers love cranking up sharpness. Higher sharpness makes text pop in store displays. For movies, it adds artificial edge enhancement that wasn’t in the original image.
Set your sharpness control to zero. If that looks too soft, try 5 or 10 maximum.
Sharpness doesn’t actually add detail. It just emphasizes edges by adding a halo effect. This makes fine textures look grainy and can create artifacts around objects. The content already contains all the detail it’s going to have.
Test this with a close-up scene of someone’s face. With high sharpness, you’ll see unnatural halos around their hair and facial features. At zero, those disappear and the image looks more natural.
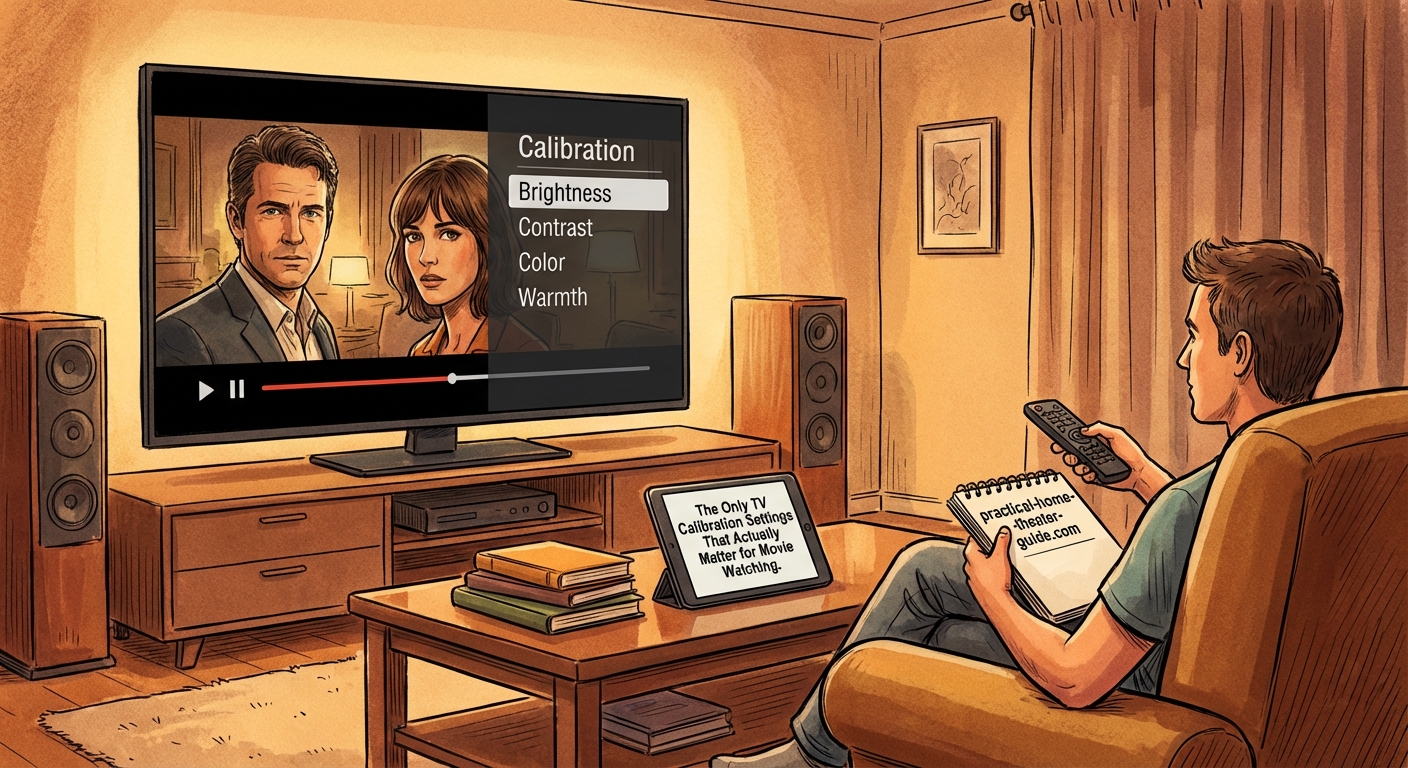
Adjust Color Temperature to Warm

Color temperature controls the overall tint of your picture. Most TVs default to Cool or Normal, which adds a blue tint that makes the picture look brighter and more vivid.
Change this to Warm or Warm2. This setting more accurately represents the 6500K color temperature standard used in film production and mastering.
The warm setting will look orange or yellowish at first. That’s because your eyes adapted to the blue tint. After a day or two of watching, warm will look normal and correct.
If Warm looks too orange even after adjustment, try Warm1 as a compromise. But avoid Cool and Normal settings for movie watching.
Get HDR Settings Right
HDR (High Dynamic Range) content requires different handling than standard dynamic range. Your TV should automatically switch to HDR mode when it detects an HDR signal, but you need to verify the settings.
For HDR content, use these guidelines:
- Keep picture mode on Cinema HDR or Filmmaker HDR if available
- Leave HDR tone mapping on automatic (don’t force it)
- Increase OLED Light or Backlight higher than you would for SDR content
- Don’t adjust brightness or contrast from their defaults in HDR mode
HDR content is mastered differently. The metadata tells your TV how to display each scene. Messing with brightness and contrast can override this information and make the picture worse.
Your TV type matters here. If you’re choosing between display technologies, understanding OLED vs QLED vs Mini-LED options helps you know what HDR performance to expect.
Brightness and Contrast Need Room Lighting Context
Brightness and contrast are the only settings that should change based on your viewing environment. Unlike the settings above, there’s no single correct value.
Brightness (sometimes called Black Level) controls how dark the darkest parts of the image appear. Set it so you can barely see detail in dark scenes without the blacks turning gray.
Use a dark movie scene to test. Lower brightness until black bars around the image are truly black, then raise it slightly until you can see shadow detail in the darkest parts of the scene.
Contrast controls the white level. Set it as high as possible without losing detail in bright objects. A scene with white clouds works well for testing. Turn contrast up until the clouds start to lose texture, then back it off slightly.
These settings depend on room lighting. Bright rooms need higher contrast and brightness than dark rooms. This is why choosing the right TV size for your room distance matters alongside proper calibration.
Settings That Rarely Need Adjustment
Some settings sound important but rarely need changing from their defaults in Cinema mode:
- Color/Saturation: Leave at default unless colors look obviously wrong
- Tint: Almost never needs adjustment on modern TVs
- Gamma: Default is usually correct at 2.2 or 2.4
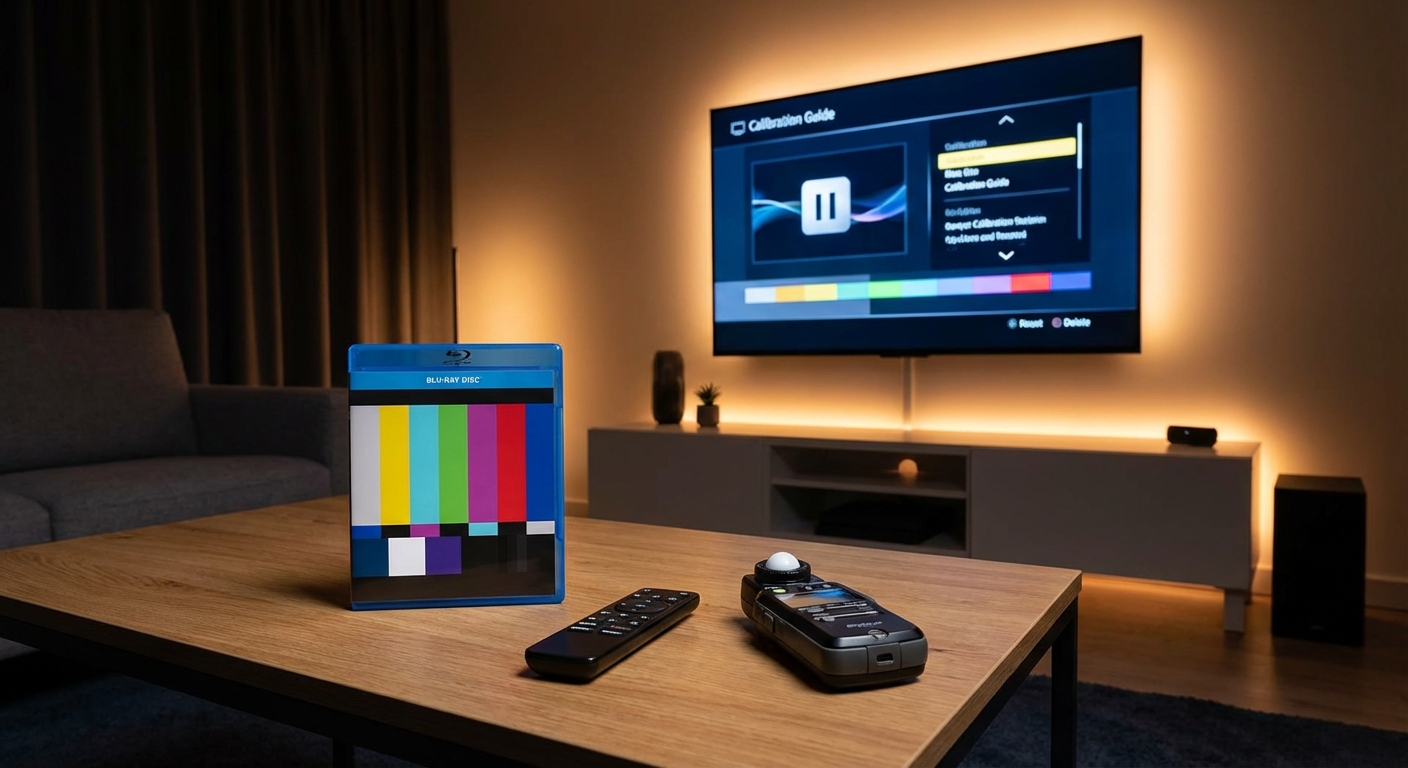
- White Balance: Requires test patterns and a meter to adjust properly
Messing with these without proper tools and test patterns usually makes things worse. The defaults in Cinema mode are typically close enough.
Common Settings Mistakes to Avoid
| Mistake | Why It Hurts | Better Approach |
|---|---|---|
| Leaving motion smoothing on | Creates soap opera effect | Turn off completely for movies |
| Using Vivid or Dynamic mode | Oversaturated, inaccurate colors | Switch to Cinema or Filmmaker mode |
| Maxing out sharpness | Adds artificial halos and grain | Set to zero or very low |
| Cool color temperature | Adds blue tint, looks unnatural | Use Warm or Warm2 setting |
| Adjusting every setting | Creates cascading problems | Change only the five key settings |
| Same settings for all content | Sports and movies need different handling | Use different modes for different content |
Enable Game Mode Only for Gaming
Game mode reduces input lag by bypassing image processing. This is critical for gaming but unnecessary for movies.
Game mode often disables many picture quality features. Some TVs even lock you out of certain adjustments in game mode. Use it for consoles and PCs, but switch back to Cinema mode for movies.
Most modern TVs automatically detect gaming signals and switch modes. Verify this is working correctly so you don’t accidentally watch movies in game mode.
Test Your Settings With Reference Content
After making adjustments, test with content you know well. Pick a movie you’ve seen multiple times on different screens.
Look for these signs your settings are working:
- Skin tones look natural, not orange or pink
- Motion looks smooth but not artificially smoothed
- Dark scenes show shadow detail without gray blacks
- Bright scenes don’t blow out to pure white
- Colors look rich but not cartoonish
Netflix and Disney+ both offer content mastered in HDR that works well for testing. Avoid using TV test patterns unless you know what you’re looking for. Real content reveals problems better than test screens.
When Room Setup Matters More Than Settings
Sometimes the problem isn’t your settings. It’s your room.
Bright windows create glare and wash out the picture. Colored walls reflect onto the screen and shift colors. Poor viewing angles on some TV technologies change the picture depending on where you sit.
No amount of calibration fixes these issues. Consider basic room treatments like curtains for windows or moving the TV away from direct light sources. This matters as much as getting settings right.
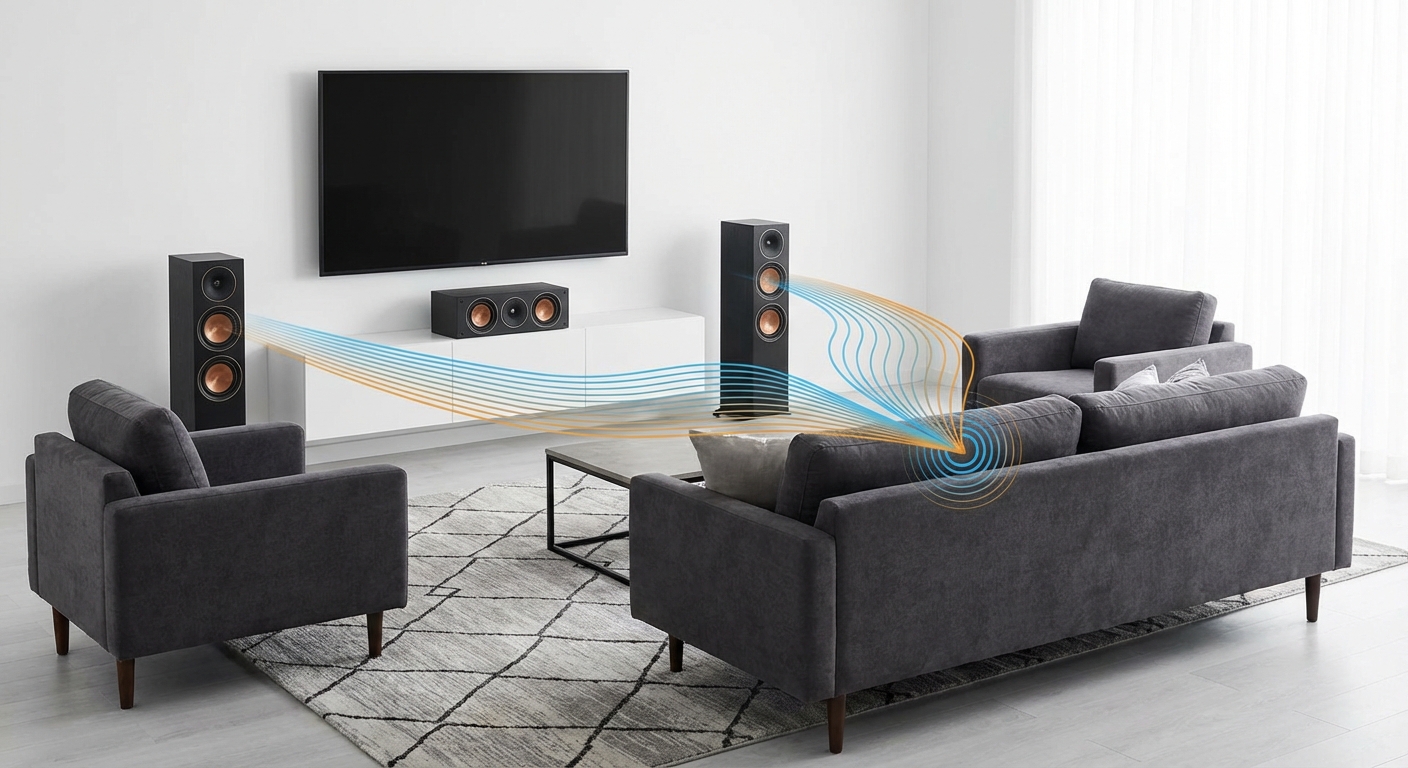
The same thinking applies to audio. Just as picture calibration matters, stopping echo and reverb in your home theater improves the overall experience.
Save Your Settings as a Custom Preset
After you’ve dialed everything in, save your settings. Most TVs let you save custom presets.
Name it something like “Movies Calibrated” so you can easily switch back if someone changes settings. This also lets you maintain separate presets for different content types without starting over each time.
Some TVs reset settings after software updates. Having a saved preset means you can restore your calibration in seconds rather than starting from scratch.
Settings Change With Content Type
The settings covered here optimize for movies specifically. Other content benefits from different approaches.
Sports look better with motion smoothing enabled and slightly higher sharpness. Daytime TV can handle cooler color temperatures. Video games need game mode enabled regardless of picture quality tradeoffs.
Don’t feel locked into one setting profile. Modern TVs make switching between modes easy. Just make sure you know which mode you’re in and why.
Your Display Is Now Set Up for Movies
These five core adjustments transform how movies look on your TV. Picture mode, motion smoothing, sharpness, color temperature, and HDR settings make the biggest difference.
You don’t need expensive calibration equipment or professional help for these changes. The settings are free and take about 20 minutes to adjust. Your TV already has the capability to display movies correctly. You just needed to unlock it by changing a few menu options.
Start with these settings tonight. Pick a movie you love and watch how much better it looks with proper calibration. You’ll wonder why you waited so long to make these simple adjustments.

Leave a Reply