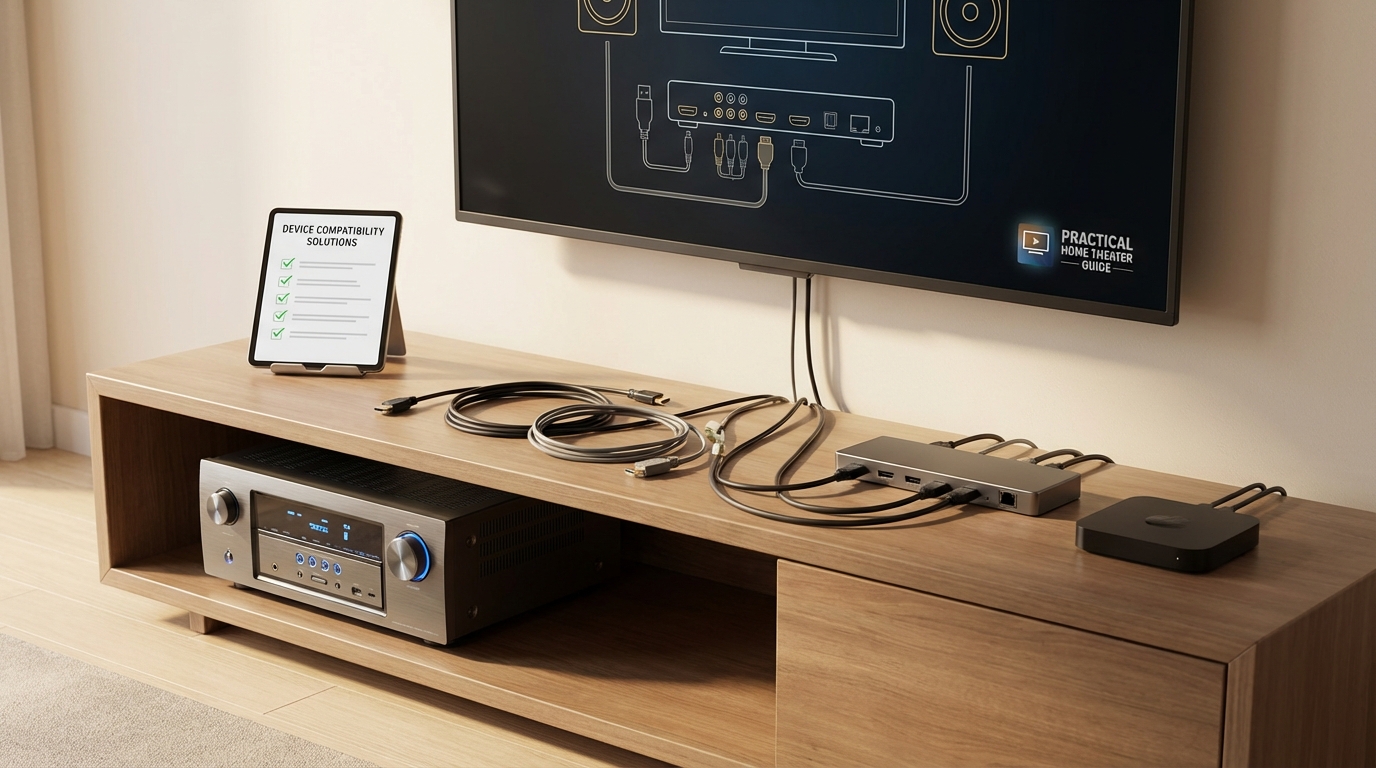
You just bought a PlayStation 5 and a new streaming device, but your AV receiver only has three HDMI inputs and you already have four devices to connect. Or maybe your older receiver won’t pass through 4K HDR signals from your new Apple TV. These problems happen all the time, and they’re frustrating because your receiver works perfectly fine for audio.
When your receiver doesn’t support all devices, you have four main options: use your TV as an HDMI switcher with ARC or eARC for audio, add an external HDMI switch, connect less-used devices directly to your TV, or upgrade specific components instead of replacing everything. Each solution works for different situations and budgets without sacrificing sound quality.
Understanding Why Compatibility Problems Happen
Receivers age differently than other home theater gear. Your ten-year-old receiver might deliver amazing 7.1 surround sound, but it probably doesn’t support HDMI 2.0, HDR, or 4K at 60Hz. Manufacturers release new HDMI standards every few years, and older hardware can’t be upgraded to support them.
The most common problems fall into three categories. You might not have enough HDMI inputs for all your devices. Your receiver might not support the video formats your new devices output. Or your receiver might support the formats but has buggy implementation that causes handshake issues or black screens.
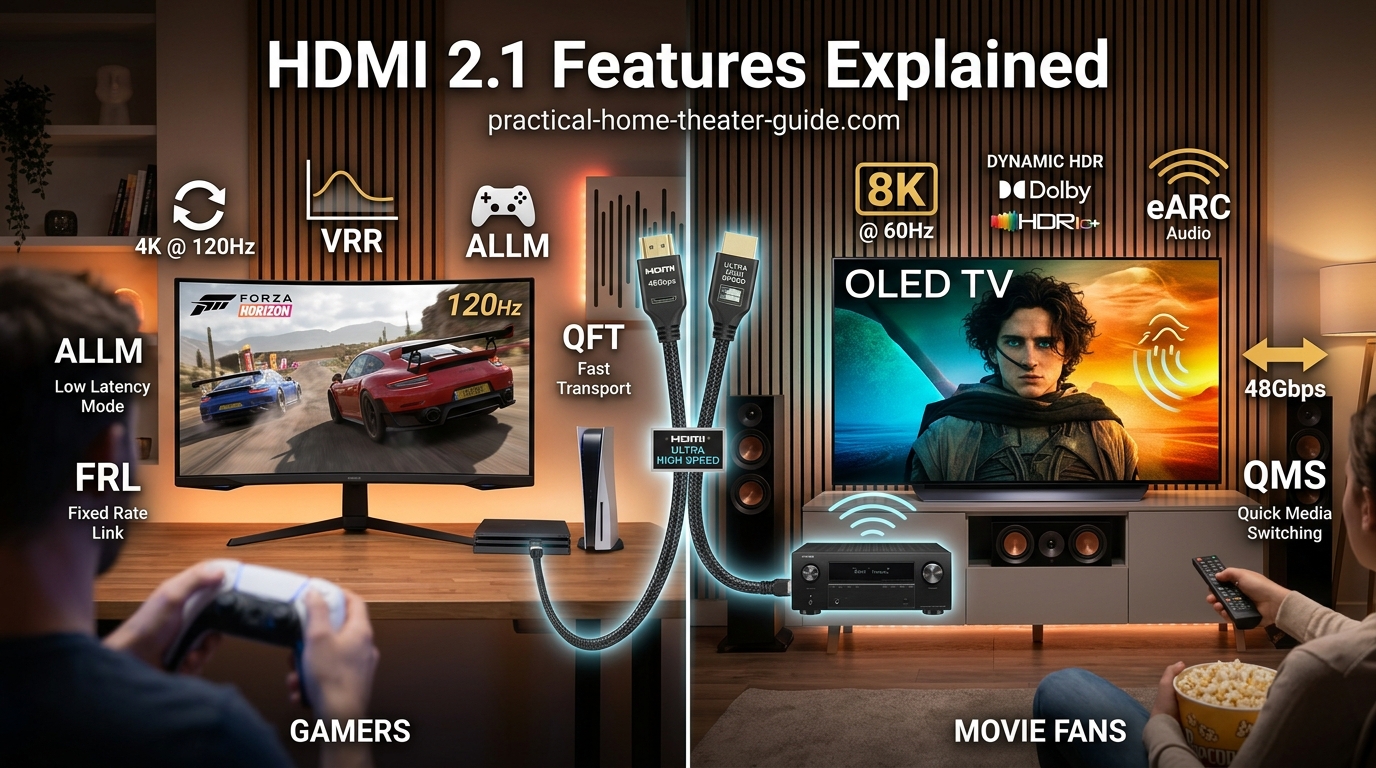
Gaming consoles create the biggest headaches right now. The PlayStation 5 and Xbox Series X need HDMI 2.1 for 4K at 120Hz with variable refresh rate. Most receivers made before 2020 can’t handle these signals. Even some 2020 and 2021 models had firmware bugs that took months to fix.
Streaming devices cause problems too. A Roku Ultra or Apple TV 4K outputs Dolby Vision and HDR10+, but receivers from 2016 or earlier often strip out the HDR metadata or refuse to pass the signal at all.
Using Your TV as the Main HDMI Hub
Modern TVs make excellent HDMI switchers. Most TVs from the past five years have four HDMI inputs and support all current video formats. You can connect all your devices to the TV, then send audio back to your receiver through ARC or eARC.
ARC (Audio Return Channel) lets your TV send audio to your receiver through the same HDMI cable that connects them. You only need one HDMI port on your receiver. The TV handles all video switching and sends 5.1 surround sound back to the receiver for your speakers.
eARC (enhanced Audio Return Channel) works the same way but supports lossless formats like Dolby TrueHD and DTS-HD Master Audio. If you care about the highest audio quality from Blu-rays, you need eARC on both your TV and receiver.
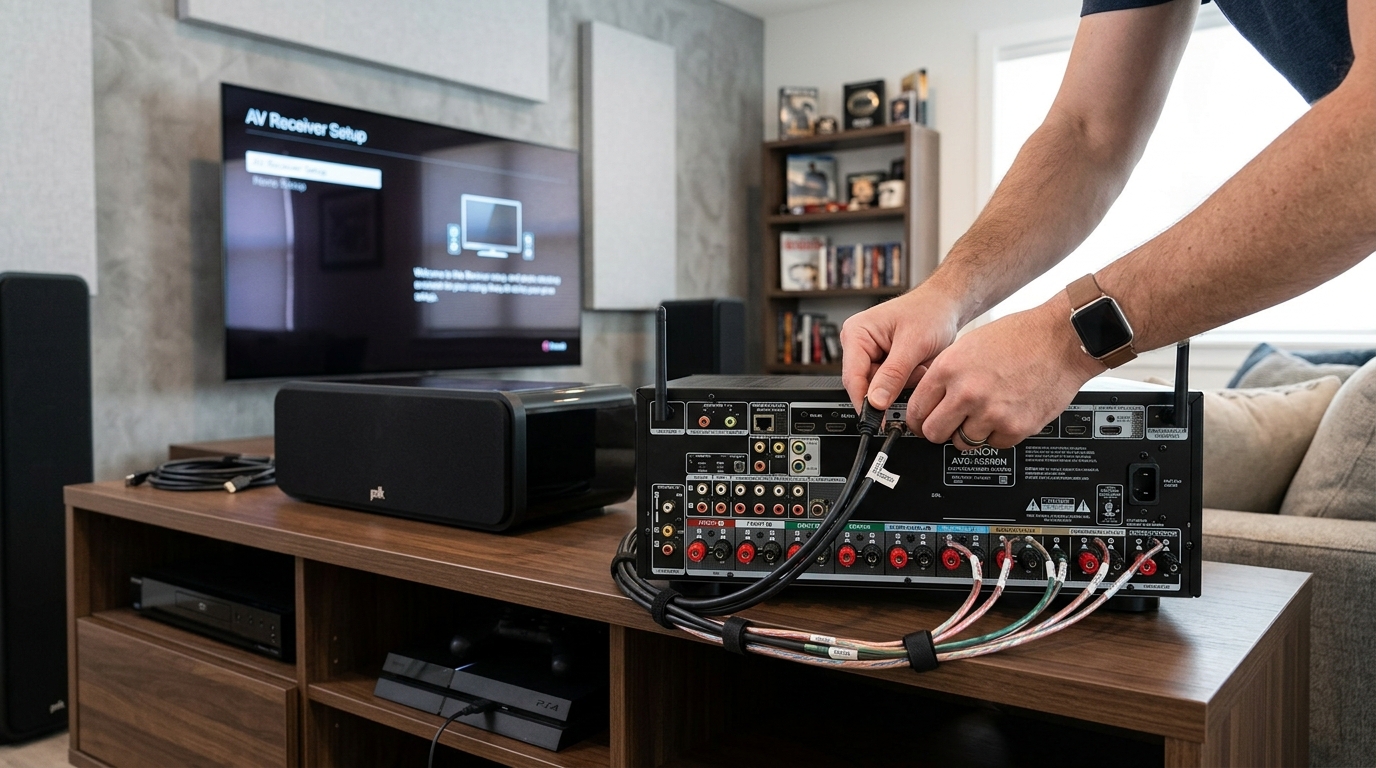
Here’s how to set this up:
- Connect all your devices (gaming consoles, streaming boxes, Blu-ray players) to your TV’s HDMI inputs.
- Find the HDMI port on your TV labeled ARC or eARC (usually HDMI 1 or HDMI 2).
- Connect that TV port to an HDMI output on your receiver using a high-speed HDMI cable.
- Enable CEC (Consumer Electronics Control) on both devices so they can communicate.
- Set your TV’s audio output to external speakers or ARC/eARC mode.
- Set your receiver to the correct HDMI input where the TV is connected.
This setup works great for most people. You use your TV remote to switch between devices. The receiver automatically turns on and switches to the right input. Audio quality stays excellent because modern ARC and eARC implementations have minimal compression.
The main limitation is that ARC (not eARC) compresses lossless audio formats to Dolby Digital or DTS. If you have a large Blu-ray collection and want uncompressed audio, you need eARC support on both devices or a different solution.
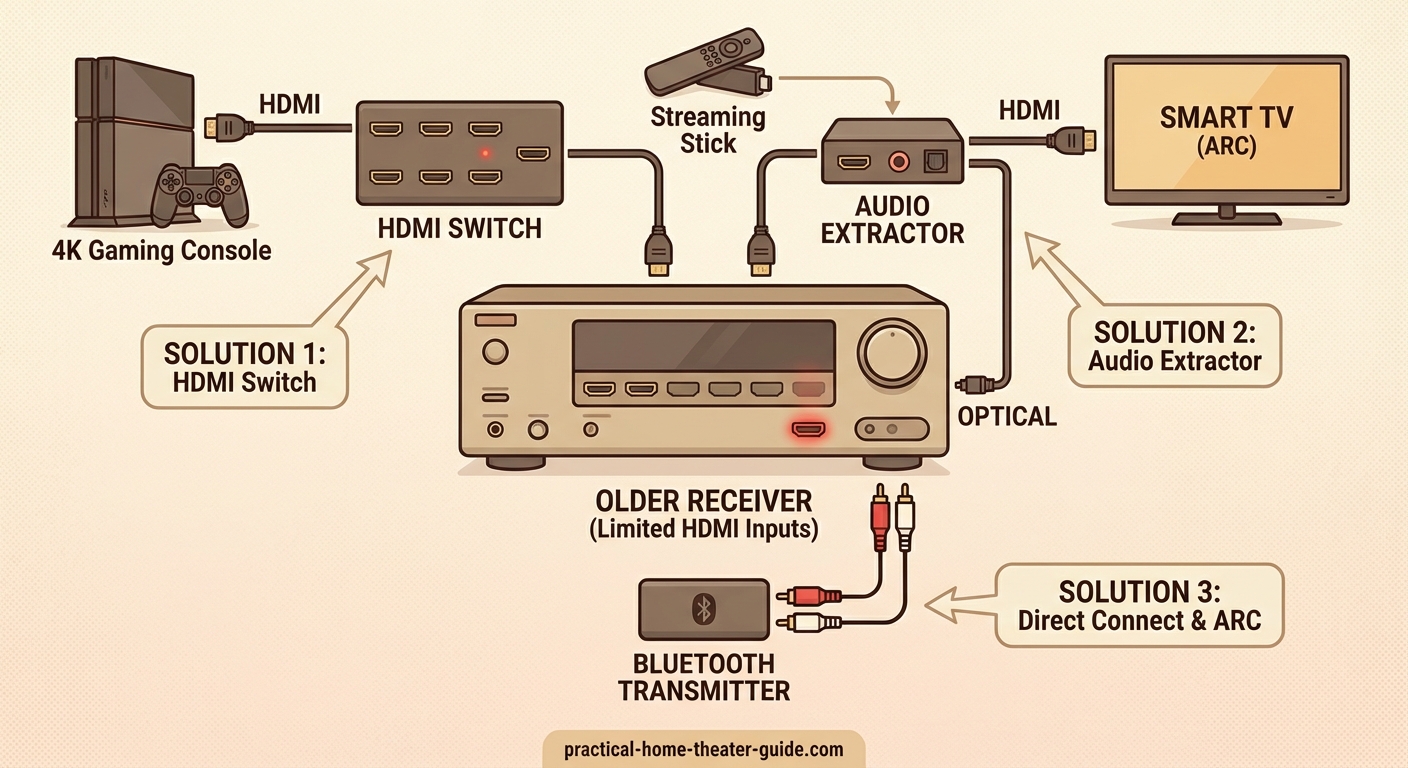
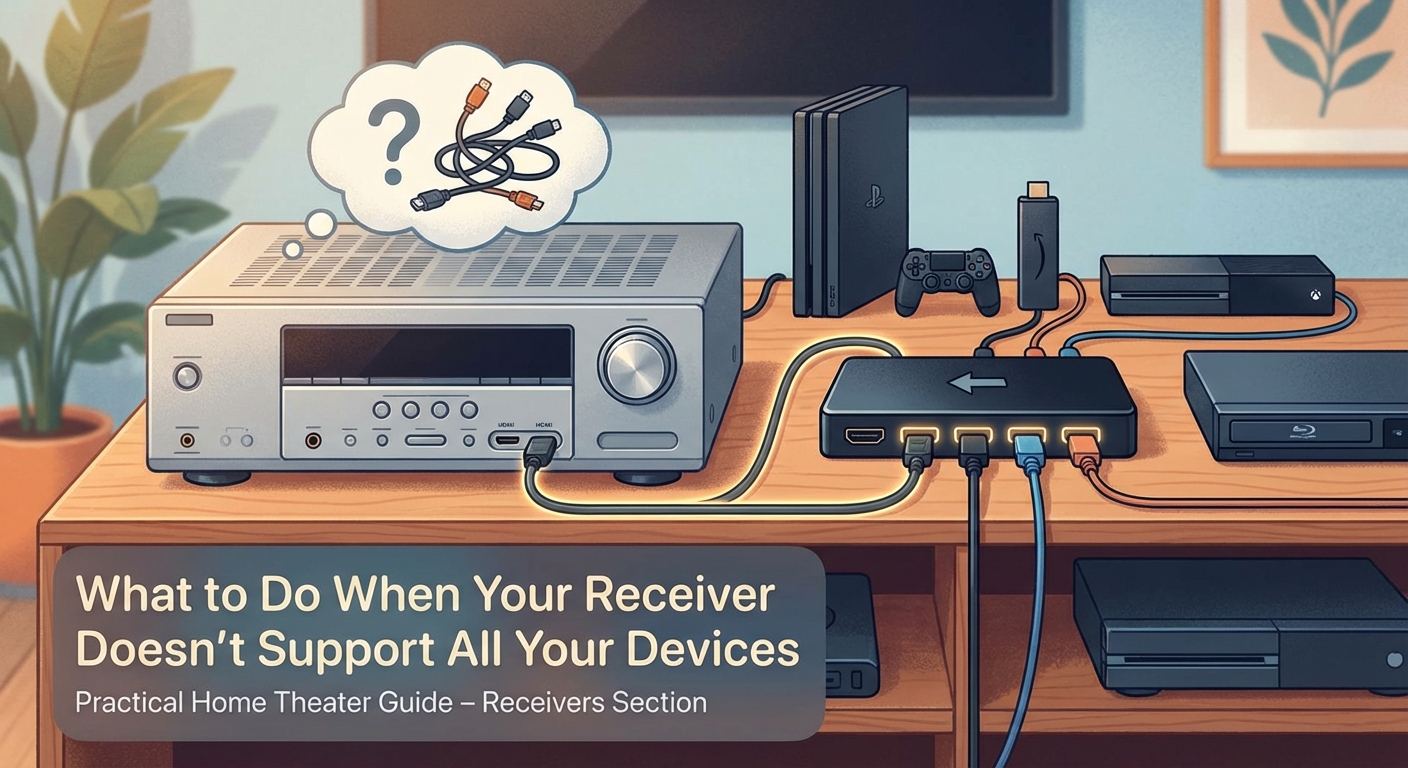
Adding an External HDMI Switch
An HDMI switch sits between your devices and your receiver. It gives you more inputs and can handle newer video formats that your receiver doesn’t support. Good switches cost between $30 and $150 depending on features.
Basic switches just add more inputs. You might have a receiver with three HDMI inputs but own six devices. A four-input switch connects to one receiver input and gives you room for four devices. You use a button or remote to choose which device plays.
Advanced switches solve format compatibility problems. They accept 4K HDR signals from new devices, pass video to your TV, and send audio to your receiver separately. Some models support HDMI 2.1 features like 120Hz gaming and variable refresh rate.
Look for these features when buying a switch:
- Enough inputs for your current devices plus two extras for future gear
- Support for the highest video resolution and refresh rate you need
- Automatic switching that detects which device you turned on
- Audio extraction that sends sound to your receiver through optical or coaxial cable
- A physical remote (app-only controls are annoying)
The best HDMI switches have audio extraction ports. This lets you send 4K HDR video directly to your TV while routing audio to your older receiver through optical or coaxial connections. You get modern video quality without losing surround sound.
Place the switch near your devices, not near your receiver. Long HDMI cables from your switch to the TV work better than long cables from devices to the switch. HDMI signals degrade over distance, especially at 4K and above.
Connecting Devices Strategically
You probably don’t use all your devices equally. Your streaming box gets daily use, but you might only watch Blu-rays once a month. Your gaming console stays off during the work week. This usage pattern opens up a simple solution.
Connect your most-used devices to your receiver for convenient switching. Connect occasional-use devices directly to your TV. You’ll need to change your TV’s input manually for these devices, but that’s fine if you only use them weekly or monthly.
This approach works especially well if you have one or two devices that need features your receiver doesn’t support. Connect your PlayStation 5 directly to the TV to get 120Hz gaming. Connect your Apple TV to the receiver since you use it every day and 60Hz is plenty for streaming.
Some receivers have one or two HDMI inputs that support newer formats while the rest are older. Check your receiver’s manual. You might find that HDMI input 1 supports 4K HDR while inputs 2 through 5 only handle 1080p. Use that special input for your newest device.
Cable management matters here. Label every cable at both ends. Take a photo of your setup before changing anything. You’ll thank yourself later when troubleshooting or adding new gear.
Comparing Your Options Side by Side
Different solutions work better for different situations. This table shows what each approach handles well and where it falls short.
| Solution | Best For | Audio Quality | Video Quality | Cost | Setup Difficulty |
|---|---|---|---|---|---|
| TV as hub with ARC | Most people with modern TVs | Good (compressed) | Excellent | Free | Easy |
| TV as hub with eARC | Audiophiles wanting lossless audio | Excellent | Excellent | Free | Easy |
| External HDMI switch | Adding inputs without format issues | Excellent | Limited by receiver | $30 to $150 | Medium |
| Switch with extraction | Format upgrades and more inputs | Excellent | Excellent | $80 to $200 | Medium |
| Strategic device placement | Occasional compatibility issues | Excellent | Excellent | Free | Easy |
| New receiver | Everything at once | Excellent | Excellent | $400 to $2000 | Hard |
The free solutions (using your TV or strategic placement) should be your first try. They work for about 80% of compatibility problems. Only spend money if these approaches don’t solve your specific issue.
Troubleshooting Common Setup Problems
Things don’t always work on the first try. These are the problems that trip up most people and how to fix them.
No sound comes from your speakers. Check that CEC is enabled on both your TV and receiver. The setting might be called Anynet+, Bravia Sync, or Simplink depending on your TV brand. Also verify your TV’s audio output is set to external speakers, not the TV’s internal speakers.
Audio cuts out randomly. Your HDMI cable might not support the bandwidth you need. Replace it with a certified high-speed or ultra high-speed HDMI cable. Cheap cables work fine at 1080p but fail at 4K, especially over distances longer than six feet.
Video looks washed out or dark. Your receiver might be changing the video signal as it passes through. Look for a setting called “video processing” or “video conversion” and turn it off. You want your receiver to pass video unchanged to your TV.
Devices don’t switch automatically. CEC is finicky and different brands don’t always play nice together. Try turning CEC off and back on. Or disable CEC entirely and just use your receiver’s remote to switch inputs manually. It’s one extra step but it’s reliable.
Dolby Atmos or DTS:X doesn’t work. These formats need eARC, not regular ARC. Check both your TV and receiver specs. If either one only has ARC, you’re limited to 5.1 surround sound. You’ll need an HDMI switch with audio extraction to get object-based audio.
4K works but HDR doesn’t. Enable enhanced or deep color mode on your TV’s HDMI inputs. This setting is usually buried in the TV’s picture or input settings menu. Every HDMI port has its own setting, so enable it on the port connected to your receiver.
Knowing When to Upgrade Your Receiver
Sometimes the workarounds become more trouble than they’re worth. Here are the signs that you should actually replace your receiver instead of working around its limitations.
You need to upgrade if you’re constantly switching cables or changing TV inputs multiple times per day. The convenience of a modern receiver pays for itself in reduced frustration.
You need to upgrade if you want lossless audio from streaming services. Netflix, Apple TV+, and Disney+ now offer Dolby Atmos on many titles. Your older receiver can’t decode these formats, and workarounds don’t help because the audio comes bundled with the video stream.
You need to upgrade if you’re serious about gaming. HDMI 2.1 features like variable refresh rate and auto low latency mode make a noticeable difference. Running your console through an older receiver adds input lag and disables these features even if you connect to a compatible TV.
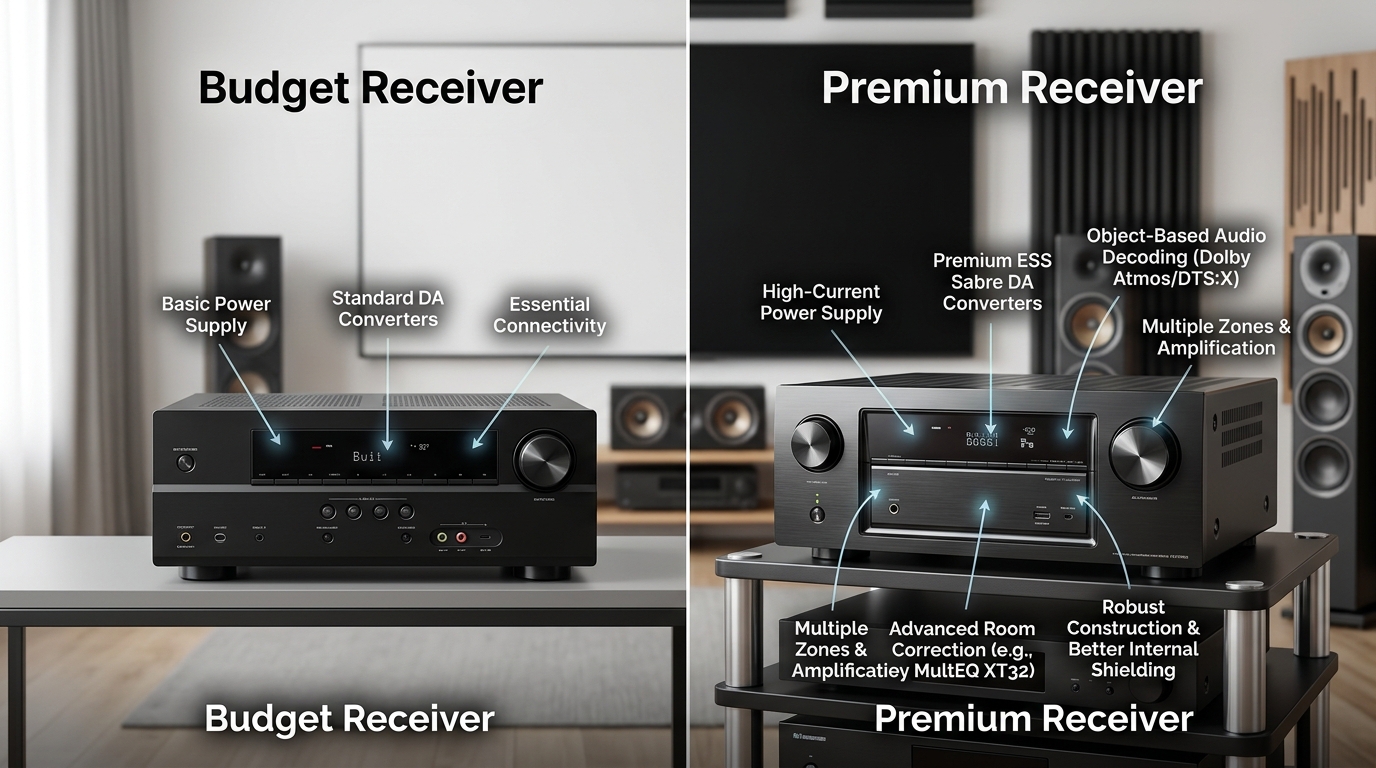
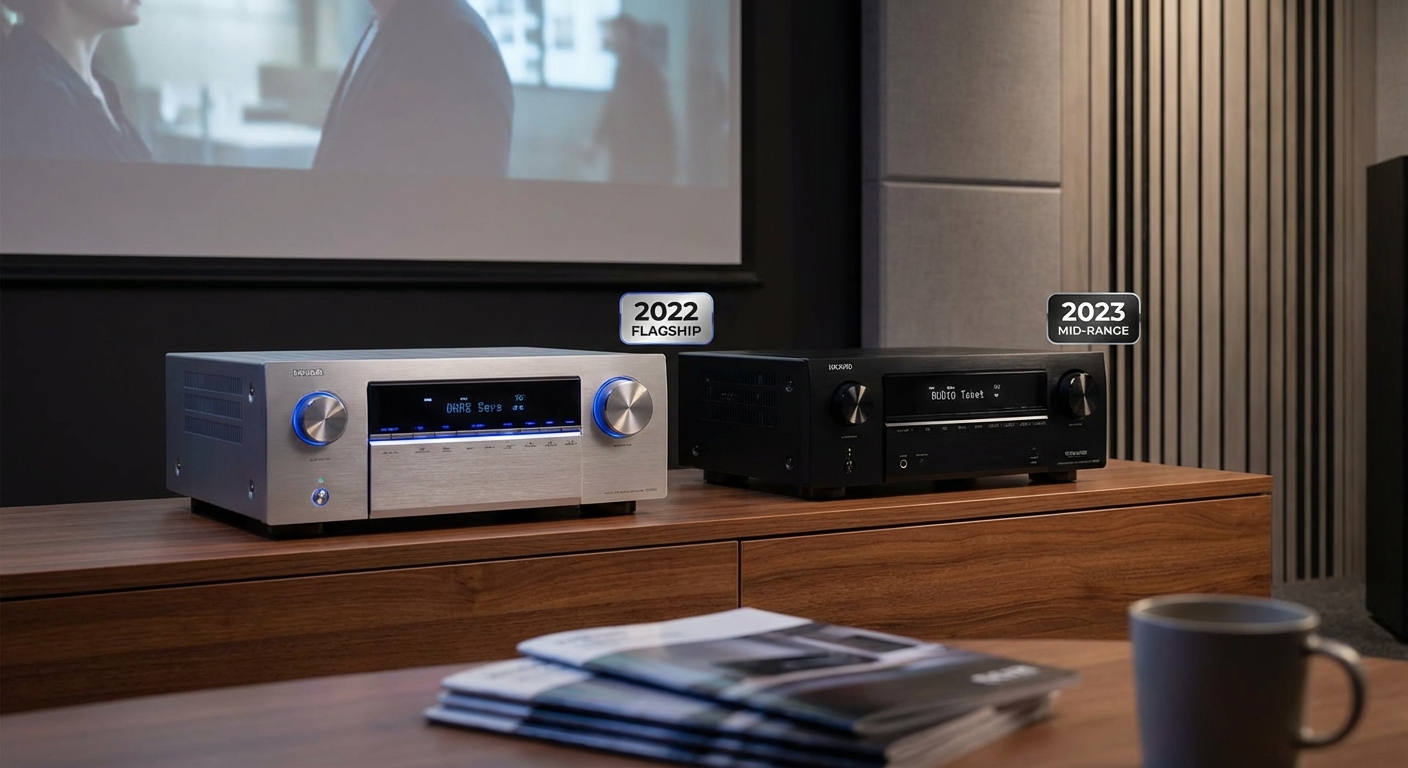
You don’t need to upgrade if your current setup works and you’re happy with it. A receiver from 2015 still delivers fantastic sound. The audio processing and amplification haven’t changed much. You’re only missing video features and newer audio formats that you might not even use.
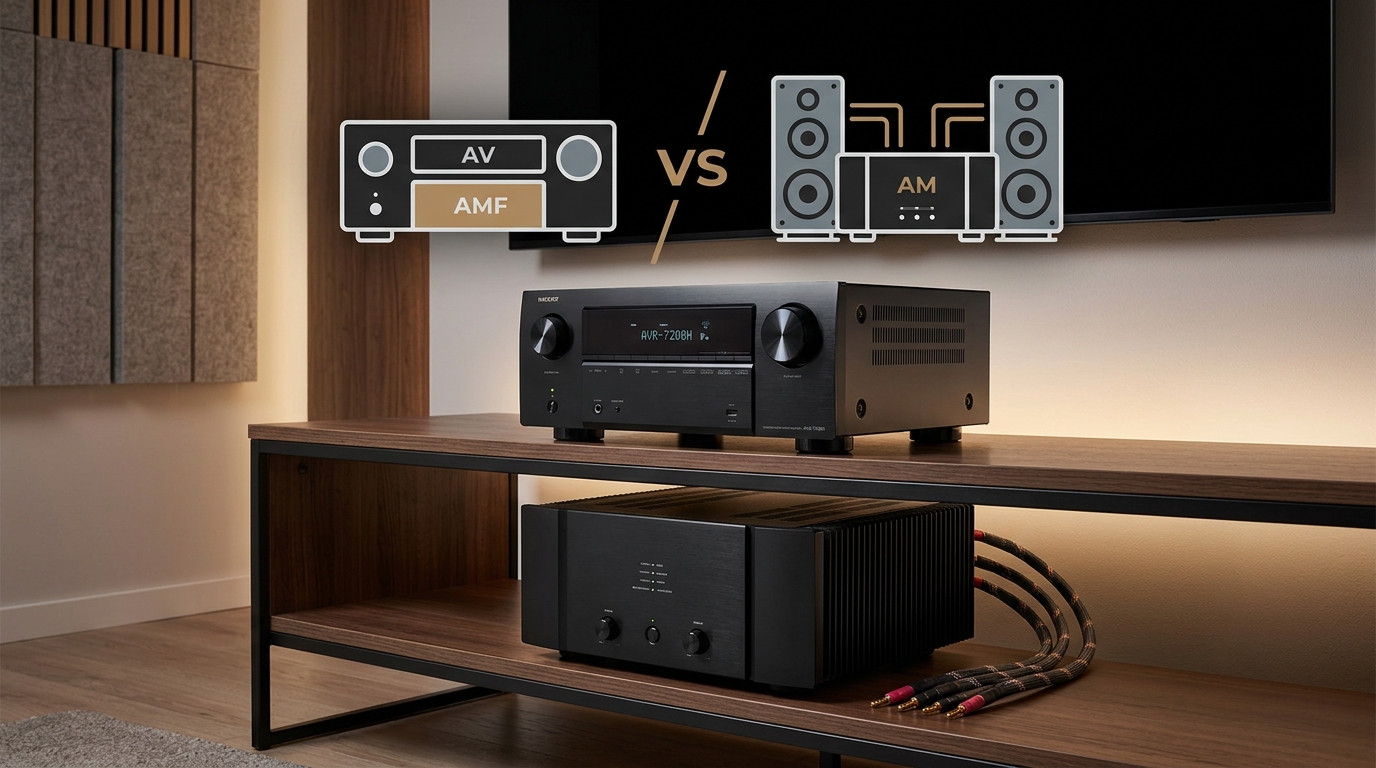
Consider a mid-range receiver rather than a flagship model. The $600 to $900 receivers have all the HDMI features you need. The $2000+ models add more channels and slightly better amplifiers, but the connectivity is the same. Save your money for better speakers instead, since speakers make a bigger difference in sound quality than receiver specs.
Making the Most of What You Have
Your receiver’s audio capabilities probably still exceed what most streaming content and games actually deliver. A receiver from 2012 can decode Dolby TrueHD and DTS-HD Master Audio perfectly. Those formats haven’t been replaced, just supplemented with Atmos and DTS:X height channels.
Most streaming services still max out at Dolby Digital Plus, which any receiver from the past 15 years handles easily. Even “4K” streams from Netflix or Amazon rarely use more than 5.1 channels. The picture got better, but the audio stayed mostly the same.
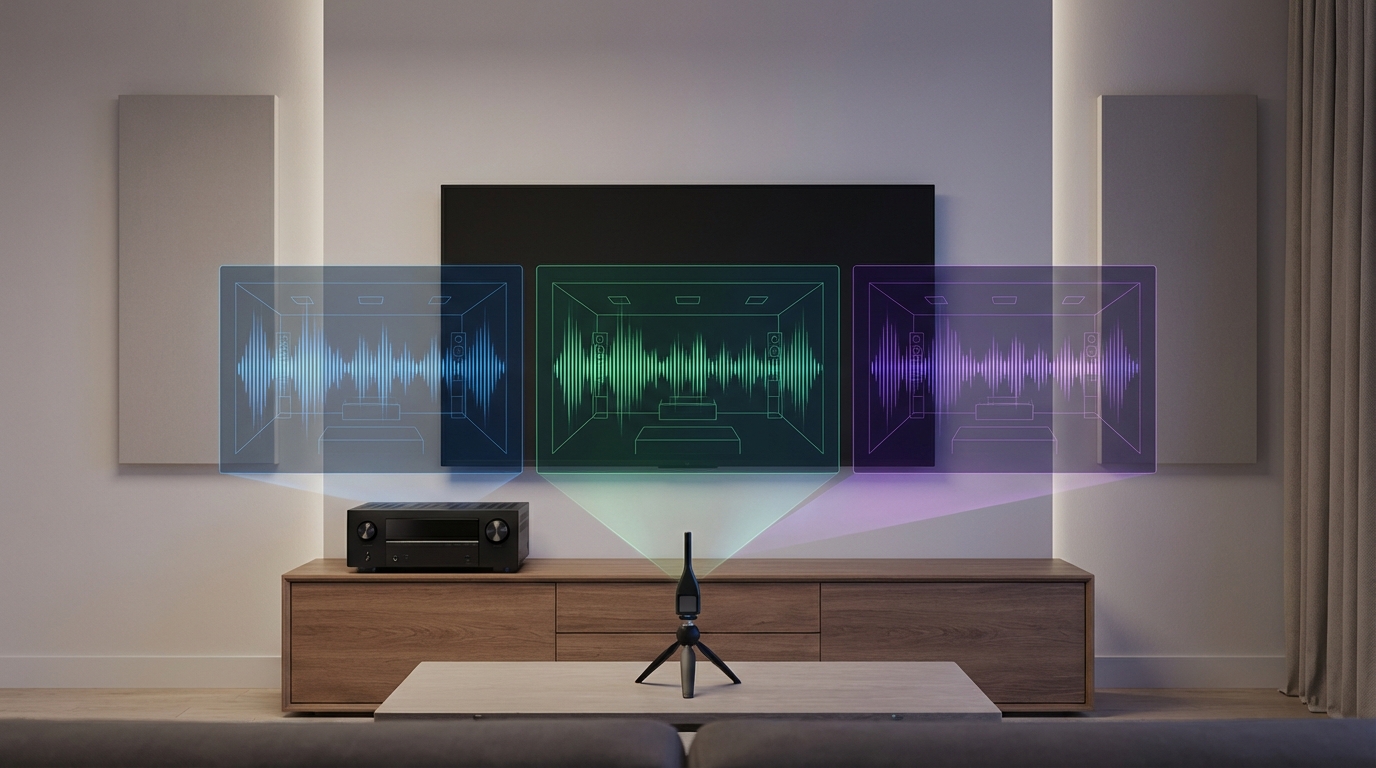
Your receiver likely has features you haven’t tried yet. Many older receivers can decode 24-bit/192kHz audio files through USB or network connections. Some have multi-zone capabilities that let you play different sources in different rooms. Room correction systems like Audyssey or YPAO can dramatically improve your sound with just a 20-minute calibration process.
If you’re happy with your sound quality, the video workarounds described earlier let you keep using your receiver for years. The amplifiers and audio processing don’t wear out. Receivers fail because of HDMI board issues, not because the audio components stop working. Bypassing the problematic HDMI switching actually extends your receiver’s useful life.
Think about your actual usage too. Do you really watch enough Blu-rays to justify the hassle of getting lossless audio? Is 120Hz gaming important enough to you to spend hundreds on a new receiver? Sometimes the honest answer is no, and that’s fine. Your home theater exists to entertain you, not to have the latest specs.
Setting Up Your System for Future Flexibility
Plan for changes even if you’re happy with your current solution. Buy HDMI cables that exceed your current needs. Ultra high-speed HDMI cables that support 8K and 48Gbps cost the same as regular high-speed cables now. They’ll work with whatever you buy next.
Leave yourself room to grow. If you’re buying an HDMI switch, get one with more inputs than you currently need. Adding a switch to your switch gets messy and causes more problems than it solves.
Keep your receiver’s firmware updated. Manufacturers sometimes add support for newer formats or fix compatibility bugs. Check every six months and install updates even if everything works. The next device you buy might need that firmware fix.
Label everything. Use a label maker or just write on masking tape. Mark both ends of every cable with where it goes. Your future self will appreciate this when you’re troubleshooting at midnight because something stopped working.
Document your setup. Take photos of your connections. Write down which device connects to which input. Note any special settings you changed. Keep this information in a note on your phone or in a drawer near your equipment. You’ll forget the details within a month, guaranteed.
Consider your upgrade path now. If you think you’ll eventually want Dolby Atmos, make sure your next TV has eARC. If you might add more devices, buy a receiver with extra HDMI inputs or plan to use your TV as a hub. Small decisions now prevent big headaches later.
Getting Everything Working Together
The frustration of compatibility problems usually comes from expecting everything to work perfectly right away. Home theater gear from different years and different manufacturers needs some coaxing to cooperate. That’s normal and doesn’t mean anything is broken.
Start with the simplest solution first. Try using your TV as an HDMI hub before buying anything. Many people assume they need new gear when their current equipment just needs different connections. Spend an hour trying free solutions before spending money.
Don’t be afraid to mix old and new. Your 2014 receiver can work great with your 2025 TV and 2026 gaming console. The audio quality doesn’t suffer just because the receiver is older. You’re just routing signals differently than the manufacturer originally intended.
Remember that perfect is the enemy of good. Maybe you have to change your TV input manually for one device. Maybe you lose lossless audio on Blu-rays but keep it for everything else. These compromises let you keep using gear that still works instead of throwing it away because of one incompatibility.
Your home theater should make your life better, not more complicated. If a workaround becomes annoying, change it. If manually switching inputs bothers you more than spending $600, buy a new receiver. The right solution is the one that matches your priorities and budget, not what someone on the internet says you should do.


Leave a Reply