
You just spent hours positioning your new tower speakers. You carefully ran the cables behind the entertainment center. You fired up your favorite movie and sat back expecting audio bliss. Instead, the dialogue sounds hollow. The bass is weak. There is a faint hum you cannot ignore. Before you blame your receiver or speakers, take a closer look at the wires. Speaker wire mistakes are one of the most overlooked reasons for poor sound quality, and they are incredibly fixable. Let us walk through the seven most common errors people make and show you exactly how to correct each one.
Your speaker wire is the highway between your amplifier and speakers. If that highway has potholes, sharp turns, or narrow lanes, your audio suffers. The seven mistakes we cover range from using the wrong gauge to ignoring polarity. Fix these and you will unlock the full potential of your system without spending a dime on new gear.
Why Speaker Wire Quality Matters More Than You Think
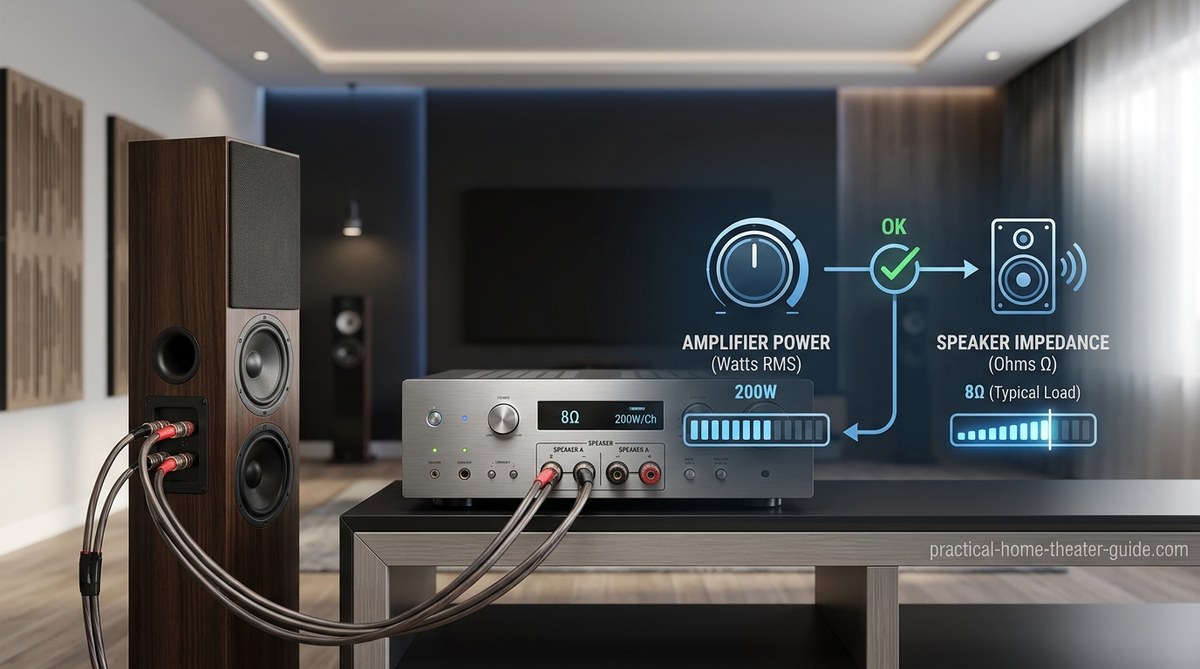
A common myth is that all speaker wire sounds the same. That is not true. The wire must deliver clean electrical current from your amplifier to the speaker drivers. Resistance, capacitance, and inductance all play a role. When the wire is undersized, corroded, or improperly terminated, it alters the signal. High frequencies get attenuated. Bass becomes loose. The soundstage collapses. Even a simple issue like reversed polarity can cancel out entire channels.
Your speakers and receiver may be perfectly matched, but bad wiring acts like a clogged fuel line. Your system cannot perform as designed. The good news is that correcting these mistakes does not require expensive gear. It just requires a little knowledge and a few minutes of your time.
Mistake 1: Using the Wrong Wire Gauge
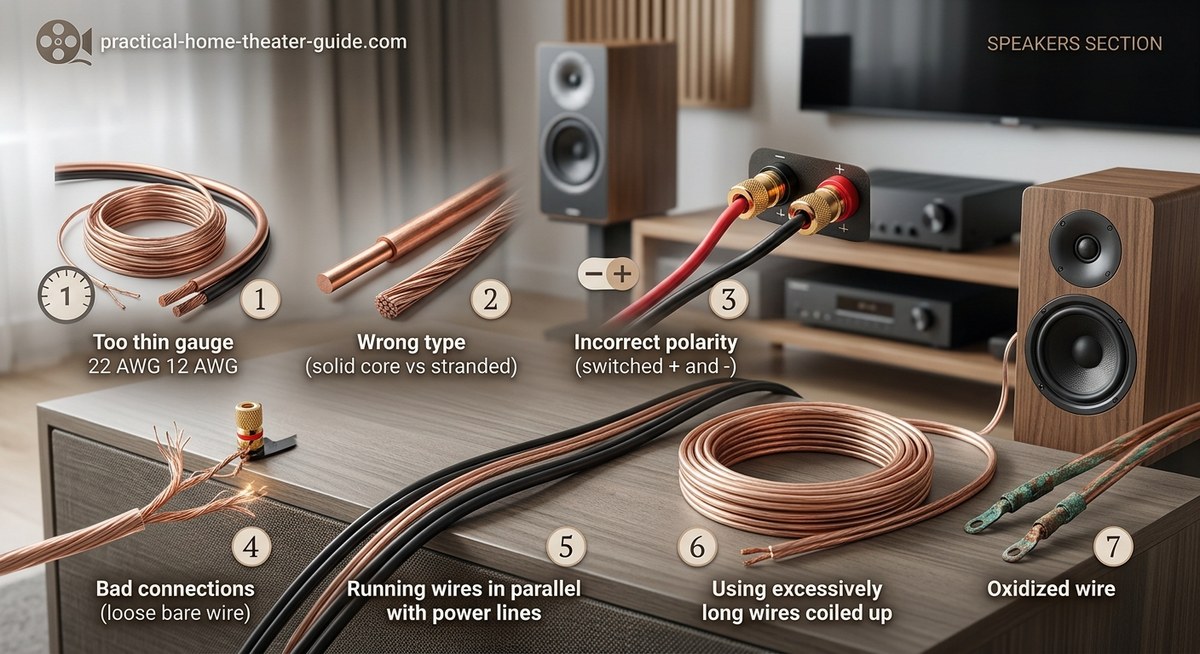
Wire gauge refers to the thickness of the copper conductor. Thicker wire (lower AWG number) has less resistance. Thinner wire (higher AWG number) has more resistance. For home theater, 16 AWG is the bare minimum for runs under 50 feet. For longer runs or low impedance speakers (4 ohms), you need 14 AWG or even 12 AWG.
Many beginners grab the cheapest 18 AWG wire from the hardware store. That works for table lamps but not for power hungry speakers. The result is reduced volume, especially in the low end, and potential overheating of the amplifier.
If your speakers sound strained or your receiver runs hot, check the gauge. Look for the AWG number printed on the jacket. If it is 18 or higher, upgrade to at least 16 AWG for short runs and 14 AWG for longer distances.
Mistake 2: Mixing Copper and Aluminum (CCA Wire)
Copper clad aluminum (CCA) wire looks like copper but is mostly aluminum with a thin copper coating. It costs less but has higher resistance and is more brittle. Over time, corrosion can form at the connection points, causing intermittent sound or total failure.
Pure copper wire (often called OFC, oxygen free copper) conducts electricity much better. The difference is audible in longer runs. If you have CCA wire installed, consider replacing it with solid or stranded pure copper. The small upfront savings are not worth the long term hassle.
Mistake 3: Leaving Connections Loose or Unprotected
A loose connection creates intermittent contact. You might hear crackling, popping, or the sound cutting out, especially when the speaker cone moves. Even a slightly loose terminal increases resistance, robbing your system of power.
Use banana plugs or spade connectors for a secure, repeatable connection. Bare wire works fine if you twist the strands tightly and tighten the binding post firmly. But over time, strands can break off or oxidize. Connectors prevent that.
Another issue is leaving bare wire exposed where it can touch the other terminal. That causes a short circuit and can damage your amplifier. Always trim excess strands and ensure no stray copper touches the adjacent post.
Mistake 4: Running Speaker Wire Parallel to Power Cables
This is a classic mistake in home theater setups. When you run speaker wire alongside power cables (extension cords, lamp cords, in wall wiring), electromagnetic interference can couple into the audio signal. The result is a low level hum or buzz, especially noticeable during quiet scenes.
The fix is simple: cross power cables at 90 degrees if they must intersect. For parallel runs, keep at least 12 inches of separation. If you are running wire through walls, use CL2 or CL3 rated cable and avoid routing it in the same conduit as electrical lines.
If you already have a hum, try rerouting the speaker wires away from power sources. In many cases, that alone eliminates the noise.
Mistake 5: Using Cables That Are Too Long
Longer cables add resistance and can pick up more noise. While the difference between a 10 foot run and a 50 foot run is minor for 14 AWG copper, excessive length becomes a problem with thin wire or CCA material.
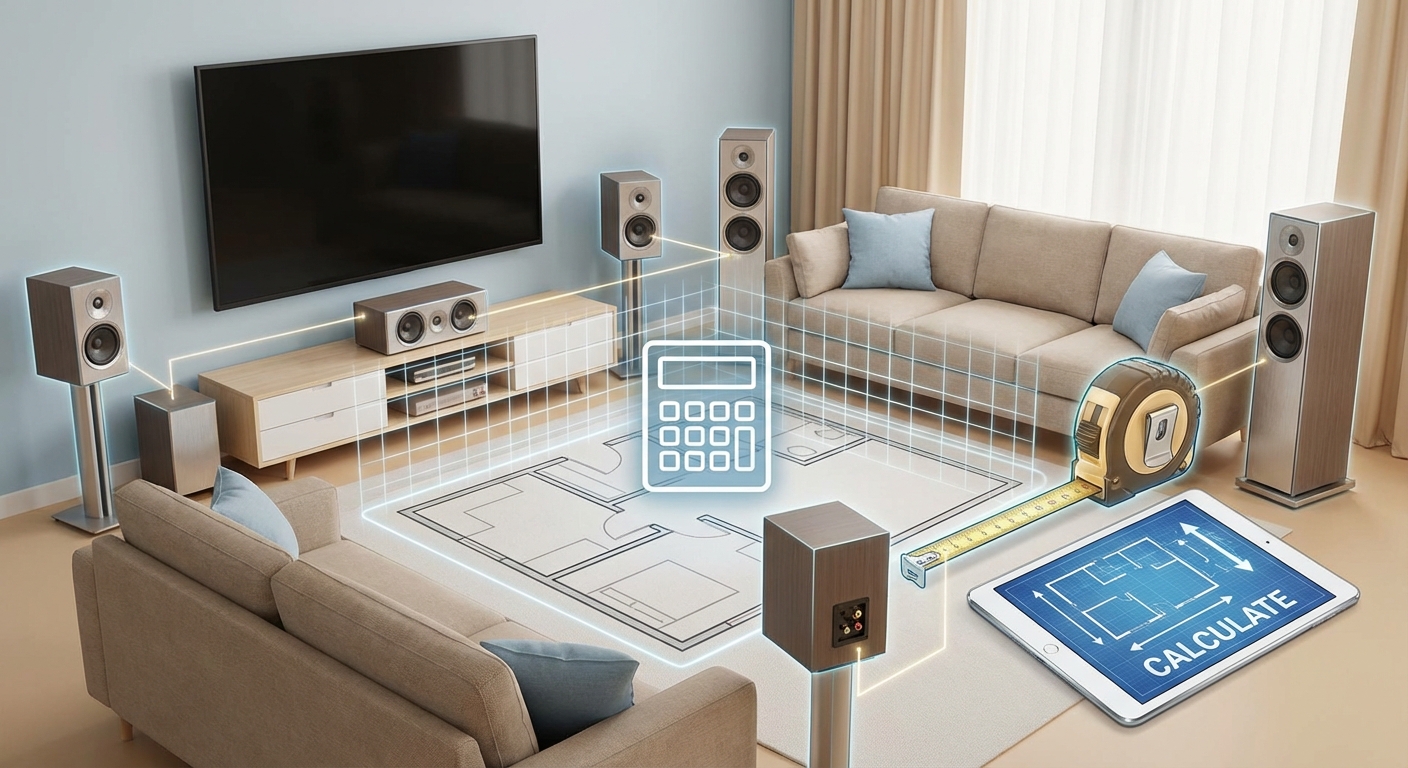
Measure the actual distance from your receiver to each speaker, then add a foot or two for slack. Do not buy 100 foot spools and leave huge coils behind the entertainment stand. Those coils act as inductors and can degrade high frequency response. Trim the excess or bundle it loosely in a figure eight pattern.
For runs over 50 feet, always use 14 AWG or thicker. For longer than 80 feet, consider 12 AWG. If you need to run wire through walls, see our guide on how to run speaker wire through walls without damaging your home.
Mistake 6: Forgetting Polarity (Out of Phase)
One of the most common yet easily fixed mistakes is connecting the positive terminal on the amplifier to the negative terminal on the speaker. This puts the speaker out of phase. The result is a thin, disembodied sound with poor bass. In a surround system, out of phase speakers cancel each other out, making the soundstage feel collapsed.
Check the markings on your wire. Most speaker wire has a stripe, a ridge, or text on one conductor. Use that as the positive lead. Make sure both speakers are connected the same way. A test tone or polarity checker can confirm.
If you suspect phase issues, try swapping the wires on one speaker and listen for a change. The bass should become fuller and the center image more solid.
Mistake 7: Using Damaged or Corroded Wire
Speaker wire can degrade over time, especially in humid basements or near windows. Corrosion on the copper increases resistance and can cause distortion. Also, kinks or nicks in the insulation can create a short.
Inspect your wires regularly. If you see greenish oxidation at the ends, cut off the affected section and strip fresh copper. If the insulation is cracked or brittle, replace the entire run. Do not try to patch it with electrical tape, as that can introduce hum later.
For a clean, professional look, consider how to label and organize your home theater cables like a pro.
Speaker Wire Mistakes at a Glance
| Mistake | Symptom | Fix |
|---|---|---|
| Wrong gauge (too thin) | Weak bass, low volume, amplifier overheating | Use 16 AWG minimum; 14 AWG for long runs |
| CCA wire instead of pure copper | Higher resistance, corrosion over time | Replace with OFC pure copper wire |
| Loose connections | Crackling, intermittent sound, power loss | Use banana plugs or tighten bare wire securely |
| Parallel to power cables | Hum, buzz, RF interference | Separate by 12 inches; cross at 90 degrees |
| Excess cable length | Increased resistance, possible noise | Trim to needed length; avoid coils |
| Reversed polarity | Thin sound, poor bass, collapsed soundstage | Verify positive/negative on both ends |
| Damaged or corroded wire | Distortion, intermittent connection | Cut off damaged ends or replace run |
How to Check Your Wiring in Five Minutes
- Turn off your receiver and disconnect one speaker at a time.
- Inspect each wire end for corrosion, broken strands, or loose terminations.
- Use a multimeter to measure resistance from one end to the other. A good 10 foot run of 16 AWG should read under 0.1 ohms.
- Verify polarity by looking for the marked conductor. If unsure, use a 1.5V battery to pop the cone (positive battery terminal to positive wire causes the cone to move outward).
- Reconnect and listen for improvement.
Expert Advice: When to Call It a Day
"I have seen systems with thousands of dollars of speakers sound terrible because someone used leftover lamp cord. Upgrade your wire before you upgrade anything else. It is the cheapest tweak you will ever make." - Jason P., home theater installer with 15 years experience
Getting the Most From Your Setup
Fixing these seven common speaker wire mistakes can transform your listening experience. You do not need to spend big money. A roll of 14 AWG pure copper wire and a set of banana plugs costs less than a dinner out. Yet the payoff is cleaner highs, tighter bass, and a wider soundstage.
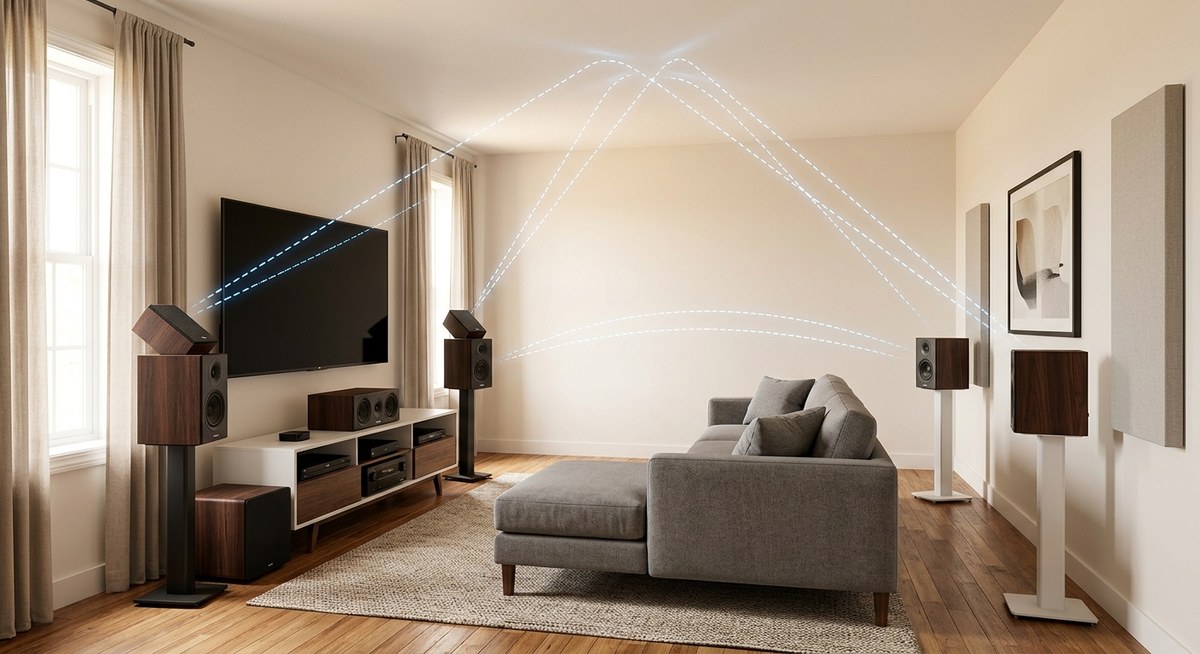
Once your wiring is solid, consider other aspects of your system. Check your speaker placement with guides like how to position your center channel speaker for crystal clear dialogue or the complete guide to atmos height speaker placement in real rooms. And if you are still troubleshooting, our complete beginner's guide to connecting your AV receiver can help.
Your Sound Is Worth the Effort
Do not let a few feet of wire undermine months of research and hard earned savings. Grab a screwdriver, inspect your connections, and make the small corrections we outlined. Your ears will thank you. Trust the process, and enjoy the clarity you paid for.

Leave a Reply