
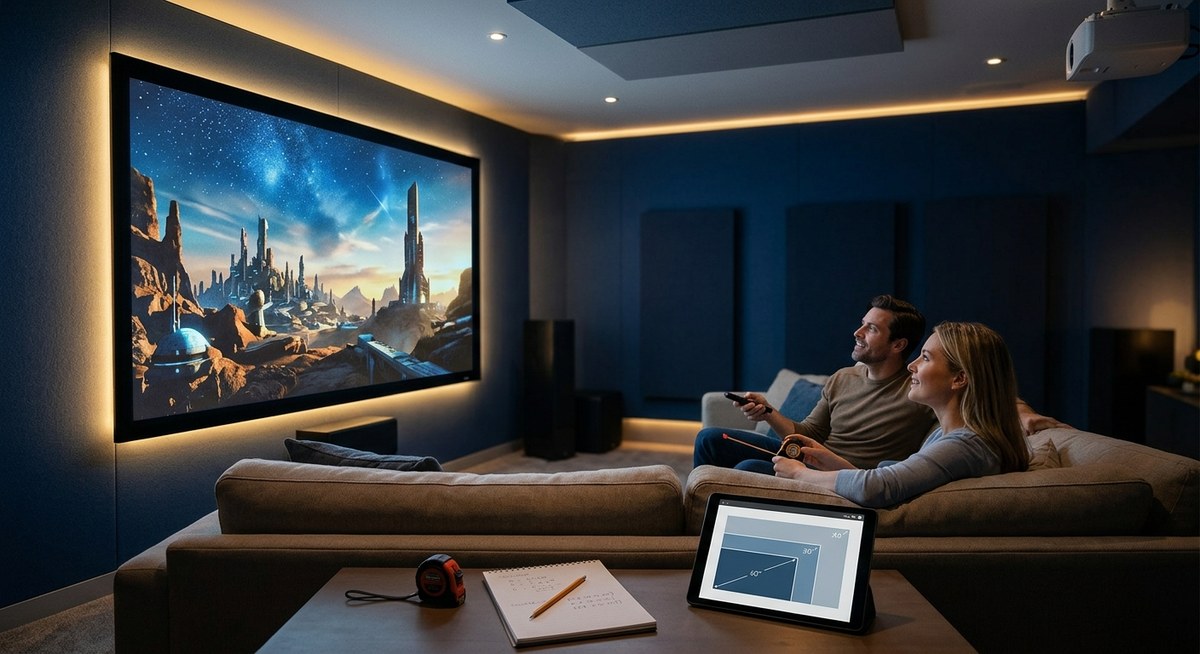
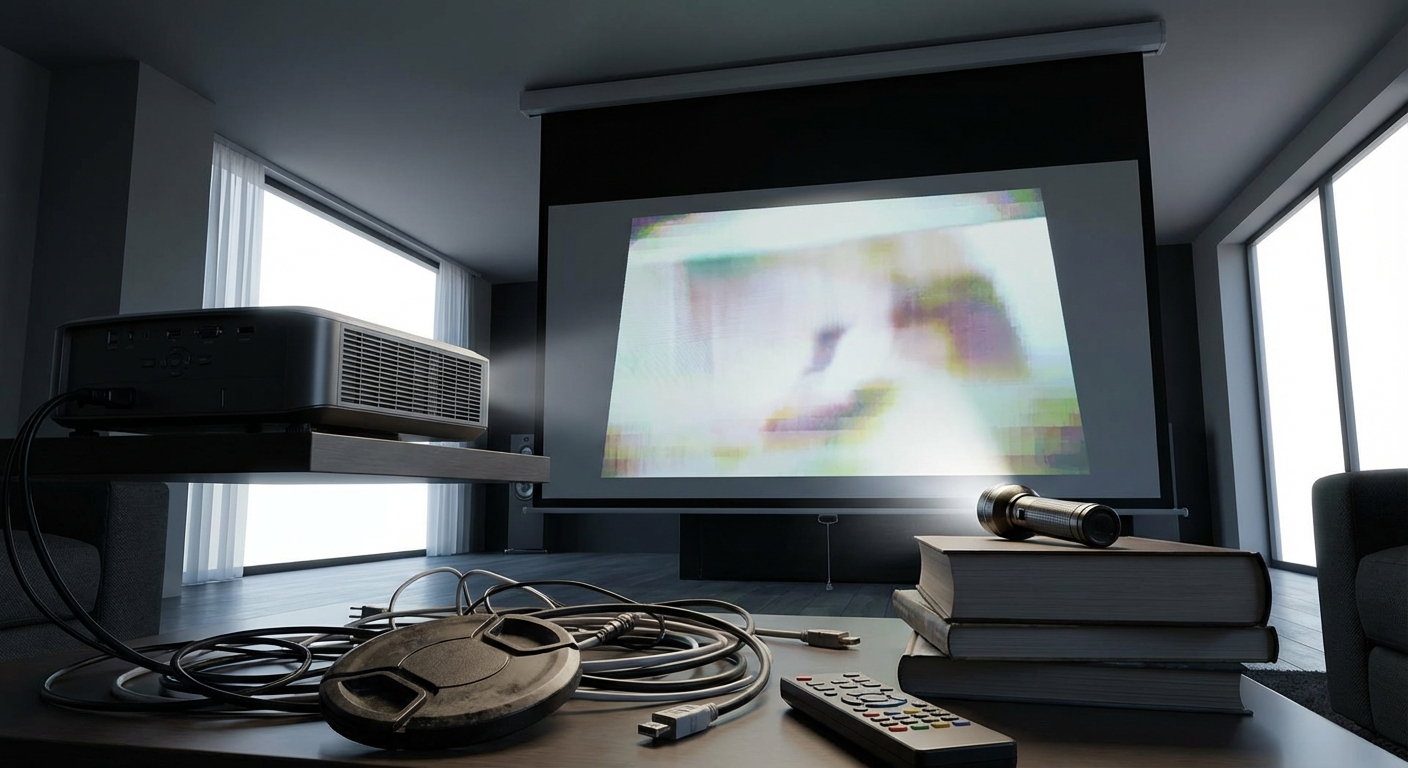
HDR on a projector can feel like a different beast compared to a TV. You crank up a bright HDR movie and suddenly the image looks flat or way too dark. The problem isn’t your projector. It’s how you set it up. Most projectors lack the peak brightness of even a mid-range TV, so they need special care to make HDR content look right. The good news is that with the right adjustments, you can get an image that rivals a cinema. Let’s walk through exactly how to set up HDR on your projector so you stop squinting at shadow details and start enjoying those specular highlights.
Setting up HDR on a projector requires managing its limited brightness through proper tone mapping, dynamic iris settings, and calibrated picture modes. Start by enabling HDR in your source device and projector, then adjust brightness and contrast using test patterns. Use a dedicated HDR picture mode, disable unnecessary processing, and fine tune the gamma curve. A light controlled room and a high gain screen make the biggest difference for a impactful HDR image.
Why HDR Looks Different on a Projector
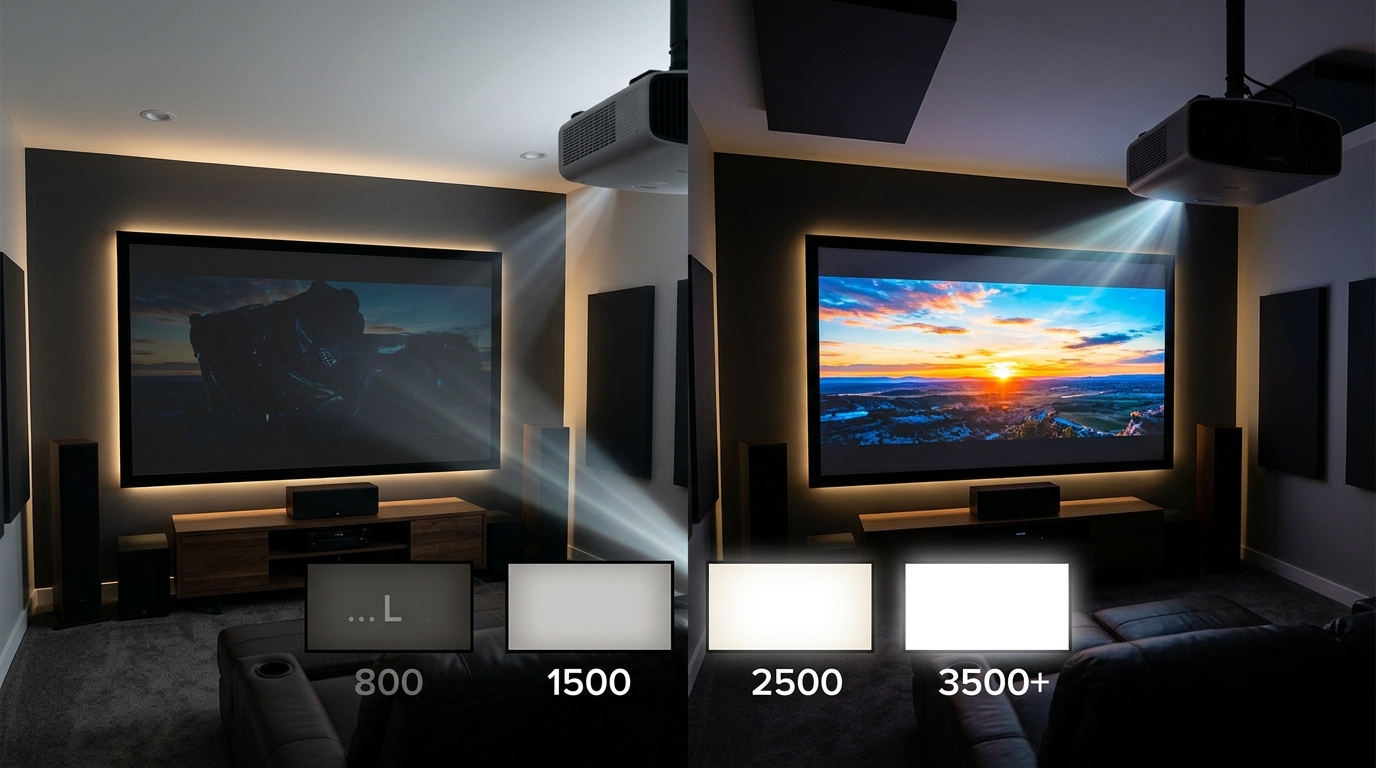
HDR content is mastered for displays that can hit 1000 nits or more. Most projectors cap out around 200 to 300 nits in real world use. When you feed that same HDR signal to a projector, it has to map those high brightness values down to its own lower ceiling. That’s called tone mapping. If the tone mapping is poorly done, you lose highlight detail or crush shadow areas. Some projectors handle this automatically. Others leave you to tweak a few settings.
That is why the first step in learning how to set up HDR on a projector is understanding your projector’s native contrast and brightness capabilities. Check the specs. Look for the ANSI lumens rating and the contrast ratio. A projector with 2000 lumens and a high contrast ratio will give you a much better HDR experience than a budget model with 1000 lumens.
The Step by Step Process for Great HDR
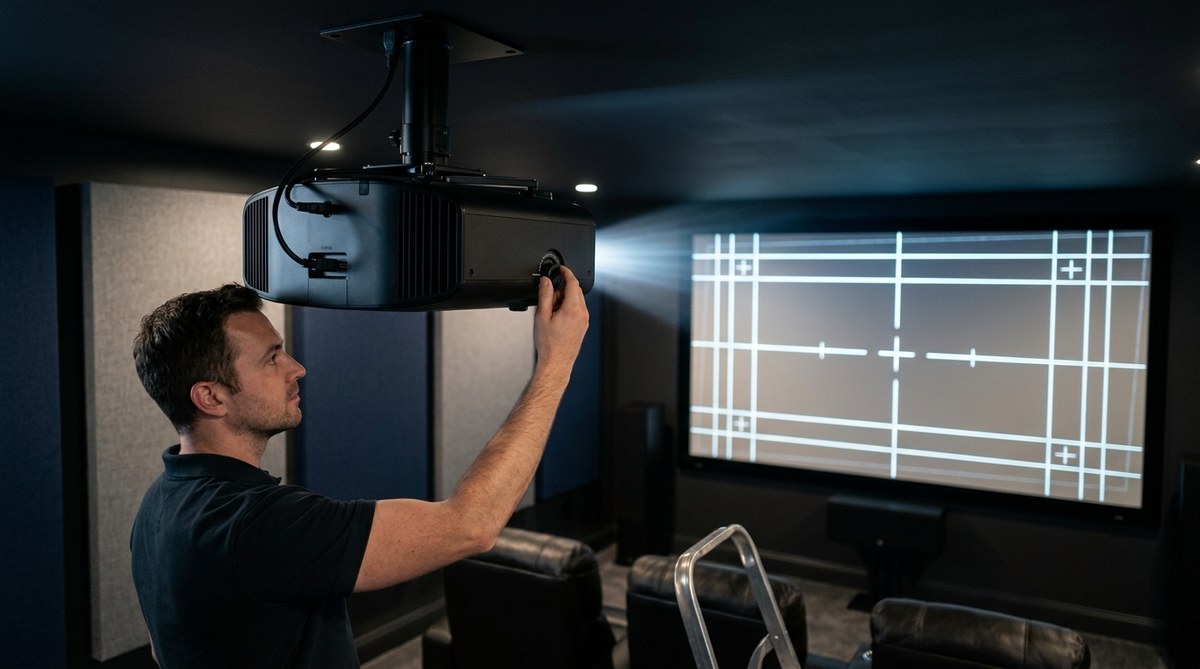
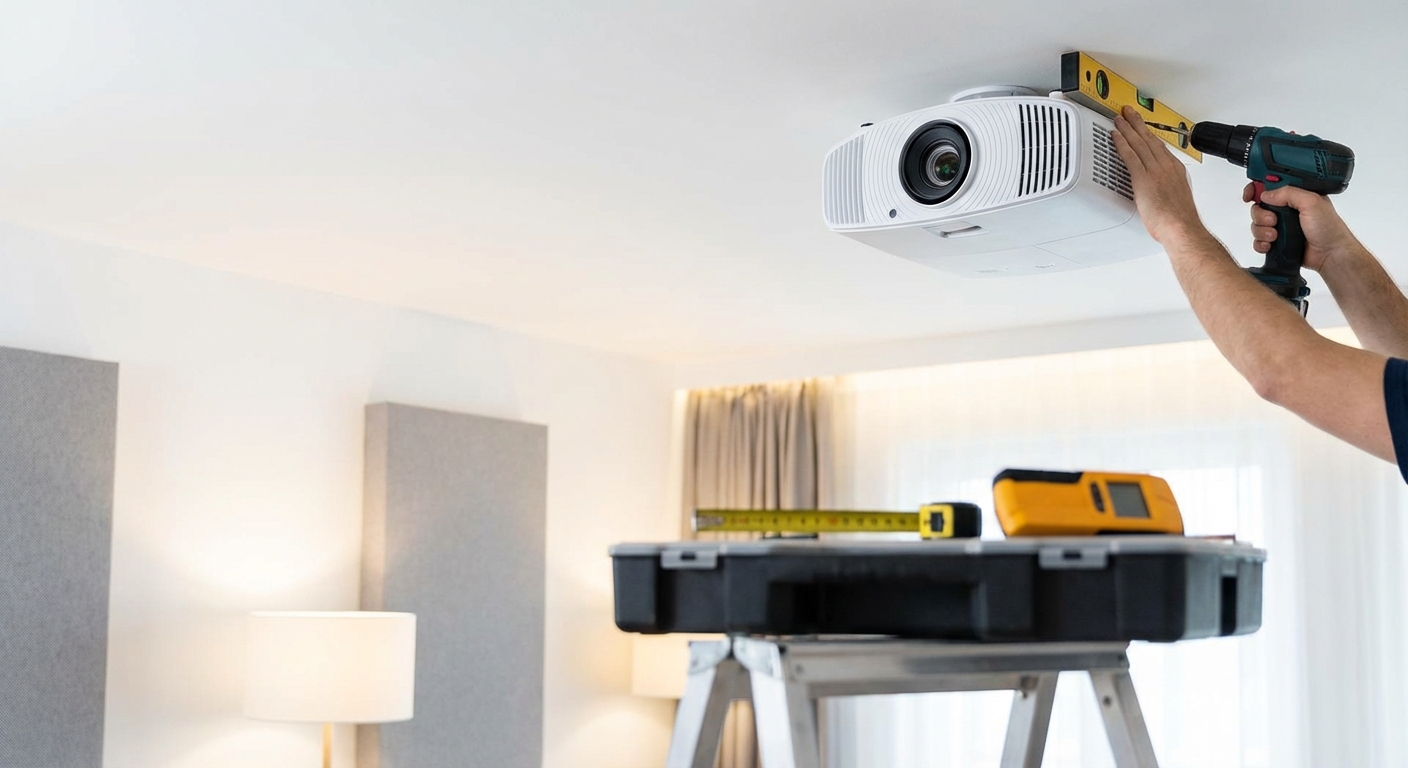
Below is a numbered sequence you can follow every time you start a new HDR source. These steps assume you have already done the basic physical setup like correct throw distance and a properly aligned lens.
-
Turn on HDR in your source device. Go to your Blu ray player, game console, or streaming device settings. Make sure HDMI Ultra HD Deep Color is enabled if you use a recent console like a PS5 or Xbox Series X. For an Apple TV 4K or Roku, look for “Match Content” or “HDR” output. This ensures the projector receives a true HDR signal, not a converted SDR.
-
Select the right input and HDMI mode on the projector. Many projectors label one HDMI port as “HDMI 2.0” or “Enhanced” for HDR. Plug your source into that port. Then in the projector’s menu, enable Enhanced HDMI format. Without this, your projector may only accept 8 bit SDR.
-
Switch to the HDR picture mode. Most projectors have a dedicated HDR mode. It might be called “HDR Bright”, “HDR Cinema”, or “HDR Game”. Choose the one that prioritizes brightness over accuracy if your room has any ambient light. For a dark room, “HDR Cinema” usually gives better color.
-
Lower the brightness (black level) to fix washed out blacks. Go to the picture settings and set brightness to around 50 or 52. Use a test pattern that shows black bars. You want the bars to be as black as possible without losing detail right above black. If the image looks gray, lower brightness a click at a time.
-
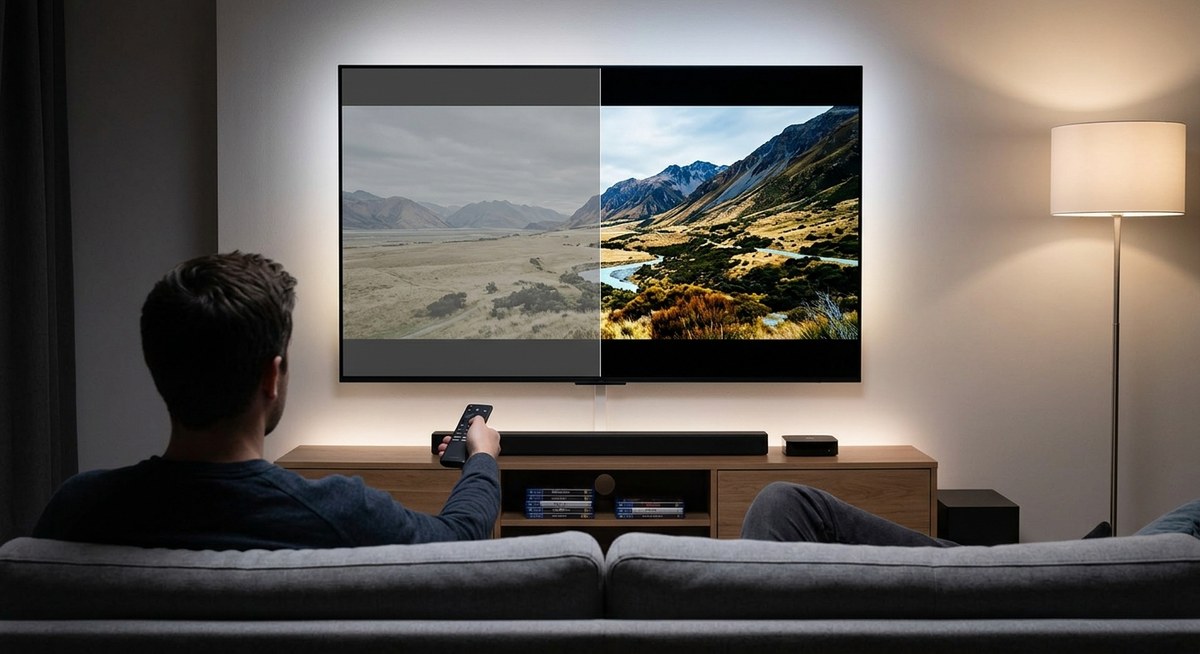
Adjust the contrast (white level) to keep highlight detail. Set contrast between 85 and 95 depending on your projector. Play a scene with bright clouds or a lamp. If the clouds look featureless and blown out, reduce contrast. If the image looks dim, increase contrast. The goal is to keep subtle brightness variation in the whitest parts.
-
Fine tune tone mapping. Some projectors have a “HDR Tone Mapping” or “Dynamic Tone Mapping” switch. Turn it on. This tells the projector to analyze each scene and adjust the brightness curve accordingly. Without it, static tone mapping can leave many scenes too dark.
-
Set the gamma to 2.4 or BT.1886. HDR is supposed to use a different electro optical transfer function (PQ) but most projectors convert to a gamma curve. Choose 2.4 for a dark room. This gives you proper shadow detail without making blacks look milky.
-
Reduce sharpness to zero. Sharpness adds artificial edge enhancement that ruins the natural film look and can make HDR halos visible. Set sharpness to 0.
-
Disable all frame interpolation and noise reduction. These processing features add lag and kill the filmic feel. Turn off motion smoothing, MPEG noise reduction, and digital noise reduction.
-
Calibrate color temperature to D65 (6500K). If your projector has a color temperature setting, choose Warm or Low. This gives you the correct white point for movies. “Cool” looks blue and unnatural.
-
Use the dynamic iris if available. A dynamic iris closes down in dark scenes to boost contrast. This is a lifesaver for HDR on a projector because it makes black levels look deeper. Enable it. Just note that it can cause some pumping on very dark to bright transitions, but for most content it’s worth it.
Common Mistakes That Kill HDR Quality
Many people try to set up HDR and end up with a worse picture than SDR. Avoid these errors.
- Using SDR picture modes for HDR. SDR modes are too dim and have wrong gamma. Always use an HDR preset.
- Turning brightness too high. This lifts the black level and makes the entire image look like a foggy morning.
- Leaving dynamic contrast on. Dynamic contrast adjusts brightness based on the average scene, but it crushes shadow detail in HDR. Turn it off.
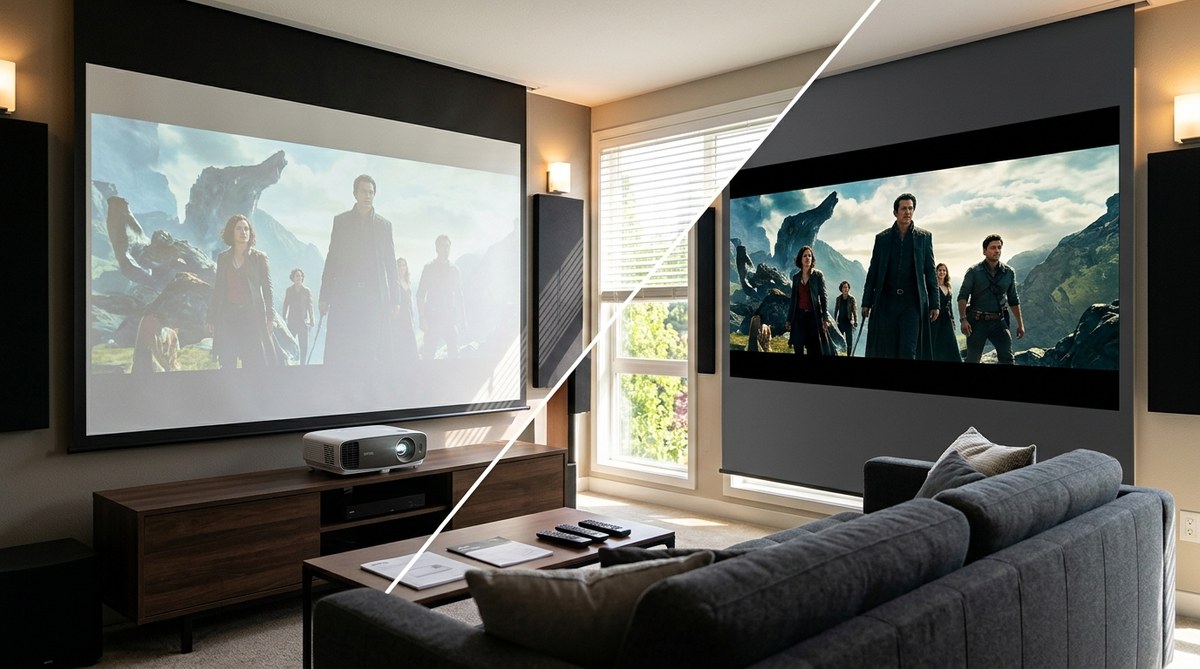
- Ignoring the screen. Your screen material matters more than you think. A white screen with 1.0 gain works fine. A gray screen reduces brightness. Consider a high gain screen if your projector is dim.
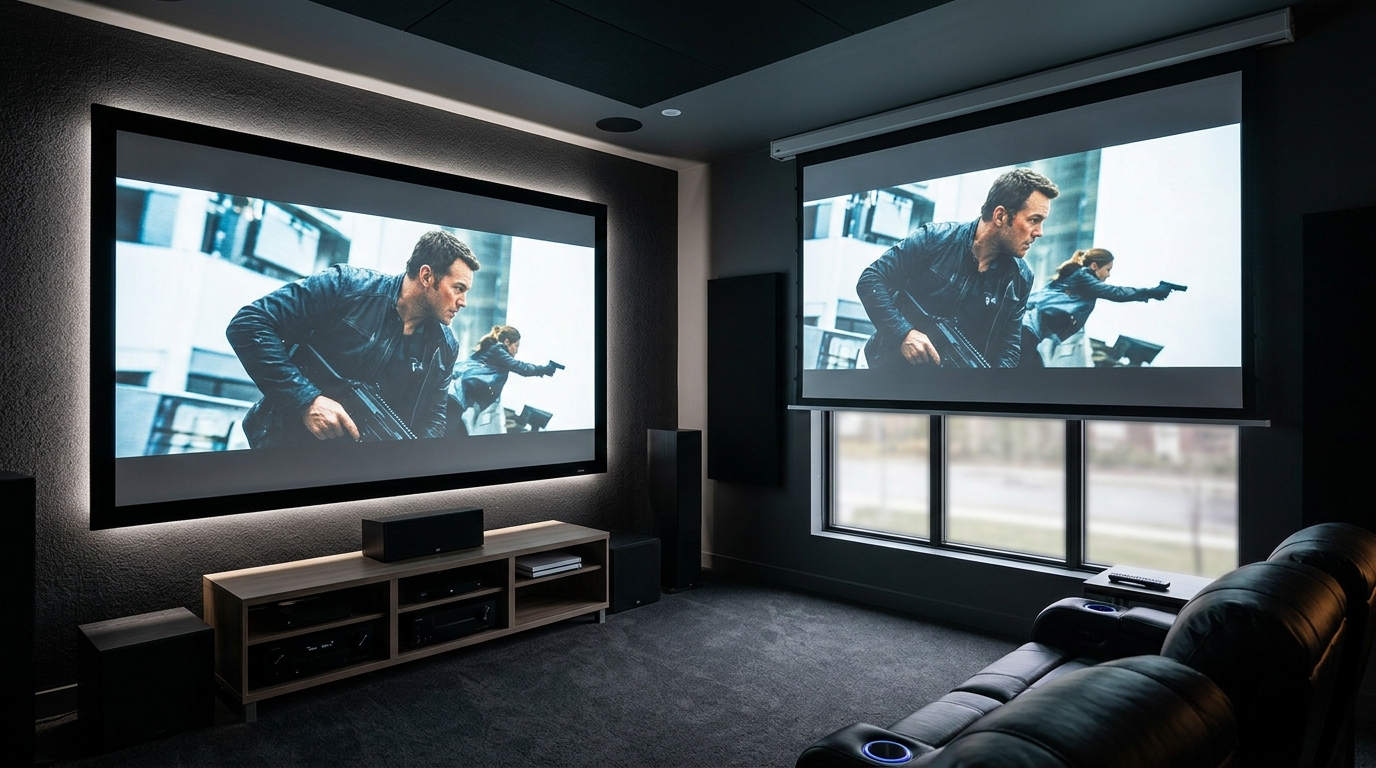
- Not controlling ambient light. Even a little light spill kills HDR contrast. Blackout curtains or a fully dark room are essential.
Techniques vs Mistakes Table
| Technique | What It Does | Common Mistake to Avoid |
|---|---|---|
| Enable Dynamic Tone Mapping | Adapts brightness per scene | Leaving it off causes flat image |
| Use HDR picture mode | Applies correct gamma and color | Using SDR mode makes image dull |
| Set brightness to 50 | Maintains black level | Raising brightness to 70 washes out blacks |
| Reduce sharpness to 0 | Removes artifacts | Adding sharpness creates halos |
| Enable dynamic iris | Deepens black levels | Disabling it reduces contrast in dark scenes |
| Calibrate color temp to Warm | Matches D65 standard | Using Cool gives blue tint |
| Lower contrast below 100 | Preserves highlight detail | Max contrast blows out whites |
“The biggest mistake I see is people treating their projector like a TV. Projectors need lower brightness, higher gamma, and good tone mapping to make HDR look natural. Spend ten minutes with a test disc and you will see a night and day difference.” — Kris Deering, calibration expert
Optimizing for Gaming HDR
Gamers face an extra challenge: input lag. Many HDR processing features add delay. If you play competitive shooters, you need to balance HDR quality with speed. Here is how to set up HDR on a projector for gaming.
- Use the Game or HDR Game picture mode. This mode typically disables most processing for lower lag.
- Turn off dynamic iris. The iris movement can cause visible pumping during fast scene changes. For slower single player games you can leave it on.
- Disable motion interpolation. Even in game mode, some projectors let you enable it. Keep it off.
- Set tone mapping to “Game” or “Bright” if available. This keeps the image punchy without adding lag.
- Test with a game that has good HDR implementation. Titles like Horizon Forbidden West or Cyberpunk 2077 let you adjust in game brightness and HDR white point. Follow the in game calibration prompts while in HDR mode.
For a deeper look at how input lag affects your experience, read our guide on should you calibrate your projector in game mode or leave it stock.
When HDR Still Looks Bad After Setup
Sometimes even after careful calibration, HDR can look disappointing. The usual culprit is brightness limitation. A projector in a bright room will always struggle. If you have done everything above and still see washed out colors, check your screen. A gray vs white projector screen can make a big difference. Gray screens help black levels in ambient light but reduce peak brightness. White screens are better for a dark room.
You might also want to verify that your HDMI cable supports 18Gbps bandwidth. A cheap cable can cause the HDR signal to drop back to SDR. Look for “High Speed HDMI with Ethernet” or “Premium High Speed” certification.
Another possibility is that your source device is outputting HDR incorrectly. For example, some streaming apps default to Dolby Vision even if your projector doesn’t support it. In that case the projector may receive a mismatched signal. Switch the source to HDR10 instead. For more troubleshooting, see how to fix HDR content that looks washed out or too dark on your TV (the same principles apply to projectors).
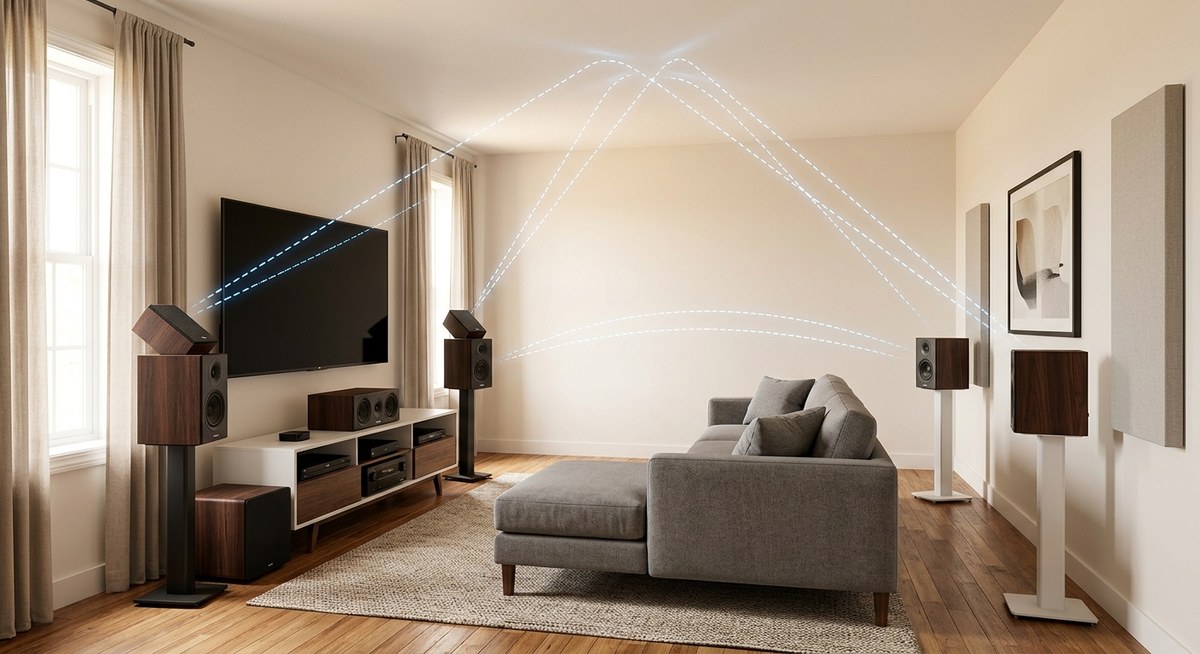
Light Management Is Half the Battle
You cannot set up HDR on a projector without controlling the room. Projectors depend on a dark environment to produce the contrast that HDR demands. Even a crack of light from a window or a lamp can reduce perceived contrast by 50%. Invest in blackout curtains or paint walls a dark matte color. If you cannot control the light, consider an ambient light rejecting screen. Those screens use a micro reflector structure to throw light back to the viewer while absorbing ambient light from the sides. They are more expensive but can salvage HDR in a living room.
Also pay attention to the ceiling and floor. Light colored walls bounce light back onto the screen. A dedicated home theater room with dark carpet and ceiling will give you the best HDR performance. If that’s not possible, at least place a dark rug or hang dark fabric near the screen.
Your Final HDR Calibration Checklist
Before you sit down for movie night, run through this bullet list to confirm everything is set.
- Source device outputs HDR (check the info screen on the projector).
- Projector is in HDR picture mode.
- Brightness (black level) between 48 and 52.
- Contrast (white level) between 85 and 95.
- Gamma set to 2.4 or BT.1886.
- Color temperature on Warm.
- Sharpness at 0.
- All processing off (no motion smoothing, no noise reduction).
- Dynamic iris on (unless gaming competitively).
- Dynamic tone mapping enabled.
- Room fully dark.
- Screen material appropriate for your brightness (white for dark rooms, high gain for low lumens).
If you want to go deeper, a professional calibration with a colorimeter can dial in the exact gamma and color points for your specific projector model. But the steps above will get you 90% of the way without spending a dime.
Fine Tuning the Final Picture
You now know how to set up HDR on your projector. The process is straightforward once you understand the limitations of projection technology. Start with the numbered steps, avoid the common mistakes in the table, and use the checklist before every serious viewing session. Your eyes will thank you.
The next time you load up Dune or The Last of Us in HDR, those desert suns and fungal glow will look punchy and detailed instead of muddy. That is the whole point of HDR on a projector. Enjoy the show.
Leave a Reply