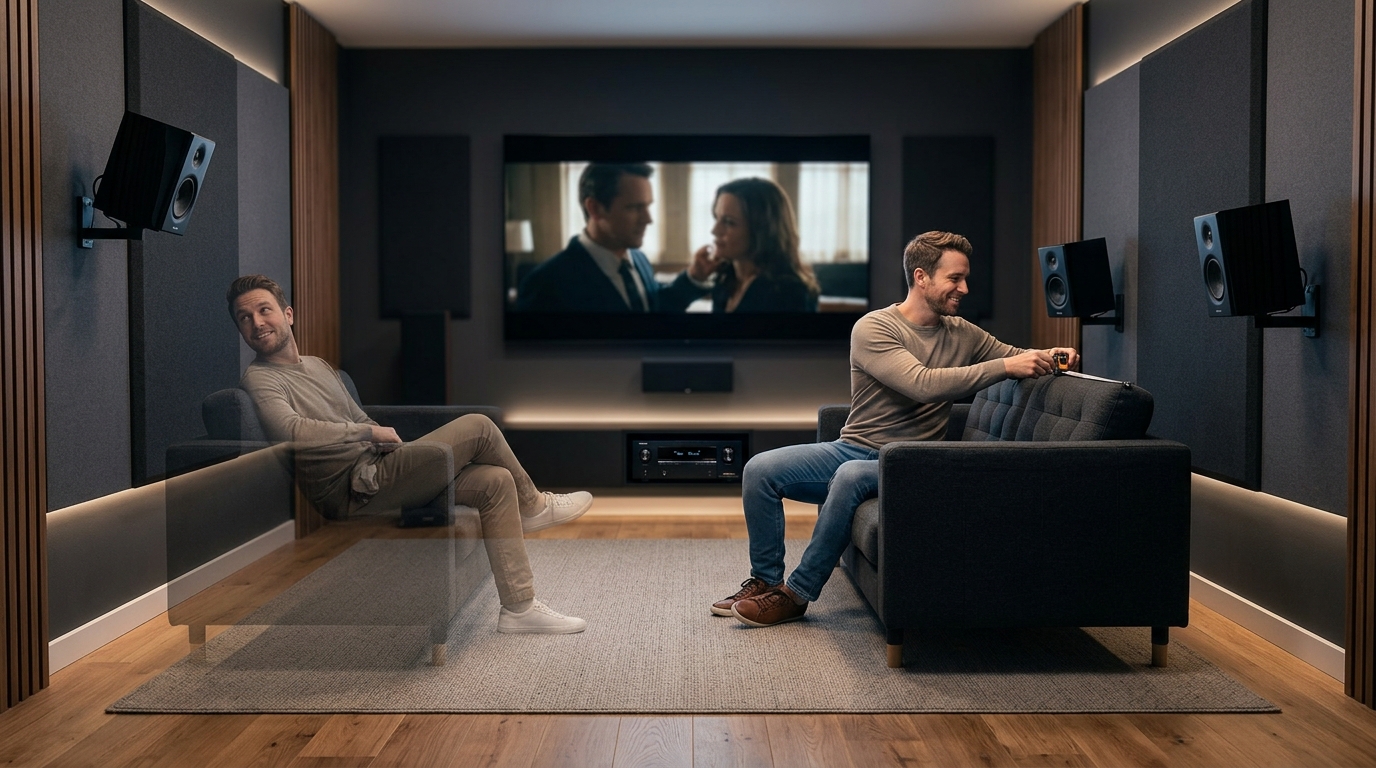
Sitting too close to your screen makes you feel like you’re watching a tennis match. Sitting too far back turns movie night into a squinting contest. Finding the sweet spot between these extremes transforms your viewing experience from mediocre to immersive.
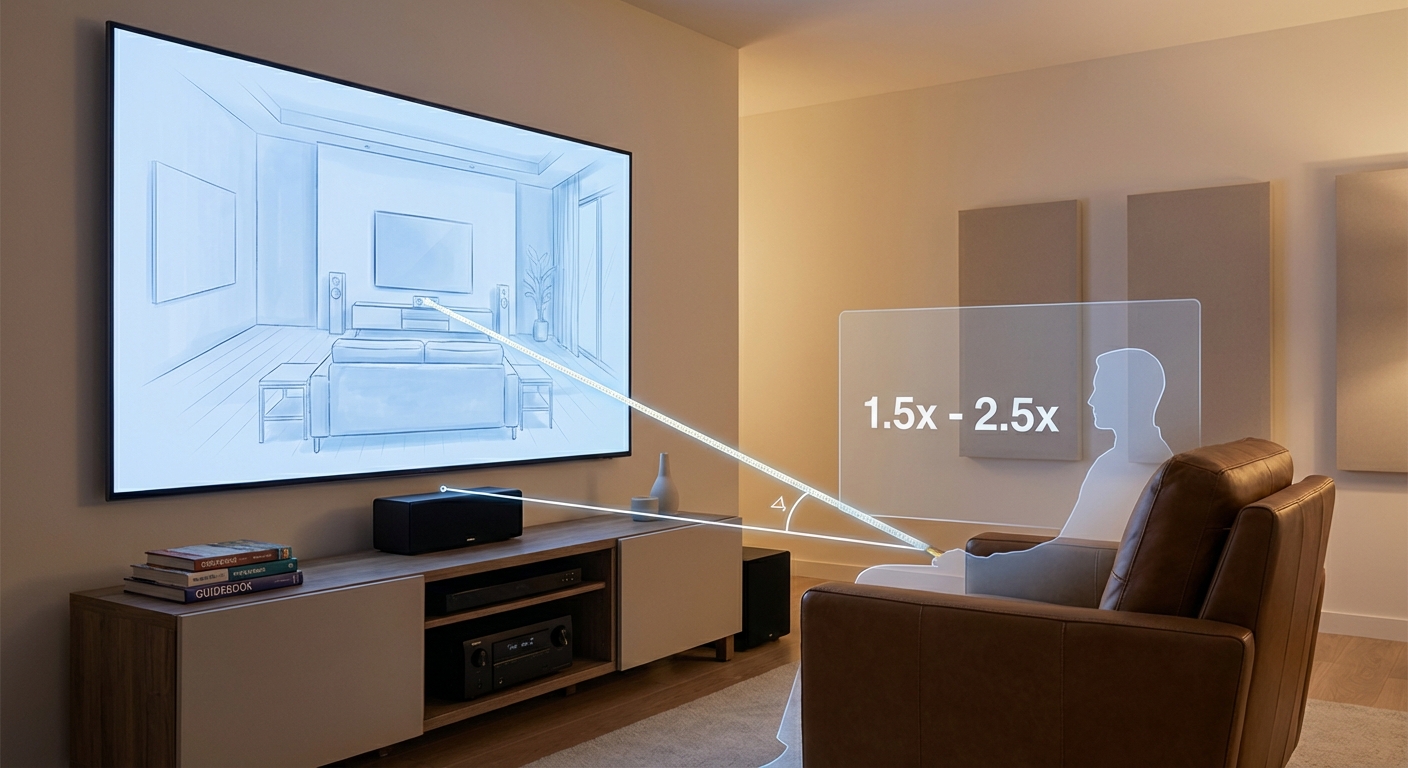
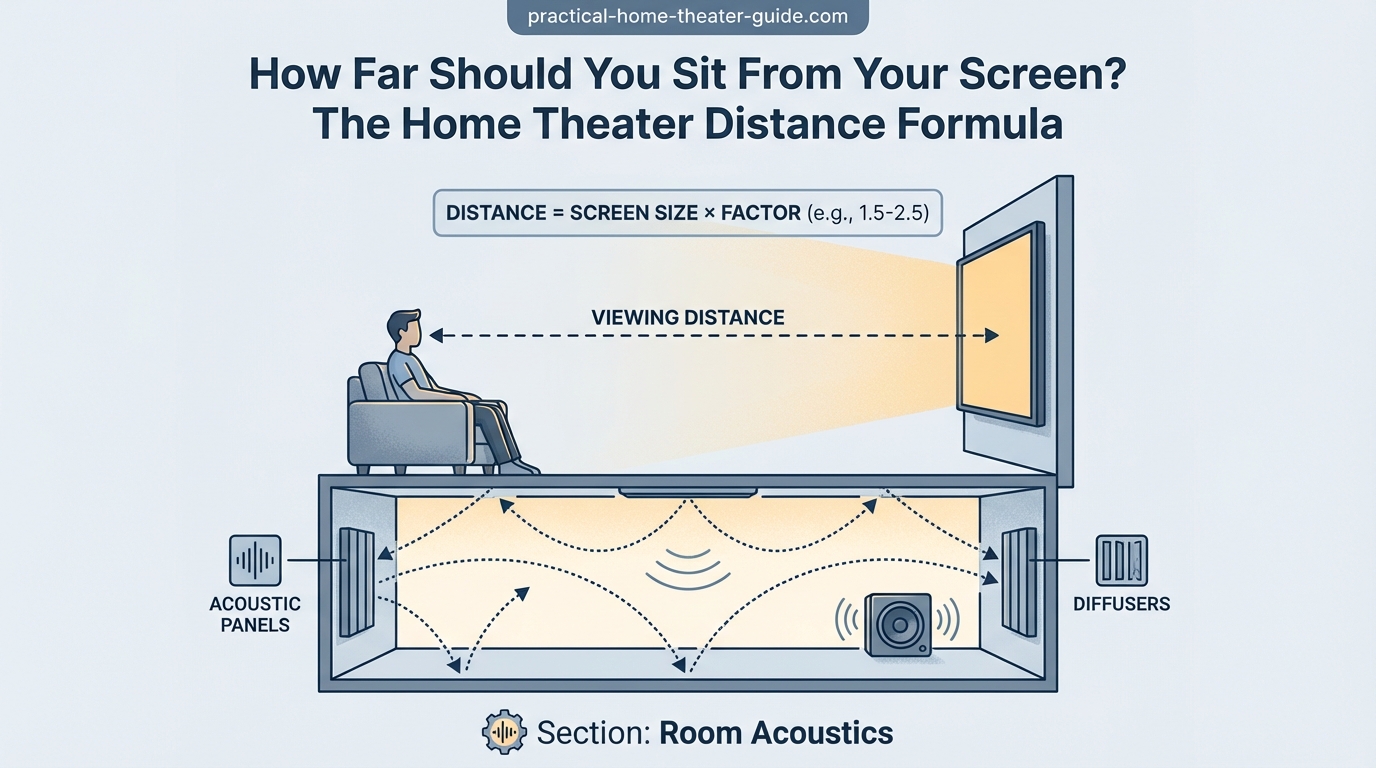
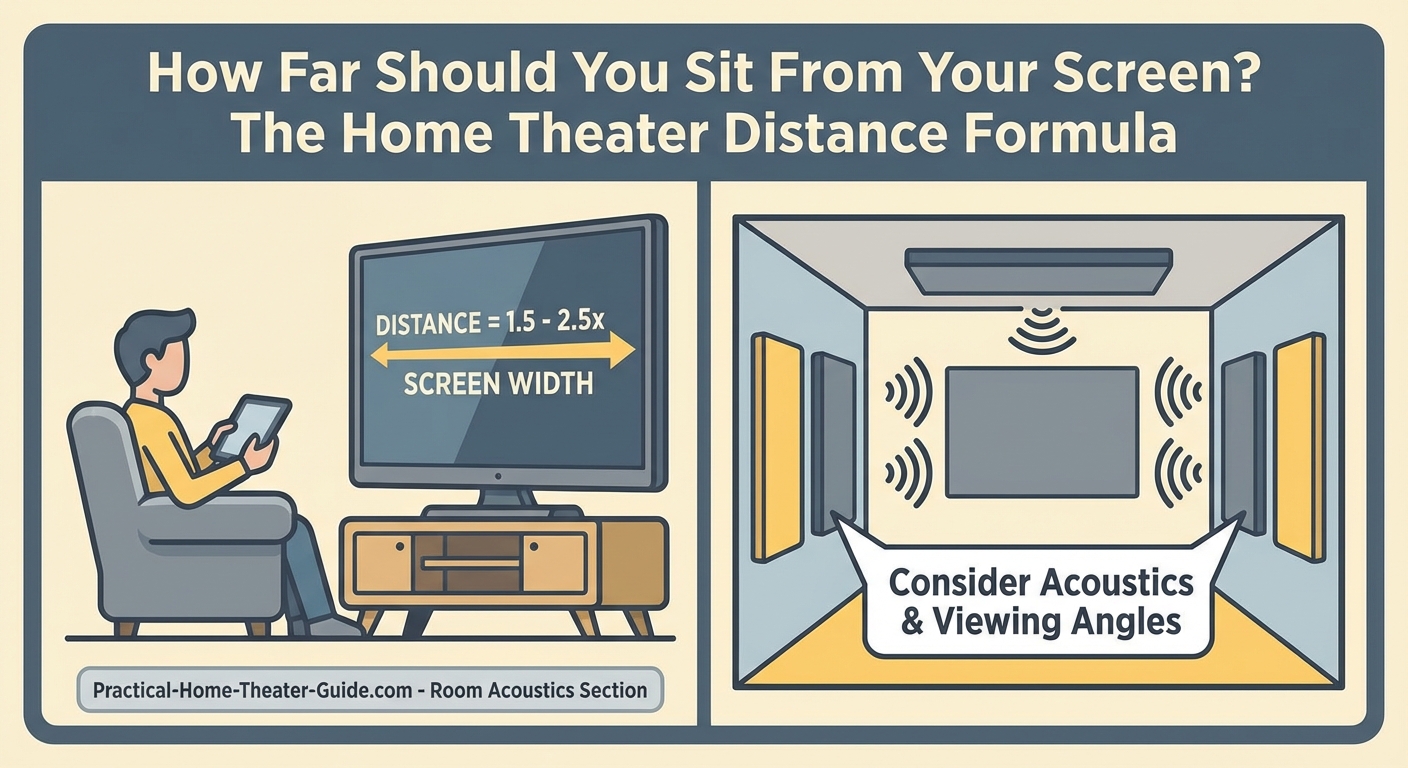
A home theater viewing distance calculator helps you find the ideal seating position based on screen size and resolution. For 4K displays, multiply your screen diagonal by 1.0 to 1.5 for the best balance. For 1080p screens, use 1.5 to 2.5 times the diagonal. This ensures you see all the detail without straining your eyes or noticing individual pixels.
Why viewing distance actually matters
Your eyes can only resolve so much detail at any given distance. Sit too close and you’ll see the pixel grid instead of the image. Sit too far and you miss the fine details that make 4K content worth the upgrade.
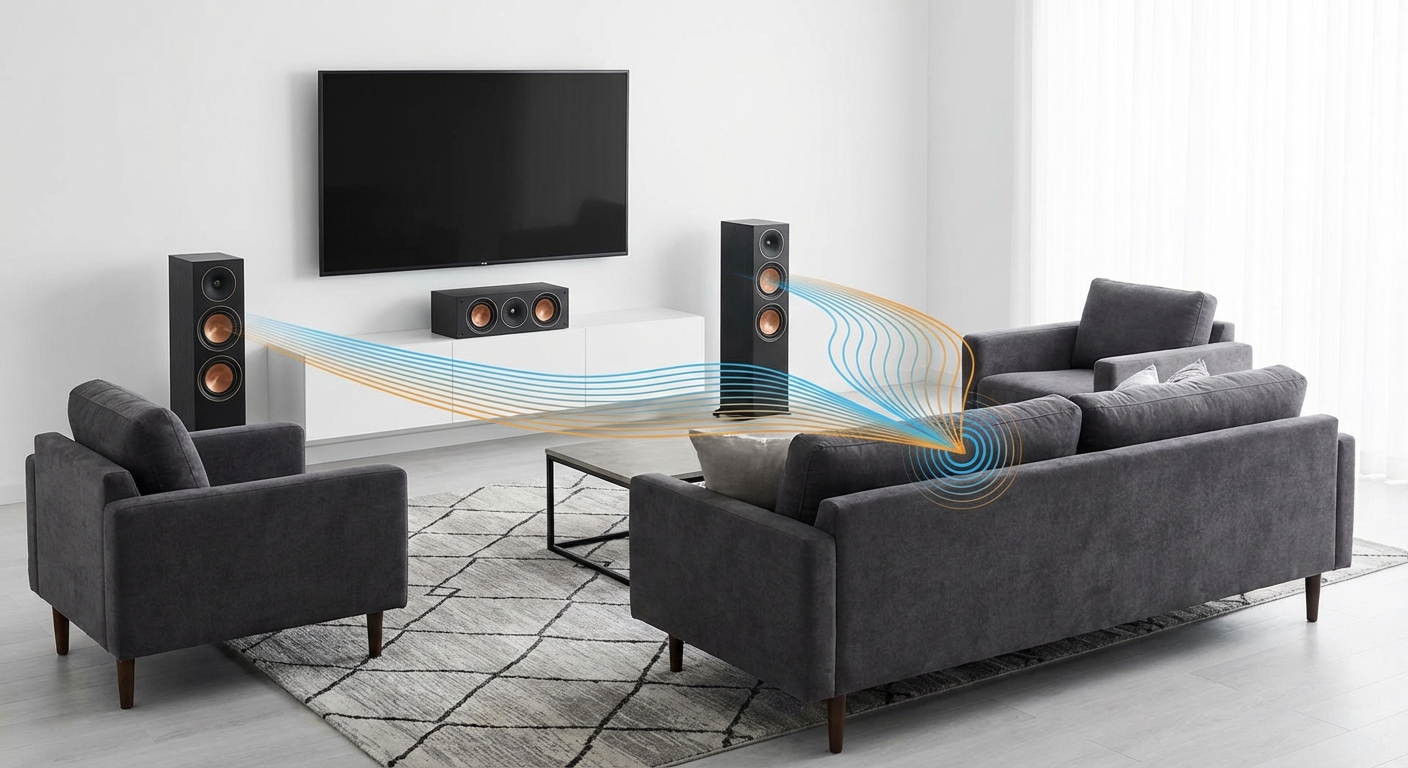
The calculation isn’t just about pixel density. It’s about field of view. Movie theaters aim for around 40 degrees of your vision filled by the screen. That creates an immersive experience without forcing you to turn your head.
Most living rooms can’t match that theater feel. But you can get close enough to feel transported without feeling overwhelmed.
The math behind the formulas comes from understanding human visual acuity. The average person can distinguish details at about 1/60th of a degree. This biological limit determines how close you can sit before individual pixels become visible.
The basic formula for 4K screens
Modern 4K TVs pack 3840 by 2160 pixels into the panel. That density lets you sit much closer than older 1080p displays.
Here’s the simple version:
Minimum distance = Screen diagonal × 1.0
Maximum distance = Screen diagonal × 1.5
For a 65-inch TV, that means sitting between 65 and 97.5 inches away. That’s roughly 5.4 to 8.1 feet.
This range gives you the immersive feel without making pixels visible. You’ll see all the detail your content offers without straining.
The 1.0 multiplier represents the absolute closest you should sit. Any nearer and even 4K content starts looking pixelated. The 1.5 multiplier marks where the immersion starts to fade and you lose the benefit of that larger screen.
If you’re planning your room layout, how to choose the right TV size for your room distance walks through the reverse calculation when you know your seating position first.
Adjusting for 1080p displays
Older Full HD screens need more breathing room. The lower pixel count means sitting close reveals the screen door effect.
Minimum distance = Screen diagonal × 1.5
Maximum distance = Screen diagonal × 2.5
That same 65-inch screen now needs 97.5 to 162.5 inches of distance. That’s 8.1 to 13.5 feet.
You give up some immersion, but you avoid the distraction of visible pixels. Most people find this range comfortable for extended viewing sessions.
Step-by-step calculation process
Getting your exact viewing distance takes just a few measurements and simple math.
- Measure your screen’s diagonal in inches from corner to corner.
- Identify your display resolution (4K or 1080p).
- Multiply the diagonal by the appropriate minimum factor.
- Multiply the diagonal by the appropriate maximum factor.
- Measure your actual seating distance from the screen.
- Compare your measurement to the calculated range.
If your current setup falls outside the range, you have two options. Move your seating or change your screen size. Sometimes shifting your couch back 18 inches makes all the difference.
For projection setups, you’ll need to factor in throw distance too. The guide on how to calculate projector throw distance for your room size covers those additional considerations.
Common screen sizes and their ideal ranges
Here’s a reference table showing popular TV sizes with their recommended viewing distances:
| Screen Size | Resolution | Minimum Distance | Maximum Distance | Sweet Spot |
|---|---|---|---|---|
| 55″ | 4K | 55″ (4.6 ft) | 82.5″ (6.9 ft) | 65″ (5.4 ft) |
| 55″ | 1080p | 82.5″ (6.9 ft) | 137.5″ (11.5 ft) | 110″ (9.2 ft) |
| 65″ | 4K | 65″ (5.4 ft) | 97.5″ (8.1 ft) | 78″ (6.5 ft) |
| 65″ | 1080p | 97.5″ (8.1 ft) | 162.5″ (13.5 ft) | 130″ (10.8 ft) |
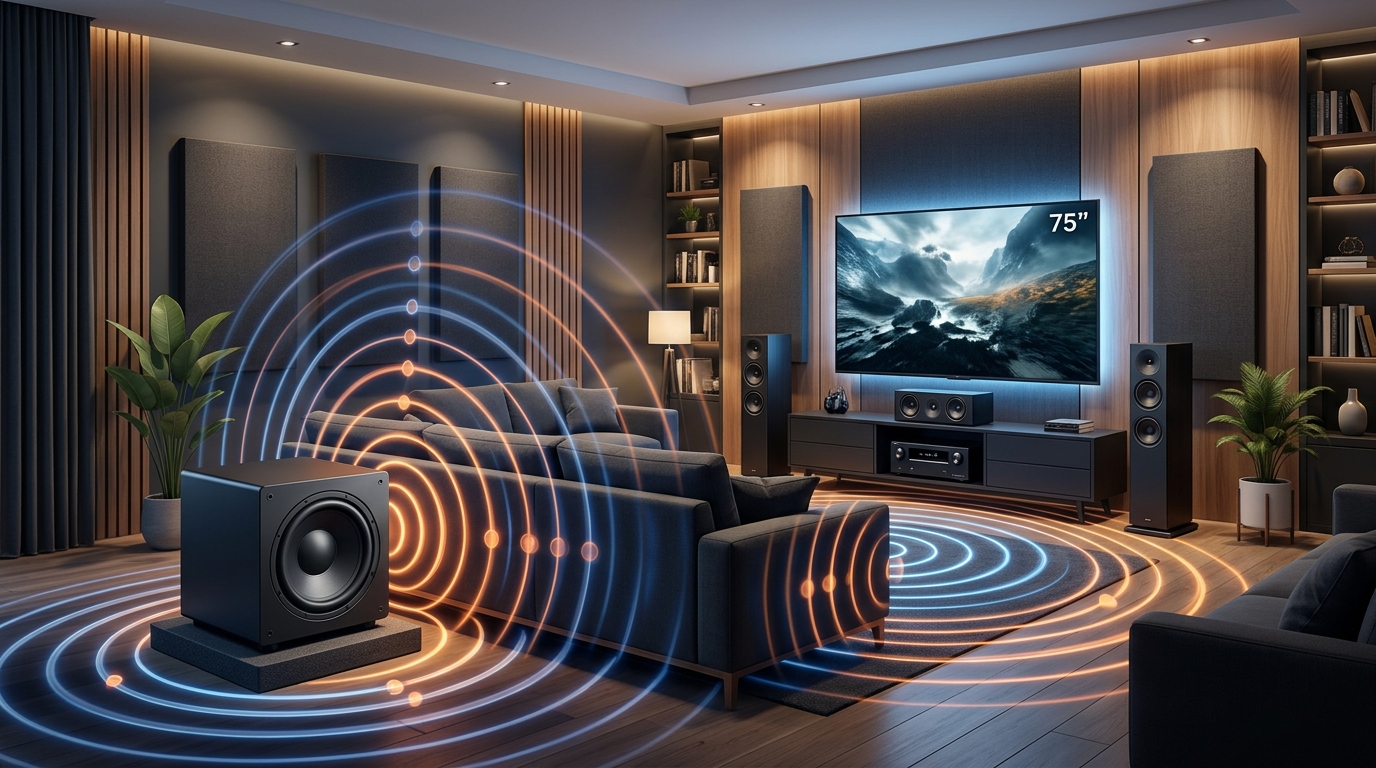
| 75″ | 4K | 75″ (6.3 ft) | 112.5″ (9.4 ft) | 90″ (7.5 ft) |
| 75″ | 1080p | 112.5″ (9.4 ft) | 187.5″ (15.6 ft) | 150″ (12.5 ft) |
| 85″ | 4K | 85″ (7.1 ft) | 127.5″ (10.6 ft) | 102″ (8.5 ft) |
The sweet spot column represents the middle of the range where most people report the best balance of immersion and comfort.
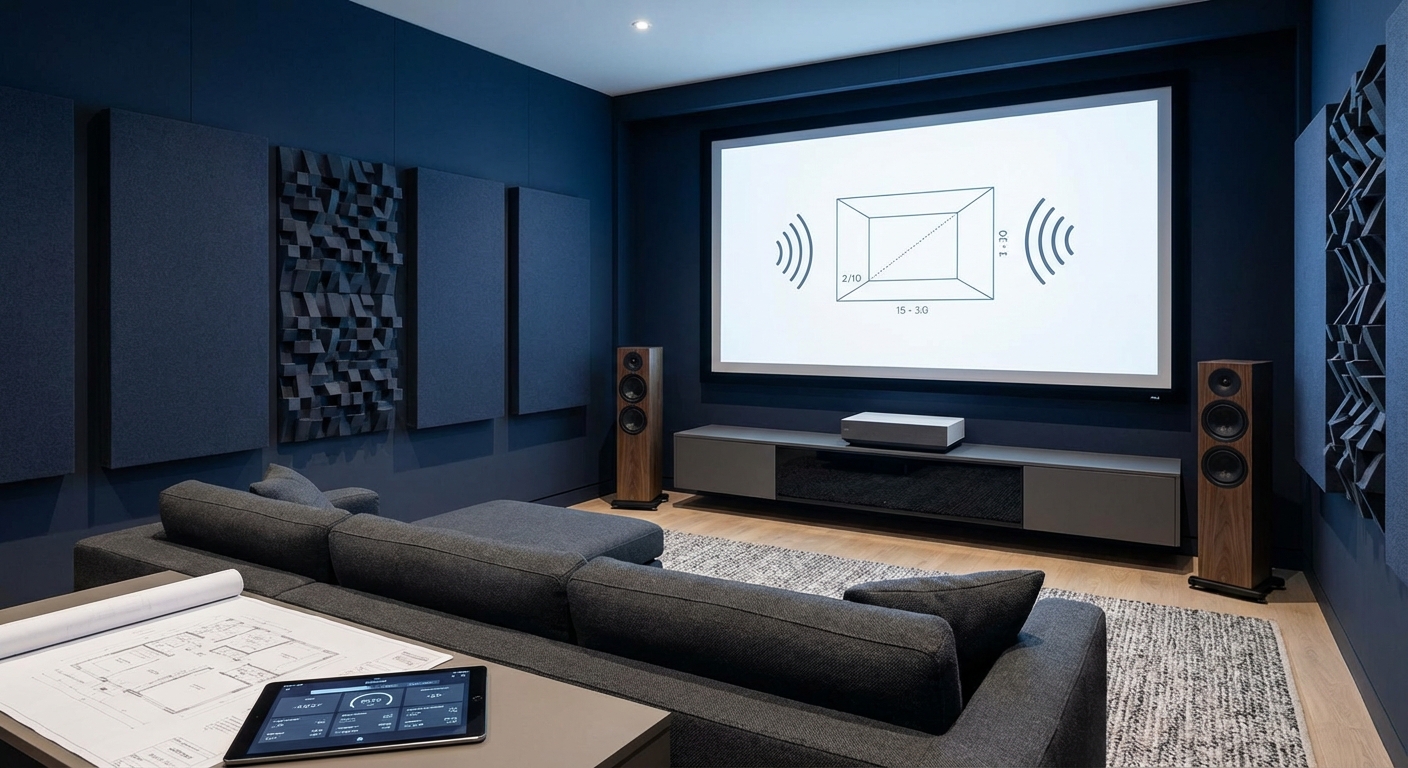
Factors that change the equation
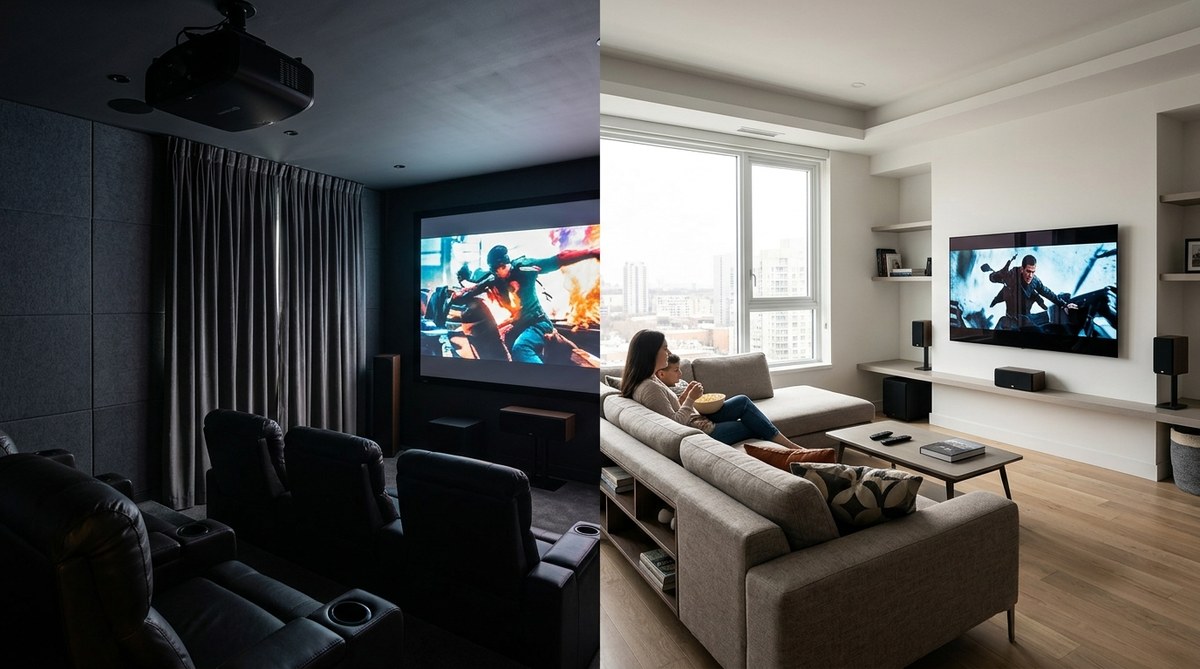
Room lighting affects how close you can sit comfortably. Bright rooms with lots of windows let you sit a bit closer because the ambient light reduces eye strain. Dark dedicated theater rooms work better with slightly increased distance.
Content type matters too. Sports and news programming don’t need the same immersion as movies. You can sit farther back for casual viewing and move in for movie night.
Your eyesight plays a role. If you wear glasses or contacts, your corrected vision determines the ideal distance. People with better than average vision can sit slightly closer and still enjoy sharp images.
Age changes your vision too. Younger viewers often prefer sitting closer for maximum immersion. Older viewers might find a bit more distance reduces fatigue during long viewing sessions.
The panel technology affects perceived sharpness. An OLED vs QLED vs mini-LED comparison shows how different display types handle motion and contrast, which impacts comfortable viewing distance.
What the standards say
Different organizations recommend slightly different ranges based on their priorities.
THX suggests a 36-degree viewing angle for home theater, which translates to roughly 1.5 times the screen width. SMPTE recommends 30 degrees, pushing you back to about 1.8 times the width. Both standards prioritize immersion while maintaining comfort for extended viewing.
These industry guidelines assume you’re watching primarily movies and TV shows. Gaming might benefit from closer distances since you’re actively engaged rather than passively watching.
The Society of Motion Picture and Television Engineers bases their numbers on professional screening rooms. Their recommendations lean conservative because they account for viewers with varying visual acuity.
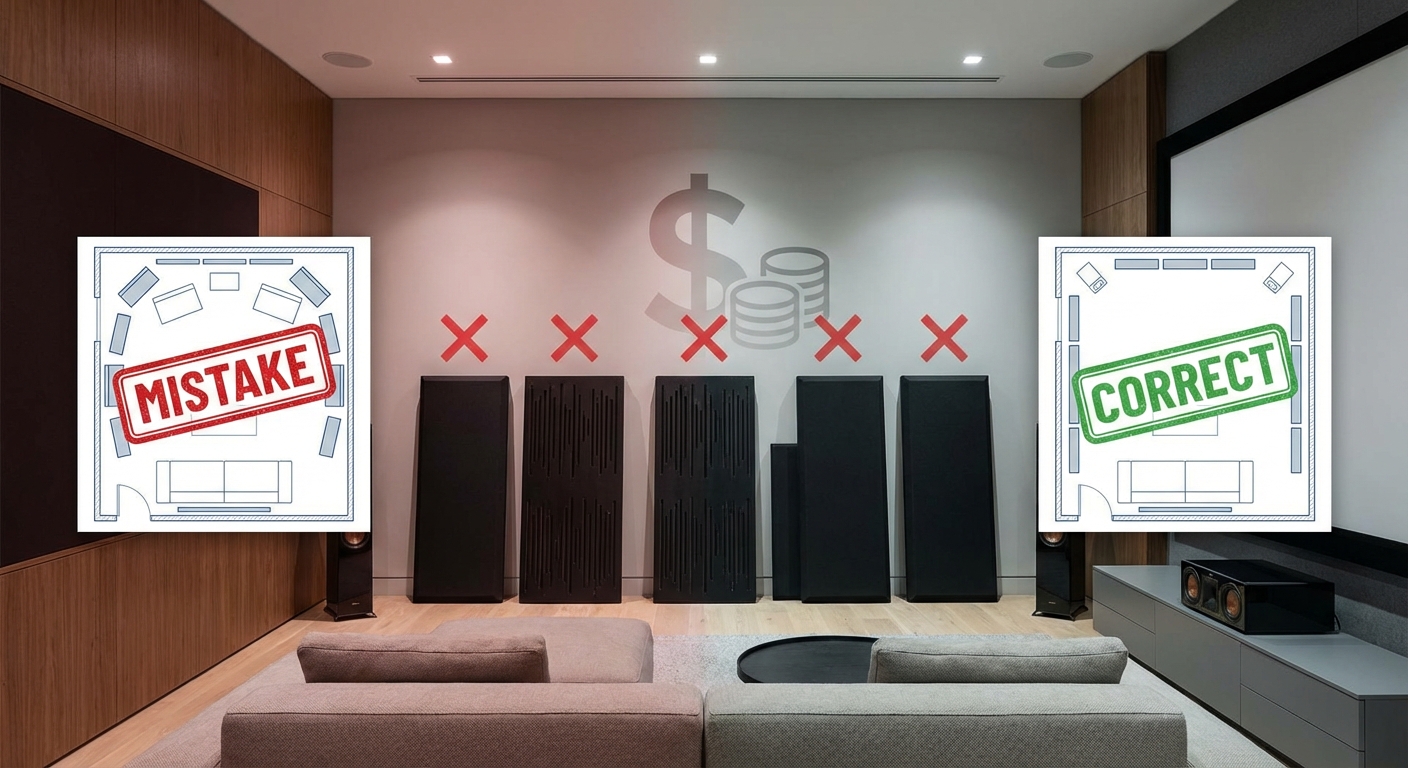
Mistakes people make with viewing distance
Setting up your seating without measuring first creates problems you’ll live with for years. Here are the most common errors:
- Pushing furniture against walls without considering screen position
- Buying the biggest TV that fits without checking viewing distance
- Ignoring resolution when calculating distance
- Forgetting to account for screen height and neck angle
- Placing recliners at their fully extended length instead of upright position
- Measuring from the wall instead of the actual screen surface
That last one catches a lot of people. If your TV sits on a stand 18 inches from the wall, your actual viewing distance is 18 inches less than you think.
Another frequent mistake is forgetting that recliners change your effective distance. Measure from where your head actually rests when you’re watching, not from the front of the chair.
Height and angle considerations
Distance isn’t the only dimension that matters. Screen height affects comfort just as much.
Your eye level should hit the middle third of the screen when seated. Too high and you strain your neck looking up. Too low and you slouch forward to see properly.
For most seating, that puts the center of the screen 36 to 42 inches off the floor. Measure from your actual seated eye height, not from the floor.
Wall mounting gives you more flexibility than a TV stand. You can adjust height precisely instead of accepting whatever the furniture provides.
Tilting the screen down slightly helps if you must mount higher than ideal. A 5 to 10 degree tilt compensates for elevated placement without creating obvious distortion.
Sound placement connects to your screen position too. The guide on how to run speaker wire through walls without damaging your home helps you plan both visual and audio placement together.
Testing your setup before committing
Before you drill holes or buy new furniture, test your planned layout with temporary markers.
Use painter’s tape on the floor to mark your intended seating position. Measure the distance to where the screen will sit. Compare those numbers to the calculated range.
If you already own the TV, prop it up temporarily at the planned location. Sit in your marked spot and watch for 30 minutes. Your neck and eyes will tell you if something feels off.
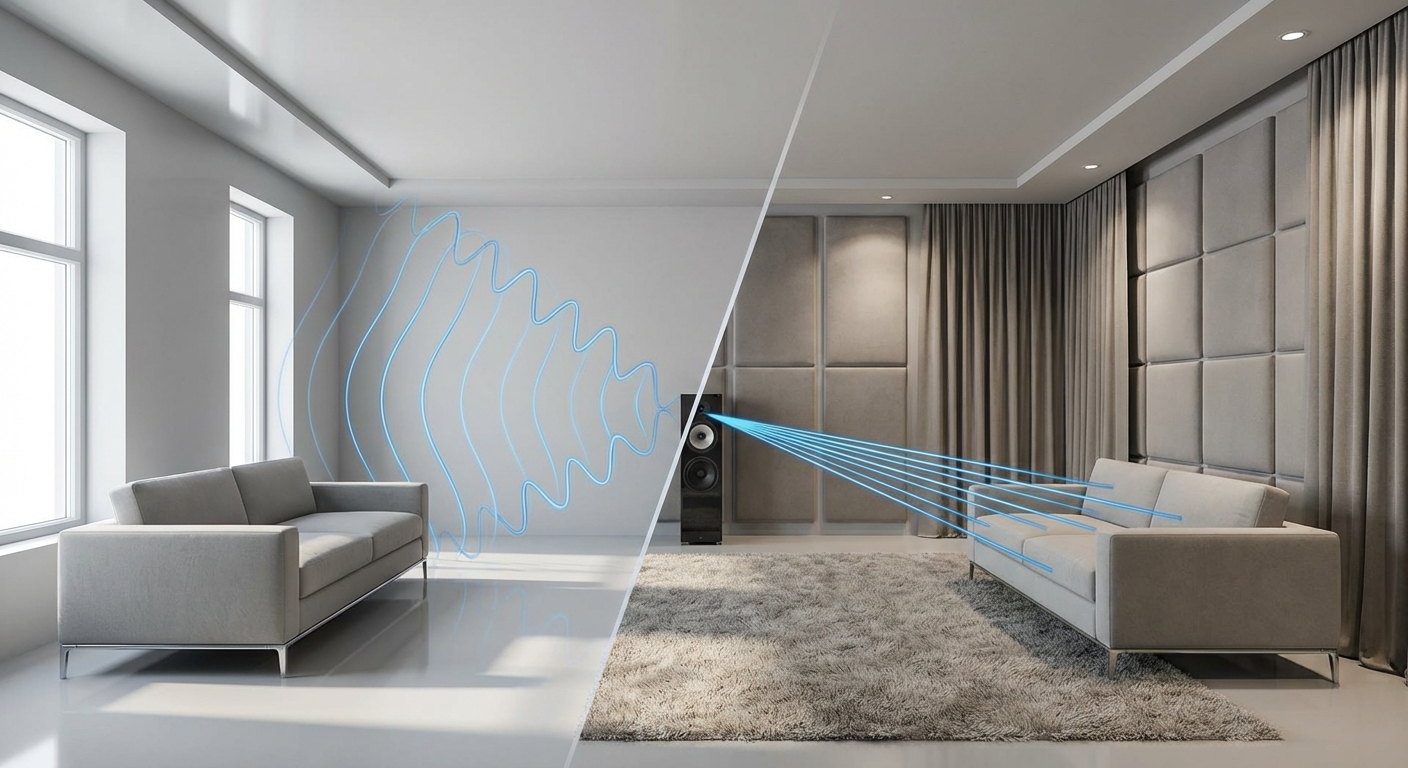
Pay attention to reflections during different times of day. Morning sun might hit the screen from one angle while afternoon light comes from another. Your viewing distance might need adjustment to minimize glare.
Room acoustics change based on where you sit. Sound bounces differently at various distances from walls and corners. Testing helps you find the spot where both picture and audio work well together.
For rooms with acoustic challenges, how to stop echo and reverb ruining your home theater sound offers solutions that work with your viewing distance setup.
Multiple seating positions
Few home theaters have just one seat. You need to balance the ideal viewing distance with practical furniture arrangement.
The primary seats should hit the calculated sweet spot. Secondary seating can fall slightly outside the range without ruining the experience. Aim to keep all seats within the minimum to maximum range if possible.
Angled seating helps when you can’t fit everyone in the perfect zone. Position side chairs at 15 to 20 degrees off center rather than way off to the side. This maintains a reasonable viewing angle even if the distance isn’t perfect.
Stadium seating solves the problem of multiple rows. Raising the back row by 6 to 12 inches lets everyone see over the heads in front. You can push the back row slightly farther back since the elevation improves the viewing angle.
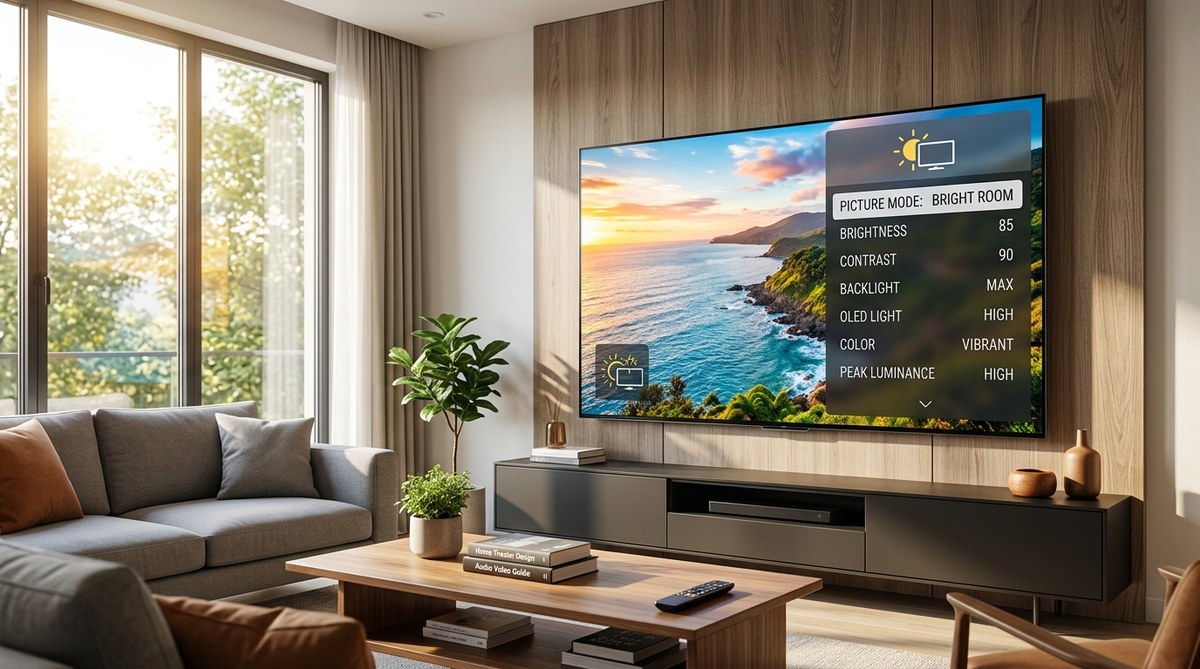
Calibration matters after placement
Getting the distance right is only part of the equation. Your display settings affect perceived sharpness and detail.
Proper calibration ensures you’re actually seeing the resolution your screen can deliver. Factory settings often prioritize showroom brightness over accurate home viewing.
Basic adjustments take about 30 minutes and make a noticeable difference. The guide on how to calibrate your TV in 30 minutes without hiring a professional walks through the essential settings.
Brightness, contrast, and sharpness settings all impact how close you can sit comfortably. Oversharpened images create artificial edge enhancement that becomes obvious at closer distances. Proper calibration eliminates these artifacts.
Finding your personal preference
The formulas give you a starting range, not a single perfect number. Personal preference plays a bigger role than most people expect.
Some viewers love the immersive feel of sitting at the minimum distance. Others find it overwhelming and prefer backing off toward the maximum. Both approaches work as long as you stay within the calculated range.
Try different positions within your range over several viewing sessions. Watch a variety of content types. Action movies might feel better closer while dialogue-heavy shows work fine from farther back.
Your preference might change over time too. Many people start conservative and gradually move closer as they get used to the larger field of view.
Making it work in your space
Real rooms rarely offer the perfect dimensions for ideal viewing distance. You work with what you have.
If your room is too small for the maximum distance, that’s fine. Stay above the minimum and you’ll still get good results. Just avoid going bigger on screen size thinking it will compensate.
Long narrow rooms create the opposite problem. You might sit farther than the maximum distance. Consider a larger screen to maintain immersion, or arrange seating to bring people closer.
L-shaped rooms need creative solutions. Position the screen on the short wall and angle seating to face it properly. This often works better than putting the TV on the long wall with seating scattered around.
Getting the numbers right for your room
A home theater viewing distance calculator takes the guesswork out of seating placement. The formulas are simple enough to do with a tape measure and calculator.
Start with your screen size and resolution. Apply the right multiplier. Measure your space. Adjust as needed based on your room constraints and personal preference.
The 30 minutes you spend calculating and measuring saves years of suboptimal viewing. Your neck, eyes, and movie experience will thank you for getting it right from the start.


Leave a Reply