
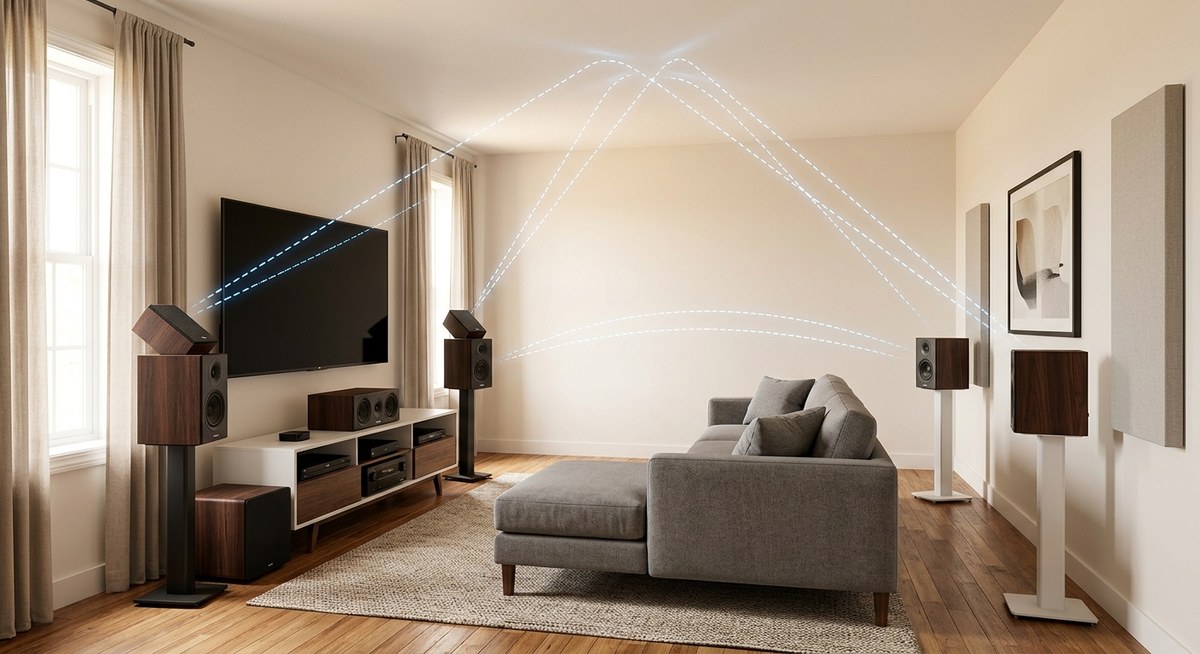
If you want that rain effect in a movie to sound like it is falling directly above you, but you rent your apartment or just do not feel like cutting into drywall, you have options. Dolby Atmos does not require holes in your ceiling. You can get convincing overhead sound without a single power tool. The trick is knowing where to put your speakers and how to trick your brain into hearing height.
This guide covers 5.1.2 Dolby Atmos speaker placement without ceiling modifications. We will walk through the best speaker types for this job, the exact angles you need, and the common mistakes that kill the illusion. Whether you use upfiring modules or wall mounted speakers, these steps will get you closer to that bubble of sound.
You can build a convincing 5.1.2 Atmos system without cutting into your ceiling. The most effective no drill method uses front height speakers mounted high on the wall, aimed at the listening position. Upfiring modules work best in rooms with flat, reflective ceilings between 7.5 and 9 feet high. Your AV receiver must know which speaker configuration you are using or the height channels will sound flat. Measure twice, place once, and let your receiver’s calibration do the rest.
Why Traditional Ceiling Speakers Are Not Always an Option
In-ceiling speakers require running wires through the attic or joists. If you live in a rental, that is a nonstarter. Even homeowners sometimes hesitate because cutting into a ceiling feels permanent. And if you have a popcorn ceiling from the 1980s, patching that texture is a nightmare.
The good news is that Dolby Atmos was designed with flexibility in mind. The format uses object based audio, which means the sound engineer does not assign sounds to specific speakers. Instead, the receiver decides which speaker should play each sound based on your room layout. As long as your receiver knows where the speakers are, it can create a convincing overhead effect.
You have three main paths for no ceiling Atmos:
– Upfiring speakers (also called Dolby Atmos enabled modules)
– Front height speakers mounted on the wall
– On wall speakers placed near the ceiling line
Each method has tradeoffs. Let us break them down.
The Three Ways to Get Atmos Height Without Drilling
Before you buy anything, look at your room. The ceiling material and height matter more than you think.
Upfiring Speakers (Dolby Atmos Enabled Modules)
These sit on top of your front left and right speakers or on a shelf. They fire sound upward. The sound bounces off the ceiling and arrives at your ears from above. This method works best with a flat, non textured ceiling. If you have a coffered ceiling, exposed beams, or a popcorn texture, the sound scatters and the effect weakens.
Your ceiling height should be between 7.5 and 9 feet. Higher ceilings make the bounce too long. The sound loses energy and feels distant rather than overhead.
Place the modules directly on top of your front speakers. If your front speakers are too low, the bounce angle gets shallow. Aim for the module to be at ear level or slightly above. The module should point straight up, not tilted.
Front Height Speakers on the Wall
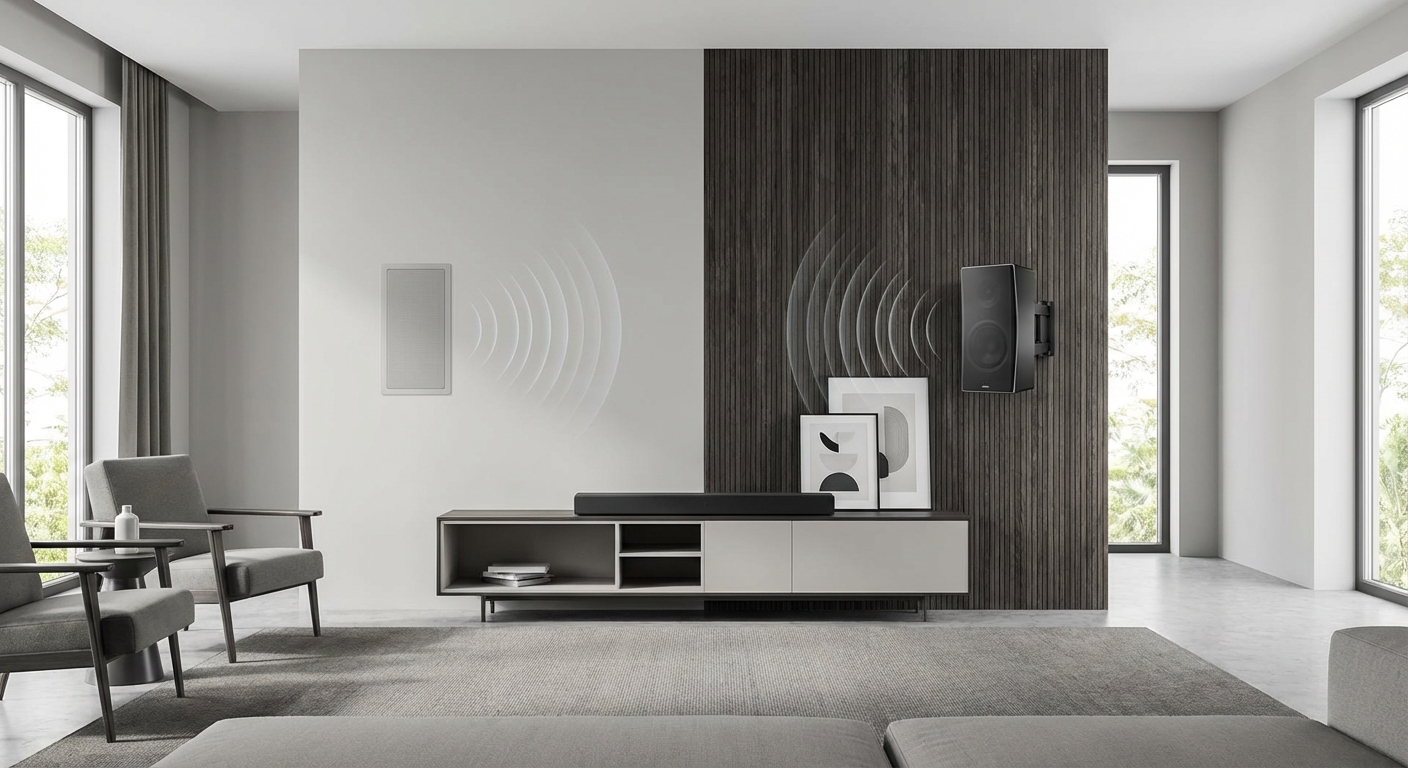
This is the most reliable no ceiling method. You mount a pair of speakers high on the front wall, near the ceiling line. They point downward toward the listening area. Your receiver treats them as height channels. Because the speakers are physically above you, the brain interprets the sound as coming from overhead.
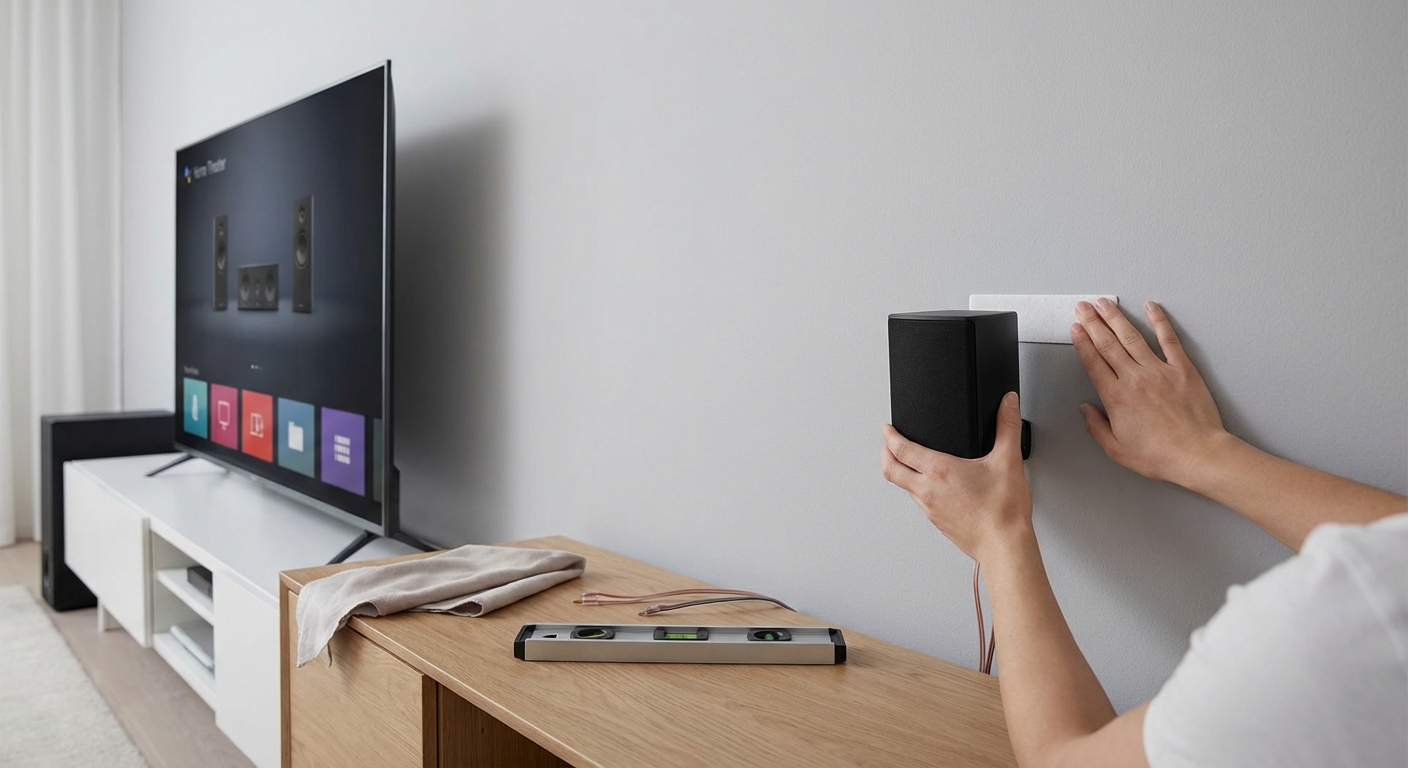
Mount them about 2 to 3 feet above your front left and right speakers. Angle them down so the tweeter aims at the main listening position. If your room has a standard 8 foot ceiling, place the bottom of the speaker about 6 to 12 inches from the ceiling.
This method works in almost any room. It does not rely on ceiling reflection. You get consistent height effects regardless of ceiling texture.
On Wall Speakers Near the Ceiling Line
Similar to front height speakers, but you place them on the side walls instead. This works best if your seating is close to the back wall and you cannot place speakers behind you. Mount them high on the side walls, slightly behind the listening position. Angle them across the room toward the seating area.
This setup mimics the rear height channels in a 5.1.4 system. For a 5.1.2 setup, stick with front height or upfiring for simplicity.
Step by Step Placement for a 5.1.2 No Ceiling Setup
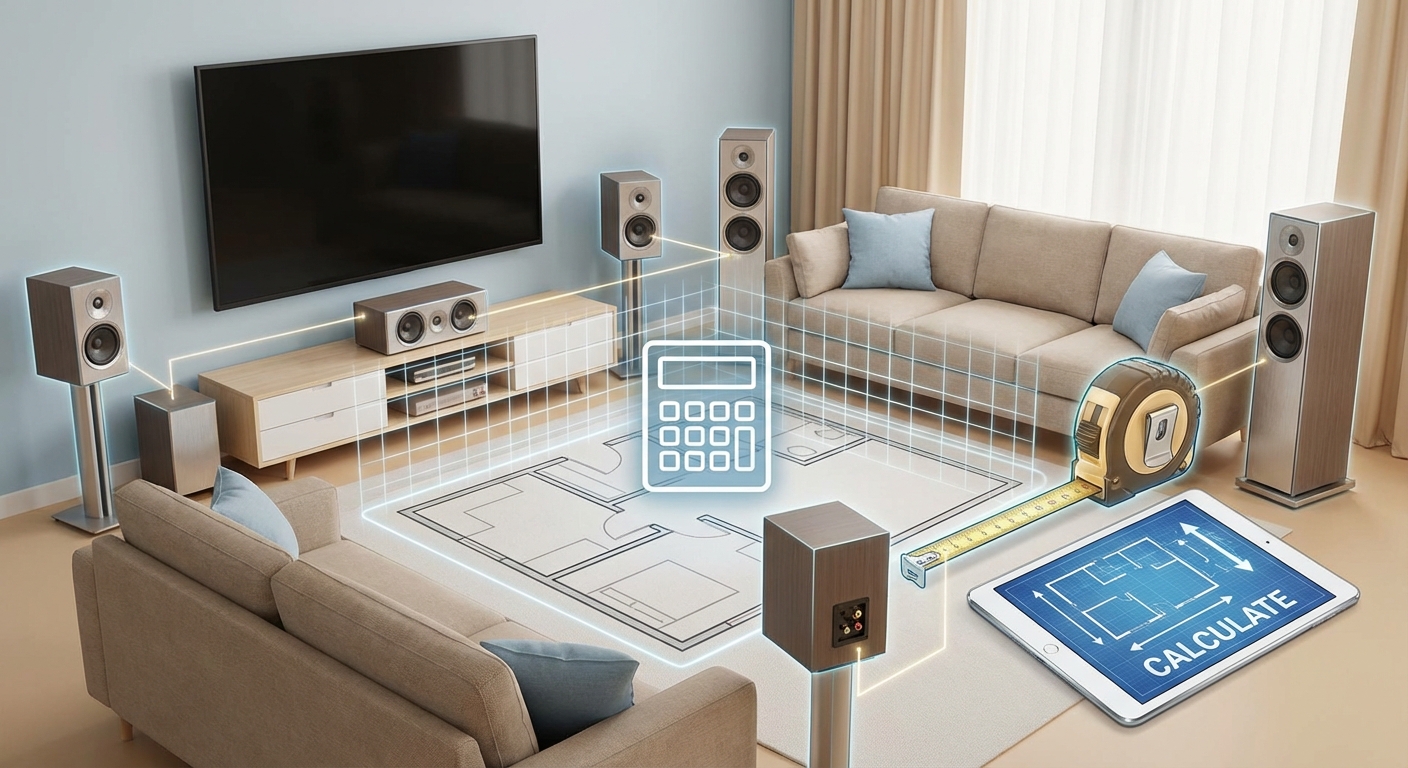
Follow these steps in order. Do not skip the measurement part. A few inches can make or break the illusion.
-
Set your base layer first. Place your front left, center, and right speakers at ear level. The left and right should form an equilateral triangle with your seat. The center channel goes directly above or below your TV. Do not move to height speakers until the base layer sounds balanced.
-
Place the surround speakers. In a 5.1.2 system, the “5” means five ear level channels plus a subwoofer. Your surround speakers go to the sides or slightly behind the listening position. They should be about 2 feet above ear level if mounted on walls. If you use stands, keep them at ear level.
-
Position the subwoofer. Place it in a corner or along the front wall. Run the calibration and then do the crawl test. Move the sub until the bass sounds even across the room.
-
Add the height speakers. If using upfiring modules, place them on top of the front left and right speakers. If using front height speakers, mount them high on the front wall, directly above the front left and right. Keep them 6 to 12 inches from the ceiling.
-
Angle the height speakers. For front height speakers, tilt them down to point at the listening position. For upfiring modules, leave them pointing straight up. Do not tilt them forward or backward.
-
Run your receiver’s auto calibration. This is not optional. The receiver measures distances and levels. It also sets the crossover frequency. Let it do its job.
-
Verify with Atmos test tones. Play a Dolby Atmos demo track. Listen for sounds that move from the front to above you. If the height effect sounds weak, check the angle and distance.
Common Mistakes That Ruin the Height Effect
Here is a table of the most frequent errors and how to fix them.
| Mistake | Why It Hurts Atmos | The Fix |
|---|---|---|
| Upfiring speakers on a textured ceiling | Sound scatters and loses direction | Switch to front height speakers or add a smooth panel above the modules |
| Height speakers too far from the ceiling | The angle is wrong and sound hits the wall instead of your ears | Move them closer to the ceiling line, within 12 inches |
| Receiver set to wrong speaker configuration | The receiver sends the wrong signal to the height channels | In the receiver menu, select “Front Height” or “Atmos Enabled” not “Top Middle” |
| Crossover set too high | The height speakers cannot play low enough and sound thin | Set crossover to 80 Hz for floorstanding, 100 Hz for bookshelf speakers |
| Listening position too far from the bounce point | The reflected sound arrives late and feels disconnected | Move your seat forward or backward so the bounce path is clean |
| Height speakers not aimed at the seat | The sound misses the sweet spot | Use a laser pointer or string to confirm the tweeter aims at your ears |
Expert advice: If you use upfiring modules, place a thin area rug on the floor between the speakers and the listening position. Hard floors reflect sound upward and cause early reflections that muddy the height effect. Carpet absorbs that bounce and keeps the Atmos channel clean.
How to Set Up Your AV Receiver for No Ceiling Atmos
Your receiver needs to know what kind of height speakers you are using. This is where many people get stuck. They plug everything in, run calibration, and wonder why the height channels sound like normal speakers.
Here is what to do.
-
For upfiring modules: In the receiver’s speaker configuration menu, select “Dolby Atmos Enabled” or “Upfiring” for the height channels. Do not select “Top Middle” or “Front Height.” The receiver uses a different crossover and delay setting for reflected sound.
-
For front height speakers: Select “Front Height” or “Height” in the configuration. Some receivers label this as “FH.” The receiver will treat these as direct radiating speakers and adjust the delay accordingly.
-
Set the crossover. For most bookshelf size height speakers, set the crossover to 100 Hz. For larger speakers, 80 Hz works. The subwoofer will handle the low frequencies. This keeps the height channels focused on the directional sounds.
-
Distance calibration matters. Measure the actual distance from each height speaker to your ear. Do not guess. Use a tape measure. Enter the distance manually if the auto calibration gets it wrong. Some receivers overestimate distance for upfiring modules because they measure the bounce path instead of the direct path.
-
Level match. After calibration, listen to a test tone. The height channels should be slightly quieter than the ear level speakers. If they are too loud, the effect sounds artificial. If too quiet, you lose the overhead feel. Adjust by 1 dB at a time.
Choosing the Right Gear for a No Ceiling Atmos System
Not all speakers work well for height channels. Here is what to look for.
Upfiring modules: Buy modules designed specifically for Atmos. They have angled drivers that fire upward at the correct angle. Generic bookshelf speakers placed on their sides do not work as well. Look for modules with a two way design (woofer and tweeter). The tweeter helps with the high frequency detail that makes rain and helicopter sounds realistic.
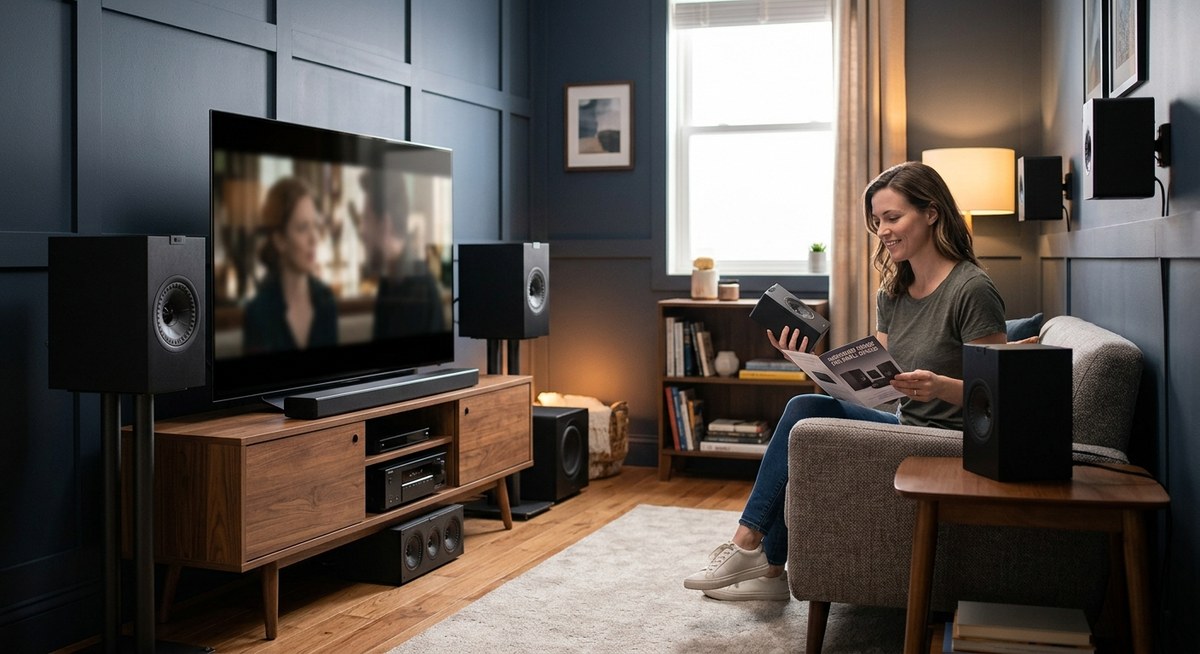
Front height speakers: Small bookshelf speakers work great. You do not need large towers for height channels. Look for speakers with a wall mount bracket included. If the speaker is too deep, it will stick out from the wall and look awkward. Slim on wall speakers are ideal.
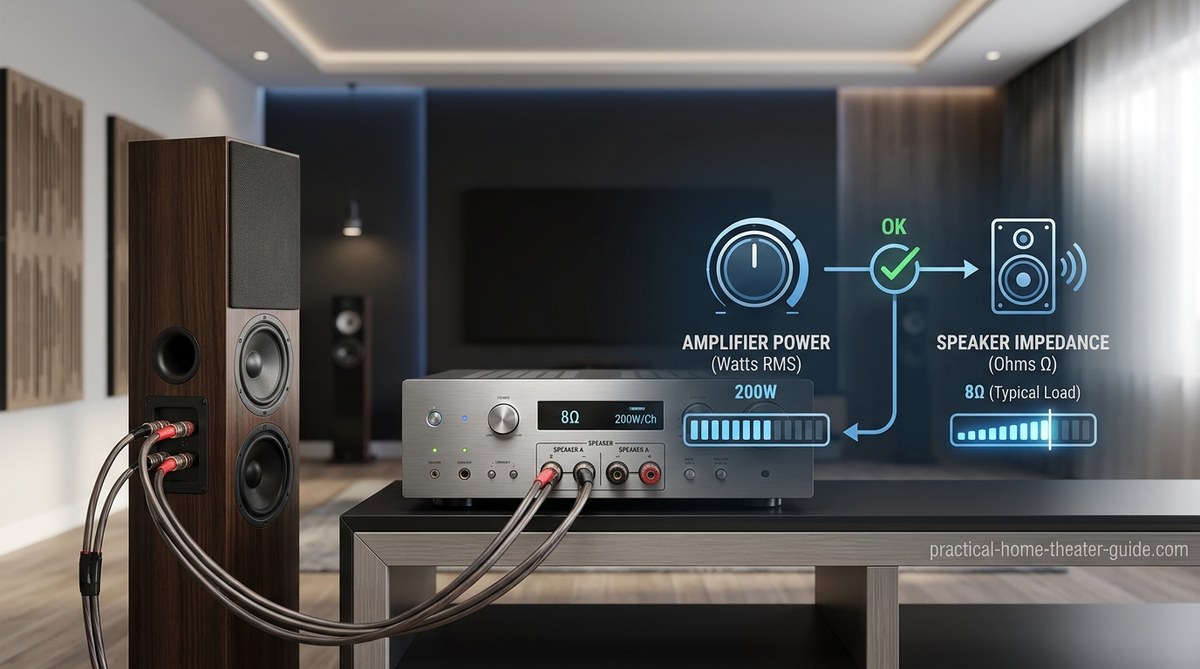
AV receiver requirements: Your receiver must support Dolby Atmos with at least 7 channels of amplification. A 7.1 channel receiver gives you five ear level channels plus two height channels and a subwoofer. If your receiver is older than 2015, it likely does not support Atmos. Check the back panel for HDMI 2.0 or higher. If you are shopping for a new receiver in 2026, look for one that supports HDMI 2.1 for future proofing. For more guidance on matching your receiver to your speakers, check out our guide on how to match your receiver’s wattage to your speakers without overspending.
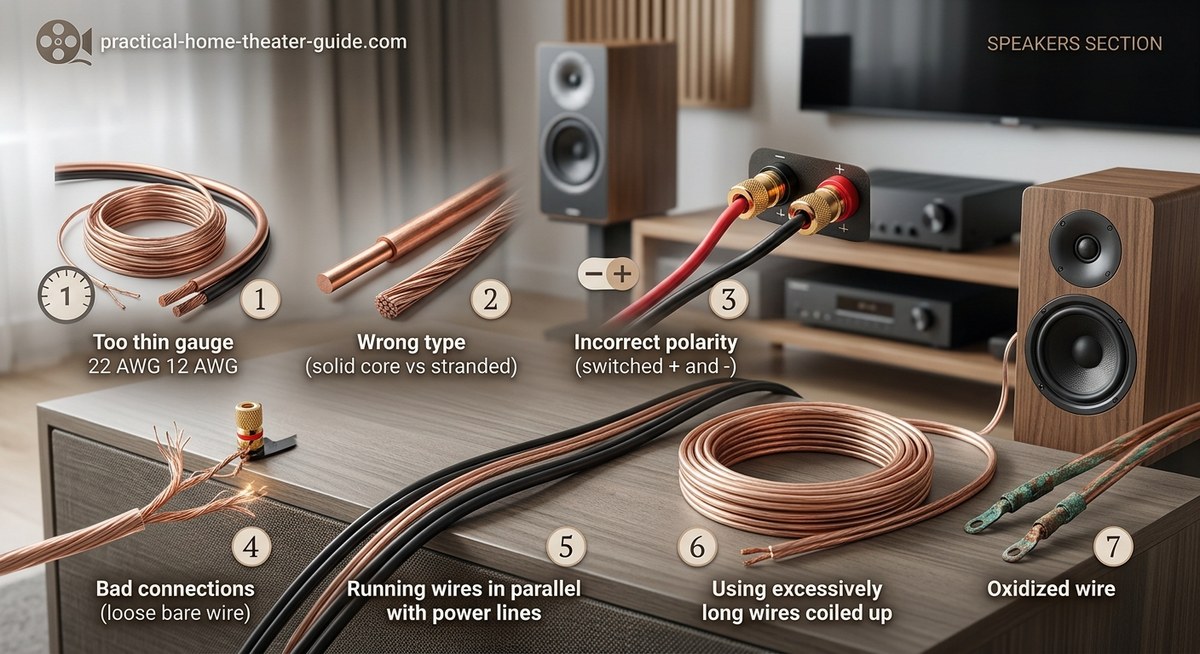
Speaker wire: Use 16 gauge wire for runs under 50 feet. For longer runs, use 14 gauge. Do not use cheap wire that looks like lamp cord. The insulation breaks down over time. For a clean look, consider our advice on how to run speaker wire through walls without damaging your home even if you are not cutting into the ceiling. You can run wire along baseboards and use paintable raceways.
When Upfiring Speakers Fail and What to Do Instead
Upfiring speakers get a bad reputation because they work perfectly in some rooms and poorly in others. If you try them and the effect is weak, do not give up on Atmos. Switch to front height speakers.
Here is a checklist to decide which method fits your room.
- Ceiling height between 7.5 and 9 feet with smooth surface: Upfiring works well
- Ceiling height above 9 feet or textured: Use front height speakers
- Room has ceiling fan or light fixtures in the bounce path: Use front height speakers
- You cannot mount anything on the walls: Upfiring is your only option
- You want the most reliable effect: Front height speakers win every time
If you are unsure, buy a pair of small bookshelf speakers with wall mounts. They cost about the same as Atmos modules and work in any room. You can always switch to upfiring later if you move to a place with a better ceiling.
Fine Tuning the Atmos Sweet Spot
After you set everything up, spend 20 minutes listening to Atmos content. Do not use stereo music. Use a movie with clear overhead moments. “Blade Runner 2049” has rain that pans across the ceiling. “Gravity” has debris flying overhead. “Mad Max: Fury Road” has dust storms that wrap around the room.
Sit in the center seat. Close your eyes. Listen for sounds that seem to come from above, not from the front or sides. If the rain sounds like it is falling in front of you, the height speakers are too low or the angle is wrong.
Adjust the angle of front height speakers by 5 degrees at a time. For upfiring modules, try moving them forward or backward on the speaker. Some modules have a switch that changes the bounce distance. Use the shorter setting for smaller rooms.
If the effect still sounds weak, check your room acoustics. Hard surfaces like bare walls and windows reflect sound and create confusion. Add soft furniture, curtains, or acoustic panels to clean up the soundstage. Our guide on how to stop echo and reverb ruining your home theater sound can help you identify problem spots.
Your No Ceiling Atmos Setup Is Ready
You do not need to own a house or hire a contractor to enjoy Dolby Atmos. With the right placement and a few simple tools, you can get convincing overhead sound using upfiring modules or front height speakers. The key is measuring correctly, telling your receiver what kind of speakers you have, and giving the system a few minutes to calibrate.
Start with your base layer. Add the height speakers. Run the setup. Then sit back and listen to the rain fall above you. No drywall dust required.

Leave a Reply