
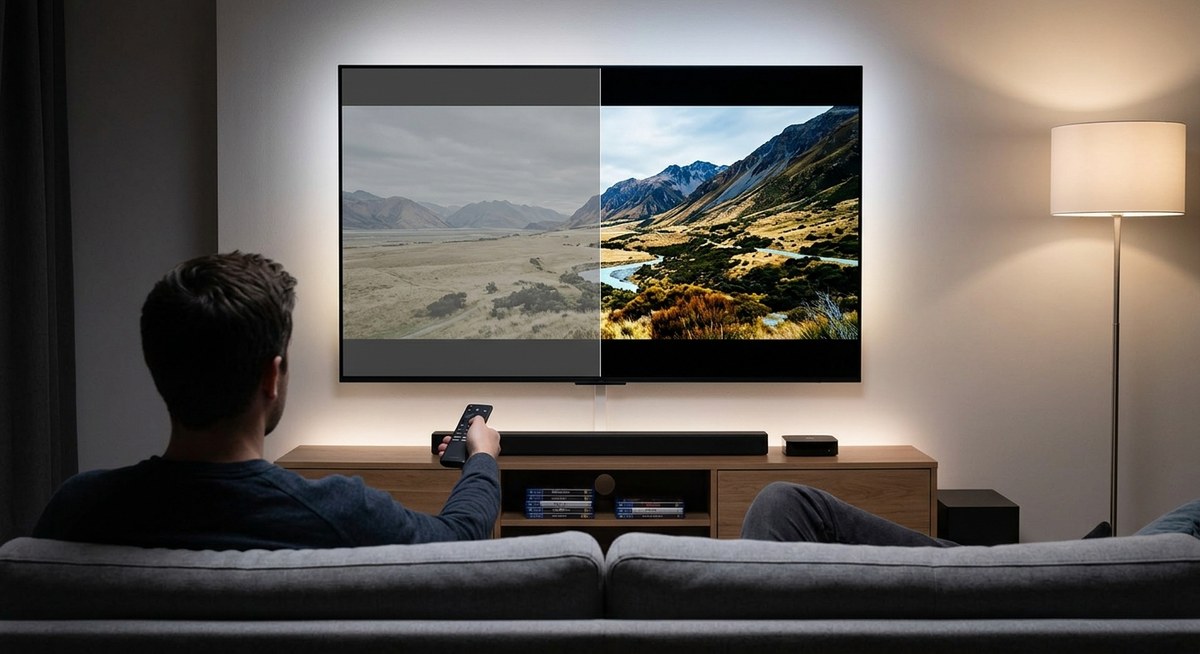
You just upgraded to a 4K TV, maybe even a fancy OLED or Mini-LED. You put on a movie that promises “HDR” and waits for those jaw dropping highlights and rich colors. Instead, the image looks flat. Colors seem faded. The whole picture has a dusty, milky haze over it. It feels like a downgrade from your old standard HD set.
You are not alone. This is one of the most common complaints about modern TVs. The good news is that your TV is probably fine. The problem is almost always a setting, a cable, or the source material itself. Let me walk you through the exact steps to fix a washed out HDR picture. You will be amazed at what a few tweaks can do.
A washed out HDR image usually comes from one of three things: the wrong picture mode, a bad HDMI cable or port, or incorrect brightness and contrast settings. Switch to a dedicated HDR mode like Cinema or Filmmaker Mode. Make sure you use a high speed HDMI cable rated for 18Gbps or more. Then adjust your brightness, contrast, and color settings to match your room. That is the fix.
What Actually Causes HDR to Look Washed Out
HDR stands for High Dynamic Range. It is supposed to show brighter highlights and deeper blacks at the same time. When it looks washed out, your TV is not handling that expanded range correctly. The most common culprits are:
- Wrong picture mode. Many TVs default to a “Standard” or “Vivid” mode that crushes detail.
- HDMI handshake issues. Your source device and TV are not communicating properly about the HDR signal.
- Incorrect backlight or brightness. HDR needs a lot of light output. If your backlight is too low, the image looks dim and flat.
- Bad HDMI cable. An older cable cannot carry the full bandwidth needed for 4K HDR.
- Room lighting. Too much ambient light washes out the screen.
Let me show you how to check each of these.
Step by Step: The Washed Out HDR Fix
Follow these steps in order. Do not skip ahead. Each one builds on the last.
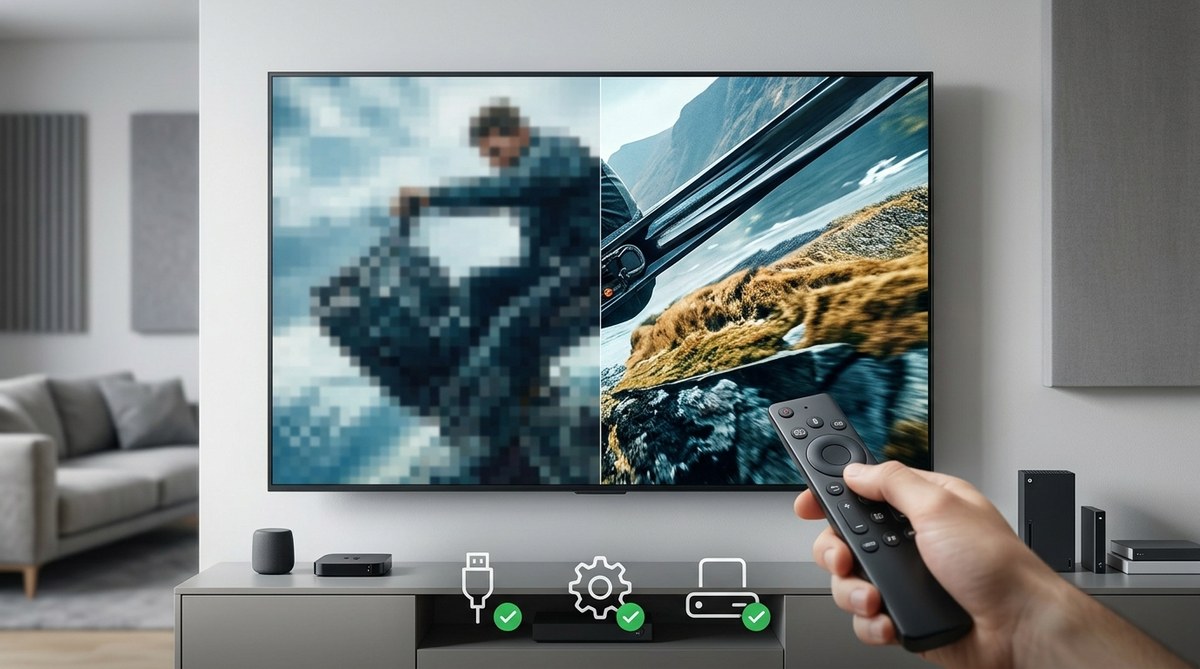
1. Check Your HDMI Cable and Port
This is the easiest thing to verify, and it causes more problems than people realize.
- Look at the cable itself. Does it say “High Speed HDMI” or “Premium High Speed HDMI”? If it just says “Standard HDMI” or has no label, replace it.
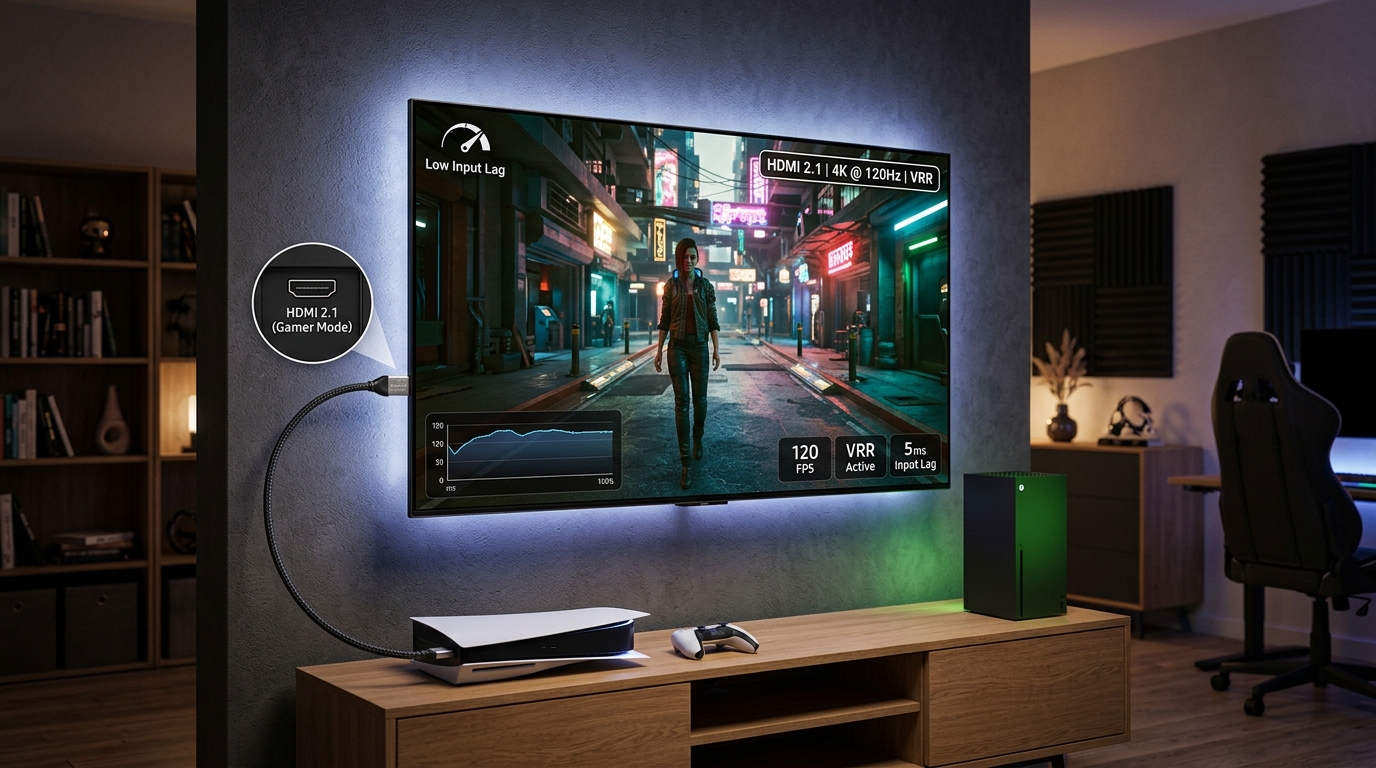
- For 4K HDR at 60Hz, you need a cable that supports at least 18Gbps bandwidth. For 4K HDR at 120Hz (like on a PS5 or Xbox Series X), you need 48Gbps (Ultra High Speed HDMI).
- Plug your source device into the correct port. Most TVs have one or two HDMI ports labeled “ARC” or “eARC” or “HDMI 2.1”. These are the ones that support full HDR bandwidth. Check your user manual.
If you are using an older cable from a previous TV, that is likely your problem. Swap it out for a certified Premium High Speed HDMI cable.
2. Select the Correct Picture Mode
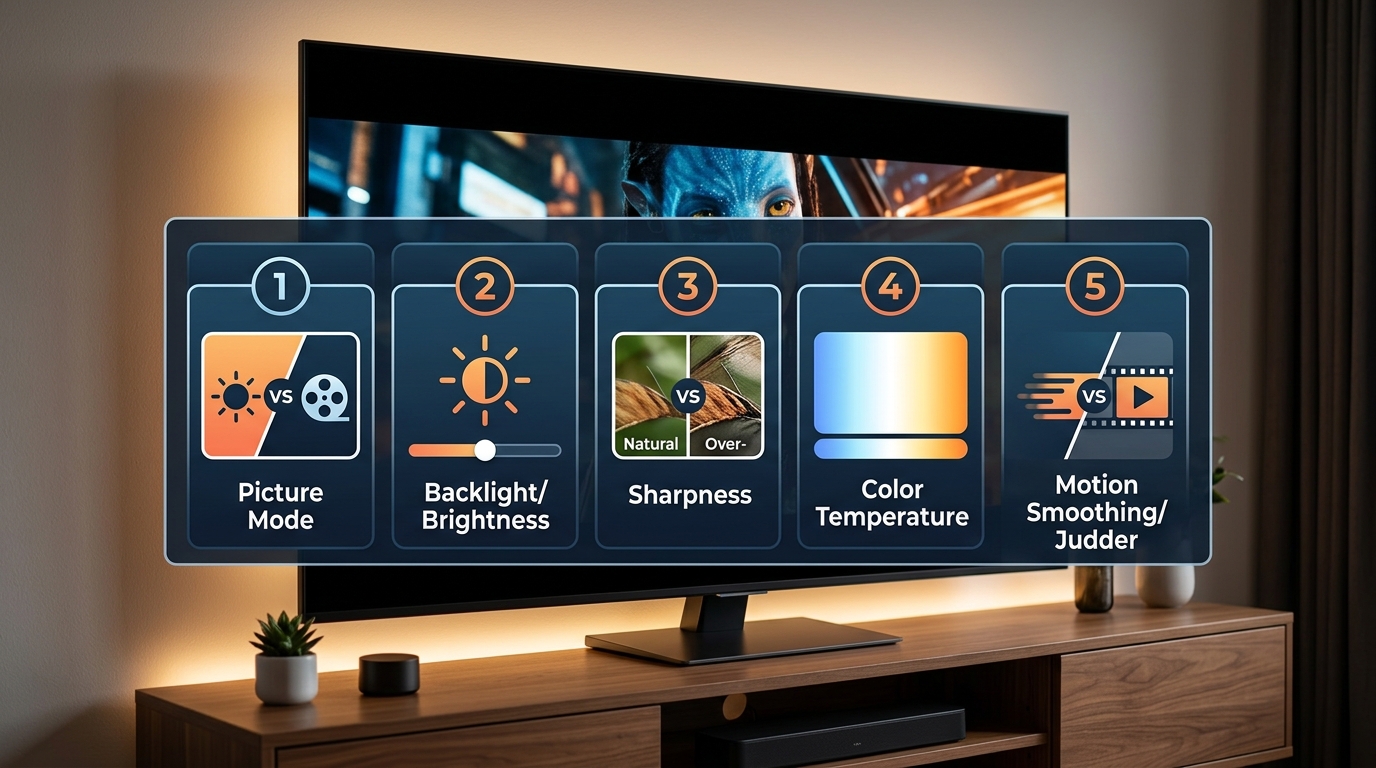
This is the single most important setting. Do not use “Standard” or “Vivid” for HDR content. Those modes are designed to look punchy in a bright store, not accurate at home.
- For most TVs: Switch to “Cinema,” “Movie,” or “Filmmaker Mode.”
- For LG OLEDs: Use “Cinema” or “Filmmaker Mode.”
- For Samsung QLEDs: Use “Movie” mode.
- For Sony TVs: Use “Cinema” or “Professional.”
- For TCL and Hisense: Use “Movie” or “Filmmaker Mode.”
These modes disable most of the processing that makes HDR look washed out. They also set the color temperature to a warmer, more accurate setting. It might look a little yellow at first compared to the blue tint of Standard mode. Give your eyes a few minutes to adjust. You will see the difference.
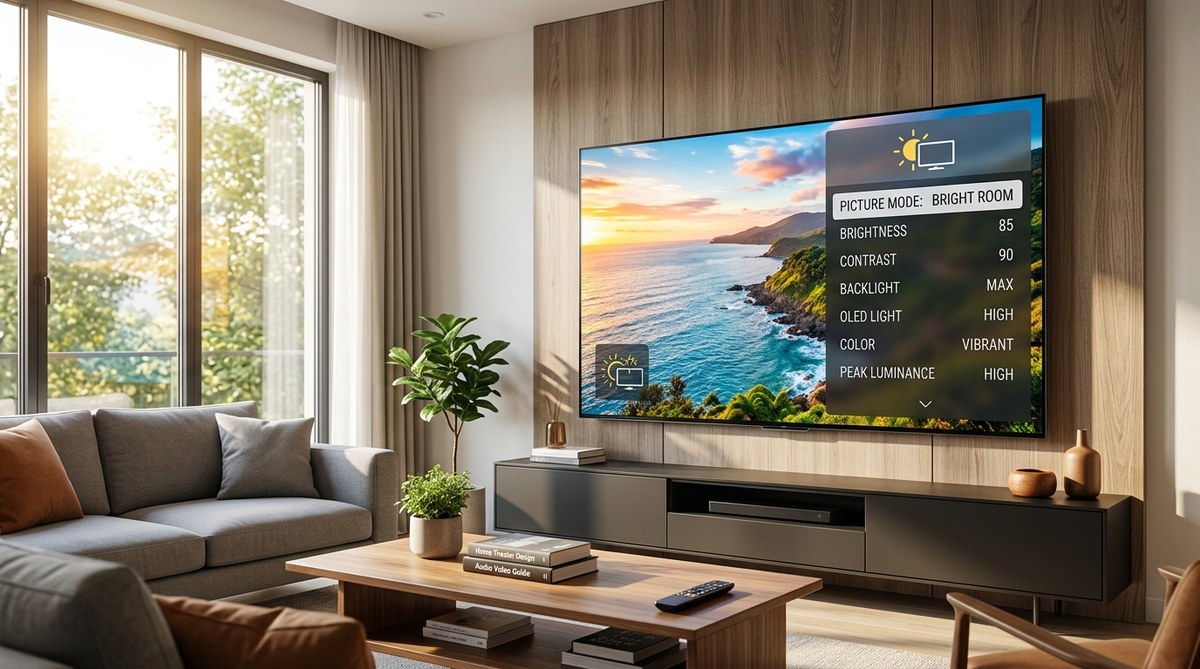
3. Adjust Backlight and Brightness
HDR needs a high backlight setting to produce those bright highlights. On most TVs, the backlight and brightness settings do different things.
- Backlight (or OLED Pixel Brightness): Crank this to 100%. This is the overall light output of the TV. For HDR, it should always be at maximum.
- Brightness (or Black Level): This controls how dark the blacks are. Set it to 50% as a starting point. If the image looks gray, lower it slightly. If you lose detail in dark scenes, raise it a tiny bit.
- Contrast: Set this to 100% for HDR. This tells the TV to use the full dynamic range. If you set it lower, the bright parts of the image will look dull.
Here is a table that summarizes the common mistakes and the correct settings:
| Setting | Common Mistake | Correct HDR Setting |
|---|---|---|
| Picture Mode | Standard or Vivid | Cinema, Movie, or Filmmaker Mode |
| Backlight / OLED Light | 50% or lower | 100% |
| Brightness / Black Level | Too high (washed out) or too low (crushed blacks) | 50% (adjust +/- 5% as needed) |
| Contrast | 85% or lower | 100% |
| Color Temperature | Cool or Standard | Warm (Warm2 or Expert) |
| Gamma | High gamma (darker image) | 2.2 or BT.1886 |
4. Turn Off Unnecessary Processing
Modern TVs have a lot of “enhancement” features. Most of them hurt HDR quality.
- Turn off “Dynamic Contrast” or “Auto Contrast.” These constantly adjust the brightness, which makes HDR look unstable and washed out.
- Turn off “Noise Reduction” and “MPEG Noise Reduction.” These soften the image and remove fine detail.
- Turn off “Motion Smoothing” or “Auto Motion Plus.” This is the “soap opera effect.” It creates an artificial smoothness that ruins the film look. For HDR, it can also introduce artifacts.
- Set “Color Space” to “Auto” or “Native.” Do not force it to a specific standard.
5. Check Your Source Device Settings
Sometimes the TV is fine, but the source device (streaming box, game console, Blu-ray player) is sending the wrong signal.
- Streaming devices (Roku, Apple TV, Fire Stick): Go to the display settings. Make sure “Match Dynamic Range” or “Match Content” is turned ON. This tells the device to send HDR only when the content is actually HDR. If it is off, the device might force HDR on everything, including standard content, which looks terrible.
- Game consoles (PS5, Xbox): Go to the video output settings. Make sure “Allow HDR” or “HDR10” is enabled. The console will then switch to HDR automatically when you launch an HDR game. Also run the HDR calibration tool built into the console. It will help you set the correct brightness levels for your specific TV.
- Blu-ray players: Check the “HDMI Deep Color” or “HDMI Enhanced Format” setting. It should be set to “On” or “Enhanced.”
Expert tip from a calibration veteran: “The most common mistake I see is people leaving their TV in Standard mode and wondering why HDR looks bad. The second most common mistake is using a cheap, old HDMI cable. Fix those two things, and 90% of washed out HDR problems go away.”
6. Control Your Room Lighting
HDR looks its best in a dark or dim room. If you are watching during the day with direct sunlight hitting the screen, the image will always look washed out. It is not your TV’s fault. No TV can compete with a bright window.
- Use blackout curtains or blinds.
- Watch HDR content at night or after sunset.
- If you must watch during the day, consider an anti-glare screen protector or a TV with a matte finish.
A Quick Checklist for Perfect HDR
Use this list every time you set up a new TV or a new source device.
- [ ] Use a Premium High Speed HDMI cable (18Gbps minimum).
- [ ] Plug into the correct HDMI port (check your manual).
- [ ] Select Cinema or Filmmaker Mode for HDR content.
- [ ] Set Backlight / OLED Light to 100%.
- [ ] Set Contrast to 100%.
- [ ] Set Brightness to 50% and adjust from there.
- [ ] Set Color Temperature to Warm.
- [ ] Turn off Dynamic Contrast, Noise Reduction, and Motion Smoothing.
- [ ] Enable “Match Content” on your streaming device.
- [ ] Dim the room lights.
Common Mistakes People Make (And How to Avoid Them)
Let me show you a few more traps that lead to a washed out picture.
Mistake 1: Forcing HDR on all content.
Some TVs have a setting called “HDR Mode” or “Active HDR” that tries to convert standard content to HDR. This almost always looks bad. It creates a fake, washed out look. Only use true HDR content. Your TV should switch to HDR mode automatically when it detects an HDR signal.
Mistake 2: Using the wrong HDMI input.
As I mentioned earlier, not all HDMI ports are created equal. If you plug your 4K Blu-ray player into an HDMI 1.4 port, you will get a limited signal. The image will look flat. Move it to an HDMI 2.0 or 2.1 port.
Mistake 3: Ignoring the “HDMI Ultra HD Deep Color” setting.
On many LG, Sony, and Samsung TVs, you need to enable this setting for each HDMI input. Without it, the port will not accept a full 4K HDR signal. Go to your TV’s settings menu, find “General” or “External Devices,” then turn on “HDMI Ultra HD Deep Color” for the input you are using.
Mistake 4: Setting the wrong gamma.
Gamma controls the brightness of mid tones. If it is set too high, the image looks dark and muddy. If it is set too low, the image looks washed out and gray. For most HDR content, a gamma of 2.2 or BT.1886 is correct. Avoid “High” or “High1” gamma settings.
When the Fix Doesn’t Work: Possible Hardware Limits
Sometimes, no amount of tweaking will fix a washed out HDR image. This happens when the TV itself cannot produce enough brightness.
- Entry level 4K TVs often have peak brightness below 400 nits. True HDR needs at least 600 nits to look impactful, and 1000 nits or more is ideal. If your TV is a budget model, it simply cannot display HDR correctly. The image will always look dim and flat.
- Older HDR TVs (2016-2018 models) might not support HDR10+ or Dolby Vision. If your source is sending a format your TV does not support, it will fall back to standard dynamic range. Check your TV’s specifications.
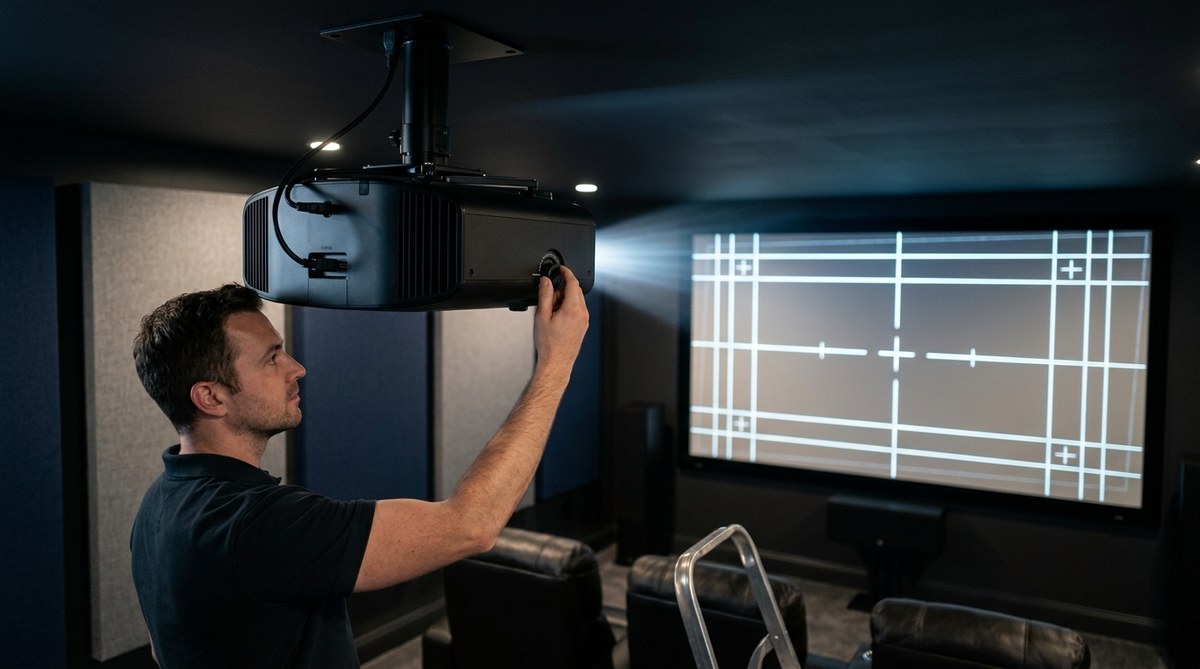
- If you have a projector, HDR is much trickier. Most projectors cannot reach the brightness levels of a good TV. You might need a specialized HDR optimizer or a projector with high lumen output. Check out our guide on Projector Lumens Explained: How Bright Does Yours Need to Be? for more details.
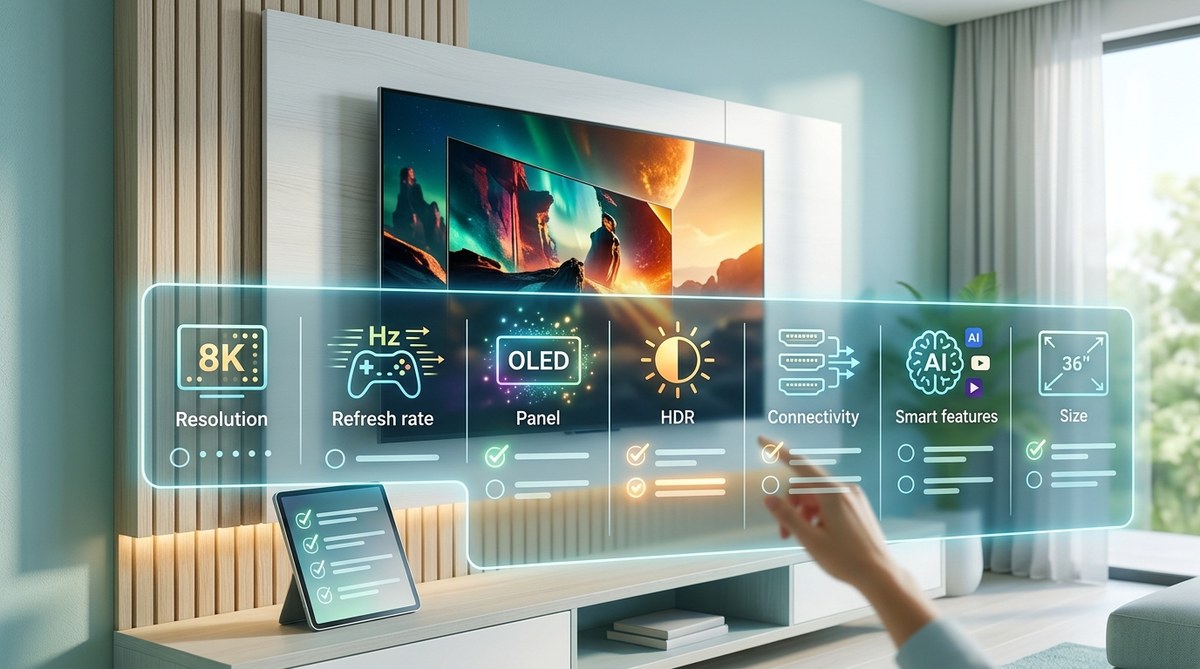
If you suspect your TV is the bottleneck, consider upgrading to a model with better HDR performance. Our comparison of OLED vs QLED vs Mini-LED: Which TV Technology Should You Buy in 2026? can help you choose the right one.
Your TV’s Hidden Settings That Control HDR Quality
Most people stop after changing the picture mode. But there are deeper settings that can make or break the HDR experience.
Local Dimming
This feature controls how the TV adjusts brightness in different zones of the screen. For HDR, set local dimming to “High” or “Maximum.” This helps the TV produce deeper blacks while keeping bright areas bright. If you set it to “Low” or “Off,” the image will look gray and washed out.
Color Gamut
HDR uses a wider color space called DCI-P3 or Rec.2020. Make sure your TV’s color space is set to “Auto” or “Native.” If you force it to “Rec.709” (the standard for HD), you will lose all the extra color that makes HDR look vibrant.
Tone Mapping
Some TVs have a “HDR Tone Mapping” or “Dynamic Tone Mapping” setting. This adjusts the brightness of the HDR signal to match your TV’s capabilities. On most modern TVs, leaving this on “Auto” or “On” is the best choice. It prevents the image from looking too dark or too bright.
Putting It All Together
You now have a complete roadmap to fix a washed out HDR picture. Start with the cable and the picture mode. Those two changes will solve the majority of cases. Then work through the checklist. Adjust your room lighting. Make sure your source device is configured correctly.
Do not get overwhelmed. Pick one thing at a time. Change the picture mode first. Watch a scene you know well. Does it look better? Good. Move to the next step.
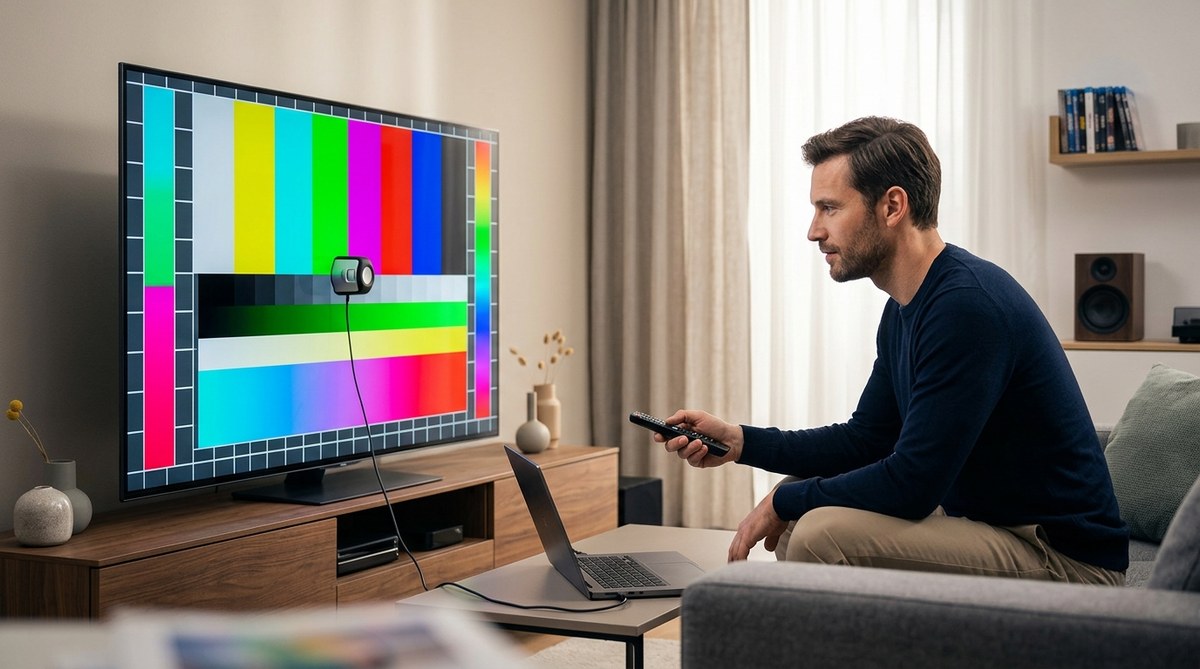
If you still see problems after all these changes, it might be time to look at a professional calibration. Our guide on How to Calibrate Your TV in 30 Minutes Without Hiring a Professional can help you take things further. But for most people, the steps above will turn that dull, flat image into the vibrant, punchy HDR experience you paid for.
Grab your remote, make those changes, and enjoy the movie. You earned it.

Leave a Reply