
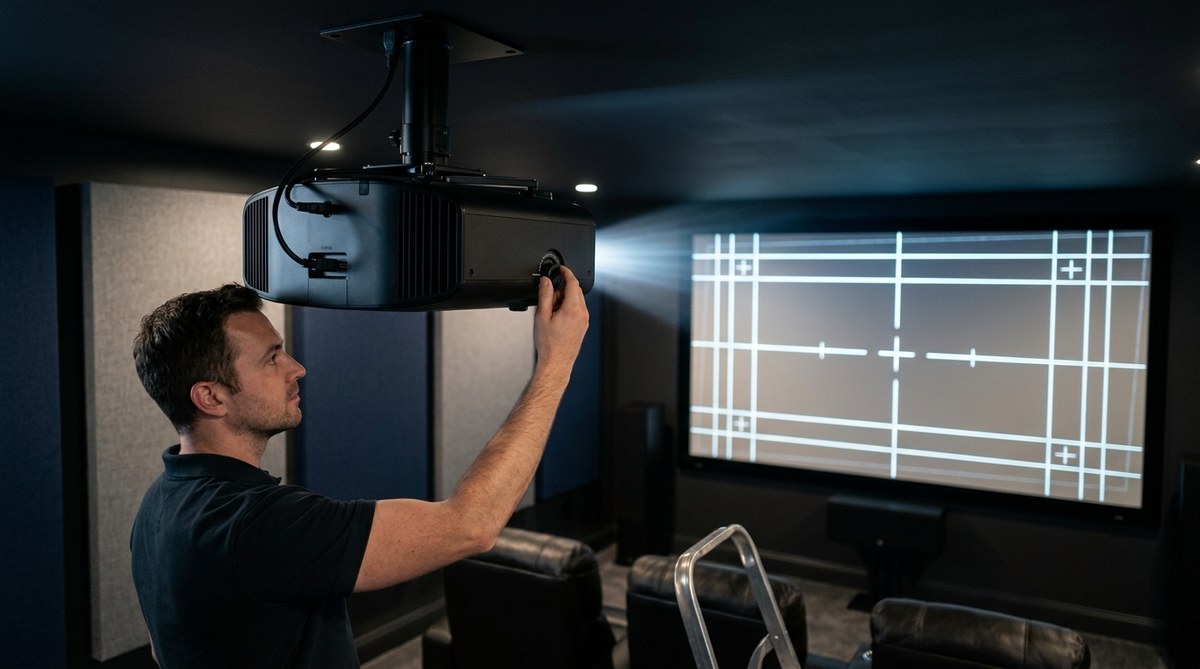
You spent good money on a projector. You ran the cables. You mounted it to the ceiling. You turned it on, and the image looks like a trapezoid. The top is wider than the bottom. Or the left side tilts down while the right side tilts up. That is lens misalignment, and it is the number one thing that makes a home theater look amateur.
The good news is that fixing it does not require a service call. You do not need special tools. You just need to understand how your projector works and follow a few deliberate steps. This guide will walk you through the process of aligning your projector lens so the image sits perfectly square on your screen. No keystone correction. No digital shortcuts. Just a clean, optical setup that preserves every pixel of resolution.
Perfect projector lens alignment starts with physical placement, not digital fixes. You need to center the lens relative to the screen, level the projector on all axes, and then use the lens shift controls to fine tune the image. Avoid using keystone correction because it degrades picture quality. A straight image depends on the projector being square to the screen, not on software tricks.
Why Your Projector Image Looks Crooked
Most people assume the projector is level because the ceiling mount looks straight. That is almost never true. Ceiling joists sag. Mounting plates have a tiny tilt. The projector itself might have a lens that is slightly offset from the center of the chassis.
The result is an image that does not match the rectangular shape of your screen. You see a wider top edge, a slanted side, or one corner that looks soft while the others are sharp. This is called keystone distortion. It happens when the projector is not perpendicular to the screen.
Your projector has a menu setting called keystone correction. It lets you squash the image digitally to make it look rectangular again. That works, but it costs you resolution. The projector is essentially cropping pixels and stretching others. A 4K image with heavy keystone correction can look like 1080p. You want to avoid that.
The fix is proper lens alignment. You align the physical projector to the screen, then use the optical lens shift to fine tune. No resolution lost. No weird artifacts. Just a clean picture.
What You Need Before You Start
Gather these items before you begin. They make the process faster and more accurate.
- A laser level or a standard bubble level (at least 24 inches long)
- A tape measure
- Masking tape or painter’s tape
- A friend to help you see the image while you adjust the mount
- The projector remote control
If you have not mounted the projector yet, read our guide on how to mount a projector to the ceiling without making costly mistakes first. A solid mount makes alignment much easier.
The Step by Step Alignment Process
Follow these steps in order. Do not skip ahead. Each step depends on the one before it.
1. Center the Projector Horizontally
Measure the distance from the left wall to the center of your screen. Mark that point on the ceiling with a piece of tape. Now measure from the same wall to the center of the projector lens. The two measurements should match within a quarter inch.
If the projector is off center, you will have to use horizontal lens shift to compensate. Most projectors have limited horizontal shift range. If you push it to the limit, you might get soft edges or color fringing. Get the lens as close to center as possible.
2. Set the Throw Distance
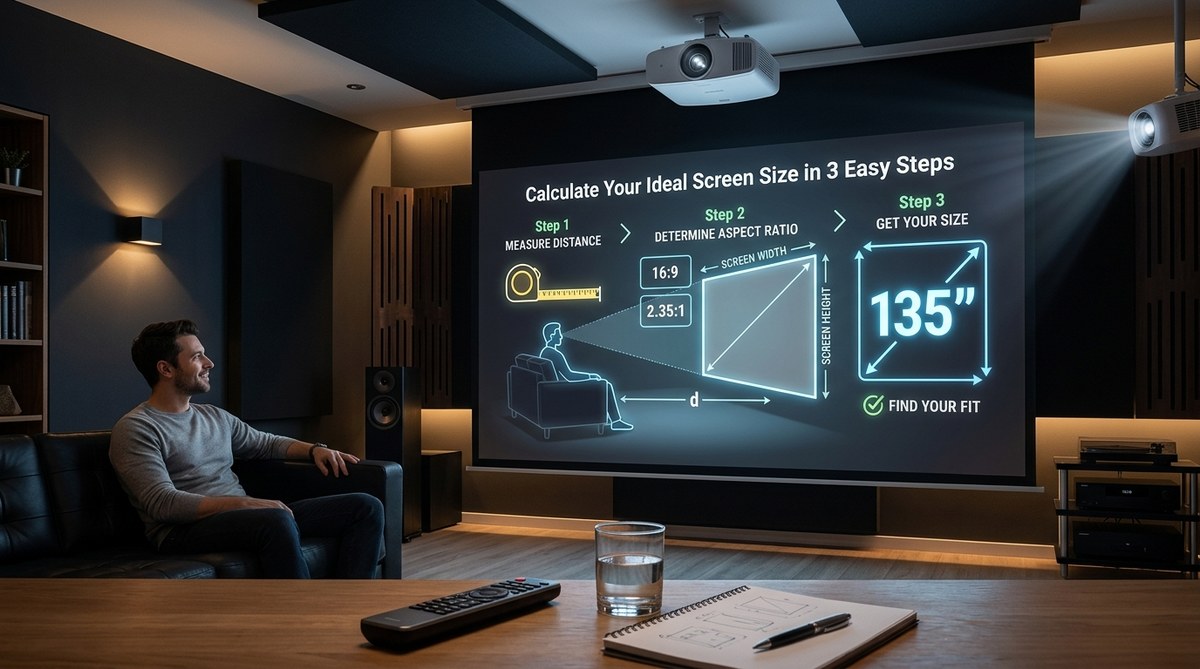
The distance between the projector lens and the screen determines your image size. Check your projector manual for the throw ratio. A common ratio for a standard throw projector is 1.2 to 1.5. That means for every foot of image width, the lens needs to be 1.2 to 1.5 feet away.
If you are unsure about the math, our guide on how to calculate projector throw distance for your room size will help you get it right.
3. Level the Projector Side to Side
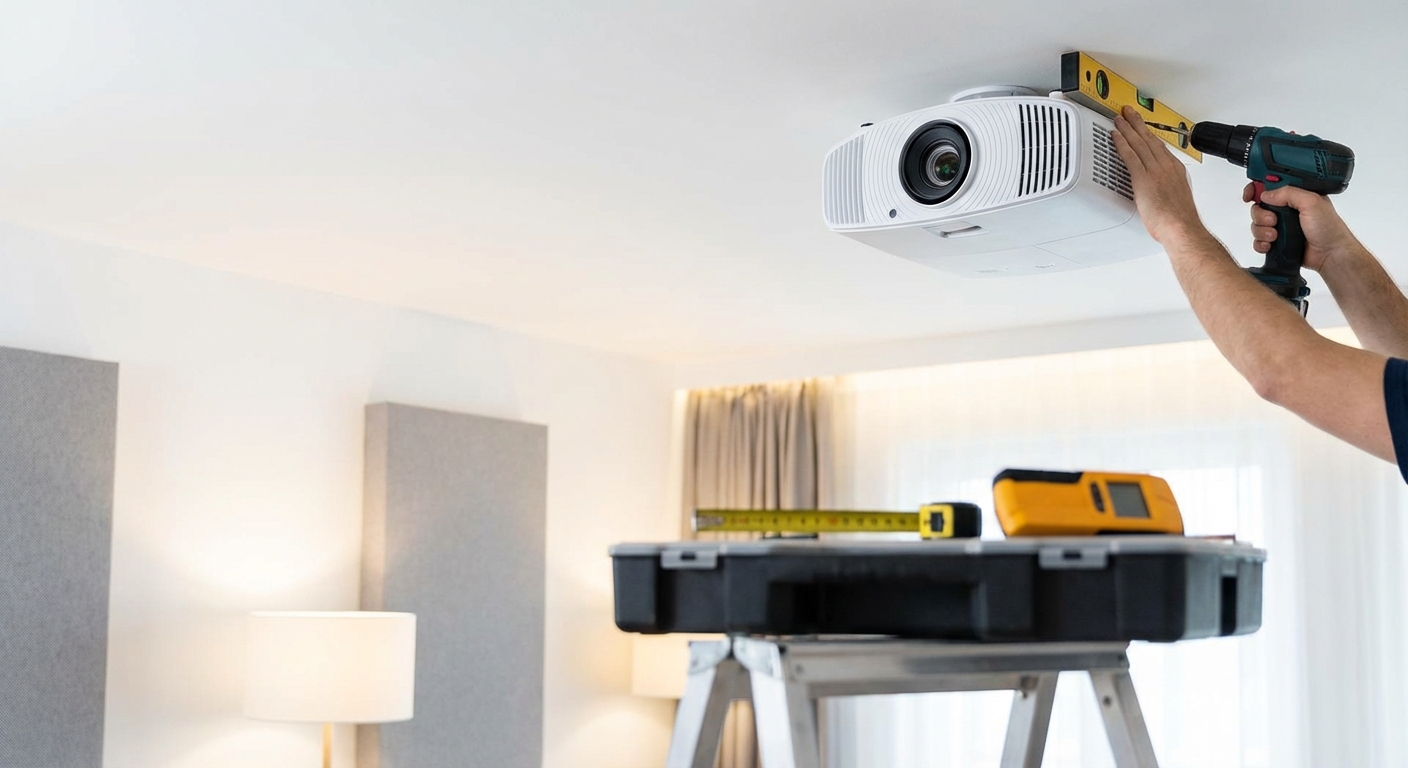
Place your bubble level across the top of the projector chassis, running left to right. Adjust the mount until the bubble sits perfectly in the center. This is the roll axis. If the projector is tilted side to side, the image will lean like a sinking ship.
4. Level the Projector Front to Back
Place the level along the side of the projector, running front to back. Adjust the mount tilt. This is the pitch axis. If the projector is tilted forward or backward, the image will be taller at one end and shorter at the other. That is vertical keystone distortion.
Most ceiling mounts have adjustment knobs for both roll and pitch. Make small turns. Check the level after each adjustment. Over tightening can strip the plastic threads on cheaper mounts.
5. Check the Yaw
Yaw is the rotation of the projector left or right. If the projector is pointed slightly to the left or right, the image will be wider on one side. This is horizontal keystone distortion.
To check yaw, measure from the projector lens to the left edge of the screen. Then measure to the right edge. The two measurements should be equal. If they are not, rotate the projector on the mount until they match.
6. Turn On the Projector and Display a Test Pattern
Most projectors have a built in test pattern. It usually looks like a grid or a crosshair. If yours does not, you can find free test patterns online and display them from a laptop or streaming stick.
The test pattern makes it easy to see misalignment. You will notice if the grid lines are not parallel to the screen edges.
7. Use Optical Lens Shift, Not Keystone
This is the most important step. Your projector has two types of lens shift: vertical and horizontal. They are usually controlled by physical dials on the lens barrel or by buttons on the remote.
Vertical lens shift moves the image up and down without tilting it. Horizontal lens shift moves the image left and right without tilting it. These are optical adjustments. They do not degrade the image.
Use the vertical shift first. Move the image until the top and bottom edges are parallel to the screen border. Then use the horizontal shift to center the image left to right.
If you run out of lens shift range, the projector is not positioned correctly. Go back to step 1 and adjust the physical placement.
8. Fine Tune the Focus
Once the image is square and centered, adjust the focus ring. Do not touch the zoom ring yet. Zoom changes the image size and can throw off your alignment.
Focus on the center of the image first. Then check the corners. If the corners are soft, you might have a slight pitch or yaw issue. Go back and recheck your levels.
For more details on fixing blurry images, read our guide on why your projector image looks blurry and how to fix it in 5 minutes.
Common Mistakes and How to Avoid Them
This table shows the most frequent alignment errors and the correct approach.
| Mistake | What It Does | The Fix |
|---|---|---|
| Using keystone correction | Reduces resolution and sharpness | Use optical lens shift instead |
| Leveling only one axis | Leaves the image tilted on another axis | Level roll, pitch, and yaw separately |
| Ignoring horizontal lens shift limits | Causes soft edges or color fringing | Center the projector physically first |
| Adjusting zoom before alignment | Changes image size and shifts the center | Set zoom last, after alignment |
| Tightening mount screws too much | Strips plastic threads or bends the mount | Use firm hand pressure, not tools |
Tools and Techniques That Make Alignment Easier
Here are some tools that help you get the job done faster.
- Laser level. A cross line laser lets you project a horizontal and vertical line on the wall. You can align the projector to those lines without guessing.
- Digital angle finder. This attaches to the projector and gives you a precise degree reading. It is more accurate than a bubble level.
- Grid test pattern. Download a 4K grid pattern and display it on the projector. It makes even tiny misalignments obvious.
- Masking tape. Mark the screen edges with tape so you can see the screen boundary clearly. This helps when you are adjusting lens shift.
If you are still shopping for gear, our guide on short throw vs long throw projectors: which one do you actually need will help you choose the right type for your room.
What to Do If You Still See Distortion
Sometimes you follow every step and the image still looks off. Here are the most likely culprits.
The screen is not square. Measure the screen itself. If the frame is warped or the fabric is not pulled tight, the image will never look straight. Check our guide on fixed frame vs motorized projector screens: the complete buyer’s guide to make sure your screen is up to the task.
The mount is flexing. Cheap ceiling mounts can sag over time. If you notice the image drifting after a few weeks, the mount might be the problem.
The lens has a defect. This is rare, but it happens. If the image is sharp in the center but blurry on one edge, and your alignment is perfect, the lens might have a manufacturing flaw. Contact the manufacturer.
The room is not level. If your ceiling slopes or the floor is uneven, the projector might be level but the screen is not. Use the lens shift to compensate. Do not tilt the projector to match the screen.
Expert advice: “If you have to use more than 20 percent of your lens shift range, your projector is not positioned correctly. Move the mount. Do not rely on lens shift to fix a bad physical setup.” This comes from years of calibrating home theaters for clients. It saves you hours of frustration.
Why Digital Keystone Correction Hurts Your Picture
Some people argue that modern projectors handle keystone correction well. That is not true for most models under three thousand dollars. Digital keystone correction works by compressing the top or bottom rows of pixels. You lose detail in the areas that get compressed.
If you are watching a movie with subtitles, the text at the bottom might look blocky or distorted. Fine details like grass or skin texture become soft. The image loses depth.
Optical alignment preserves every pixel. It takes more time to set up, but the picture quality is worth it.
For more on avoiding setup problems, read about 5 common projector setup mistakes that ruin your picture quality.
Aligning a Projector on a Shelf or Table
Not everyone mounts a projector to the ceiling. If your projector sits on a shelf behind the seating area, the process is similar but easier.
Place the projector on a sturdy surface. Use a level to check the shelf itself. If the shelf is not level, shim the projector with cardboard or plastic wedges.
The key difference is that you have more freedom to move the projector left and right. Slide it until the image is centered. Then use the lens shift to fine tune.
One common issue with shelf placement is that the image hits the ceiling. If the projector is too low, the image will angle upward. Raise the shelf or use a taller stand. Do not tilt the projector up. That creates vertical keystone distortion.
A Word on Laser Projectors
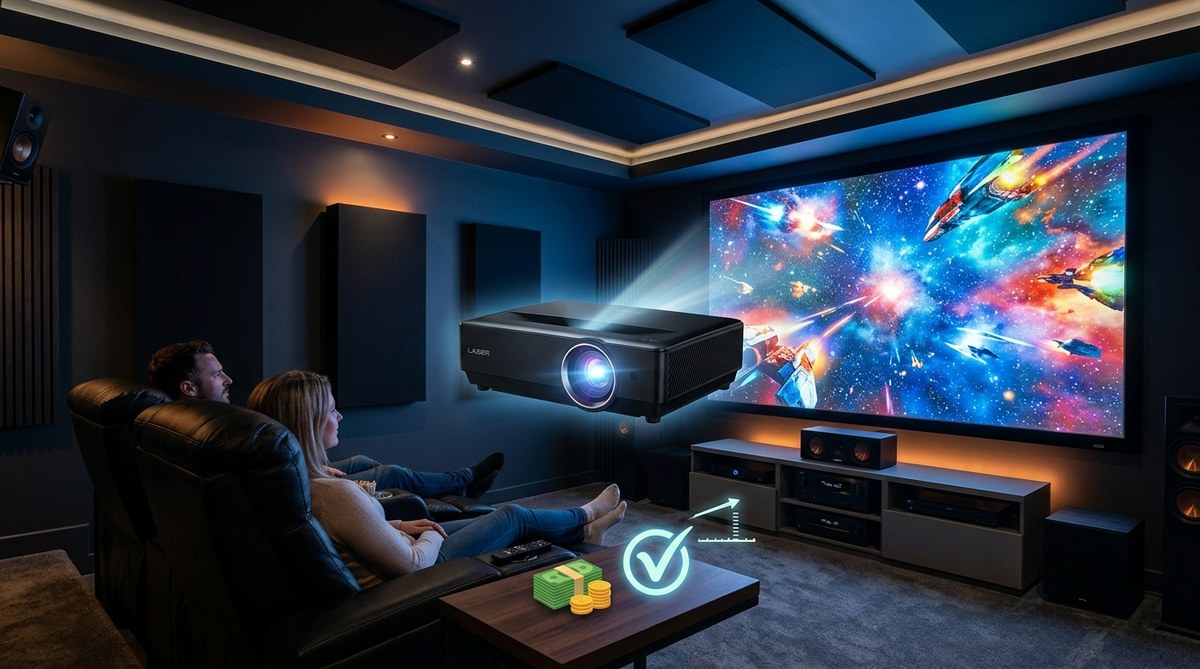
Laser projectors are becoming more common in 2026. They have different lens mechanics than bulb based projectors. Many laser models have motorized lens shift that you control from the remote. This makes alignment easier because you can make micro adjustments while standing at the screen.
But the same physical rules apply. The projector must be level. The lens must be centered. Motorized lens shift does not fix a bad mount.
If you are considering a laser model, our guide on is a laser projector worth the higher price tag for your home theater will help you decide.
Your Alignment Checklist
Print this list and keep it near your projector for future reference.
- [ ] Projector lens is centered horizontally to the screen
- [ ] Throw distance is correct for the desired image size
- [ ] Projector is level side to side (roll)
- [ ] Projector is level front to back (pitch)
- [ ] Projector is square to the screen (yaw)
- [ ] Lens shift is used, not keystone correction
- [ ] Focus is sharp in the center and corners
- [ ] Zoom is set last, after alignment
Making Alignment Part of Your Regular Maintenance
Projectors drift over time. Thermal expansion can shift the lens slightly. Mount screws can loosen from vibration. Check your alignment every three months.
It takes five minutes. Turn on the projector. Display the test pattern. Look at the edges. If anything looks off, make small adjustments. Catching drift early prevents you from getting used to a crooked image.
If you notice a sudden change, check the mount. A loose screw is usually the cause. Tighten it and realign.
The Final Result
When you get the alignment right, the image looks like a window into another room. The edges are straight. The corners are sharp. There is no distortion at the top or bottom. Text is crisp. Faces look natural.
That is what you paid for. That is the experience that makes home theater worth the effort.
Now go turn on your projector and check the alignment. If it is off, grab a level and a tape measure. You know exactly what to do.

Leave a Reply