Getting the most out of your television means more than just turning it on. Proper color calibration transforms your viewing experience, making images look more natural, vibrant, and true to life. Whether you’re a dedicated home theater enthusiast or a casual viewer, understanding how to fine-tune your TV’s color settings can significantly improve picture quality. This guide walks you through easy steps, helpful tips, and common mistakes so you can enjoy crisp, accurate colors every time you watch.
Proper TV color calibration involves adjusting settings such as color temperature, tint, and gamma to achieve accurate and vibrant images. Following simple steps ensures your TV displays the best picture quality without relying on professional calibration services.
Why calibrate your TV’s color settings?
Many TVs come with default picture modes that look good in showrooms but may not be ideal for everyday viewing. Factory settings often oversaturate colors or boost brightness and contrast, leading to unrealistic images. By calibrating your TV, you correct these issues, resulting in more natural skin tones, accurate colors, and better detail in dark and bright scenes. This process is especially worthwhile if you enjoy watching movies, sports, or gaming where picture quality makes a difference.
Getting started with your TV color calibration guide
Before diving into adjustments, gather the necessary tools. You’ll need:
- A calibration disc or calibration software (such as Spears & Munsil or Disney WOW)
- A colorimeter or spectrophotometer (optional but recommended for precision)
- A well-lit, comfortable viewing environment
- Patience and a little time
Calibrating your TV may seem complex, but following a structured approach makes it manageable and rewarding.
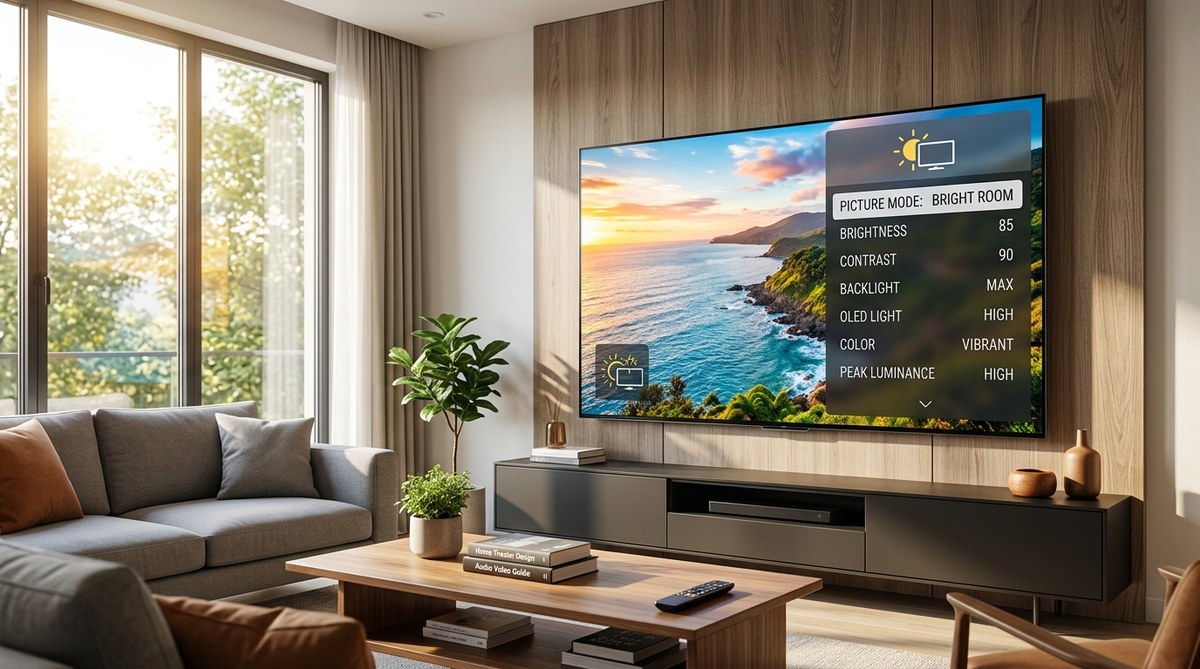
1. Set the right picture mode
Start with the TV’s picture mode set to a neutral or custom setting. Many TVs feature modes labeled Vivid, Standard, Movie, or Cinema. For accurate colors, switch to Movie or Cinema mode. These modes are designed to give a closer approximation to the creator’s intent and usually have less aggressive adjustments.
Expert tip: Avoid using Vivid or Dynamic modes. They tend to exaggerate colors and contrast, making the picture look unnatural.
2. Adjust basic picture settings
Next, tweak the fundamental settings to lay a solid foundation for color accuracy:
- Brightness: Set this to produce deep blacks without crushing shadow details.
- Contrast: Increase until bright highlights are vivid but not washed out.
- Color (Saturation): Adjust to ensure skin tones and primary colors look natural.
- Sharpness: Keep this low or off to avoid artificial edge enhancement.
Once these are in place, focus on finer tuning of color and gamma.
3. Fine-tune color temperature and tint
Color temperature impacts how warm or cool the image appears:
- Warm: Produces a reddish tint, ideal for most content.
- Normal or Neutral: Slightly less warm but still accurate.
- Cool: Adds a bluish tint, often oversaturated.
Use the calibration disc’s test patterns or on-screen guides to set the temperature as close to neutral as possible.
The tint (or hue) controls the balance between green and magenta:
- Adjust until skin tones look natural.
- Avoid overly green or magenta hues which distort colors.
4. Calibrate gamma and color levels
Gamma affects how midtones are displayed, influencing contrast and shadow detail:
- Aim for a gamma setting of around 2.2, which matches most viewing environments.
- Use a test pattern to adjust gamma controls, if available.
Ensure primary colors (red, green, blue) are correctly balanced:
- Use grayscale and color bars to check.
- Adjust the RGB gains or trims to eliminate color cast.
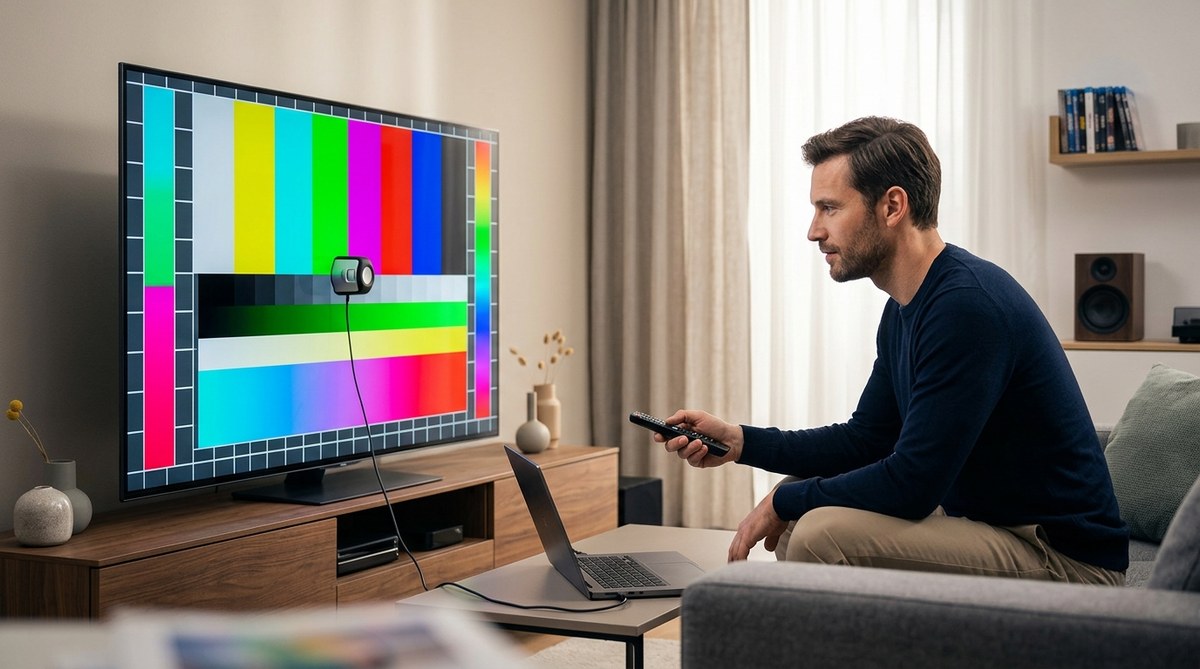
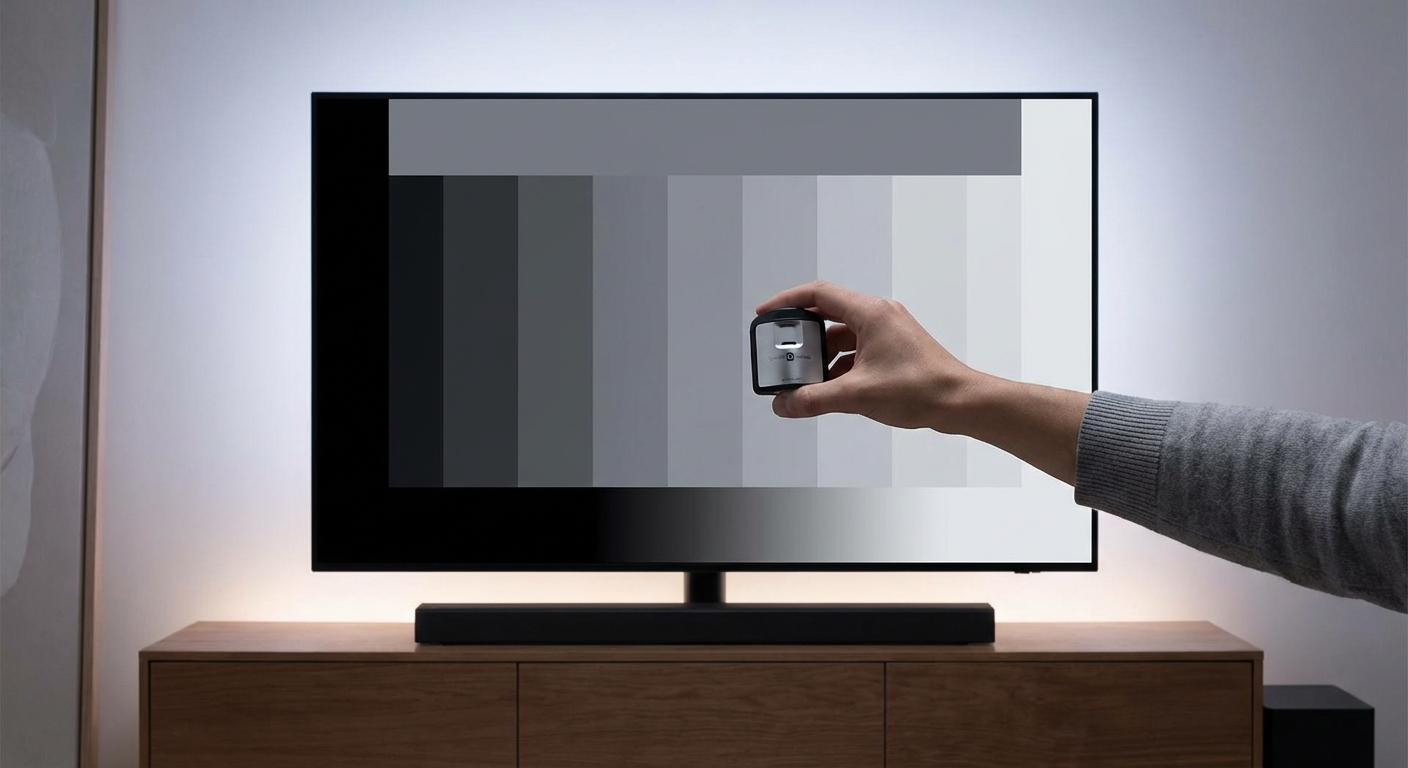
5. Use a calibration disc or software
For precise calibration, employ a disc like Spears & Munsil or Disney WOW. These tools offer test patterns for:
- Color accuracy
- White balance
- Gray scale calibration
- Sharpness and resolution
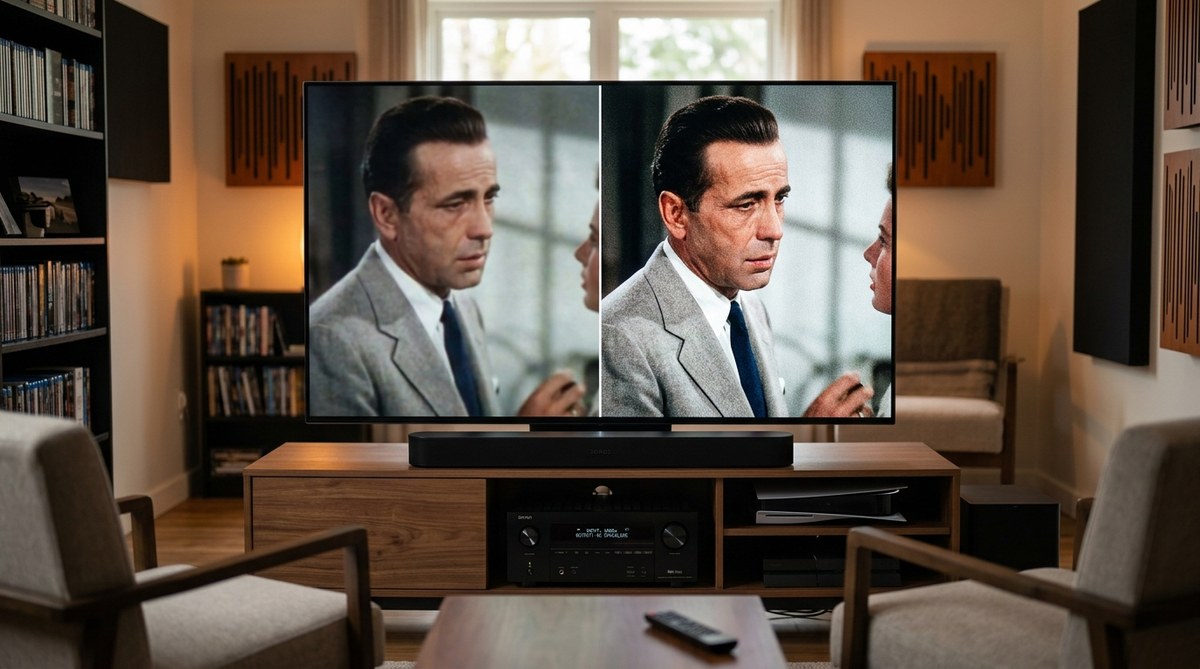
Follow the on-screen instructions to make incremental adjustments, pausing to compare before and after images.
6. Check your work with real content
Once adjustments are made, watch a familiar movie or TV show. Notice if skin tones look natural and colors are vibrant but not oversaturated. Adjust settings slightly if needed.
Remember: calibration is a balancing act. Small tweaks can make a big difference.
Common color calibration mistakes to avoid
| Technique | Mistake | Impact |
|---|---|---|
| Over-saturating colors | Colors look intense but unnatural | Loss of realism in skin tones and scenery |
| Setting contrast too high | Bright scenes wash out details | Blown-out highlights and dull shadows |
| Ignoring ambient light | Viewing in bright rooms skews perception | Adjustments may look different in your environment |
| Relying solely on default modes | Factory presets are not accurate | Suboptimal picture quality |
Tips for maintaining accurate color over time
- Revisit calibration if your TV’s picture begins to look off.
- Keep room lighting consistent during calibration.
- Use a colorimeter for ongoing calibration accuracy.
- Avoid bright lighting that causes glare and washes out the picture.
Techniques and mistakes in color calibration
| Technique | Mistake | Effect |
|---|---|---|
| Using test patterns | Relying only on images without tools | May miss subtle color casts |
| Adjusting based on your preferences | Sacrificing accuracy for vividness | Colors may look exaggerated or dull |
| Calibrating in a dark room | Ignoring ambient light influence | Calibration may not match everyday viewing |
“Calibrating your TV isn’t about making it look colorful or exaggerated. It’s about restoring the creator’s original vision, which means accurate and vibrant images that feel natural.” — Home theater expert
Final thoughts on perfecting your TV’s colors
Taking the time to calibrate your television’s color settings produces a noticeable improvement in picture quality. It’s worth doing, especially if you want to enjoy movies and shows as they were meant to be seen. Remember, calibration doesn’t need to be complicated. Follow these steps, use the right tools, and keep your environment consistent. With just a little patience, your TV will display images that are stunning, accurate, and full of life.
Make calibration part of your regular home theater routine
Your viewing experience benefits greatly from periodic adjustments. Whether you upgrade your gear or change room lighting, revisiting your calibration ensures your TV continues to impress. Enjoy your improved picture quality, and don’t hesitate to experiment with settings to find what looks best for you. Happy watching!

Leave a Reply