
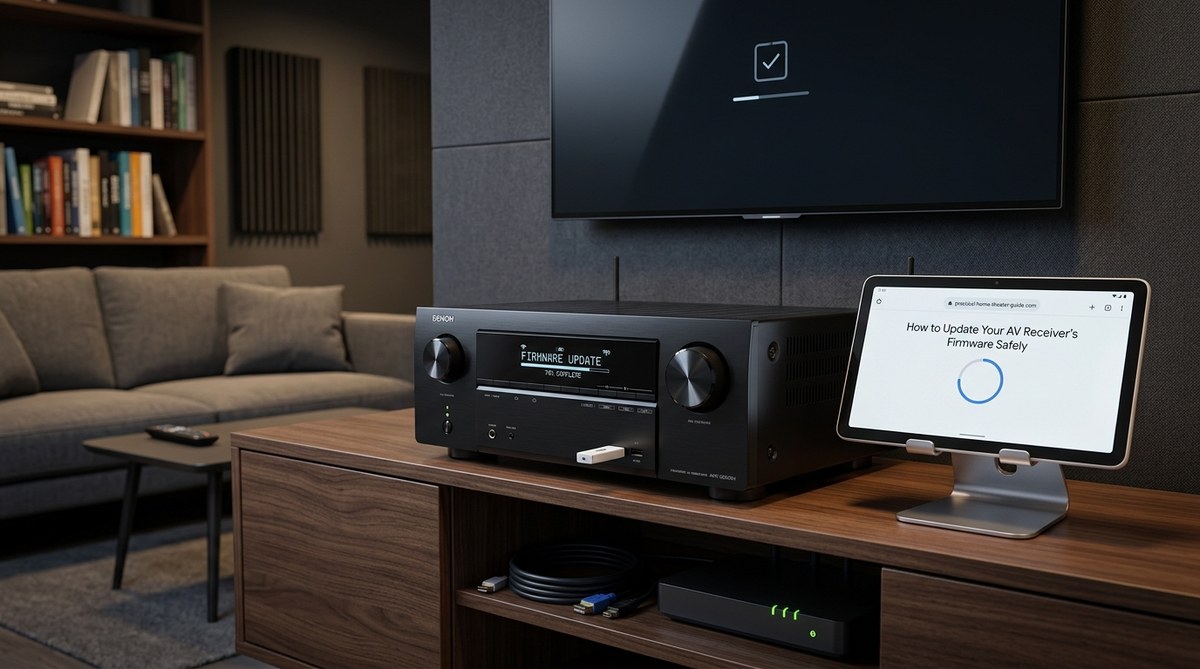
Updating your AV receiver firmware unlocks new features, fixes bugs, and ensures compatibility with the latest HDMI and audio formats. But doing it wrong can brick your device. This guide walks you through safe preparation (stable power, wired internet, backup settings), the three main update methods (network, USB, app), and common mistakes to avoid. Follow these steps to keep your home theater running smooth and current in 2026.
Your AV receiver is the brain of your home theater. It switches HDMI signals, decodes Dolby Atmos, powers your speakers, and controls your entire system. But just like a smartphone or computer, the software inside that receiver needs updates. Manufacturers release firmware updates to fix glitches, add new features (like support for HDMI 2.1 features or new audio codecs), and patch security holes. Ignoring those updates can leave you with a receiver that doesn’t work perfectly with your 2026 gaming console or the latest streaming app.
The problem? Updating firmware feels scary. One wrong move and you could brick your $1,000 receiver. I get it. I’ve seen threads where someone’s update failed mid-process and the receiver became a paperweight. But with the right preparation, updating is safe and straightforward. This guide will show you exactly how to update your AV receiver firmware safely, step by step, so you can enjoy the latest performance without the worry.
Why Bother Updating an AV Receiver’s Firmware?
Firmware updates might not be exciting, but they matter more than most people realize. Here is what a typical update can do for you:
- Fix audio dropouts or HDMI handshake issues that cause black screens or no sound.
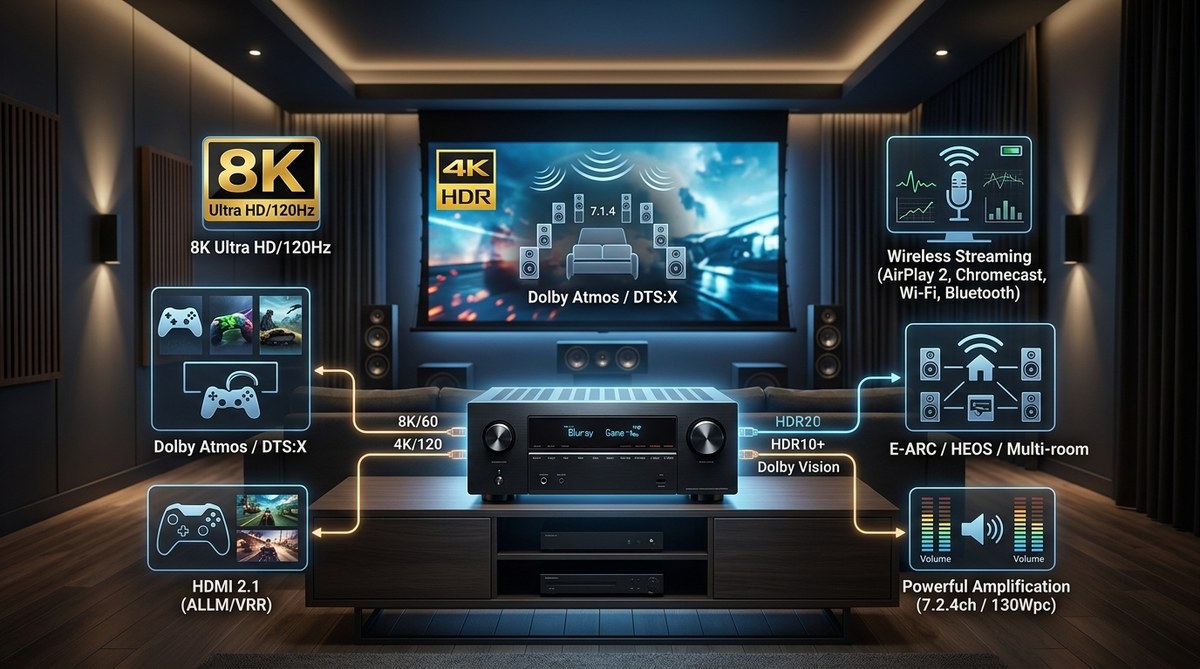
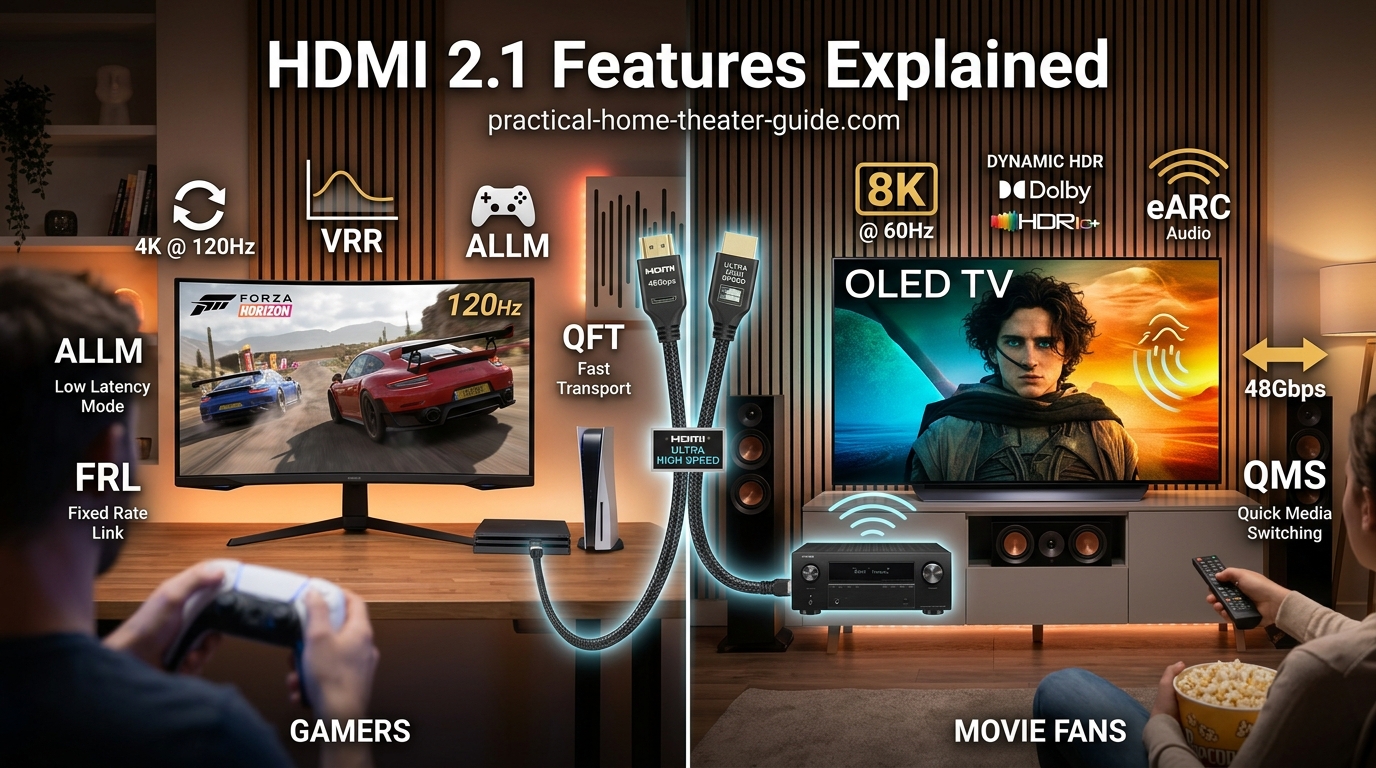
- Add support for new formats like Dolby Atmos, DTS:X Pro, or even the latest HDMI 2.1 features (variable refresh rate, auto low latency mode).
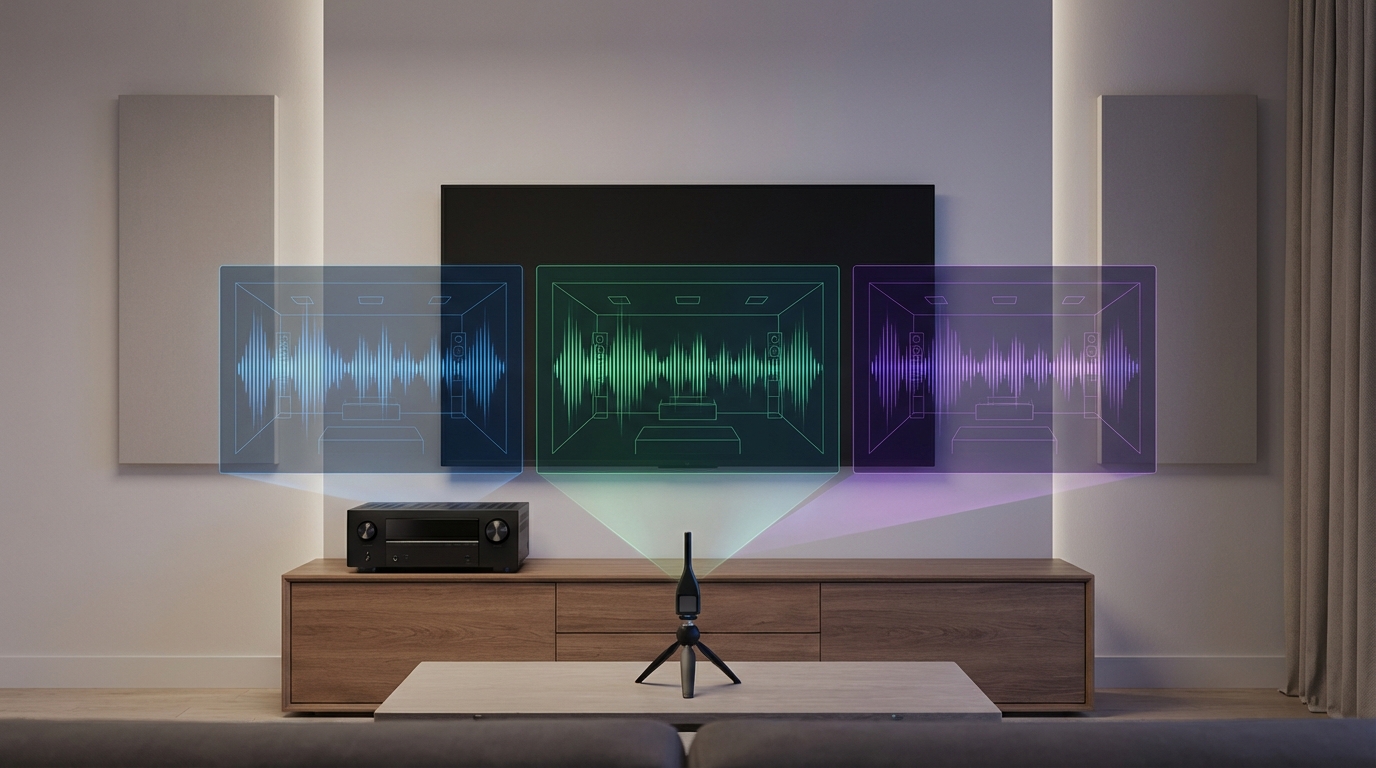
- Improve room correction algorithms (Audyssey, YPAO, Dirac) for better sound in your room.
- Patch security vulnerabilities especially if your receiver uses network streaming or voice assistants.
- Unlock features that were promised but not ready at launch (e.g., Dolby Vision support via future update).
Manufacturers such as Denon, Yamaha, Marantz, Sony, and Onkyo typically release two to four updates over the lifecycle of a receiver. If you bought a 2025 model, you likely still have updates pending for 2026. Skipping them means your gear is stuck at version 1.0 while everyone else gets better performance and compatibility.
The Real Risk: When Updating Goes Wrong
Before we walk through the steps, let’s talk honestly about the risks. A firmware update is rewriting the core operating system of your receiver. If the process is interrupted mid-stream, the receiver may no longer boot up. That is called “bricking.” It can happen if:
- The power goes out.
- You accidentally unplug the receiver.
- The network connection drops during a network update.
- The USB drive is formatted incorrectly or the file is corrupt.
But here is the good news: if you follow the preparation steps and use the recommended method, the chance of failure is very low. Most modern receivers have recovery modes or dual firmware partitions that allow a fallback. We’ll cover those safety nets later.
Preparation: What to Do Before You Start
Do not skip this section. Spending ten minutes on preparation can save you hours of headache.
1. Check Your Current Firmware Version
Go into the receiver’s setup menu. Usually it’s under “System” or “Information” or “About.” Write down the current version number. Then visit the manufacturer’s support website for your model and see what the latest firmware version is. If you’re already up to date, skip the update entirely. No need to risk it for no gain.
2. Backup Your Settings (If Possible)
Some receivers allow you to export your calibration data and input assignments to a USB drive. If yours does that, make a backup. After the update, you may need to recalibrate or re-enter some settings. A backup saves time. Check your manual for the backup option.
3. Ensure Stable Power
Plug your receiver directly into a wall outlet or a quality surge protector. Do not use an extension cord or a power strip that might be overloaded. If your area is prone to thunderstorms, wait for a clear day. A power outage during a firmware update is the number one cause of bricking.
4. Use a Wired Internet Connection for Network Updates
Wi-Fi can drop or get interference. For the safest network update, connect an Ethernet cable from your router to the receiver’s LAN port. If that’s not possible, at least ensure your Wi-Fi signal is strong and you’re not streaming 4K video on other devices at the same time.
5. Clear the Decks
Make sure no other processes are running on the receiver. If you have a USB drive plugged in that is playing music, remove it. Switch the receiver to an unused input. Turn off any connected sources that might send CEC commands (like a TV that could turn off the receiver). You want the receiver to focus entirely on the update.
Step-by-Step: How to Update AV Receiver Firmware Safely
There are three main methods. I will list them in order of safety and convenience.
Method 1: Network Update (Easiest, But Requires Stable Internet)
- Connect your receiver to the internet via Ethernet (or strong Wi-Fi).
- Go to the setup menu, find “Firmware Update” or “Software Update.”
- Select “Update via Network.” The receiver will check for available updates.
- If an update is found, confirm you want to proceed. The receiver will download the update. This can take 5 to 20 minutes depending on file size.
- Once downloaded, the receiver will automatically reboot and install the update. Do not touch any buttons or turn off the power during this phase. The display may show “Updating” or a progress bar. Let it finish.
- After installation, the receiver will restart again. You’ll see the normal home screen. Check the firmware version to confirm it matches the latest.
Method 2: USB Update (Safest If Your Internet Is Unreliable)
- On your computer, go to the manufacturer’s support page for your exact model (e.g., Denon AVR-X3800H). Download the latest firmware file. It will usually be a single .zip file.
- Unzip the file if needed. The extracted folder should contain a file like “firmware.bin” or similar.
- Format a USB flash drive to FAT32 (not exFAT or NTFS). Most receivers only read FAT32.
- Copy the extracted firmware file (not the .zip) to the root of the USB drive. Do not put it inside any folder.
- Insert the USB drive into the receiver’s USB port (usually on the front panel).
- In the setup menu, select “Firmware Update” and then “Update via USB.” The receiver will read the file.
- Confirm the update. The receiver will copy the firmware from USB and install it. Again, do not interrupt.
- After completion, remove the USB drive. The receiver will reboot.
Method 3: Manufacturer App (Some Brands Only)
Some brands like Sony and Denon offer firmware updates through their smartphone apps. The app will guide you through the process and handle the download. This is generally safe as long as your phone stays connected to Wi-Fi and you don’t close the app. However, the app method still relies on a wireless connection to the receiver, which may be less stable than USB or Ethernet.
Comparison of Update Methods
| Method | Safety | Convenience | Best For |
|---|---|---|---|
| Network (wired) | Very high (with Ethernet) | High | Most users; requires stable internet |
| Network (Wi-Fi) | Moderate (risk of drop) | High | Users with strong Wi-Fi; avoid during storms |
| USB | Highest (no network dependency) | Moderate (requires PC) | Users with flaky internet; best for cautious updaters |
| App | Moderate (depends on phone connection) | High (no need to get up) | Brand-specific; not always available |
Common Mistakes to Avoid
- Interrupting the update. This is the cardinal sin. Even if the screen goes black or shows nothing for several minutes, do not touch the power button. Some updates take 10 minutes or more. Patience is cheap; a receiver is not.
- Using a USB drive that is not FAT32. Most receivers will not recognize the file. Use a small USB drive (2GB to 16GB) if possible.
- Updating during a thunderstorm. Lightning can cause power flickers. Wait.
- Assuming the update is complete when the receiver reboots. Wait for the full boot cycle and check the firmware version.
- Not reading the release notes. Sometimes an update resets all settings to factory defaults. If you know that ahead of time, you can prepare to recalibrate. Always check the manufacturer’s notes.
- Trying to downgrade firmware. Unless the manufacturer provides a specific downgrade tool, never attempt to install an older firmware. It can cause permanent damage.
Expert advice from a service technician: “I see bricked receivers every month from interrupted firmware updates. The most common cause? Someone unplugged the receiver because ‘it was taking too long.’ Set a timer for 30 minutes and walk away. If the receiver is still dead after that, try a hard reset from the manual. But nine times out of ten, it just needs more time.”
What to Do If the Update Fails
Even with precautions, things can go wrong. Here is your action plan.
- Receiver is stuck on “Updating” for over 30 minutes. Unplug the power cord, wait 60 seconds, and plug it back in. Some receivers will resume the update or boot into a recovery mode. Check the manual for a “recovery” or “reset” procedure specific to your model.
- Receiver shows no display after reboot. Look for a physical “Reset” button on the back panel (often a pinhole that requires a paperclip). Hold it for 10 seconds while powering on. This may force a factory reset and reinstall the last good firmware.
- Receiver is completely unresponsive (bricked). Contact manufacturer support. Do not open the unit yourself; you’ll void the warranty. Many manufacturers offer out-of-warranty repair services for a flat fee. Some receivers have a hidden “emergency update” procedure that uses a specific USB file. Search your model + “bricked firmware recovery” on AV forums like AVS Forum for user solutions.
Your Receiver Is Ready for the Latest Content
A firmware update is like a tune up for your AV receiver. It keeps the brain of your system sharp and compatible with the newest gear. By preparing properly using a stable power source, a wired network or USB drive, and patience, you can update with confidence.
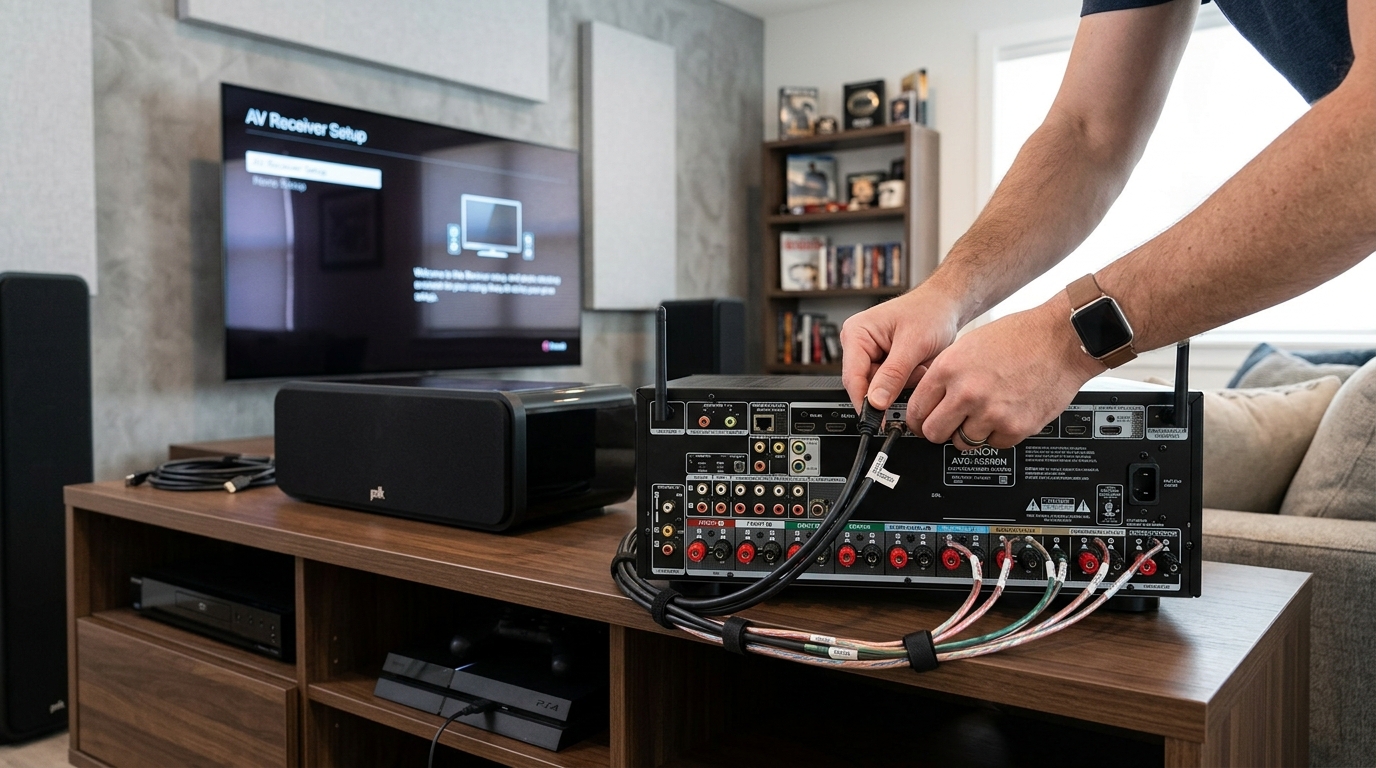
If you are setting up a receiver for the first time, check out the Complete Beginner’s Guide to Connecting Your AV Receiver for step-by-step wiring advice. Once your firmware is current, you can calibrate your system using our guide to Room Correction Systems Compared: Audyssey vs Dirac vs YPAO to get the best sound from your room.
Go ahead and update. Your 2026 home theater will thank you for it. And remember: patience is a virtue, especially when a progress bar is on screen. Let the receiver do its thing, and you will be back to enjoying movies and music in no time.

Leave a Reply