
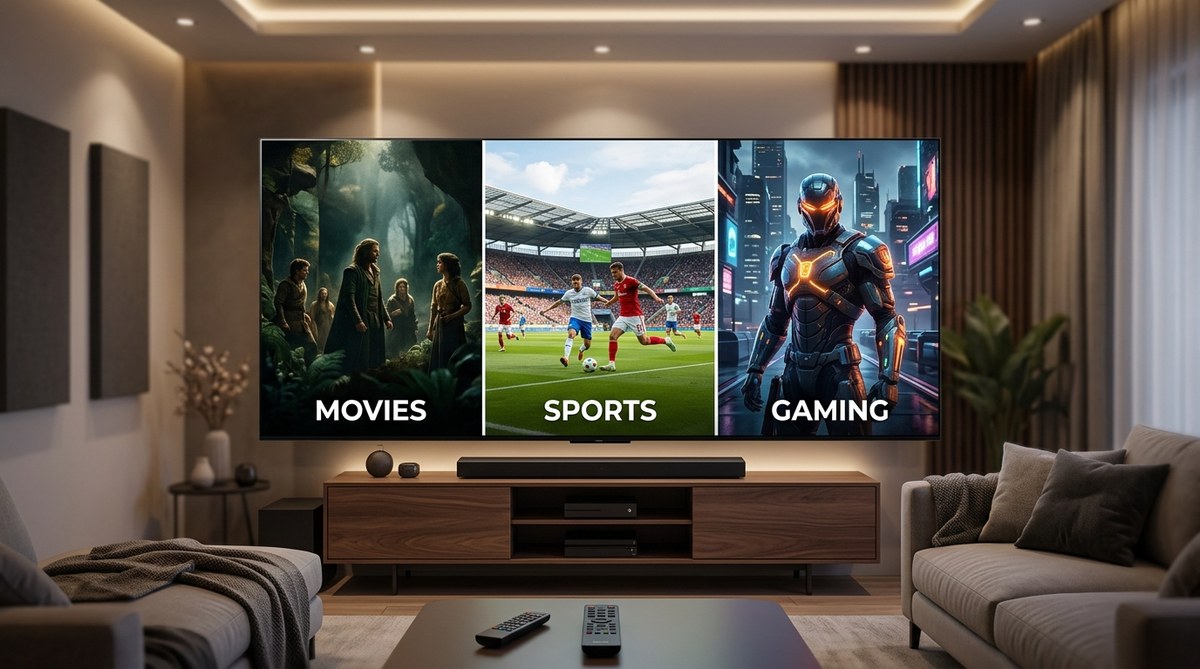
You just unboxed a brand new TV in 2026. The screen is enormous, the panel is gorgeous, and the remote feels like it controls a spaceship. You press the power button, and the first thing you see is a display that looks way too bright, almost artificial. That is your TV’s “Vivid” or “Dynamic” mode, and it is the enemy of accuracy. The good news is that every modern television comes with preset picture modes designed for specific types of content. The bad news is that most people never switch them. They watch a dark cinematic thriller with the same settings they use for Saturday morning cartoons. That is a mistake. This guide will show you exactly which mode to pick for movies, sports, and gaming, so you can stop fiddling with menus and start enjoying the show.
For movies, use Filmmaker Mode or Cinema to preserve the director’s intent and disable motion smoothing. For sports, use the Sports mode or a Standard preset with motion processing turned up to handle fast camera pans. For gaming, always switch to Game Mode to disable post-processing and reduce input lag. Save Vivid and Dynamic for brightly lit retail floors, not your living room.
The Three Modes You Need to Memorize
TV manufacturers love to bury good settings behind confusing names. Filmmaker Mode, Cinema, Game Mode, Sports, Standard, Vivid, Eco. It is a mess. But when you strip away the marketing, there are really only three core modes you need to know in 2026. Each one serves a specific purpose, and each one should be used for a specific activity.
1. Filmmaker Mode (or Cinema) for Movies
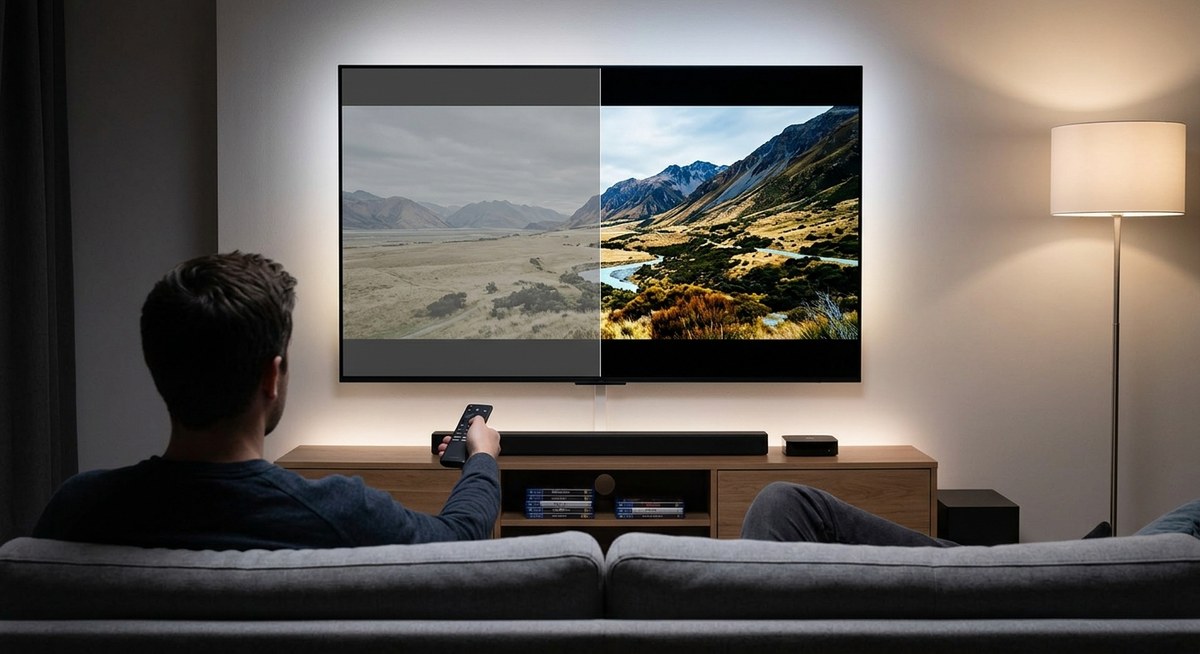
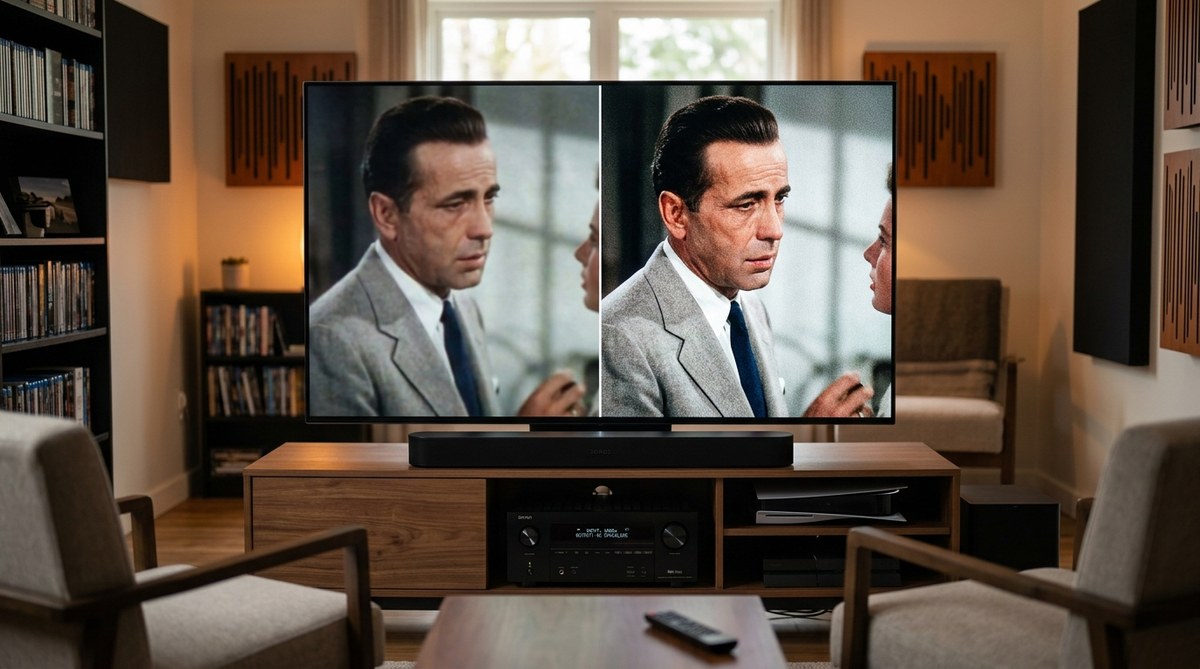
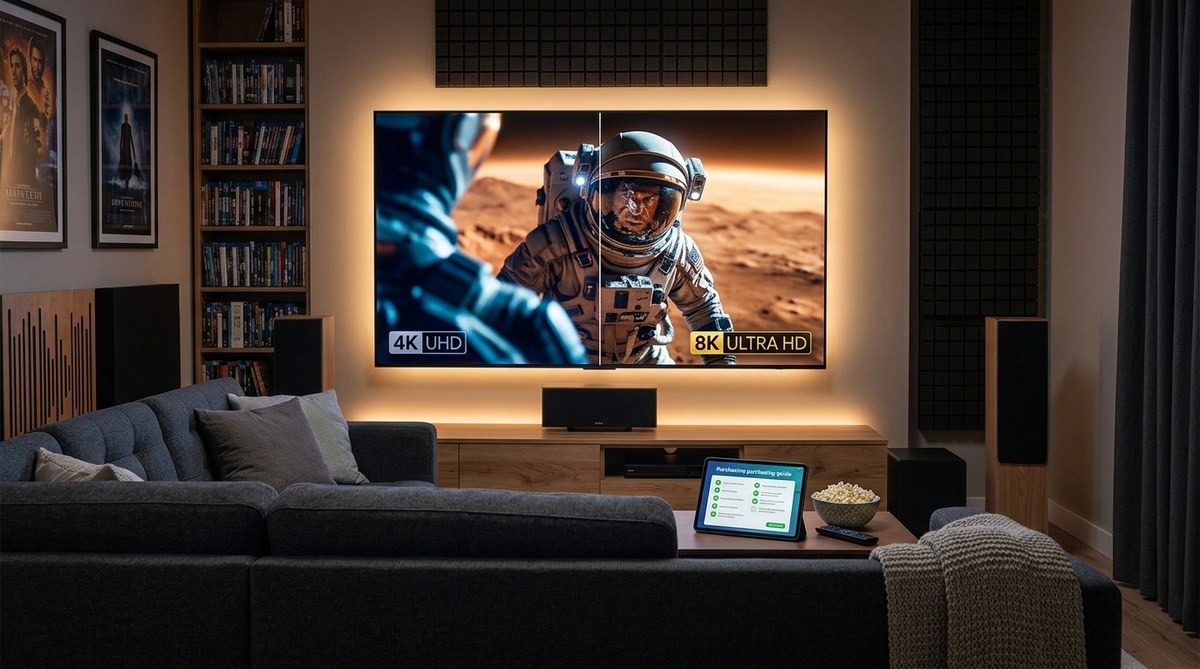
If you watch a lot of movies, this is your default. Filmmaker Mode was introduced a few years ago, and by 2026 almost every major brand includes it. It automatically disables motion smoothing, sets the color temperature to warm, and locks the gamma to a standard that matches how the movie was mastered in a studio. The picture might look slightly yellow or dim compared to Vivid mode. That is a good thing. It means you are seeing the content as the director intended.
If your TV does not have Filmmaker Mode, look for Cinema, Movie, or Professional. These modes do the same thing: they prioritize accuracy over flashiness. You lose a bit of brightness, but you gain shadow detail, natural skin tones, and zero soap opera effect. For a deeper look at why that smooth motion ruins films, read our guide on why your new TV looks too smooth.
2. Sports Mode for Live Broadcasts
Sports are the hardest content for a TV to display. Camera pans across a football field, quick zooms on a tennis player, and fast-moving hockey pucks all challenge the panel. Sports mode is designed to handle this. It increases motion interpolation (the smoothing effect you normally hate) to reduce judder. It also boosts brightness and contrast so the green grass and white jerseys pop, even in a bright living room.
The trade-off is accuracy. Skin tones can look a bit plasticky, and the motion smoothing might feel unnatural during interviews. But for the actual game, it is the best option. If you find the effect too strong, switch to Standard mode and manually increase the motion clarity setting by one or two notches. Some TVs call this “TruMotion” or “MotionFlow.” Just do not use it for movies.
3. Game Mode for Gaming
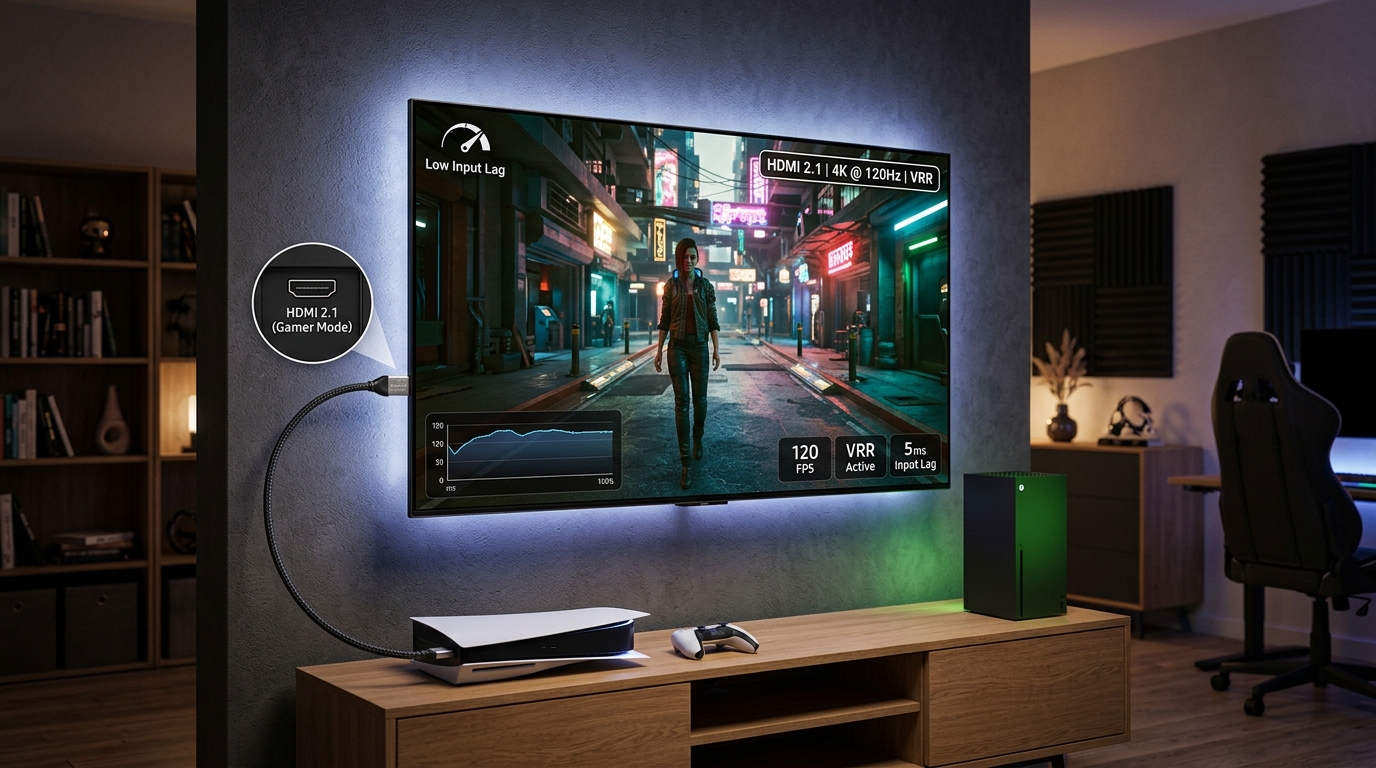
Game Mode is the most misunderstood setting. People think it makes the picture look worse. In a way, it does. It strips away almost all image processing: noise reduction, motion smoothing, dynamic contrast, and local dimming aggression. Why? Because your console or PC needs to render frames as fast as possible. Any processing adds latency, which translates to lag between pressing a button and seeing the action on screen.
For competitive gaming, especially first-person shooters and racing games, Game Mode is non-negotiable. It drops input lag from around 50 milliseconds to under 10 milliseconds on most modern OLED and Mini-LED sets. That difference can mean the difference between winning and losing. For a full breakdown of the technology behind this, check out our gaming TV buying guide.
A Simple Three-Step Process to Set Up Your TV
You do not need a calibration disc or a professional to get 90% of the way there. Follow these three steps and you will be in great shape.
-
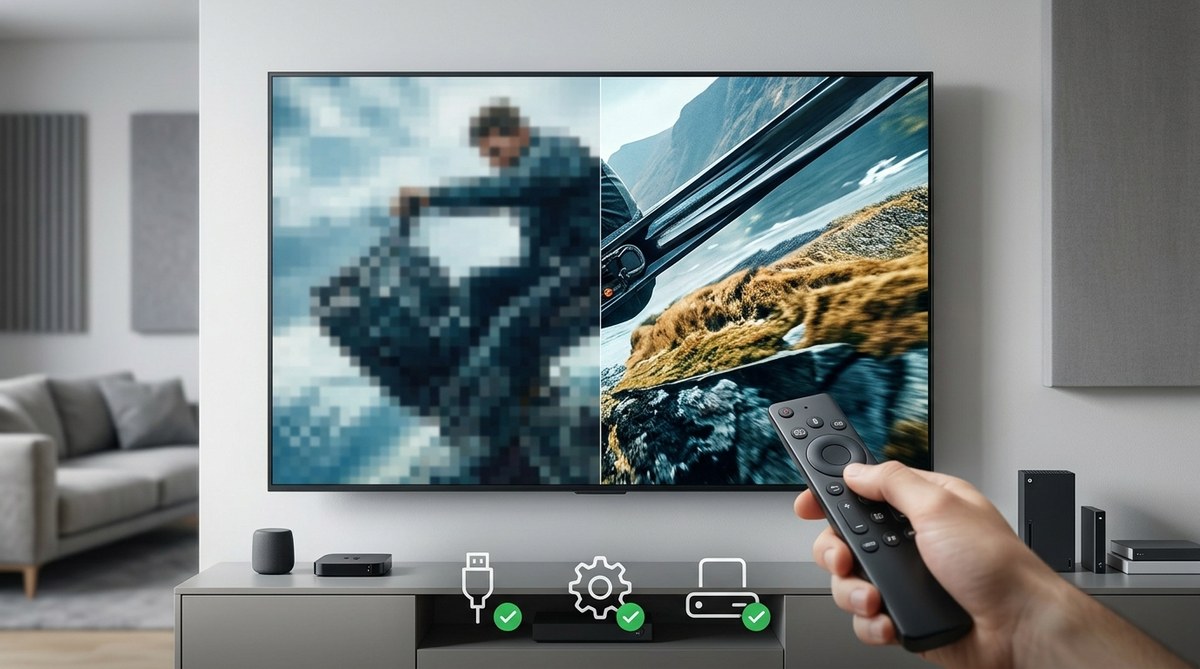
Label your inputs. Most modern TVs let you rename HDMI ports. Label the port connected to your streaming device or Blu-ray player as “Movie.” Label the port for your console as “Game.” Label the cable box or antenna as “Sports.” Your TV will then remember which picture mode you chose for each input.
-
Set the mode for each input. Switch to the Movie input and select Filmmaker Mode or Cinema. Switch to the Game input and select Game Mode. Switch to the Sports input and select Sports mode. Do this once, and you are done. You never have to touch the settings again unless you change hardware.
-
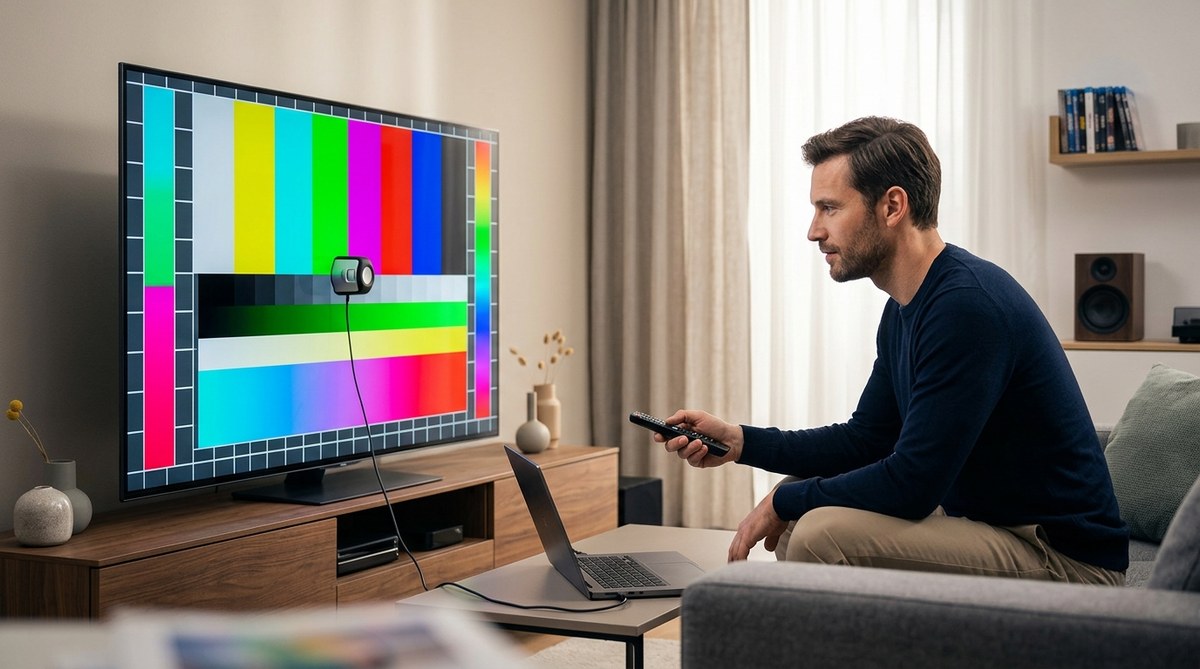
Disable unnecessary processing. Even in the correct mode, some TVs keep a few processing features active. Go into the advanced settings and turn off noise reduction, dynamic contrast, and any “auto” settings for brightness. These features are designed for inconsistent broadcast signals, not clean 4K sources. If you want to calibrate more precisely, our guide on how to calibrate your TV in 30 minutes is a great next step.
Common Mistakes That Ruin Your Picture
Even with the right mode selected, people often make small errors that degrade the experience. Here is a table of the most common mistakes and how to fix them.
| Mistake | What It Does | The Fix |
|---|---|---|
| Leaving Vivid mode on for everything | Washes out shadow detail, causes eye fatigue, and makes colors look cartoonish. | Switch to Filmmaker Mode or Cinema for all non-sports content. |
| Using Game Mode for movies | Lowers image quality and disables local dimming, making blacks look gray. | Only use Game Mode when a game is running. Switch inputs for movies. |
| Turning off all motion smoothing for sports | Fast pans become a blurry mess, and you lose track of the ball. | Use Sports mode or manually enable moderate motion interpolation. |
| Adjusting brightness and contrast in a bright room | Settings that look perfect at noon will look terrible at night. | Use the TV’s ambient light sensor if available, or switch between Day and Night presets. |
When to Use Standard Mode
Standard mode gets a bad reputation, but it has its place. If you are watching daytime television, news, or reality shows that were not shot with cinematic intent, Standard mode is perfectly fine. It balances brightness and accuracy without the aggressive processing of Vivid. Think of it as your everyday driver. Use it for YouTube videos, cooking shows, or when the kids are watching cartoons in the afternoon. Just remember to switch to a dedicated mode when the content changes.
How to Handle HDR Content
High Dynamic Range changes the game. When you play a 4K Blu-ray or stream a Dolby Vision title, your TV should automatically detect the HDR signal and switch to an HDR-specific mode. For movies, look for “HDR Filmmaker Mode” or “HDR Cinema.” For gaming, most modern consoles will automatically engage Game Mode when HDR is active, but double-check that VRR (Variable Refresh Rate) is enabled. If your HDR content looks washed out, you might have a deeper issue. Read our guide on how to fix HDR content that looks washed out to troubleshoot.
Expert advice: Do not trust the “Auto” picture mode. It sounds smart, but it often defaults to Vivid or Standard depending on the ambient light sensor. Manually selecting the mode for each input is more reliable and gives you consistent results every time.
The One Setting You Should Never Touch
Sharpness. Almost every TV ships with sharpness set to 50 or higher. This adds artificial edge enhancement that creates halos around objects. For 4K content, set sharpness to 0. For 1080p content, set it to 0 as well. Your TV already knows how to handle the resolution. Adding sharpness only introduces artifacts. If the image looks soft, the issue is likely your seating distance, not the sharpness slider. Our guide on the ideal distance between your TV and seating can help you find the sweet spot.
Matching Your Mode to Your Room Lighting
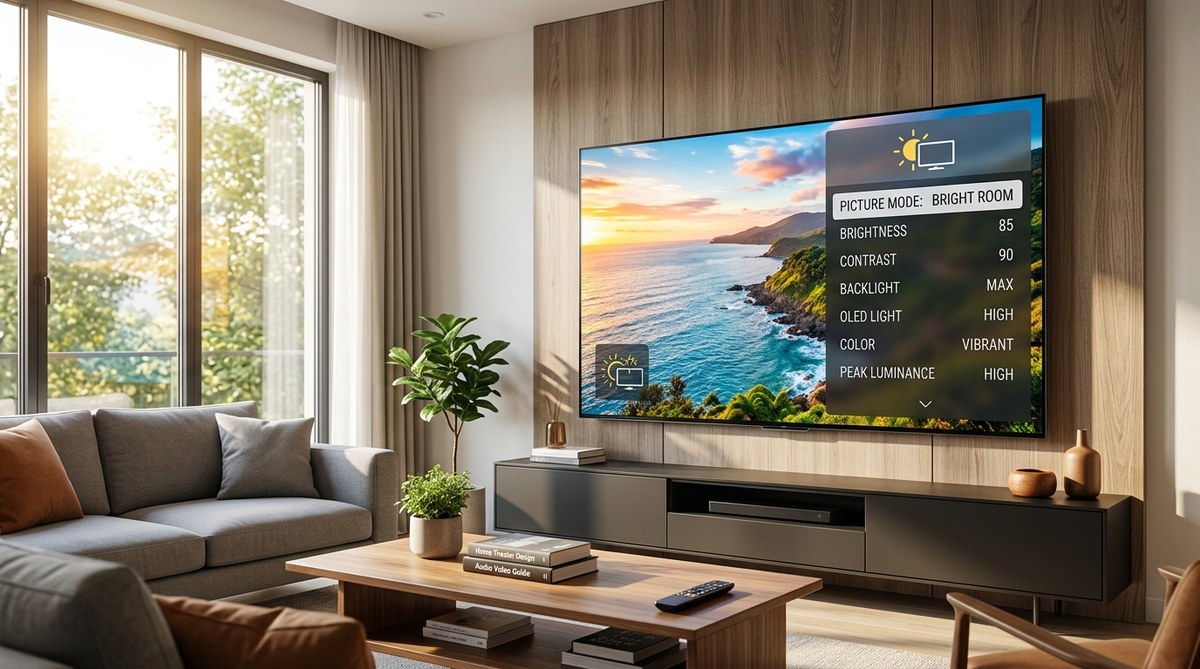
Your room’s ambient light changes everything. A mode that looks perfect in a dark home theater will look dim and lifeless in a sunny living room. For bright rooms, you can cheat a little. Use Standard mode instead of Cinema during the day. Bump up the backlight or OLED brightness. For dark rooms, switch back to Filmmaker Mode. Some high-end TVs in 2026 include a built-in light sensor that automatically adjusts the brightness curve. If your TV has this, enable it. If not, just remember to toggle between a “Day” and “Night” preset. For more tips on this, see our guide on optimizing picture settings for bright rooms.
Picture Modes for Projectors
If you are using a projector instead of a TV, the same rules apply, but the names change. Projectors usually have a “Reference” or “THX” mode that mimics Filmmaker Mode. For sports, use the “Bright” or “Dynamic” mode, but be aware that it will shorten the lamp life. For gaming, look for a “Game” or “PC” mode. Projector input lag is typically higher than a TV, so Game Mode is even more critical. If you are setting up a projector for the first time, read our guide on how to calibrate your projector screen height and throw distance.
Why Your TV Looks Different From the Store
You bought a TV because it looked amazing on the showroom floor. Then you brought it home and it looked flat. That is because stores put TVs in “Store Mode” or “Retail Mode.” This cranks the backlight to maximum and enables Vivid. It is designed to stand out under fluorescent lights. The moment you get home and switch to “Home Mode,” the TV defaults to a more reasonable preset. Do not panic. Your TV is not broken. It is just calibrated for a dark room. Switch to Filmmaker Mode and give your eyes a few days to adjust. You will never go back.
Your 2026 Cheat Sheet
Here is a bulleted list you can save or screenshot for reference.
- Movies: Filmmaker Mode or Cinema. Disable motion smoothing. Set color temperature to Warm.
- Sports: Sports mode. Enable moderate motion interpolation. Boost brightness if needed.
- Gaming: Game Mode. Enable VRR if available. Disable HDR if it looks too dark.
- General TV: Standard mode. Keep sharpness at 0. Use ambient light sensor if available.
- Projectors: Reference mode for movies. Bright mode for sports. Game mode for gaming.
Fine-Tuning Your Setup for the Long Run
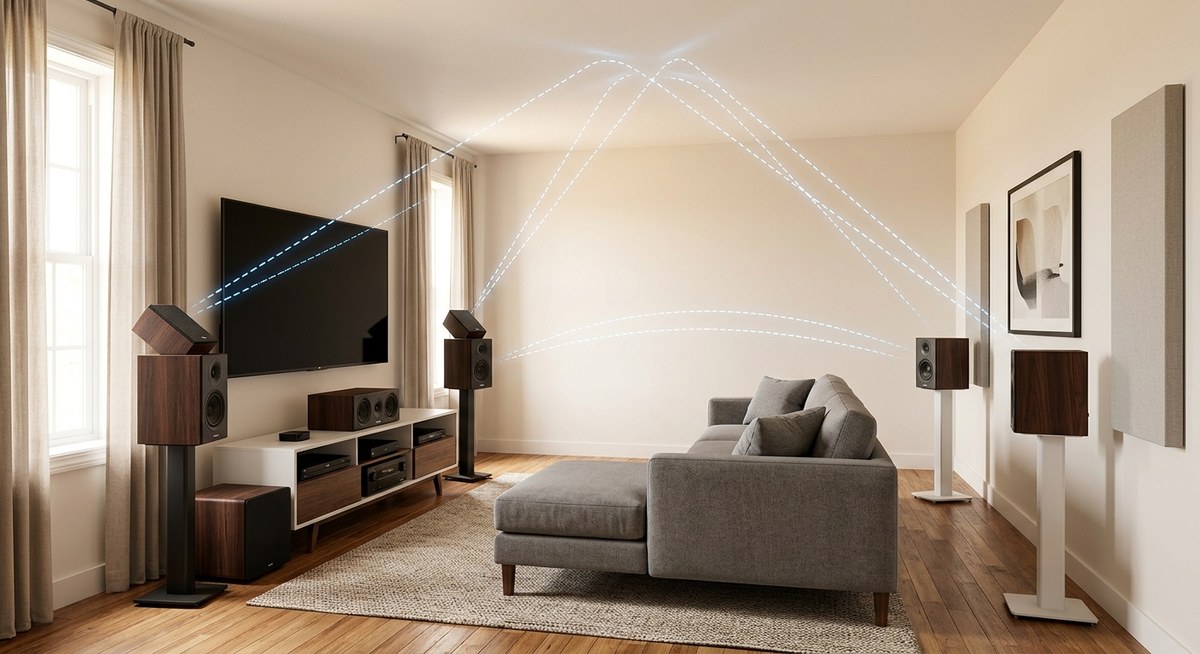
Once you have the right mode selected, you can leave it alone for months. But every time you update your TV’s firmware, check that your settings did not reset. Some manufacturers push updates that revert picture modes to factory defaults. It is rare, but it happens. Also, if you add a new device like a soundbar or a streaming stick, make sure the TV remembers the correct mode for that HDMI input. If you run into audio sync issues after switching modes, our guide on what causes audio delay in home theaters can help you fix it.
Stop Overthinking and Start Watching
The best TV picture mode is the one that matches what you are watching. You do not need to become a calibration engineer. You just need to know three modes: Filmmaker Mode for movies, Sports mode for games, and Game Mode for gaming. That is it. Set them once per input, label your ports, and forget about it. Your favorite films will look darker and richer. Your football games will feel smoother. Your kill-to-death ratio in Call of Duty will improve. Give this system a try tonight. Pop in a 4K Blu-ray, switch to Filmmaker Mode, and see the difference for yourself. Your TV has been hiding its true potential. Now you know how to unlock it.

Leave a Reply