
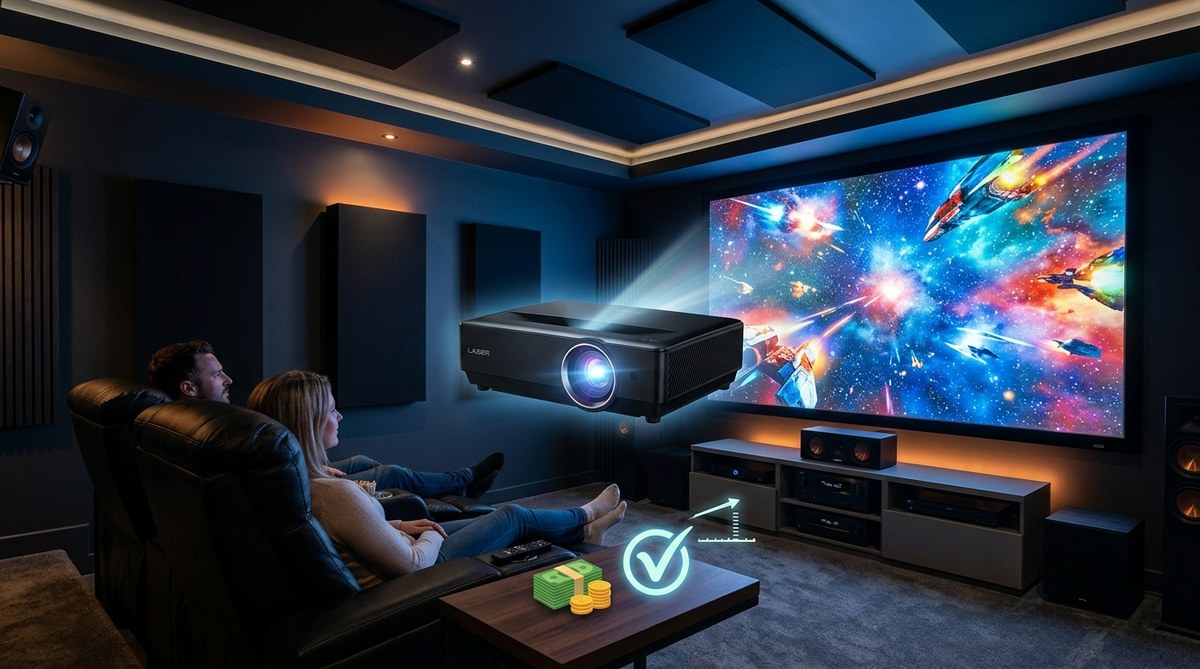
You just unboxed your new projector. You are pumped. You want to see that 120-inch image on your wall right now. But hold on. Where you put that projector makes the difference between a blurry, headache-inducing mess and a cinematic experience that rivals the local multiplex.
Getting the placement wrong is the number one reason people end up frustrated with their home theater. A few inches off can mean a distorted image, eye strain, or a setup that just feels off. The good news? You do not need a degree in engineering to get it right. You just need to follow a few proven rules.
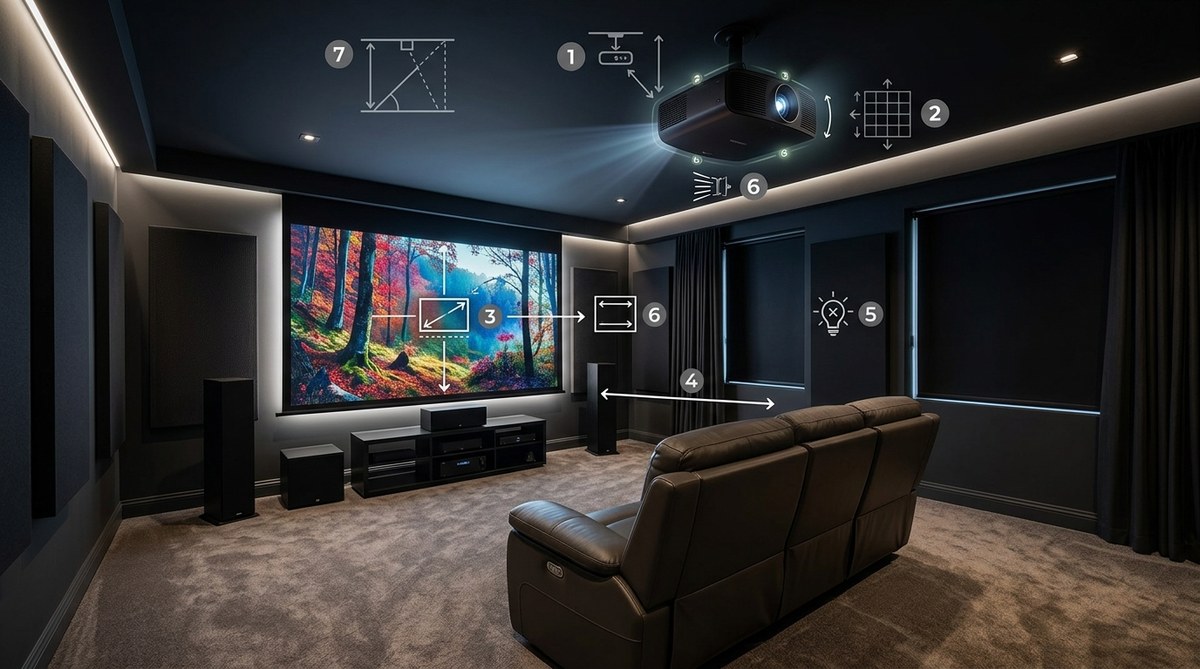
Seven rules guide every successful projector installation. First, calculate your throw distance before you buy a mount. Second, set the lens height so the bottom of the image aligns with your seated eye level. Third, place your seating at 1.2 to 1.5 times the screen width. Fourth, kill ambient light. Fifth, keep the projector lens parallel to the screen surface. Sixth, use keystone correction only as a last resort. Seventh, plan for ventilation and cable management. Follow these, and your picture will look like it was installed by a pro.
Start With the Throw Distance, Not the Screen Size
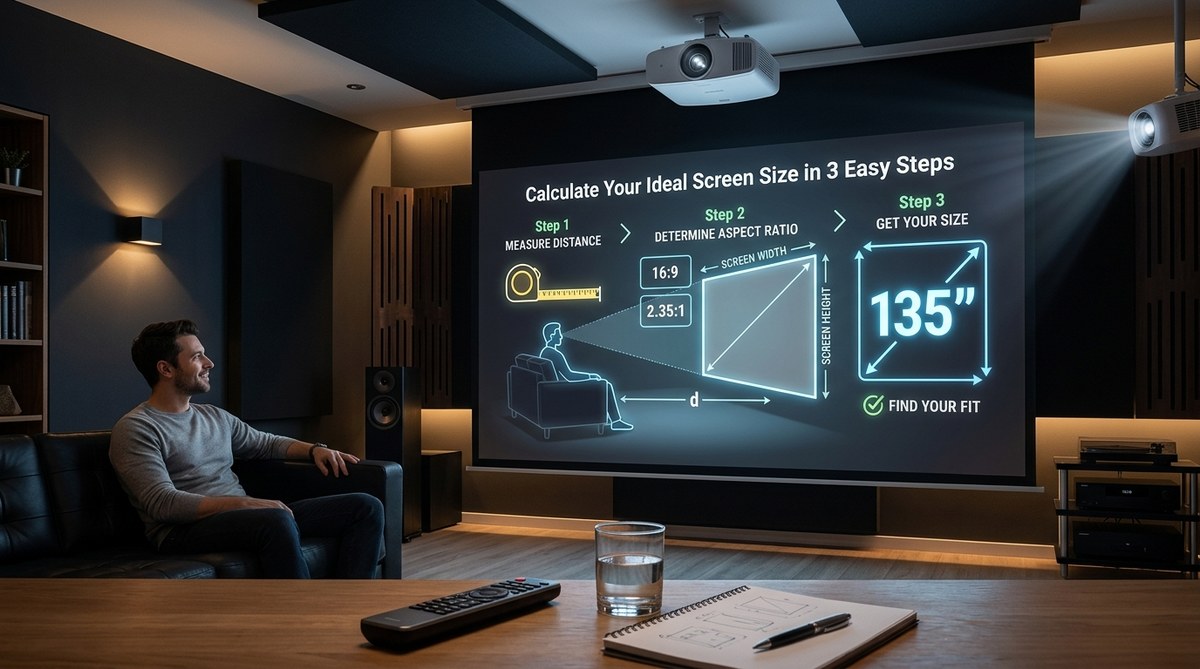
The biggest mistake new owners make is picking a screen size first. You should pick your projector placement first. Every projector has a “throw ratio.” This is a number that tells you how far back the projector needs to sit to create a specific image width.
If you put a standard throw projector 8 feet from a wall, you might get a 60-inch image. If you put a short throw projector at the same distance, you could get a 150-inch image. You have to match the distance to the lens.
Here is a simple way to think about it:
- Check your projector’s manual for the throw ratio. It usually looks like “1.2:1” or “1.5:1.”
- Multiply the screen width you want by that number. If you want a 100-inch wide screen and your throw ratio is 1.5, your projector lens needs to sit 150 inches (12.5 feet) from the screen.
- Measure from the front of the lens, not the back of the projector case.
If you are working with a small room, you might need a short throw model. If you have a deep, dedicated room, a standard or long throw lens gives you more flexibility. If you want to get into the math, read our guide on how to calculate projector throw distance for your room size. It will save you from buying a mount that sits in the wrong spot.
Set the Screen Height for Your Seated Eyes
You want the center of the screen to be at or slightly below your eye level when you are sitting down. This is not a suggestion. It is a physiological rule. If you look up for two hours, your neck will hurt. If you look down, you will feel like you are in the front row of a movie theater, and that is not a good thing.
For a typical home theater setup, the bottom third of the screen should be around eye level. Most people sit with their eyes about 40 to 45 inches from the floor. That means the bottom edge of your screen should sit around 30 to 40 inches off the ground.
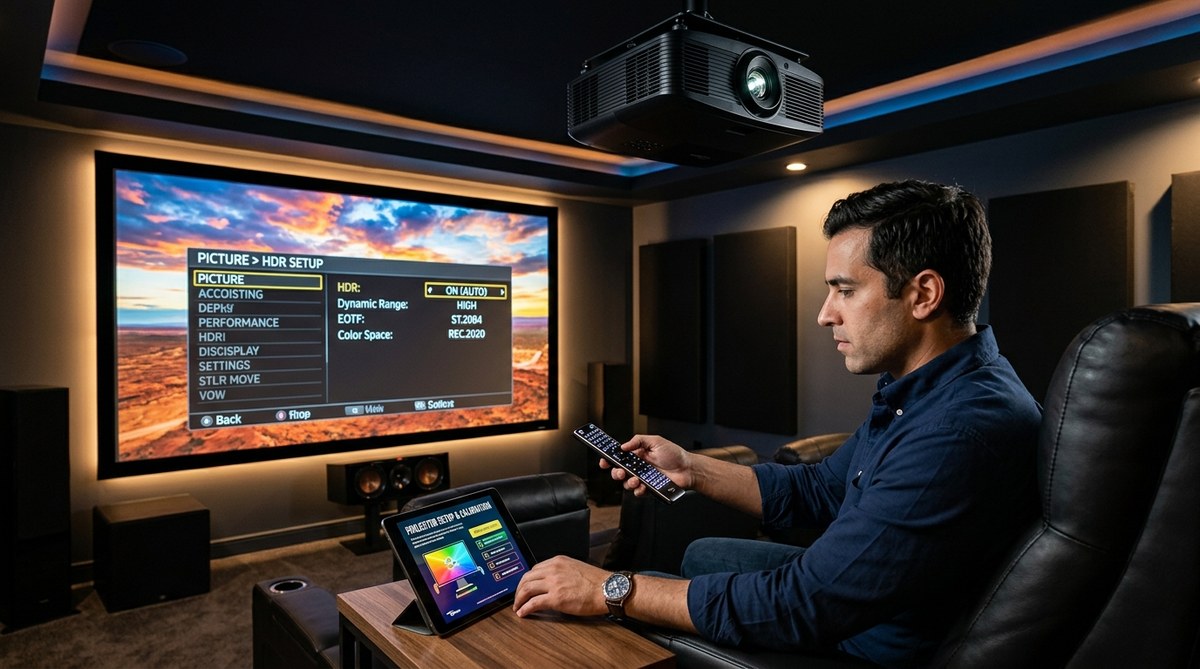
If you have a ceiling mounted projector, you will use the lens shift to move the image down. If your projector does not have lens shift, you have to tilt the projector and use keystone correction. That degrades the image. Always buy a projector with vertical lens shift if you can. It makes placement much easier.
Place the Seating at the Right Distance
You have the screen up. Now where do you sit? The rule of thumb for a 1080p projector is to sit at 1.5 times the screen width. For 4K projectors, you can sit closer, around 1.2 times the screen width. This fills your field of view without making you move your head to see the edges.
Let us run an example. You have a 120-inch diagonal screen. That is roughly 105 inches wide. With a 4K projector, your ideal seating distance is about 126 inches, or 10.5 feet. If you sit much closer than that, you will see the pixel structure. If you sit much further, you will lose the immersive effect.
This is not just about projector placement rules for home theater. It is about comfort. If you have a long, narrow room, you might need a smaller screen to keep the seating distance in the sweet spot. If you want to see the full formula, check out our article on how far should you sit from your screen.
Kill the Ambient Light Before You Do Anything Else
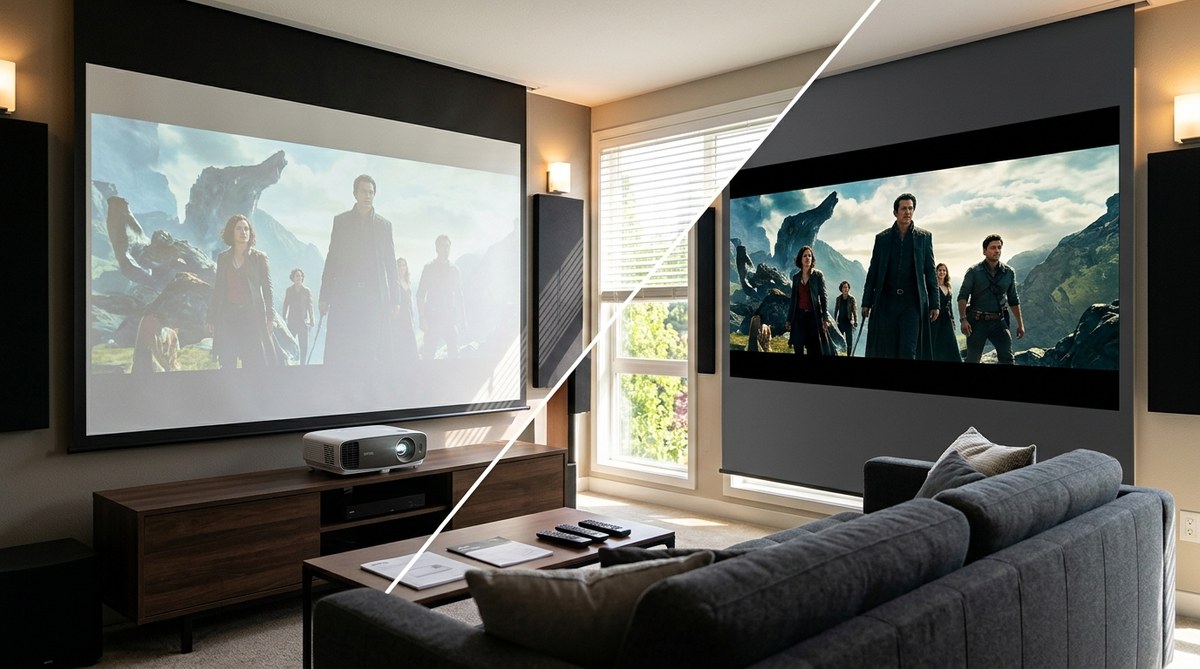
This rule is simple. Light is the enemy of contrast. A projector works by bouncing light off a surface. If there is sunlight or a lamp hitting that same surface, the black parts of the image turn gray.
You do not need a bat cave. But you do need control. Here is a checklist:
- Use blackout curtains on windows.
- Paint the walls a dark, matte color. Flat dark gray or dark blue works well.
- Turn off any lights that are in the direct line of sight of the screen.
- Consider an ambient light rejecting screen if you cannot control the room.
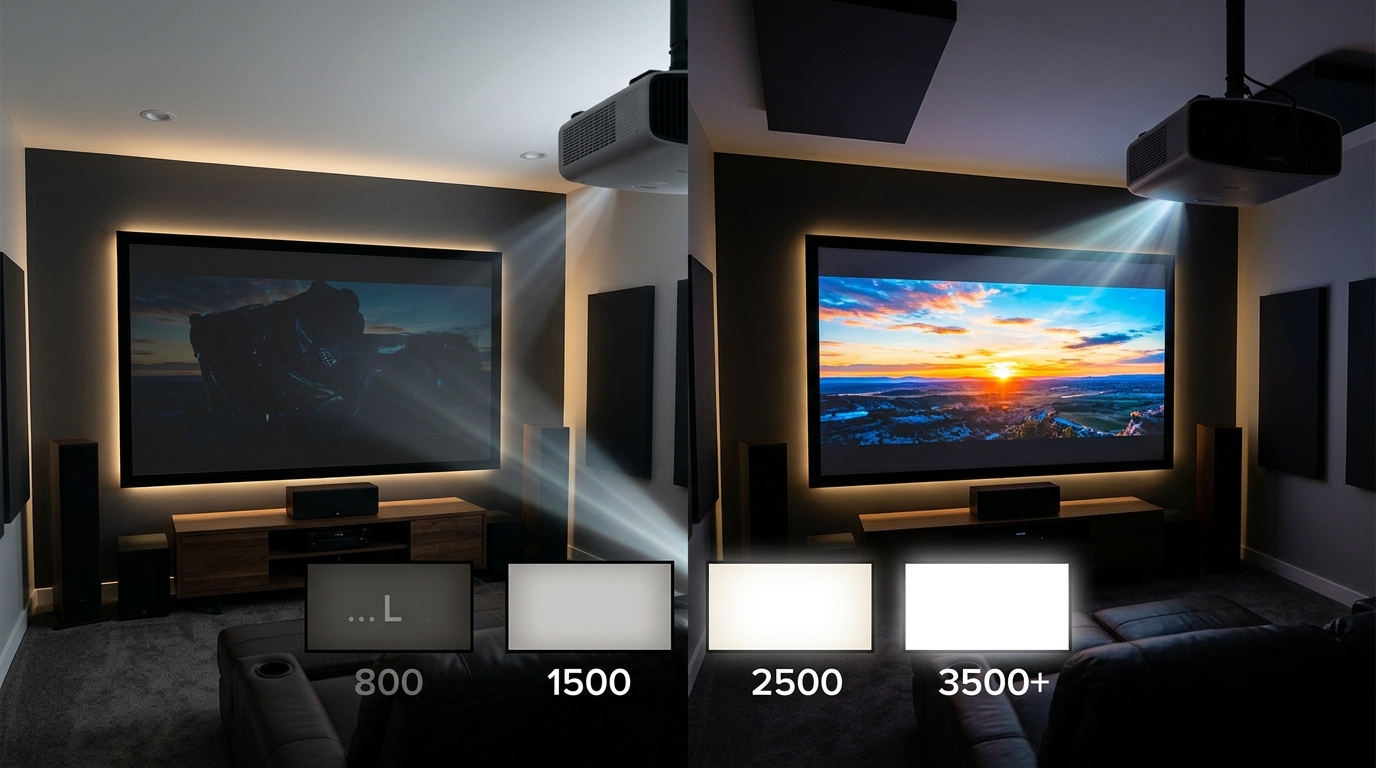
If you have a bright living room and you do not want to change the decor, you might need a high lumen projector. Read our guide on projector lumens explained to see how much light you actually need. But remember, lumens cannot fix a room that is flooded with direct sunlight.
Keep the Lens Parallel to the Screen
This is the rule that most people break, and it drives me crazy. The projector lens must be perfectly perpendicular to the screen. That means the lens is pointing straight at the center of the screen. If the projector is off to the side, or tilted up or down, you get keystone distortion. The image looks like a trapezoid, wider at one end than the other.
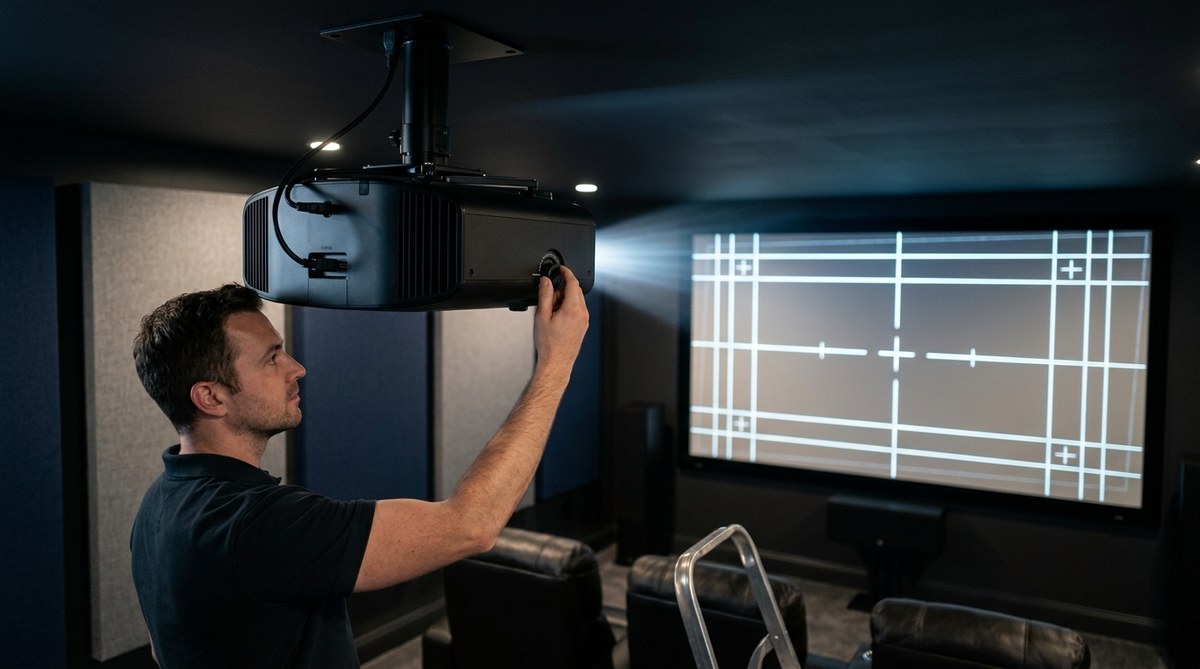
Many projectors have a “keystone correction” feature that lets you digitally warp the image back into a rectangle. Do not use it unless you absolutely have to. Keystone correction works by scaling down parts of the image. It throws away pixels and reduces sharpness. It is a band-aid, not a solution.
If you are mounting the projector to the ceiling, make sure the mount is centered on the screen. Use the lens shift to fine tune the vertical position. If you have to move the projector sideways, move the mount. Do not tilt the projector. For a deeper look at avoiding this mistake, see our list of 5 common projector setup mistakes.
Plan for Ventilation and Cable Routing
Projectors get hot. They have fans that pull air in and push hot air out. If you put the projector in a closed cabinet or too close to a wall, it will overheat. The fan will get loud, and the bulb life will drop.
Leave at least 6 inches of space on all sides of the projector. If you are ceiling mounting it, make sure the mount does not block the vents. Some mounts have a universal plate that covers the bottom of the projector. Make sure that plate has cutouts for the intake vents.
Cables are the other half of this rule. You do not want HDMI cables dangling down your wall. Plan your cable path before you mount anything. Run the HDMI cable and power cable through the ceiling or along the wall before you bolt the projector in place. If you need to hide them, use a cable management raceway. For more detail on organization, read our guide on how to label and organize your home theater cables.
The One Rule About Screens That Changes Everything
You have the projector placed perfectly. But the screen surface matters just as much. If you are projecting onto a white wall, you are leaving picture quality on the table. A proper screen reflects light more evenly and gives you better contrast.
Here is a table that shows the difference between common screen choices:
| Screen Type | Best Use Case | Common Mistake |
|---|---|---|
| White matte screen | Dark rooms with controlled light | Using it in a bright room. It washes out. |
| Gray screen | Rooms with some ambient light | Buying too low a gain. Image looks dim. |
| Ambient light rejecting (ALR) | Living rooms with windows | Not matching the screen to the projector’s throw angle. ALR screens are directional. |
| High gain screen | Long throw distances or 3D projection | Sitting off center. High gain screens have a narrow viewing cone. |
| Painted wall (no screen) | Temporary or budget setups | Expecting perfect contrast. Paint is not designed to reflect light evenly. |
If you are building a dedicated room, go with a white matte screen. If you are setting up in a living room, look at an ALR screen. If you are not sure, read our comparison of gray vs white projector screens. It will help you decide based on your specific room conditions.
Putting the Rules Into Action
Let us walk through a real world example. You have a 14-foot long room. You want a 120-inch screen.
- Check your projector specs. You find the throw ratio is 1.5:1.
- A 120-inch diagonal screen is about 105 inches wide. 105 x 1.5 = 157.5 inches. Your lens needs to sit 13.1 feet from the screen.
- Your room is 14 feet long. That gives you about 10 inches of space behind the projector for cables and ventilation. Perfect.
- You mount the projector at 13 feet from the screen. You set the lens height so the bottom of the image hits 35 inches from the floor.
- You place your seating at 10.5 feet from the screen. That is 1.2 times the screen width, ideal for your 4K projector.
- You paint the walls a dark charcoal. You install blackout blinds.
- You run your HDMI cable through the ceiling before you mount the projector. You leave 8 inches of clearance around the projector case.
That is it. No guesswork. No frustration. Just a clean, sharp image that looks like it was installed by a pro.
Expert advice: “The most common call I get is from someone who mounted their projector too high and too far back. They used digital keystone to fix the shape, and now the image looks like mush. Measure twice. Mount once. Your eyes will thank you.”
Your Next Steps for a Flawless Setup
You now have the seven rules. You know where the projector goes. You know where the seating goes. You know how to handle the light and the cables. The only thing left is to do it.
If you are still shopping for gear, use these rules as a filter. If a projector cannot fit in your room based on the throw distance, do not buy it. If a mount does not let you center the lens, do not buy it. If a screen does not match your room’s light level, do not buy it.
Start with your room measurements. Then buy the projector. Then mount it. That order saves you money and headaches.
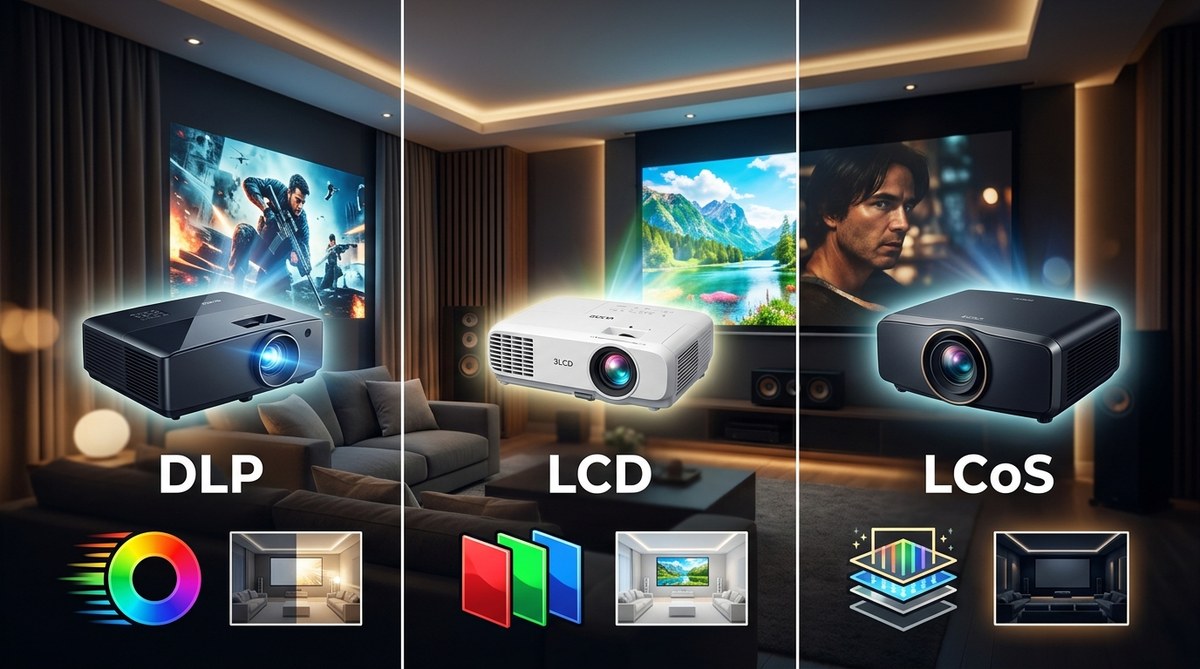
For a deeper look at choosing the right projector technology for your space, read our guide on how to choose the right projector technology for your room. And if you are still deciding between a fixed frame and a motorized screen, our buyer’s guide on fixed frame vs motorized projector screens will help you pick the right one.
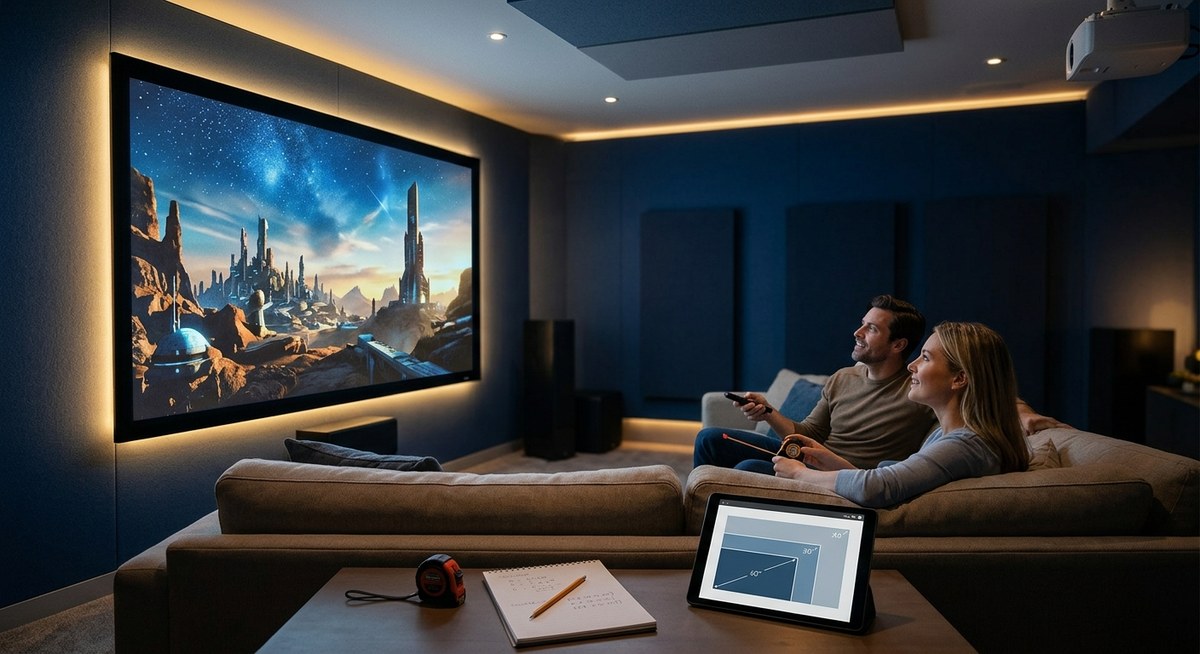
Go measure your room. Grab a tape measure and a notepad. Write down the throw distance, the screen height, and the seating distance. Stick to those numbers. Your home theater will look incredible, and you will wonder why you ever worried about it in the first place.

Leave a Reply